Assembling a rowing machine according to these instructions will cost you about 5 thousand rubles. But I decided to make it myself, not to save money, but simply because I like working with my hands.

Tools and materials
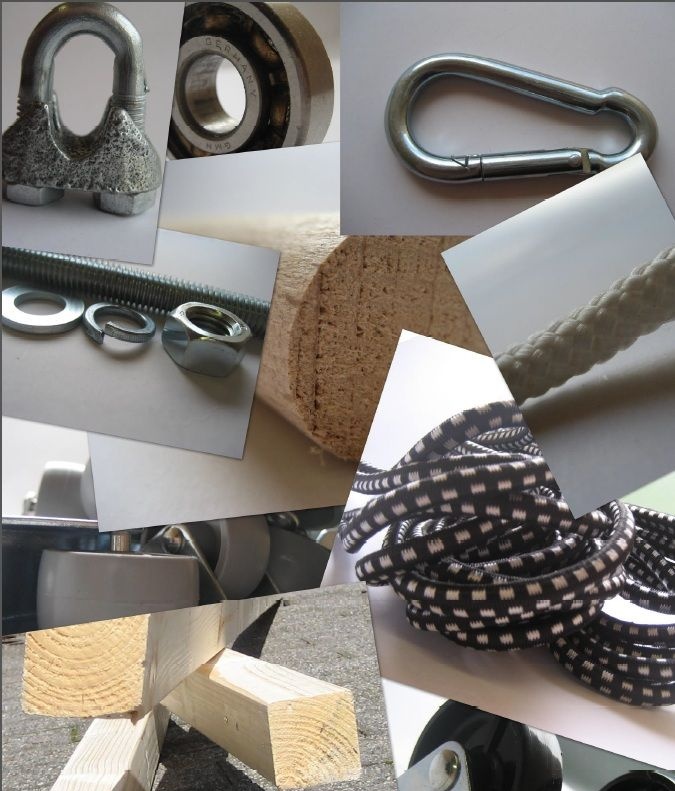
List of materials:
- 2 bolt hooks;
- 2 screw hooks;
- 10 screw rings;
- 4 spring washers size M12;
- 8 M12 washers:
- 8 hex nuts M12;
- M12 mounting studs;
- A handful of screws;
- 1 carabiner;
- 2 cable clamps;
- 10 small wheels with a diameter of 3 cm;
- 2 small wheels with a diameter of 4 cm;
- Wooden beams 4x4 with a total length of 10 m;
- Wooden pole with a diameter of 2.5 cm and 60 cm in length;
- Wooden board 88 cm long, 30 cm wide and 2.7 cm thick;
- MDF board with dimensions 99x33x1.1 cm;
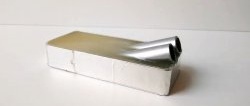
- Two long aluminum strips (140 cm long, 4 cm wide and 3 mm thick);
- Elastic straps;
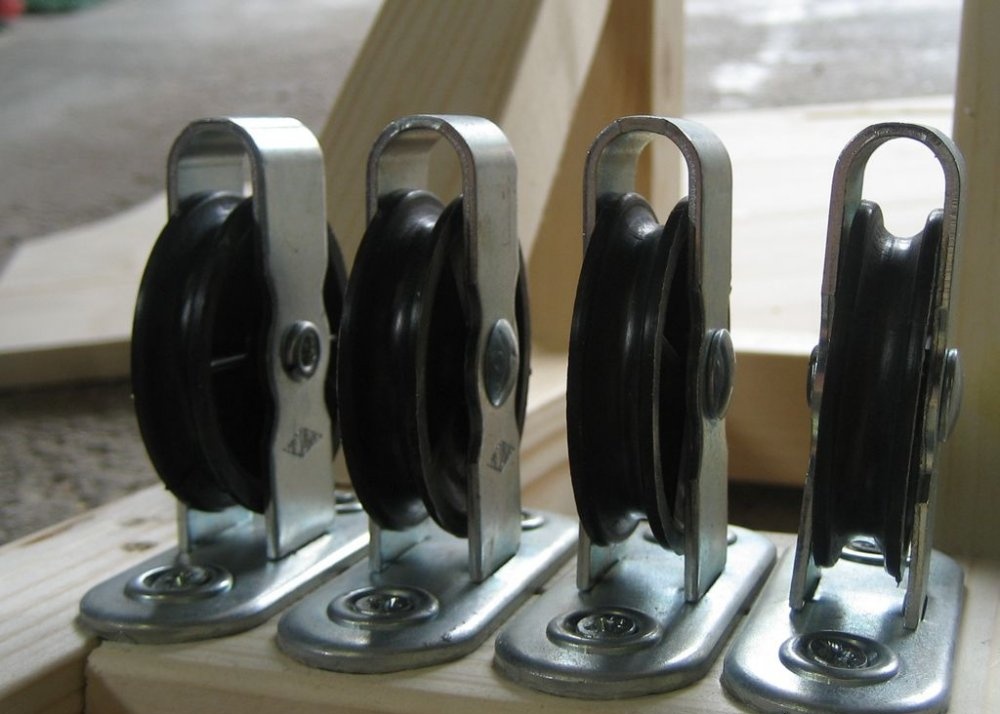
- 4 pulleys;
- 2 bearings with outer diameter 32 mm and inner diameter 12 mm;
- Rope 2 meters long and 10 mm in diameter.
List of tools:
- Wood glue;
- Wood wax;
- Wood putty;
- Saw;
- Screwdriver;
- Sandpaper;
- Clamps;
- Wood file;
- Drill;
- Drill bits with diameters of 6, 12, 15 and 32 mm.
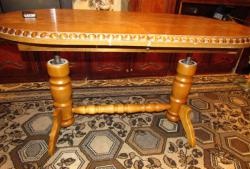
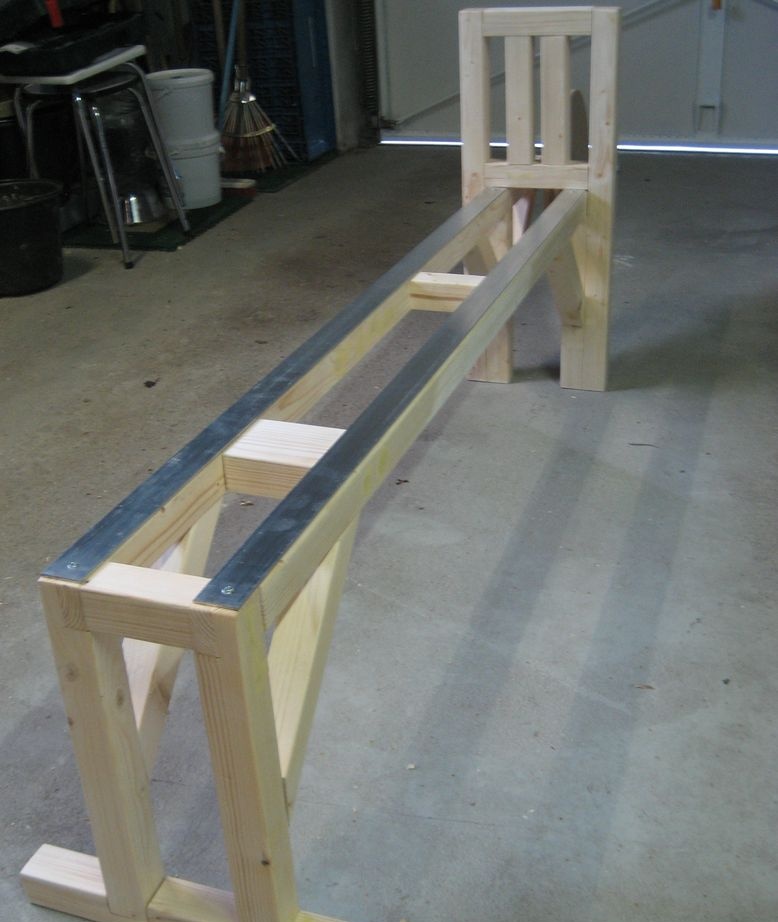
Frame assembly
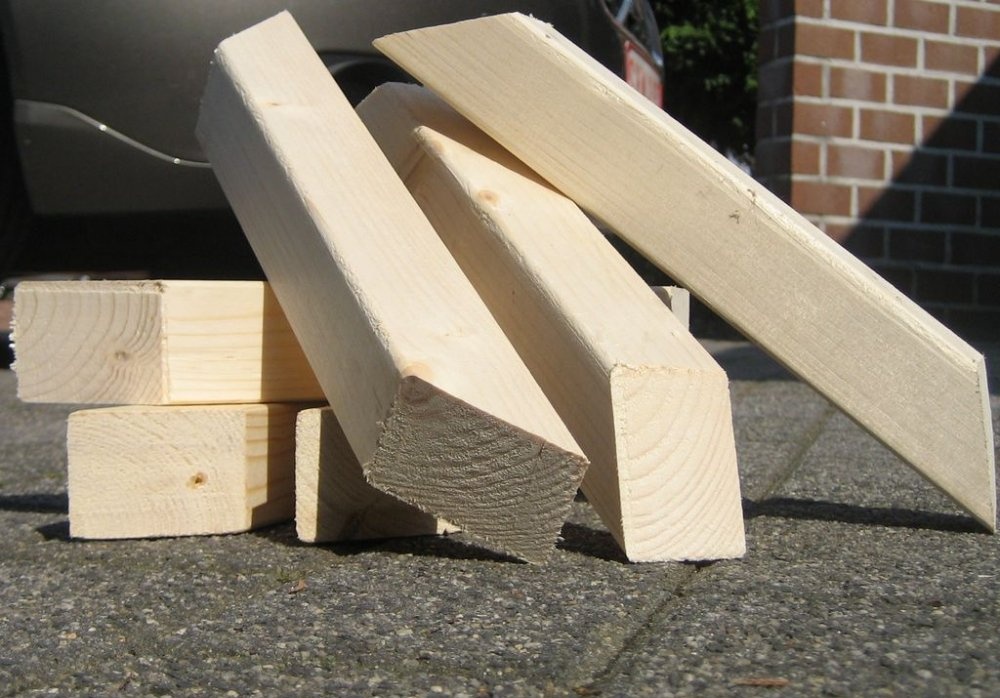


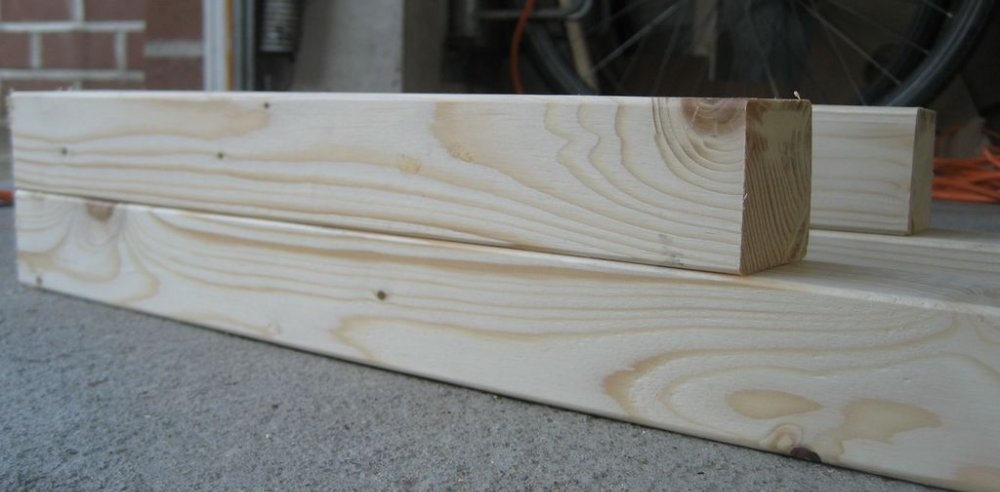
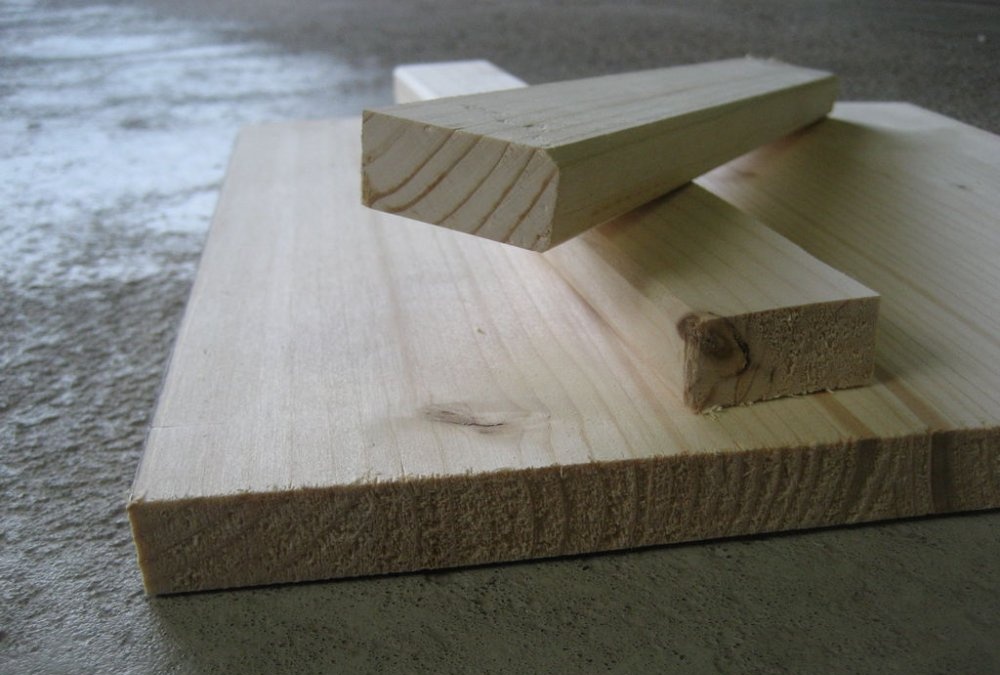
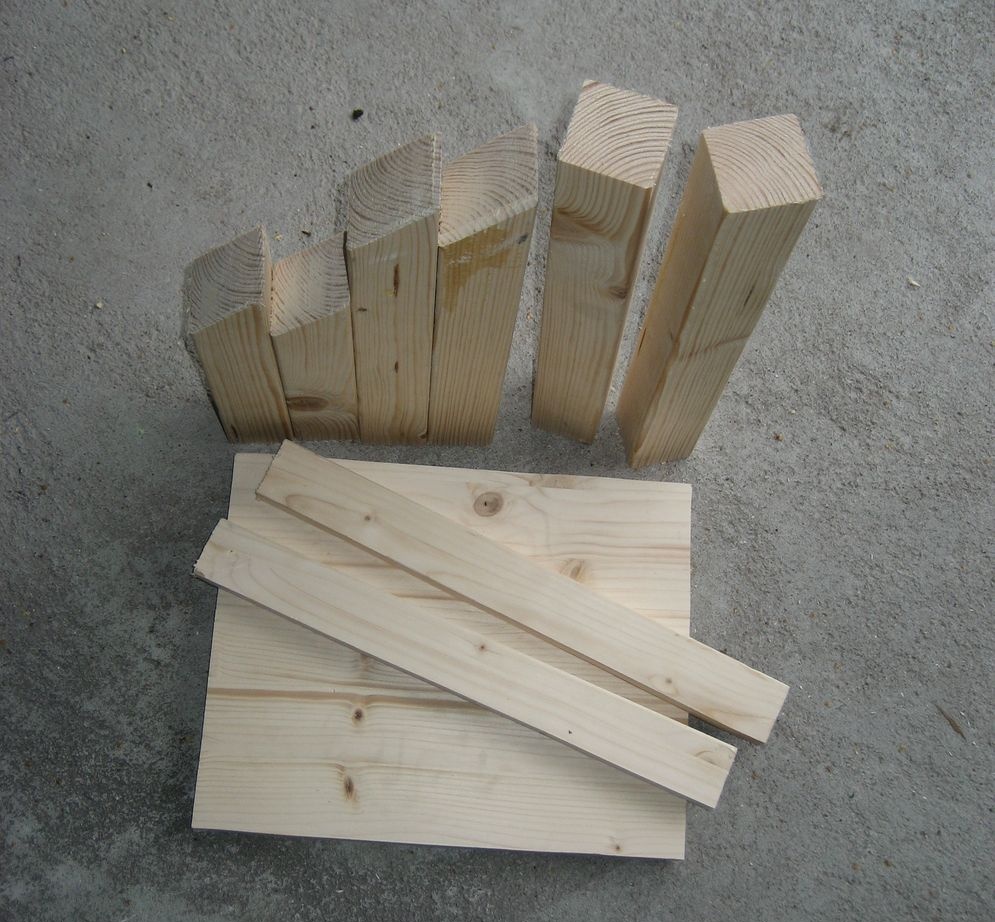
Saw off 6 short pieces of 30 cm length from a wooden beam. Then cut both ends of each beam at a 45 degree angle.
Now you need to saw off from the beam 6 bars 10 cm long each, 2 bars 18 cm long, 3 bars 40 cm long, 2 bars 42 cm long, 2 bars 19 cm long and 2 more bars 73 cm long. Finally, make 2 long bars of 170 cm each.
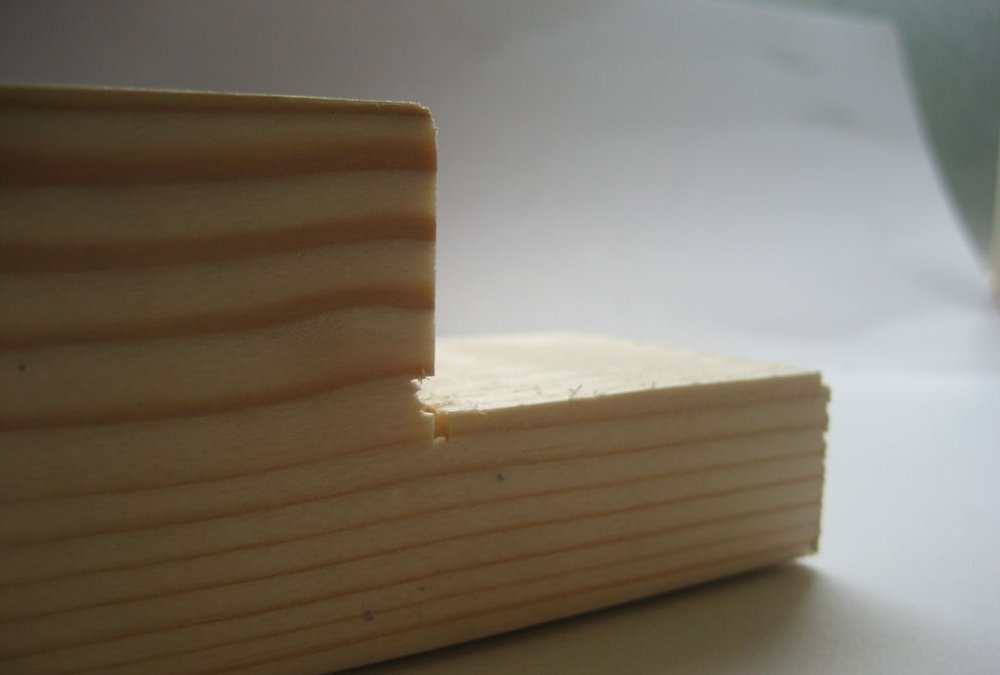
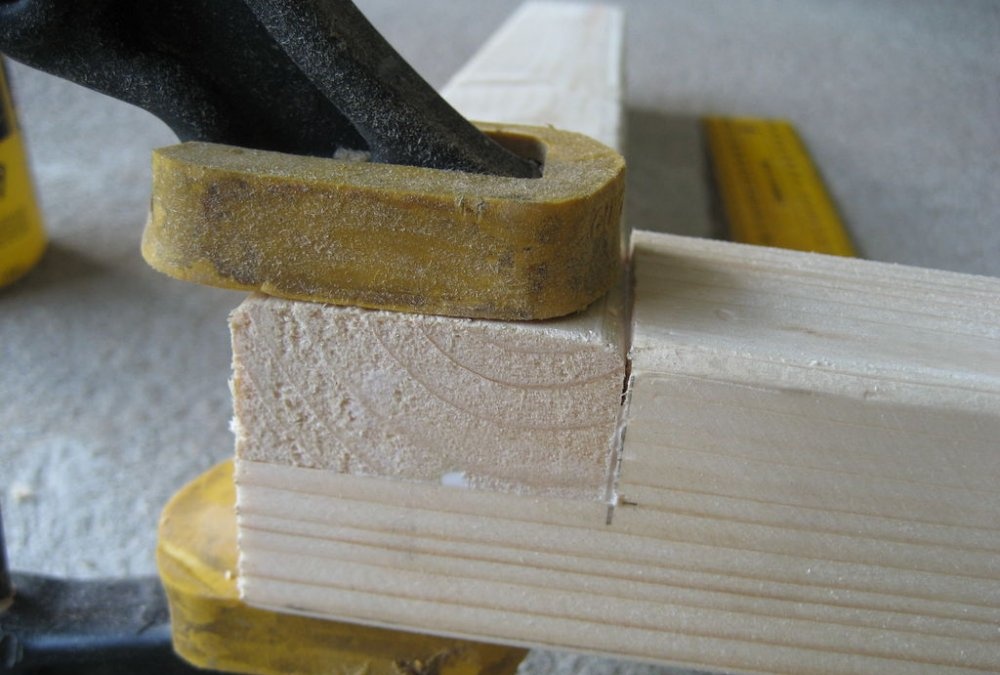
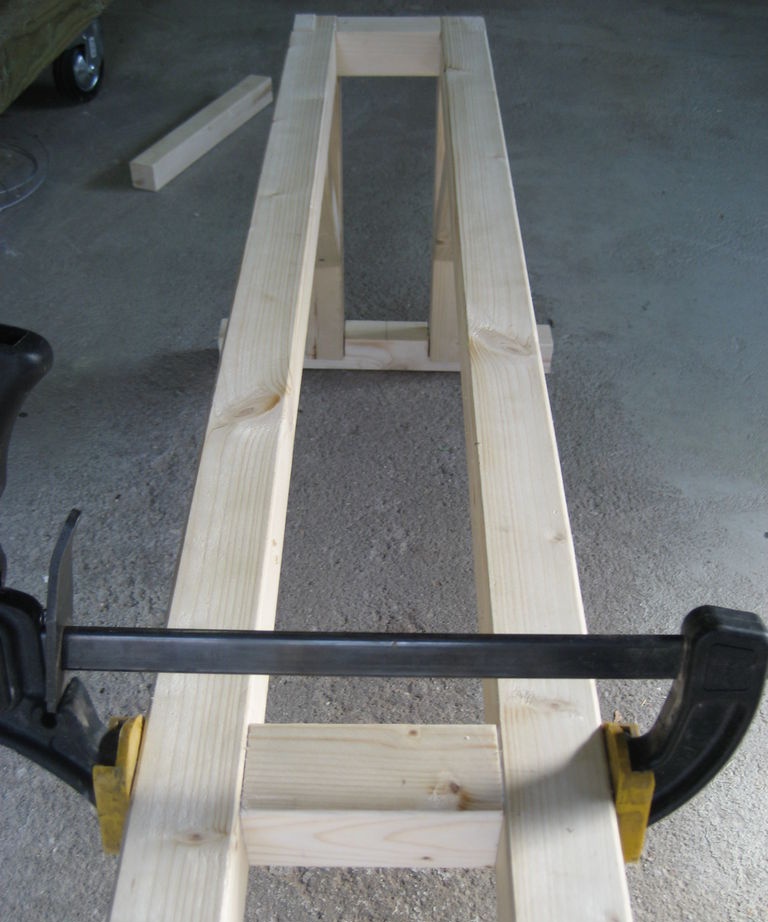
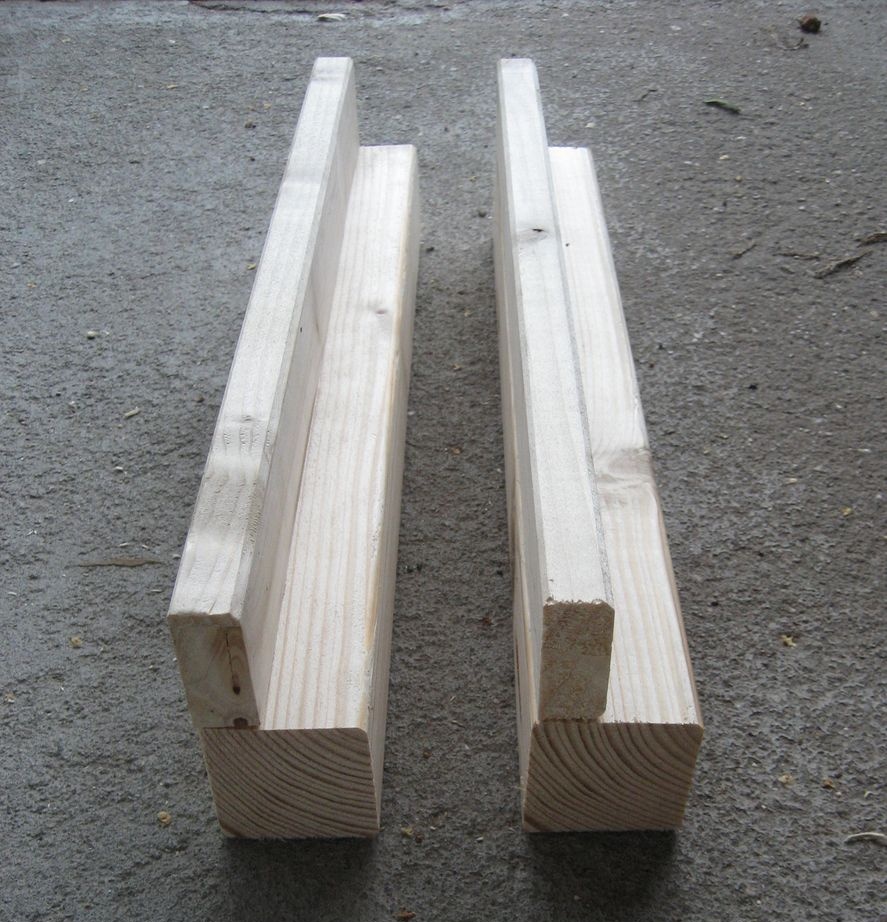
Next, we cut out square recesses at one end of the 170 and 40 cm long bars. The depth of the recess should be half the section of the beam, that is, 2 cm, and the length and width should be 4 cm each. Glue the 170 cm and 40 cm bars with wood glue, folding them into places of recesses at right angles. Fasten the structure with two 30 cm long bars (with the corners already cut off), screwing them with two screws on the inside of the resulting right angle.
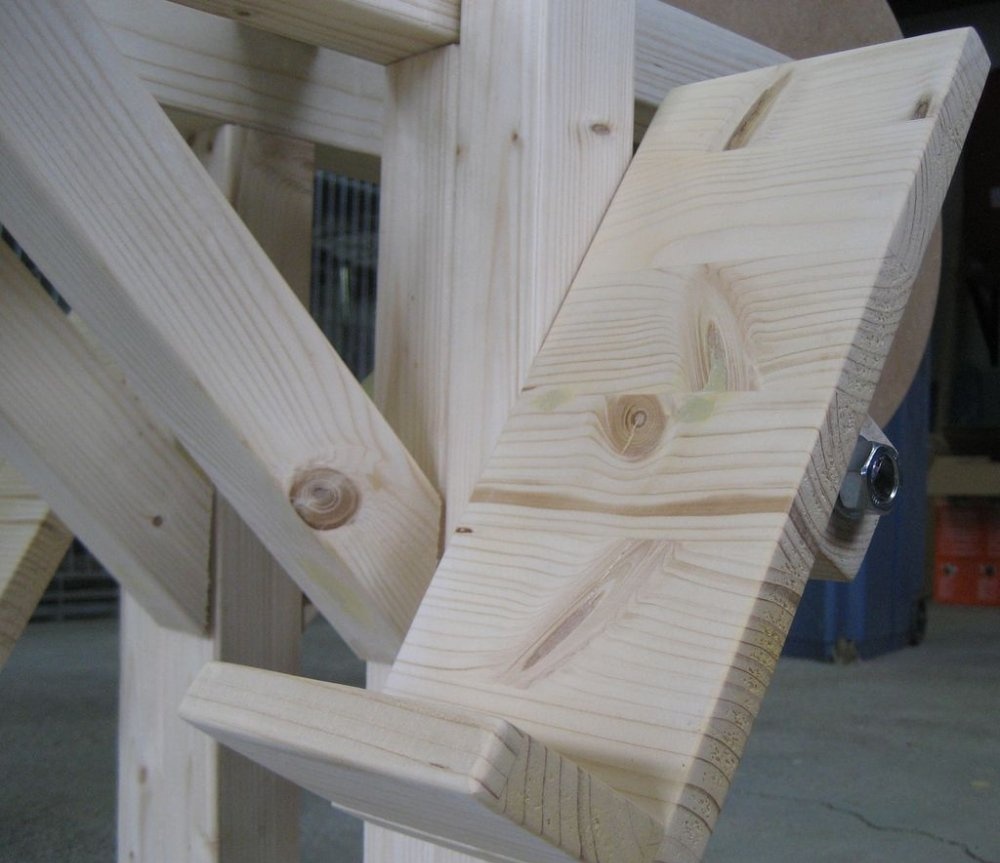
Measure 3cm from the edge at the opposite end of the 170cm timber and drill a hole with a 15mm drill bit. Drill a 1cm deep hole directly over this hole using a 32mm drill bit.
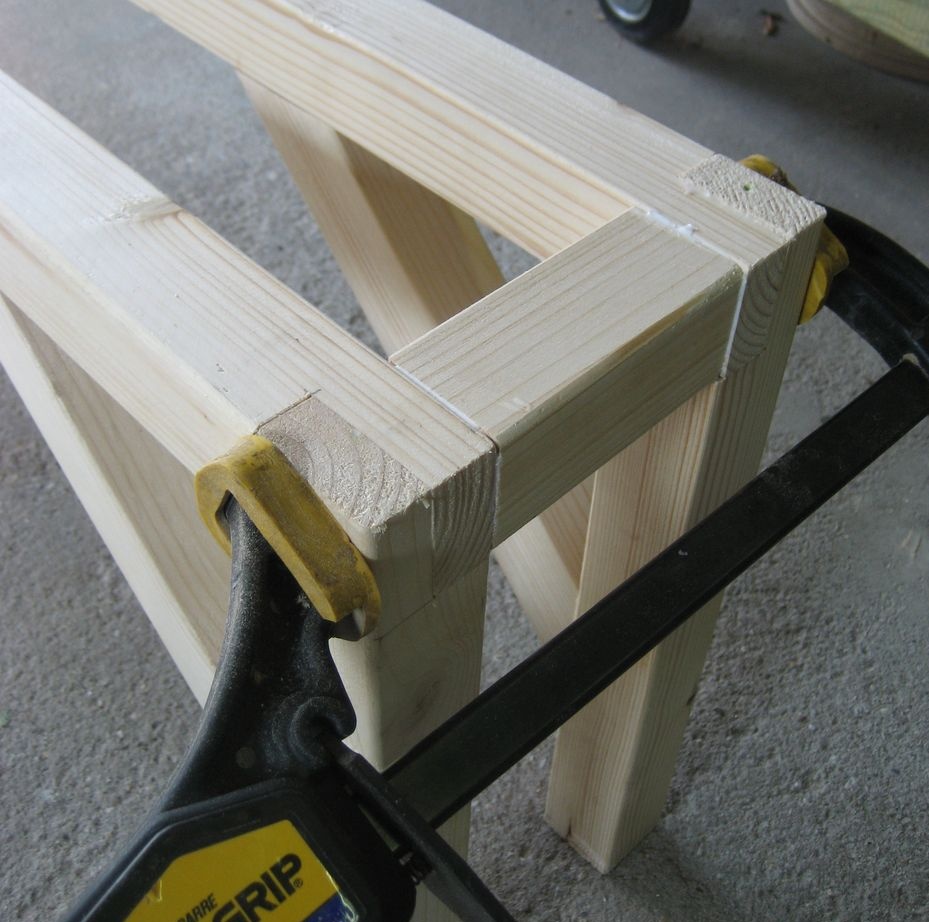
Take the two resulting rectangular fragments and fasten them with a 10 cm long block, starting from the edges with a right angle. Secure the structure with clamps and let the glue dry.After this, add another 10 cm block at a distance of 25 cm from the edge, and another 83 cm from the edge.
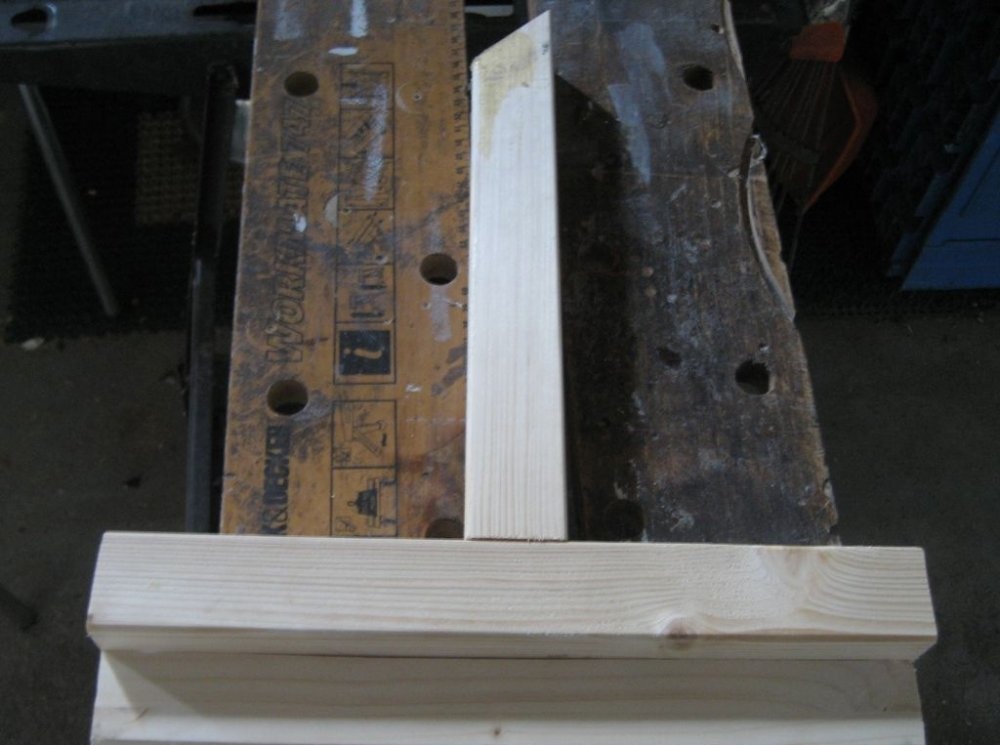
We take the last remaining block of 40 cm. We measure 11 cm from both edges and put marks. We draw two squares 4 by 4 cm, the center of which will be the marks made. Along the drawn lines, cut a square recess 2 cm deep.
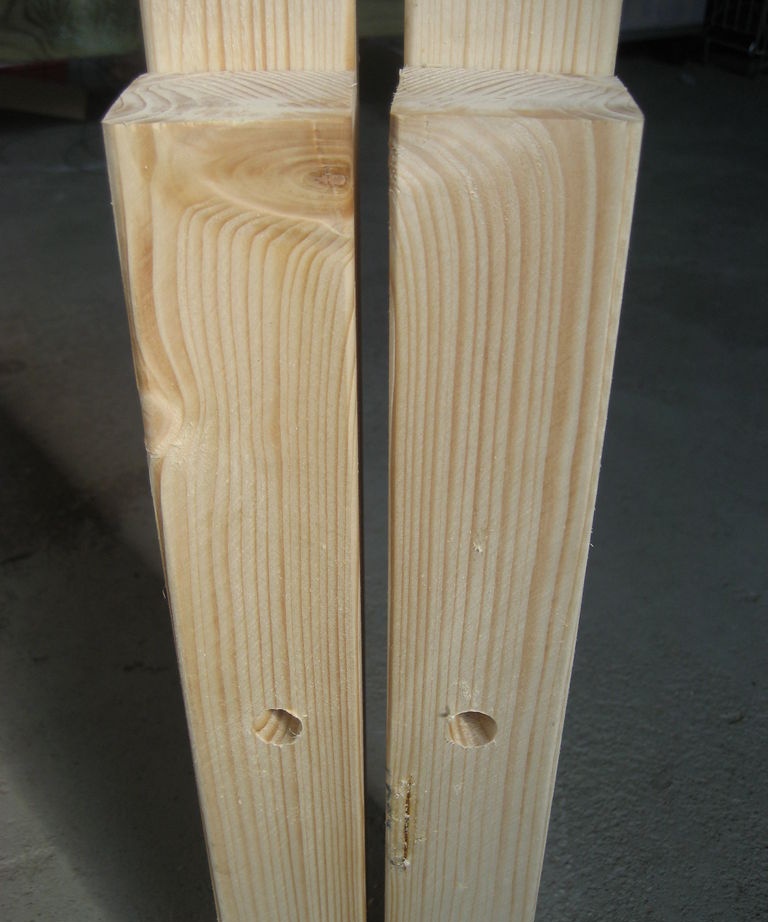
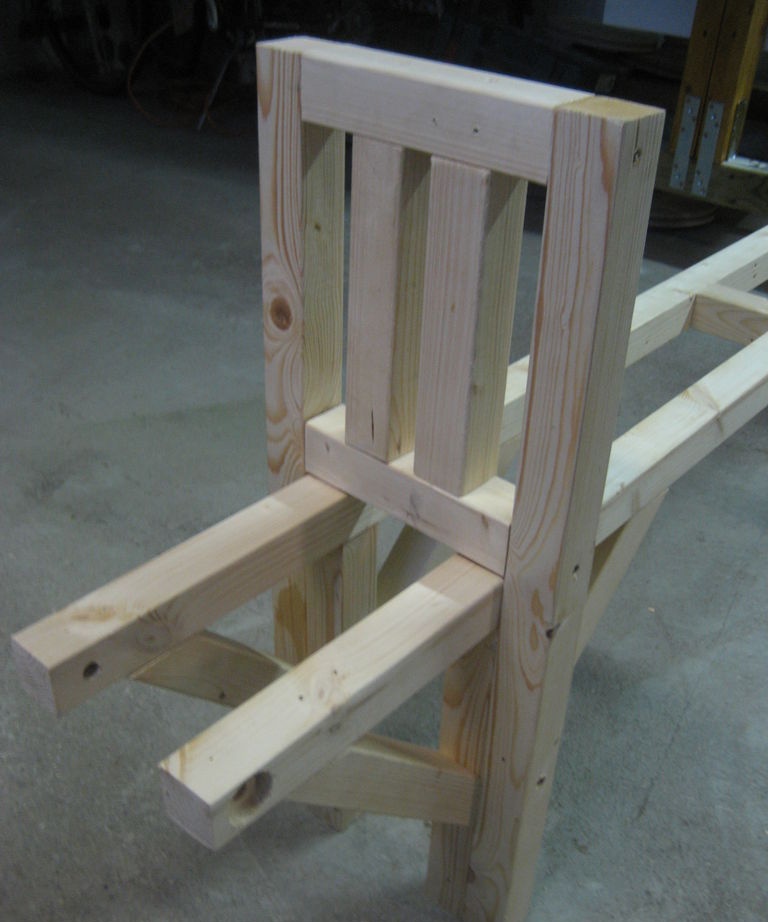
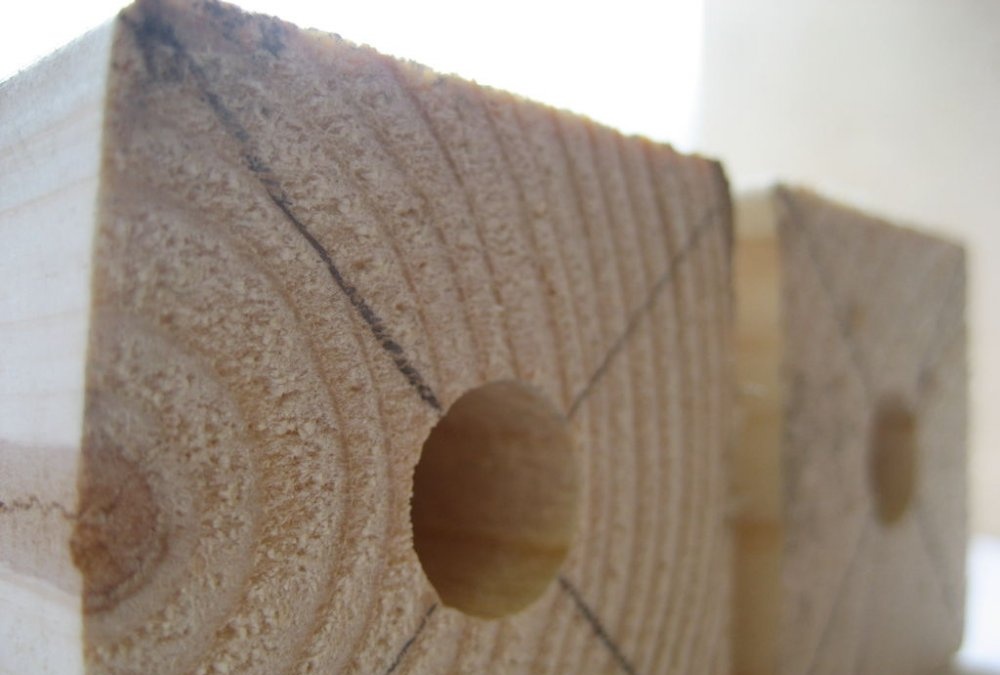
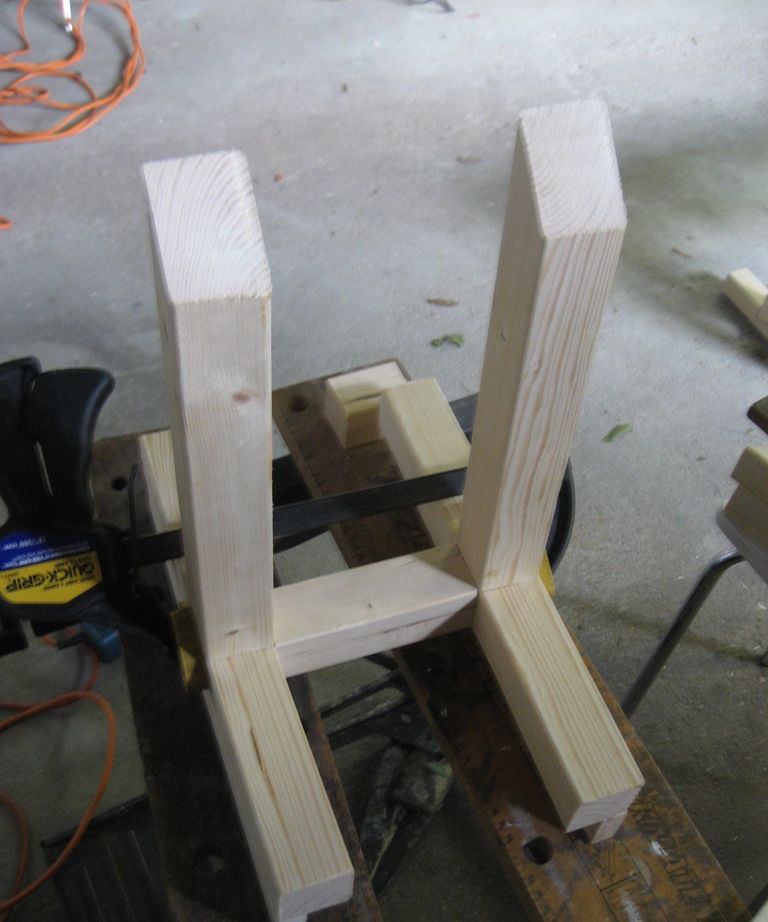
Screw the 42cm bars to the 73cm bars, then drill a through hole in both with a 12mm drill bit at a height of 20cm.
Now we measure 120 cm and at this point we screw the long beams of the not yet completed frame on top of the 42 cm bars.
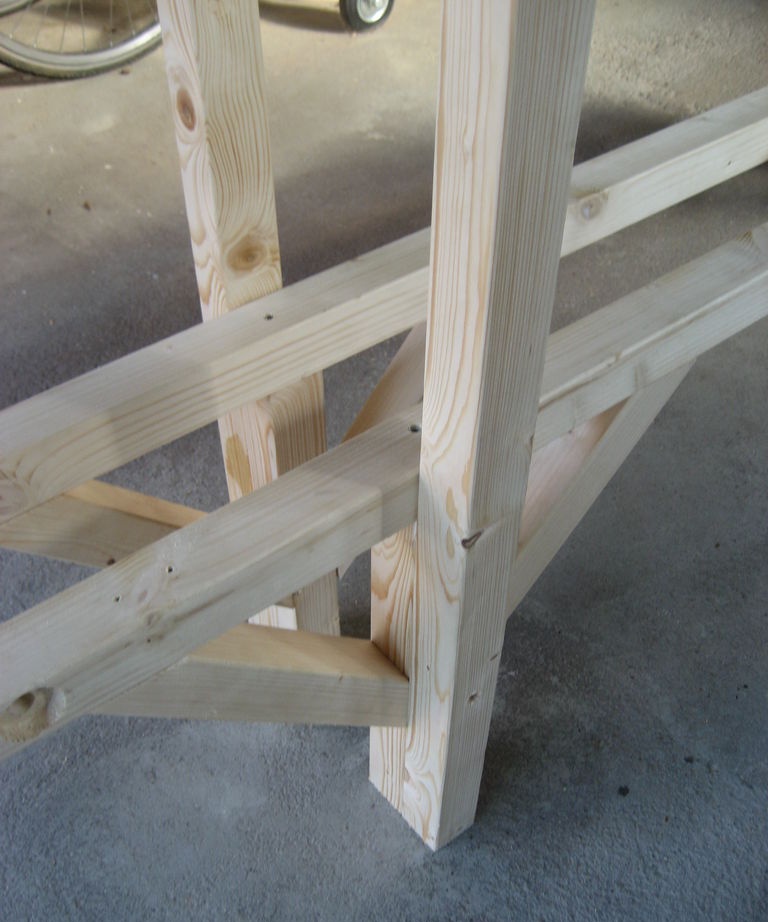
Next, you need to screw the 18-cm bar on top of the long ones - right between the 73 cm bars.
We take another 18 cm beam and screw it between the upper edges of the 73 cm beams.
Almost done. It remains to screw 2 bars of 19 cm each in a vertical position between the 18 cm bars, leaving a distance of about 2 centimeters between them.
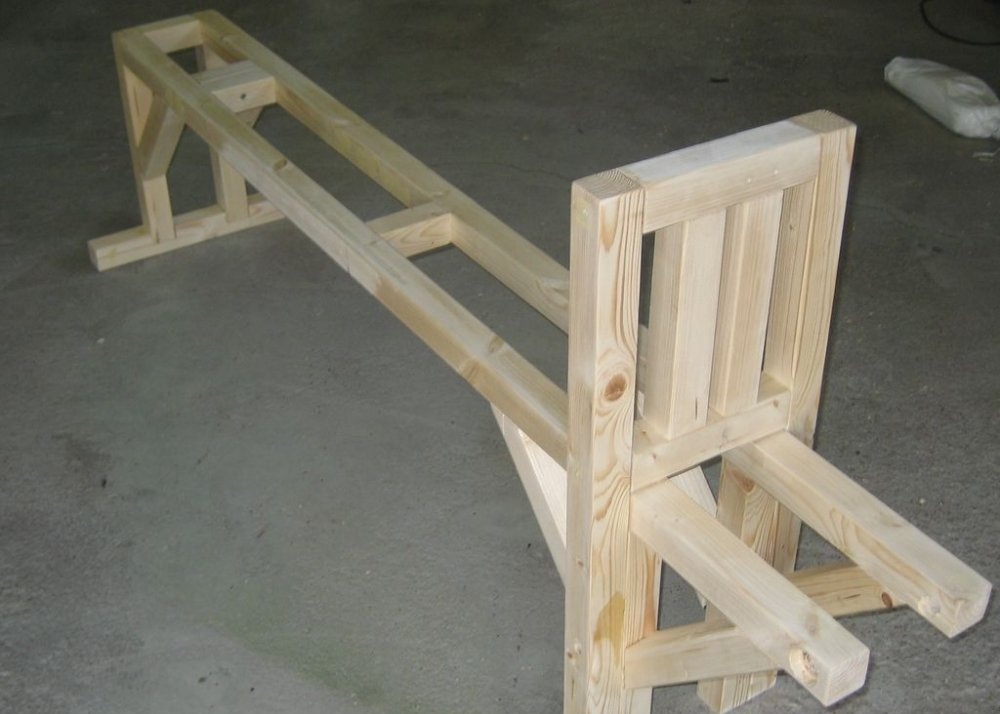
Next, it remains to screw four 30 cm bars with sawn-off corners, using them to fasten the right angles in the frame structure.
Finally, fill the screw holes with wood putty and sand them down with sandpaper.
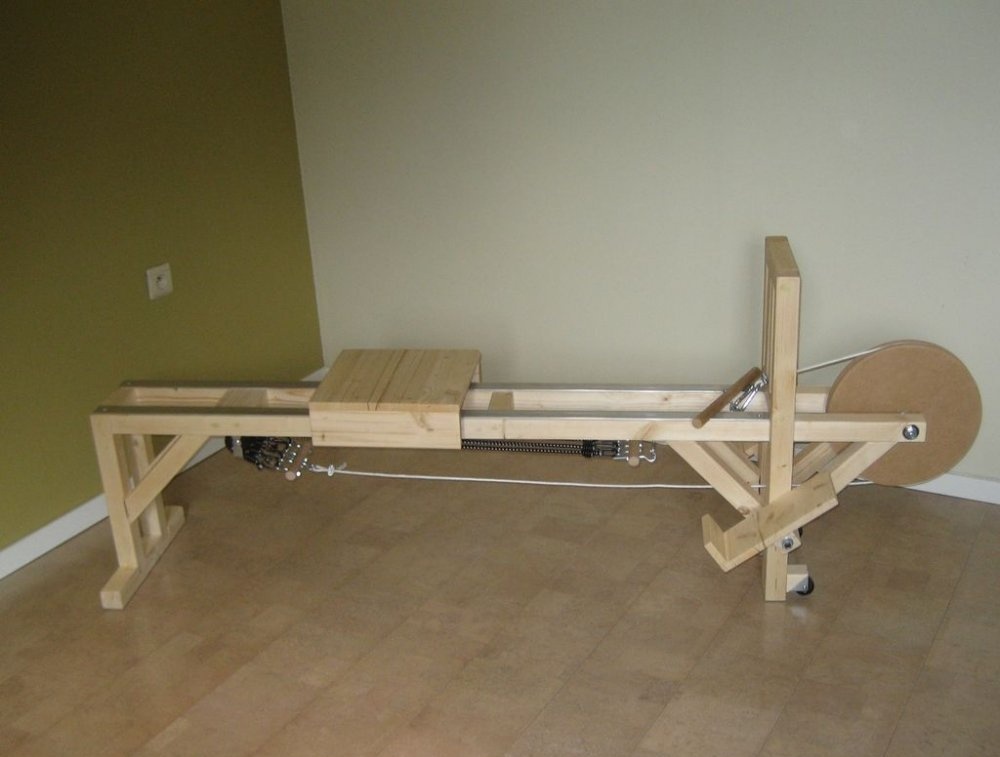
The frame is ready! Hooray!
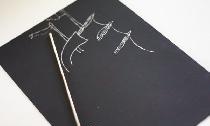
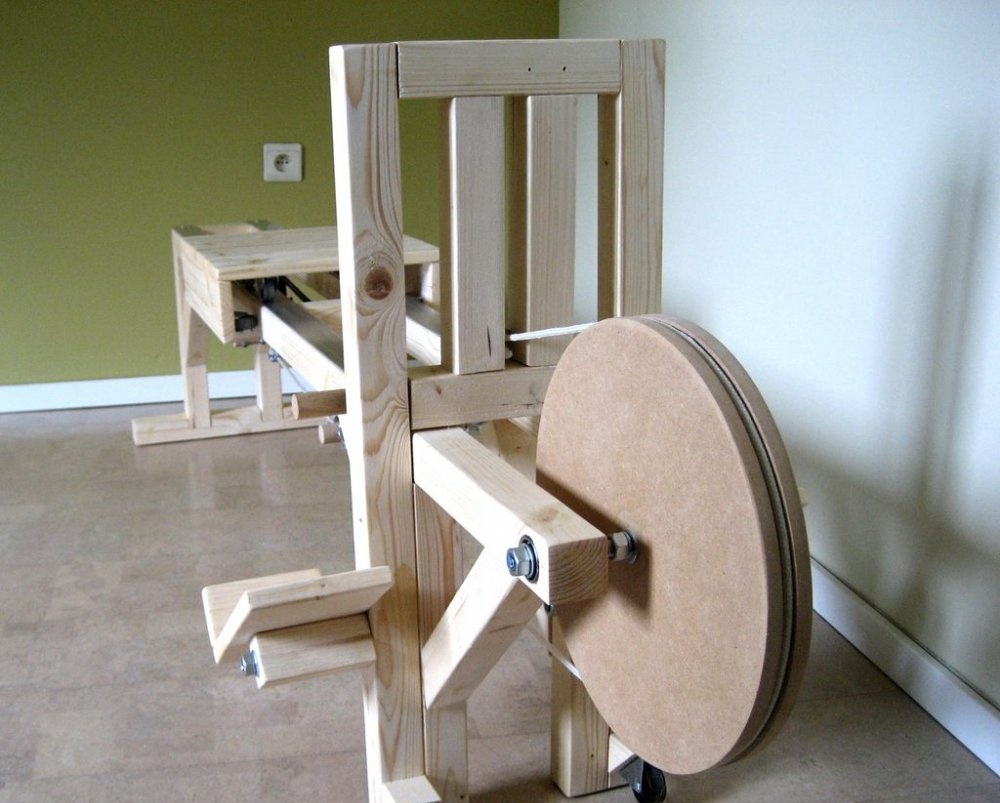
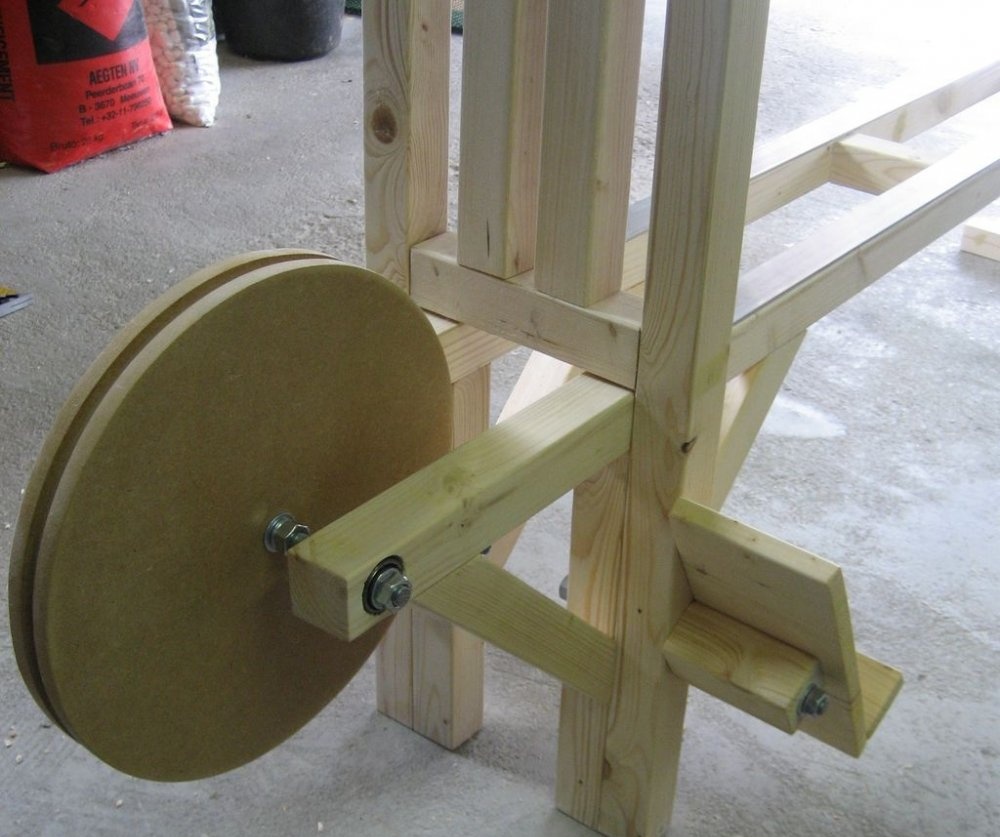
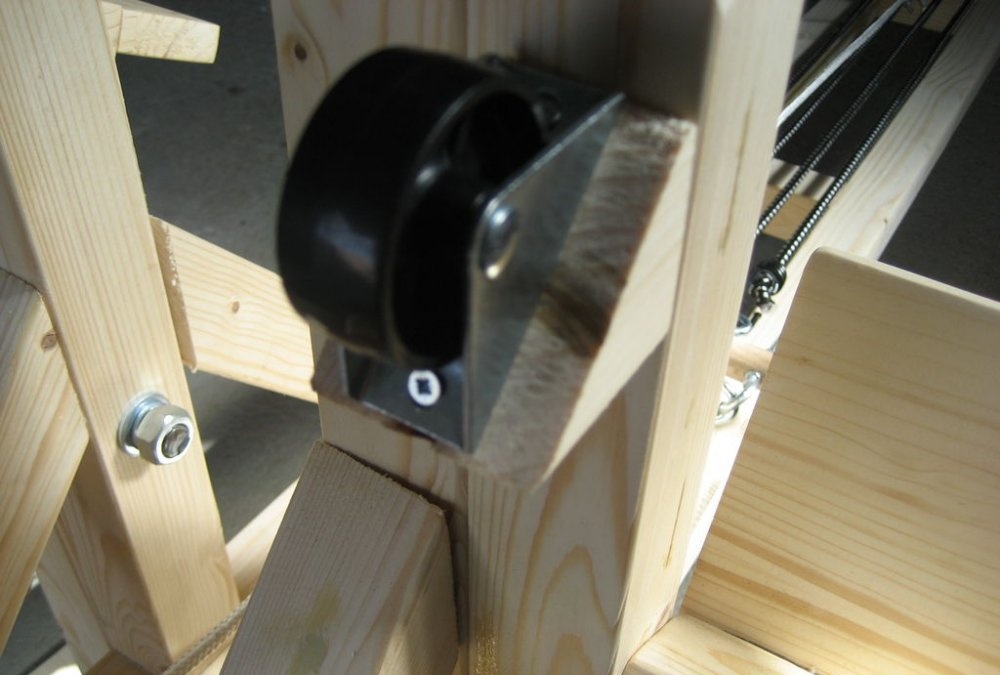
Making a wooden pulley
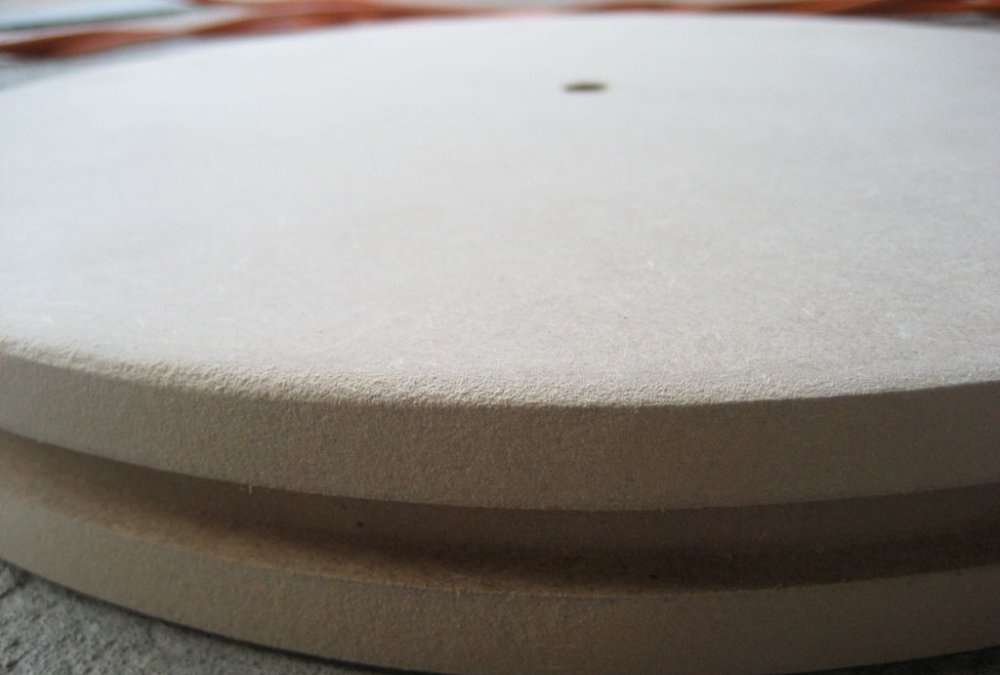
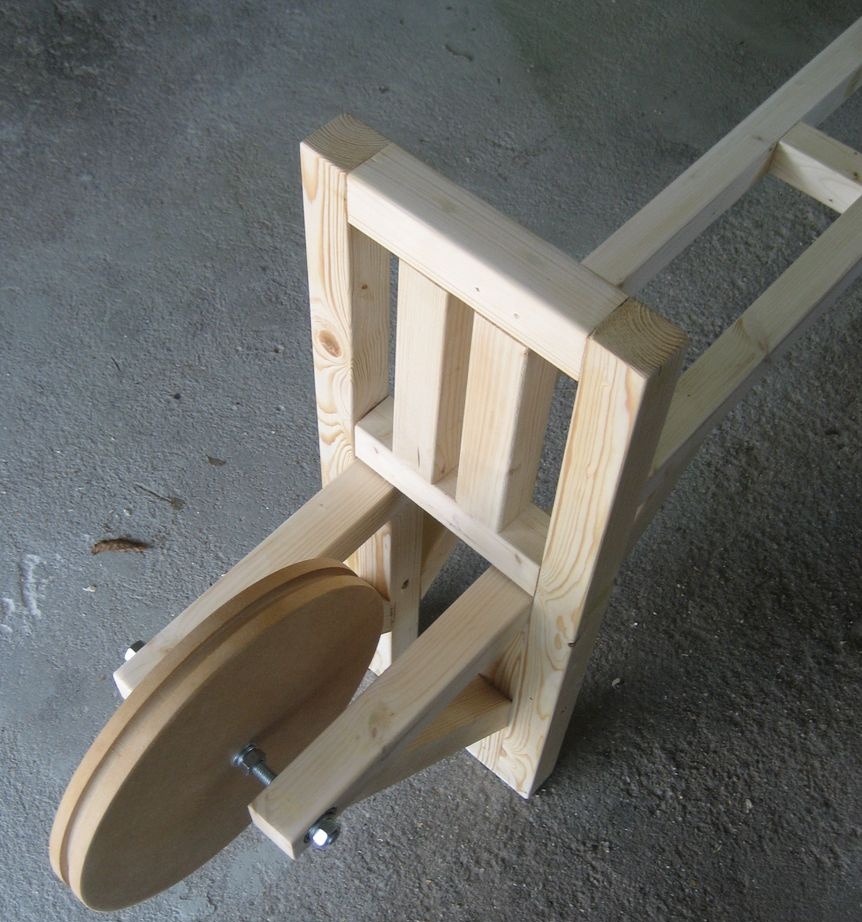
Draw two circles with a diameter of 32 cm and one circle with a diameter of 30 cm on an MDF board. Cut them out. Then glue them together so that the smaller circle is between the two larger ones, and the centers of all the circles coincide. Drill a hole in the center of the resulting structure with a 12 mm drill. Secure the pulley with bolts by inserting them into specially made holes on one of the edges of the frame.
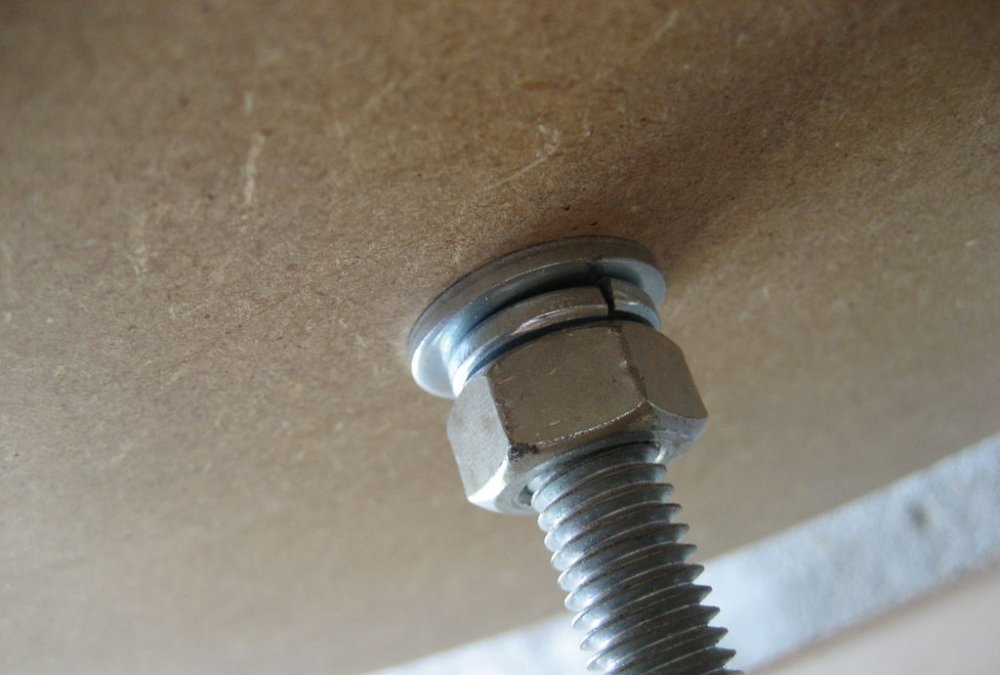
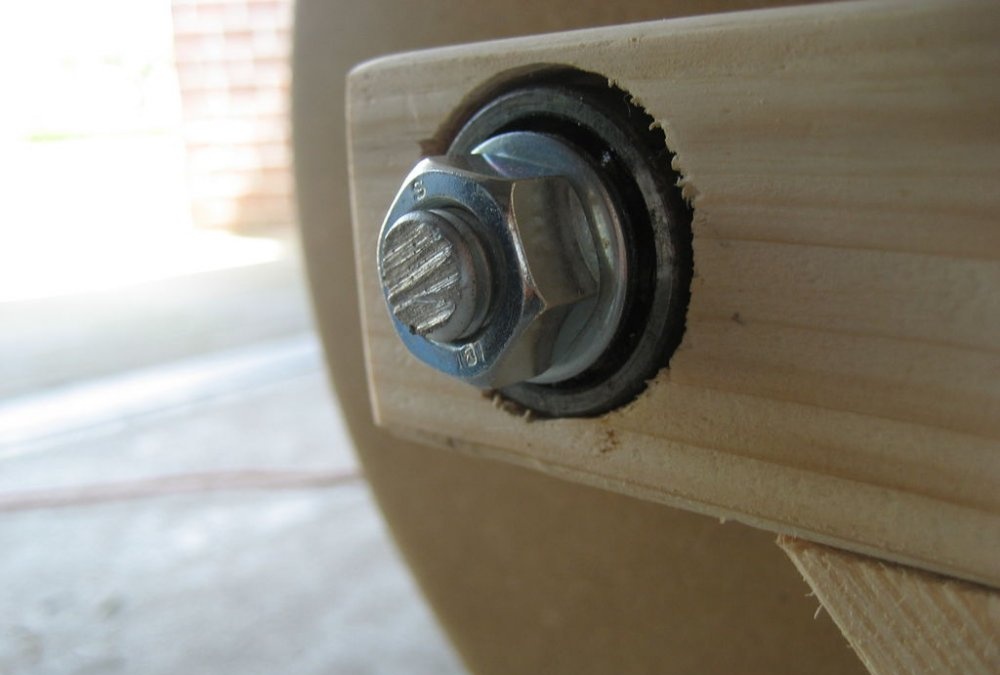
Place the bearings in recesses with a diameter of 32 mm and a depth of 1 cm.Next, connect your wooden pulley to the frame using spring washers, regular washers, hex nuts, and a stud. Ready.
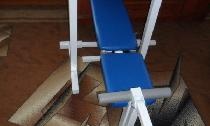
Movable seat
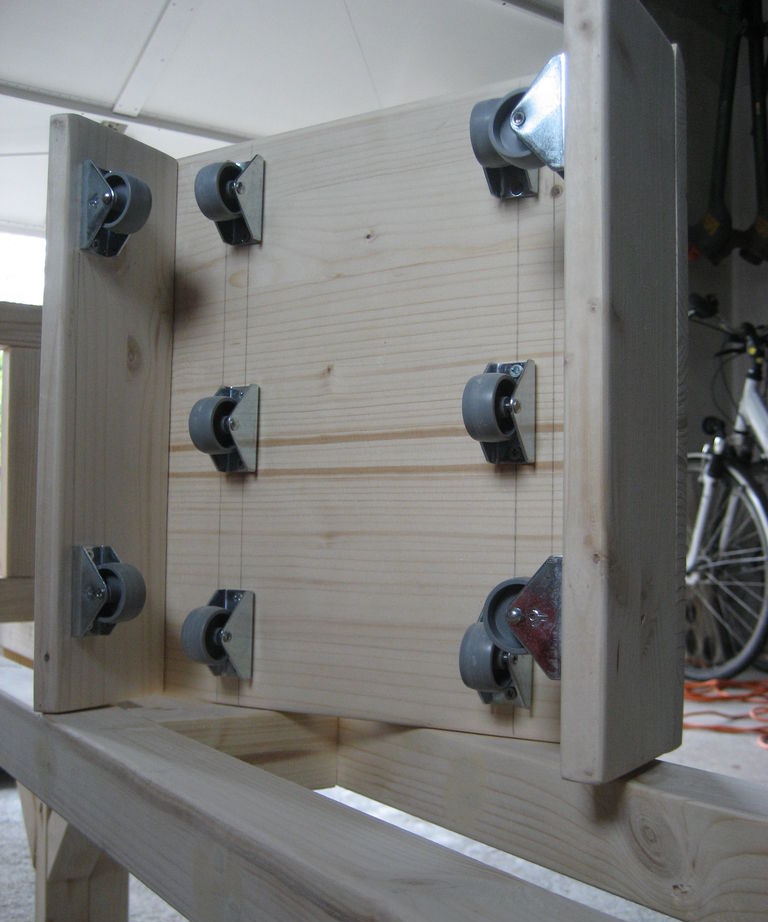
First, cut a board measuring 30 by 30 centimeters. After this, we make 2 more wooden panels 30 cm long and 8 cm wide. The first fragment will serve as a seat, and the other two will serve as side parts. Screw the side pieces to the main seat.
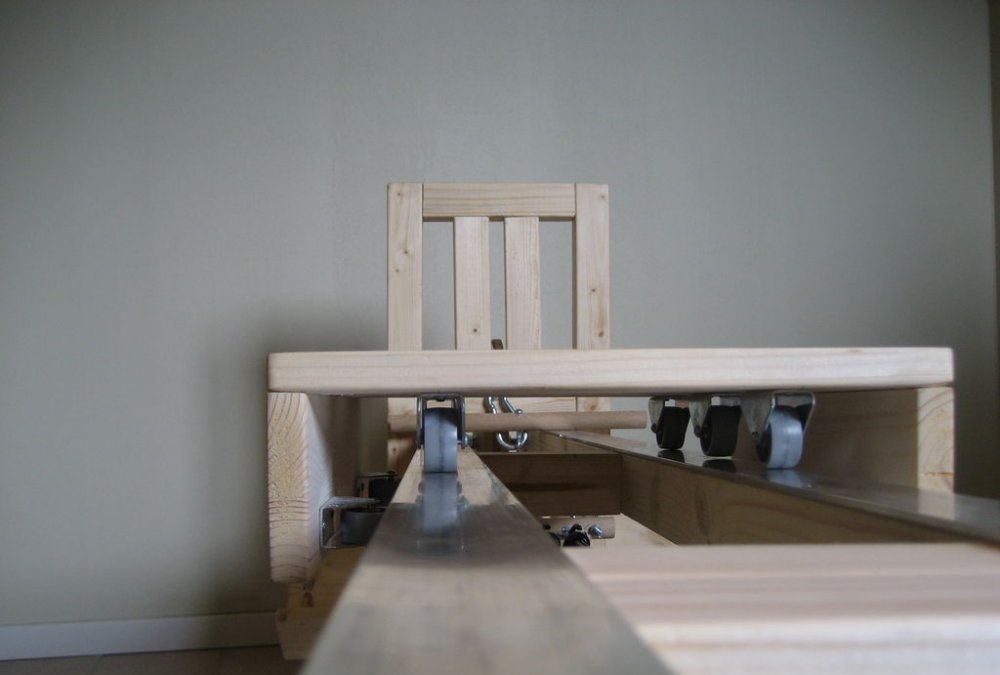
Now we screw two rows of three wheels each on the inside of the seat and two more wheels on the inside of each side panel. Place them at equal distances from the edges and from each other.
Fill the screw holes with wood putty and sand well.
It's time to think about the 140 x 4 cm aluminum strips. Screw them onto the top side of the long horizontal frame beams.
We make running boards
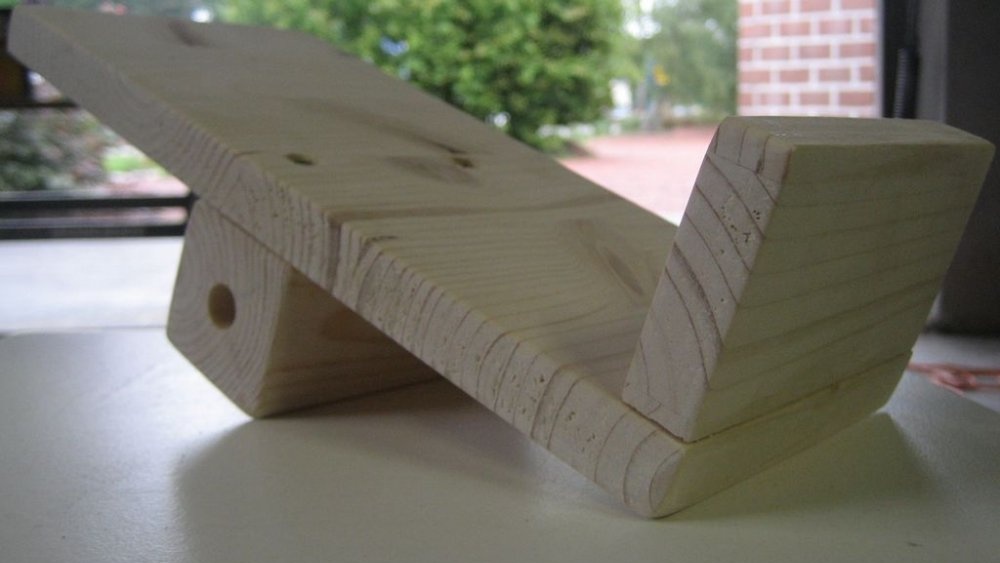
Saw two panels 26 cm long and 12 cm wide from a wooden board. Then saw two more pieces 12x6 cm. Screw small pieces at right angles to the ends of the larger boards.
Once you're done with this, take the remaining 2 10cm bars. You need to drill one 12mm hole in the side edge of each block. After this, screw them to the 26x12 cm board (on the opposite side of the 12x6 cm piece already screwed to it).
Attach the footpegs to the frame using bolts through the 12mm holes. Secure them with regular and spring washers, nuts and studs.
As usual, cover the screw holes with putty and wipe off any excess.
Load mechanism
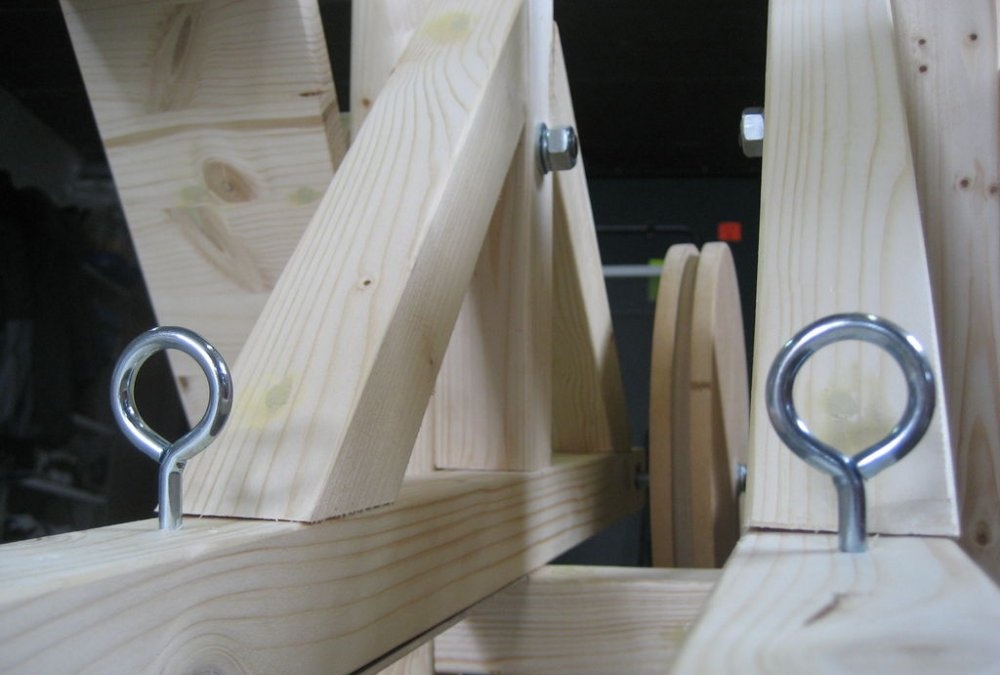
To begin, attach two hook screws to the bottom of the frame (as always, don’t forget to check the photo).
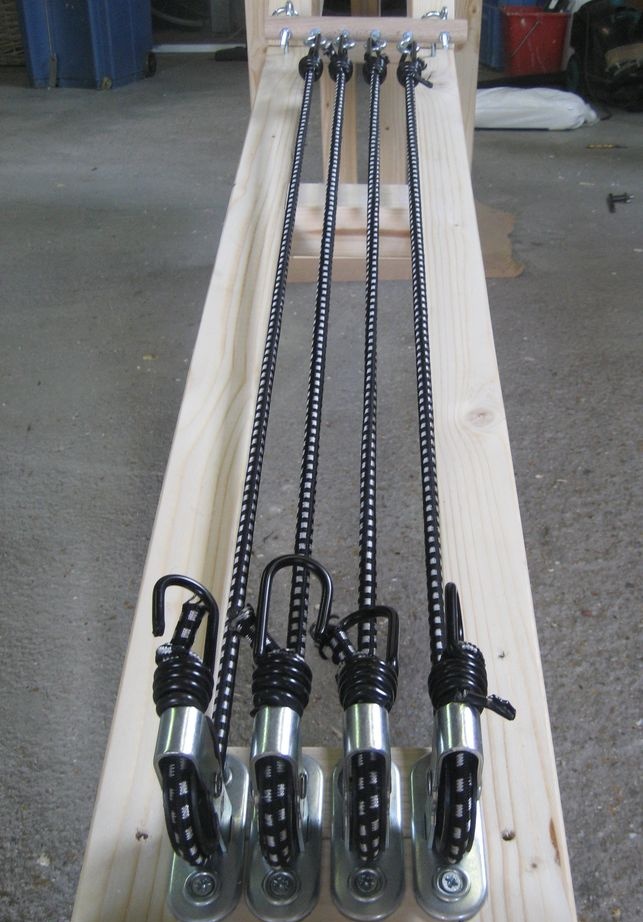
On the bottom side of the frame, we attach 4 pulleys to one of the 10-centimeter bars furthest from the wooden pulley.
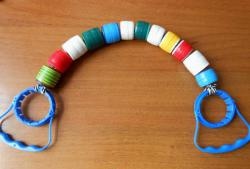
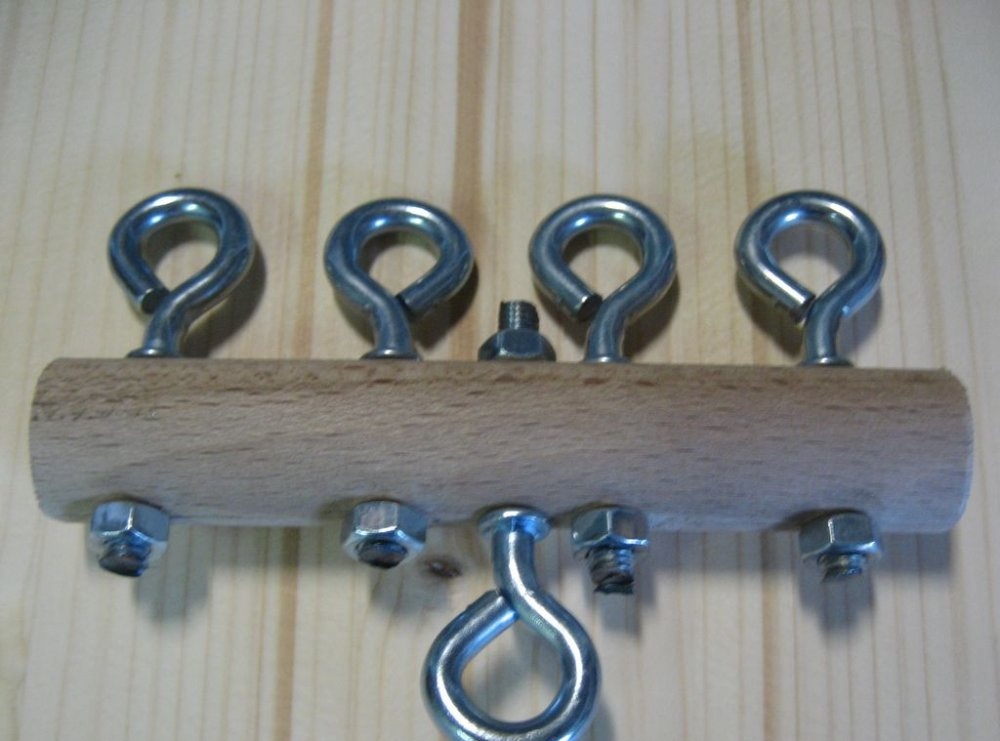
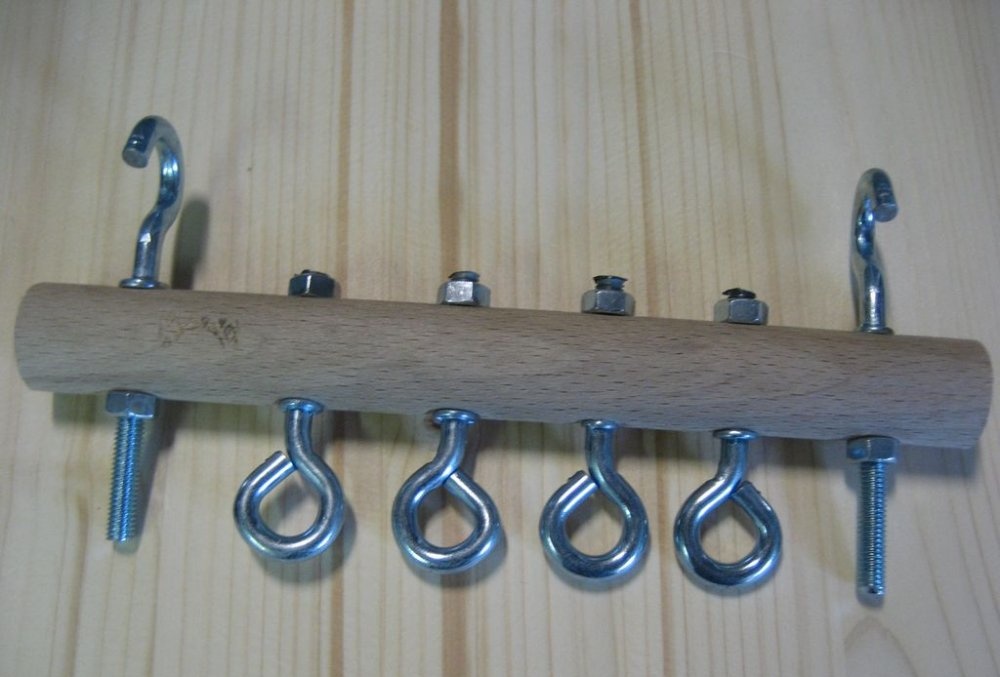
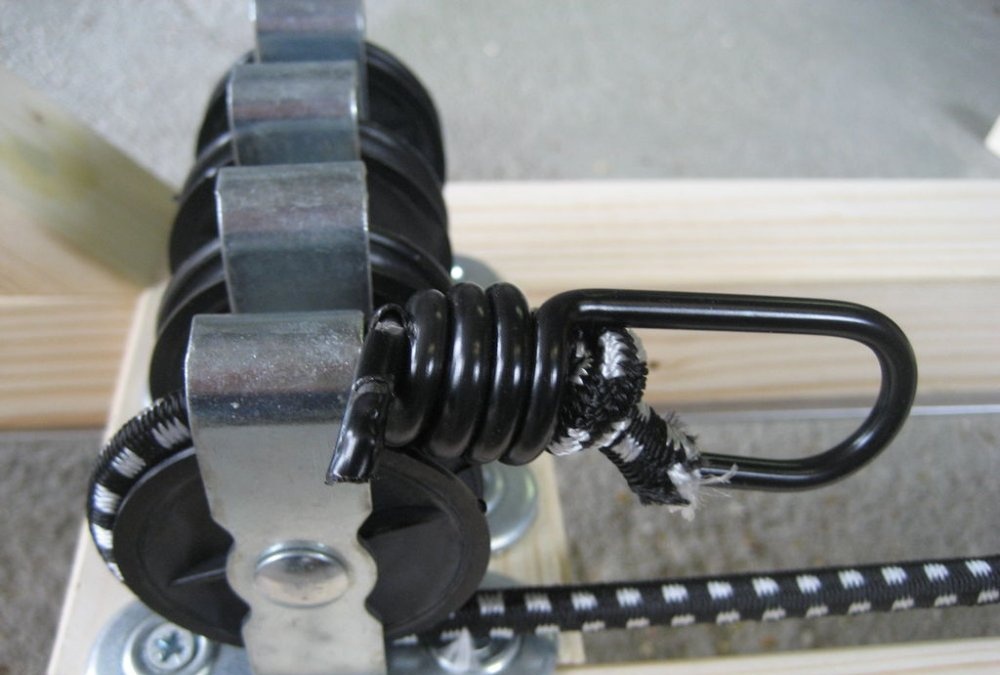
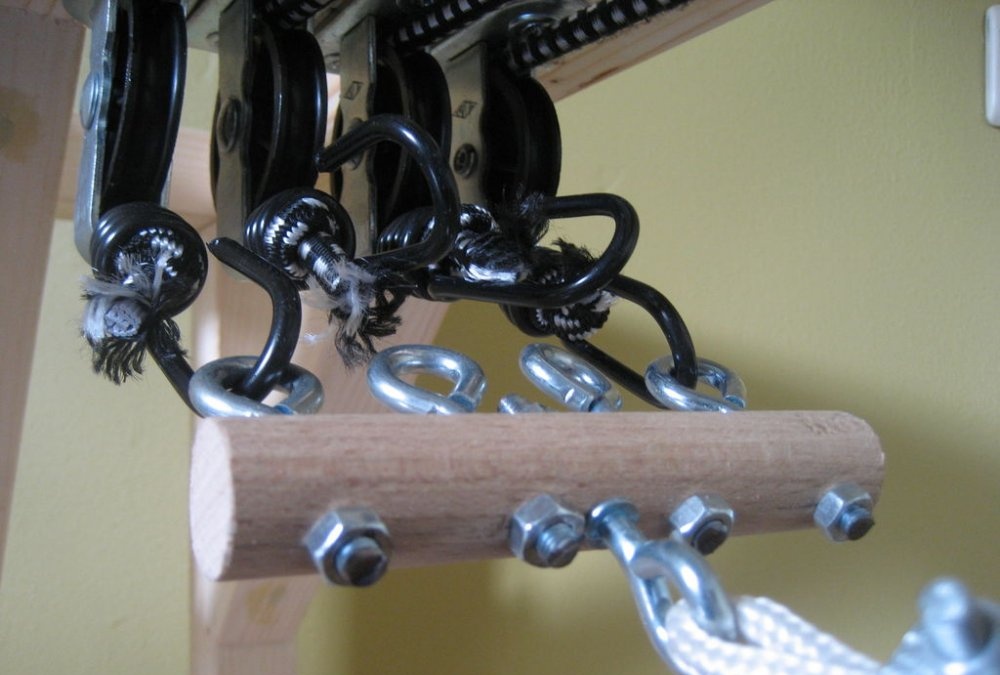
Saw the wooden pole into two parts of 14 and 12 cm, respectively. Drill 6 holes in the longer part and 5 holes in the short one using a 6mm drill bit. Distribute the holes evenly along the length of the segment. Drive 4 ring screws into the center of the long piece of pole. After this, screw in the 2 hook bolts along the edges so that they face in the opposite direction compared to the four ring screws. Screw 5 ring screws into the shorter section, but this time the middle ring should point in the opposite direction.
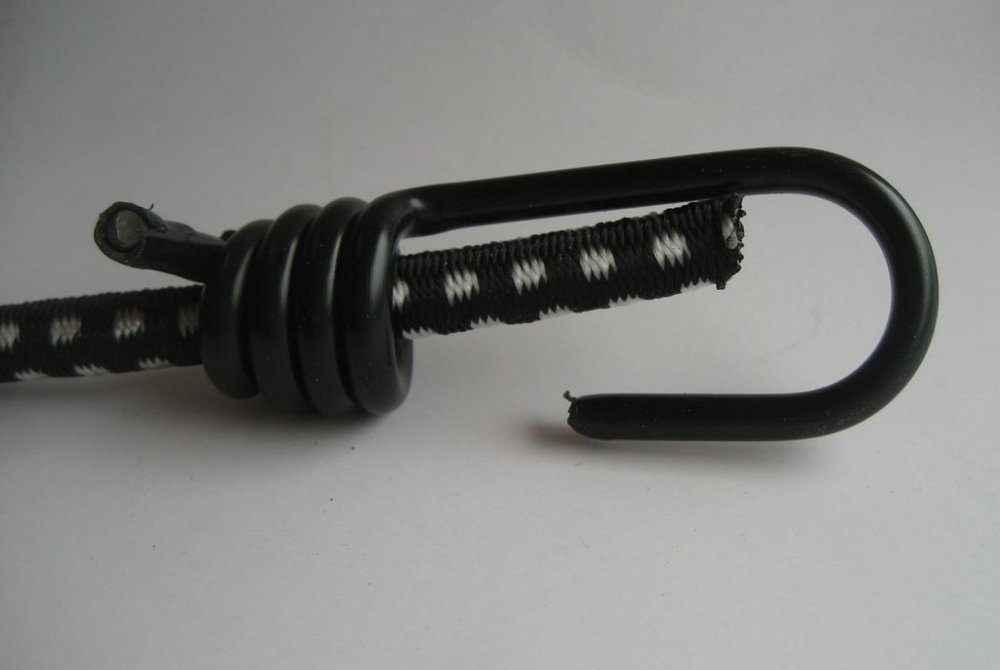
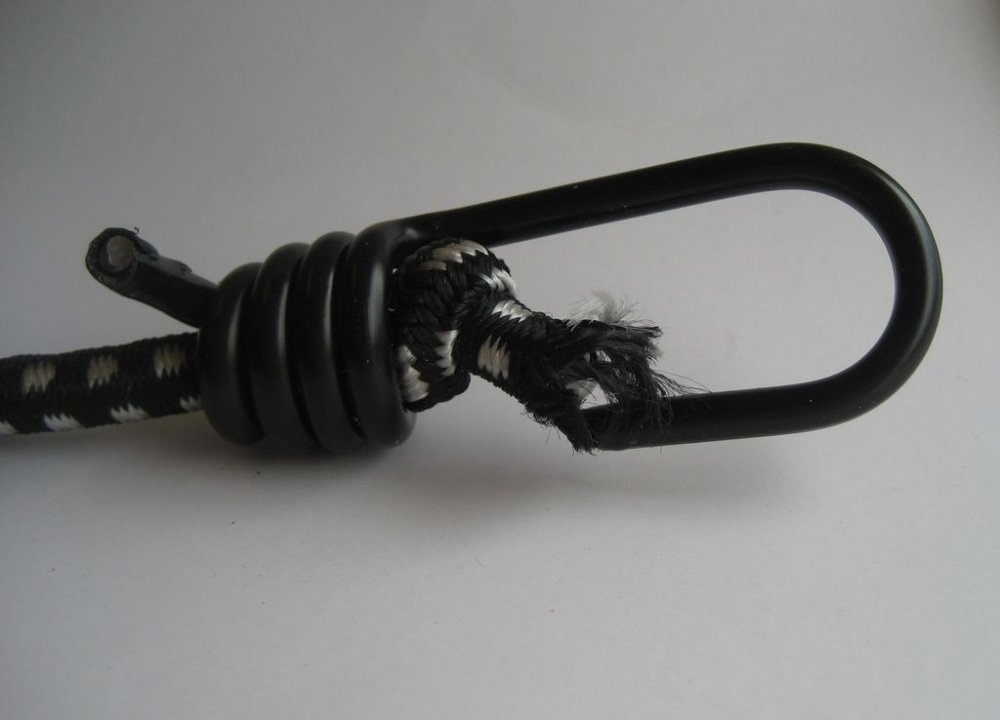
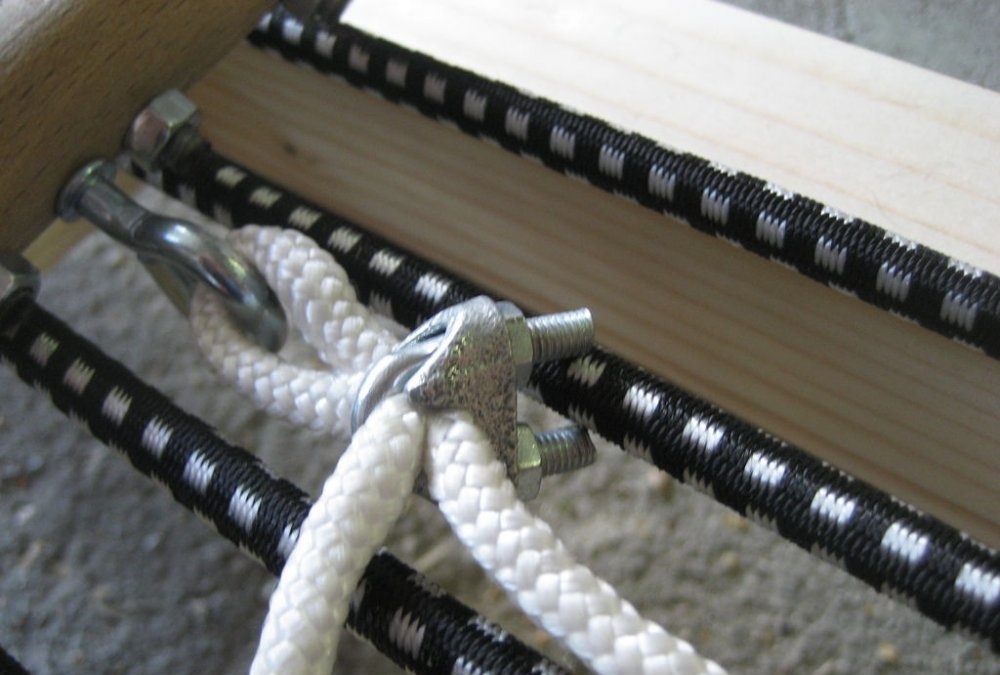
In our case, we used elastic belts 85 cm long. Secure them with hooks to the screw rings of a longer section of the pole. Unhook or cut the hooks on opposite ends of the belts and pass them through the pulleys. Now put the hooks back in place and secure them to the rings in the 12cm section of the pole.
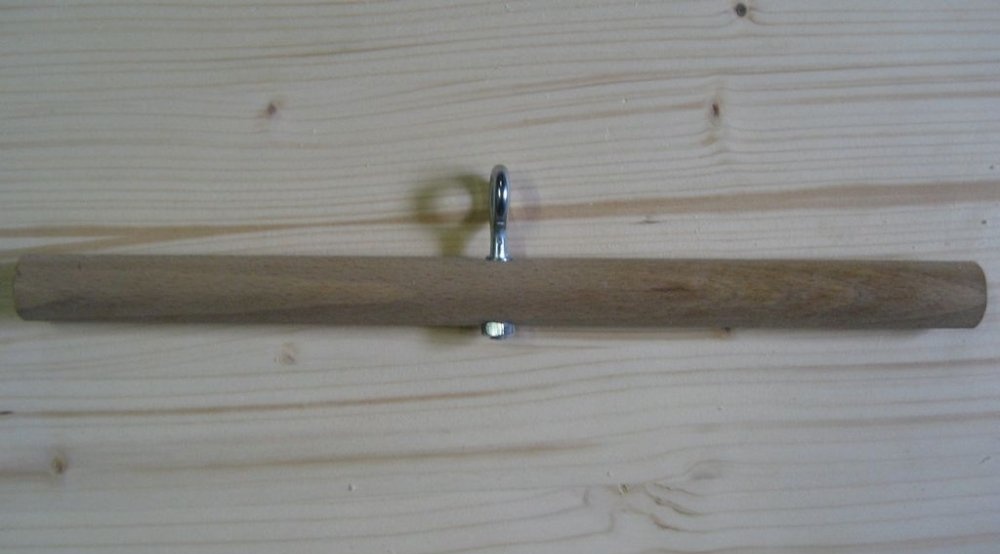
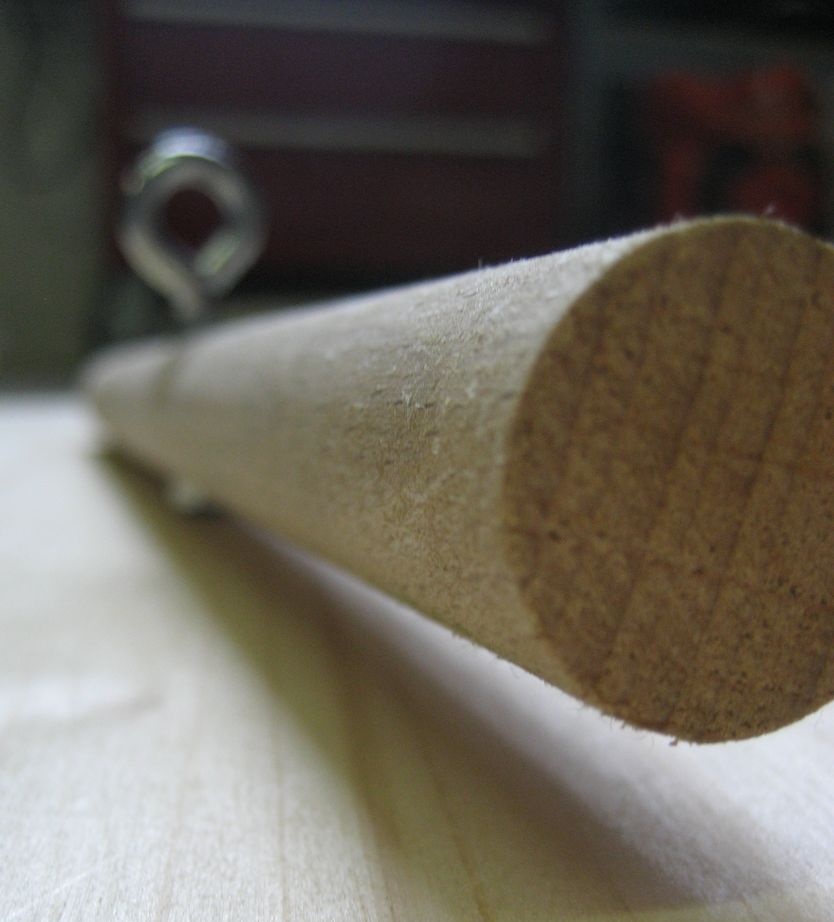
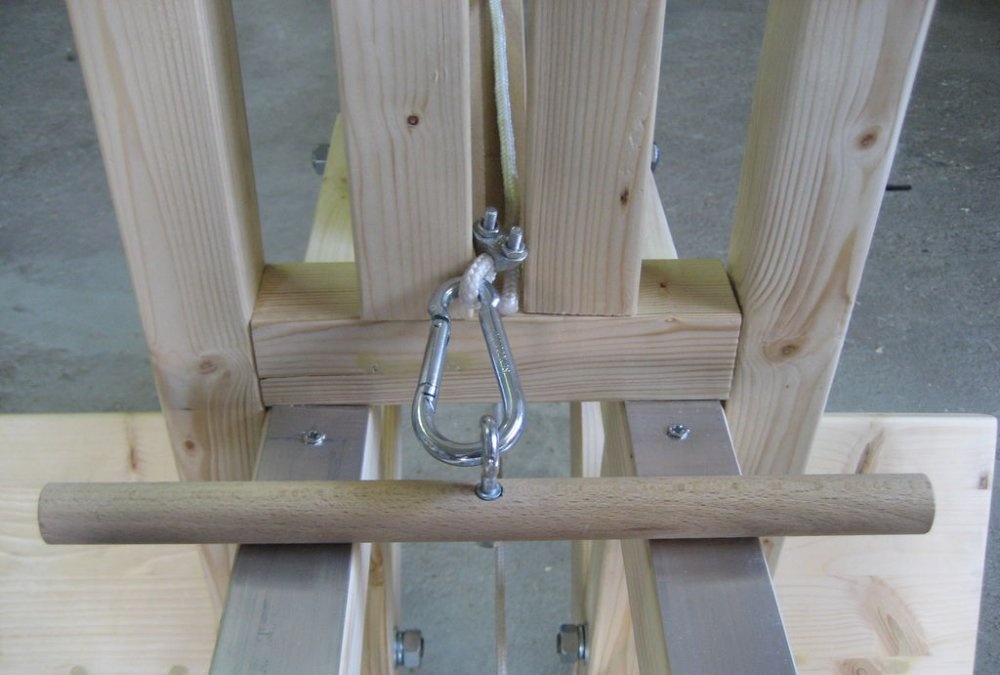
For the handle you need to cut 30 cm of a wooden pole. Drill a 6 mm diameter hole in the center of the handle and screw the last ring screw into it. Snap the carabiner into place by sliding it through the ring screw. After this, pass the rope through the carabiner and secure it with a cable clamp.
Run the rope under the frame and around the large wooden pulley. Attach the rope to the ring screw on a short 12 cm long piece of pole and securely secure it with a clamp.
Installing wheels
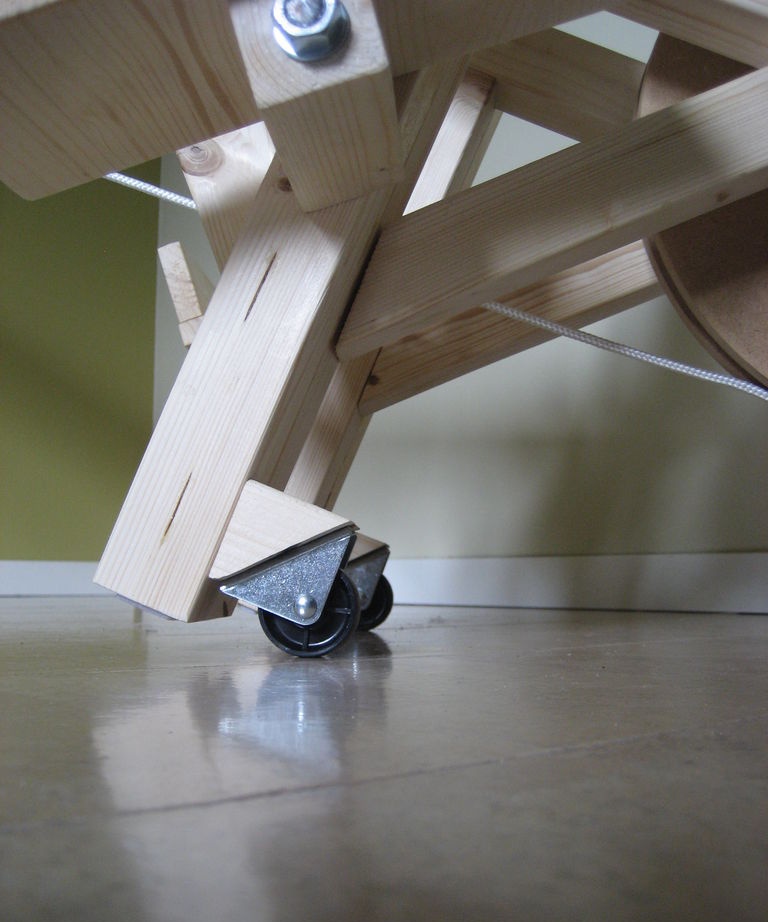
First, cut a wooden cube with a 4 cm edge, and then saw it diagonally. Screw the 2 resulting fragments to the wooden “legs” of the frame - vertical bars 73 cm long. Place them towards the wooden pulley and 2 centimeters from the ends of the legs.Once done, attach a wheel to each base.
Waxing
Carefully coat all wooden elements with a layer of wax.
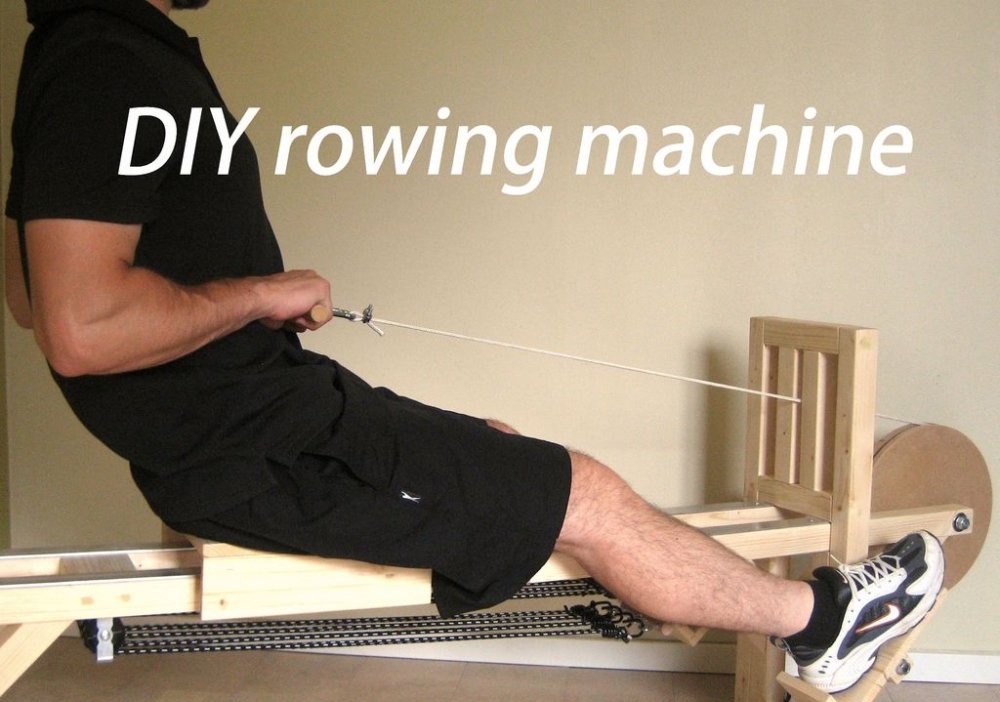
Let's start the exercises
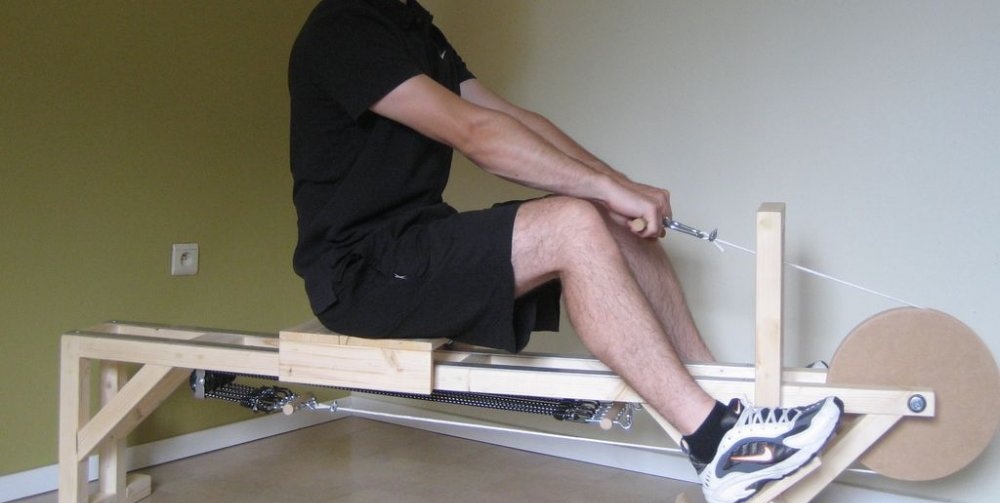
The most common mistake when using a rowing machine is flexing your lower back. Try to keep your back as straight as possible.
One exercise cycle on the simulator looks something like this:
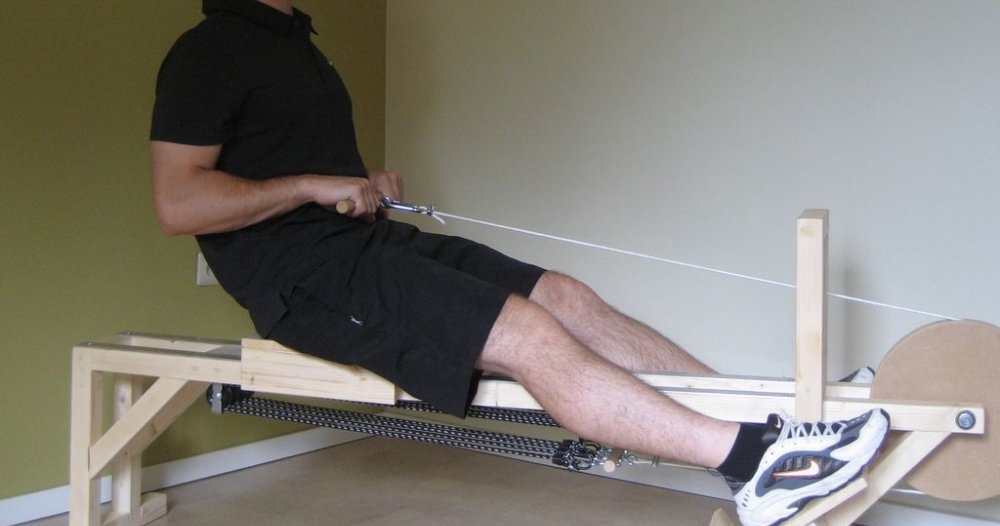
1. Lean forward slightly, bending your knees and keeping your arms straight.
2. Start straightening your legs, leaning back slightly and pulling your arms towards your body.
3. Straighten your legs completely. In this case, the arms should be bent at a right angle, and the handle of the exercise machine should be pulled towards the stomach.
4. Straighten your arms, lean forward and bend your knees. That is, return to your original position.
5. Repeat until the desired result is achieved.
Resistance adjustment
To adjust the resistance of the machine to your own physical form, unhook the hooks of the elastic belts from the rings, and if you want to return the original load, return the hooks to their place. The greater the resistance, the more calories you will burn and the faster your back and muscles will start to ache. If you are used to pushing yourself to the point of complete exhaustion, then train with 4 straps attached. This will strengthen your cardiovascular system and increase your endurance.
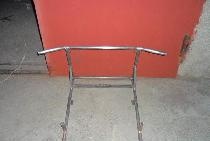
Additional hand support

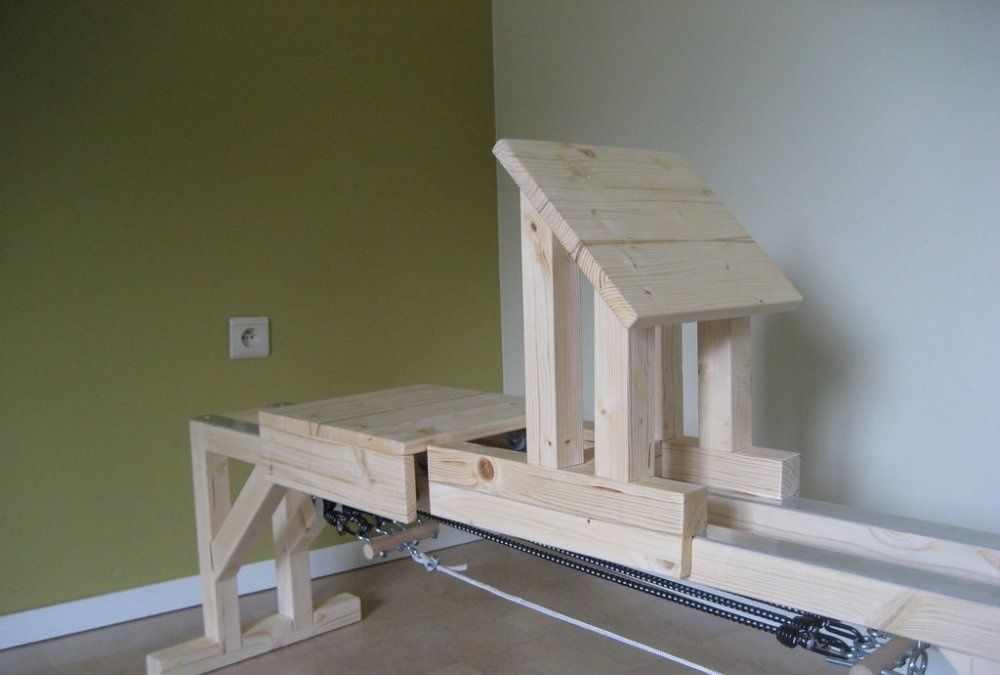
With this arm support you can pump your biceps more effectively.
Cut 2 pieces of wood 31cm long and 2 more pieces 23cm long. Cut one end of each piece at a 45 degree angle.
After this, make 2 bars 35 cm long and another 14 cm long.
Next you will need to make a wooden panel 30 cm long and 24 cm wide, and two more long boards 35 cm long and 3 cm wide.
Glue the 35x3 cm boards to the 35 cm bars, placing them at right angles and parallel to each other. Perpendicular to the resulting structure, screw a 31-centimeter block with a cut corner, placing it in the center.
Repeat the procedure with the second set of fragments and fasten two identical structures by screwing a 14-centimeter block between them.
Screw the 30 by 24 cm panel to the cut corners of the 31 cm bars.
For additional stability, insert two supports in the form of 23 cm bars with cut corners between the panel and the base. Fasten everything tightly with screws.
Finally, cover the screw heads with wood putty, sand it down and cover everything with an even layer of wax.
Original article in English