
This isn't the first time I've made something out of PVC pipes. And I decided to share a new creation.
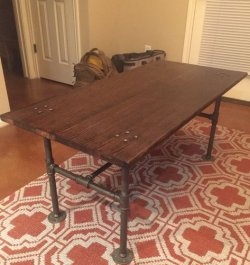
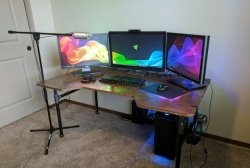
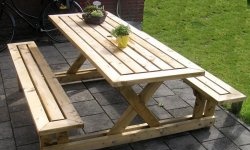
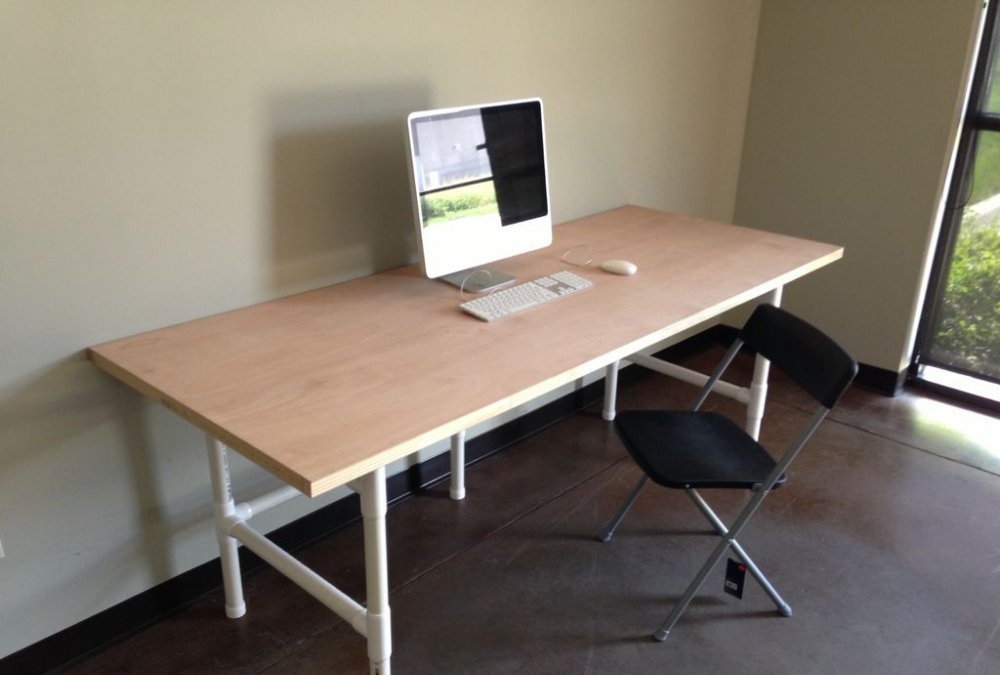
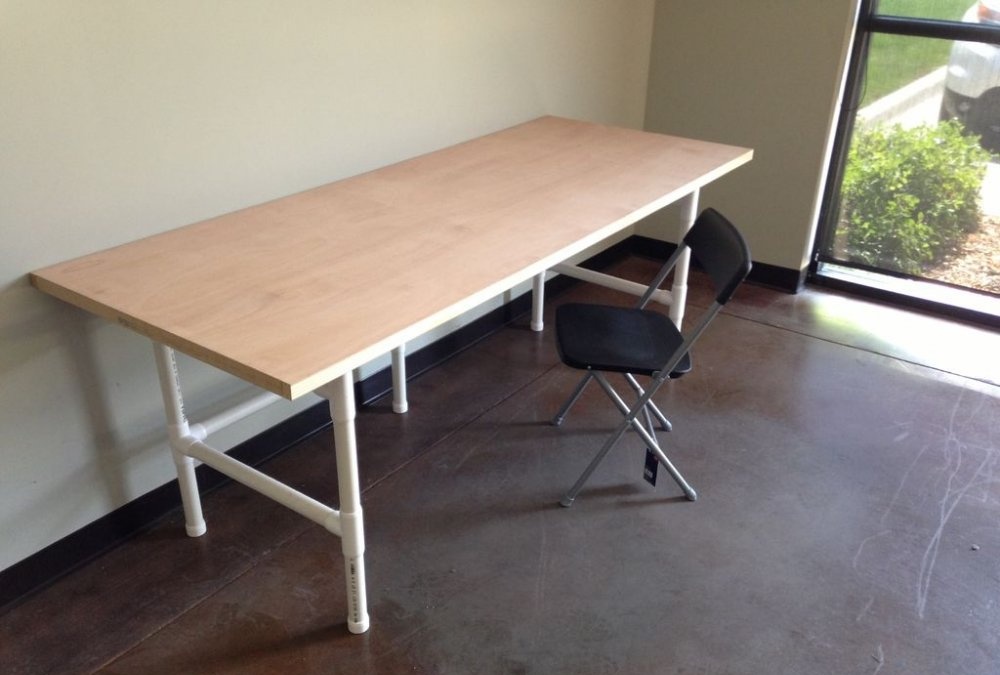
As the title of the master class suggests, I will tell you how to make a large table from a hollow door and plastic pipes. This table can be used in any way: as a workbench, a desk, a counter in a store, and even as a table for a family meal. It all depends on your goal. We needed a dozen of these tables, and we use them as desks.
Each table cost about 75 bucks.
The table fits perfectly into the decor and looks quite decent. The tabletop is perfectly smooth and can be repainted in any color. And its biggest advantage is its huge size, 90 cm wide and 200 cm long.
A few notes about this project:
Hollow versus solid countertop: I settled on the first option, since it is more economical and we do not need too strong tables. If you are going to use the table as a workbench, then a solid door is better for the tabletop. It will cost more and be heavier (which is actually a good thing).And the base will remain quite suitable for this option.
About fittings: You will need a furniture fitting set with end caps, countertop fasteners and space crosses. You can reduce the cost of the table by replacing the connecting elements with regular plumbing ones, but then it will not look as good.
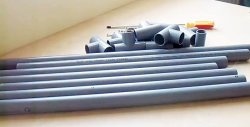
About pipes: For this project, I chose pipes that are used as water pipes. But if we do something similar in the future, we will probably choose furniture options that are neater, stronger and more durable.
Tools for making a table
Tools:
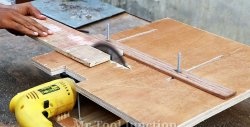
You will need a pipe cutting tool. This could be a hacksaw, special scissors or a miter saw. As you prefer.
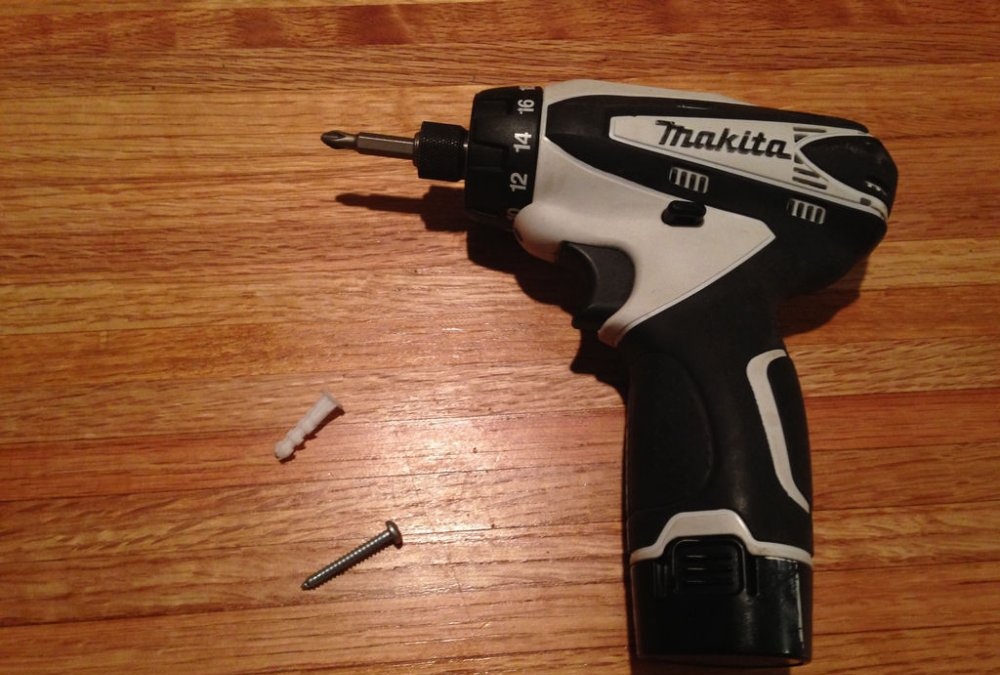
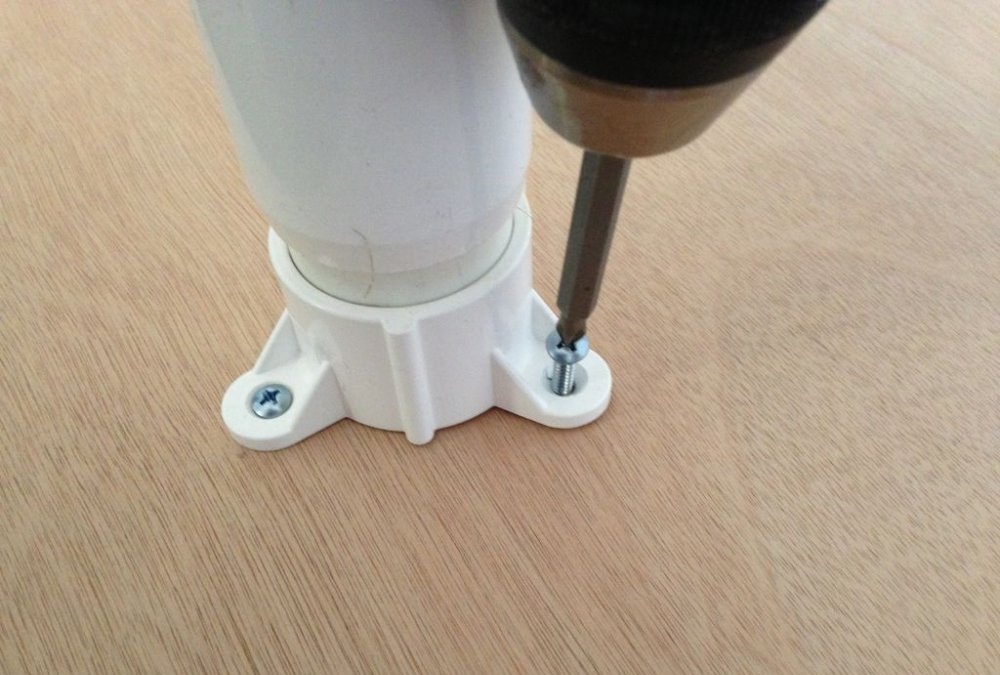
An electric drill or screwdriver to connect the fastening couplings to the bottom of the tabletop.
You will need at least fifteen short drywall screws and anchors. Dowels may not be needed, but sometimes you need to use them to more securely fasten the tabletop.
Glue for plastic pipes, with which you can fix all connections. The result should be a non-separable table. Alternatively, to secure the fitting to the pipe, you can screw 10 mm screws into the joints.
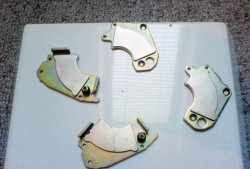
Base details

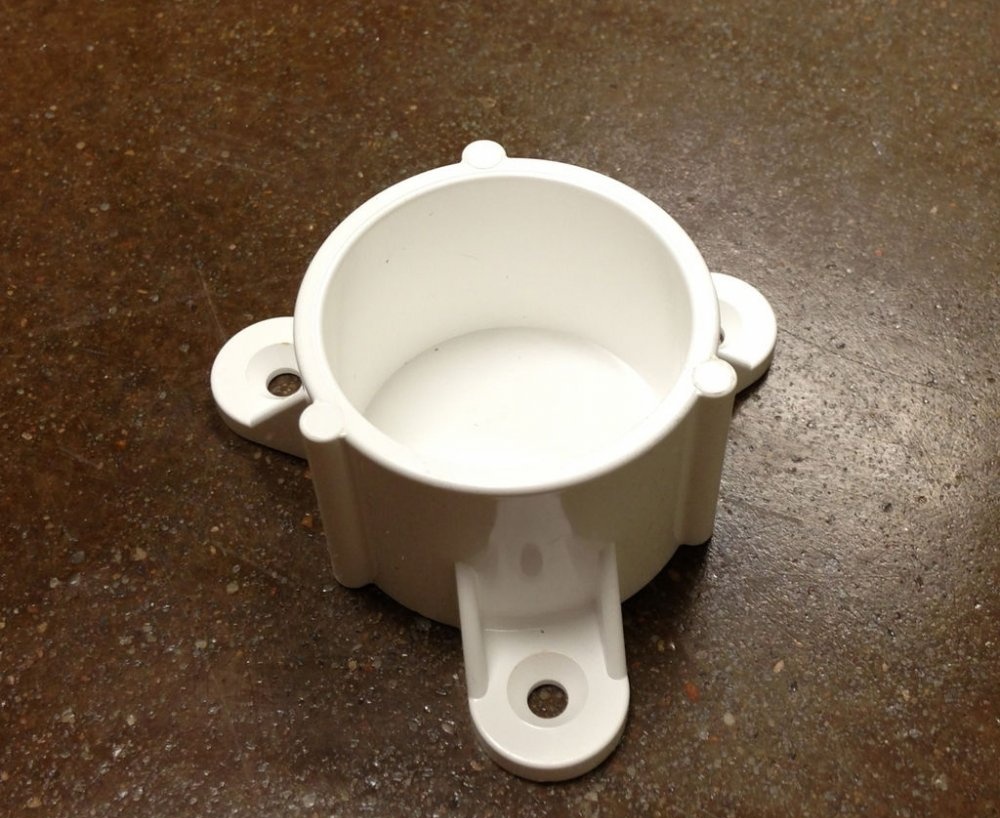
As I said above, I used the furniture version of plastic fittings. Since I basically needed a set of space crosses, fastening couplings and plugs. All other elements can be plumbing.
Here is a list of what I used:
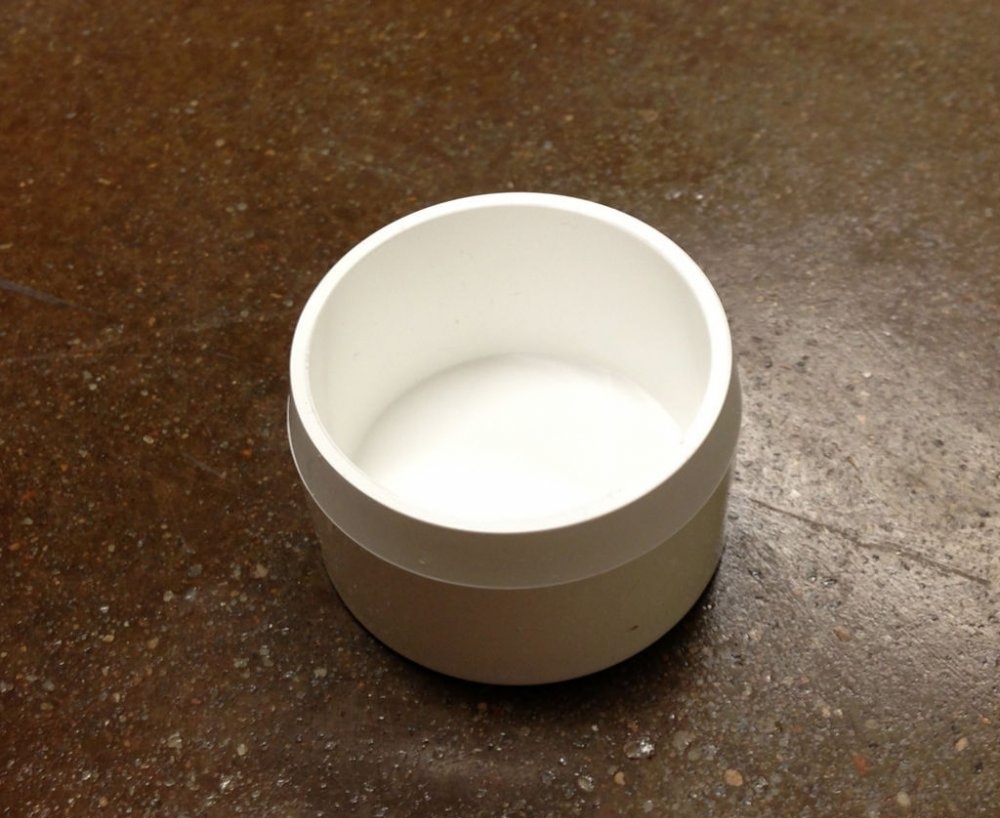
- 5 1-1/4" diameter plugs.
- 5 x 1-1/4" diameter mounting sleeves.
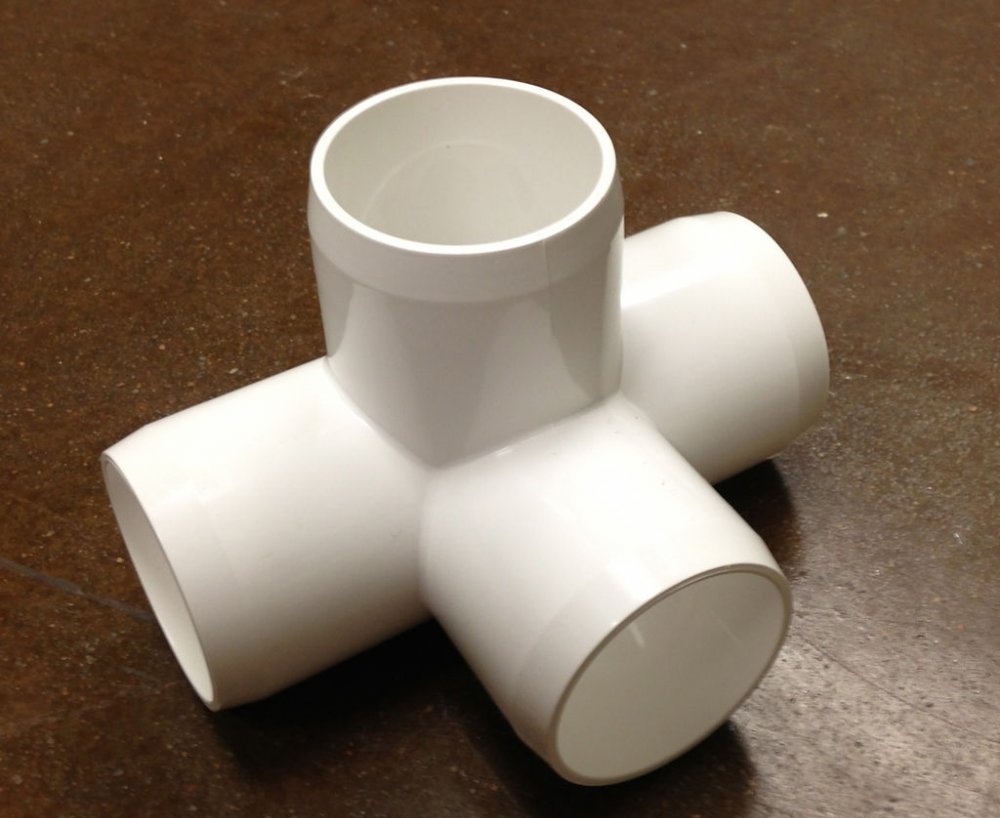
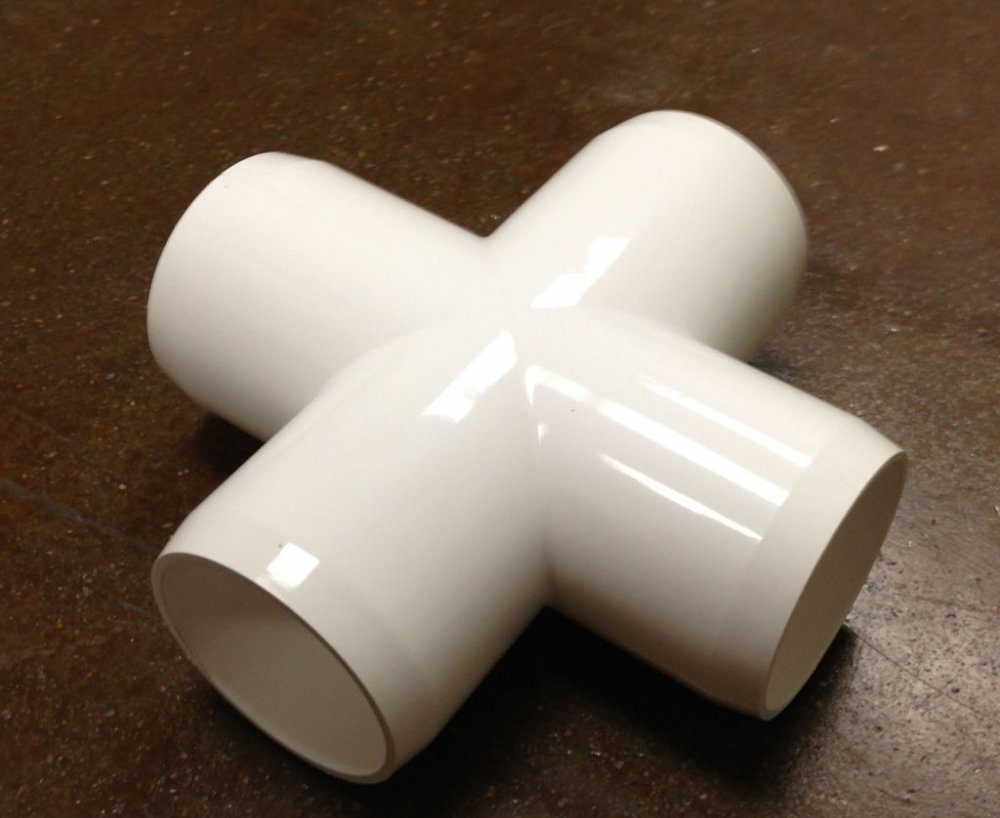
- 4 x 1-1/4" space crosses.
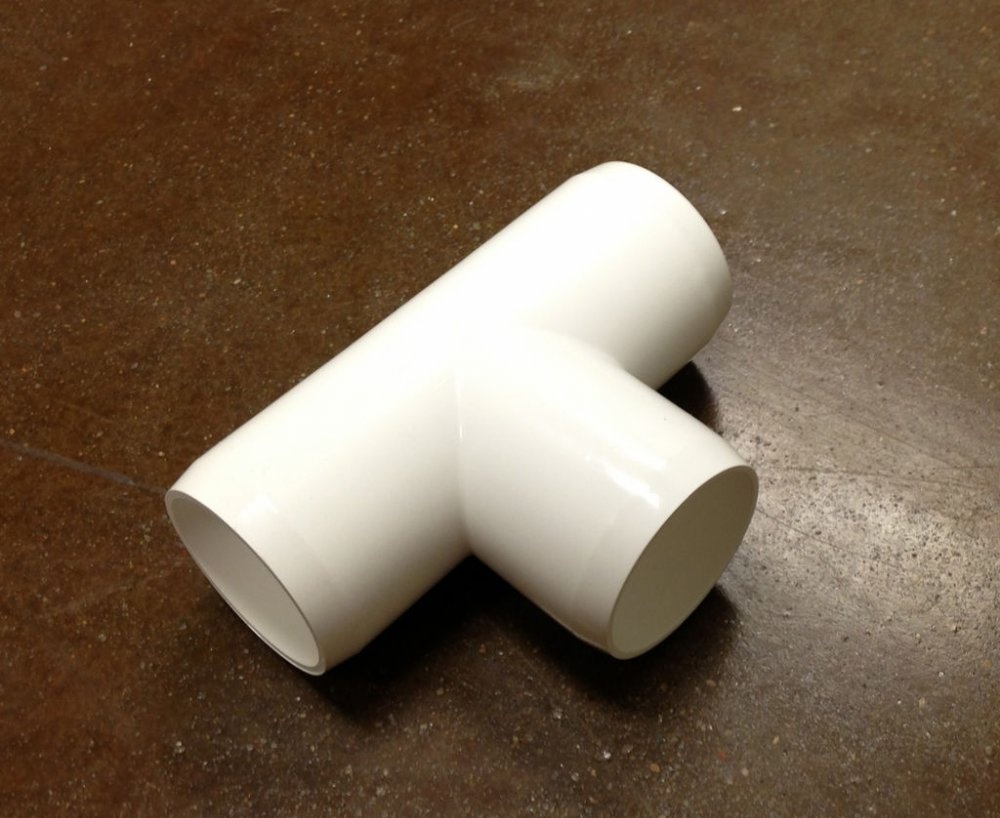
- 4 x 1-1/4" tees.
- 2 regular 1-1/4" crosspieces.
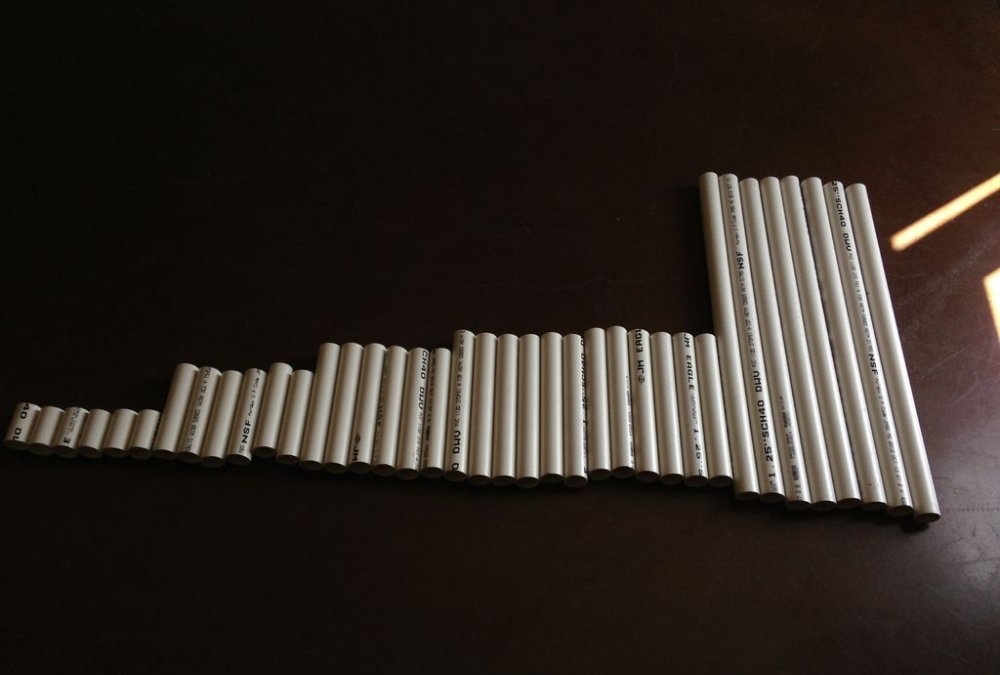
To reduce the cost of the project, I used plastic plumbing pipes, but furniture pipes will be neater and more durable, but at the same time expensive. I needed about 10 meters of pipe. It was cut into the following sections:
- 5 pieces 8 cm long.
- 10 pieces 30 cm long.
- 4 pieces 50 cm long.
- 4 pieces 50 cm long.
Table assembly: SIDE 1
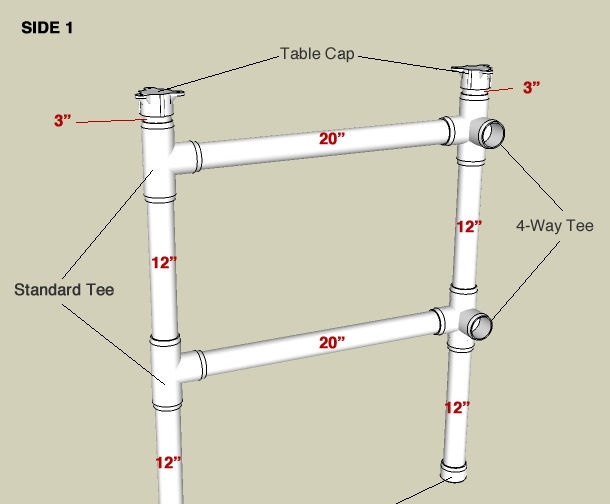
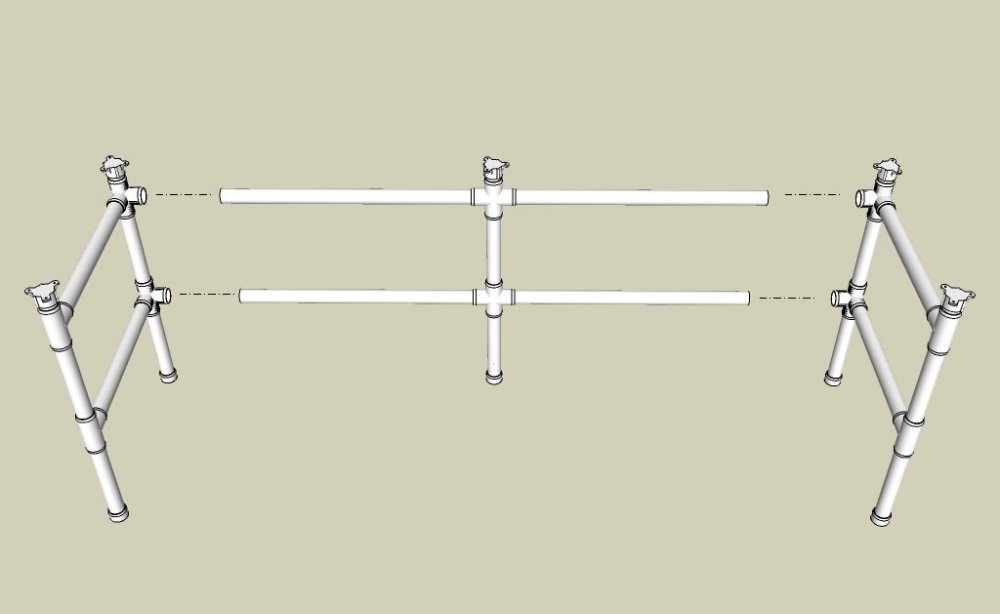
To make it easier to understand what is attached to what, I made a drawing.
Now let's get started.
Assembly: side 1.
The first thing to do is to assemble the sides of the table using various connecting elements, as shown in the picture. The fitting elements are outlined in black, and the length of the pipes is highlighted in red. This is what the first, or left, side of the table will look like.
I recommend first assembling it without gluing, then disassembling it and applying glue to the fitting elements. As you can probably guess, once glued, the parts will be impossible to separate from each other.
Apply glue to the inner parts of the fitting, where the pipe abuts against it. Make sure the pipe fits into the hole at the correct angle before using force to shrink it completely.
NOTES:
Most instructions say to apply glue to both the inside of the fitting and the end of the pipe, but I found this unnecessary.
If you don't want to use glue (as it is harmful when used indoors), you can use screws where the fitting meets the pipe.
I tried to make sure that the factory markings on the pipes were directed towards the back of the table (where the space crosses are). This way they will not be noticeable, and subsequently they will not need to be removed with acetone. The photograph shows that in one case I did not watch this moment. Learn from my mistakes.
Assembly: side 2.
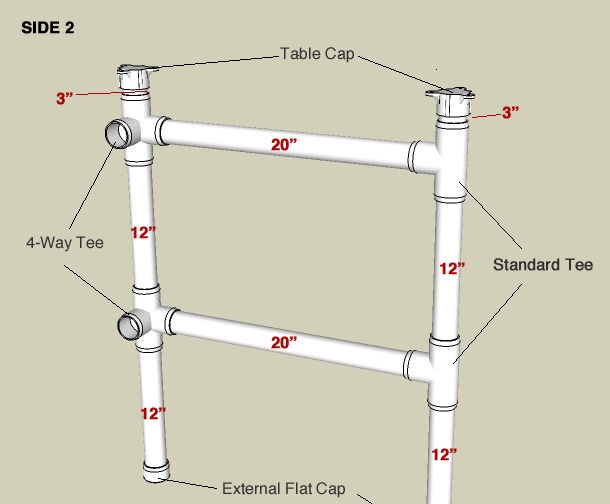
The next assembly stage is similar to the first, only now you need to make the second (right) side of the table, a mirror copy of the left side. Therefore, the spatial cross should look in the opposite direction.
Assembly: back

Now it's time to assemble the back of the table, which is quite simple. For this step you will need mounting couplings, plugs and two crosspieces. Connect the crosspieces on the sides with 50 cm (30”) pipes, as shown in the figure.
When you assemble and glue the central post, you need to do this in a horizontal position on the floor so that all the elements are in the same plane.
Table assembly: combining parts
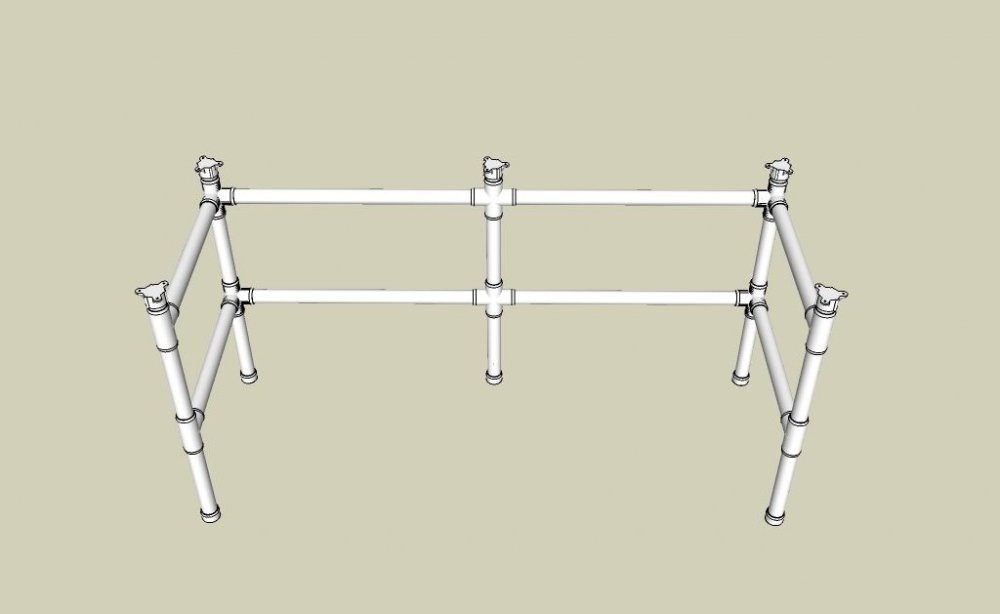
Now it’s time to assemble everything related to plastic into one structure.
Connect the rear side pipes to the corresponding fittings on the right and left sides as shown in the figure. Again, I recommend doing everything without glue first to make sure everything fits together evenly.
Once you see that the pieces can be glued together, take the pieces apart and apply glue to the insides of the first side space crosses and insert the rear side pipes into them. While the glue is still wet, check that the parts are attached evenly. Press the pieces for 30 seconds.
Next, apply glue to the corresponding elements of the second side and connect it to the back in a similar way. Press again for 30 seconds.
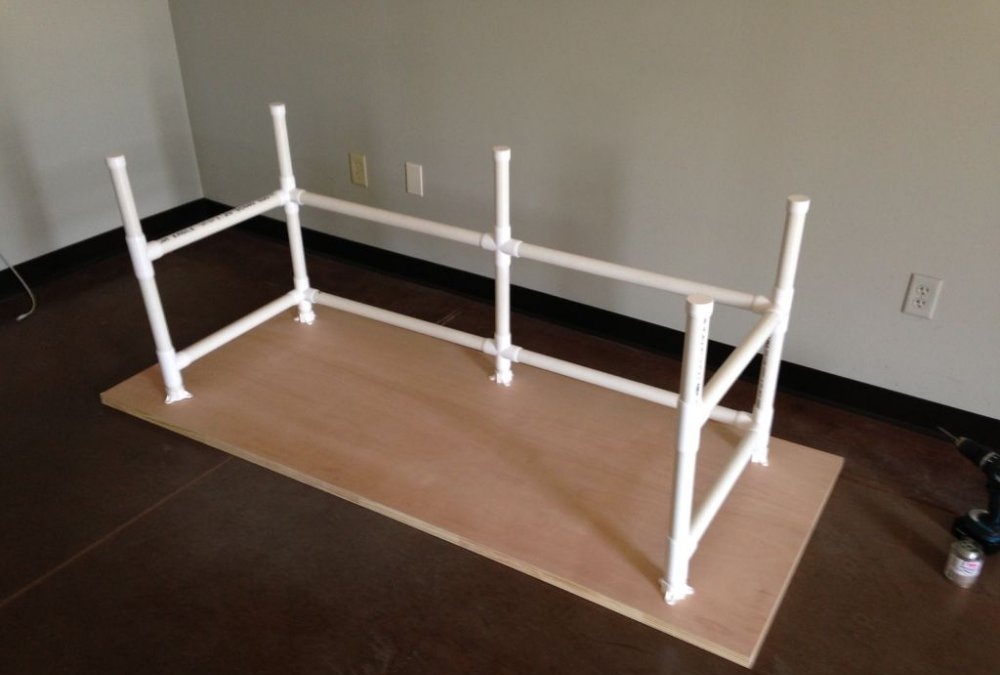
Your table base is now ready. And the table is almost ready.
Assembly: tabletop
Problem with hollow doors: A hollow core door consists of a frame and internal ribs that are sandwiched between sheets for added strength. All voids are filled with cardboard, foam or left empty.
Since it is difficult to determine where these ribs are located, we fasten the tabletop at random. If you find yourself in a void, use a drywall anchor.
How the whole process happens: Place the hollow door on the floor, with the side down that should be the top of the countertop. Turn the PVC pipe structure over and place it on the surface of the door so that the fastening couplings are on the door.
Align the plastic frame so that it stands in the center, while the fasteners should be at an equal distance from the edges of the tabletop. Then use a pencil to mark where the screws need to be screwed in.
Remove the plastic structure from the tabletop to the side. Using a drill or screwdriver, screw the screws into the marked places.
If they go in easily, then you are in an empty place. Unscrew the screw and insert the dowel.
If the screw enters the door with force, you have hit a piece of wood in the frame or edge. This fastening itself will be reliable and no dowels are needed.
Once you have determined which places require dowels and which do not, remove all the screws and place the plastic base back on the tabletop to make sure that all the holes line up with the holes in the mounting sleeves.
NOTE:
All this can be avoided by using a solid door as a countertop. In my case, the hollow door was used only for the purpose of economy.
Finally, connect the tabletop to the base with screws. You now have a fully assembled table that is upside down.
Treatment of countertops with impregnation
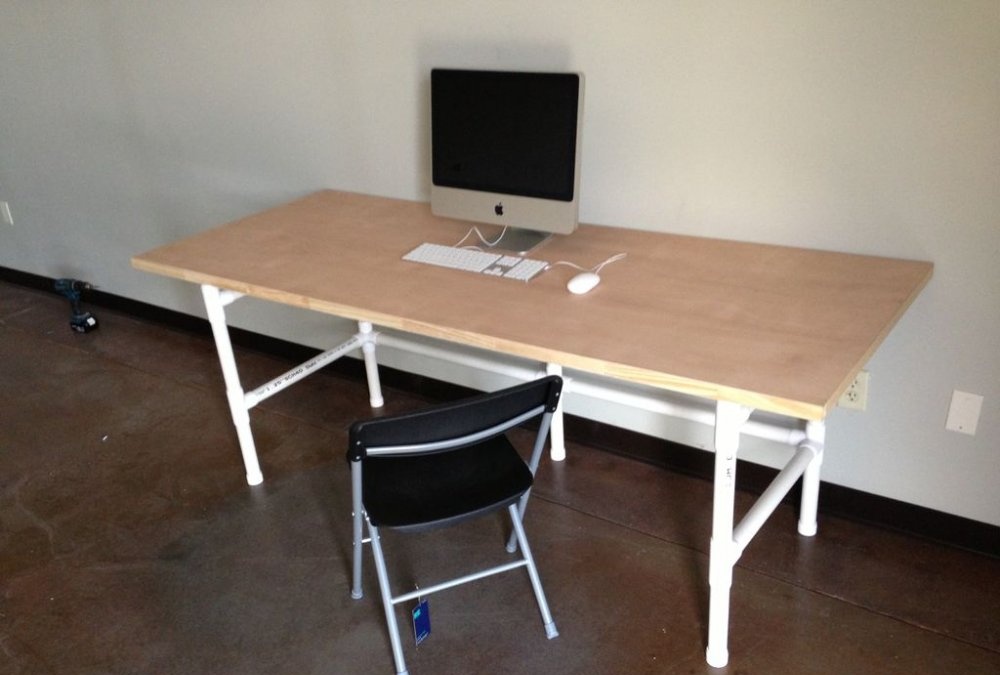
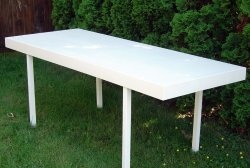
You finally have a huge, sturdy, fully functional desk.
Now you can apply paint or other products to the countertop. We decided to leave everything natural, however, water spots stand out strongly on a thin surface, so we recommend using a water-repellent impregnation or paint.
As with any project involving plastic pipes, the dimensions of the table can easily be changed depending on your needs. Doors come in smaller sizes, so the pipes can be made shorter. You can also increase the height of the table by replacing the 8 cm long pipe elements with longer ones.
I hope you enjoyed reading this tutorial.
Original article in English