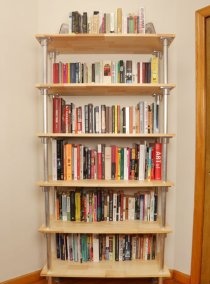
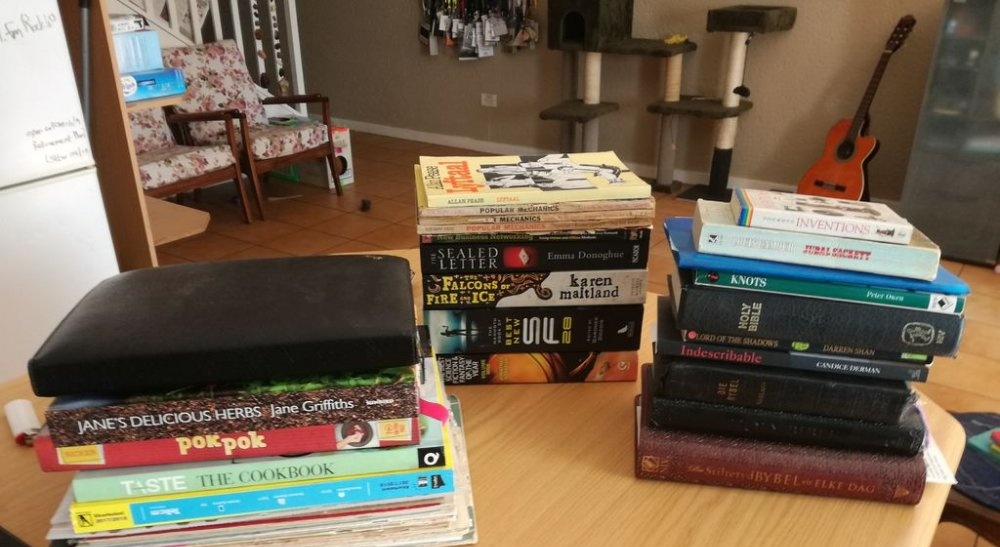
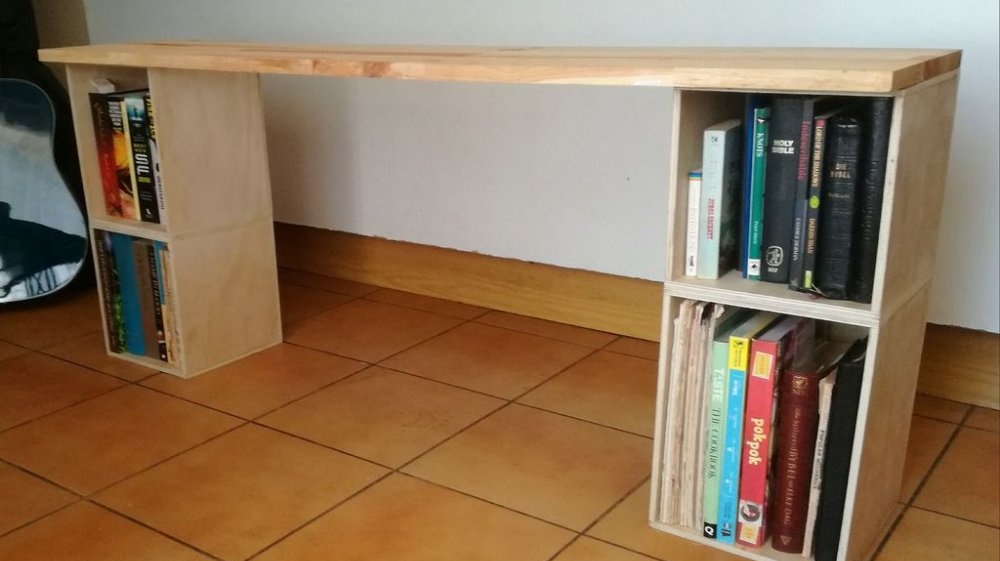
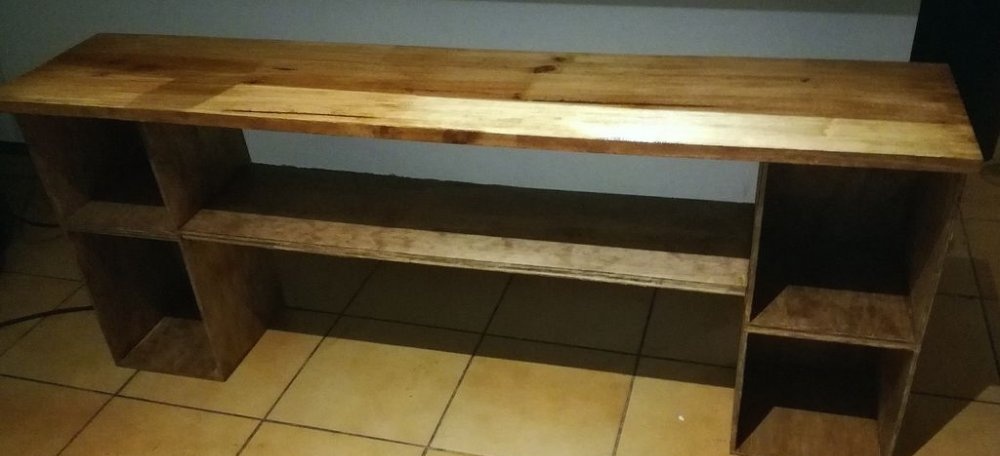
At first I wanted to make a bookshelf with several compartments that would be hung on the wall. But after I made the first cell and realized how heavy the books would be, I decided to think about another way to solve the problem. This is how I came up with the idea of creating a TV table with bookshelves.
What do you need to make a table?
- 9 mm plywood.
- 20 mm pine board.
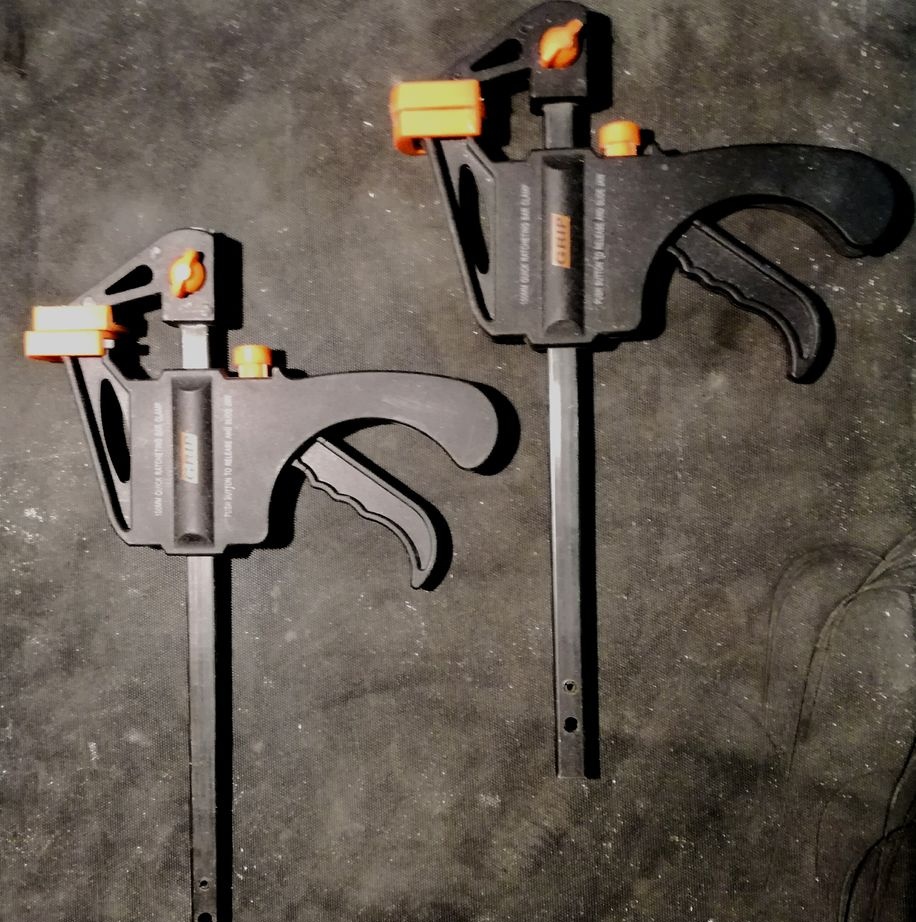
- Clamps.
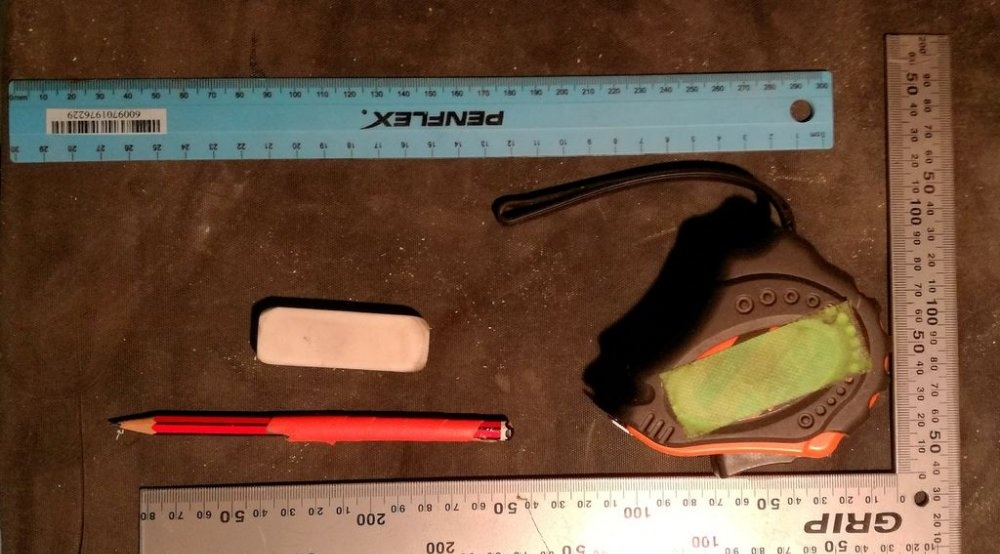
- Ruler.
- Right angle ruler.
- Roulette.
- Note paper.
- Pencil and eraser.
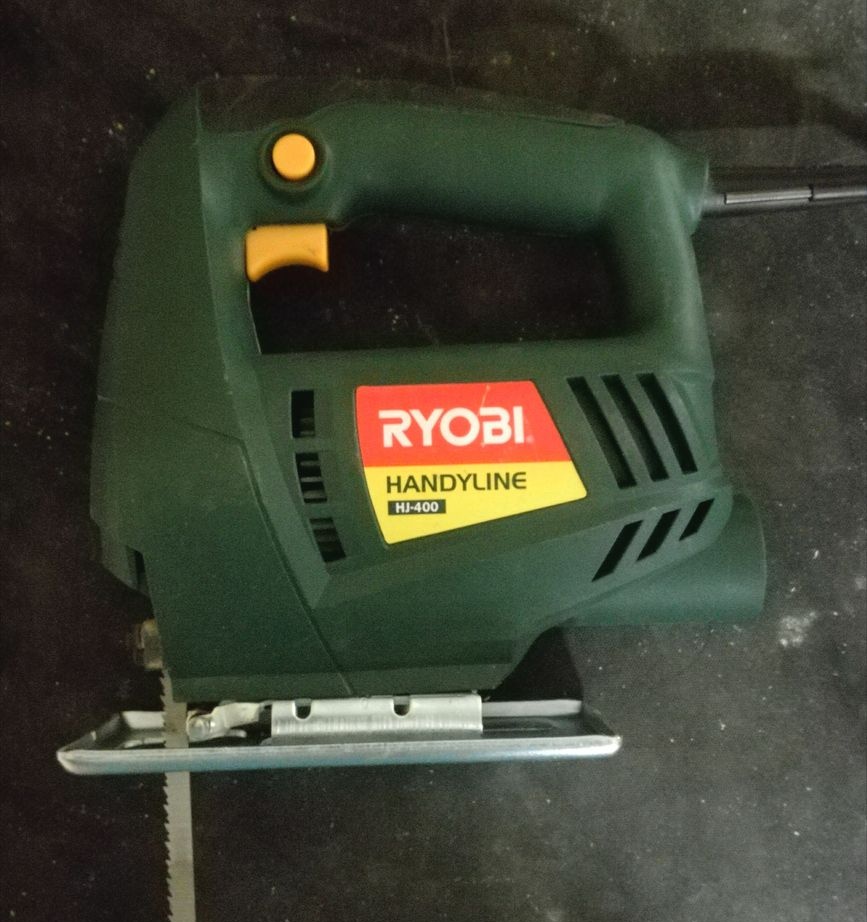
- Jigsaw.
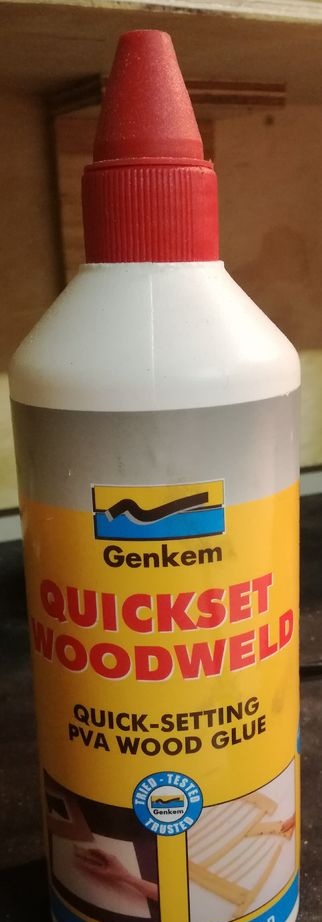
- Wood glue.
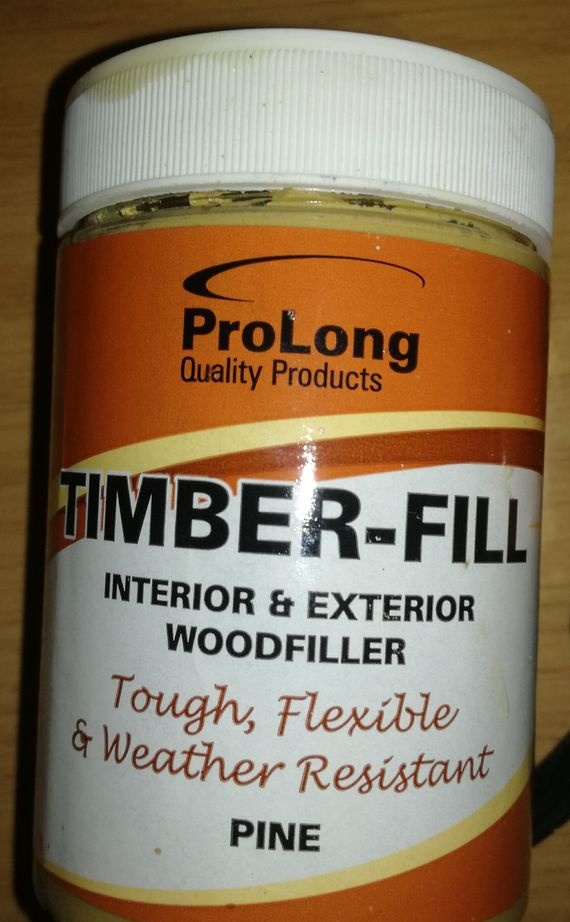
- Wood putty.
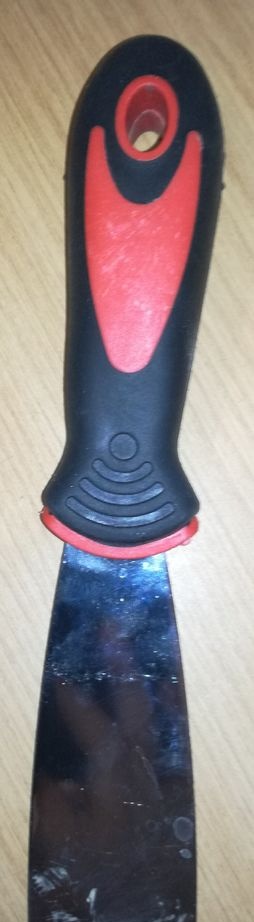
- Putty knife.
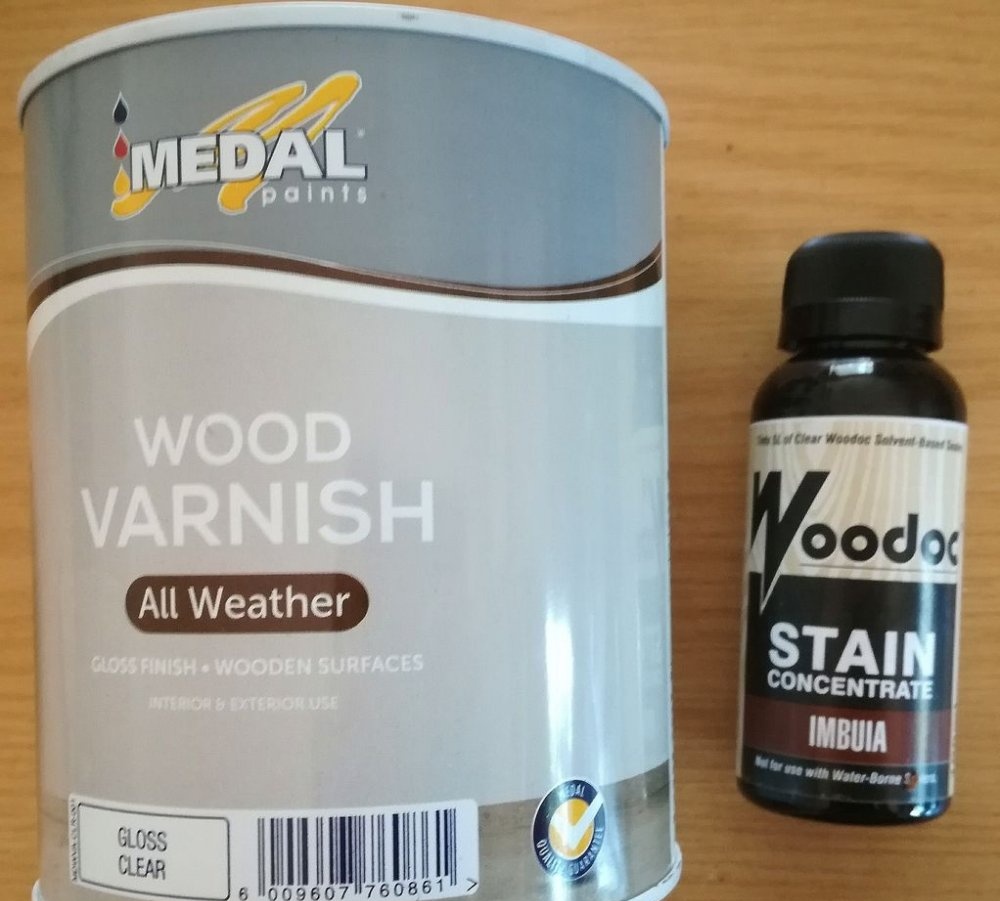
- Stain.
- Varnish.
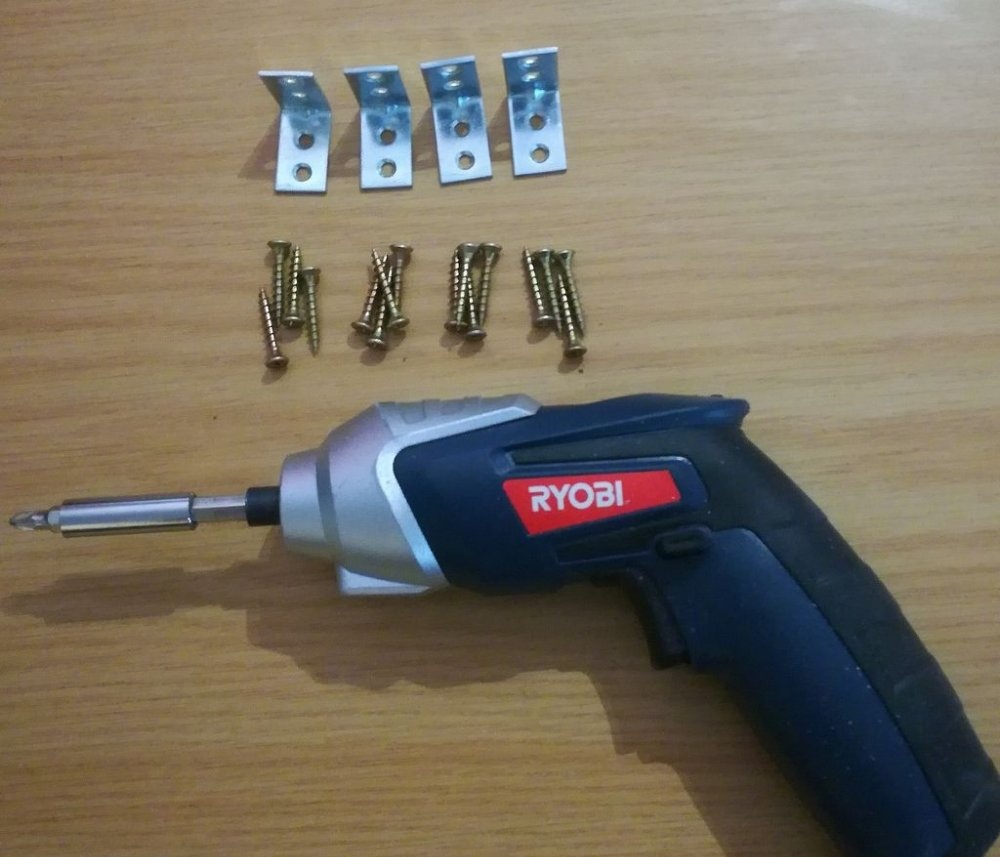
- Corners.
- Screws.
- Cordless screwdriver.
Determining the dimensions of the table and shelves
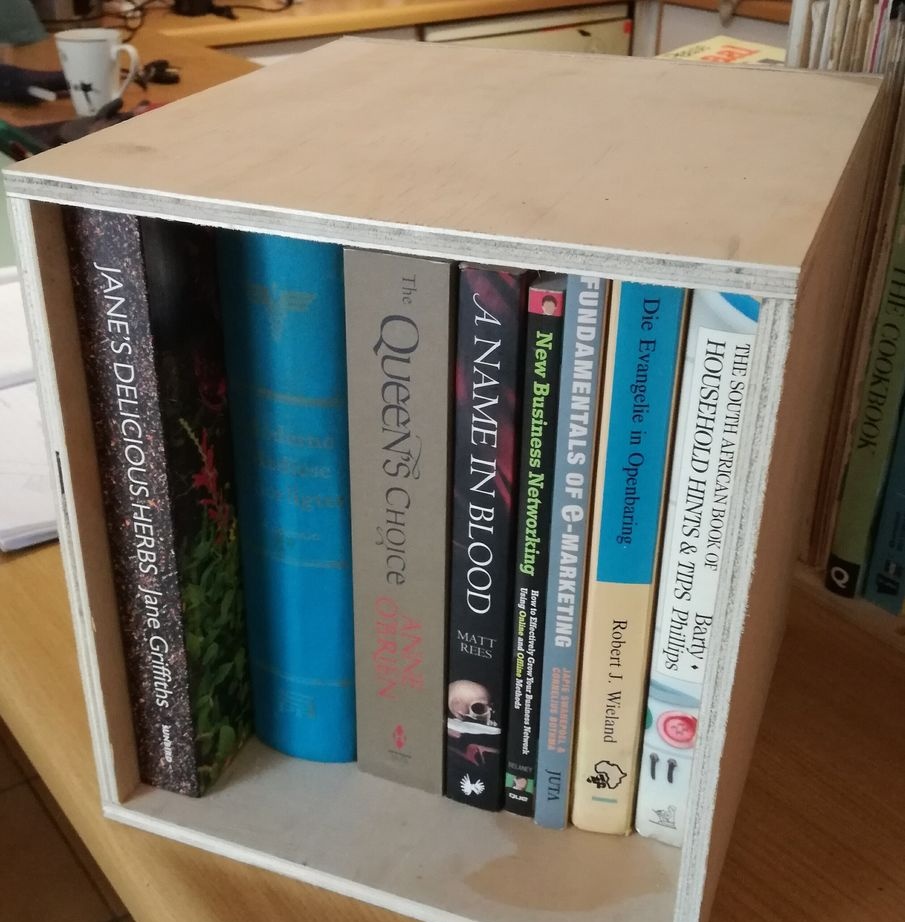
Sort your books by height and try to make them into stacks of equal height. Determine the approximate dimensions of the shelves that will fit your books. My stacks averaged 24 cm in height.
Naturally, books come in different shapes and sizes. Now you need to decide whether to make the cells the same size or different, but remember that the sides of the body must be the same size.
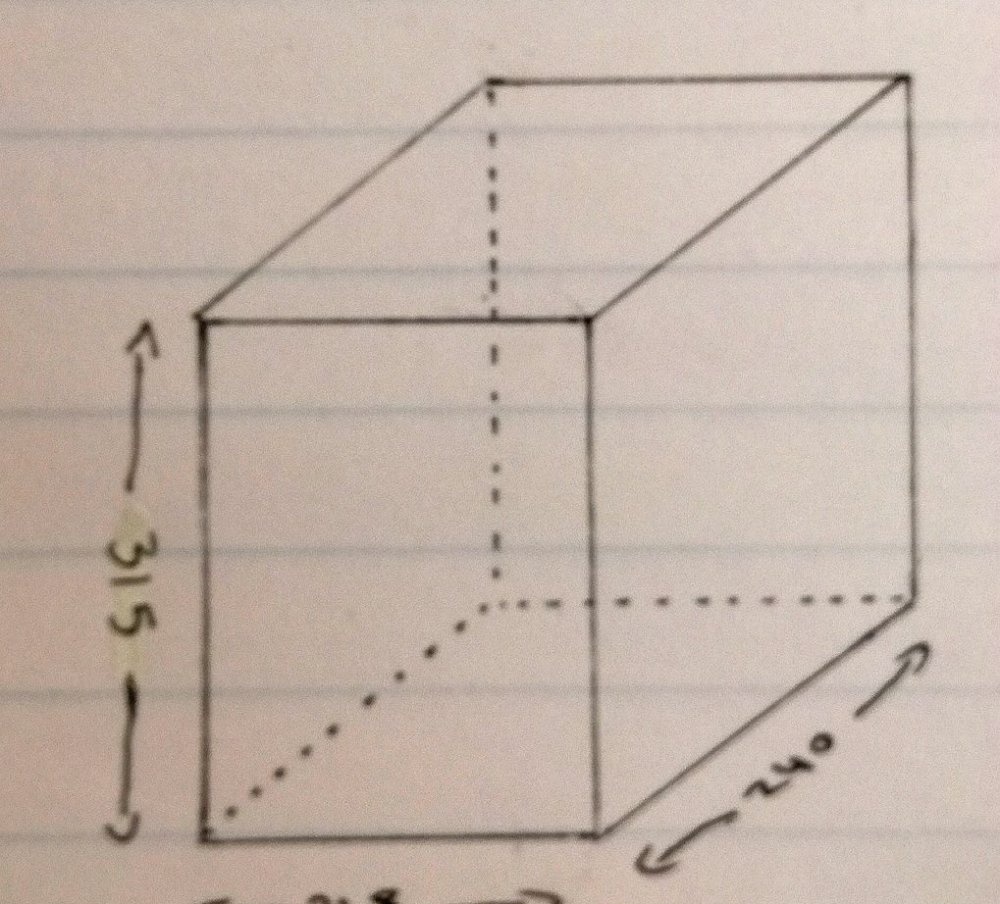

To better visualize the table, make a sketch (3D). I also found that it's easiest to draw the panels that you need to cut the plywood into. Each separately, indicating the dimensions of the sides. In total you will need 5 panels.
The back should completely cover the shelves along with the connections. Given the thickness of the plywood, I added an extra 9mm to the height of the back.
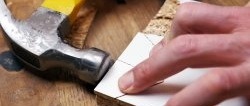
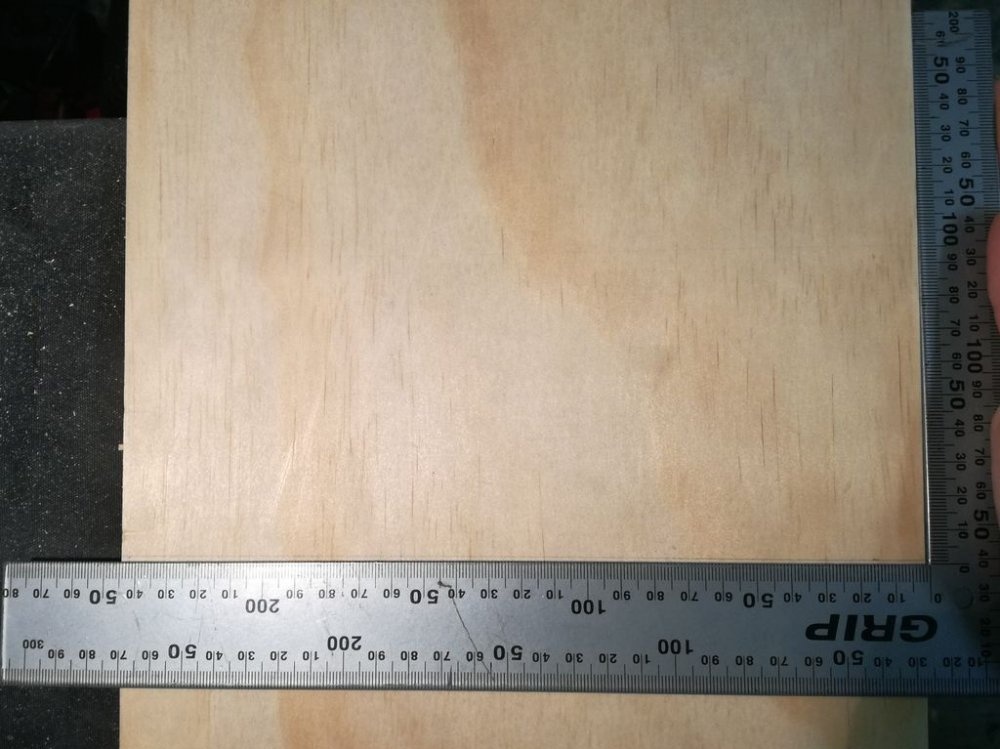
Sawing plywood
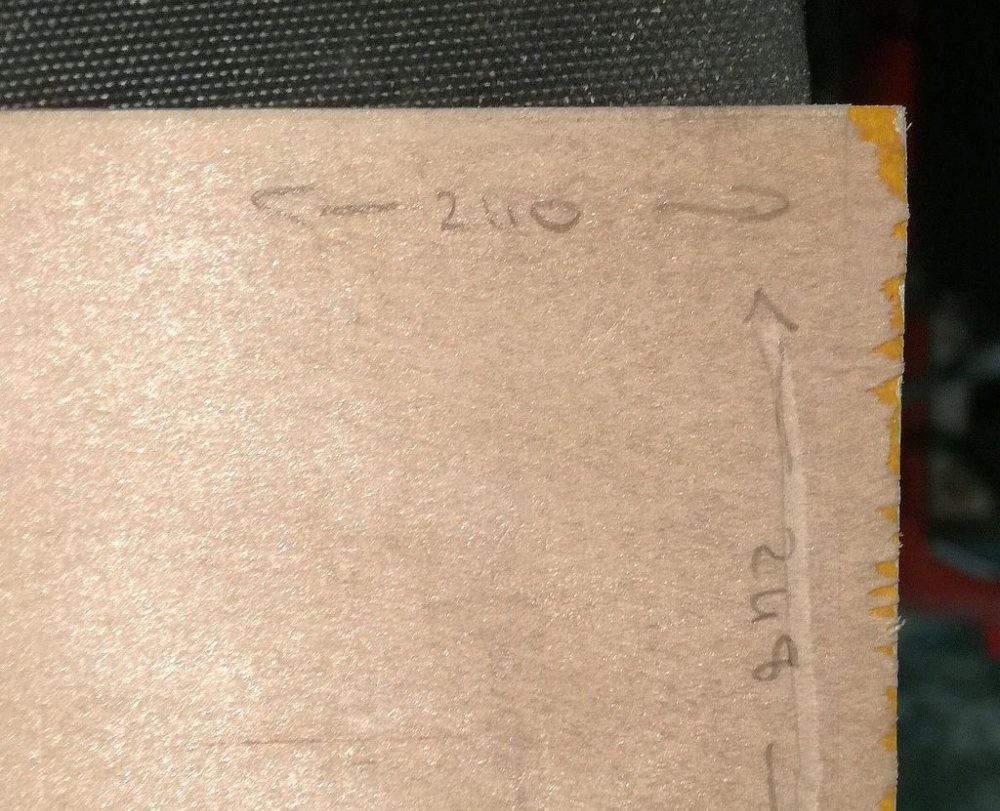
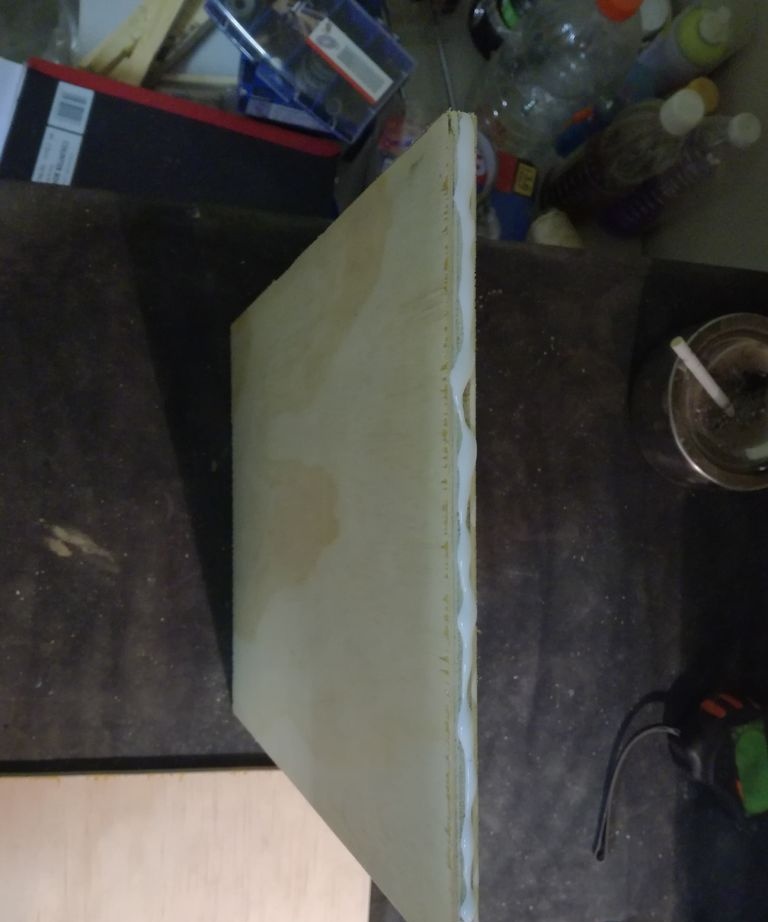
Now that all the dimensions have been calculated, we take a sheet of plywood 9 mm thick and draw cut lines. I found that it was easier to draw and cut the panels one by one rather than draw all the lines at once and then start cutting. Since the blade of my jigsaw is approximately 1 mm thick, and if additional spaces are not made between the lines, then about 1 mm will be lost on each cut.
You can also make a mark in the form of an asterisk on the outside of the line to guide you on which side the canvas should go, and, ultimately, not to make the panel smaller. And also during assembly it is convenient to write in pencil on the panel indicating the dimensions of the sides.
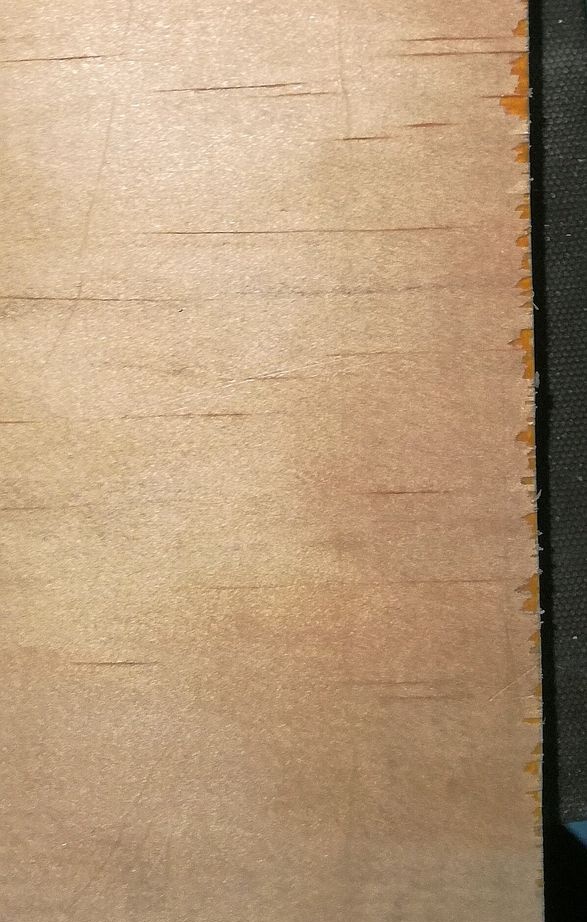
When cutting plywood, the jigsaw could tear out small pieces of the top layer, but when assembling, I turned them over so that there was an even cut on the outside.
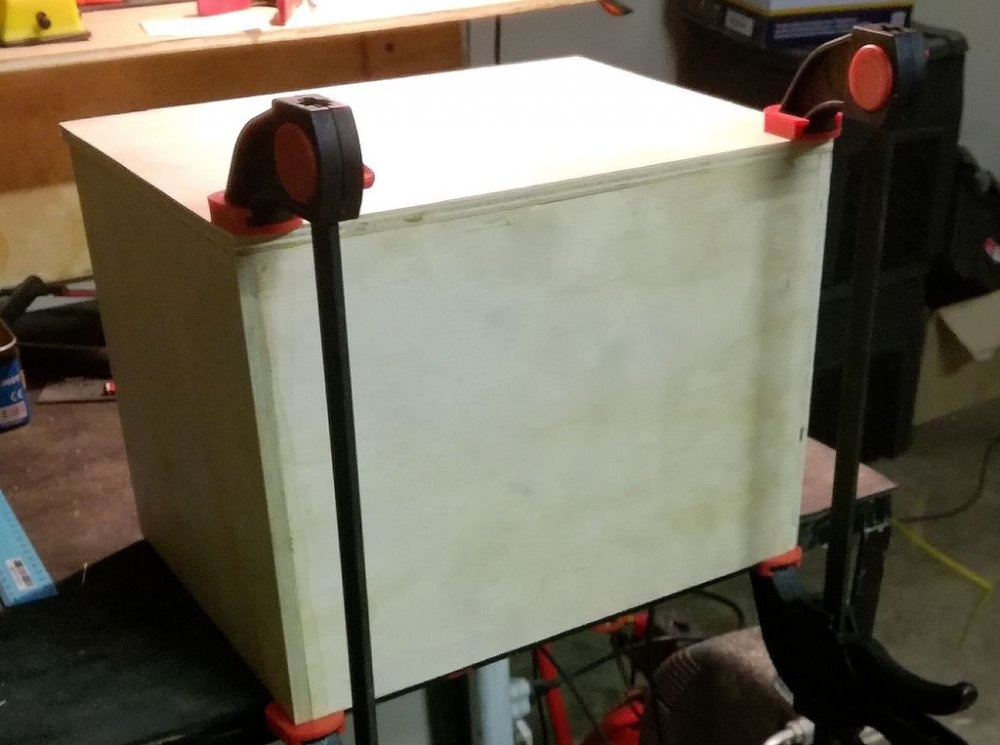
Applying glue and clamping with clamps
Remember how the plywood sheets should lay according to your sketches, and apply glue to the desired sides. There should be enough glue. Then press the pieces together using clamps, making sure the panels are aligned with each other.
When dry, wood glue becomes transparent, but still remove any excess with a piece of cloth. It just needs to be moistened with water. Wait approximately 3-4 hours until the glue is completely dry.
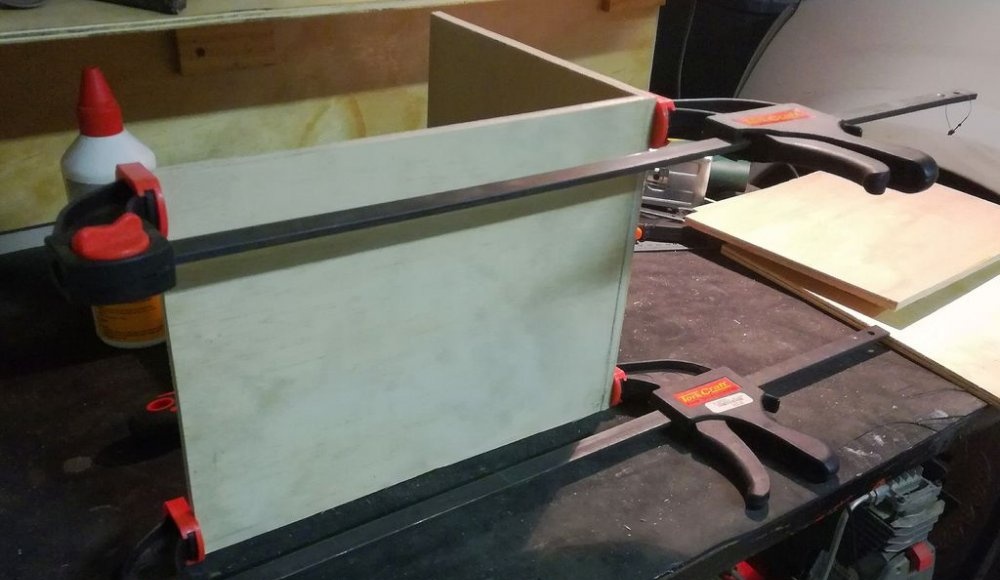
4 hours later...
Proceed to the next connection and be prepared to wait for the next 4 hours. Do this until all the cells are completely assembled. (To avoid getting bored, you can watch a movie or do something useful at this time).
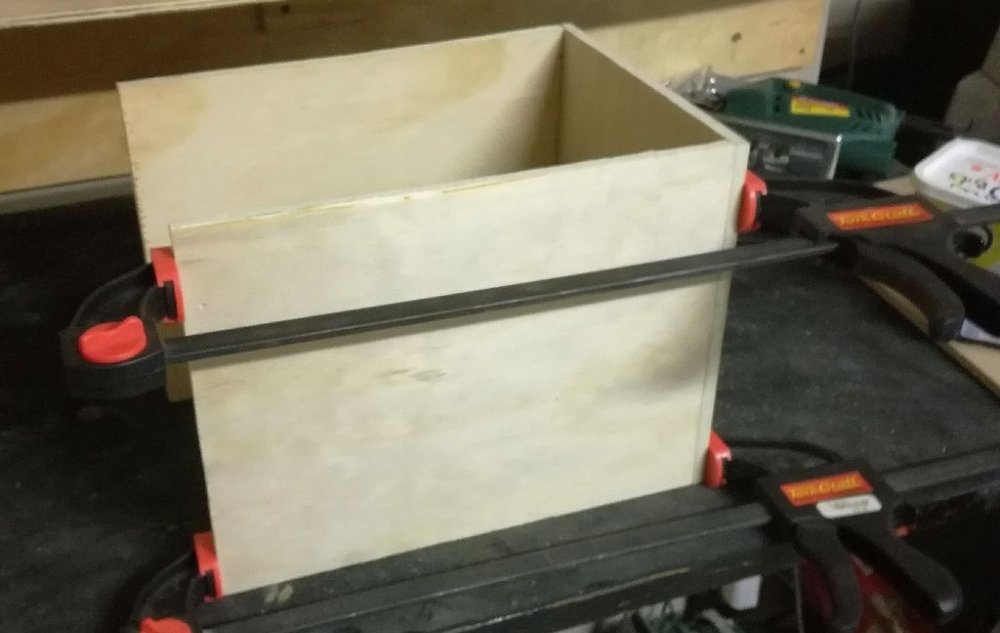
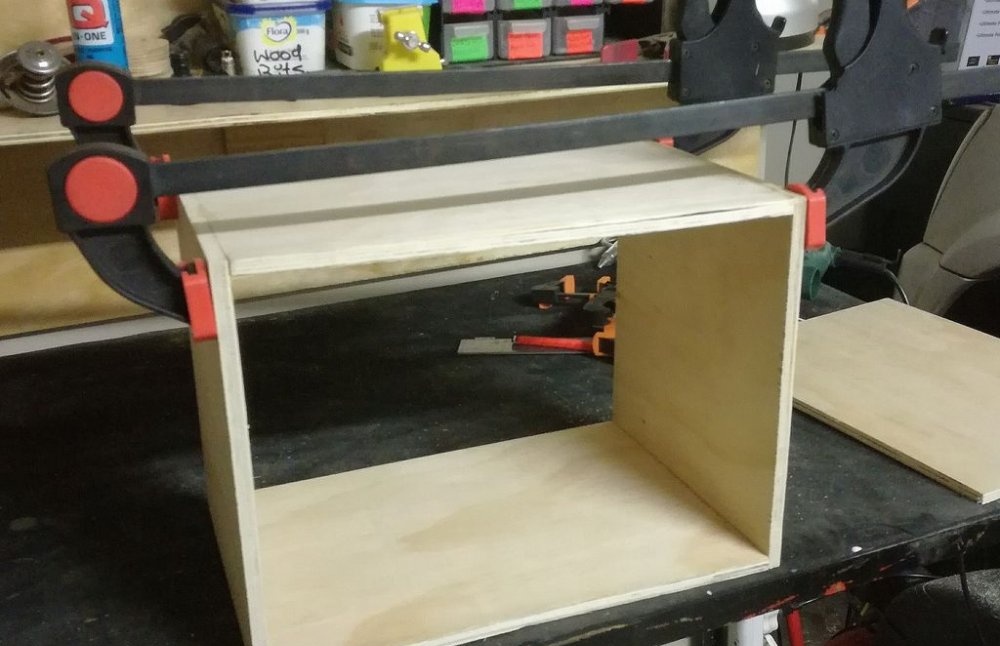
Assembly
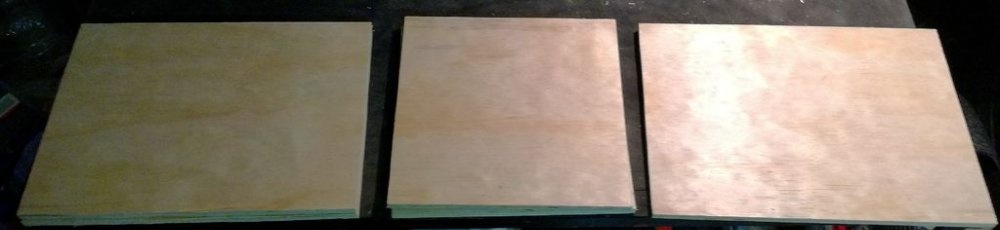
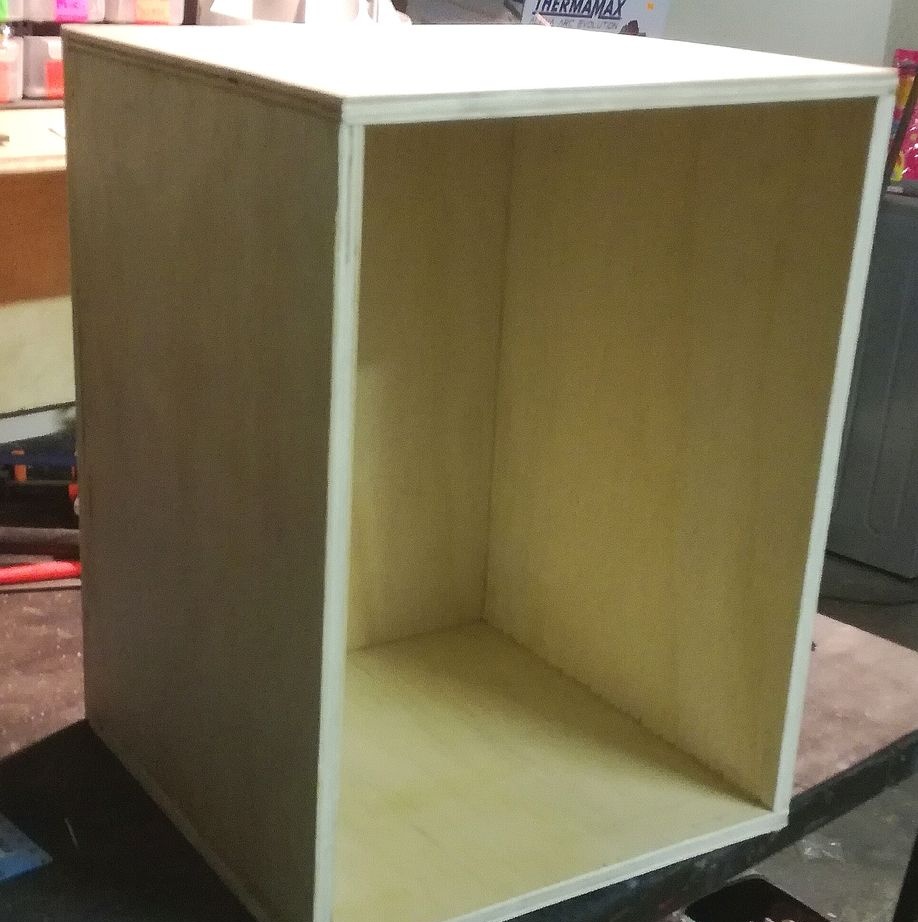
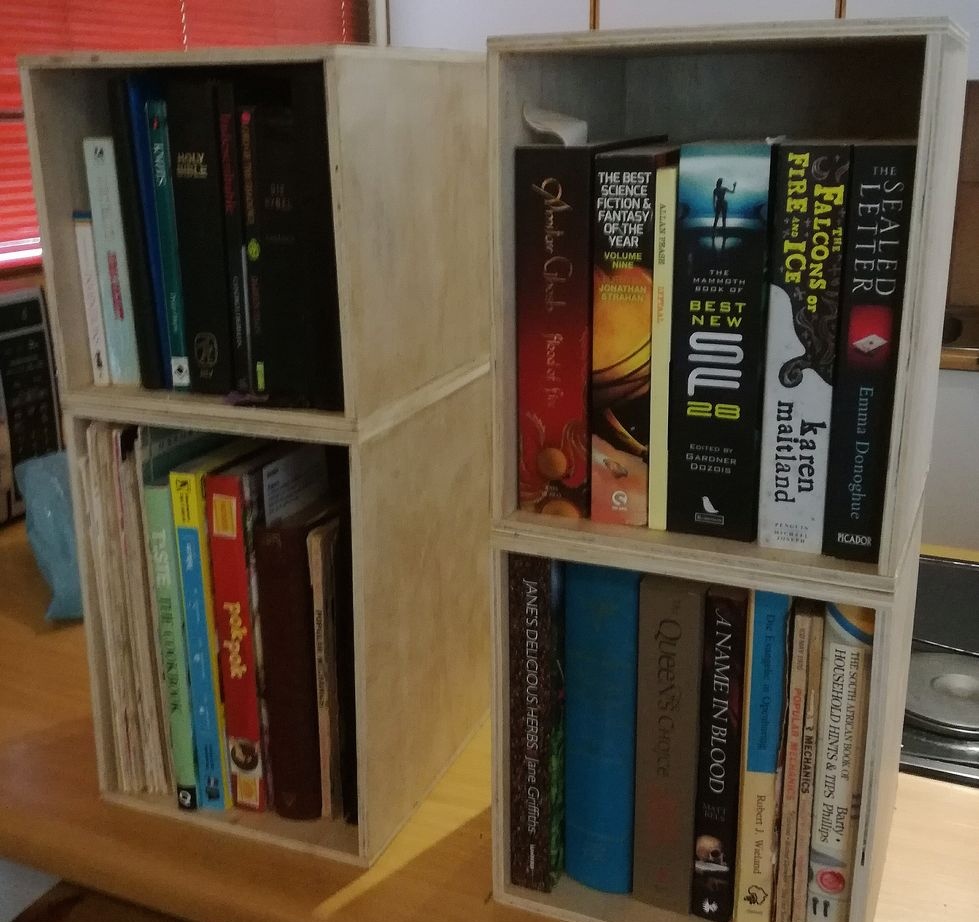
Once you have made all 4 book compartments, stack them on top of each other accordingly, making sure that the height of the compartments is the same. All four bookshelves should be the same width and depth.
Next, apply wood glue to the corresponding sides of the compartments and press them together using clamps. Wait approximately 3-4 hours for the glue to dry.

After this, you need to see if there are voids at the joints; if so, then they need to be filled with putty and leveled with a spatula. Wait approximately 2 hours for the putty to dry.
Next, I sanded down the areas where the putty was applied by hand using sandpaper. But you can use a grinder to speed up the process.
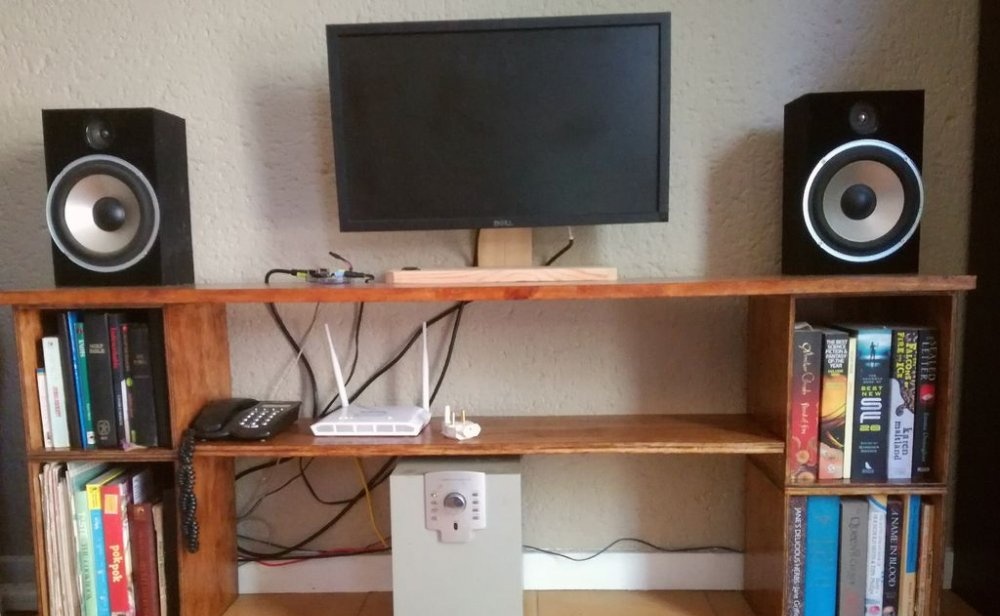
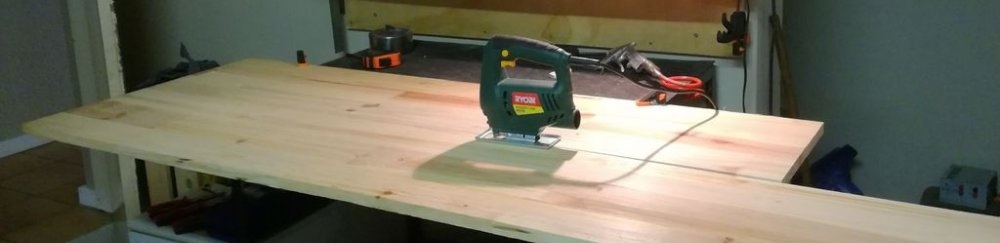
Making a countertop
I used a 20mm thick pine board as the table top.
At this stage, you can decide on the size of the table top for your TV table. For me, the size was 1300 x 300 mm. We draw the cutting lines and remember that the jigsaw blade should pass from the outside of the line.
Now you can start gluing the tabletop to the two cabinets, and as always, you will have to wait 3-4 hours for the glue to dry.
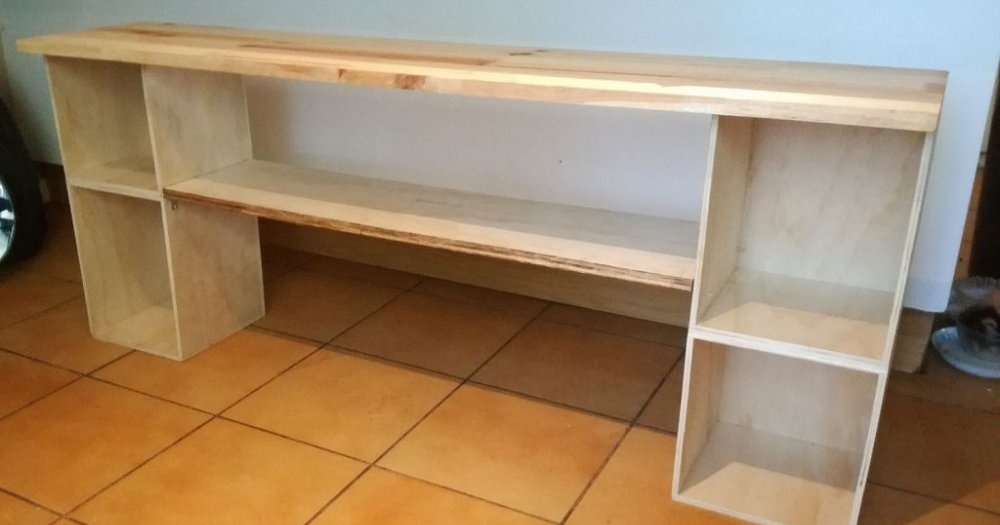
To make the structure stronger, I added a shelf in the middle. For this you can use both plywood and pine boards. I used plywood and glued it in two layers. Thus, I got a sheet 18 mm thick.
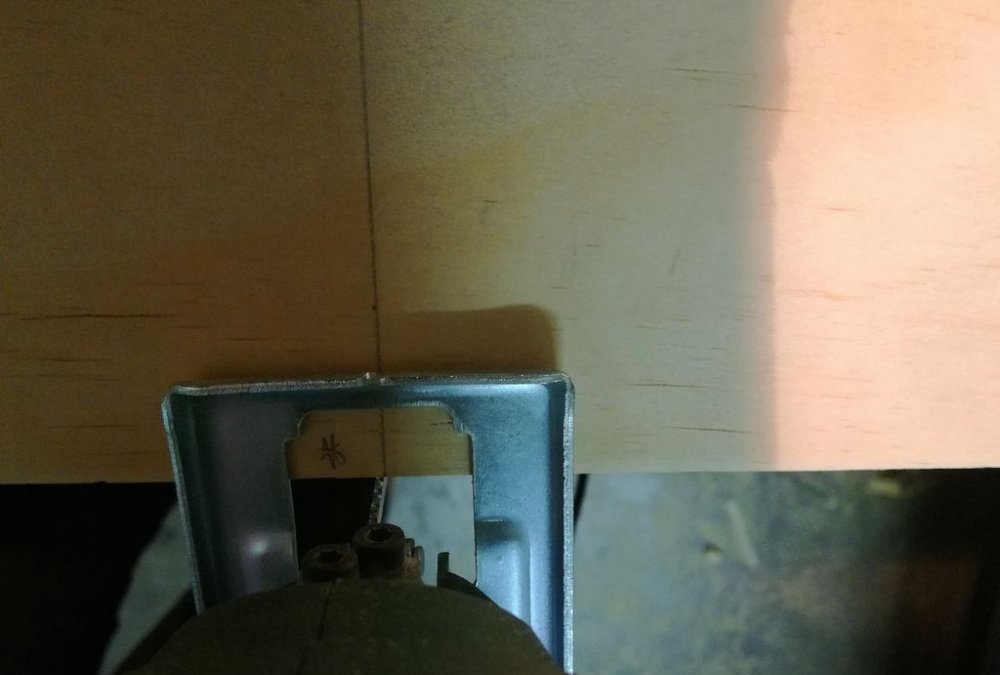
After measuring the distance from one cabinet to another, I cut out a shelf. To attach it I used angles and screws.In order to decide at what height to place it, you need to think about what purposes it will serve. In my case, I wanted my subwoofer to fit underneath.
Varnishing
Then you can varnish the table, paint it, or just leave it as is.
I made a mixture of stain and varnish to give the table the shade I like. Before applying the second coat of varnish, I waited a day until the first one dried thoroughly.

I hope you liked my master class and now you have a beautiful, made by you, TV table with shelves for books.
Original article in English