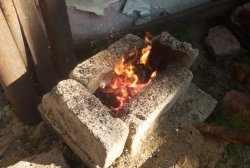
If you're tired of using your barbecue as a forge, then this project is for you. New and used materials can be used to make an inexpensive propane forge.
Tools and materials
Tools:
Minimum set:
- Oxy-acetylene torch.
- Drill with drill bit for concrete.
Standard set:
- Hacksaw.
- Welding machine.
- Drill with drill bit for concrete.
- Gas cutter (plasma cutter).
- Roulette.
- Materials.
For maximum flexibility and efficient use of materials, I will refrain from giving exact measurements so that you can more easily use what you have on hand.
- Fire bricks (measuring 3.8 x 12.7 x 24.1 cm, I needed 11 pieces).
- Metal corner for the frame (I had 3.8 x 6.3 x 0.6 cm).
- Metal plate for bottom and top.
- Metal pipes for the legs (I used a 3 x 0.3 cm profile pipe).
- Propane torch.
Let's make a frame for bricks
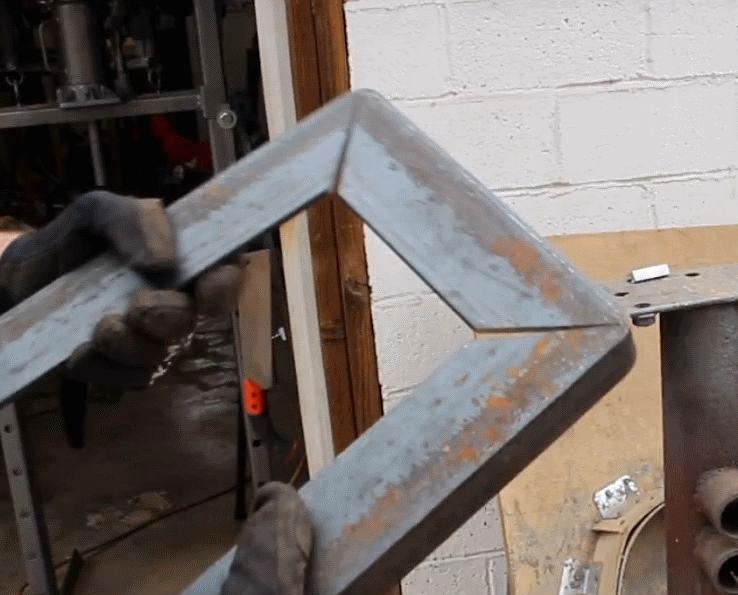
Lay out the bricks that will form the bottom of your forge and cut out a metal corner that will serve as a frame for it. I made triangular cuts in the right places and bent the corner.This will make the frame look neater. With the piece of corner that I had, it was not possible to make a solid piece, since it was only enough for three sides. However, if you only have short pieces, you can cut them at an angle and fold them together like a picture frame.
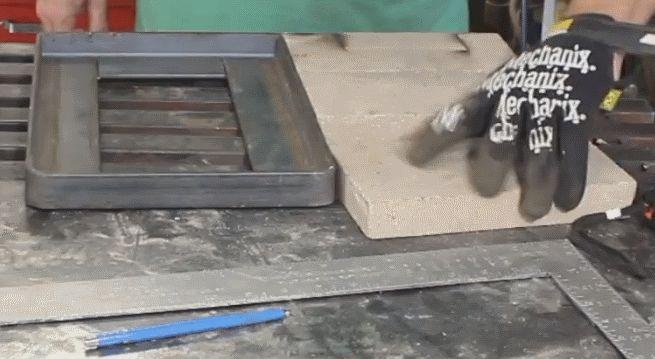
To keep the bricks securely in place, you need a strong bottom. For these purposes, I welded a plate that covered the internal opening of the frame.
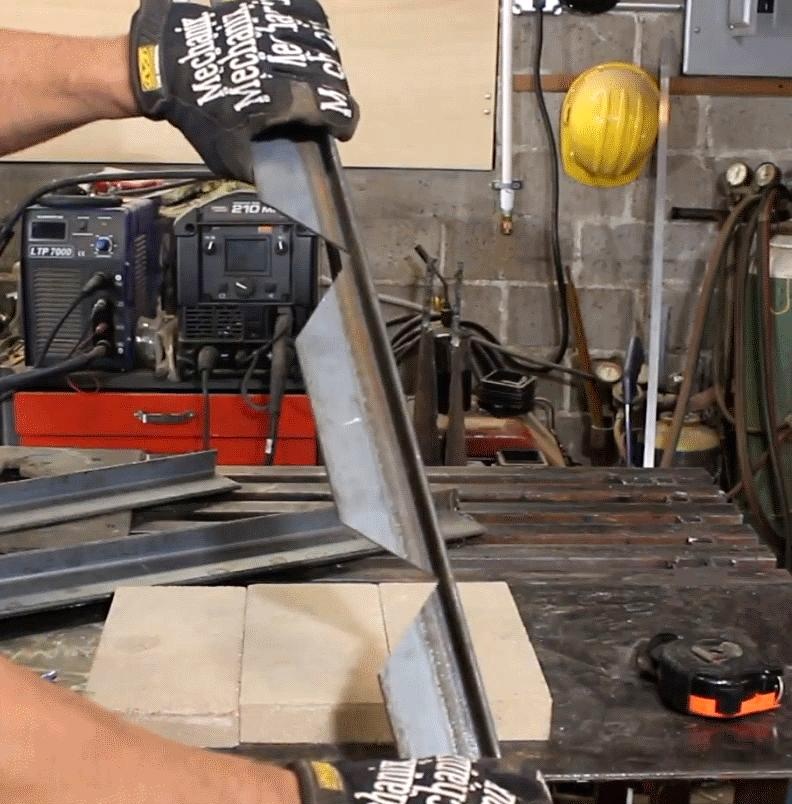
Making legs
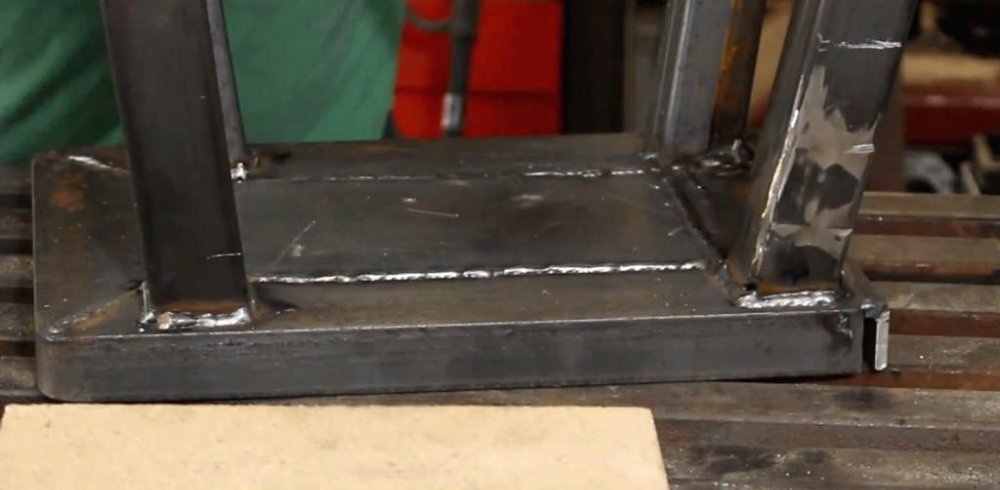
In fact, you can use anything as legs. I used a 3 x 0.3 cm profile pipe, but a metal corner is also perfect for these purposes. For greater stability, spacers can be added. I had two two-meter sections of profile pipe, so I made four meter-long legs from them. To make them hold the forge more securely, I set them at an angle of 10°, cutting them at the same angle. When fastened correctly, the legs should diverge evenly to the sides from the center. Surprisingly, when I placed the forge on the floor, it did not wobble. Usually in such cases I had to sharpen them further.
Burner hole
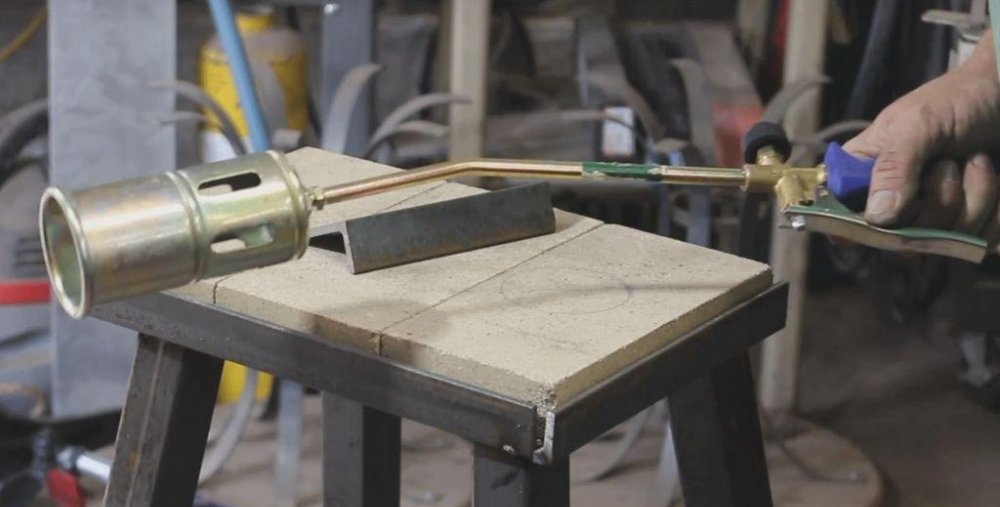
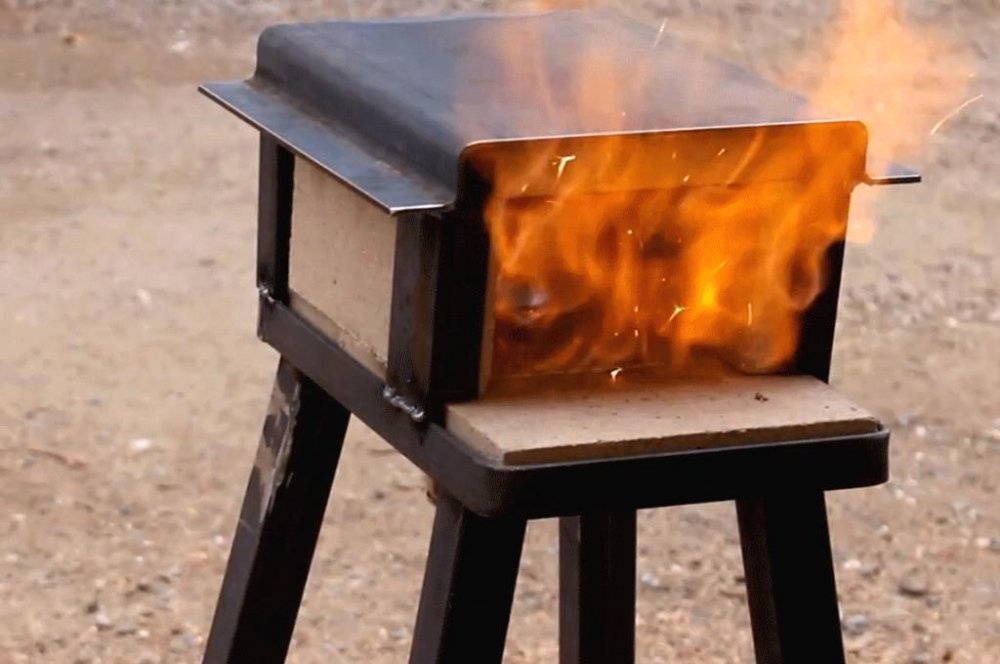
Determine the location where the burner will go. Many people like it when the entrance is located at the top and the flame is directed downward. And some people prefer to have multiple burners. I choose an economical approach, and I also love when what I do looks good. That's why I like the single burner at the back of the forge with the flame pointing upward.
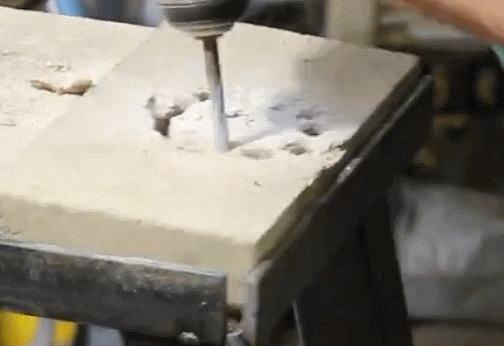
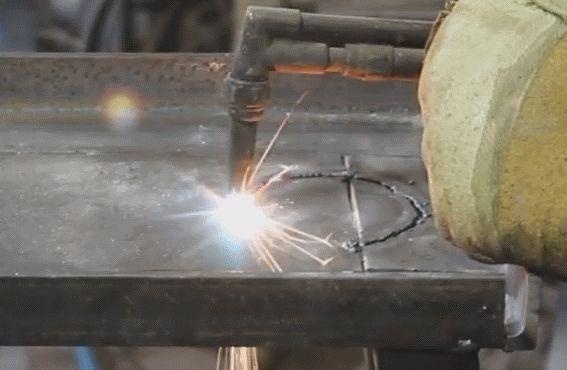
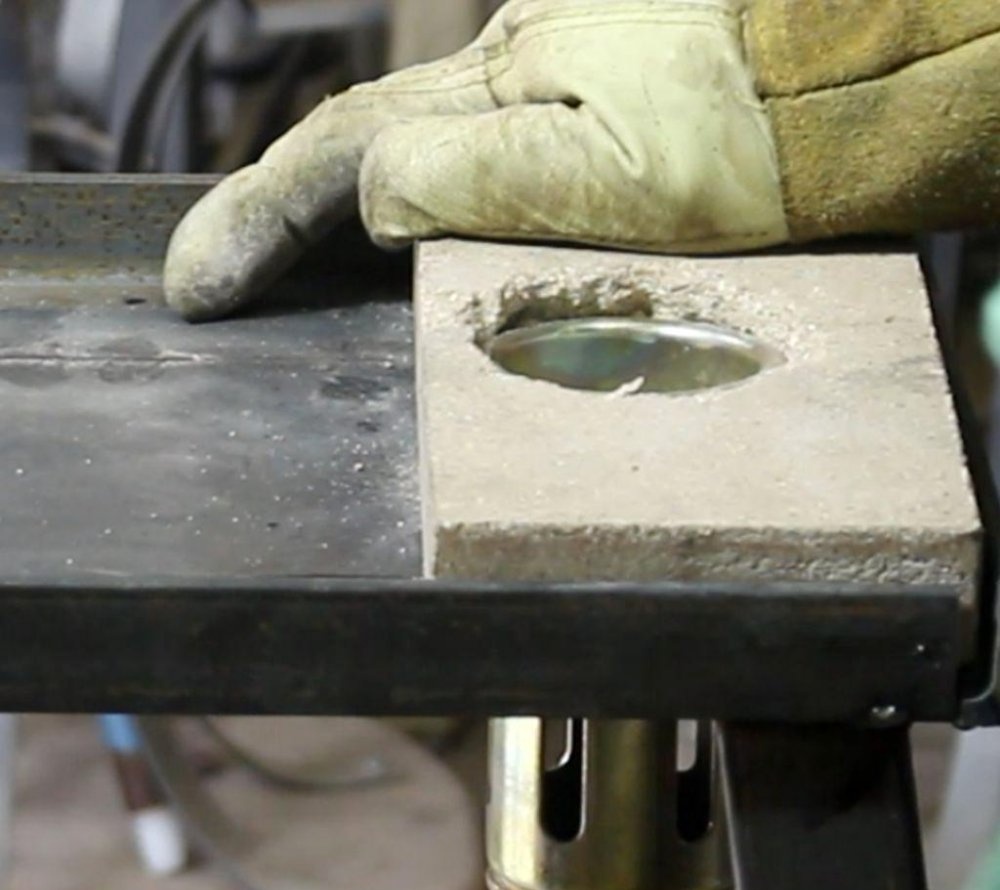
Place bricks on the bottom and draw a circle where you have chosen the location of the burner. Using a concrete drill, make many holes around the perimeter of the drawn circle.Drill the holes partially at first and, having made a circle, continue again, adding side-to-side movements to punch through the brick and merge adjacent holes. If you take your time, the cutout can turn out relatively smooth.
Trace a hole on the metal bottom and cut it out using a gas (plasma) cutter.
Framing the walls
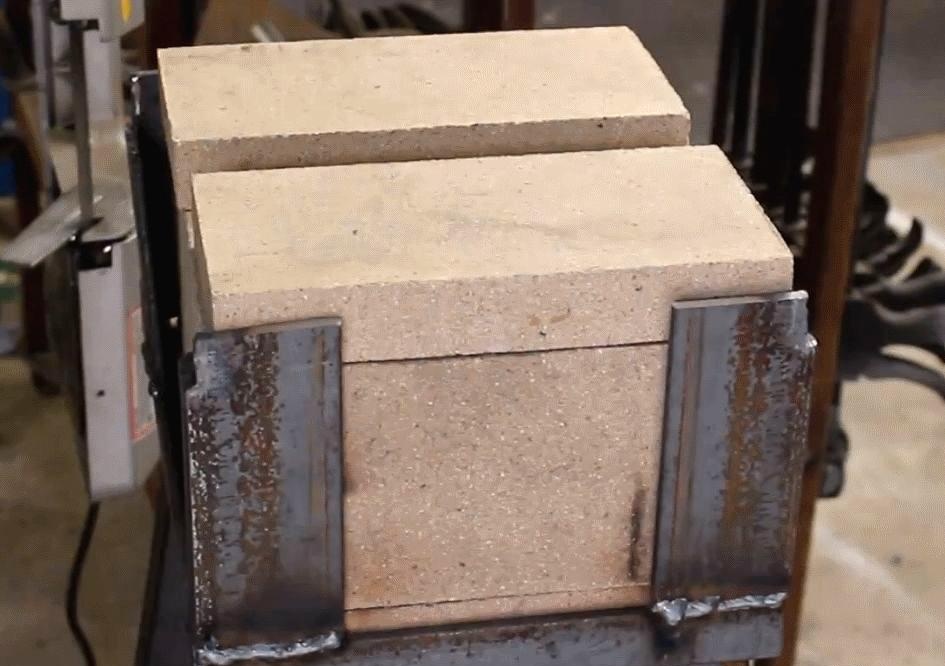
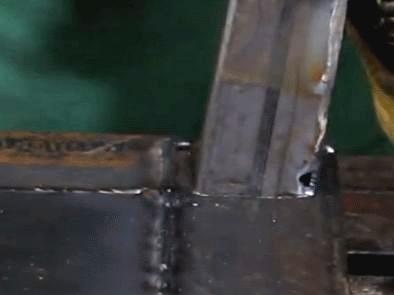
This forge will be small in size, its internal dimensions are only 12 x 18 x 24 cm. But for my work this is quite enough. Due to the small size, only three bricks were needed for the walls, and all I had to do was weld the metal corners at the corners.
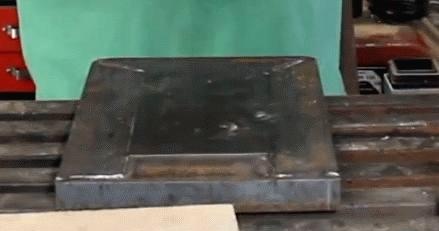
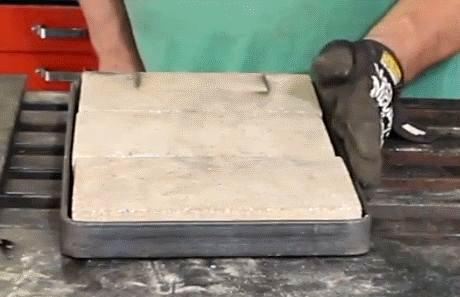
Installing the top and burner

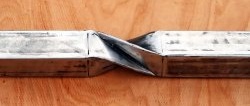
Two more bricks on top and the forge is almost ready. In the store I found this metal profile of an interesting shape. It works great as a top piece to hold the bricks in place. Later I came to the conclusion that there was no need to weld it. Then, if suddenly one of the bricks cracks, it could easily be replaced with another. Live and learn.
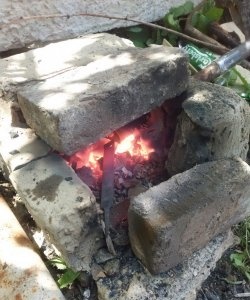
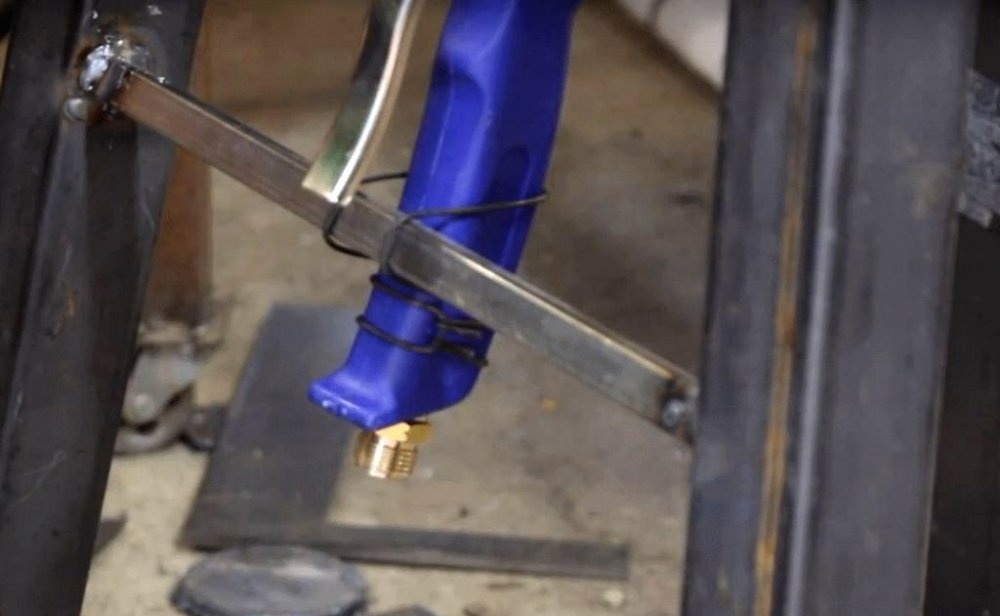
Next I installed the burner. Between the two rear legs I welded a transverse profile tube with a diameter of 12 mm, to which I attached the burner handle using wire.
Another fire brick can be used as the front door. It can also be set when heating is in accelerated mode.
All the metal I used in this project I bought at the store and it cost me $10. Be frugal. Take a look around. You can find metal even cheaper at recycling centers, but I wanted to make a forge out of new materials just to make it look good. I spent $20 on the bricks and spent another $20 on the gas burner.The total cost of the project was $50.