In this article we will look at the process of creating a very necessary and interesting electronic device that will allow you to play wav files directly from an SD, microSD or mini SD memory card. You can record a music file on a memory card, install such a device, for example, in a refrigerator, and every time you open its door a beautiful melody will sound. It will no longer be possible to forget to close such a “musical” refrigerator. Another option for using the player is as a doorbell. On the Internet you can find many different melodies to suit all tastes. Thus, the boring sound of a factory bell can be replaced, for example, with a song you like. In addition, such a device can be used for an original gift for a loved one - just install the speaker in a beautiful box, when opened, an audio greeting will begin to sound. In addition to these examples, the player can be found in many applications in everyday life.
Player circuit
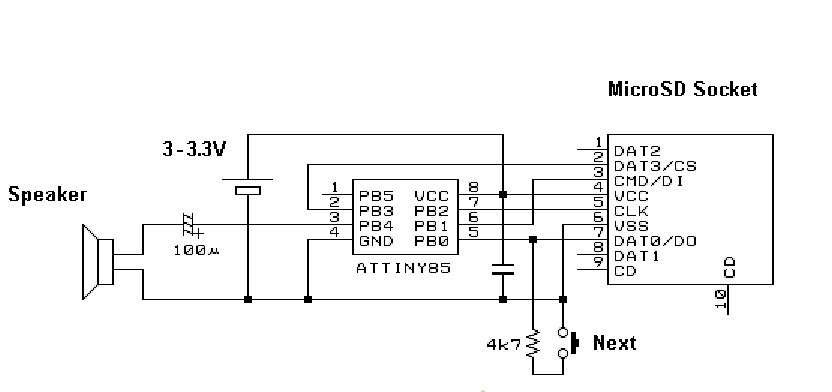
The device circuit contains a minimum of parts, its key link is the AVR Attiny85 family microcontroller. When power is applied, it immediately begins to read files from the memory card and, using PWM pins, play them through the speaker. The volume is not too high; it largely depends on the sensitivity of the speaker used. To get higher volume, you need to connect the amplifier input instead of the speaker. However, the signal from the microcontroller output is too large to be fed directly into the amplifier, so it is imperative to install a volume control between them, otherwise there is a risk of damaging the amplifier itself. When you first turn it on, you need to set it to the minimum volume position, and then gradually increase it until the desired volume level is reached.
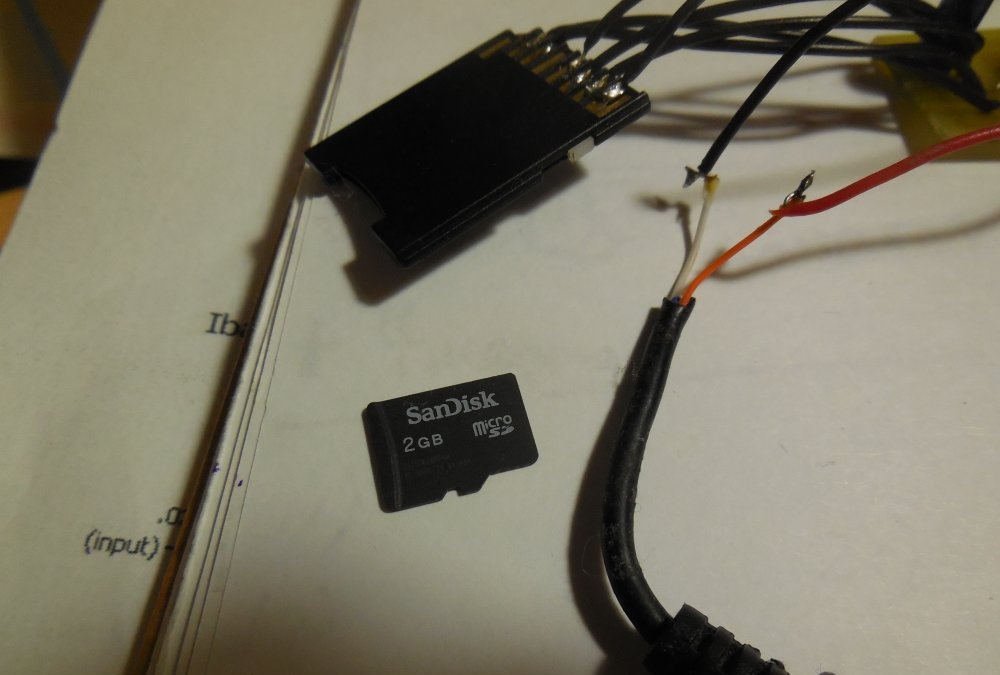
Memory card pinout
The pinout of memory cards is shown in the picture:
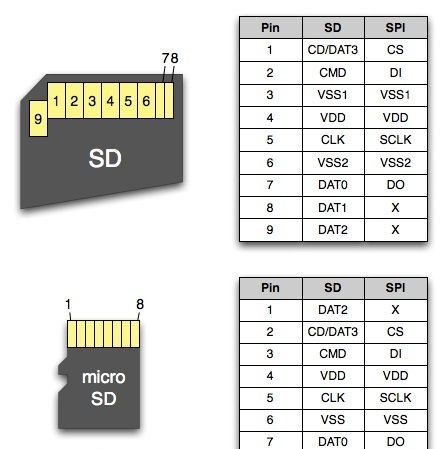
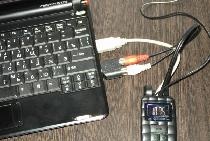
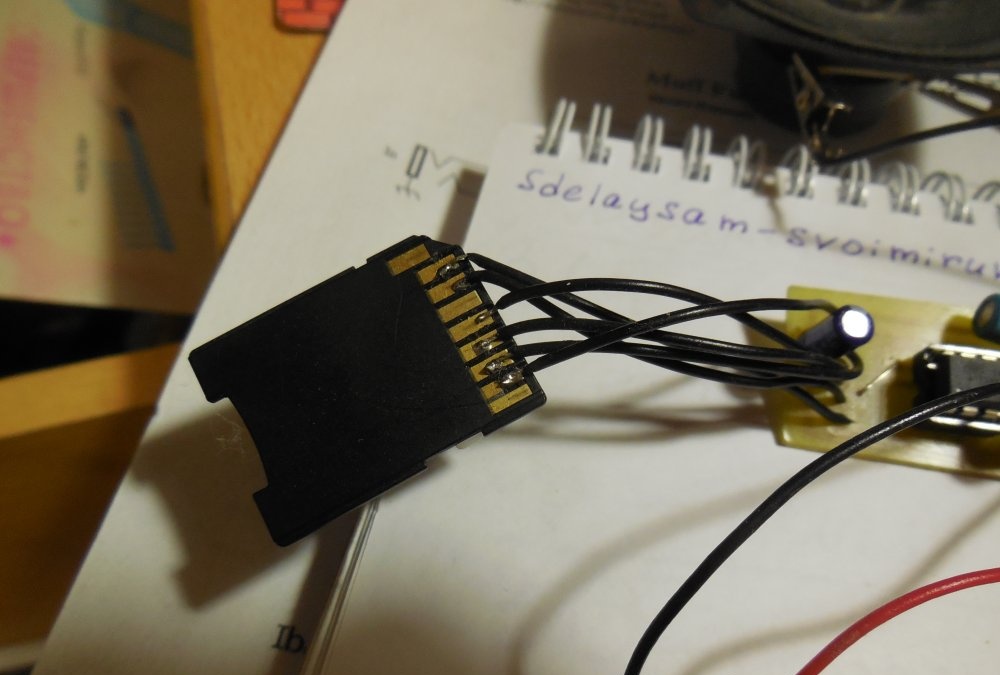
Using 6 wires, two of which are power supply, the circuit is connected to the memory card. You can use both SD, MicroSD and MiniSD, the main thing is that the correct pinout is saved. The most convenient way is to use an unnecessary MicroSD to SD adapter, then you can solder the wires to the adapter itself, into which the used memory card is already inserted, I did just that. Before using in this scheme, the memory card must be formatted in the FAT file system. After formatting, you can record wav files onto the card; they must be in PCM 8 or 16 bit format, with a sampling frequency of no more than 48 kHz. There are many computer programs that allow you to convert regular mp3 files to wav format, one of these is GoldWave, which is what I used.
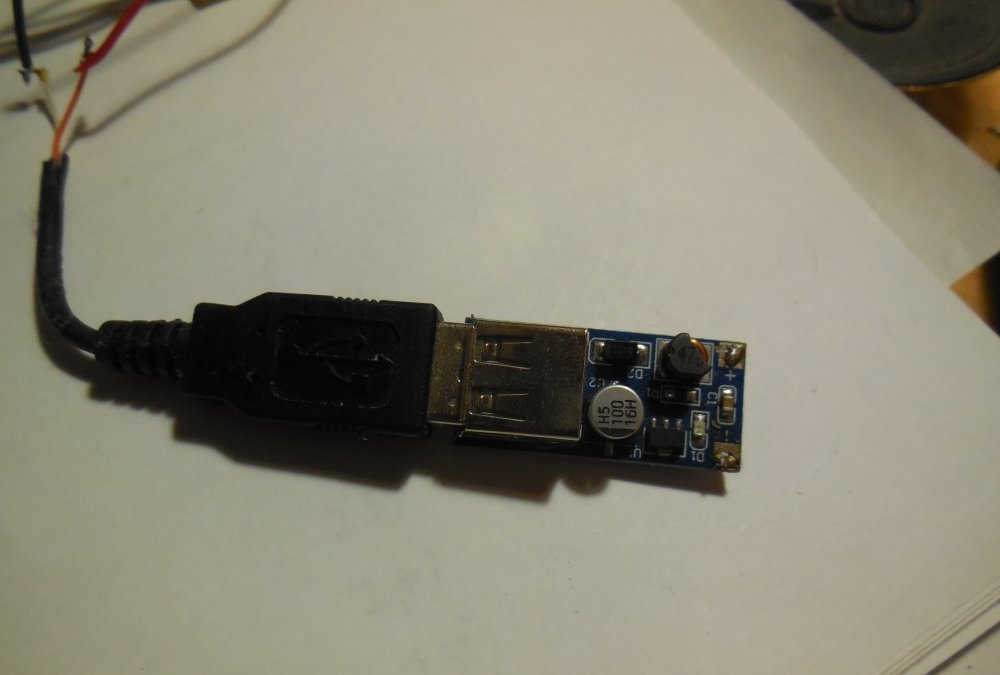
When the power is connected or a memory card is inserted, the circuit will begin playback, and when you press the button, the next file will be played. Memory cards require a 3.3 volt power supply, so a 78L33 stabilizer is installed on the printed circuit board offered for this article (it is not indicated on the diagram). Using a stabilizer, the supply voltage of the circuit lies in the range of 5-12 volts. This circuit consumes little current, and therefore can be powered from a battery. To do this, you need to take a 3.7 - 5 volt boost converter, as I did.
The circuit starts working immediately, does not require any configuration, you just need to flash the microcontroller. Fuse bits need to be set as shown in the picture below (a check mark means that this bit is programmed, as in PonyProg).

You can download the board and firmware here:
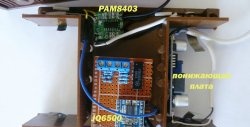
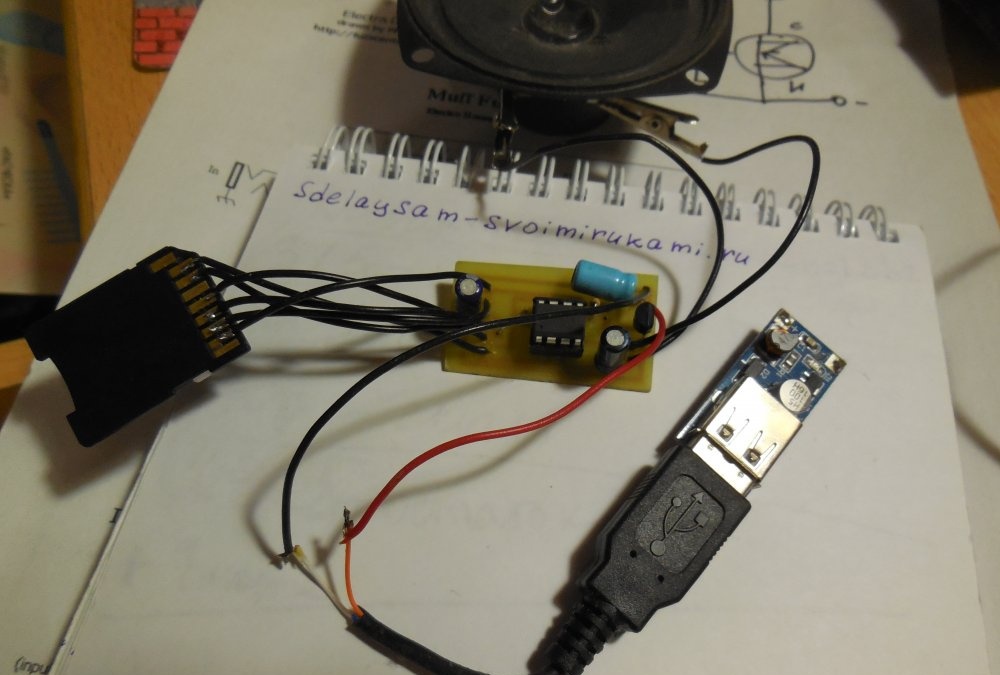
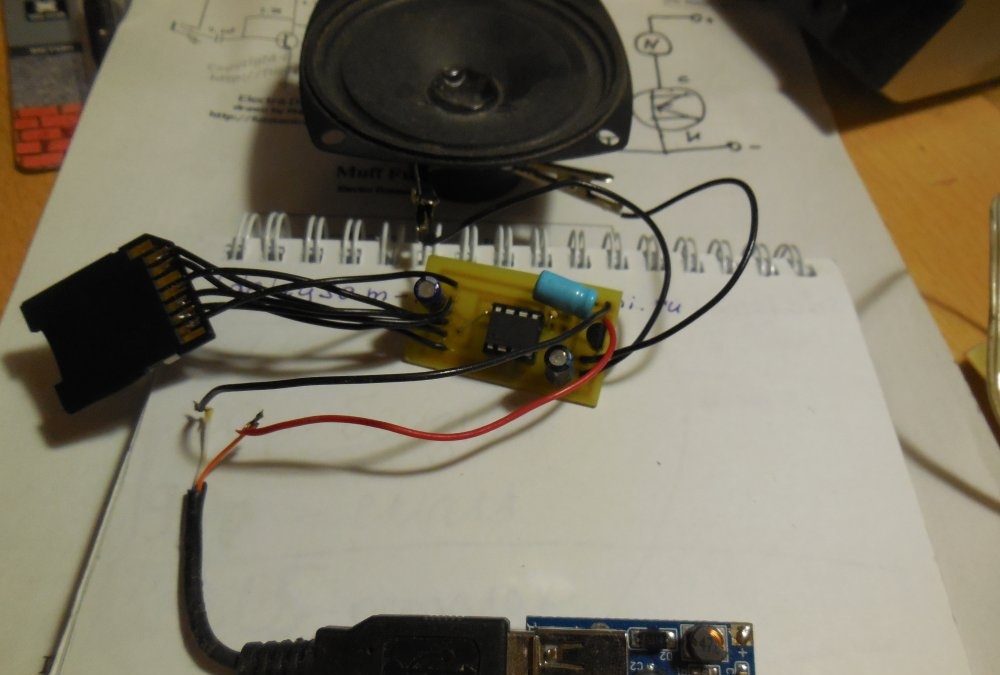
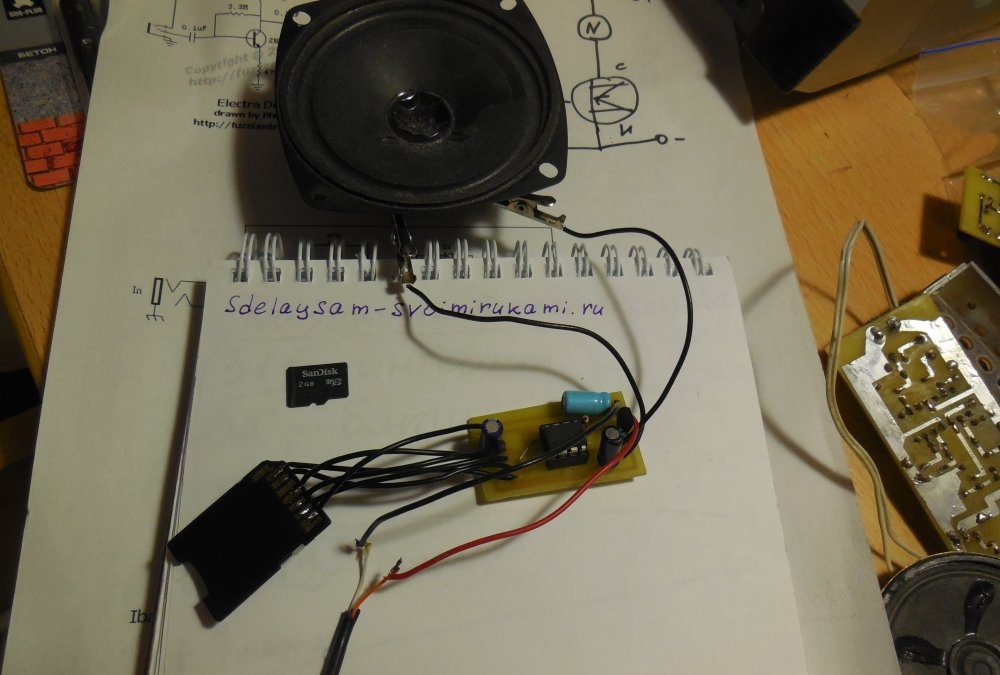
Assembled player board
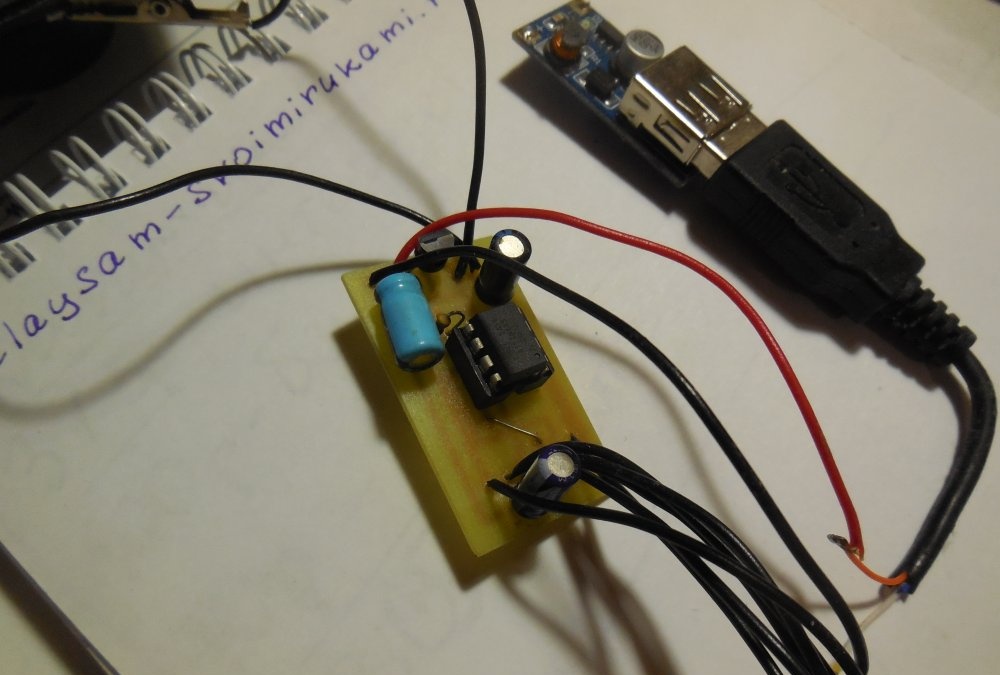
Photo of the player I assembled:


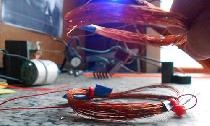
Power converter.