It’s very difficult to get by without a computer microphone these days; without it you can’t use voice search, and you won’t be able to chat with a friend via video call. However, not all computers have built-in microphones, and moreover, they often do not have very good sensitivity. You can solve this problem quite simply - assemble the microphone yourself.
Scheme
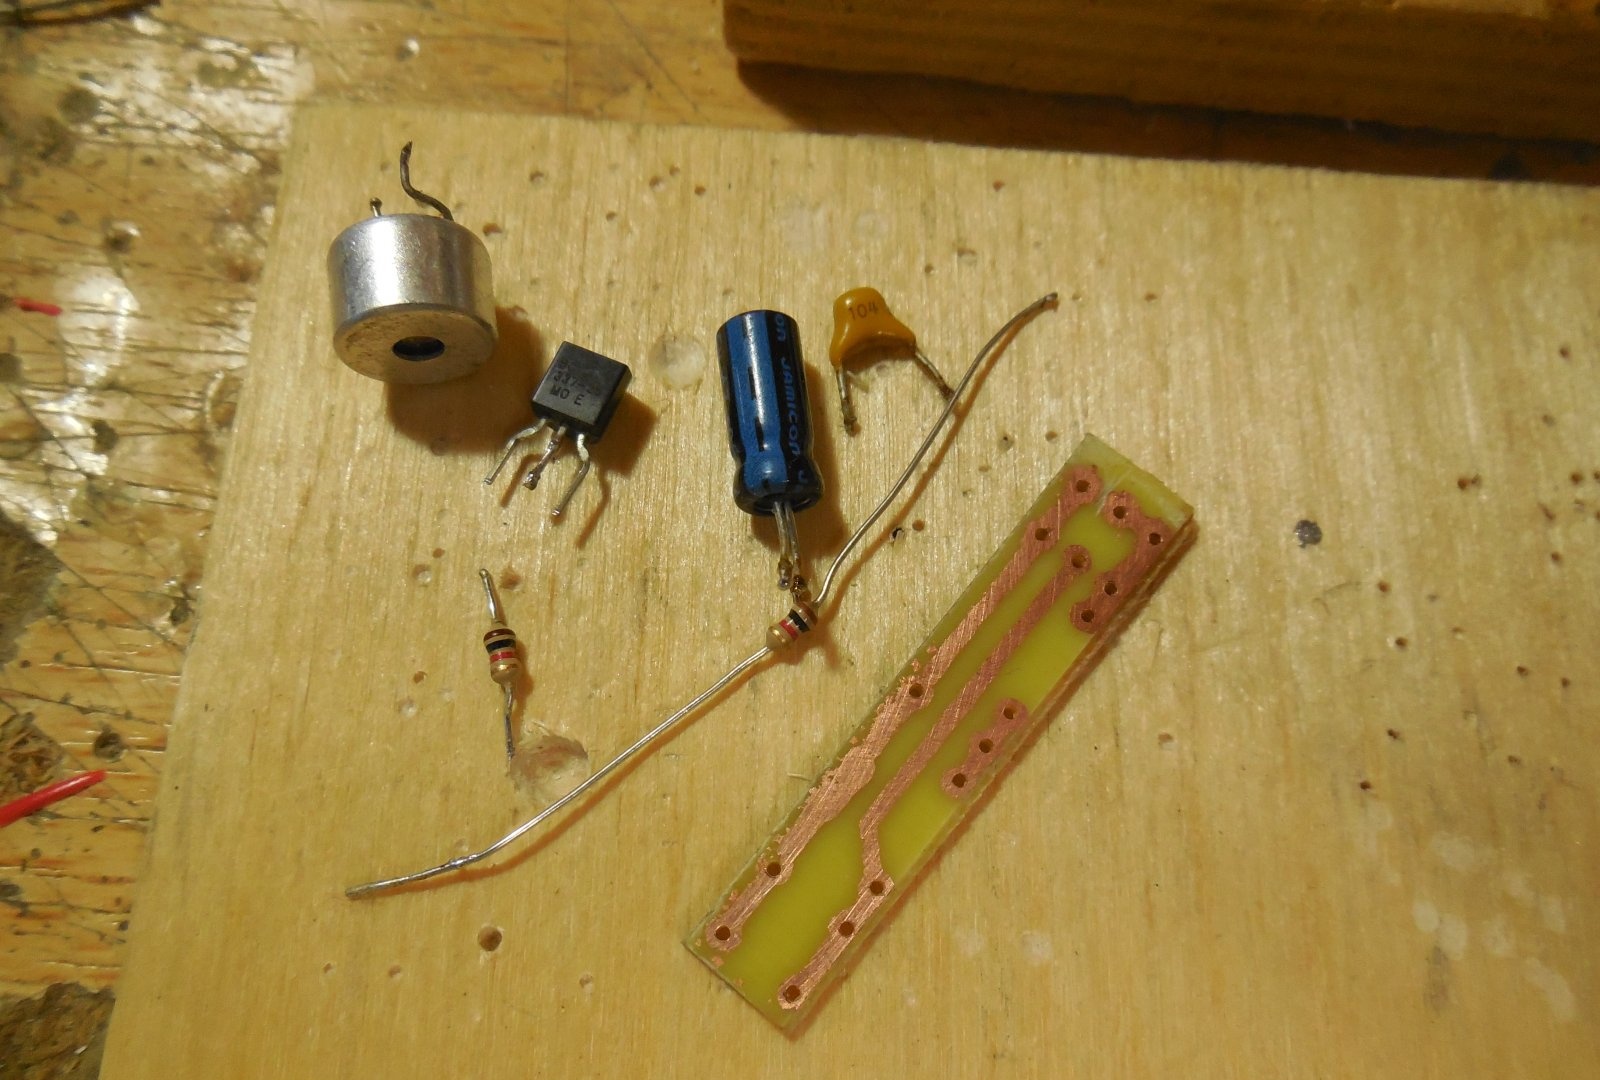
The circuit is extremely simple, containing only two resistors, two capacitors, a transistor and an electret microphone capsule. The transistor can be used in almost any low-power n-p-n structure, for example, KT3102, BC547, BC337. An electret microphone can be obtained, for example, from a broken headset or handset, or you can buy it at a radio parts store. The sensitivity of the microphone will greatly depend on this element, so it is advisable to take several and check which one is best suited. The advantage of this circuit is that it uses phantom power. Those. The sound signal is transmitted through the same wires as the power. If you take a voltmeter and measure the voltage at the microphone input of your computer, it will be about 3-4 volts.When connecting the microphone circuit, this voltage should drop to a level of 0.6-0.7 volts, thus, an external power source will not be needed and there will be no extra wires at the workplace.
Circuit assembly
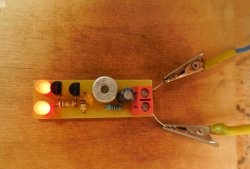
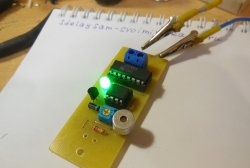
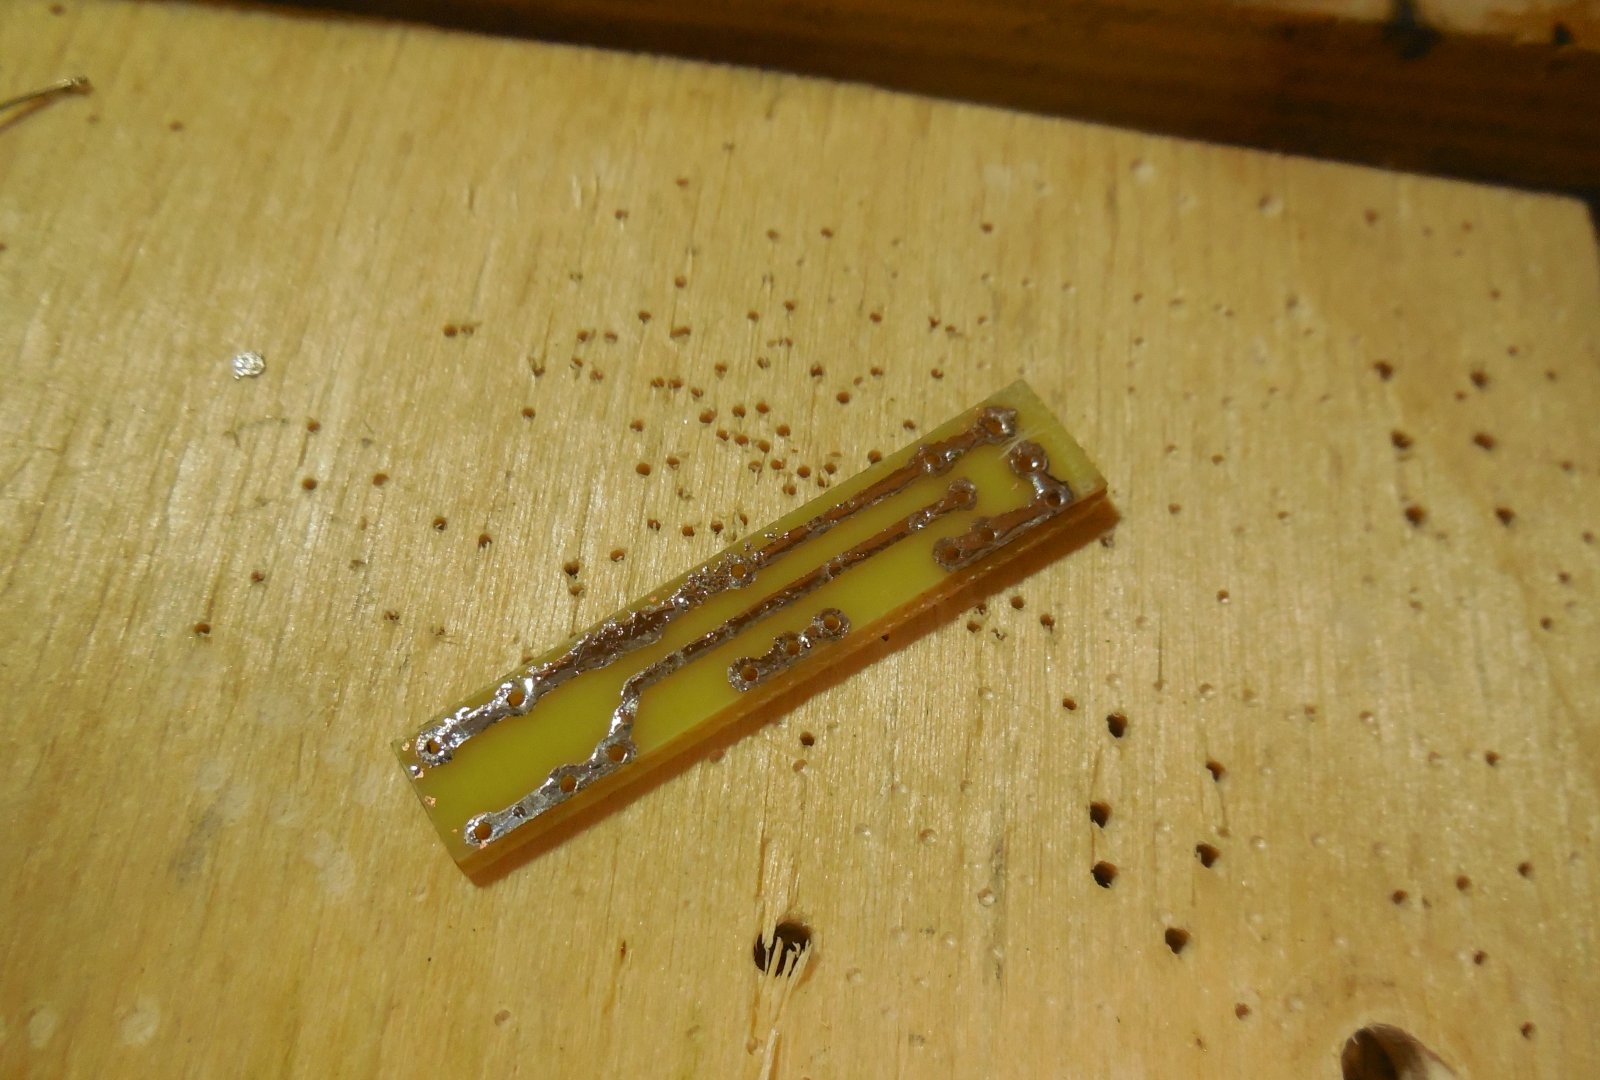
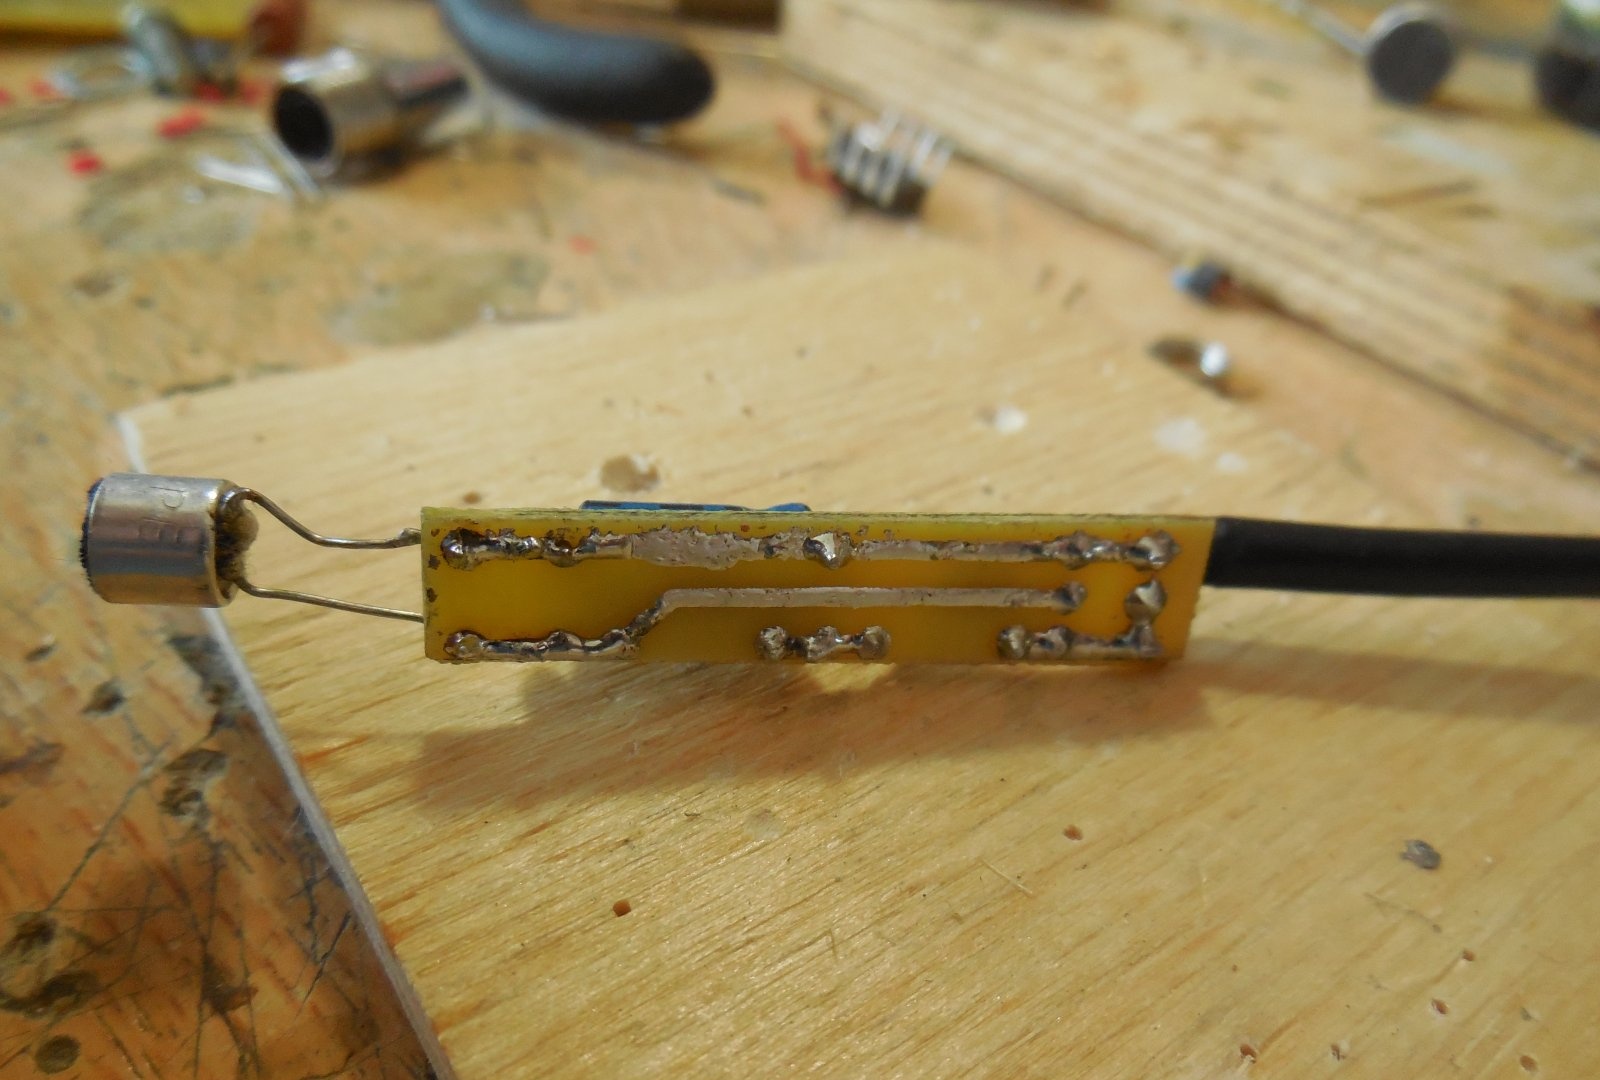
The circuit contains a minimum of parts, so it can be assembled by hanging installation. But, sticking to tradition, I etched a miniature printed circuit board. The paths can even be drawn with a marker or nail polish. A few photos of the process: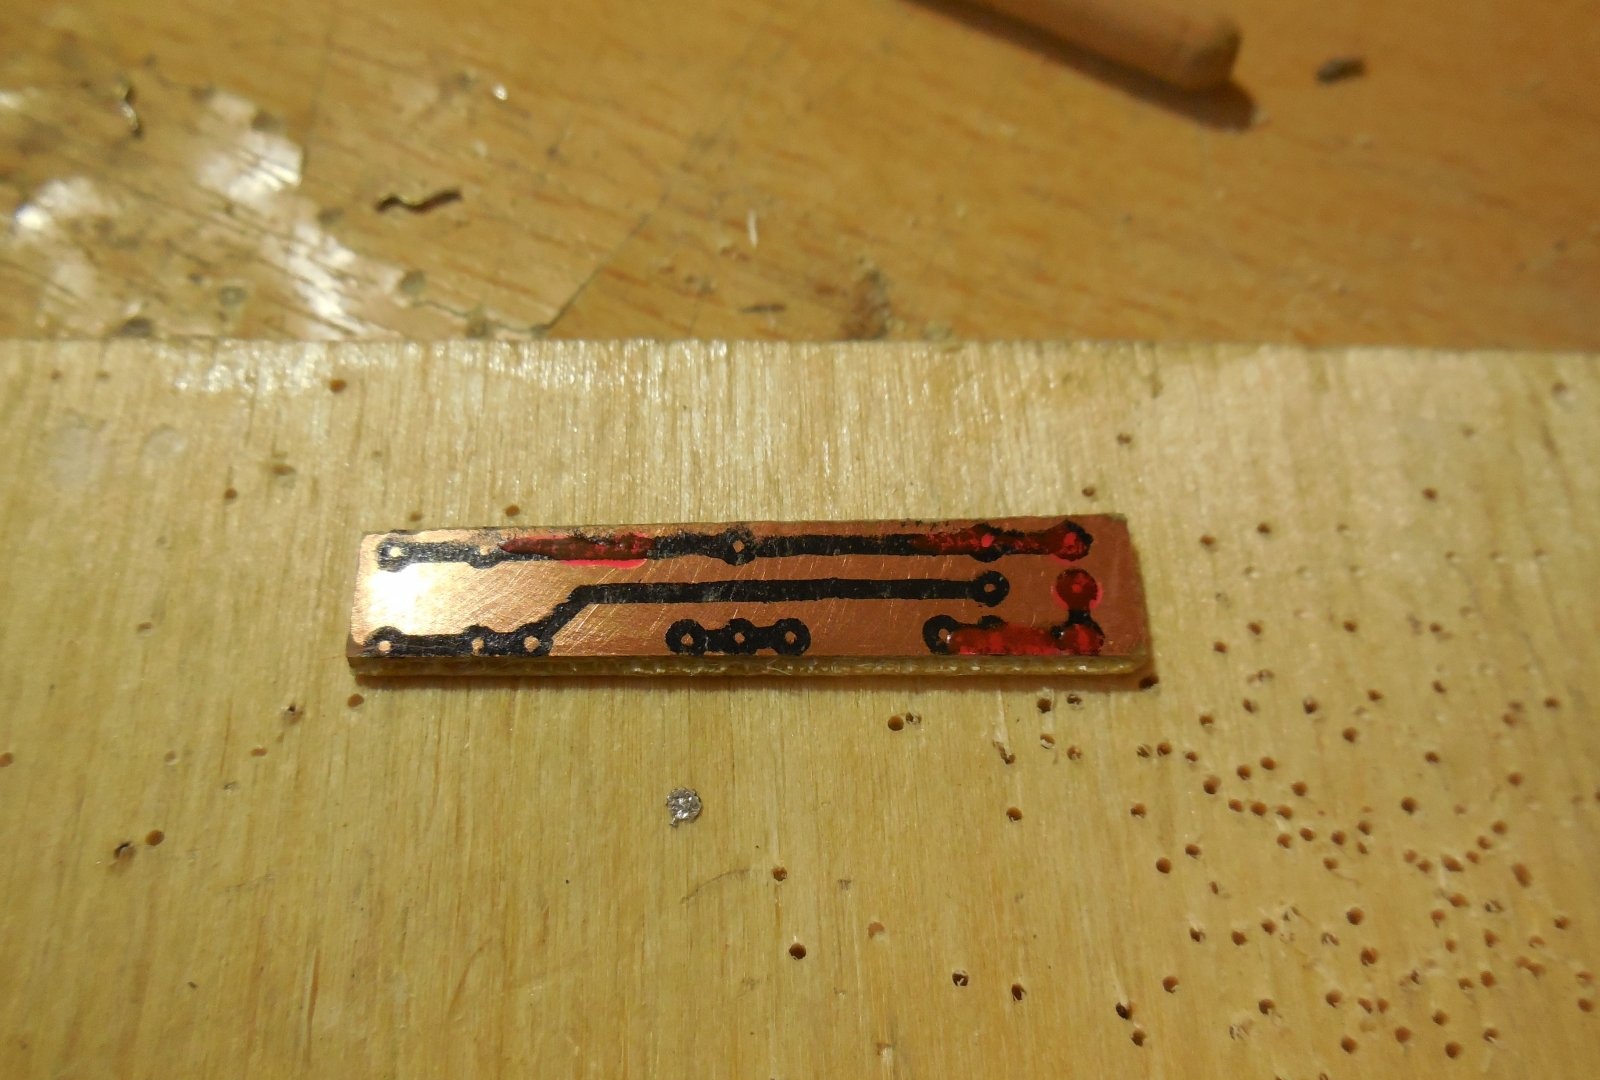
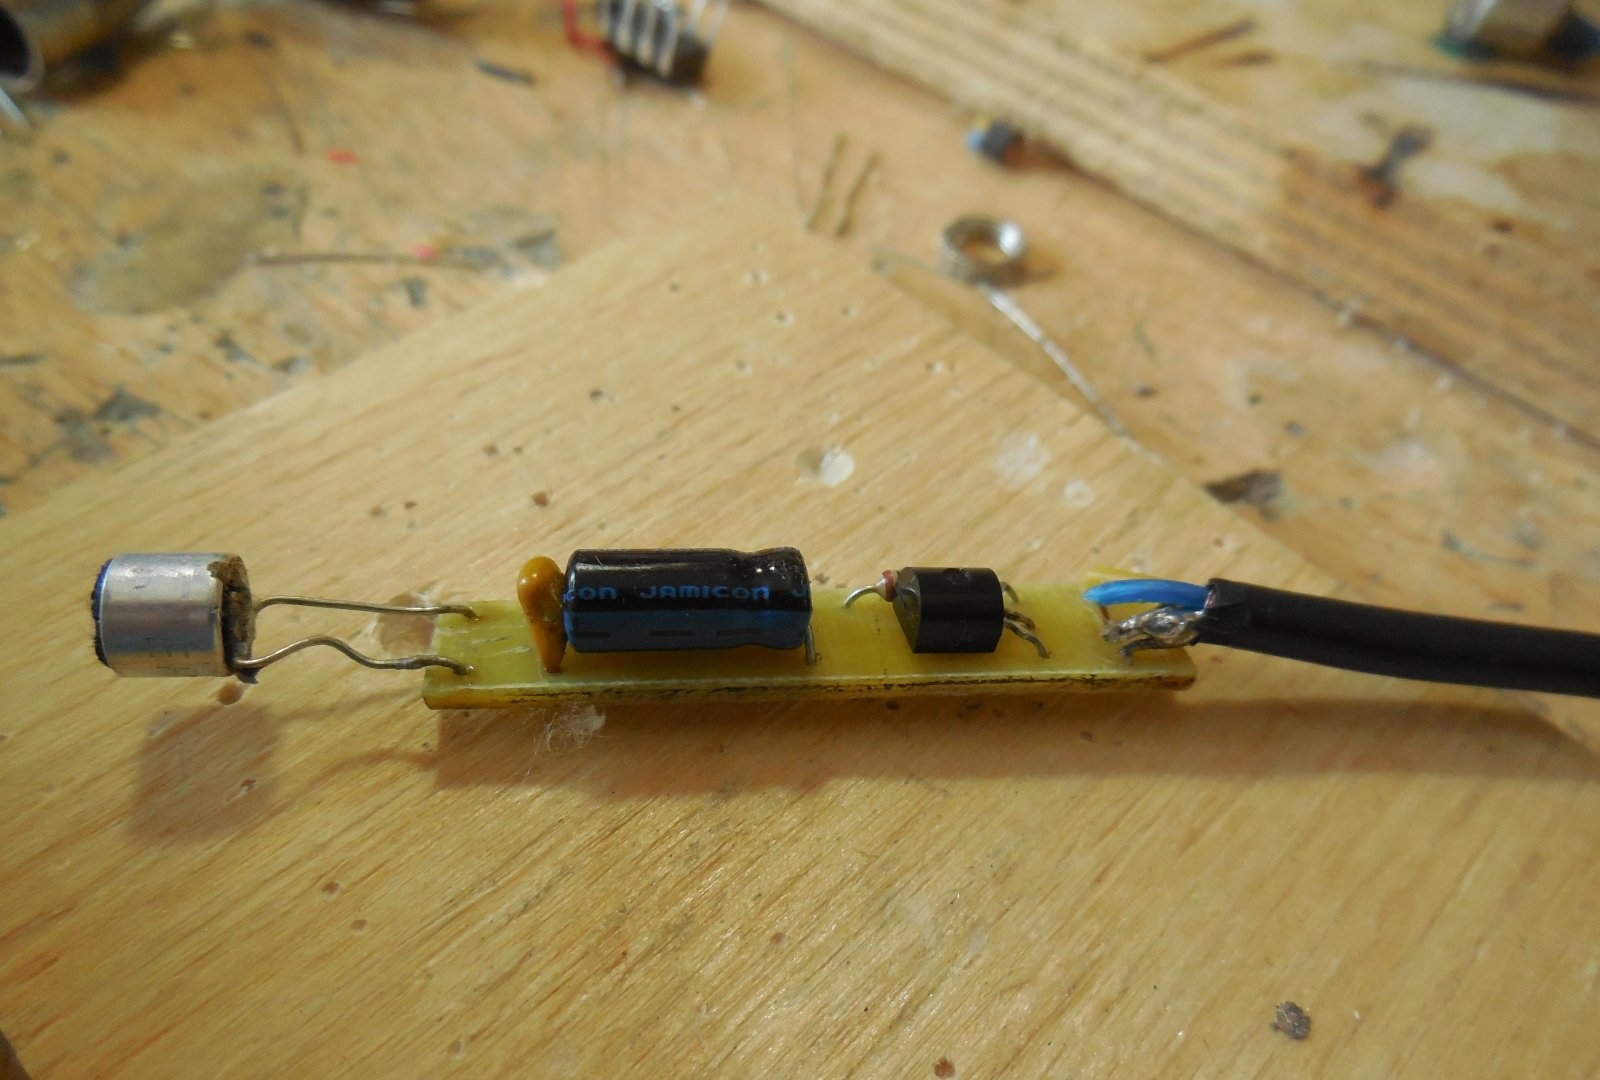
A microphone capsule is soldered on one end of the board, and a shielded wire on the other. Please note that the wire must have a shield, otherwise the microphone will produce terrible noise. The braid of the wire is soldered to the negative, and the two inner cores are connected and soldered to the output of the circuit. It is imperative to maintain the polarity of the microphone capsule, otherwise the circuit will not work. One of its outputs goes to minus, and the second to plus. Determining the polarity is very simple - you need to ring the terminals with the metal body of the capsule. The terminal that connects to the housing is negative.
Microphone assembly
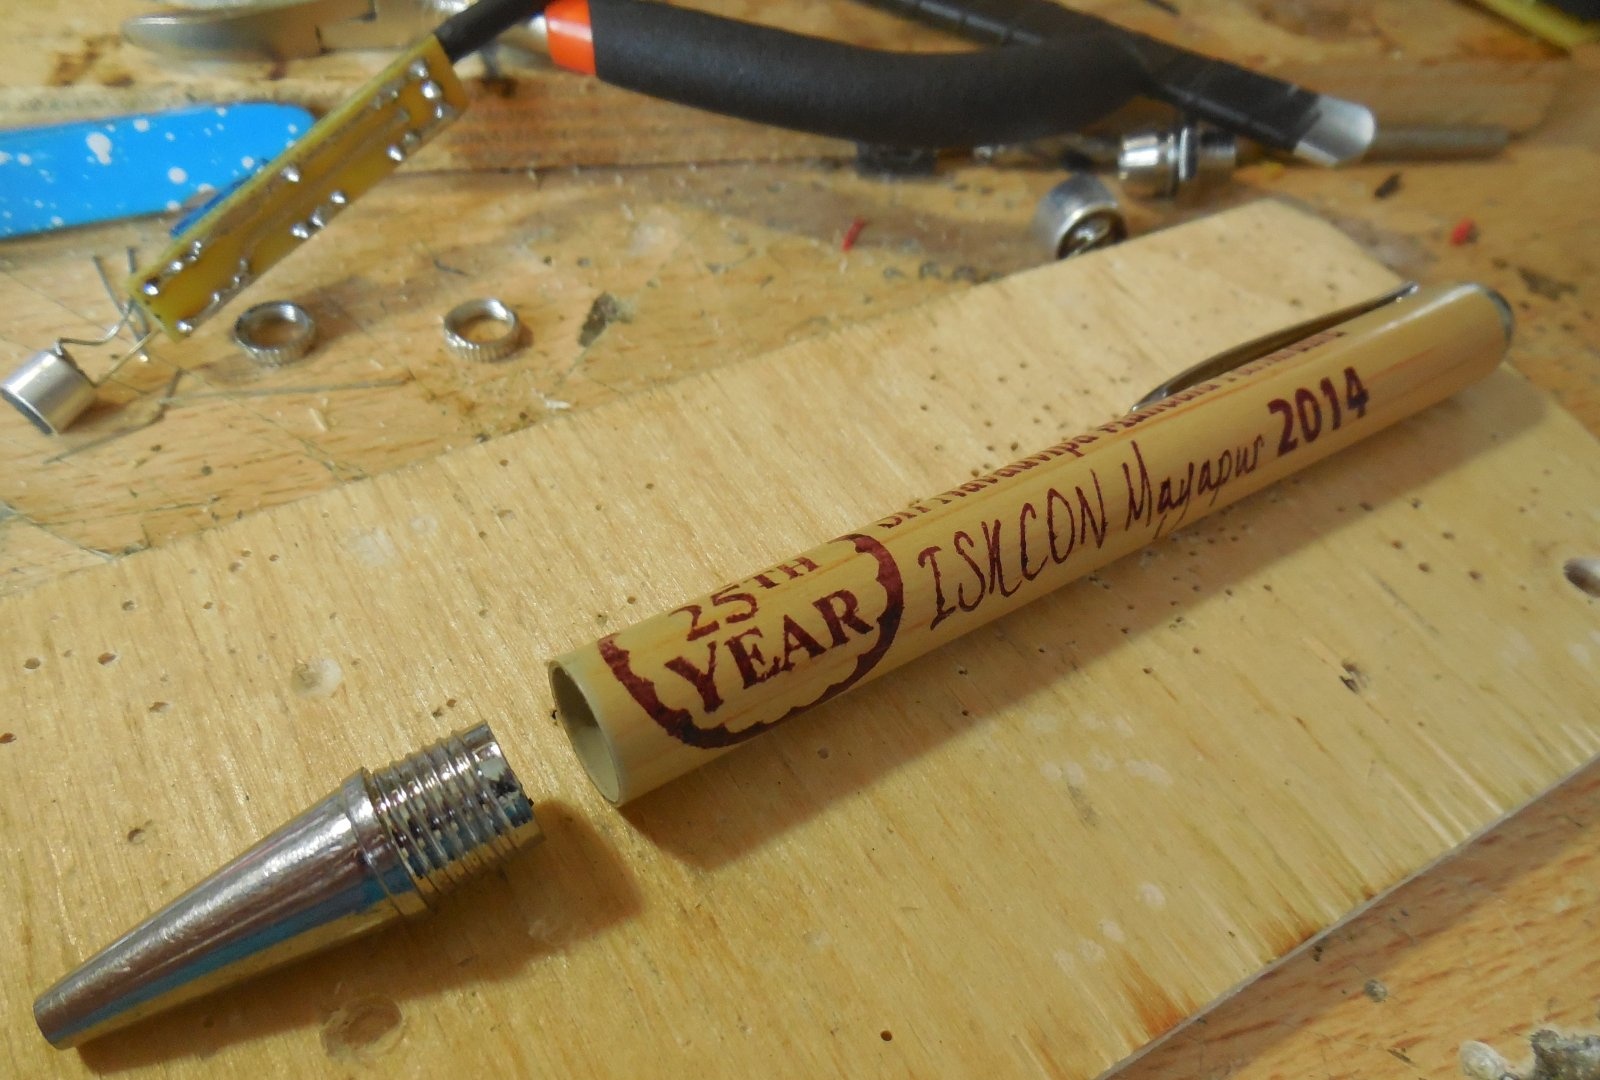
For ease of use, a board with soldered parts must be placed in a suitable housing. Because Since the board has a narrow, elongated shape, you can use an ordinary ballpoint pen as a body. To do this, you need to remove the writing rod from it and check whether the board is the right width. If the circuit is assembled by hanging installation, then it can be given any shape and there will be no problems with capacity. In addition to a pen, any elongated object will work well, be it a marker or a simple plastic tube.
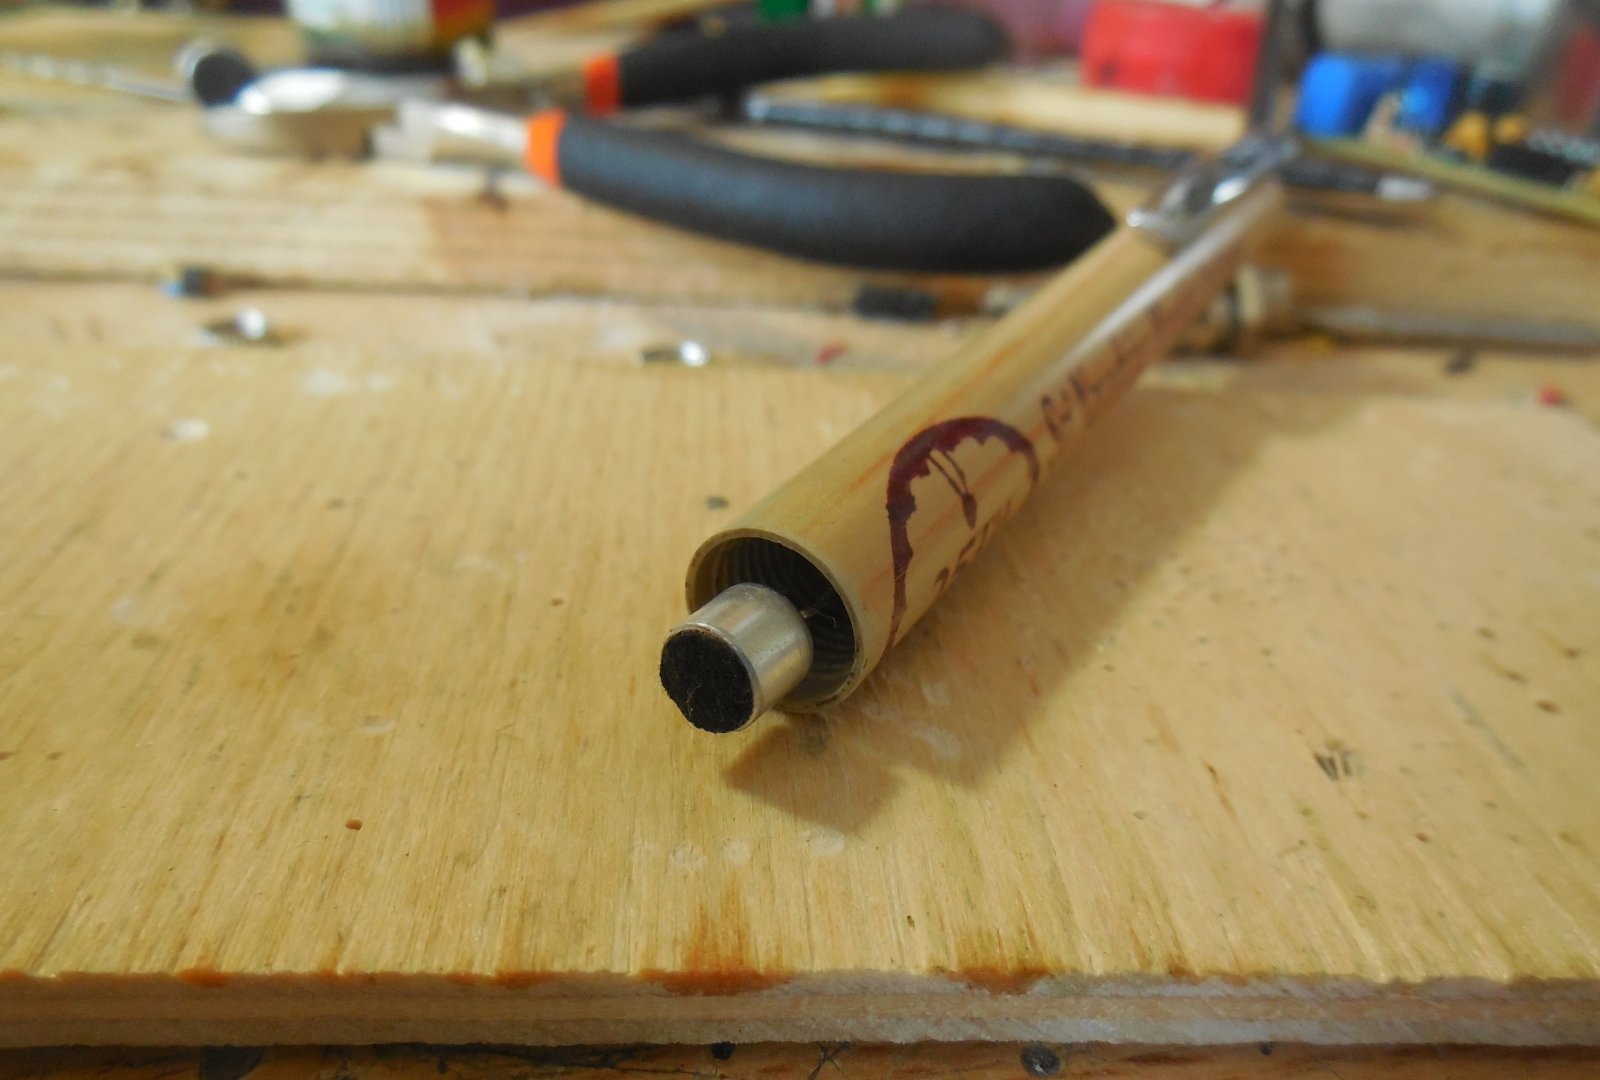
The board is placed inside, the microphone should stick out slightly from the case. The wire comes out from the other side. For reliability, the board along with the wire can be sealed inside the case. The tip of the handle needs to be cut down so that the hole becomes wider and the sound waves can easily reach the microphone capsule.
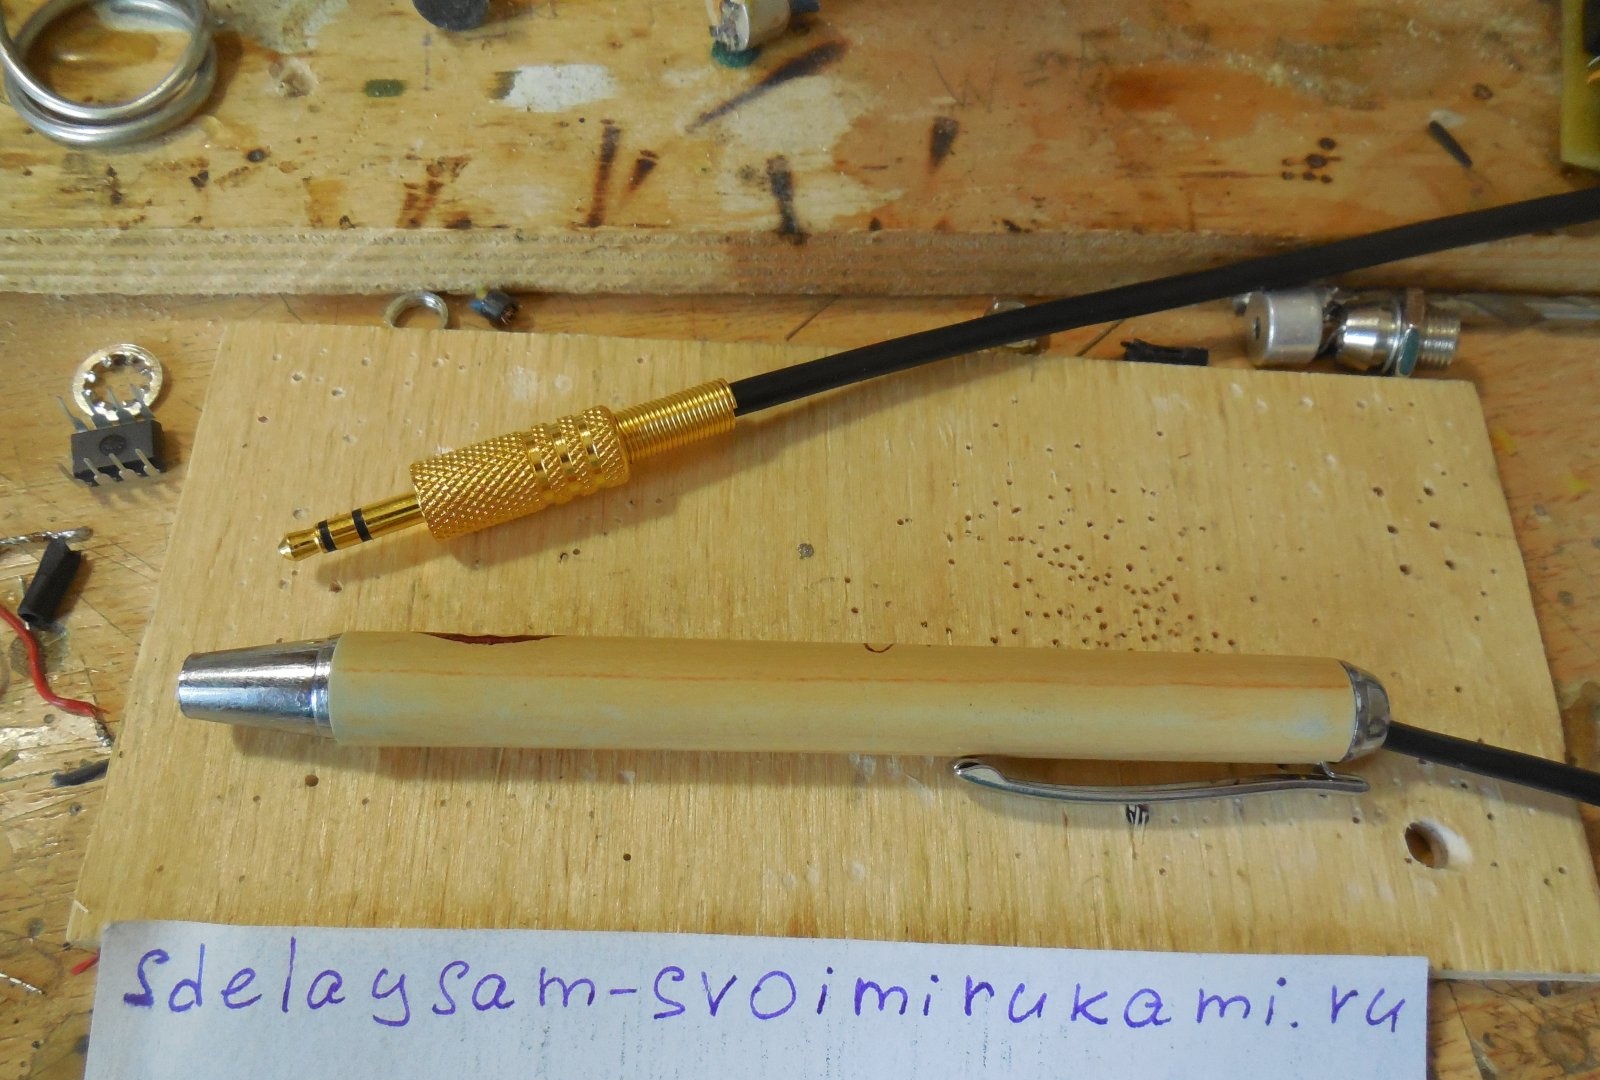
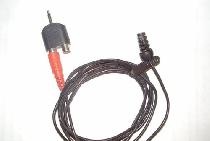
We solder a 3.5 jack plug to the other end of the wire to connect to the microphone input of the computer. At this point, the assembly of the computer microphone is completed, you can turn it on and check the sound quality.