Do it yourself
Life hacks, master classes, useful tips, recipes.
home » Electronics » Electronics from China » Refinement of the charger - adding heat sinks
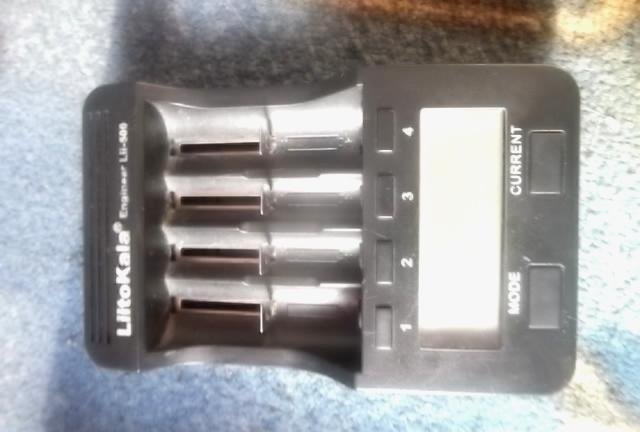
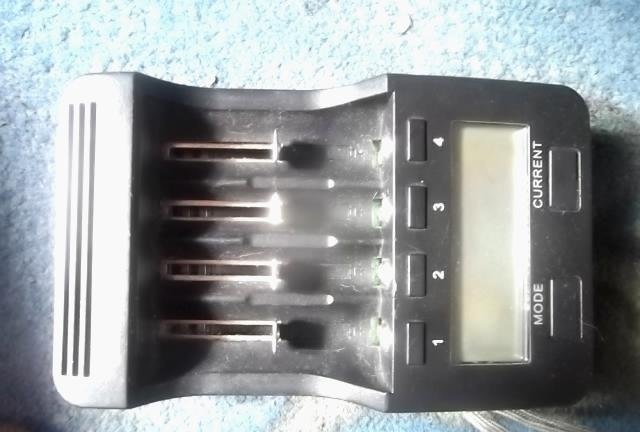
Hello dear readers! This is my first article, so don't judge too harshly. Today we will talk about improving the Chinese battery charger, namely “liitokala lii-500 engineer”.
Refinement of the charger

The background is what prompted me to finalize it. I once bought myself such a charger, and I liked it, but the problem was that it died after a year, I used it without turning it off, and it measured the capacity for this year to be approximately 2000 cans of 18650 li-ion. Afterwards I tried to fix it, but it didn’t work for more than a week. Accordingly, I spat on it and bought a new one of the same kind, and unsoldered the old one into a box. And in this article, I decided to complete it with a new charger, so that it would not break for a long time.

We are finalizing the charger


Let's begin!
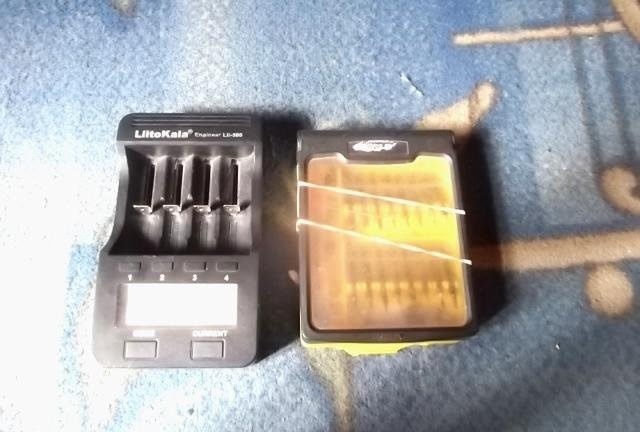
Refinement of the charger

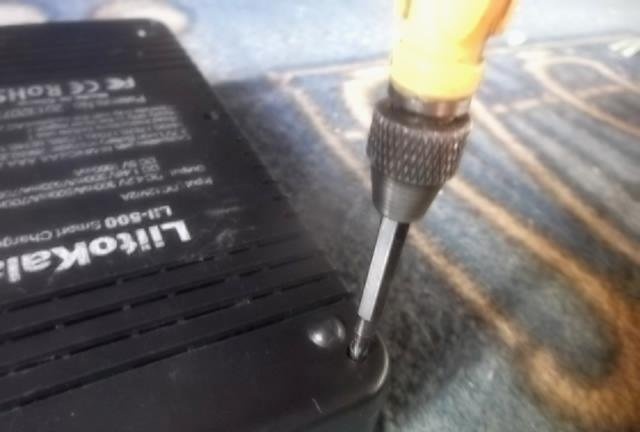
First of all, we unscrew the case, there are 6 screws on the litocal and they are on the bottom.
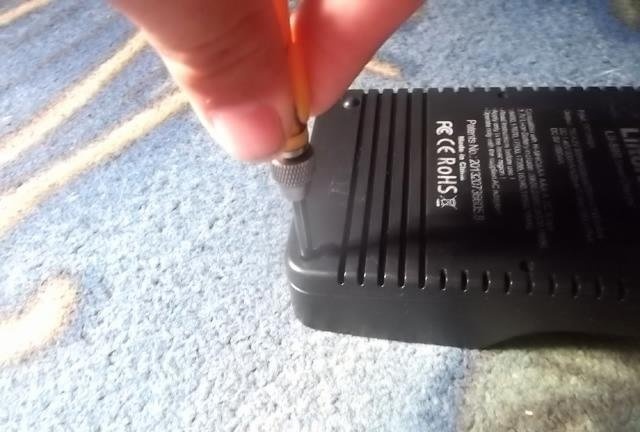
Refinement of the charger

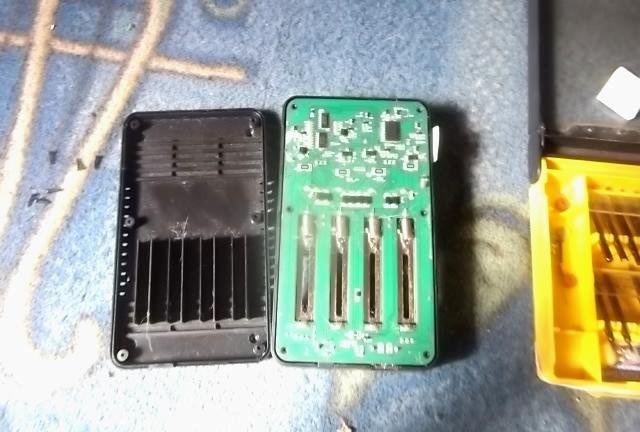
Remove the cover from this device.
Refinement of the charger

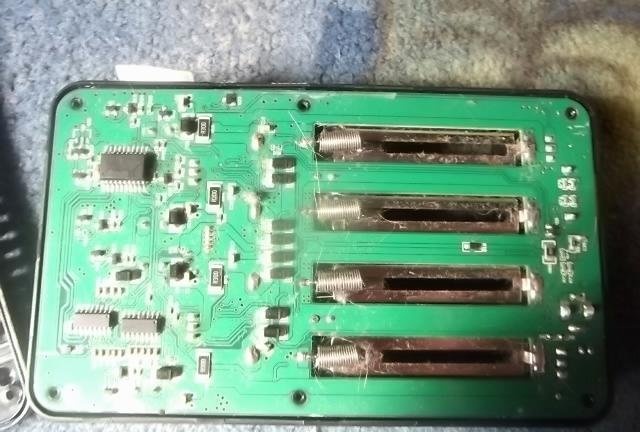
And what do we see?
Refinement of the charger

Refinement of the charger

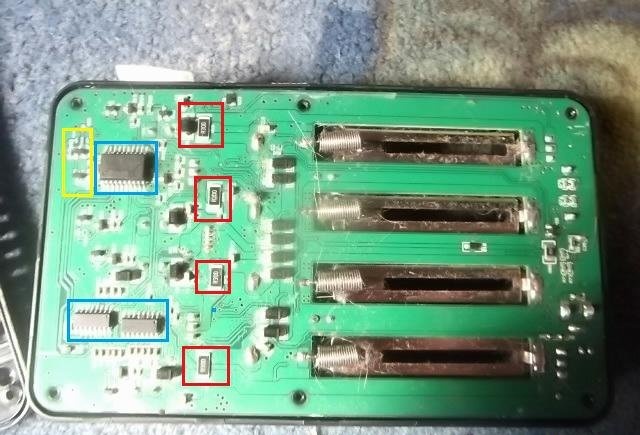
I marked in red the resistors that consume battery power when discharged, in blue the logic, the processor and two more small microcircuits, I still didn’t understand what kind of microcircuits they were, in yellow I marked the processor’s power circuit.
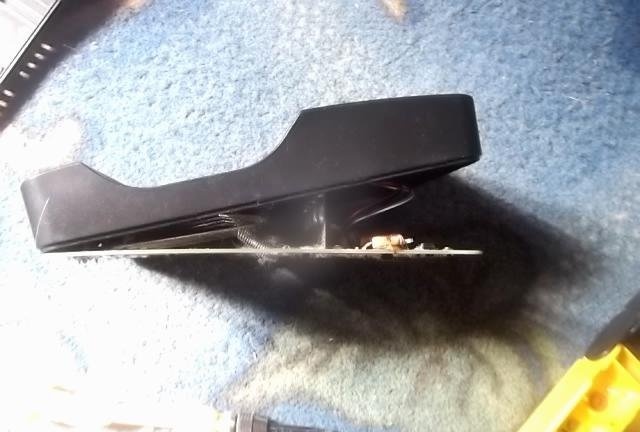
Refinement of the charger

Let's continue the disassembly. We take out the board.
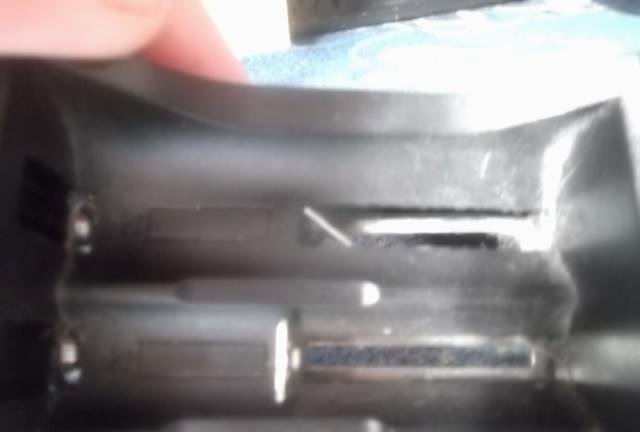
Refinement of the charger

The board rests against the contacts, so we pull them out. Turn the contacts sideways as shown in the photo. Be careful, do not bend the fastener with the letter G under any circumstances on the contact - since I already broke 1 on the old litocal which was the first.
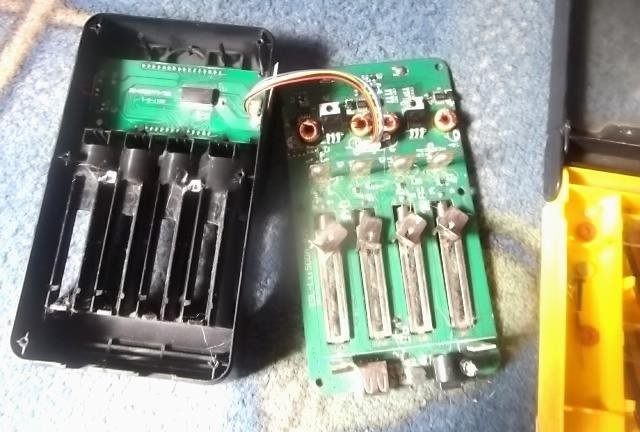
Refinement of the charger

Hurray, we pulled it out!
Now you need to disconnect the connector from the screen.
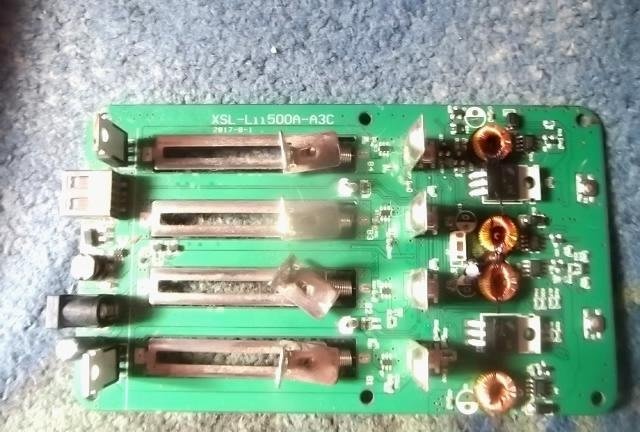
Refinement of the charger

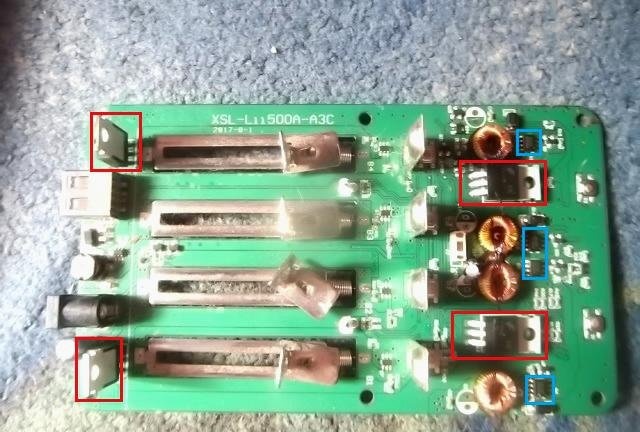
So we see:
Refinement of the charger

The red ones are the mofettes responsible for the discharge and the blue ones are responsible for the charge.
Also, on my copy of the charger, I noticed a very crookedly soldered diode, and this is how it was from the factory.
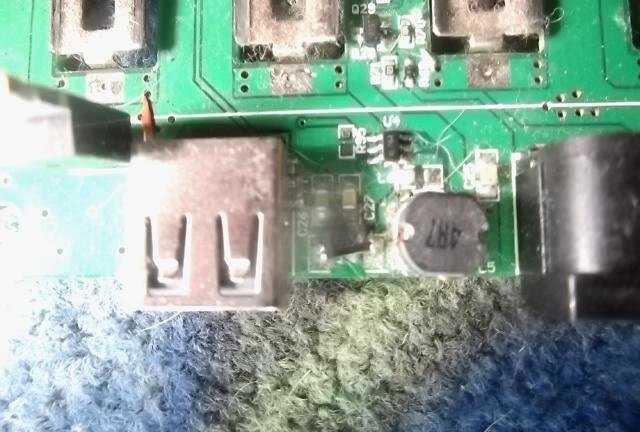
Refinement of the charger

Let's move on to the finalization itself!
Refinement of the charger

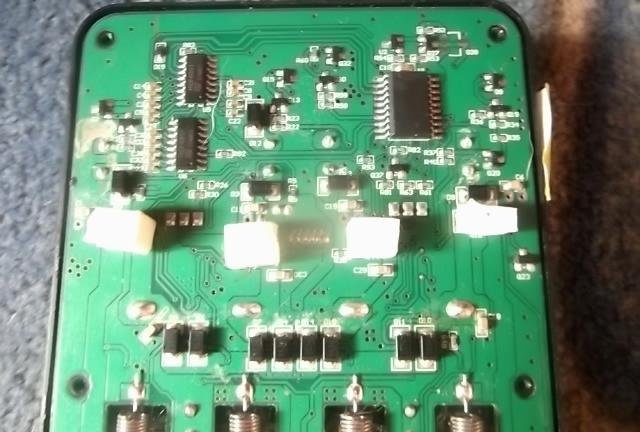
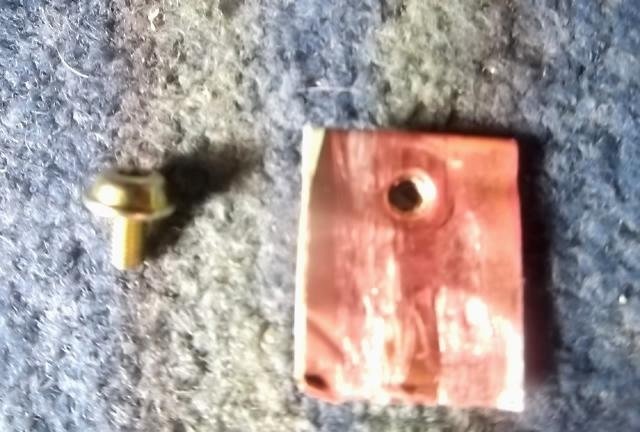
First of all, we cut small radiators; you can also supply ready-made radiators, but I don’t have them, so I made them from a piece of copper busbar of the ATX power supply transformer.
Refinement of the charger

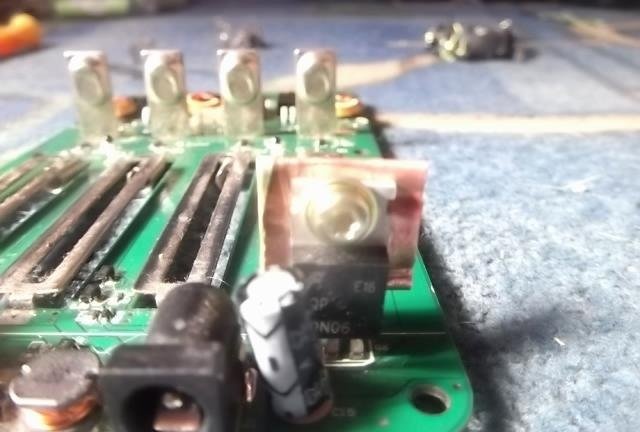
We screw them on.
Refinement of the charger

We do the same with the second one.
Refinement of the charger

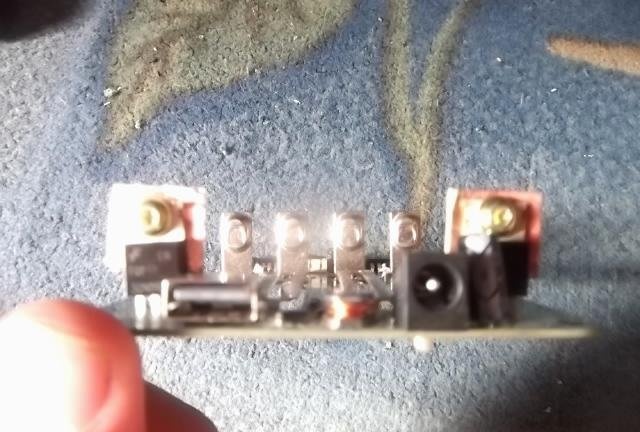
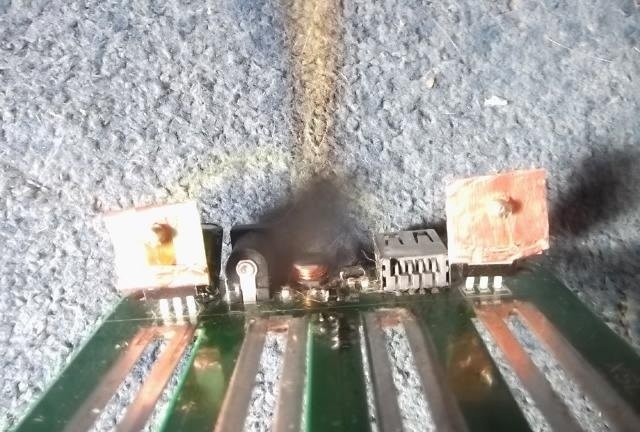
This is what it looks like for me.
Refinement of the charger

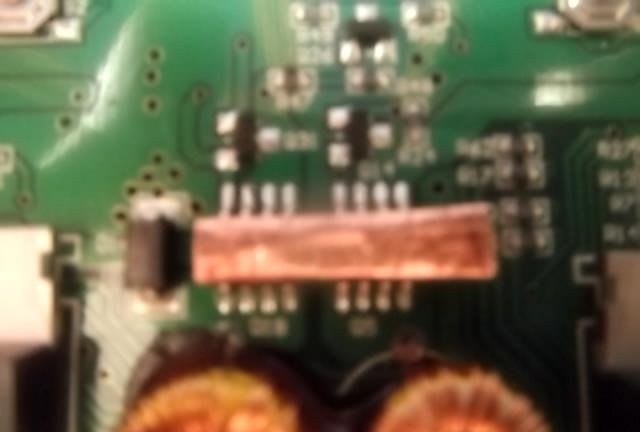
The camera can't get focus. We take a copper plate, cut it out as in the photo and glue it with second glue.
Refinement of the charger

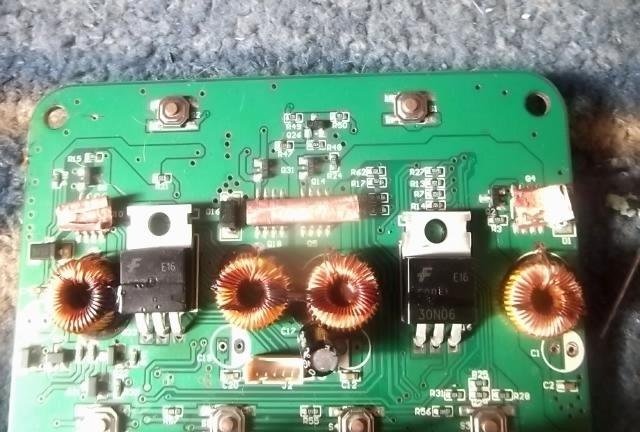
Charge transistors in the middle.
Refinement of the charger

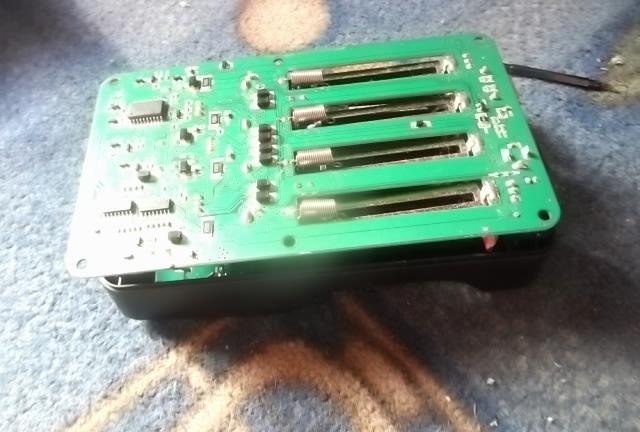
We also cut out and glue onto the side charge transistors of slots 1 and 4
Refinement of the charger

After the glue of the radiators has dried, we begin to assemble.
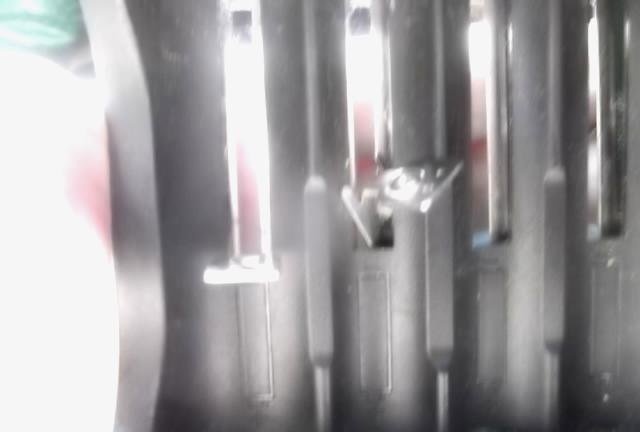
Refinement of the charger

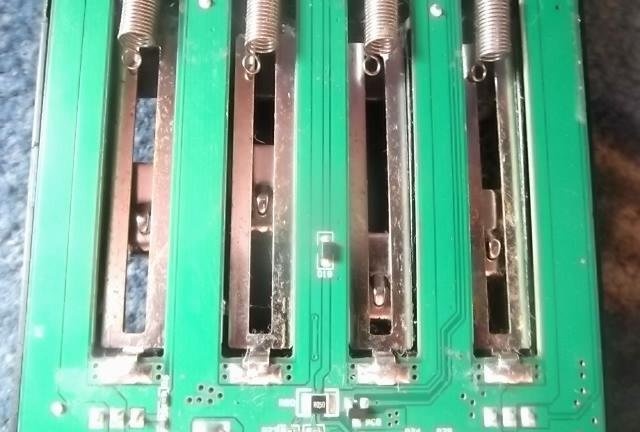
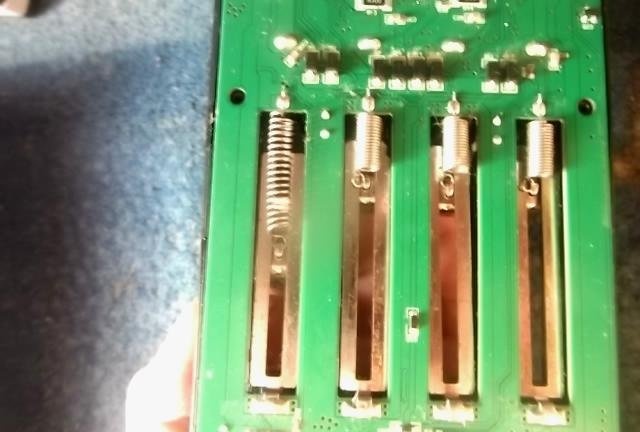
We put the contacts sideways in place and this is much more difficult than removing them.
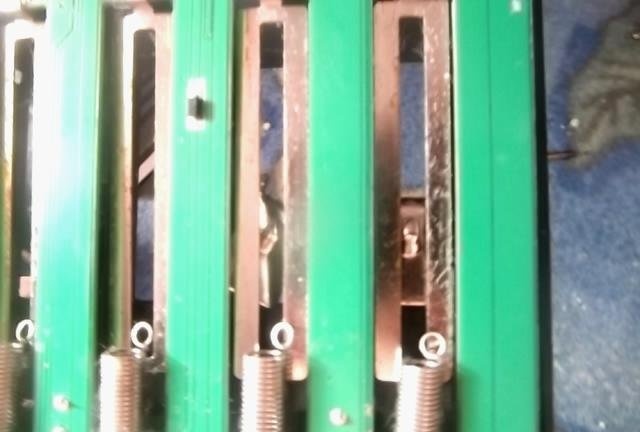
Refinement of the charger

We cling to the springs.
Refinement of the charger

Refinement of the charger

To do this, we hook the spring with our fingernail and pull it down; it won’t work on the first try, but it will work on the 6th or 7th try.
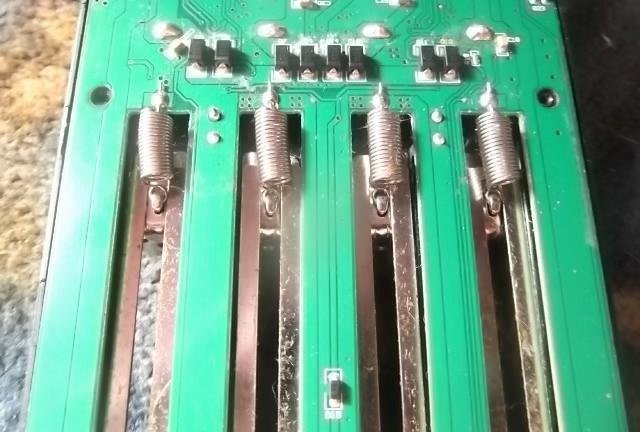
Refinement of the charger

Refinement of the charger

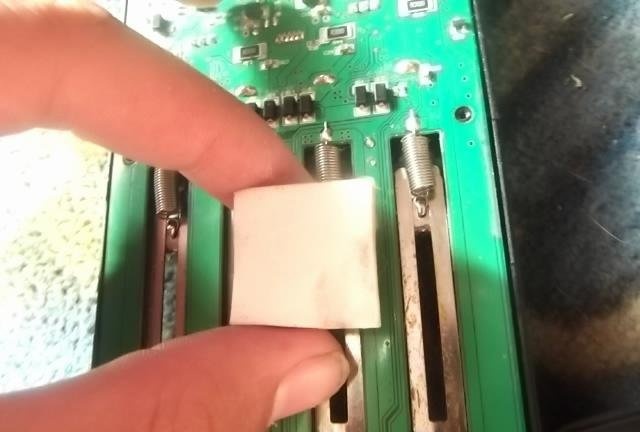
Now let's take some thermal gum.
Refinement of the charger

The mode is divided into pieces and first of all we put it on the resistors, since they get very hot.
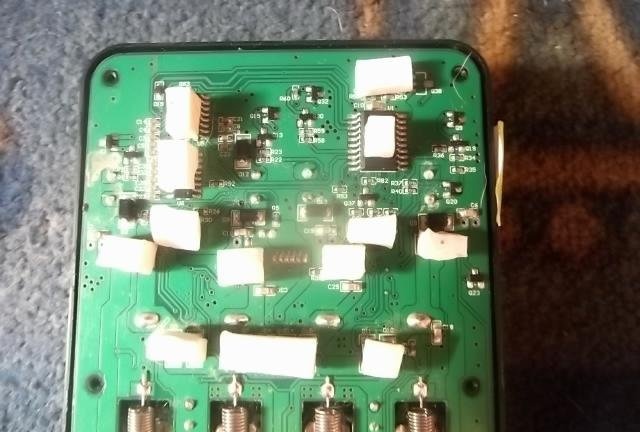
Refinement of the charger

We put the rest as here. But this is optional since everything else heats up less.
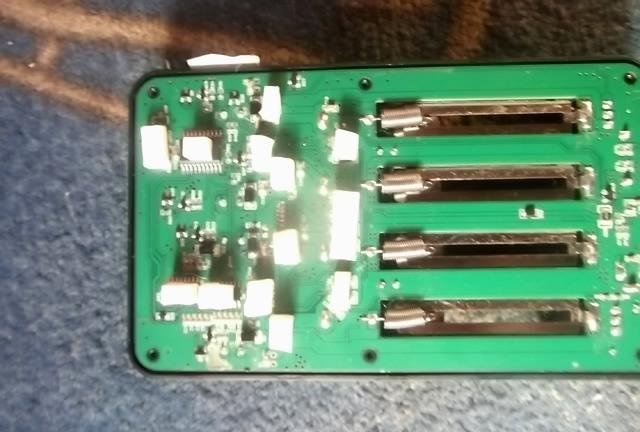
Refinement of the charger

Now let's assemble this device.
Refinement of the charger

Refinement of the charger

Ready!
Refinement of the charger

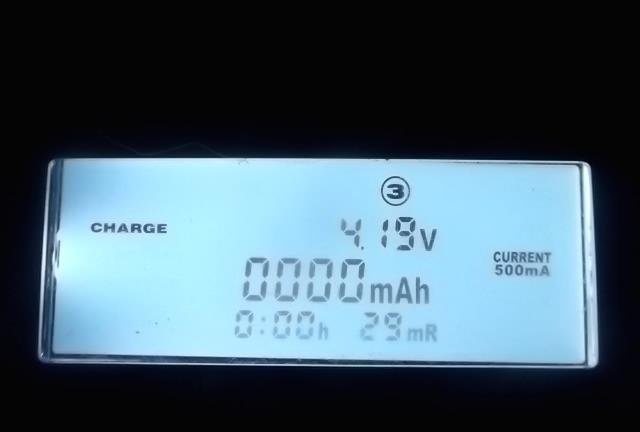
Now let's check for functionality. Everything worked for me on the first try.
come back
Comment
  • bowtiesmilelaughingblushsmileyrelaxed relaxedsmirk
    heart_eyeskissing_heartkissing_closed_eyesflushedrelievedsatisfiedgrin
    winkstuck_out_tongue_winking_eyestuck_out_tongue_closed_eyesgrinningkissingstuck_out_tonguesleeping
    worriedfrowninganguishedopen_mouthgrimacingconfusedhushed
    expressionlessunamusedsweat_smilesweatdisappointed_relievedwearypassive
    disappointedconfoundedfearfulcold_sweatperseverecrysob
    joyastonishedscreamtired_faceangryragetriumph
    sleepyyummasksunglassesdizzy_faceimpsmiling_imp
    neutral_faceno_mouthinnocent
4 minus one =
Comments (8)
  1. Guest Mikhail
    #1 Guest Mikhail Guests August 1, 2018 12:23
    14
    What's the point of these blotches?
  2. Guest Valentin
    #2 Guest Valentin Guests February 28, 2019 08:44
    8
    Yes, here, in principle, all the “modifications” are of zero use. Normal heat dissipation is not done
  3. you
    #3 you Guests 16 October 2019 10:02
    2
    I forgot 2 more transistors TO220
  4. Anton
    #4 Anton Guests 29 January 2020 07:42
    4
    You also need to bypass the springs with a piece of mgtf to better measure the internal resistance.
    You can make remote probes with “Crocodiles”, that will also be useful.
  5. dj-toxa
    #5 dj-toxa Guests March 11, 2020 02:39
    6
    nonsense and not an improvement, the reviewer is a schoolboy, apparently. I sealed the parts with thermal gum, only worsening the heat flow from them; it would have been more helpful if I had dully drilled holes in the body. after such modifications, by such clever people, things usually stop working, and many become beyond repair.
  6. Guest Maxim
    #6 Guest Maxim Guests 4 August 2020 17:56
    4
    Don't be marginalized, the guy tried his best!!!
  7. Guest Vadim
    #7 Guest Vadim Guests 30 July 2021 23:32
    0
    You don't need glue, but thermal paste, I disassembled the DVD, there was a heat sink glued to thermal paste
  8. Petr Prokhorov
    #8 Petr Prokhorov Visitors 6 July 2022 12:48
    0
    the camera is just a nightmare

Decorating a flower pot with fabric | Do it yourself

Iodine solution against late blight of tomatoes

Circular machine made from a bicycle hub and a washing machine motor

Do it yourself - crafts and master classes | Page 359

«Do it yourself - with your own hands» - a site of interesting homemade products made from scrap materials and items at home. Step-by-step master classes with photos and descriptions, technologies, life hacks - everything a real master or just a craftsman needs for needlework. Crafts of any complexity, a large selection of directions and ideas for creativity.

We recommend reading

Washing machine error codes