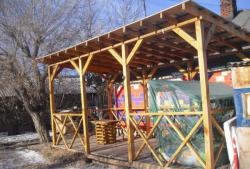
Construction Owning your own home is not an easy task. Especially if you are not a professional, do not have complete knowledge, and do not use the tool so skillfully. Yes, and you are building a house for the first time. I think there are many such entry-level masters. But you shouldn’t blame them for their mistakes. After all, the passionate desire to create and build simply does not give rest. Then they, like me, have to go through everything through personal experience. So, it happened when waterproofing the foundation with my own hands, which I started at the wrong moment. However, the true indicators of the correctness of certain actions are the situation when the work is easy, fun and fast. On the other hand, people already have a saying - if you drive more quietly, you will go further. And my story with a couple of bright photographs will describe my attempt at writing with all the failures and positive aspects.
The meaning of protecting the foundation from moisture
Everything is clear, you say. After all, the point of waterproofing a foundation is protection. The fact is that concrete, no matter how first-class it is, is designed for a limited number of freezing cycles. The internal moisture of the screed reduces this amount in equal proportion.Because with each freeze, the foundation with internal moisture is destroyed at an accelerated pace. Isolation leads to cutting off water sources. The service life increases. The second serious problem that waterproofing combats is the formation of mold and mildew. Their environment is created by high humidity. Of course, without proper protection.
Nodal moments of water cut-off from concrete
During capital construction, methods for waterproofing concrete screeds were developed:
- Laying a trench with roofing felt.
- Adding additives that repel water to the cement mortar.
- Treatment of the visible part of the foundation with waste fuels and lubricants.
- Laying roofing felt on top of the screed.
- Application of bituminous materials.
Looking ahead, I will say that I did not use all of the above methods. Although I knew that high-quality protection only works in combination:
- By fastening sheets of roofing felt to the inside of the formwork and laying it on the bottom of the trench, they ensure minimal contact with groundwater. Although he is still present. I did not do such manipulations for two reasons:
- On my building site, the primer is deep and the soil consists of sand.
- The second reason is more trivial. It lies in the desire to save money without buying, as it seemed to me, extra meters of roofing felt.
- I used concrete additives in the form of liquid glass. The result was not long in coming. Water-repellent properties appeared.
- Impregnation with used machine oil is used not only for waterproofing, but also to eliminate insects nesting in the pores of concrete. This applies to ants, whose colonies are visible and invisible on the site. My neighbor did the treatment for exactly this reason. I didn't do it again. Although the impregnation does create a water-repellent layer that protects from rain.
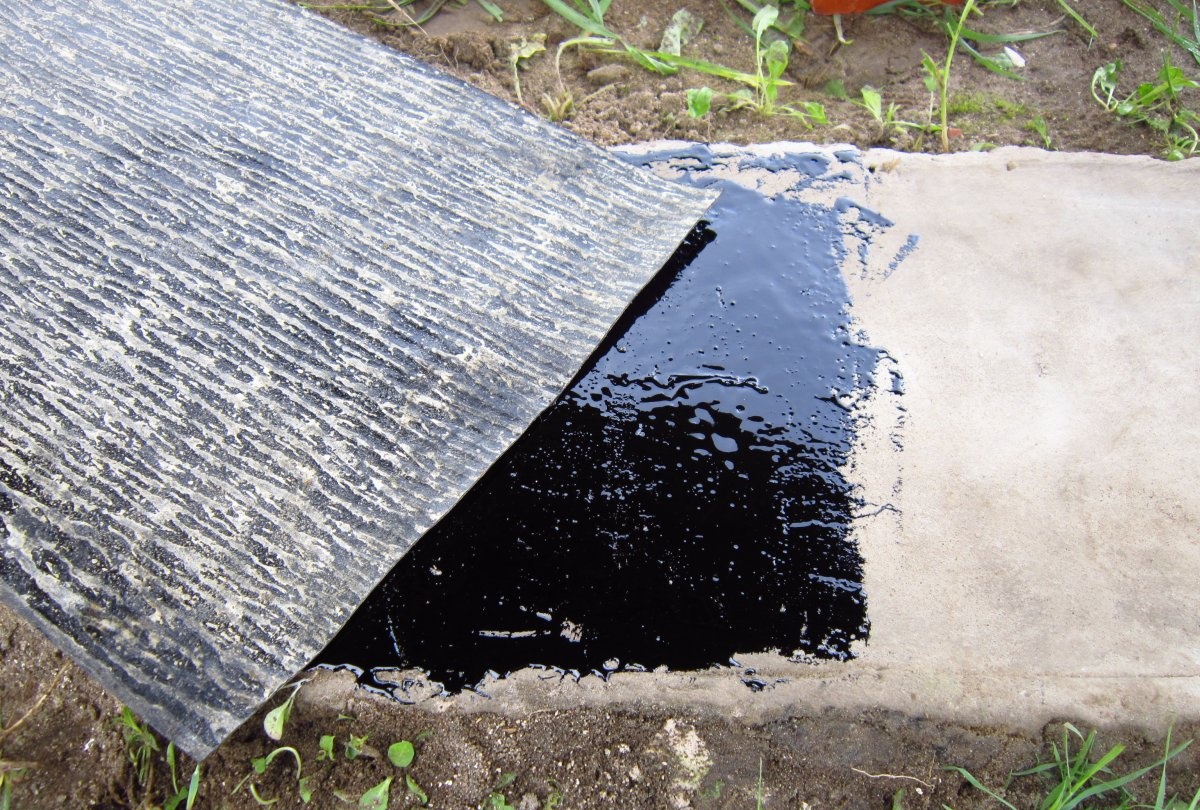
- I will dwell on the last two points in more detail, since they are the subject of my story. We are talking about laying roofing felt on top of the foundation and using bitumen mastic. I did not use the bitumen itself. But I purchased a set of two materials that work together. This is bitumen mastic and roofing material glued to it on top of the screed. Failsafe protection. But the technology was not without surprises. More about them later.
Overview of the main materials for waterproofing screeds
That at the time of using the materials I knew about them.
Ruberoid is roofing cardboard. It is impregnated with petroleum products. In particular, bitumen. And in two layers:
1. Internal is soft bitumen.
2. External – refractory.
To increase strength, external powder is used. This product has enough advantages:
- Reliability.
- Durability.
- Compliance in independent execution.
- Provides waterproofing and vapor barrier.
Roofing felt is not without its disadvantages:
- He is afraid of direct sunlight. Therefore, it requires finishing with plaster. Not always though.
- The material located in the ground is protected with asbestos cement sheets. Not always either.
- Ruberoid does not tolerate caking. The problem is solved by storing it in a vertical position.
A few words about the varieties of the product. There are roofing and lining materials. They differ in density:
1.The lining has an indicator of 300 g/m2.
2. Denser roofing material – 350 g/m2.
The RPP marking stands for lining roofing felt. It's smooth. RPK is a roofing material. It has sprinkles. Personally, I had a choice between RPP and RPP (o). The letter in brackets means lightweight. It is used not only on concrete bases, but also on roofs, where light weight is a priority. I chose without the letter O.
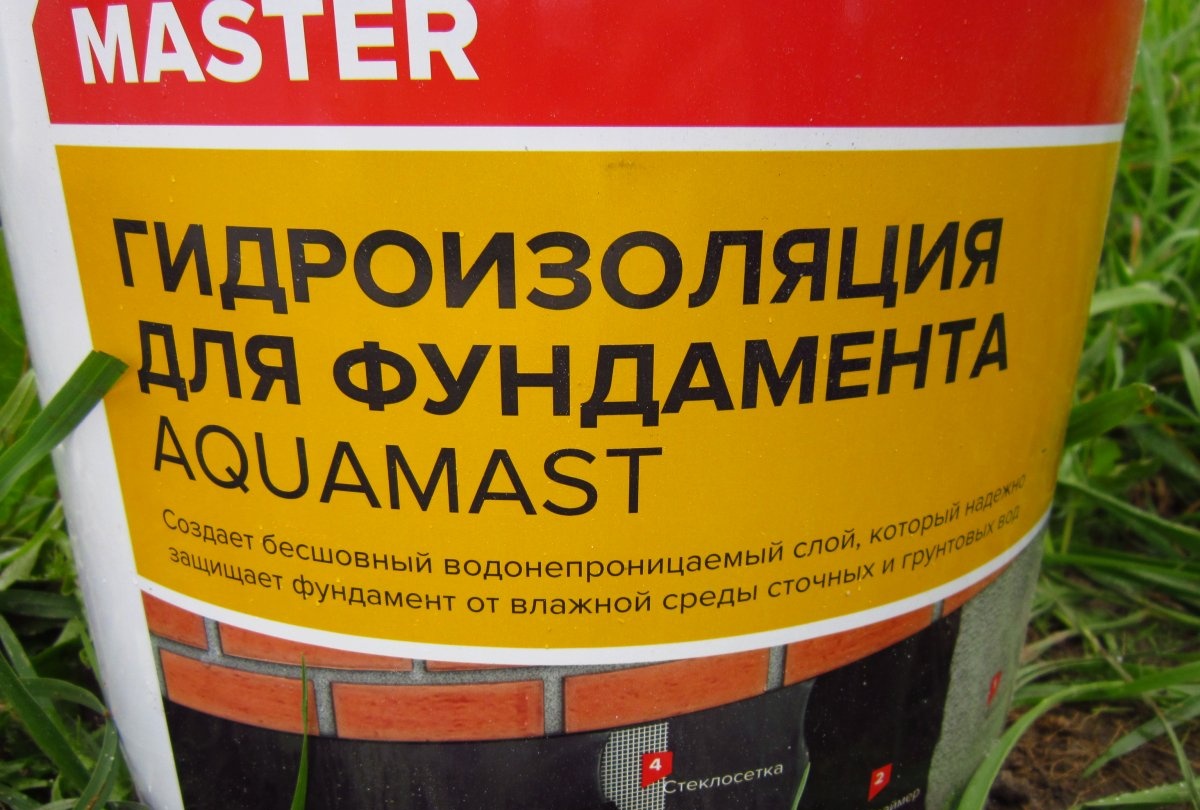
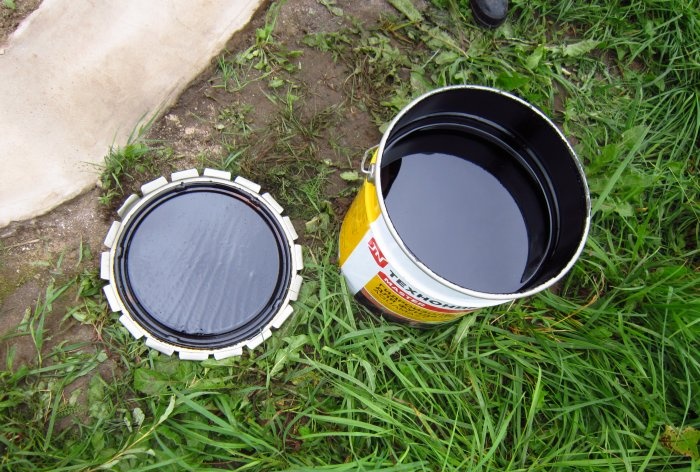
Among the bitumen mastics, I chose the cold version under the Aquamast brand from TechnoNIKOL. The line of these mastics is intended for household use. There are most likely differences from the professional series. But this was my first time working with this material. Let me say this, I liked it:
- The mastic spreads easily on concrete.
- Has a good adhesive effect.
- Does not emit an unpleasant odor. Although all the work was carried out outside.
Among the disadvantages, I highlight those that I could not cope with due to inexperience: - The mastic gets very dirty. You need to be careful or wear protective clothing that you don’t mind.
- It takes a long time to dry. A day is enough in the open sun, but under roofing felt the drying time is several days. It depends on the air temperature and humidity.
- Does not tolerate contact with water. This was my bad experience. More about him later.
Mastic consists of petroleum bitumen with a solvent. For more curious builders, I will list the technical characteristics of the product for covering the foundation:
- Adhesive strength 0.1 MPa. This applies to concrete, metal, wood.
- Water absorption per day is 2% by weight.
- Water resistance is positive. Time and pressure conditions are 72 hours and 0.001 MPa, respectively.
- The proportion of non-volatile substances is from 75 to 90%.
- Use temperature from -10 to +40.
- The layer dries within a day.My observations confirm a longer drying time.
The materials I purchased were fresh and free of defects. This is the main question when choosing even expensive building materials.
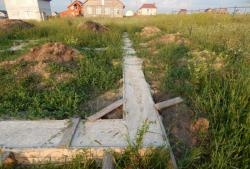
Technological process of waterproofing a strip foundation
Insulation using roofing felt is divided into horizontal and vertical cut-off. From the name it is clear that the vertical protection is attached to the inside of the wooden formwork. I will omit its description, since I did not implement it. Although there is nothing complicated about this:
- The required size of the roofing material flaps is measured.
- The strips are cut taking into account overlaps.
- Fastened to the tree using a construction stapler.
Horizontal gluing of roofing felt to mastic is of greater interest. To work, you will need a construction tool.
Tools
- Stiff brush for cleaning concrete surfaces.
- Gloves.
- Metal spatula.
- Paint brush.
- Stick for stirring mastic.
- Knife for cutting roofing felt.

And now the comments. Because I made a mistake in preparing the tools initially. A brush with stiff bristles is definitely needed. Otherwise, you will have to sweep away the dust with your hand, grass or something else. You can not do it this way. You can't do without gloves either. But accuracy is important, as the mastic smears a lot. I had little hope for a metal spatula, but it turned out to be the main tool. The main thing is that the thickness of the metal is at least 1 mm. A prerequisite when working with cold bitumen was a second spatula to remove excess black stretchy material from the first spatula.
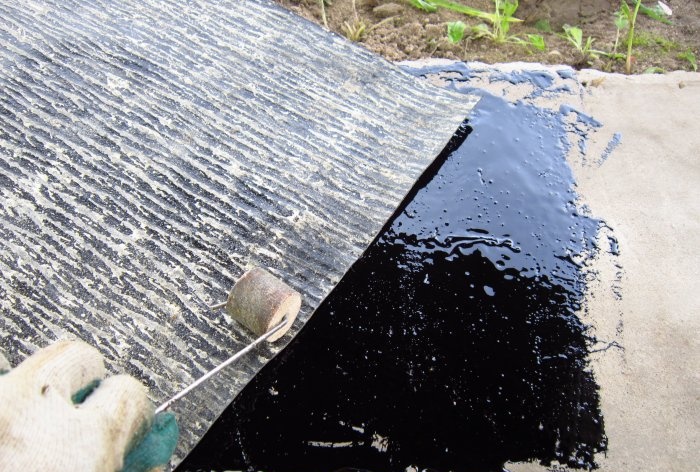
I made a mistake with the brush and got it dirty in vain. The brush is not suitable for such work. And I had to throw mine away. The stick also turned out to be not the best idea, since there was no need to stir the mastic.I will say the following about the knife. An ordinary stationery knife cuts roofing material in one pass. Although there are more advanced models of blades with a curved tip. They are more convenient. I also used a makeshift hard roller to press the material.

And also after an error related to weather conditions, I used a construction hair dryer to heat and dry the concrete surface. And now I’ll move on to some small instructions for laying protection on the foundation. Let the short description encourage novice craftsmen to make their own trials and errors.
Procedure
- Here you cannot make mistakes in the size of the pieces of bitumen cardboard.
- It is necessary to mark the overlaps correctly.
- After cutting all the scraps, proceed to applying mastic.
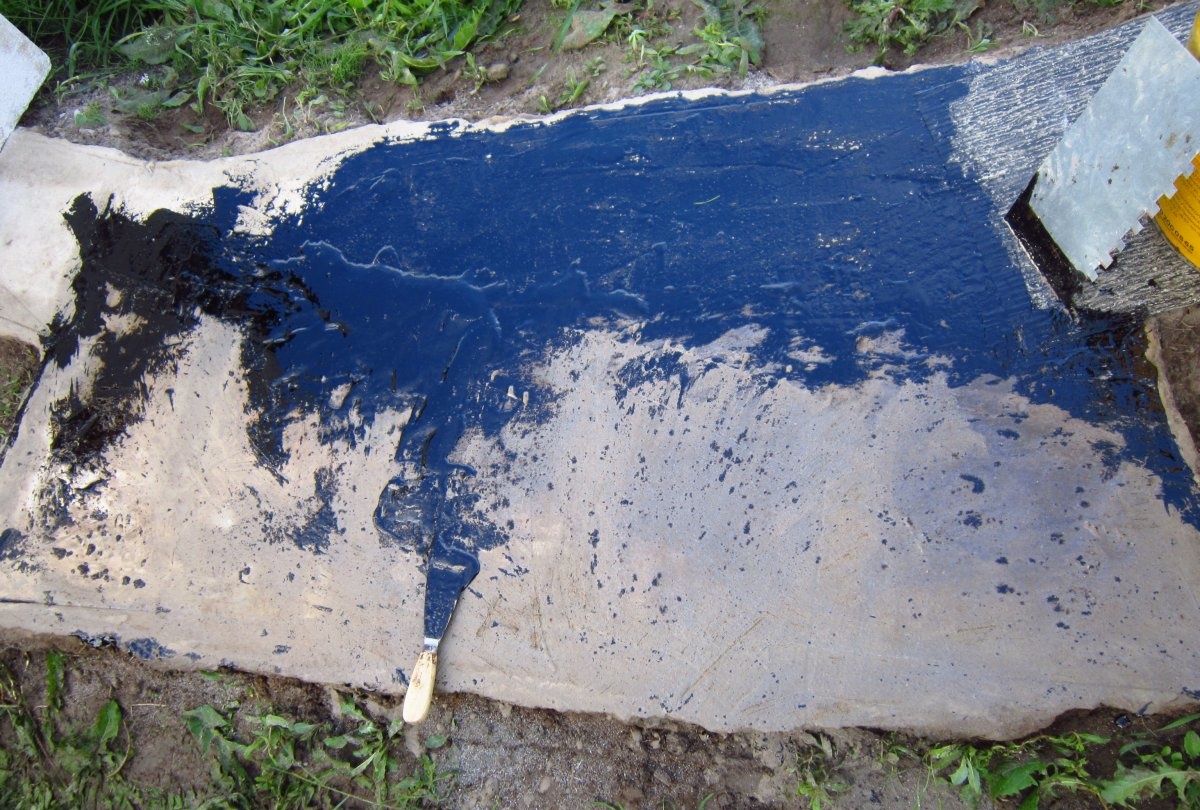
- The mastic needs to be pryed off with a trowel, periodically turning it around the axis. This is a safety net against material jumping off the trowel.
There are several ways to apply it to concrete: - Apply a lot onto distributed areas with further smearing.
- Little by little. But by doing this consistently, creating a thin layer.
- There is no need to go overboard with the layer thickness. Because the manufacturer himself warns that the layer will not dry or will leak at high air temperatures.
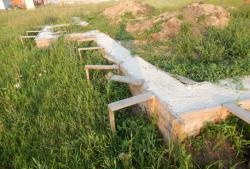
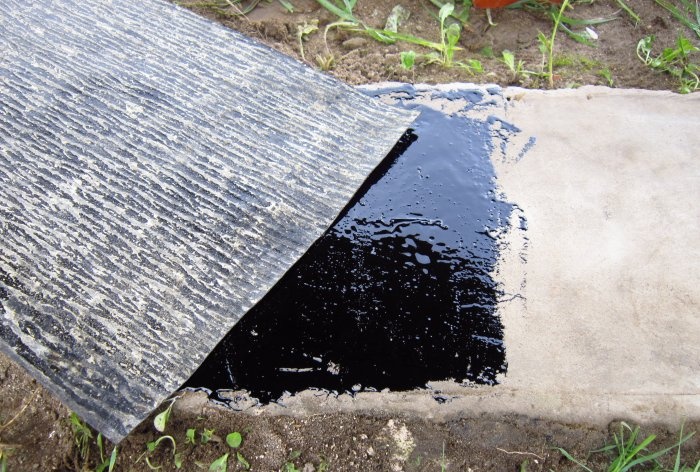
- Next, the sheets are stacked one after another.

And now about the mistakes.
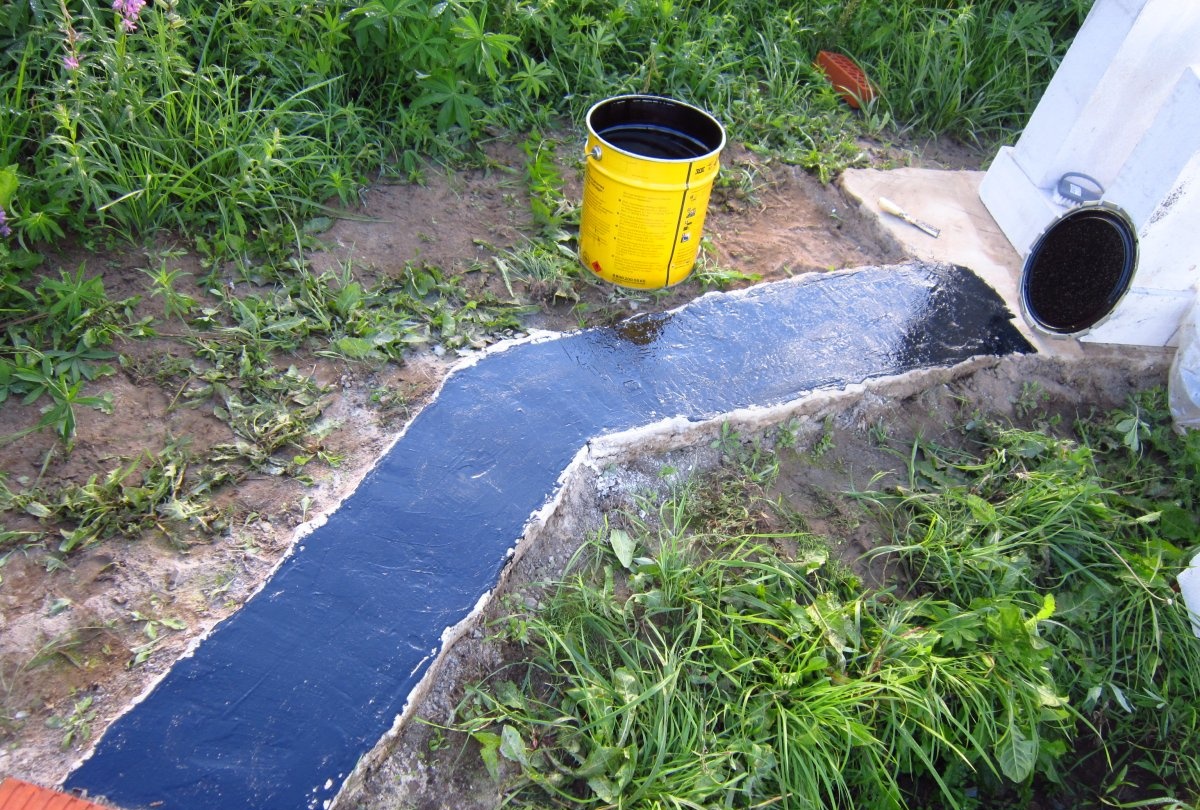
Waterproofing errors
It started to rain while working. Part of the surface of the foundation with applied mastic got wet. The bitumen simply spread in the water. I didn't expect this. That is, it came unstuck throughout the wet area. I corrected the situation by drying it with a hair dryer. But this is also not the best option. If such an error occurs, work should be stopped until the concrete has naturally dried. But I decided to take a chance by drying the surface. Then, I glued a piece of roofing felt. The layer took a very long time to dry.Fortunately, it was a hot month. Among other minor errors I highlight:
- Incorrect cutting of roofing felt. I wanted to save money, but it turned out the opposite.
- Disposing of a paint brush. It also cost money.
- Carelessness, due to which my gloves got dirty.
But in all of the above there is less trouble than in the neglect of the complex for installing foundation waterproofing. It is impossible to achieve high-quality protection if you do not use underground insulation, as well as impregnation with waste fuels and lubricants. I say this based on personal experience.
Conclusion
A practical builder will have a reasonable question: is it permissible to release a critical section of waterproofing? For me the answer is simple. Yes and no. In the first case, the reasons are:
- This is my first experience without outside help.
- The area of the house and the volume of concrete poured are relatively small for significant financial costs.
- The load on the foundation is small.
- The groundwater level is deep.
The second answer involves waterproofing technology that has been proven over decades. It is being improved only in terms of new products among building materials. But using one horizontal layer does not protect completely. And the complex is a guarantee of long-term, problem-free operation.