Very often, many of us, when going on business or for a walk, take a small external charger with us. If things happen in a hurry, then not everyone at that moment checks the charge level in the phone, or even the readiness of the charger itself for use. Sometimes, to be honest, we simply forget to charge this energy source after use. In addition, if we use an external charger in winter, it may freeze and not work. Several times, having encountered such a problem, I decided to assemble a device that would work from elements within walking distance. Namely, from two AA batteries. In common parlance - finger-shaped.
By putting this device in your pocket or bag, you can always quickly recharge your phone so that you can make a call or send a message if necessary, simply by buying the cheapest batteries at the first store you come across.
Will need
- Double block (case) for AA batteries.
- USB connector.
- Boost module (from 0.9 - 5v, to 5v).
- Voltmeter or USB tester.
- Soldering iron with solder and flux.
- Thin wires (can be from the same USB cable).
- An engraver with a small gimlet or 3 mm drill and a cutting disc.
- Wire cutters.
- Knife.
- Screwdriver.
- Secondary glue and baking soda.

Assembling an external charger from AA batteries.
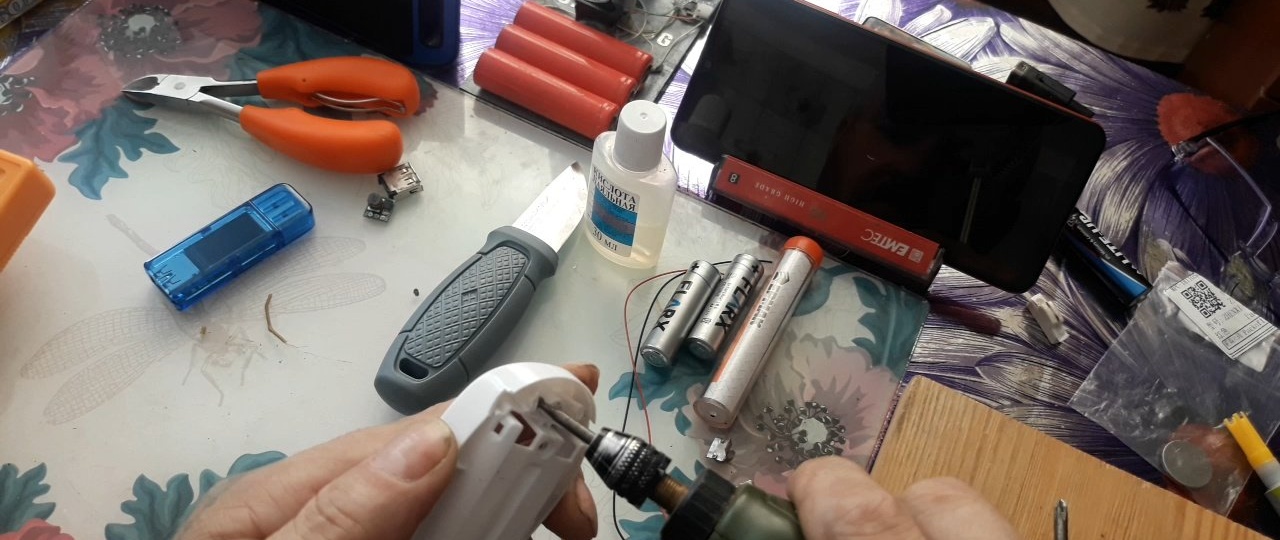
Everything is very simple, all the work took about 20 minutes. First, of course, you need to select the right case and battery pack. I took a double one from a broken bag-sealing machine.

You can cut such a block from a broken or unnecessary children's toy. Yes, from anywhere, whatever you don’t mind. Not necessarily, by the way, exactly double. You can use four batteries, six, or more. Whichever is more convenient for you, the assembly principle is still the same. It’s just that the double one seemed more compact to me. So, using an engraver with a cutting disk, we cut out the battery block from the body of the unnecessary device and use a wood gimlet to remove all the partitions that will interfere with the installation of the parts we need.
Next, you need to cut a rectangular hole in the case for the USB connector.

Using instant glue and baking soda, secure the connector in the hole.

You can, of course, simply glue it with superglue, but I always sprinkle the glue with soda - it holds no worse than epoxy resin, and hardens instantly! Now let’s prepare the boost module, namely, we solder the longer wiring to the contacts, according to the diagram.


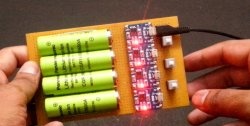
Next, you need to connect the contacts in parallel in the block body.
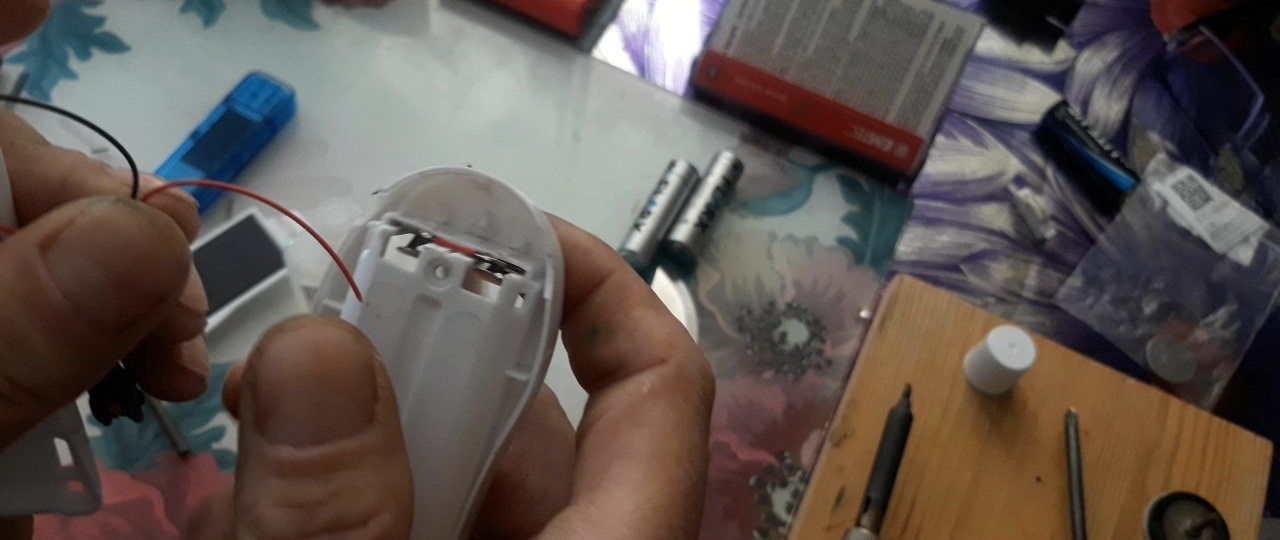
Now we solder the wires from the boost module. Input - to the contacts of the block, output to the contacts of the USB connector. Don't forget about polarity.
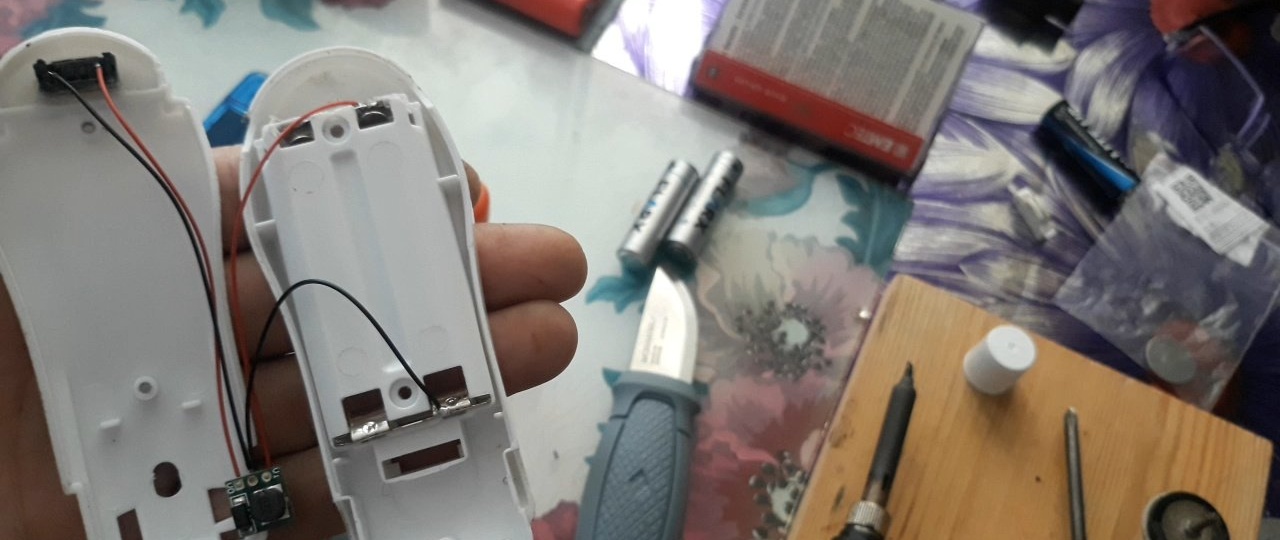
Also, it is necessary to mark the plus and minus inside the block, because the batteries will not be installed in series, as was previously the case in this block, but in parallel. That is, all the advantages are on the one hand, all the disadvantages are on the other.

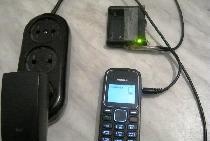
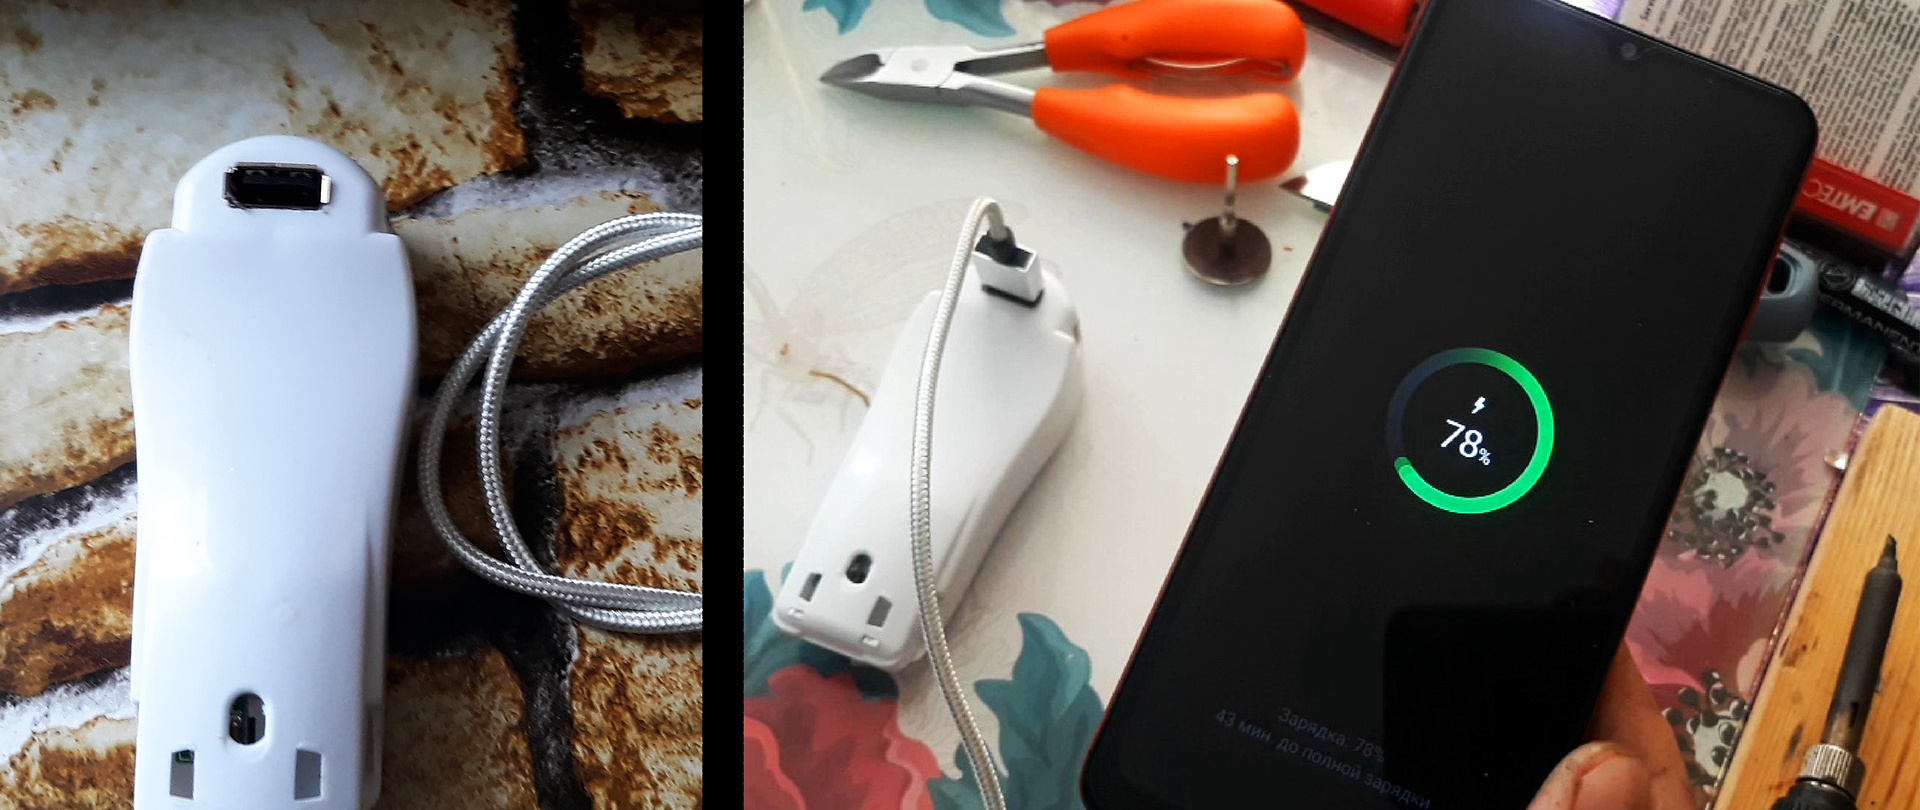
We install the batteries and check them with a tester or voltmeter.

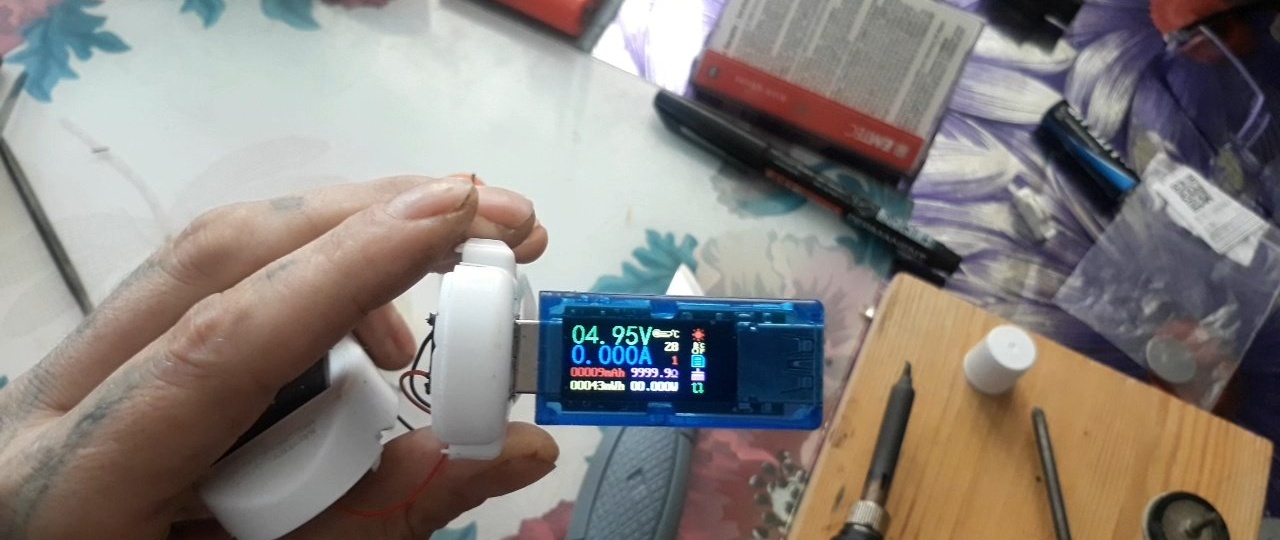
If the output voltage is stable in the range from 4.7v to 5.3v, then you can assemble the case together. We connect the phone to check.

My device with a 5000 mAh battery, the charger I assembled charged exactly 10%.

I used the most common salt batteries. I think that a couple of new alkaline elements, such as “Energizer” or “Duracel”, will easily give out all 15-18%. This is more than enough not only to make a call, but also to view all messages in all your instant messengers. It all depends on the battery capacity of your phone. The smaller the volume, the higher the percentage of charge the display will show. Equally and vice versa - if you have an “indestructible” device with a powerful battery, such as a “Discovery” or “Land Rover”, then the charging percentage will be, accordingly, very small. And if the battery in the device being charged is Nickel-cadmium (NiCd), Nickel-metal hydride (NiMH), or Lithium-polymer (Li-Pol), then such a battery will not charge at all. But these are, of course, exceptions. Basically, lithium-ion batteries are now used all over the world, which are charged from any device that has the appropriate voltage and current. There are also a couple of disadvantages to this crafts. The first is, of course, the slow charging speed, due to the very low current (but, again, I repeat - this is done only for emergency charging when other options are no longer available). And secondly, you need to be careful when installing batteries. If the polarity is reversed, the boost module will immediately burn out, because it has no protection. If desired, you can buy module with protection. Everyone has their own choice.I quickly assembled the charger from what was at hand.