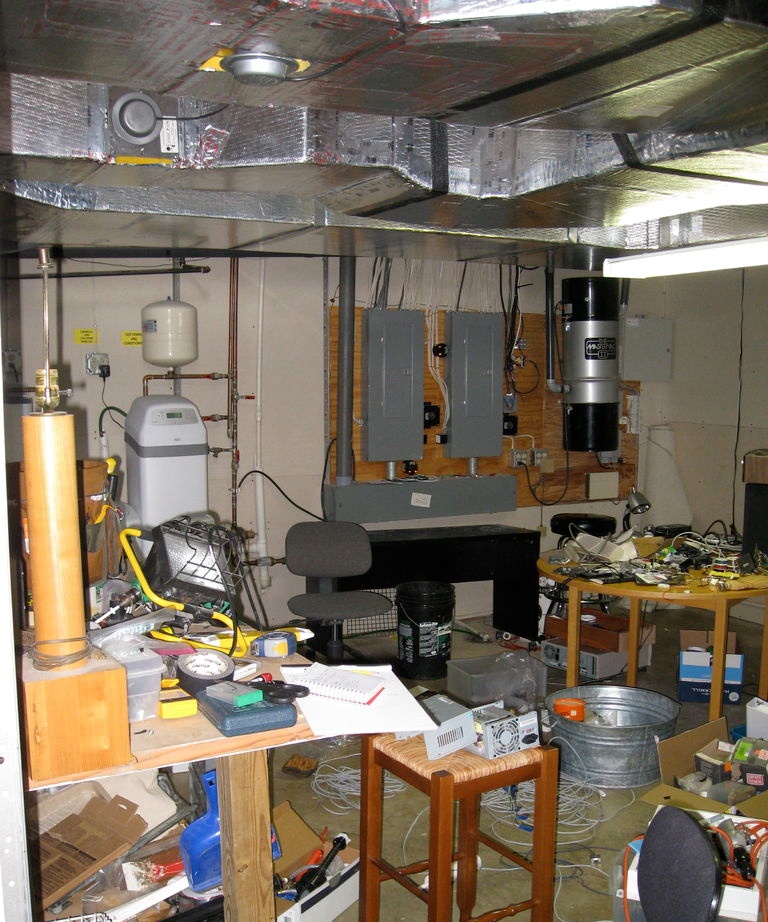
I think that sooner or later every master begins to get annoyed by the lack of a normal workplace. It was the same for me: the room allocated for the workshop looked more like a warehouse or just a cluttered closet, where all the tools were scattered in the corners and at the same time dumped in one heap. To find anything (let alone small things), you had to spend a certain amount of time and nerves. Sound familiar?
One fine day, I decided that I needed to fight this mess: I decided to clean up the mess and organize a full-fledged work area with a functional and convenient workbench. I hope my example of organizing space in a workshop will be useful to others.
Necessary materials
I plan to use old wooden doors to make the workbench tops. Also in the “stash” there are some lumber and old furniture, which I will disassemble into parts if necessary. For the workbench stands and the construction of shelves, I purchased 12 2-meter bars of 50x120 mm and two sheets of plywood, which were cut in half for ease of transportation at the base.I also purchased perforated fiberboard for the stand, took two fluorescent lamps to illuminate the working area, and used bolts with nuts and washers, dowels and powerful screws for a wrench to fasten all the components.
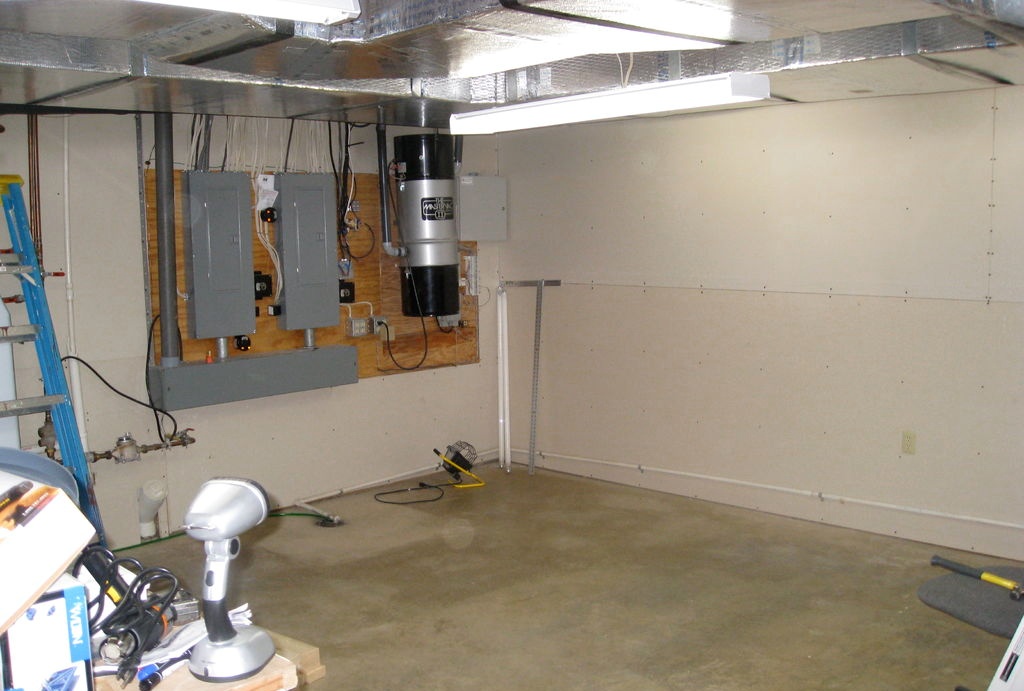
First of all, you need to clear away the rubble and clear the wall to build a workbench and shelving. During the cleaning process, at the same time, I sorted and put into boxes various parts, bits, bolts, anchors, nuts and other small things that, as usual, were lying around all mixed up. After cleaning the workshop it became much more comfortable.
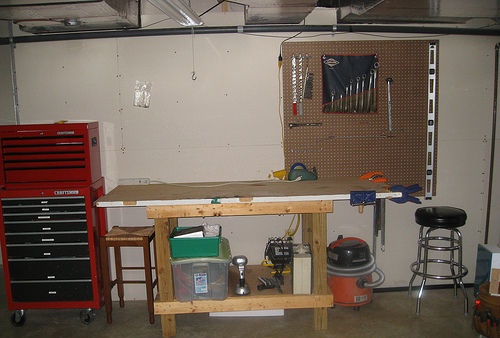
Assembling a workbench
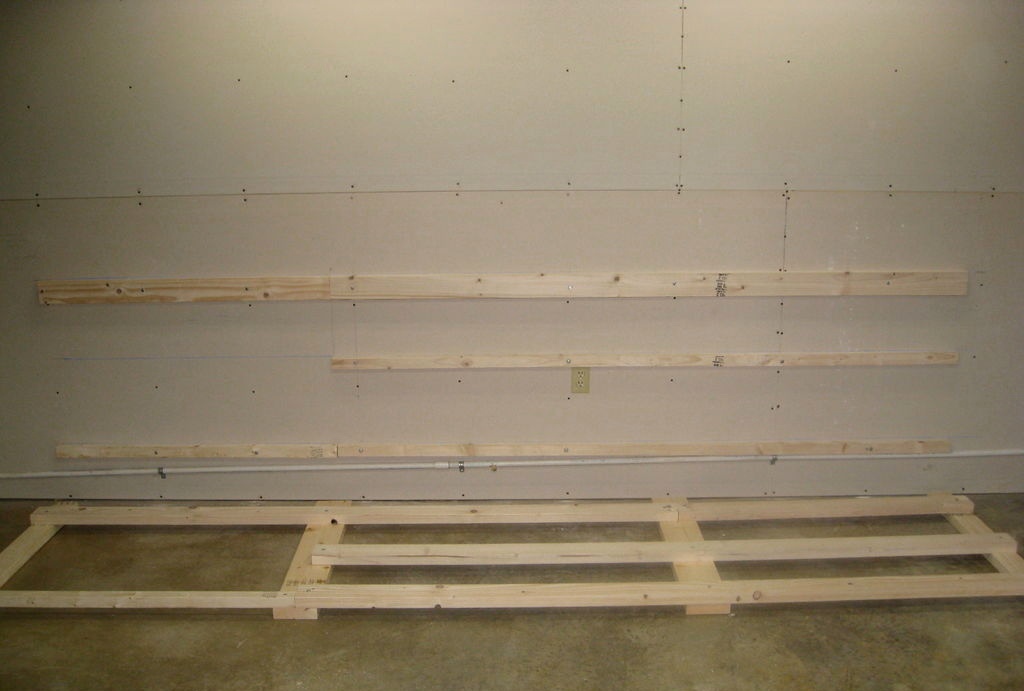
After marking the wall (indicating the location of the horizontal supports and vertical posts), I began assembling the tabletop. First, I screwed horizontal supports for the working (upper) surface, as well as the middle and lower shelves, from the timber loosened at the sawmill to the wall. There is a cinder block wall behind the plasterboard sheathing, so the supports were secured using dowels and screws with a turnkey head.

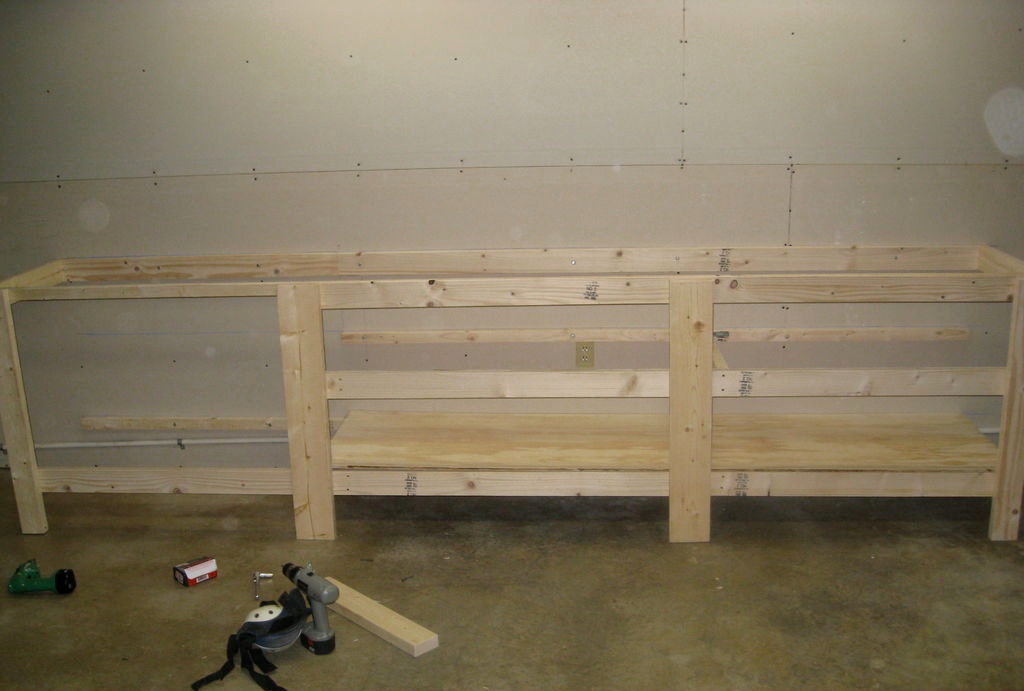
Then I assembled the frame of the front frame on the floor, after which I began to assemble the structure. Since old doors will be used as a tabletop (one door is made of solid wood, the other is lined with laminate), therefore I proceeded from the calculation of the width (depth) of the workbench of 80 cm. I began assembling the structure by attaching the upper struts so that the frame would stand on its own. Then I installed the bottom and middle shelves using a sheet of plywood cut to size. For fastening I used ordinary wood screws.
The next step is arranging the countertop. I placed both doors on the top supports and screwed them to the side rails, front frame and rear supports using long bolts. He connected the two panels together with a wooden block, bolted through a through hole.I made the bolt heads recessed into the tabletop, then I sealed them and the seam between the two halves with wood putty and sanded them with fine sandpaper. To prevent tools and small parts from falling behind the tabletop, I attached a wooden strip instead of a plinth.

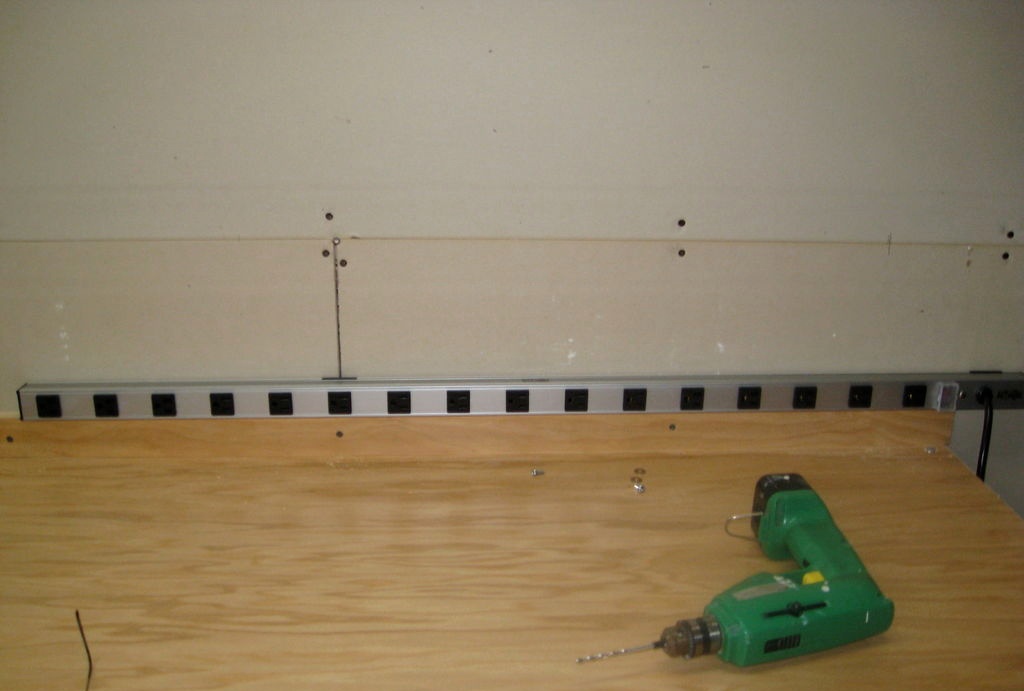
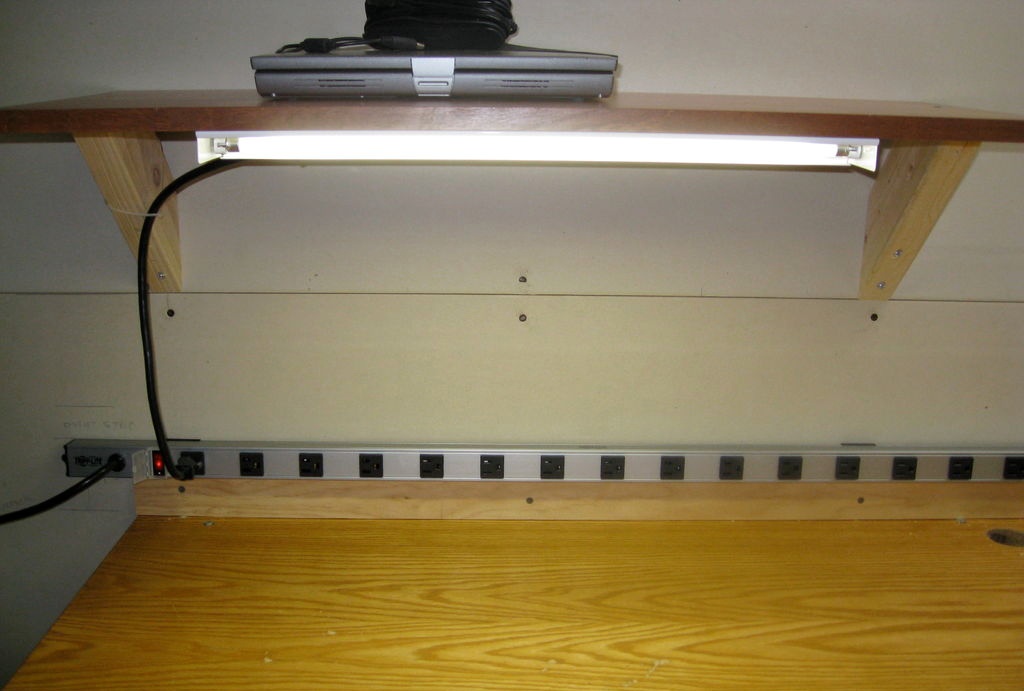
Now - electrical wiring. To make access to the sockets convenient anywhere, I stretched a cable from the central panel and connected one block of power sockets on the left and right sides of the workbench (a frame made of impact-resistant plastic with a large number of connectors - essentially, a very long block).
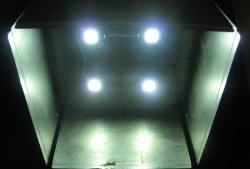
I hung a small shelf on the left edge above the tabletop, and attached a small lamp to it below, which would be an additional light source (I hung a large lamp with two tube lamps above the table approximately in the middle).
Other devices
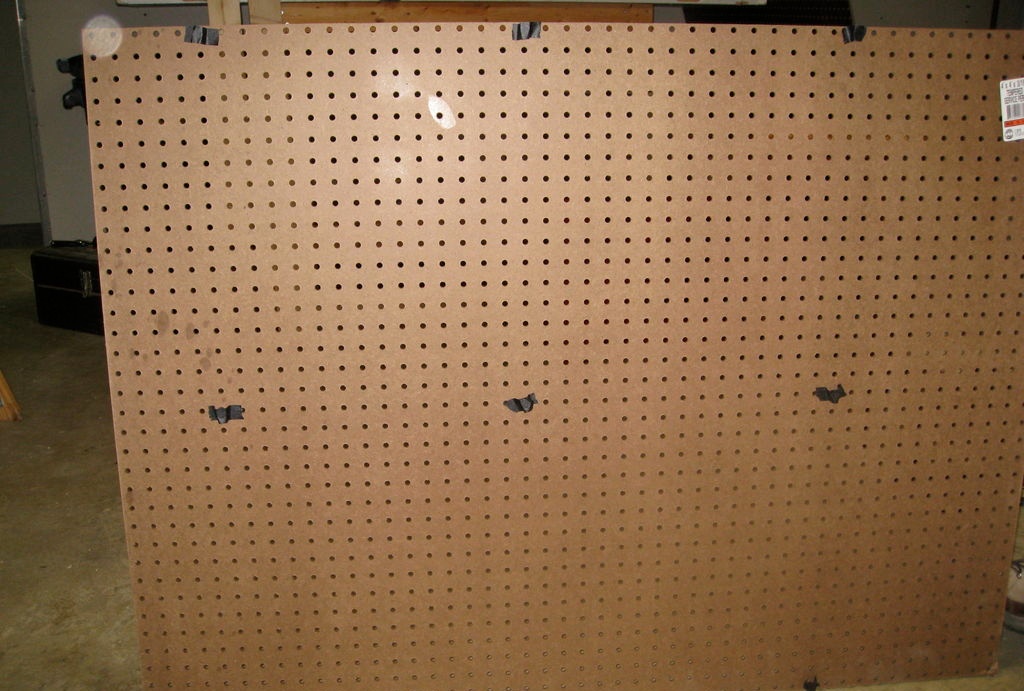
I made a stand for hanging various tools from thick perforated fiberboard. To ensure that there was a gap between the wall and the stand when attaching it, I used plastic bushings 5 cm long. I attached them on the back side with black electrical tape so that they would not jump off the screw when attaching to the wall.
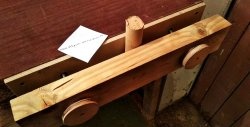
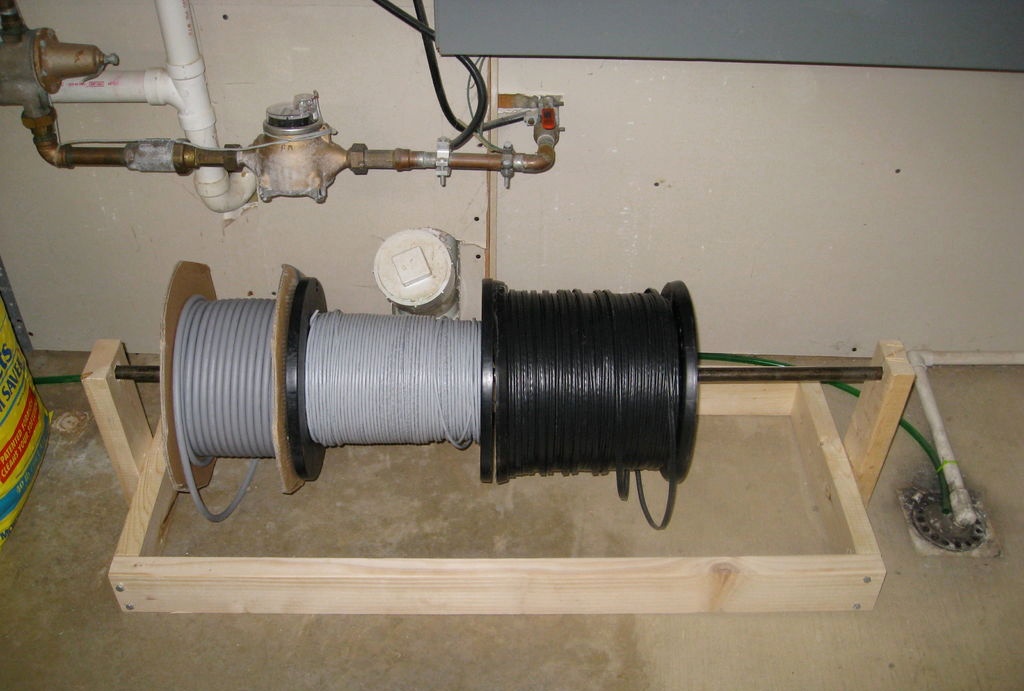
To prevent the wire spools from rolling around on the floor, I built a simple stand: now all the cable is in one place.
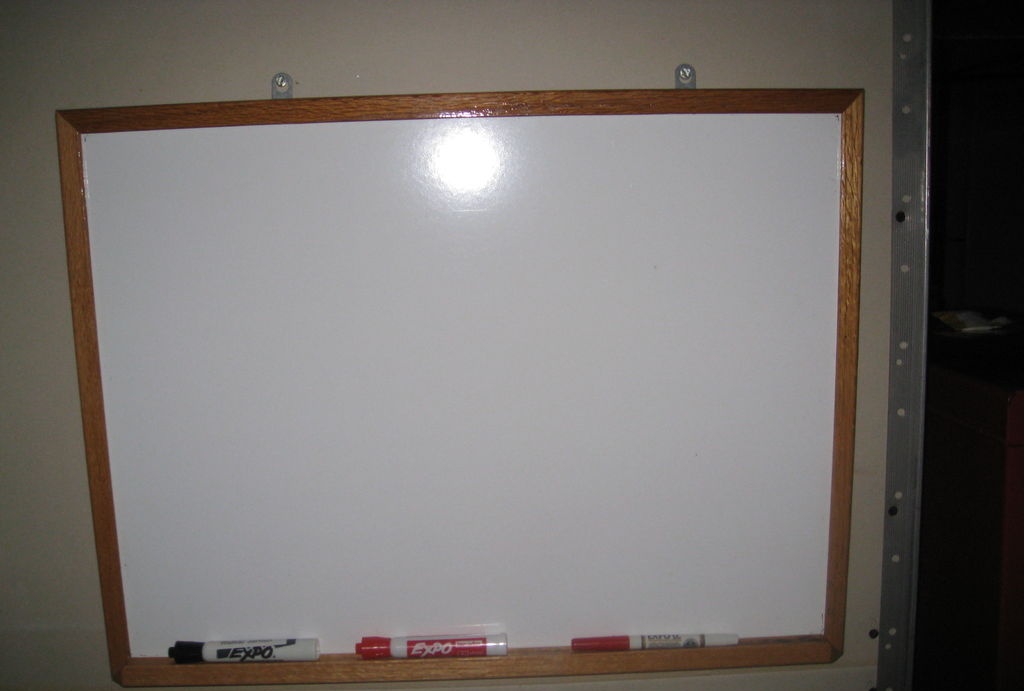
I also decided to attach an old plastic board: it’s convenient to make any sketches or diagrams on it.
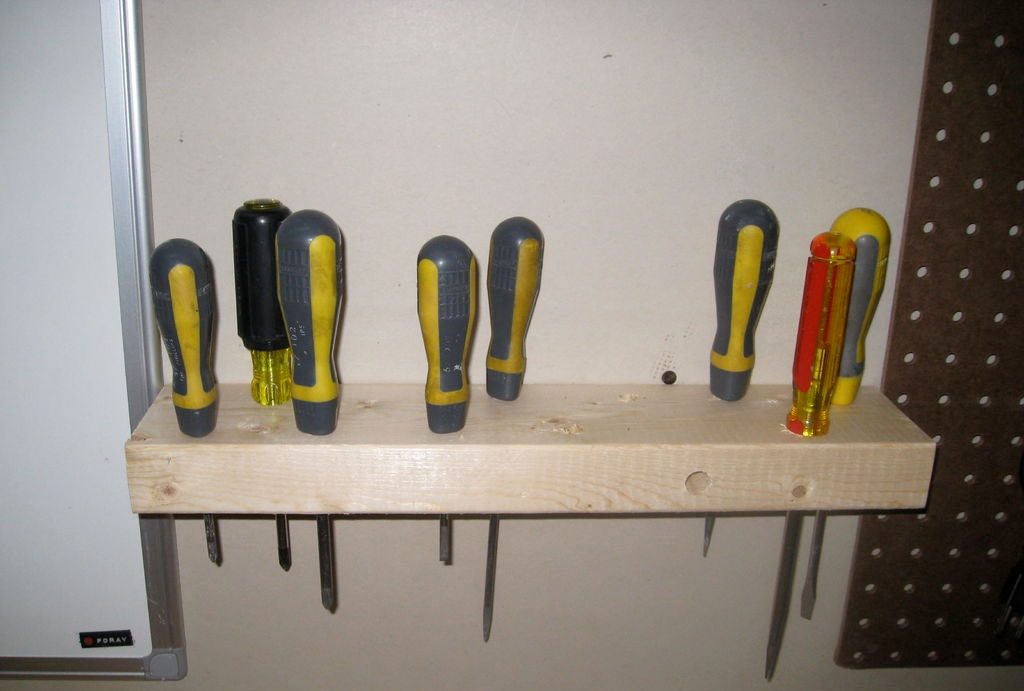
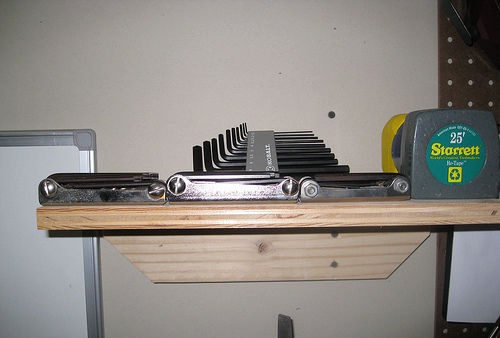
There was still free space between the board and the stand, so I placed two shelves there: one for screwdrivers (a piece of board with drilled holes), the other for various small items.
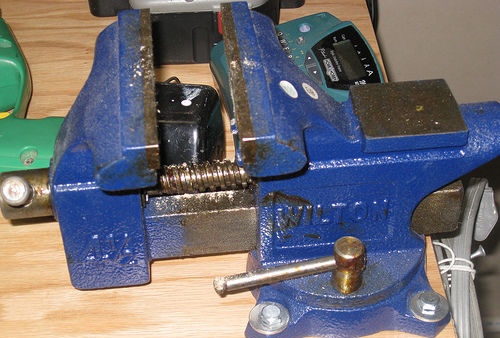
At the end of the right edge of the workbench I installed yews, which I secured in the tabletop with bolts through a through hole.
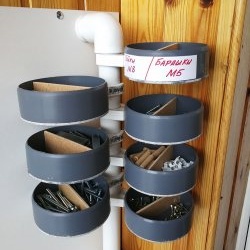
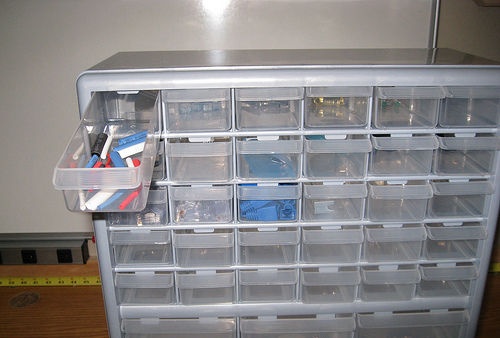
Now all that remains is to hang frequently used tools on the stand, and sort the rest and other useful little things into boxes and place them on shelves under the workbench. For very small parts, self-tapping screws and other little things, I used a plastic box - a very useful thing in the household!
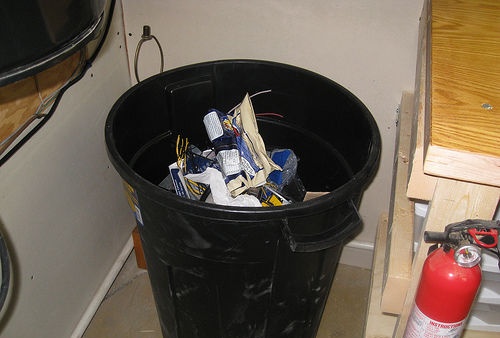
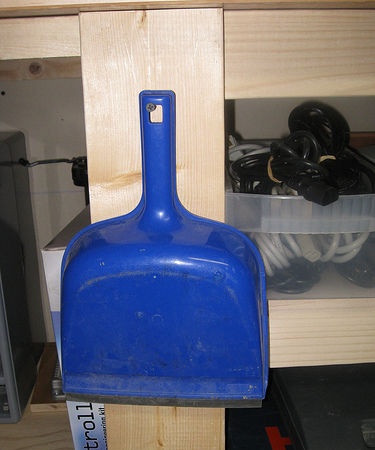
As finishing touches, I hung a fire extinguisher, a dustpan and a brush for cleaning the work surface along the workbench posts, and placed a large trash basket in the corner.
Add-ons
Near the other wall I built a smaller workbench from one door leaf and hung another tool stand from the remainder of the fiberboard. I think an additional work surface would not be superfluous.
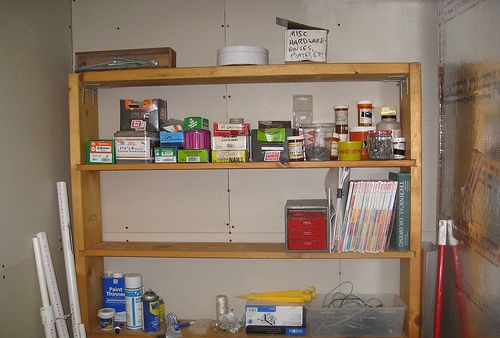
I placed a restored bookshelf in the corner of the workshop: I secured it with metal corners so that it would not fall apart. There is always something to put on the shelves.
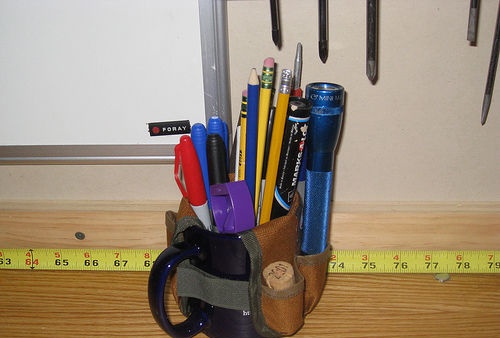
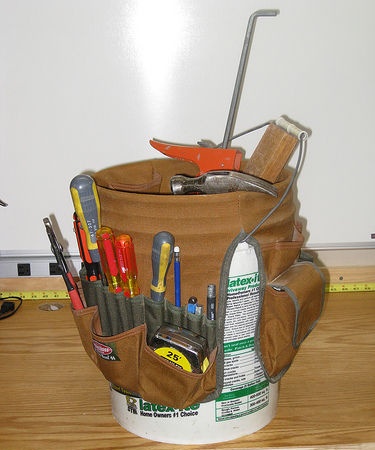
I also bought a couple of cool aprons at the 1000 Little Things store: one for a mug for all sorts of little things (I just liked it), the second is really useful, put on a bucket that is used as a carrier. Really convenient: the apron has many pockets and a bandoleer for various tools.
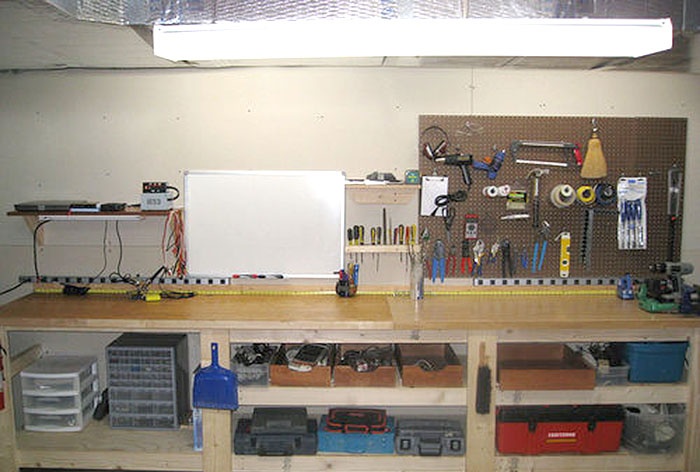
This is how the workshop turned out: comfortable and compact, where everything you need is at hand.