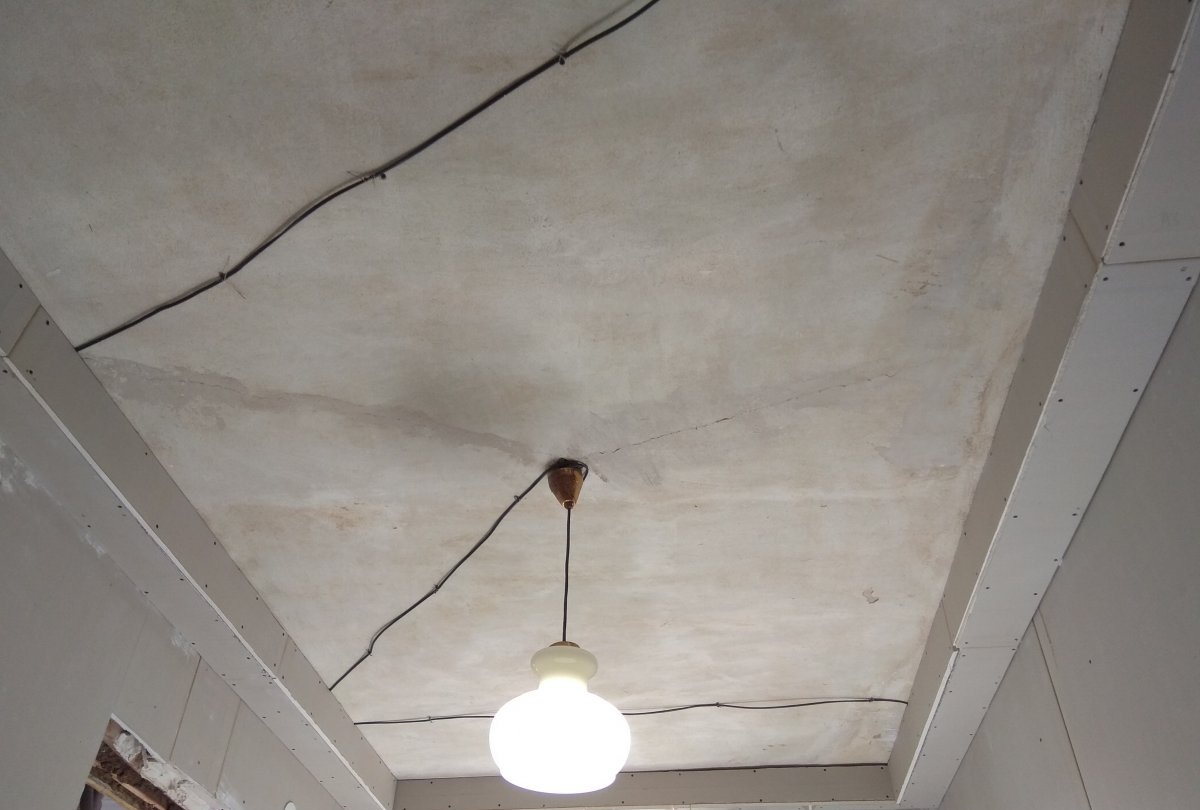
The most common option for finishing the ceiling is the use of plasterboard to make boxes. There are many options for what can be made from this material. These can be multi-level ceilings, as well as elements in the form of geometric shapes. Now we will look at a sample of making a simple box that is installed along the edges of the ceiling. This option will be suitable for both suspended ceilings and simply for decoration.
Making a box from plasterboard
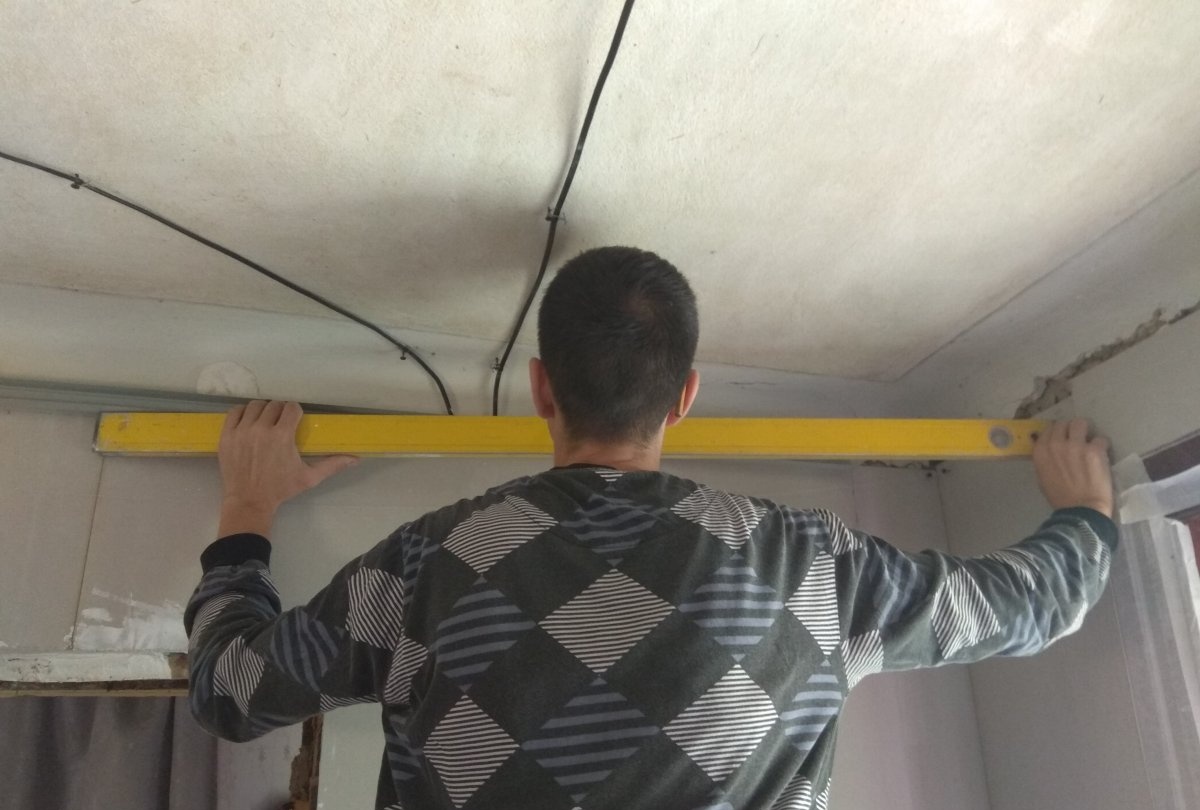
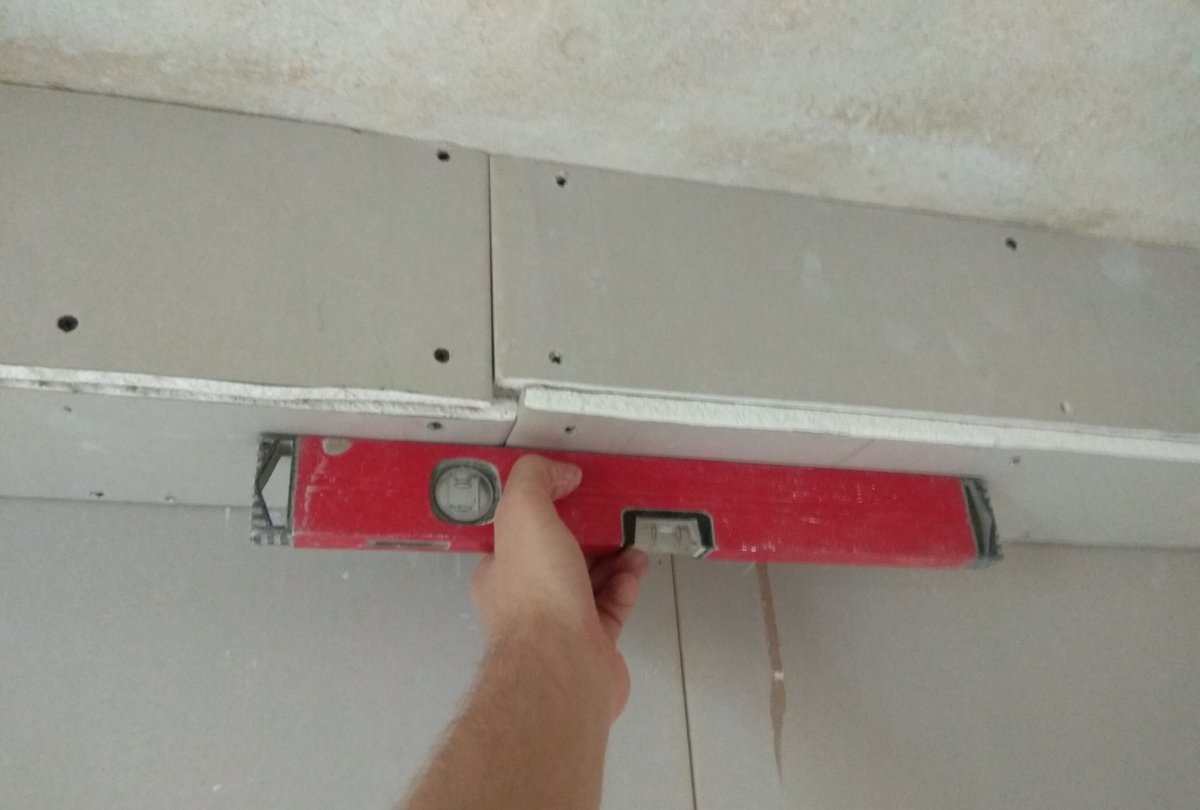
So, first you need to use a water level to make a mark on all the walls.
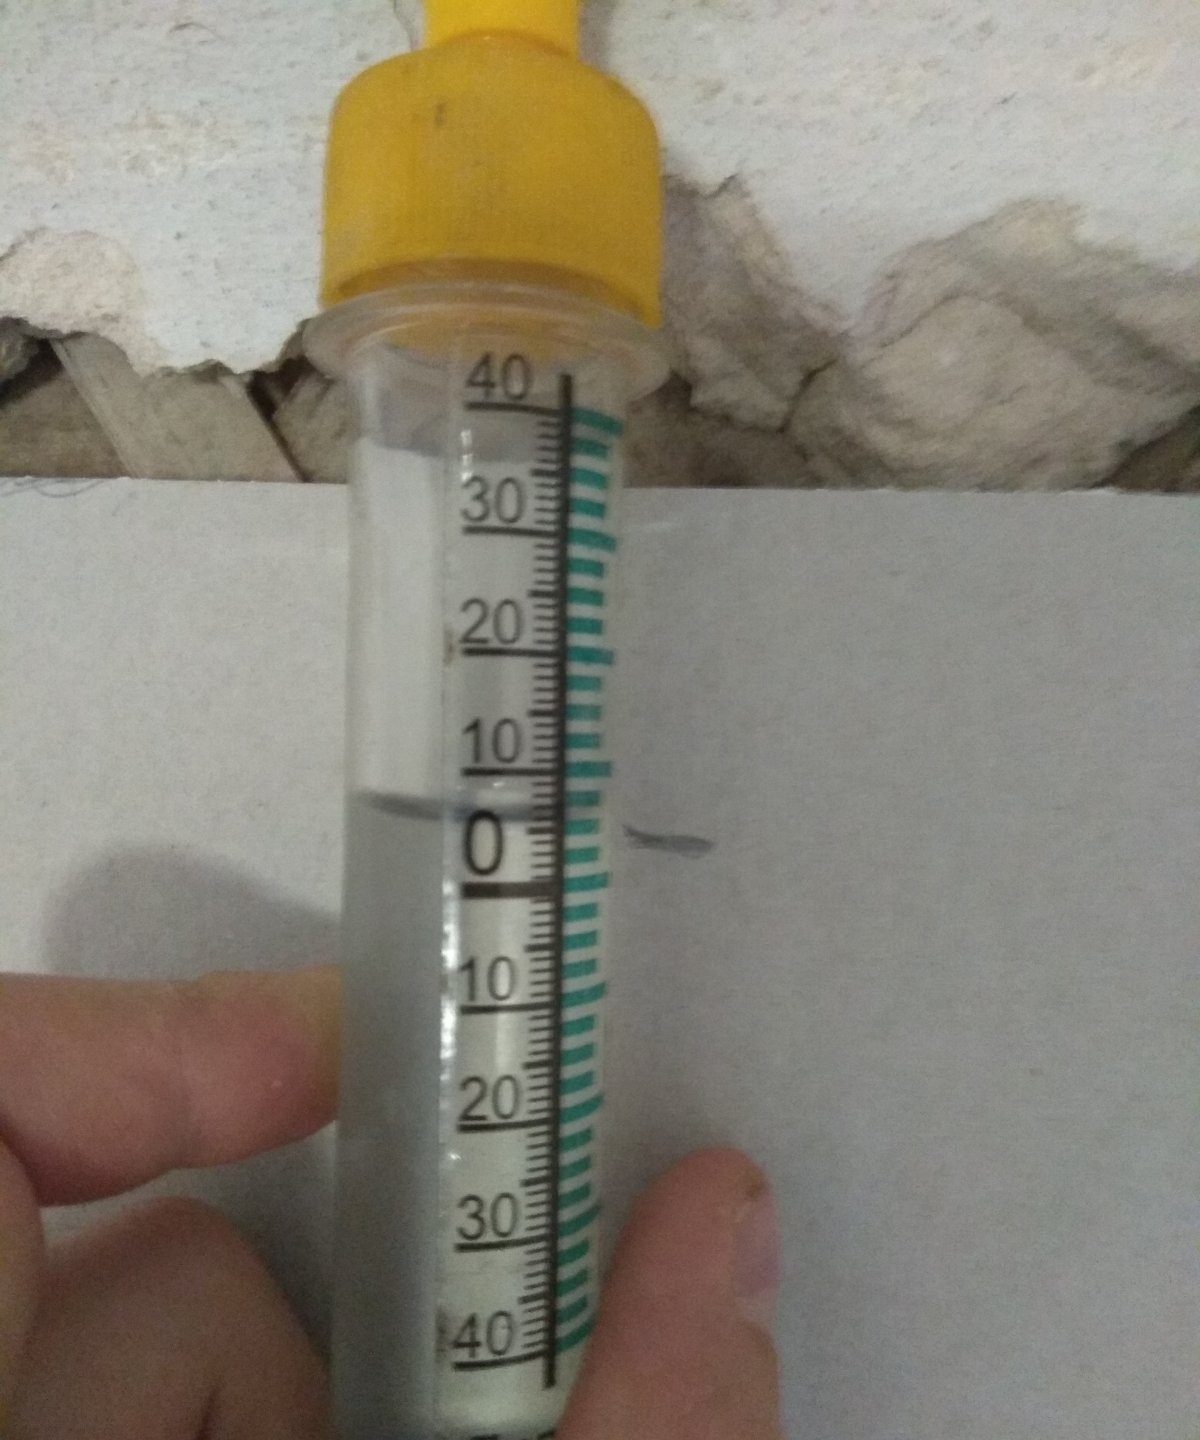
This is so that the box has the same height throughout the entire plane. You can use a building level for these purposes, but the accuracy will not be as high.
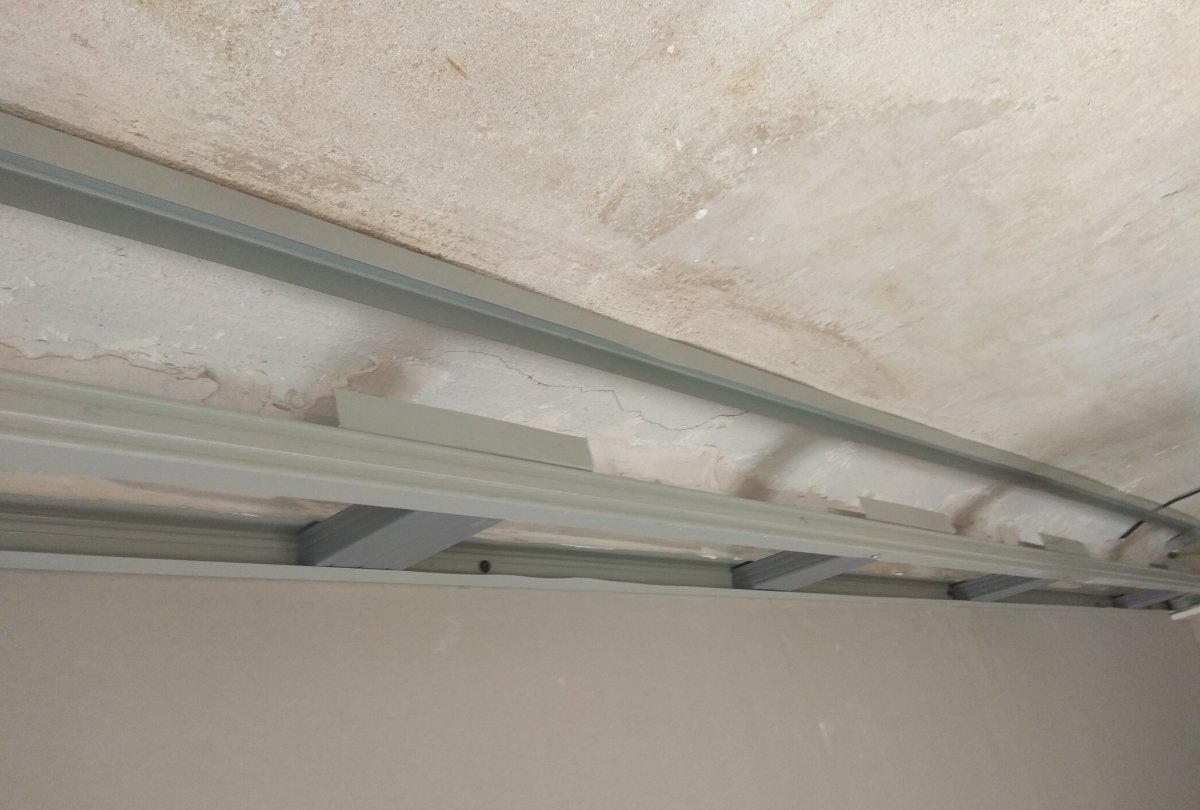
Next you will need a UD metal profile. It must be attached to the wall along the marks that were marked with a water level.
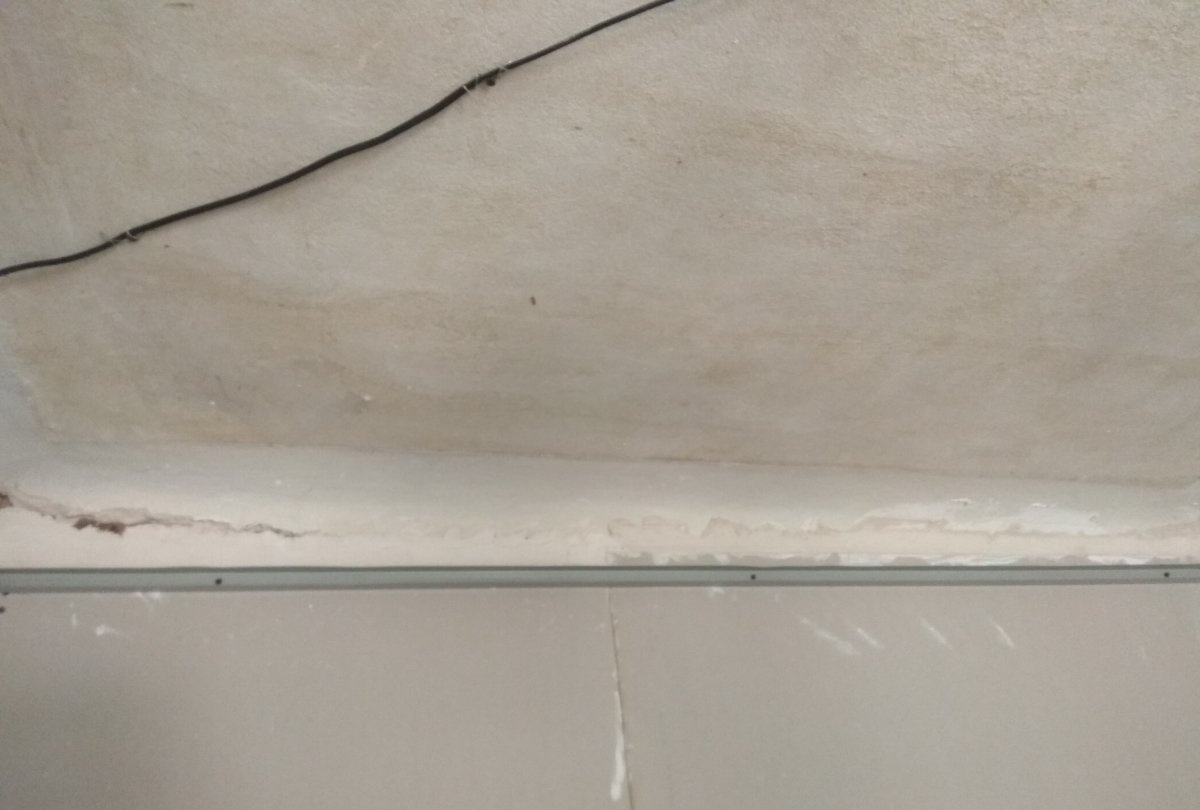
The distance that you need to retreat from the ceiling depends on what dimensions you are going to make the box. For example, if you plan to make a box 15x15 cm, then you need to step back 14 cm from the ceiling and attach the profile to the wall at this level.Drywall will subsequently be attached to it, which has a thickness of 1 cm, and in this case you will get 15 cm.
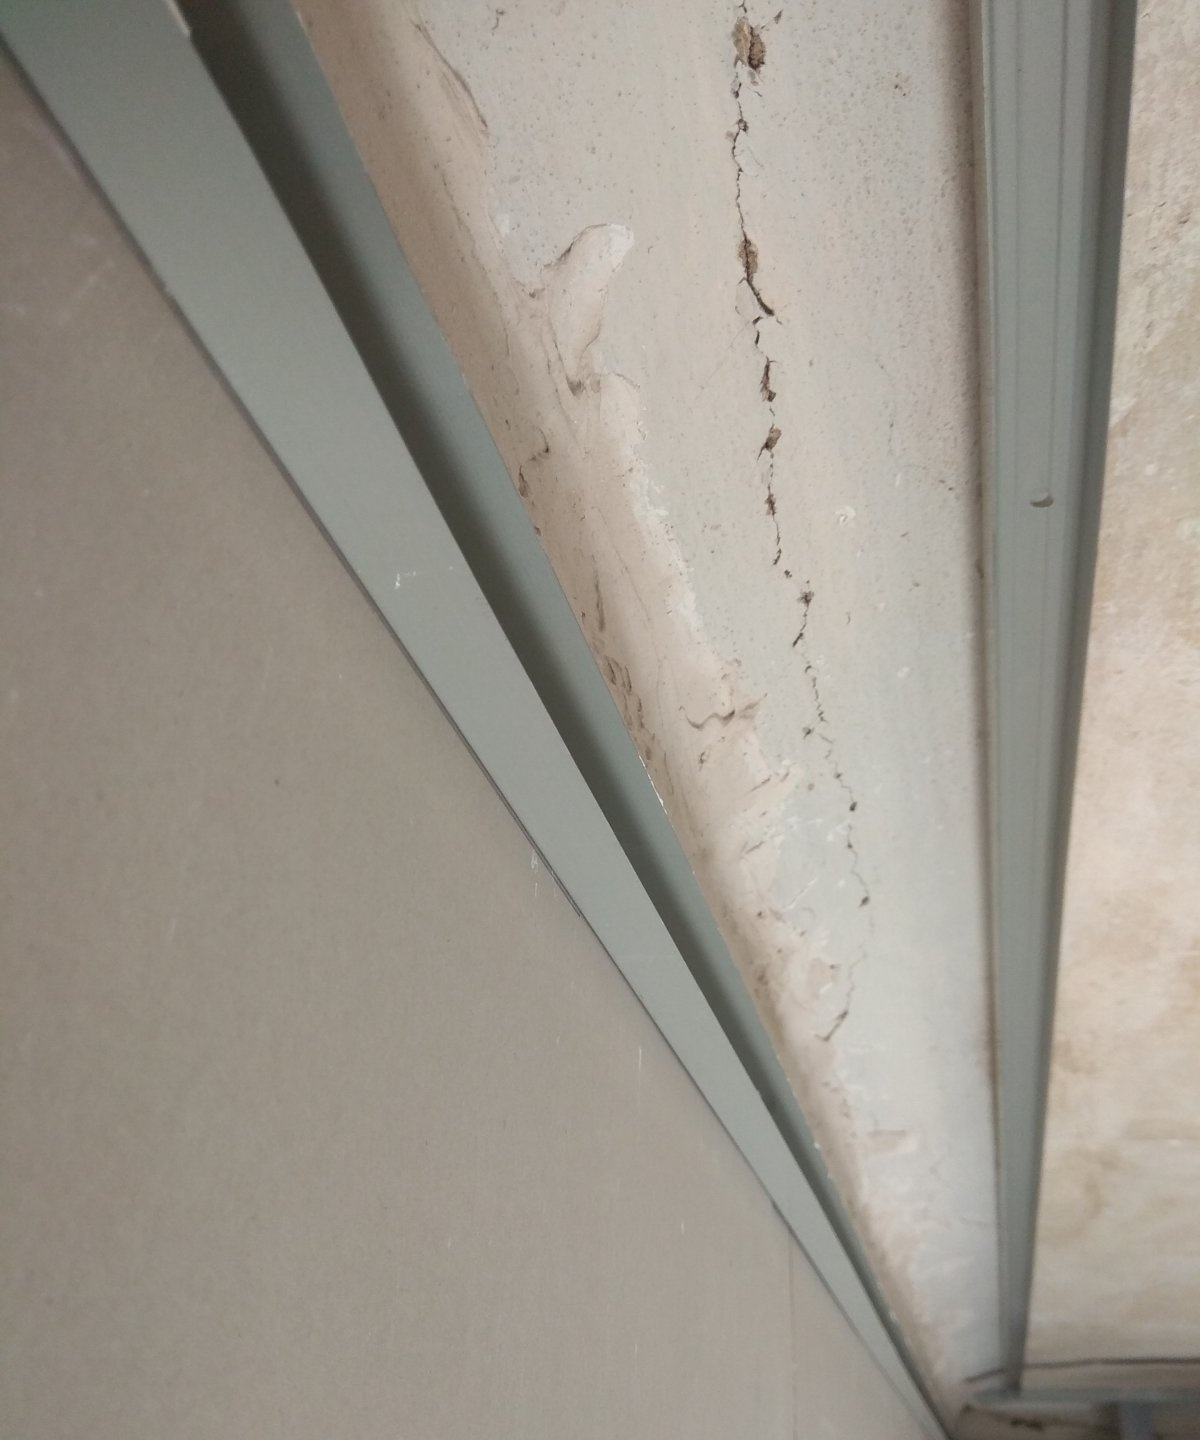
It is necessary to immediately attach the UD profile along all walls in one level. When moving to another wall, you can additionally use a building level to check whether you have deviated from the marks with a water level.
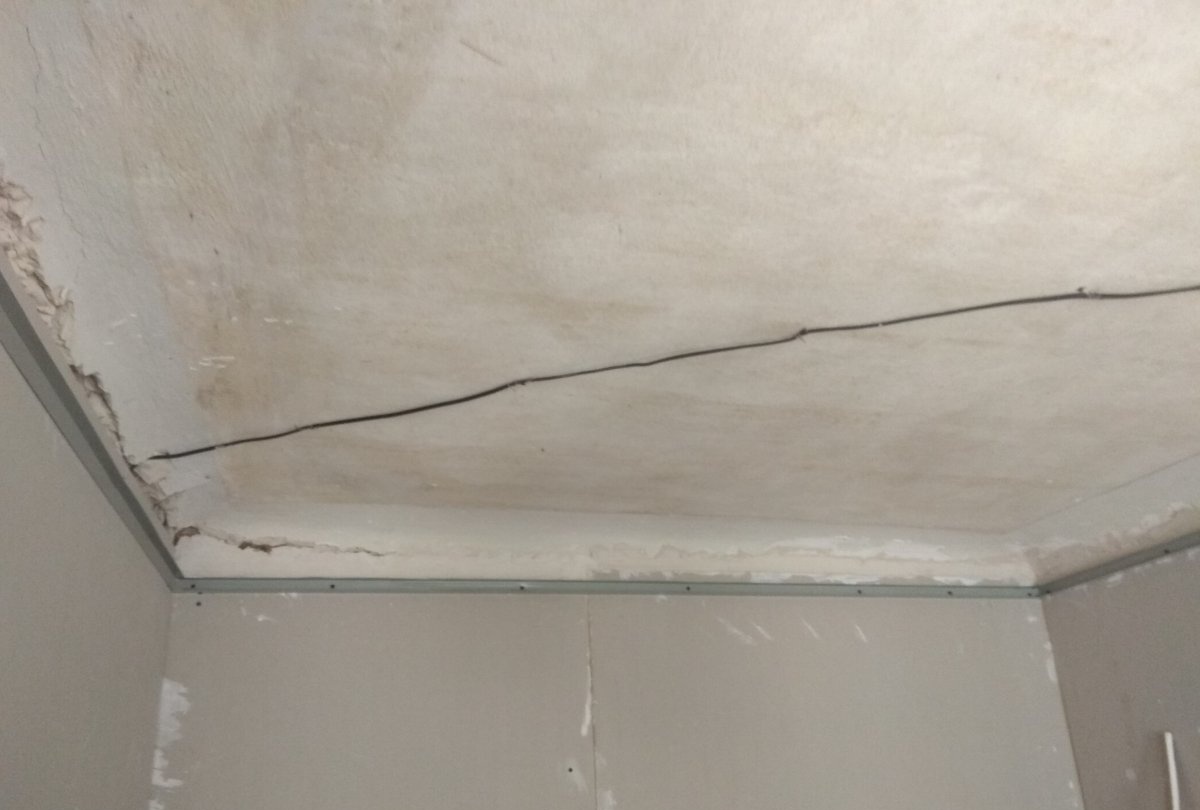
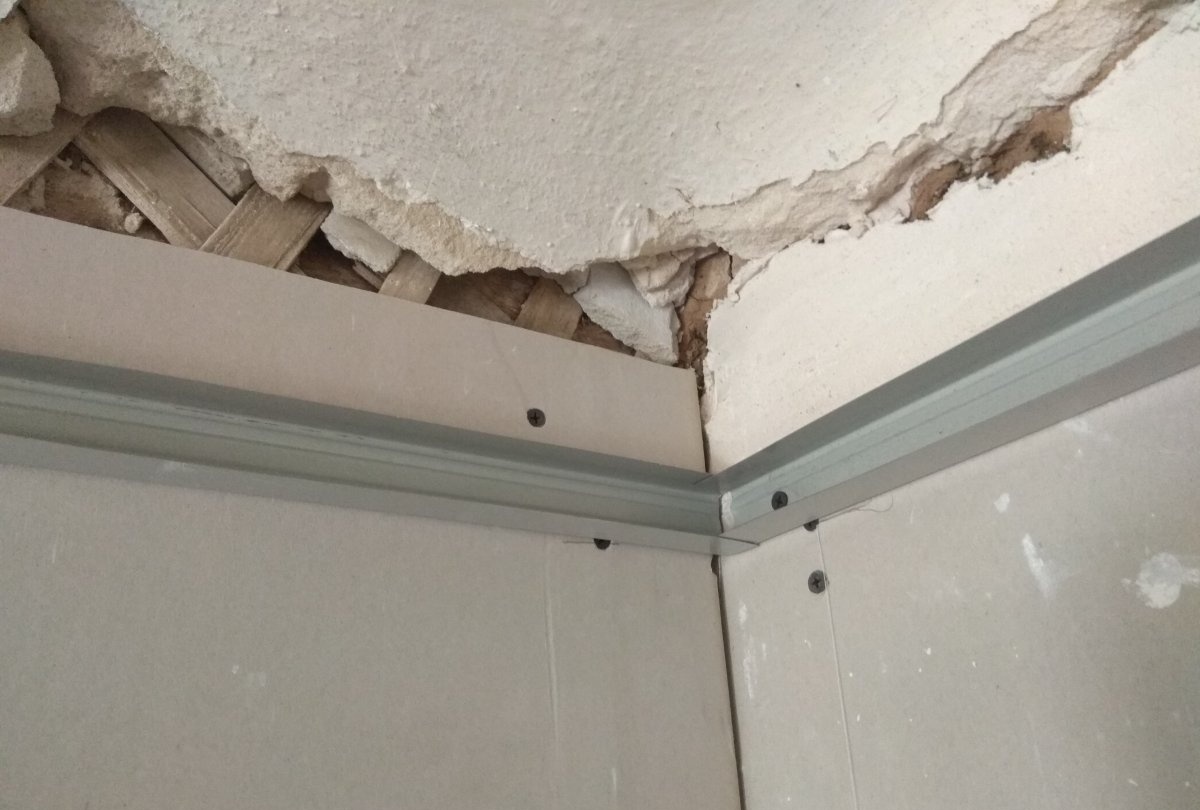
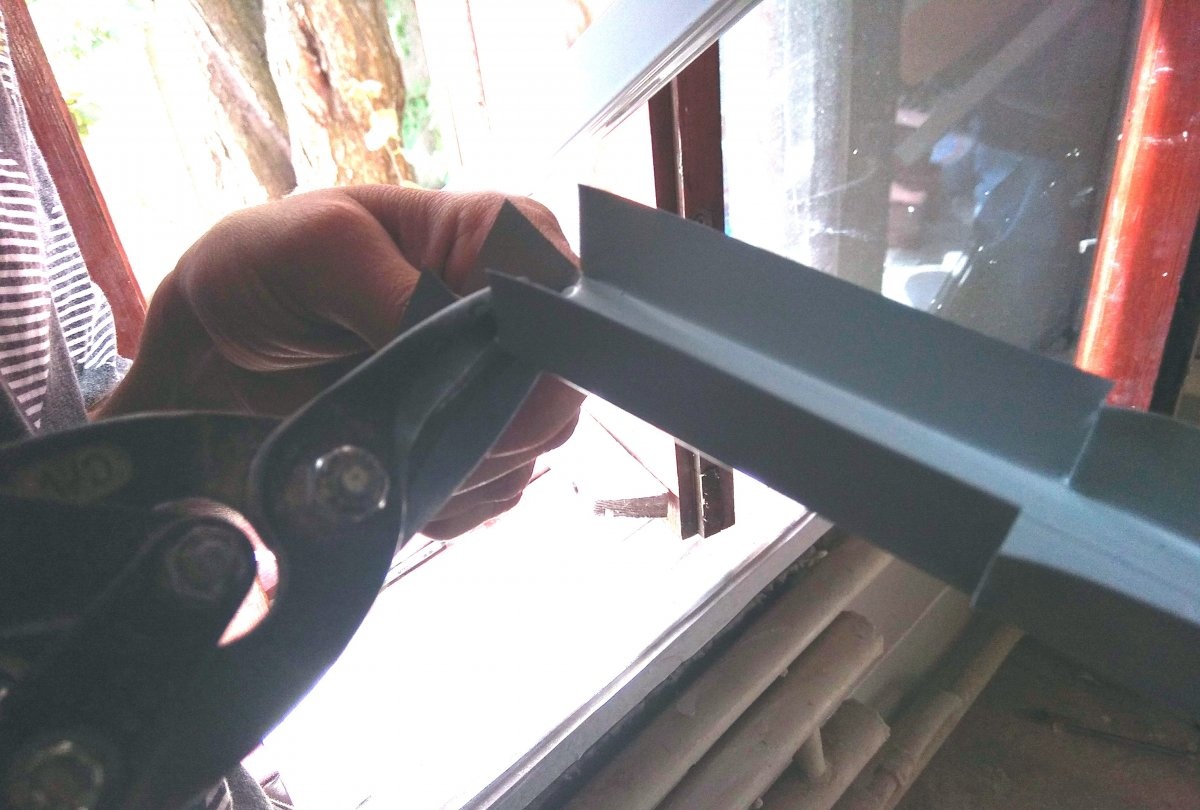
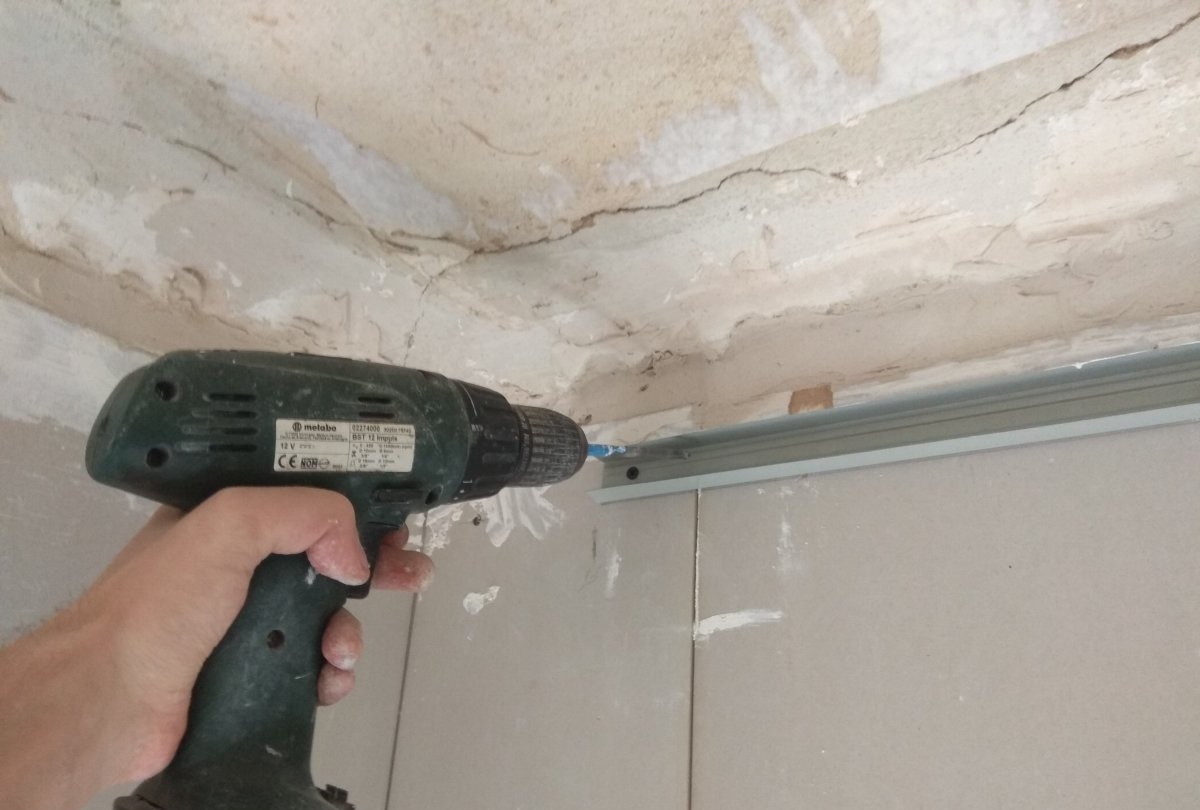
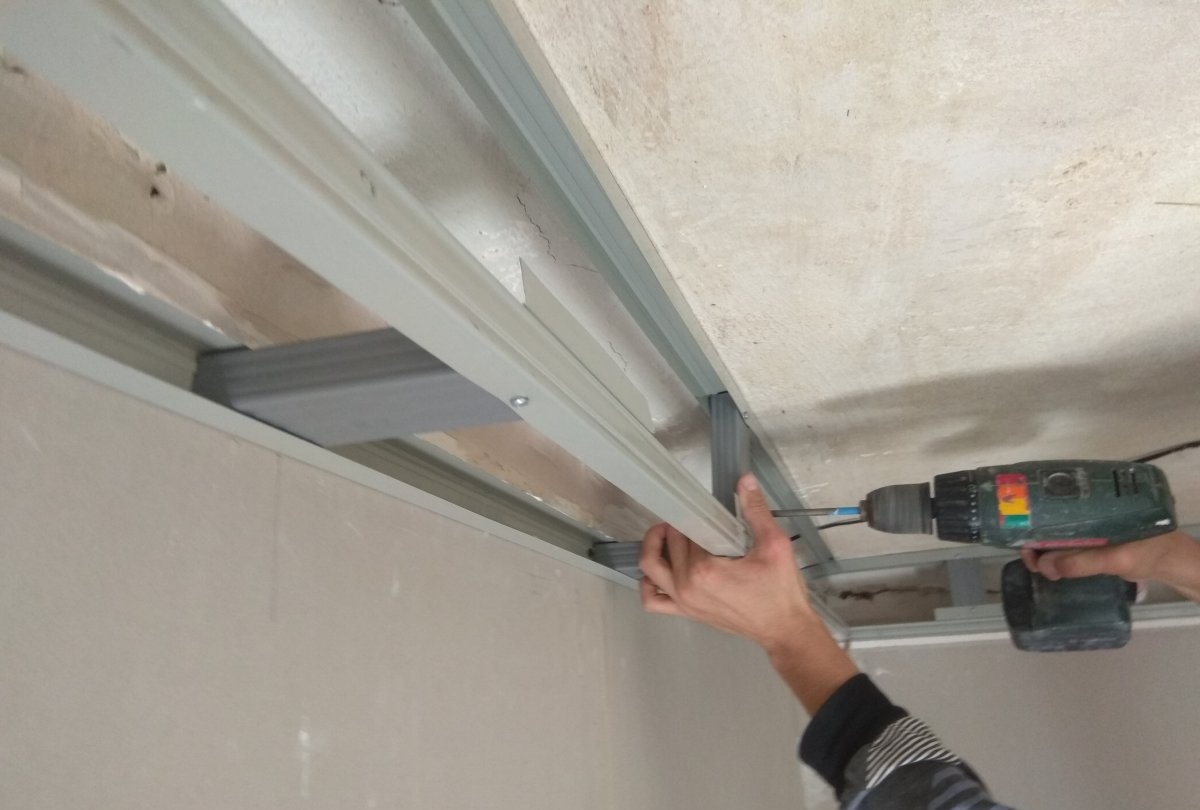
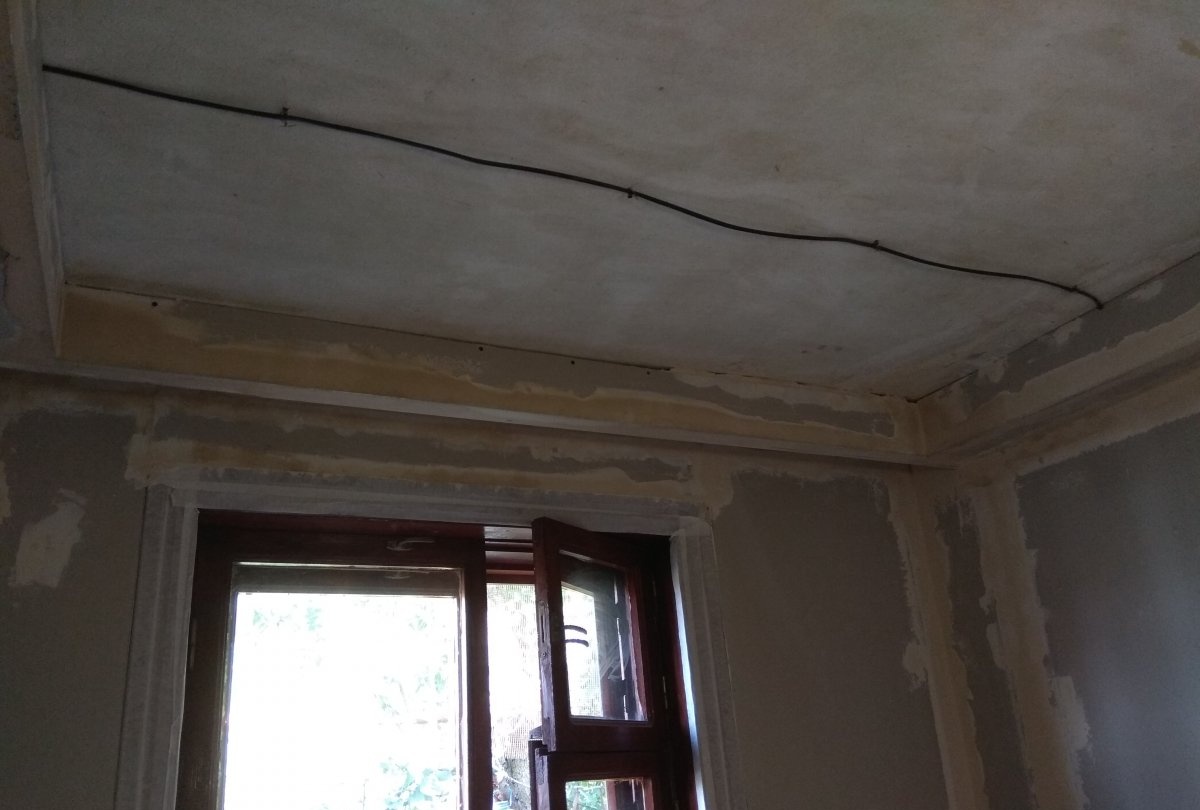
In this case, the walls are made of adobe and the ceiling is wooden. Therefore, the profile was fastened with self-tapping screws. If you have brickwork or other material in which you need to drill holes with a hammer drill, then the installation of profiles can be done for quick installation. Profile trimming is done with metal scissors.
Since this work is performed at height, it will be convenient to use a screwdriver with a battery, since a drill with a cord is not entirely convenient for this.
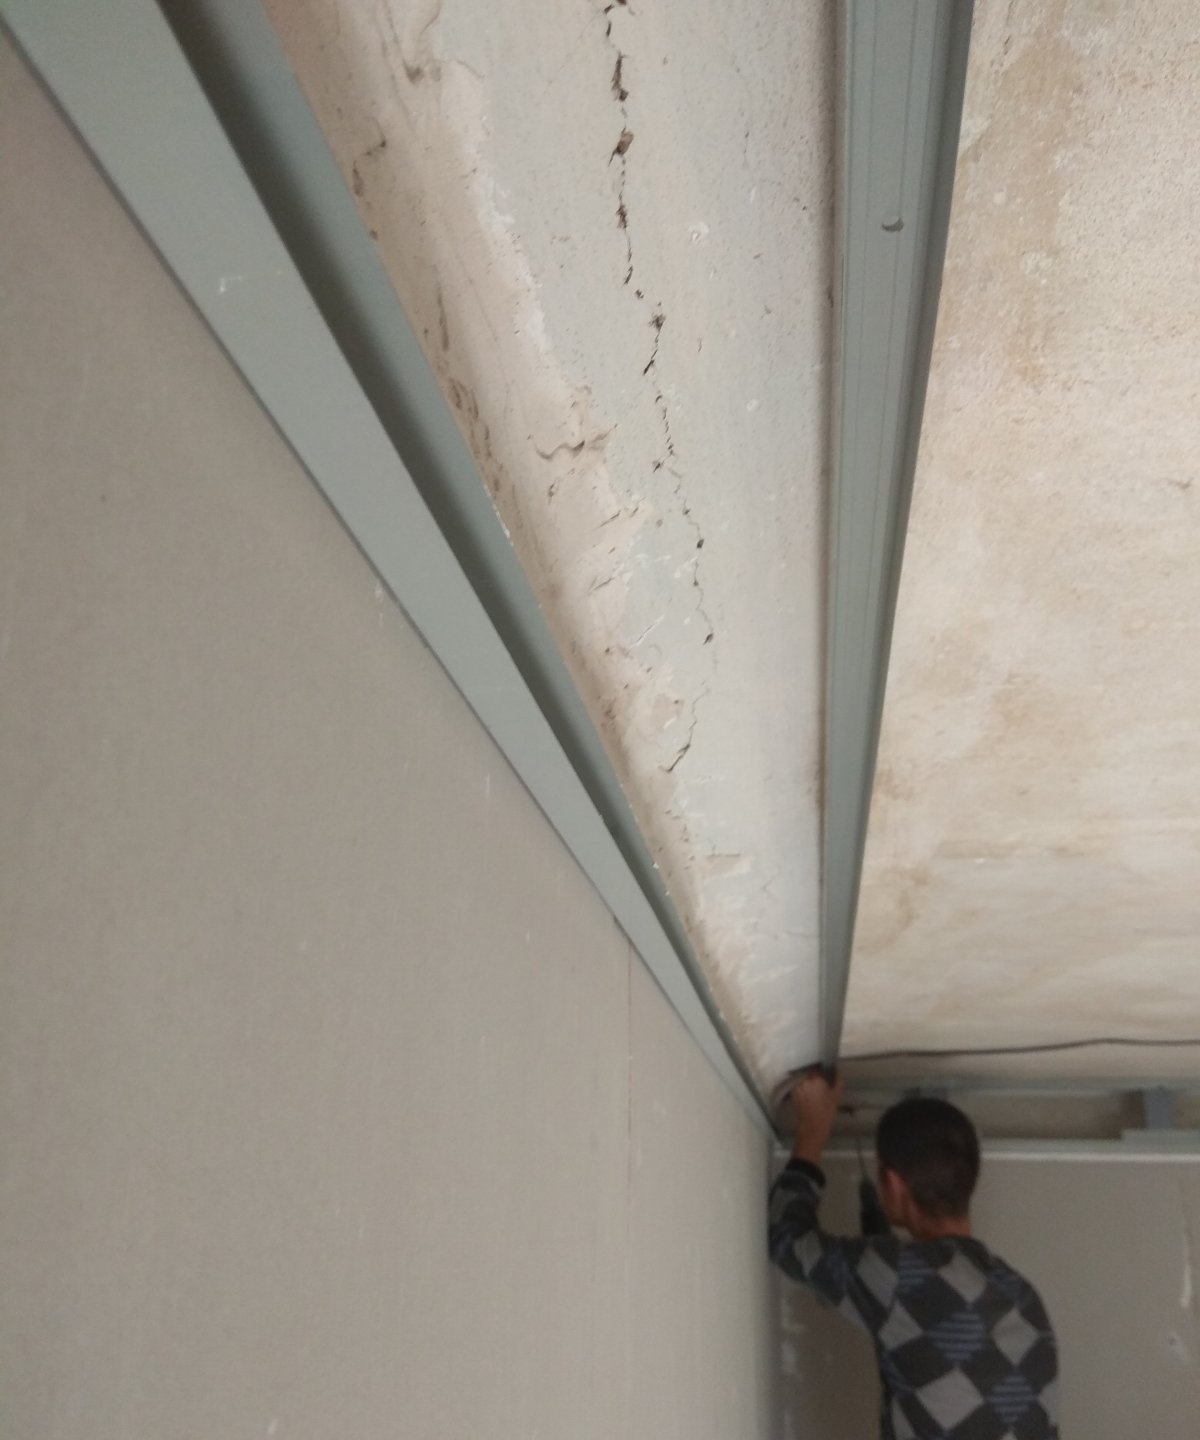
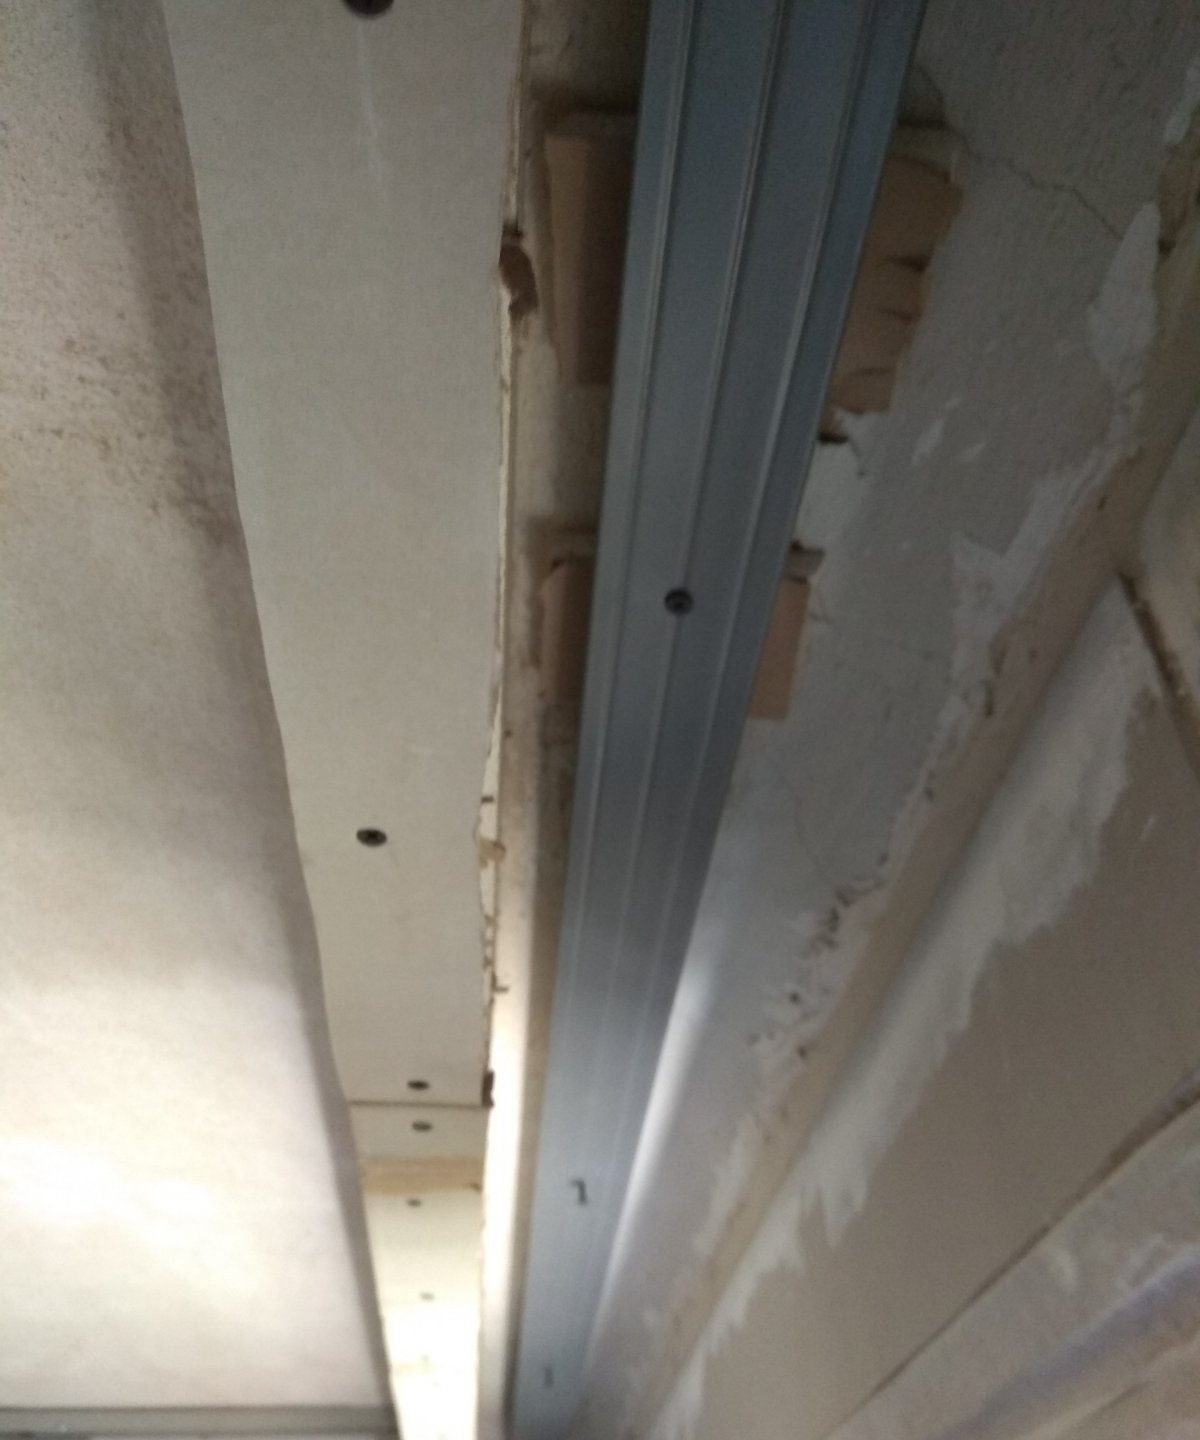
Next, the second UD profile is attached to the ceiling. It is also mounted at a distance from the wall depending on what size is needed. Since in this case it is 15x15 cm, then it is necessary to retreat 14 cm from the wall.
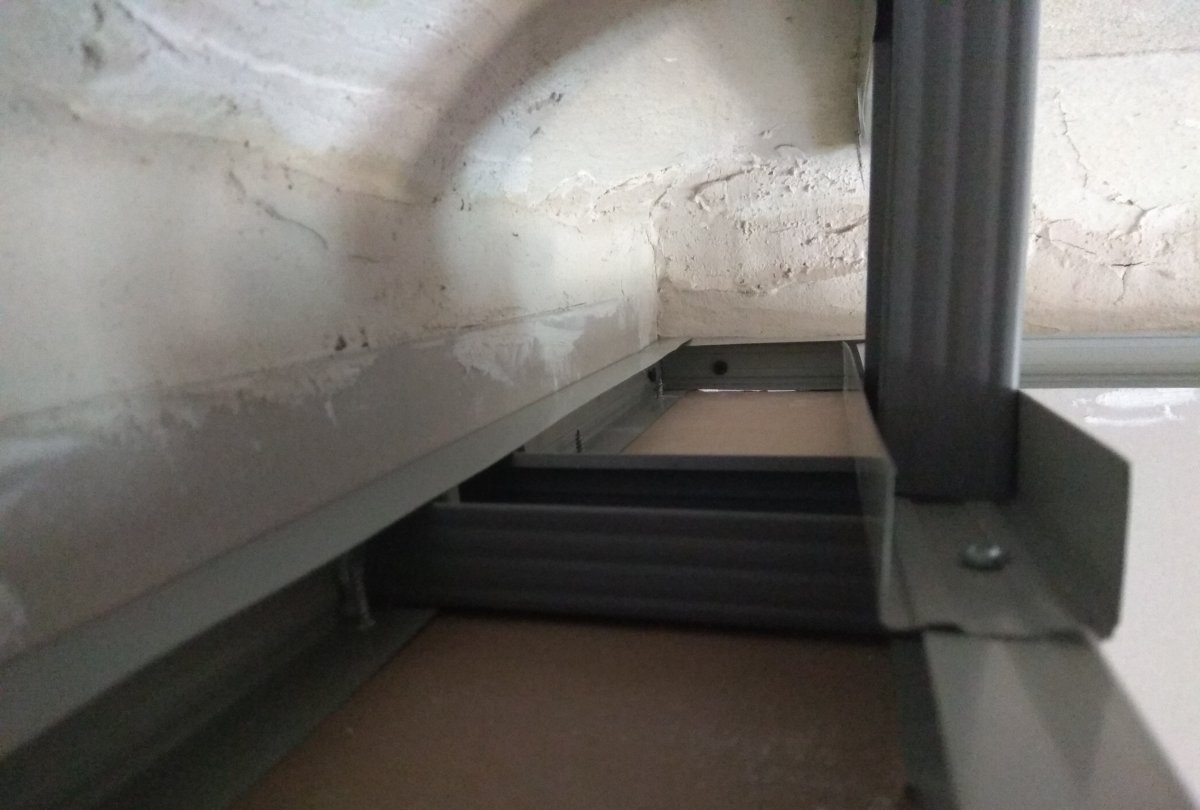
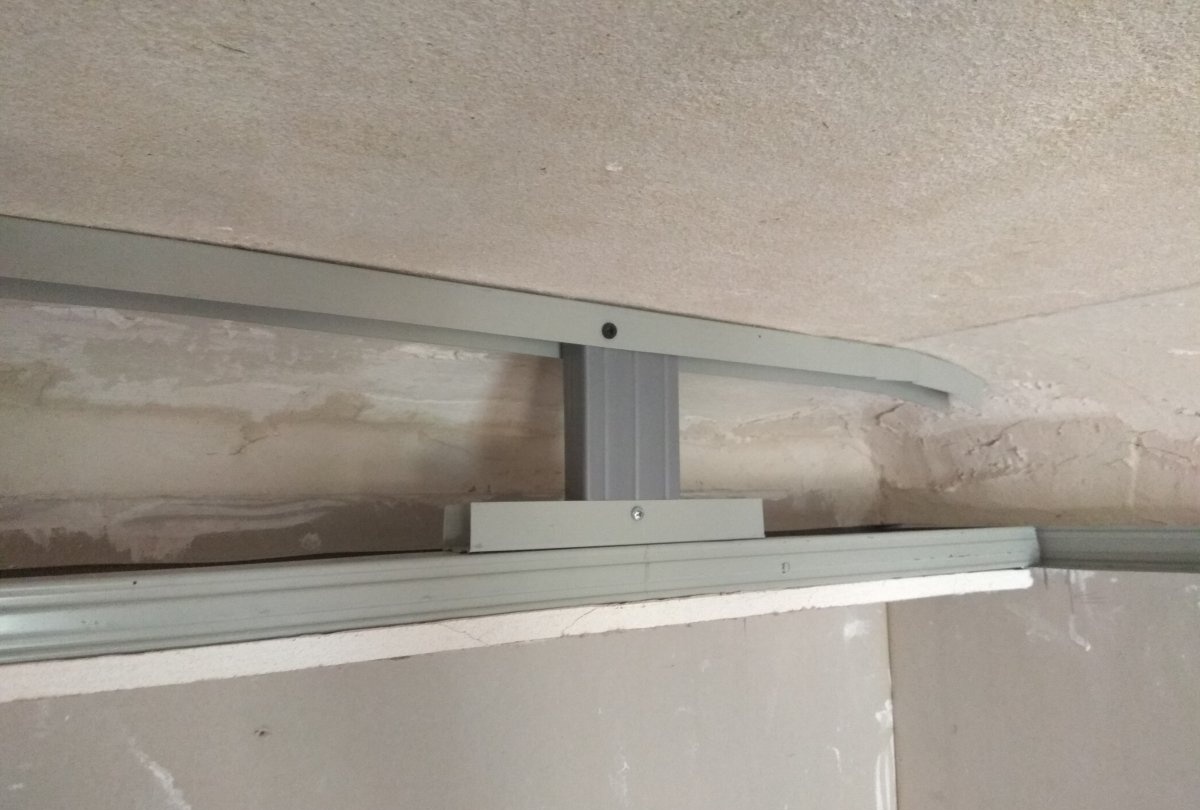
Next, you need to assemble a structure that will be convenient to perform on the floor. A small section of the same profile is also attached to the long UD profile, only on the reverse side, with an indentation of about 40 - 50 cm using metal screws.
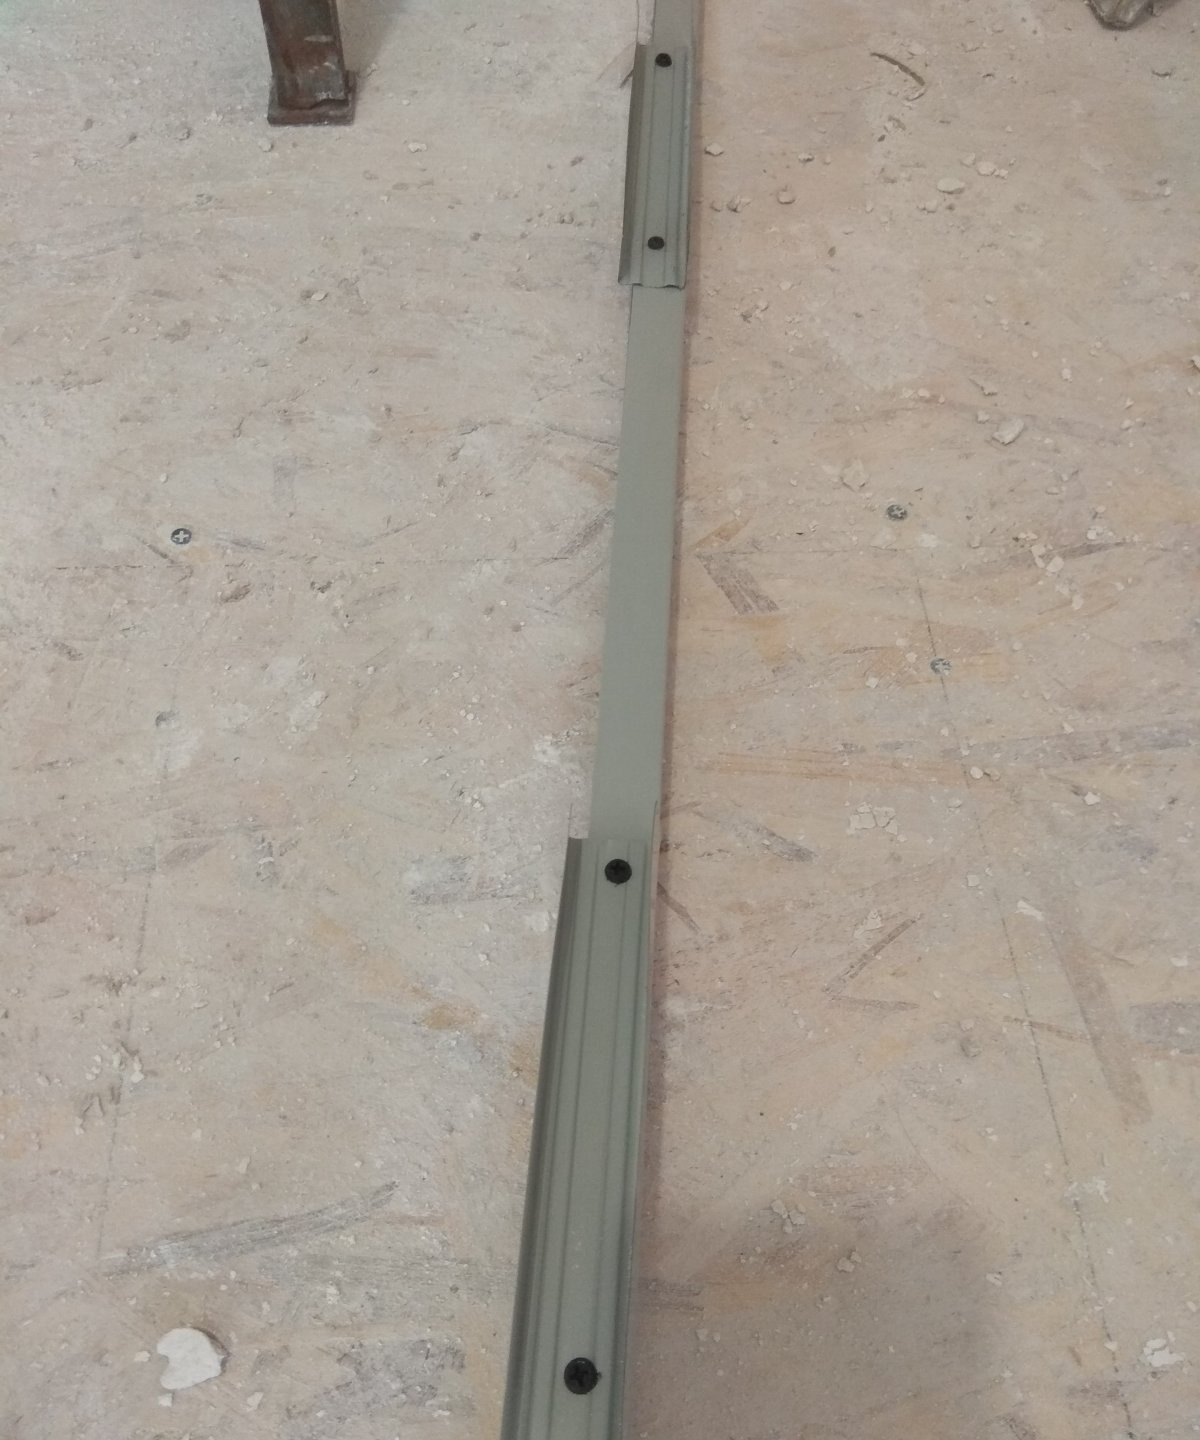
Next, measuring 14 cm, a CD profile is inserted into the cut UD profile to strengthen the structure. After you assemble this structure on the floor, it can be attached to two profiles that have already been installed on the wall and ceiling.
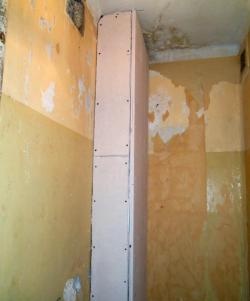
Such a box must be assembled around the entire perimeter.
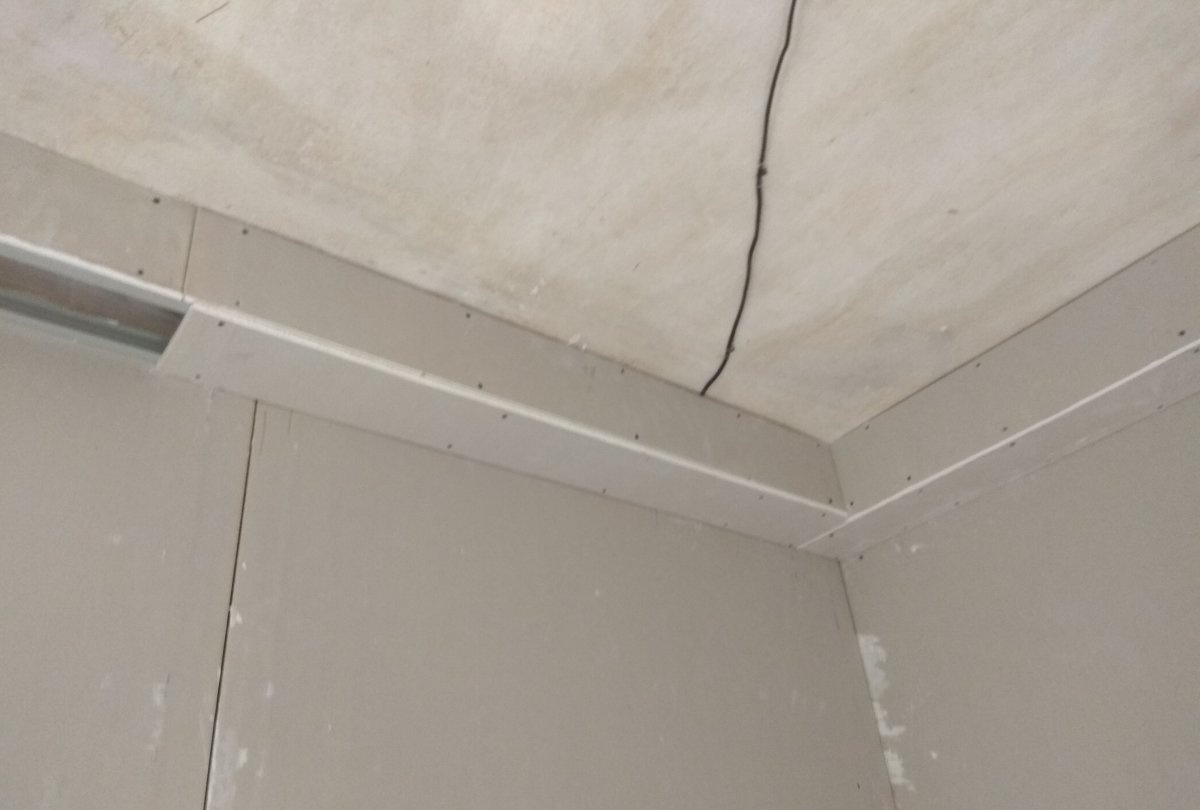
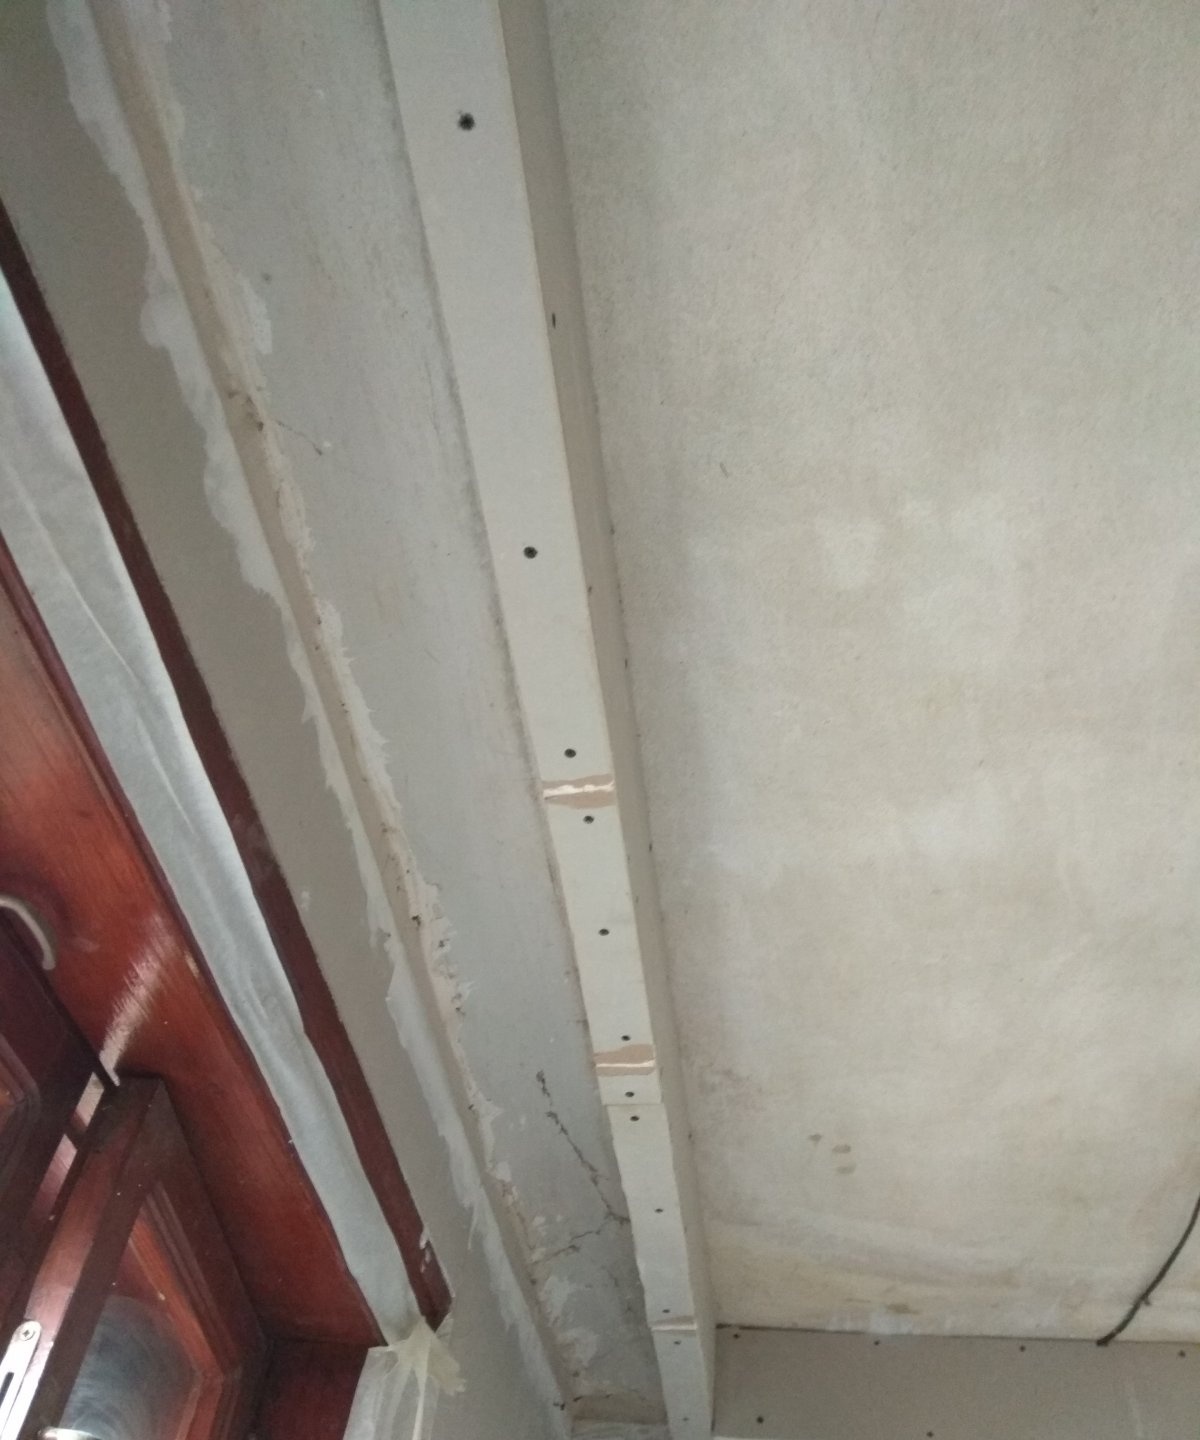
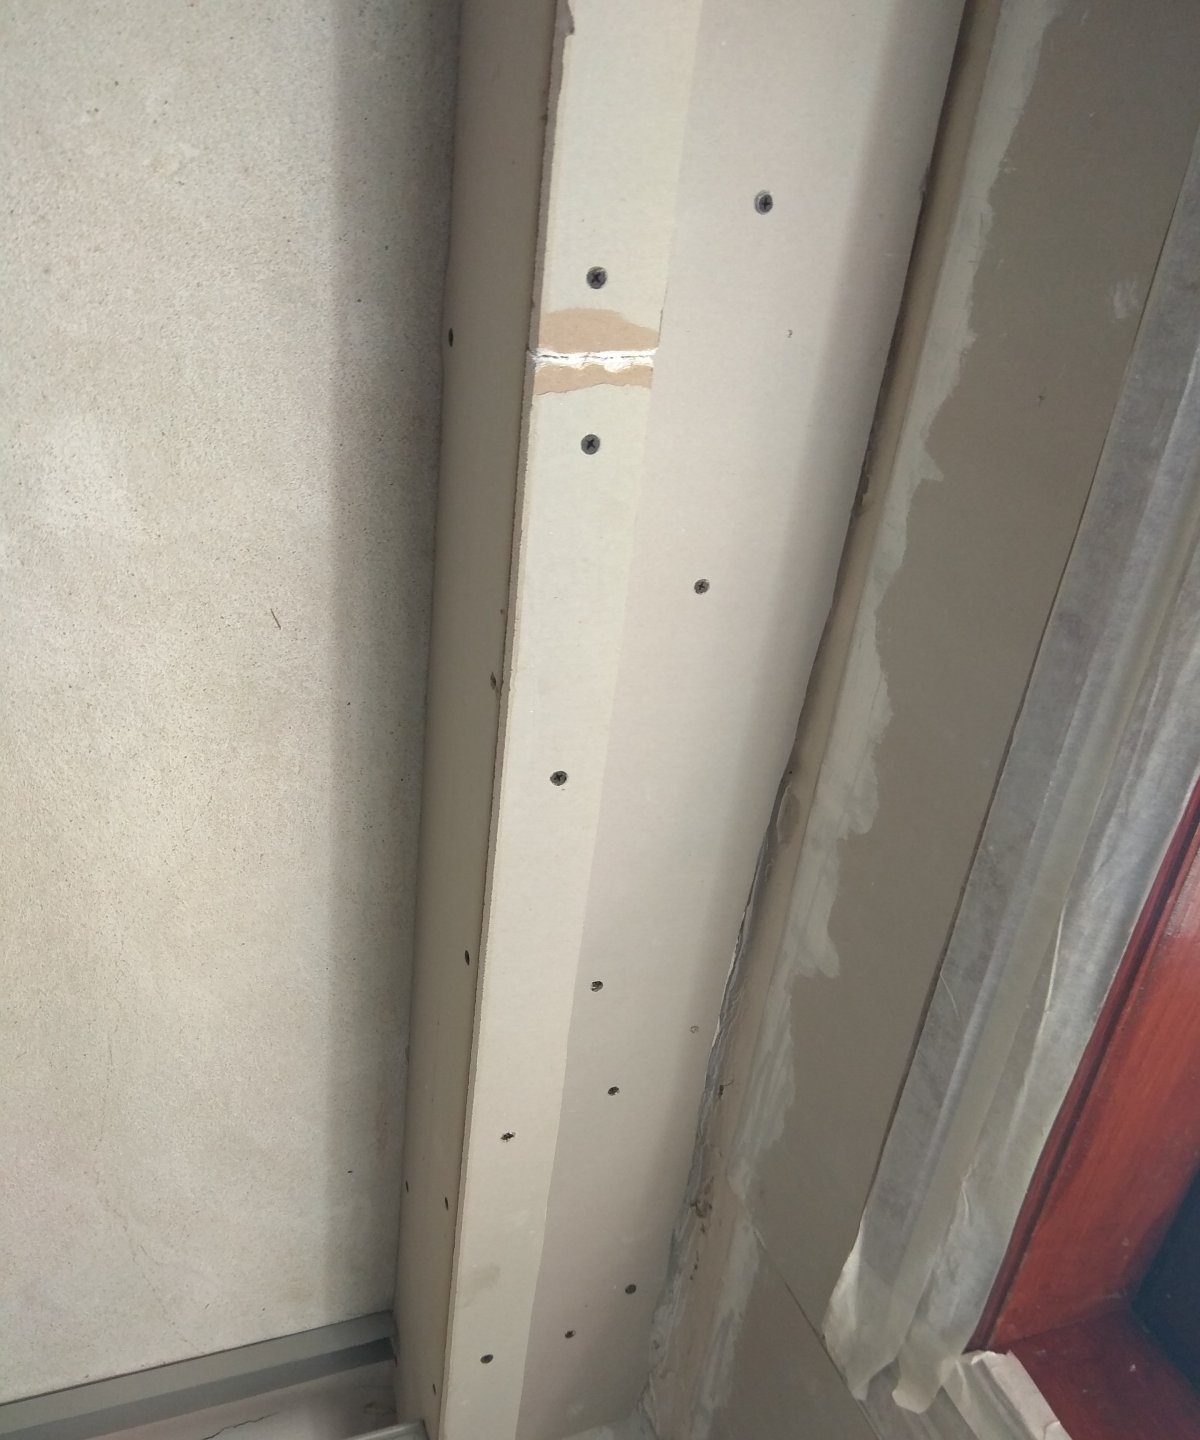
Then you can begin installing the drywall. You will need a utility knife to cut drywall. In addition, you can use a special planer for drywall.

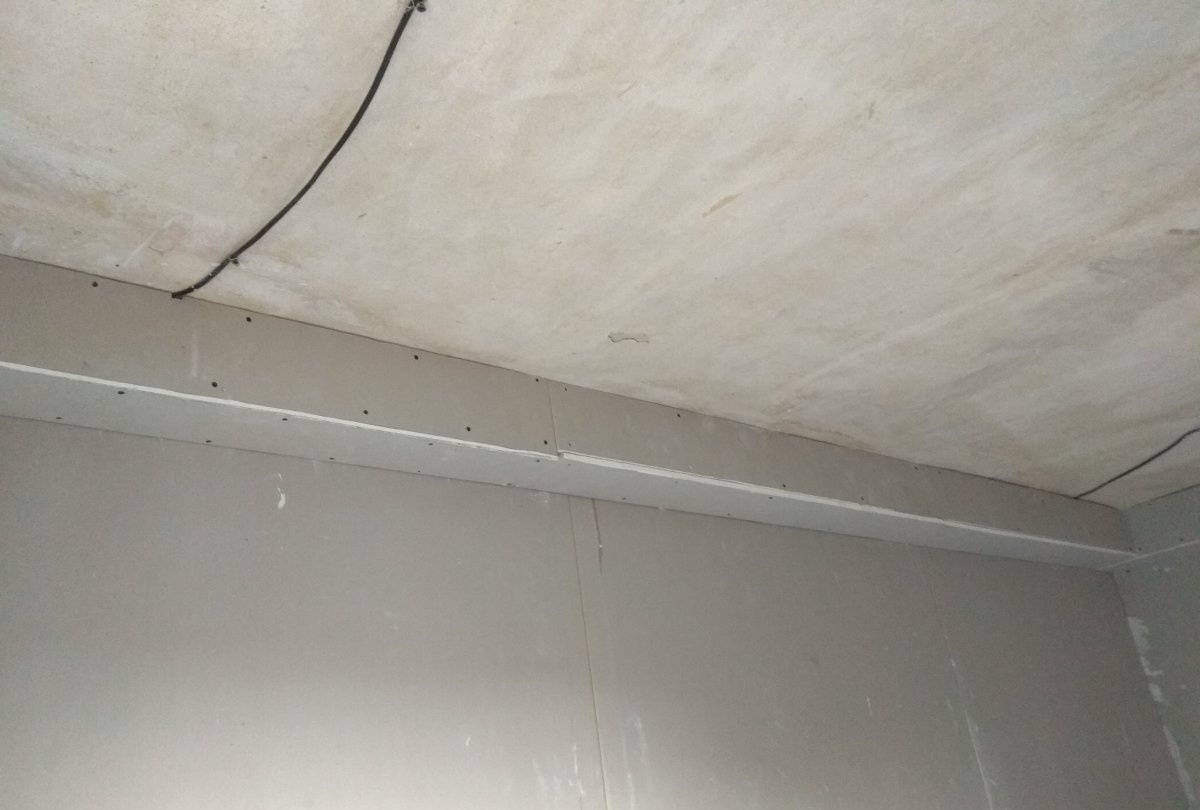
You will use it to smooth out the unevenness that results from pruning. You can assemble the box from pieces of drywall of different lengths. The drywall is attached to the profile using self-tapping screws.
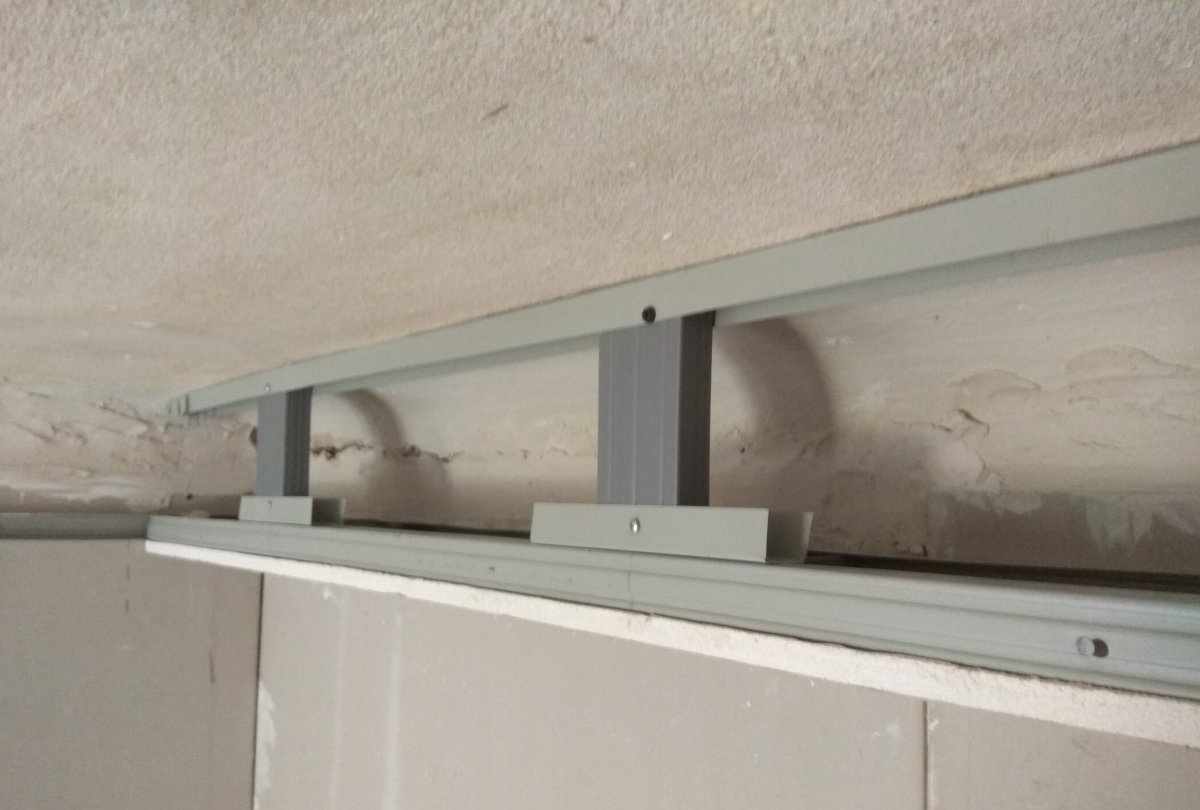
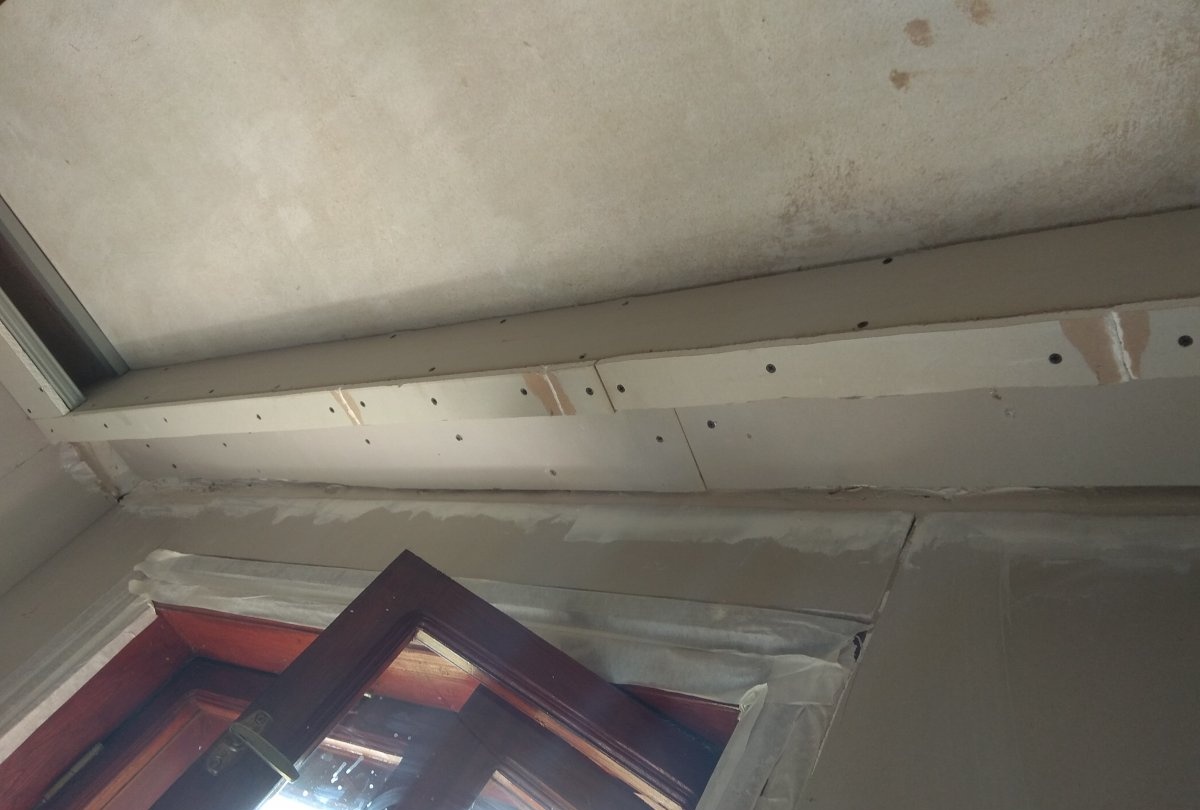
On the side of the window, the box is slightly different. This is so that a hidden cornice can be used, since this design is made for tension flow. Therefore, at a distance of 15 cm from the wall, it is necessary to secure two CD profiles. One profile is attached to the ceiling, and the other at the level of the bottom of the box to the UD side profile. In this case, the thickness of this box will depend on the thickness of the CD profile, namely 10 cm.
In the span between the window and the frame, you can also attach a CD profile to the ceiling, and drywall to it.
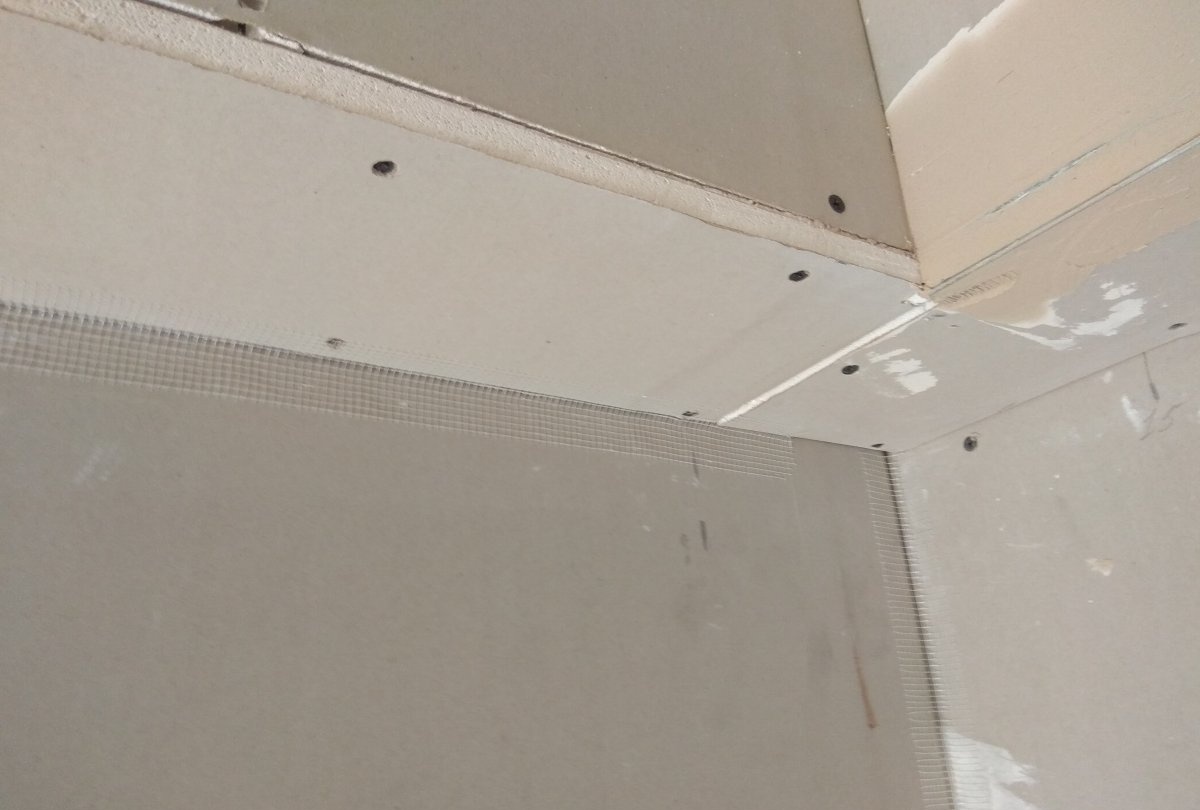
When the entire box is covered with plasterboard, it must be primed. Then serpyanka tape is used for all corners. These are the corners of the box, the corners between the wall and the box, and also between the ceiling and the box. In addition, it is necessary to glue sickle tape between the drywall seams.
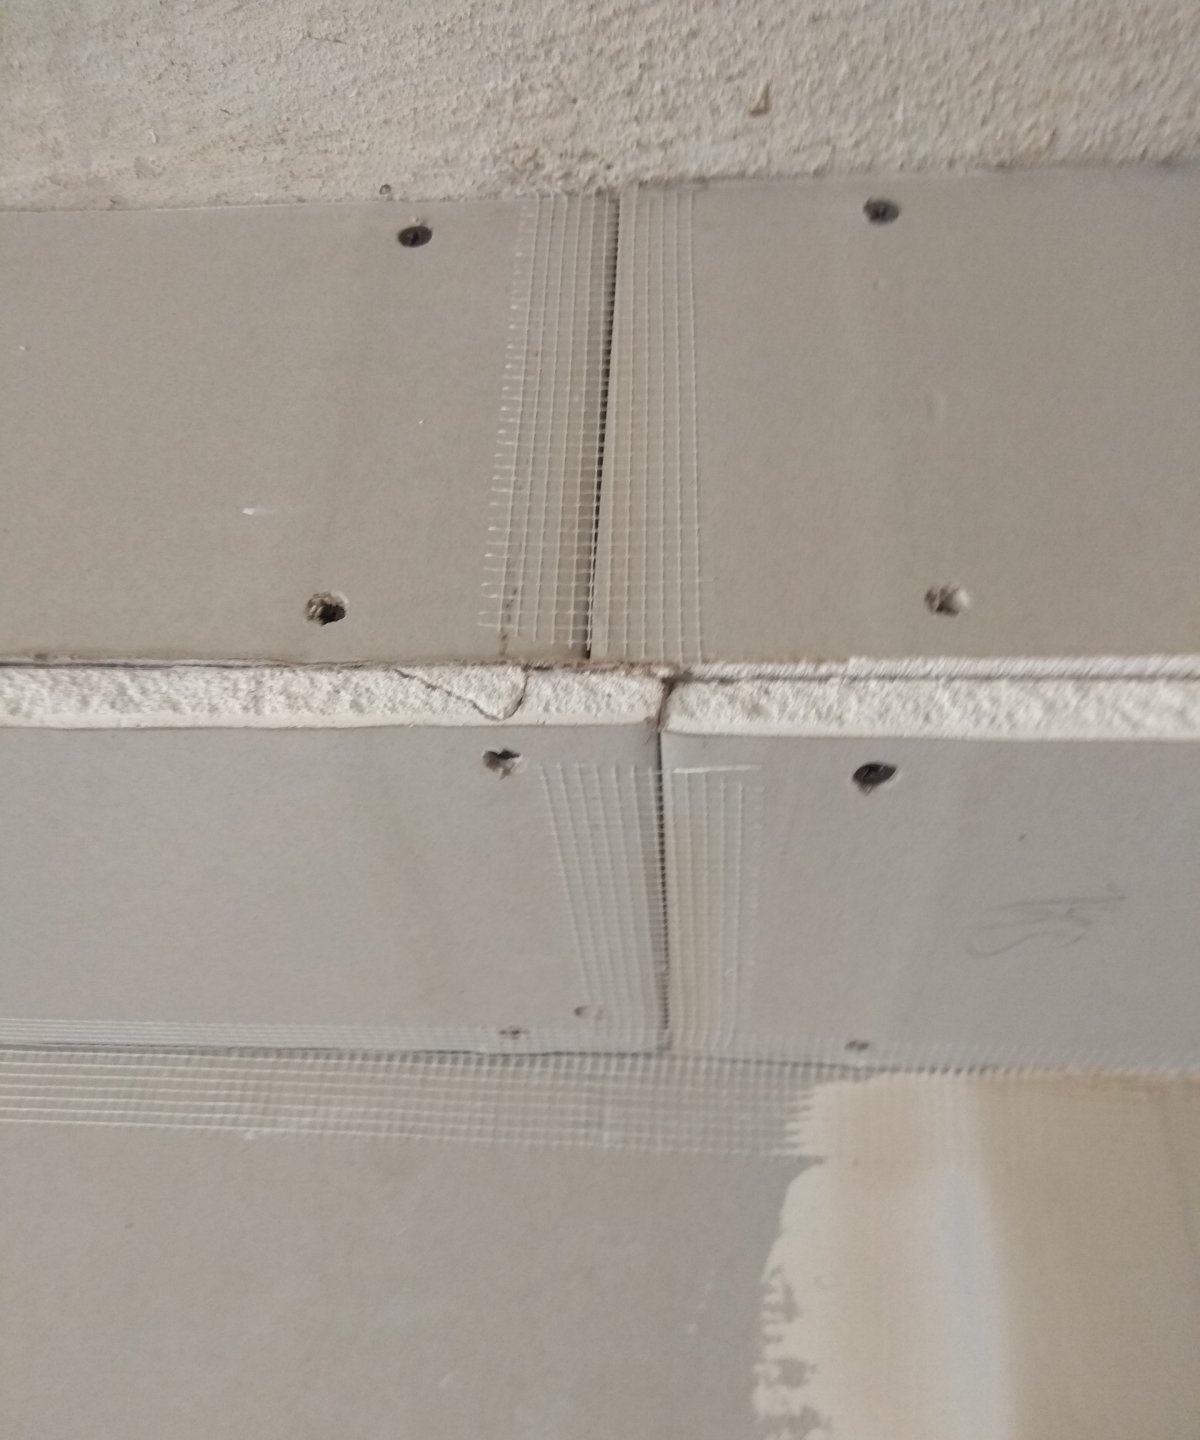
Then a special putty is used for the seams. She needs to fix the serpyanka and putty it exactly in those places where it was glued, i.e. all corners and seams.
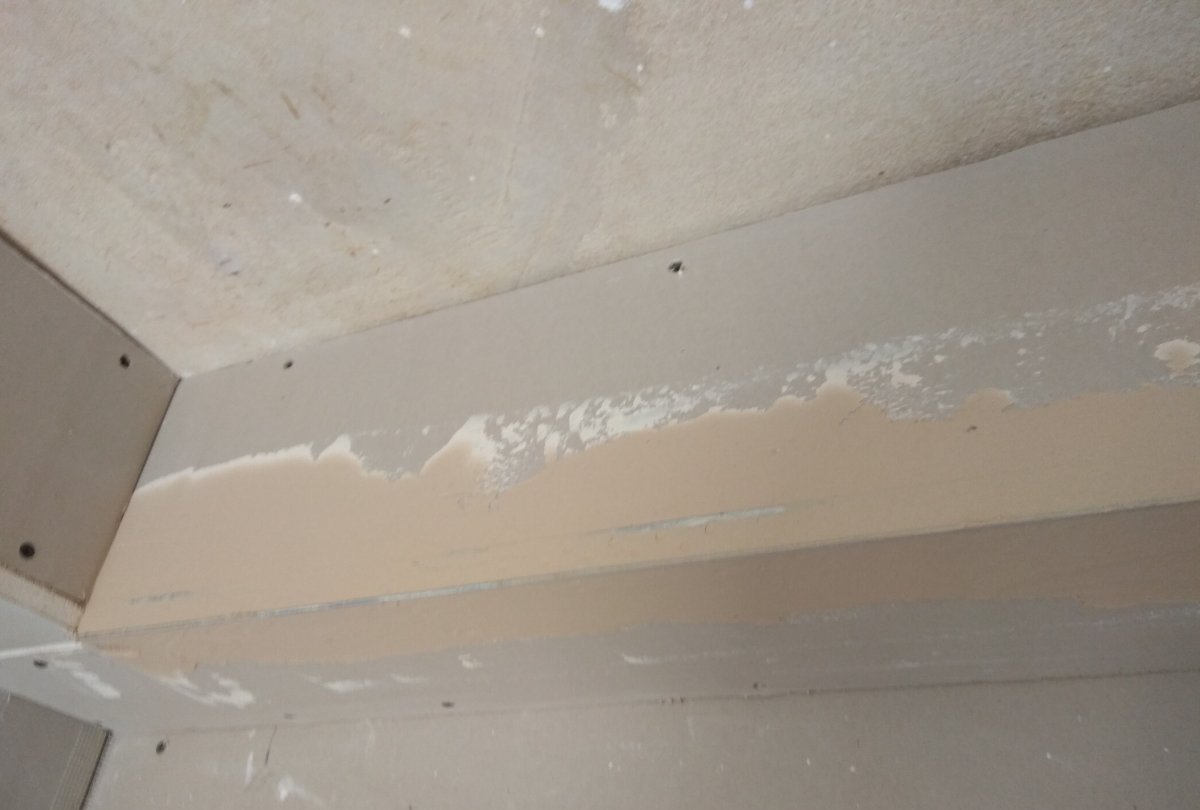
When the putty has dried, it is necessary to smooth out the uneven areas with sandpaper and prime again. Then you can cover the box with regular finishing putty.
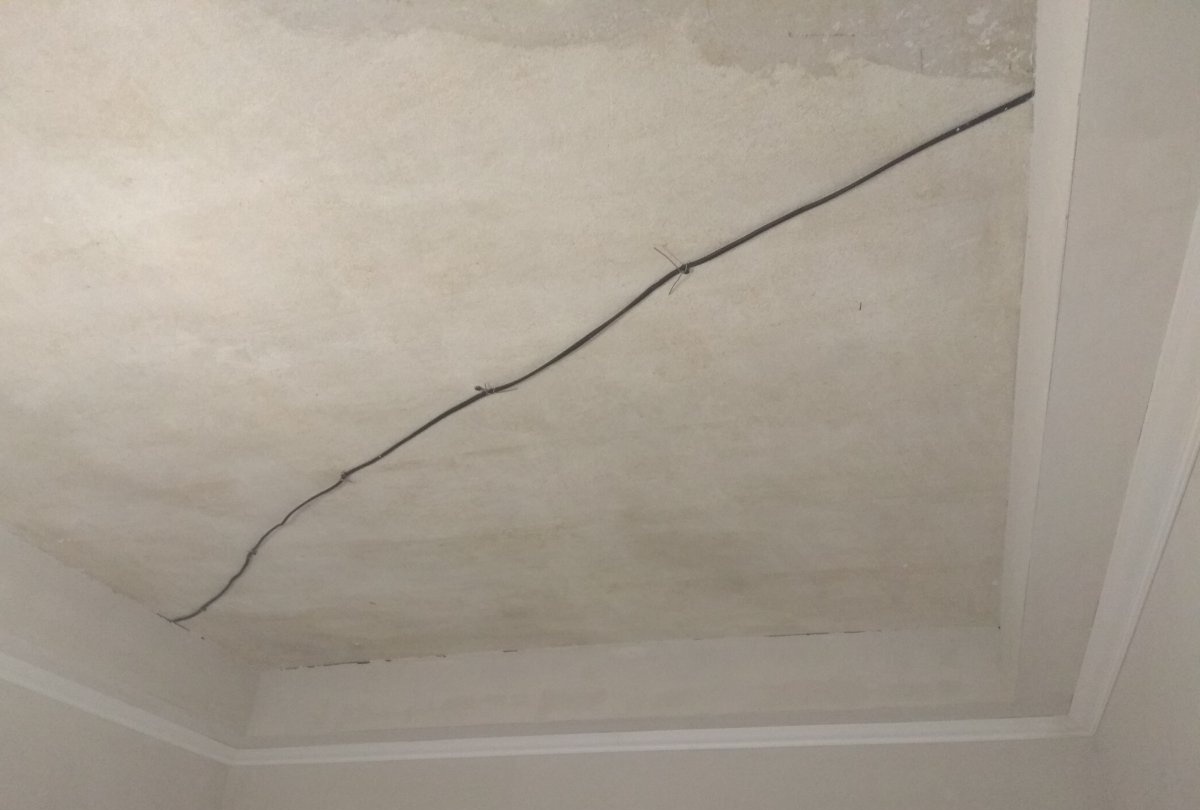
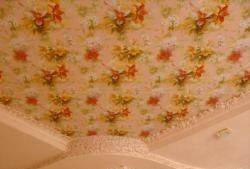
When this putty dries, it also needs to be sanded a little, eliminating minor irregularities, and then primed again. After this, the box can be painted. You choose the color of the box yourself, depending on what colors the walls and ceiling have. However, it’s great to wear out, and the white box also matches almost any shade.
You can attach baguettes between the wall and the box, and also paint them in the color of the box.It is advisable to do this with the same paint at once so that this element looks like one.
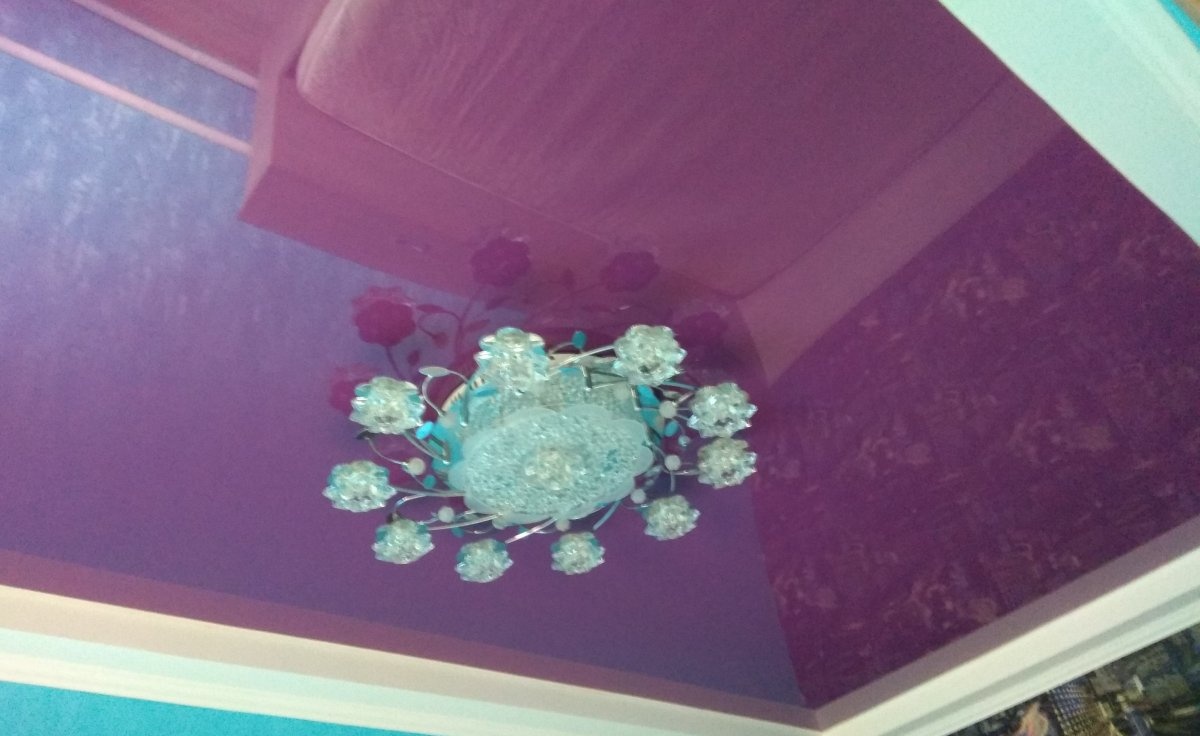
After this, you can hire specialists to install the stretch ceiling, or if you have everything for this, do it yourself.