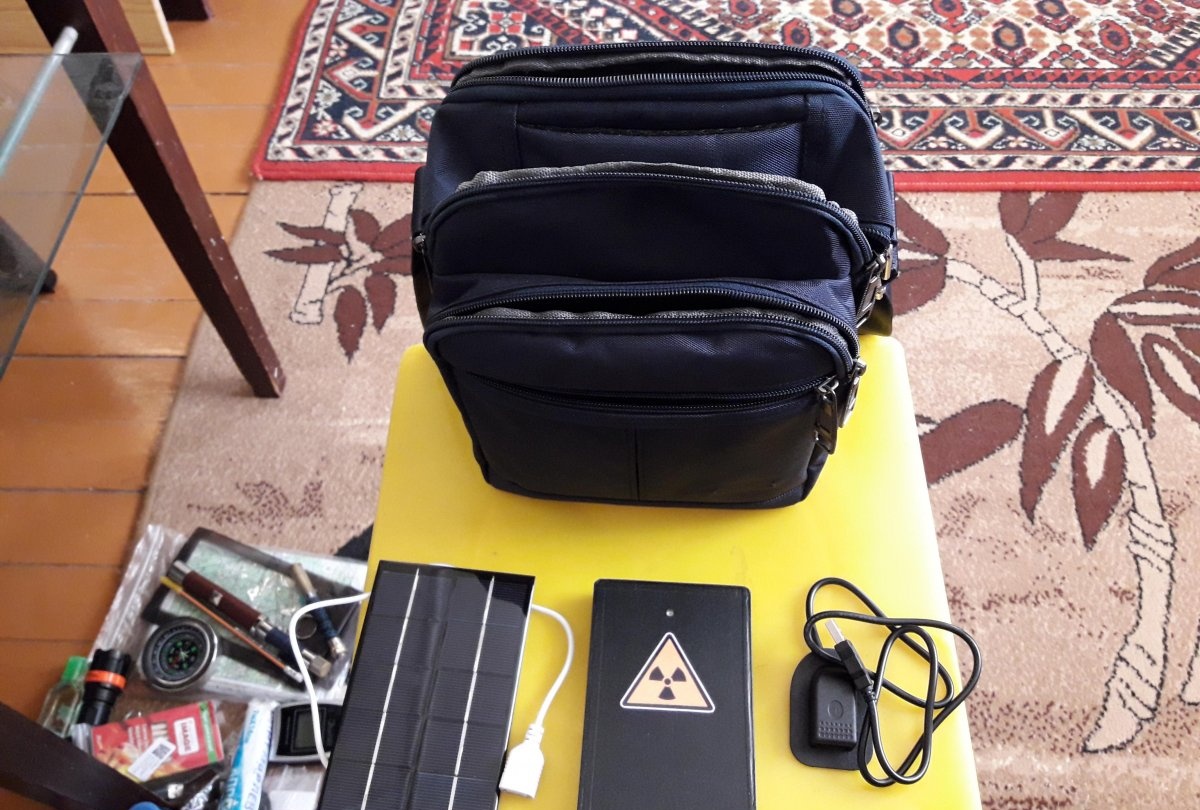
The sun is an inexhaustible source of energy, and it is also environmentally friendly. Nowadays, extracting this same energy is not a problem, both for individual use and on an industrial scale. Solar modules come in a wide variety of sizes, compositions and assemblies. There are huge and small, silicon and polymer, hard and flexible, thin and impact-resistant and frost-resistant. Which one to purchase depends on the needs and capabilities of the user. In this master class we will talk about a small, portable module with boost converter and USB output, which is suitable for use outdoors, for recharging a power bank, flashlight, satellite navigator and other electronic equipment necessary for long fishing or hiking. I recently bought just such a module in an online store.
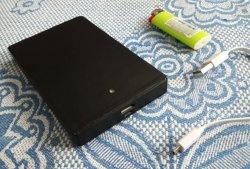
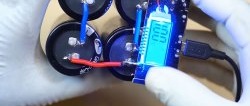
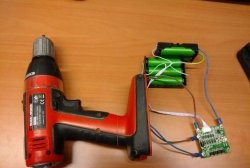
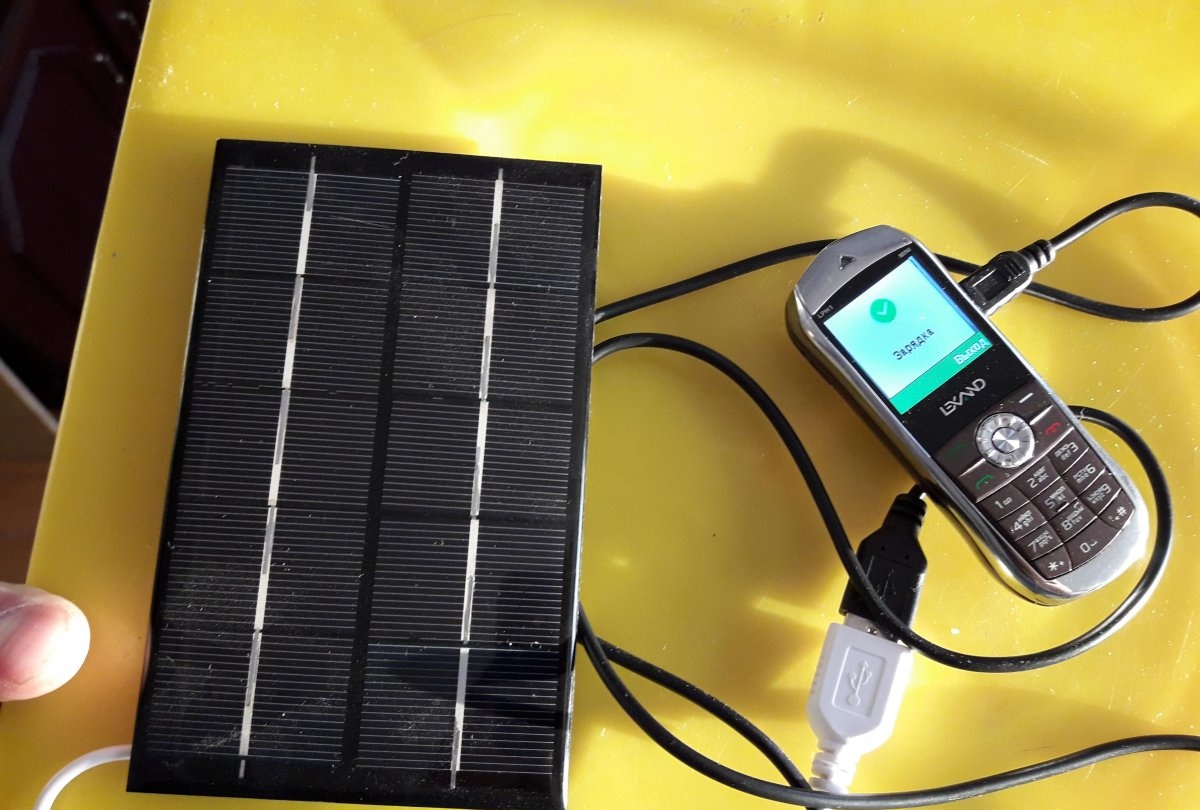
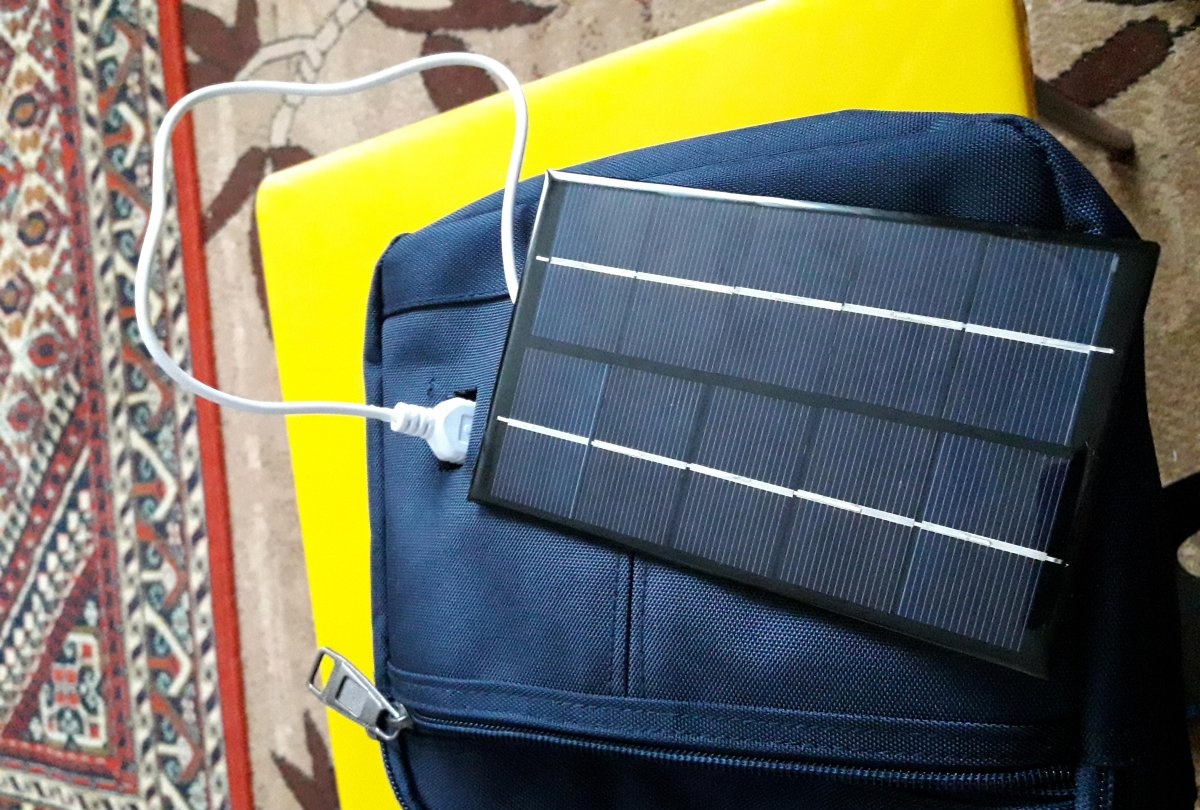
By my own oversight, I managed to order it without body. The photo on the cover was only a top view, and I didn’t read the description carefully...But what’s done is done, and I thought, why not adapt this solar panel to my bag, which I always take with me to the forest. It produces, through a built-in boost converter, 5.7 V and a maximum (in direct sunlight) of 950 mA. This is enough to charge a modern smartphone or satellite navigator in 2-3 hours. A simple push-button telephone, in more or less normal weather, can be charged from this module in about an hour.
Also, if you don’t need to charge anything during the day, you can use a power bank to charge it. Good power bank (from 5000 mAh), of course, this module will not charge in one daylight hours, but what accumulates in a day is enough to charge a phone or other small device a couple of times. Of course, in cloudy weather things will go slower; The voltage and current will drop, but there will still be some charge.
Will need
- Bag (on which you plan to install the solar module).
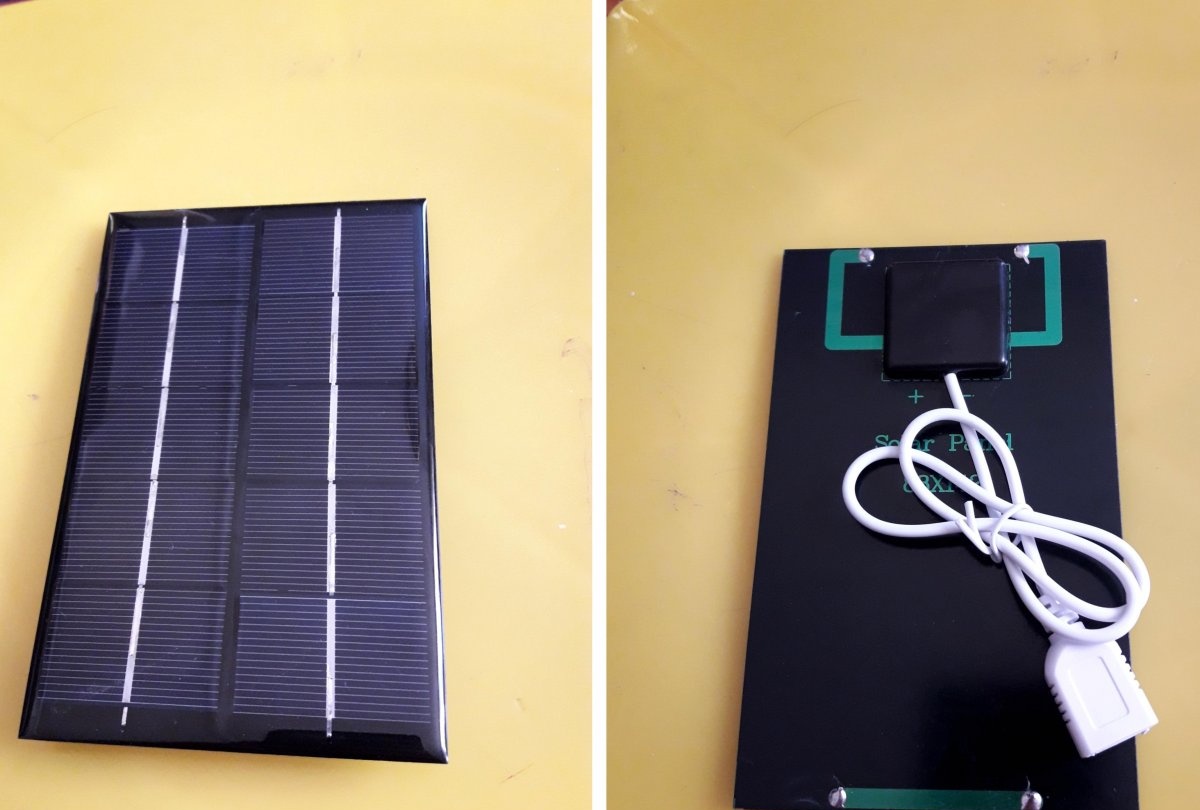
- Solar module with built-in boost converter no more than 6 volts, and usb output.
- USB extension cable (male-female) with a protective cover on the connector (not long, 30 cm).
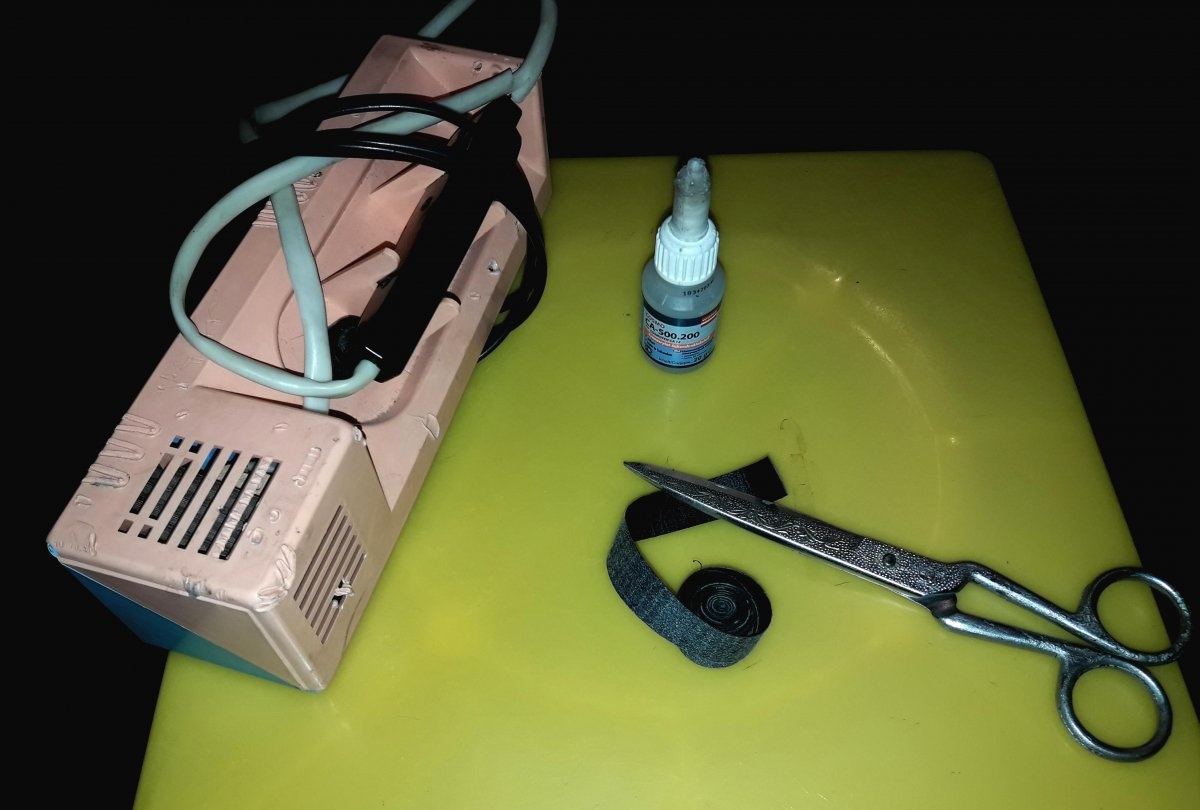
- Wood burner with a fine tip.
- Scissors.
- Secondary glue.
- A strip of thin artificial leather or leather (1 cm wide and 20 cm long).
Installing a solar module on a bag
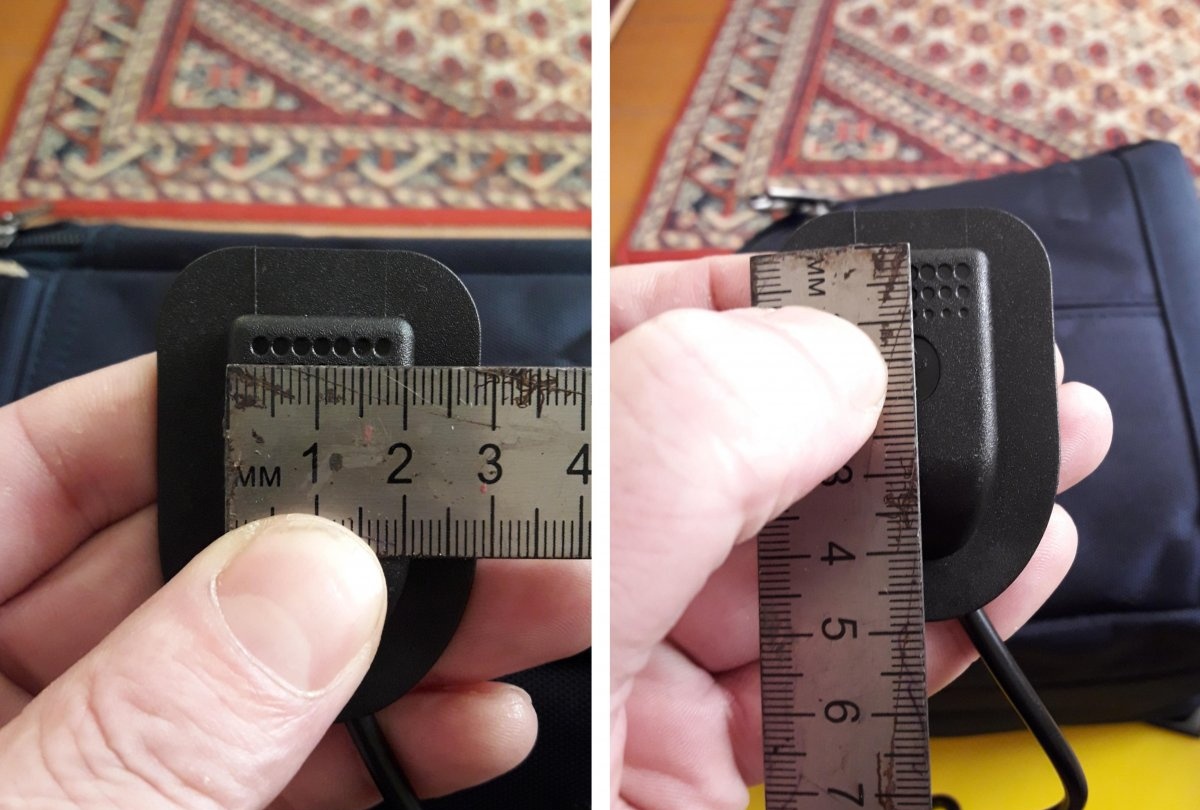
First, you need to determine the most convenient place for use where the USB connector will be located. Better, of course, on the side of the bag. But on the right or on the left - it depends on the physiological characteristics of the user; people are both right-handed and left-handed.So, after we have found the right and most convenient place, we determine the parameters of the future hole based on the parameters of the USB connector along with the protective casing.
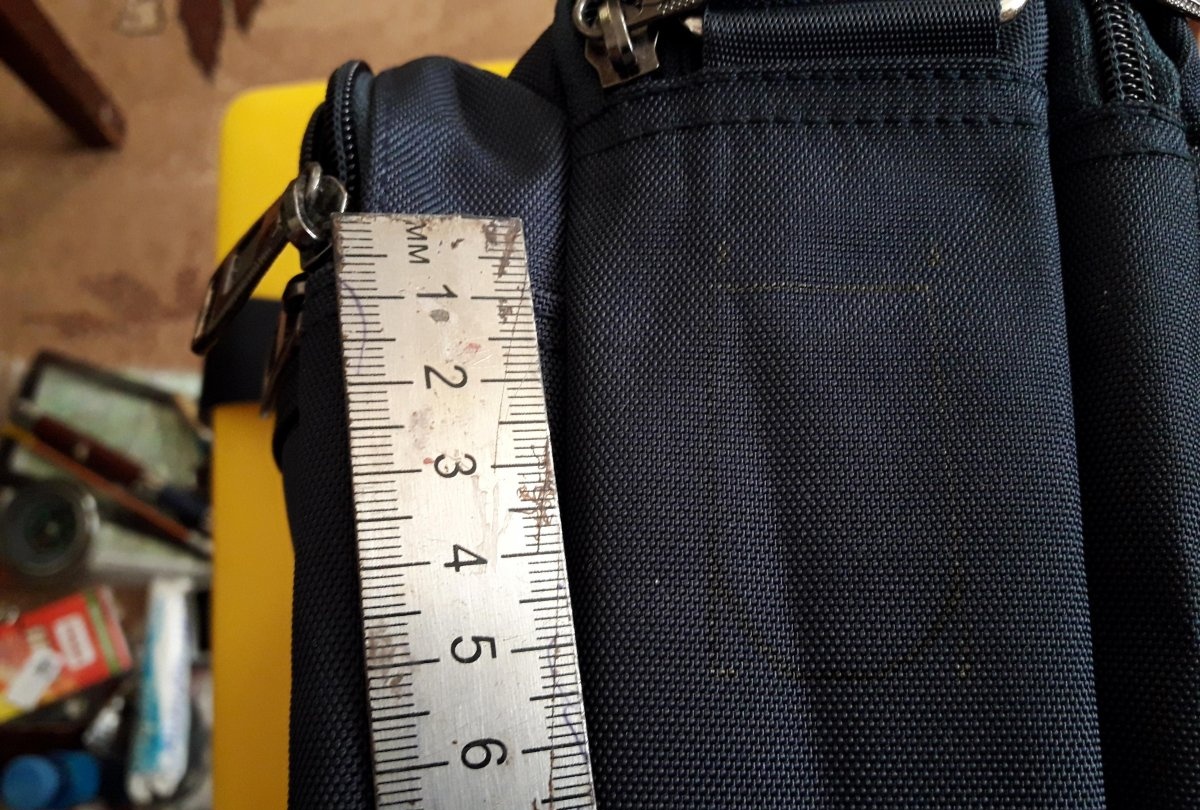
Next, use a pen or marker to draw the boundaries of the hole on the bag, and carefully, using a heated burner, cut out this hole.
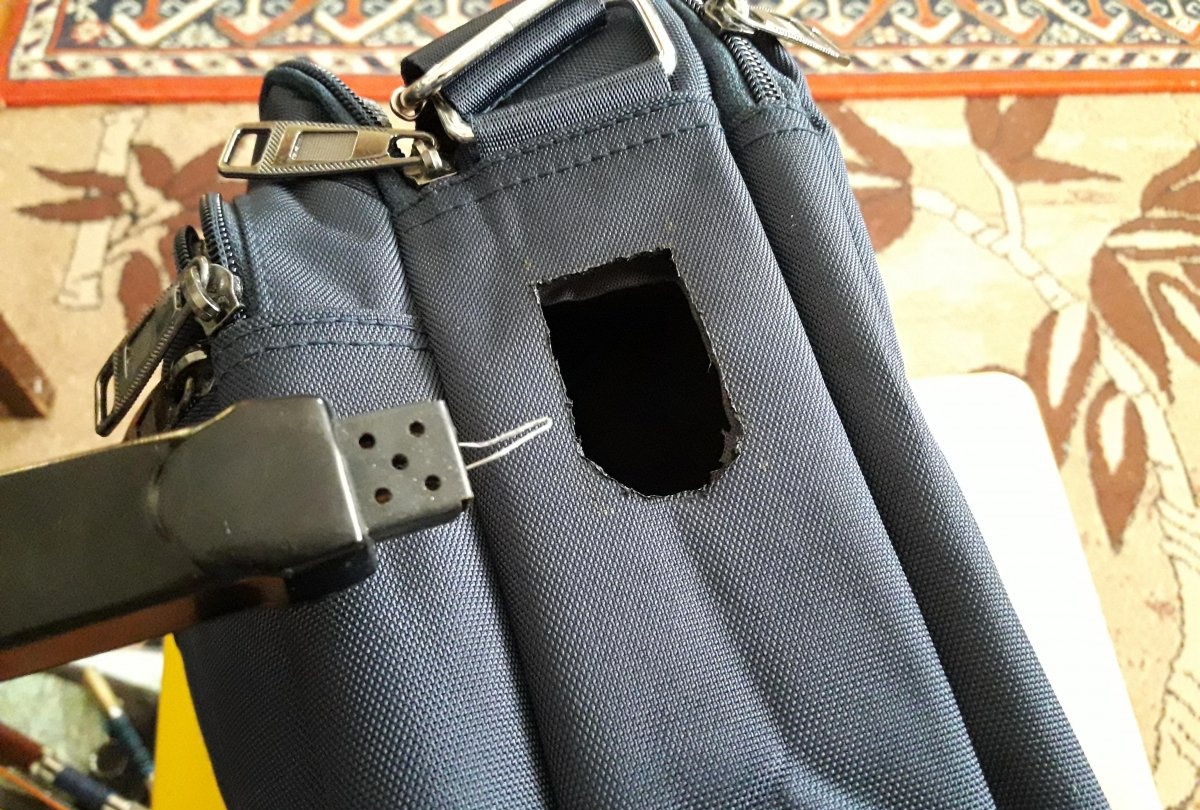
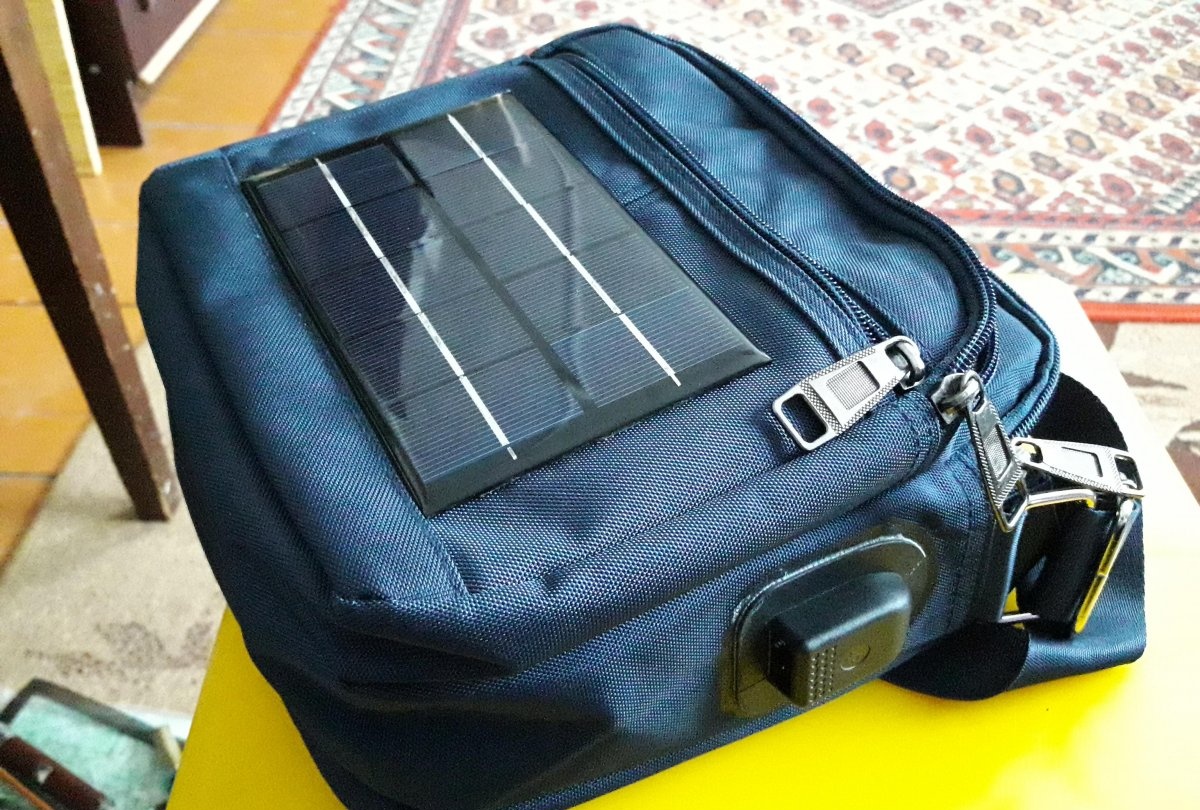
At first, I wanted to glue the protective casing from the usb on the inside of the bag, as it should be, but then I figured that the burnt hole would look too obscene from the outside, so I glued the casing on the outside, and thoroughly coated the edges with glue so that water from the rain would not get into bag.
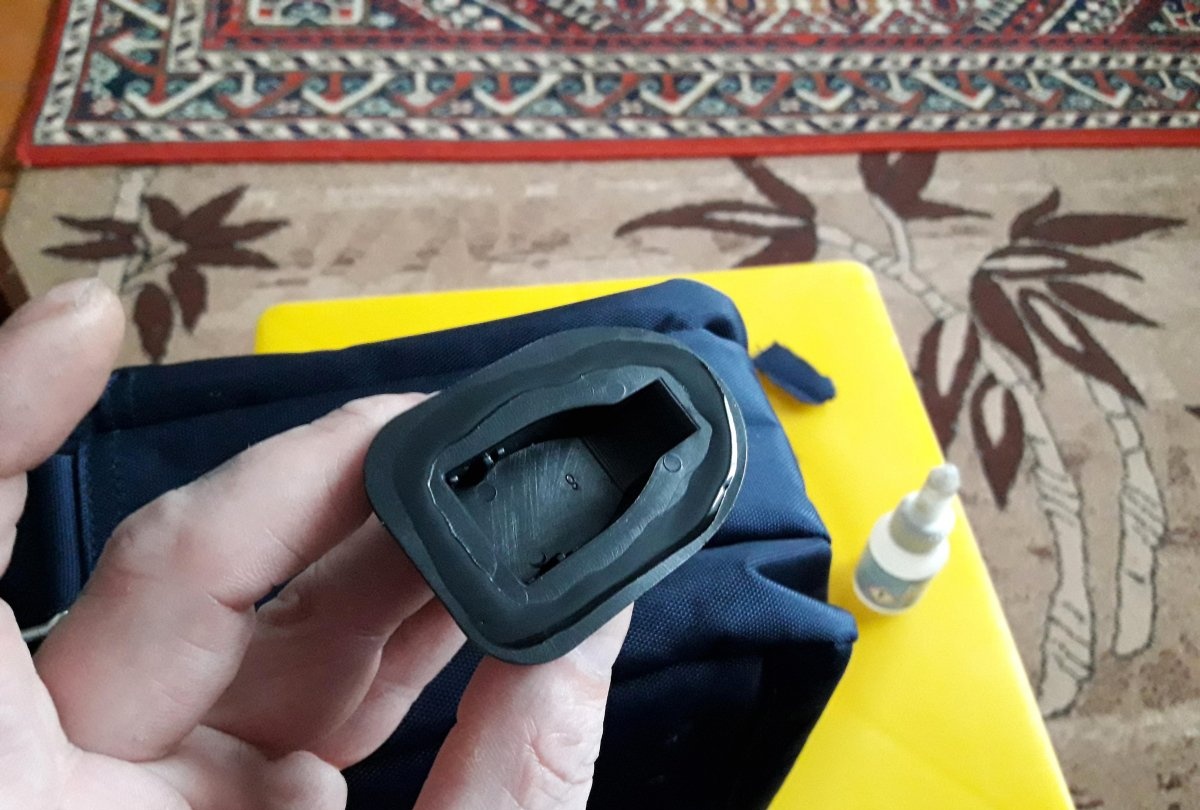
We wait 7-10 minutes until the glue has completely hardened, and insert the connector into the casing from the inside.
Now it’s the module’s turn. First you need to seal all existing bare contacts.
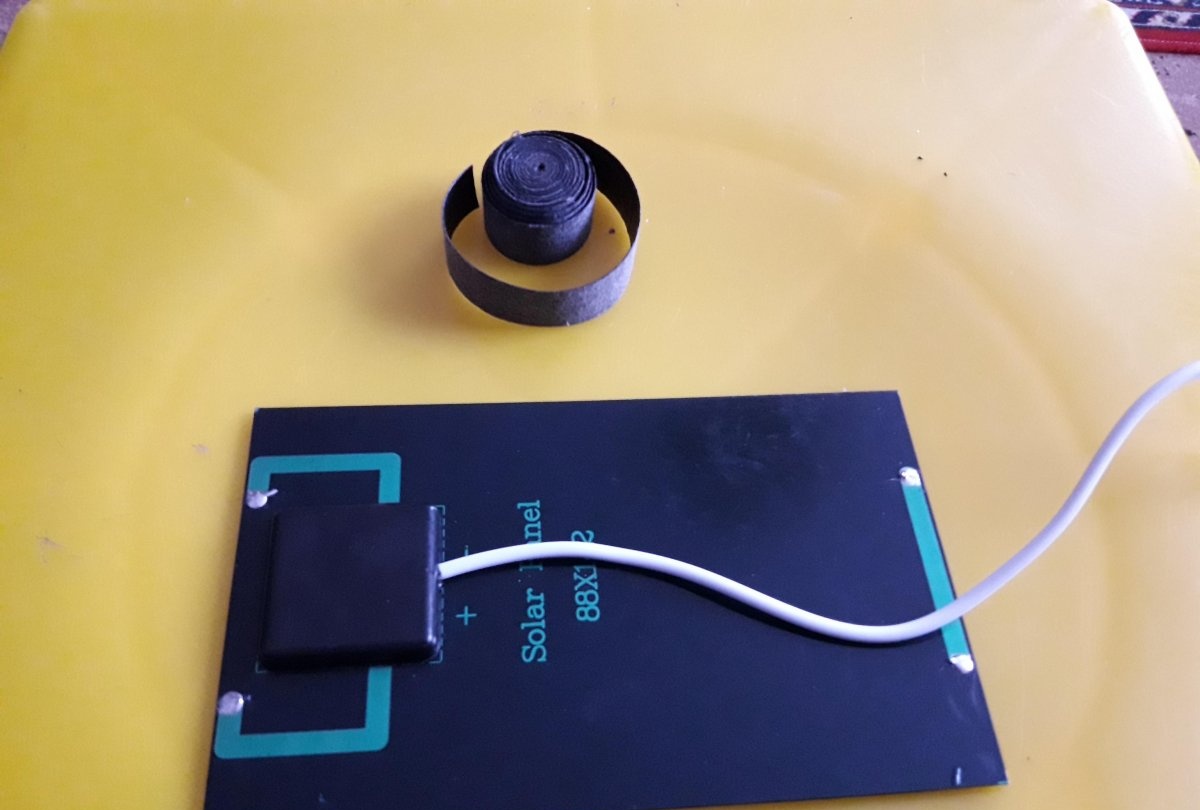
I used leatherette tape for this. It is also necessary to carefully insulate the converter itself using glue. Next, we glue its cable closer to the edge of the module so that it does not dangle and violate all the insulation.

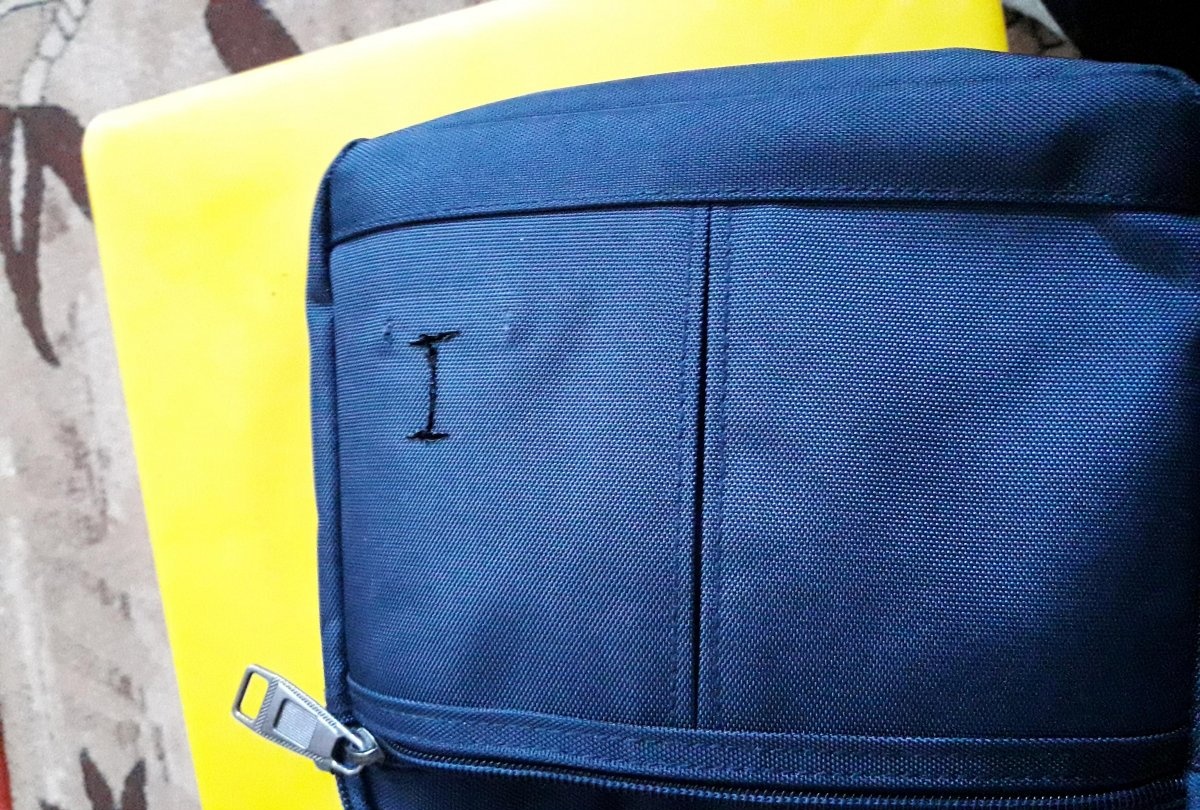
We try the module on the bag, in the desired place, and mark with a pen the place where the cable should go.
Using a burner, we make a cut like this for the USB connector:
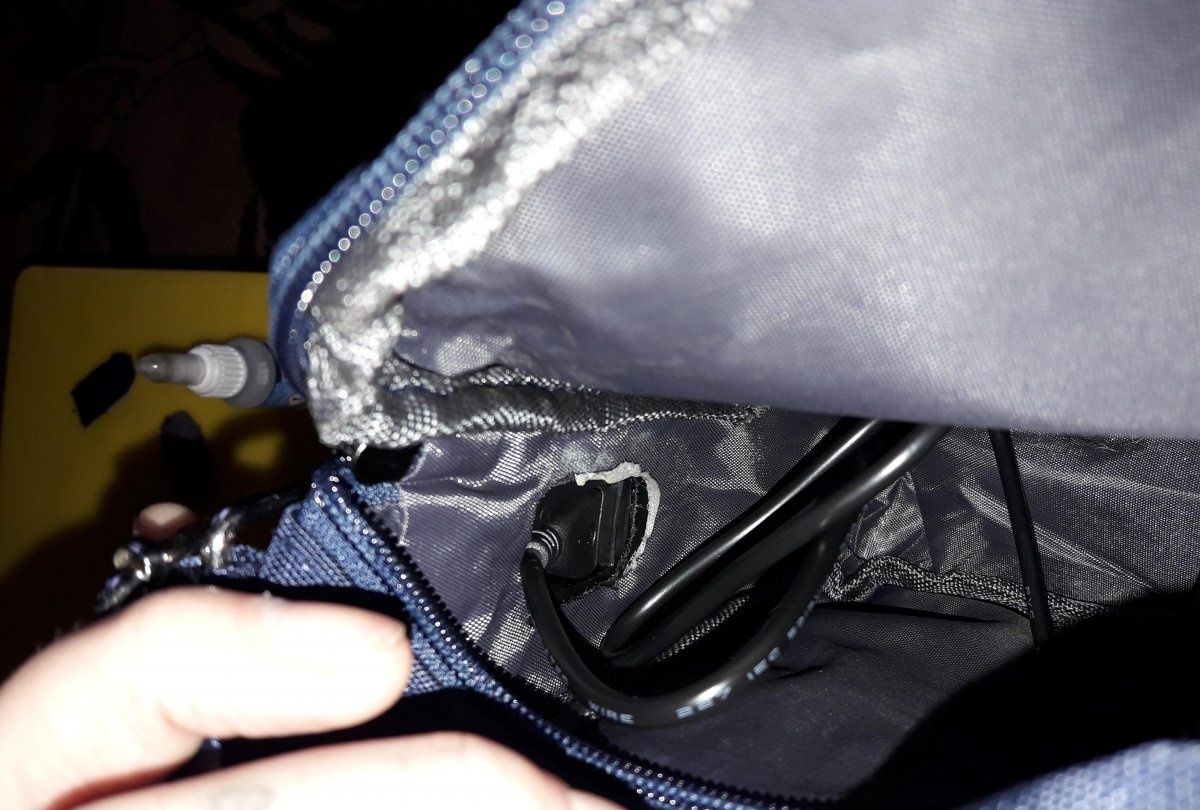
If the bag has several compartments, like mine, then inside the bag you also need to burn holes in the dividing walls, up to the compartment where the extension cable is located.
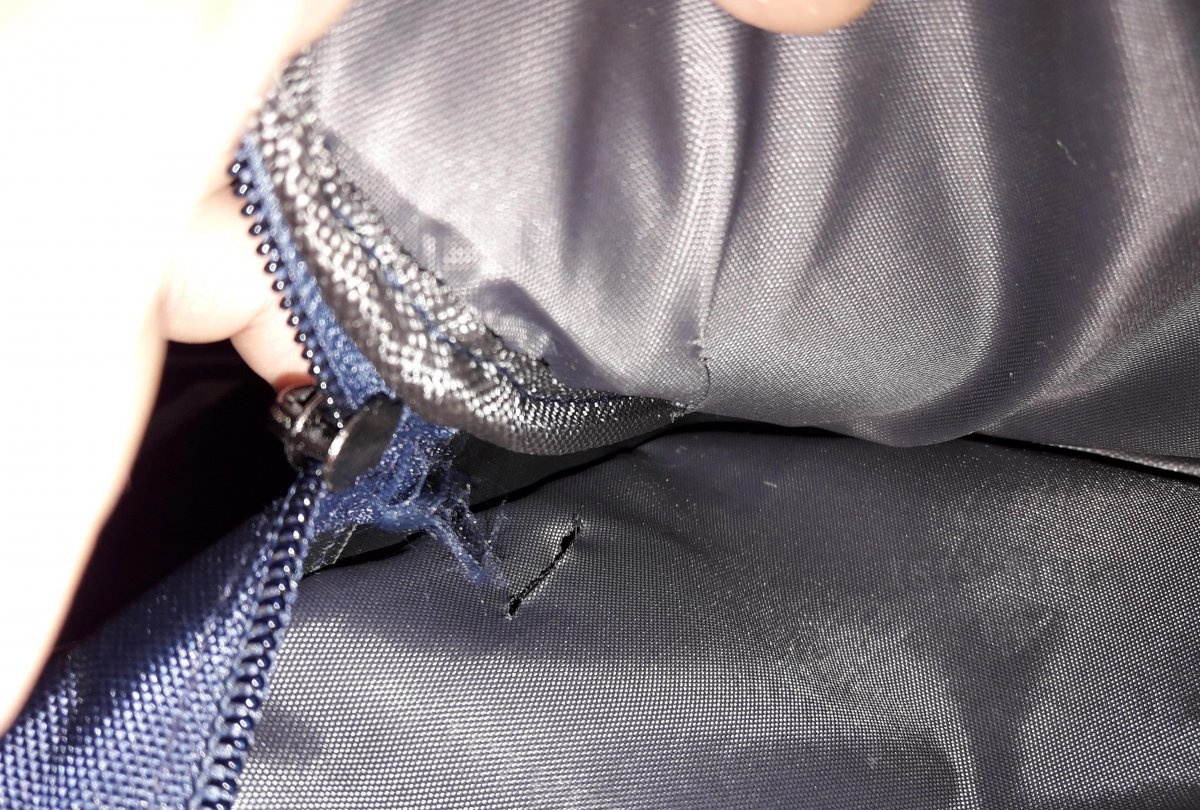
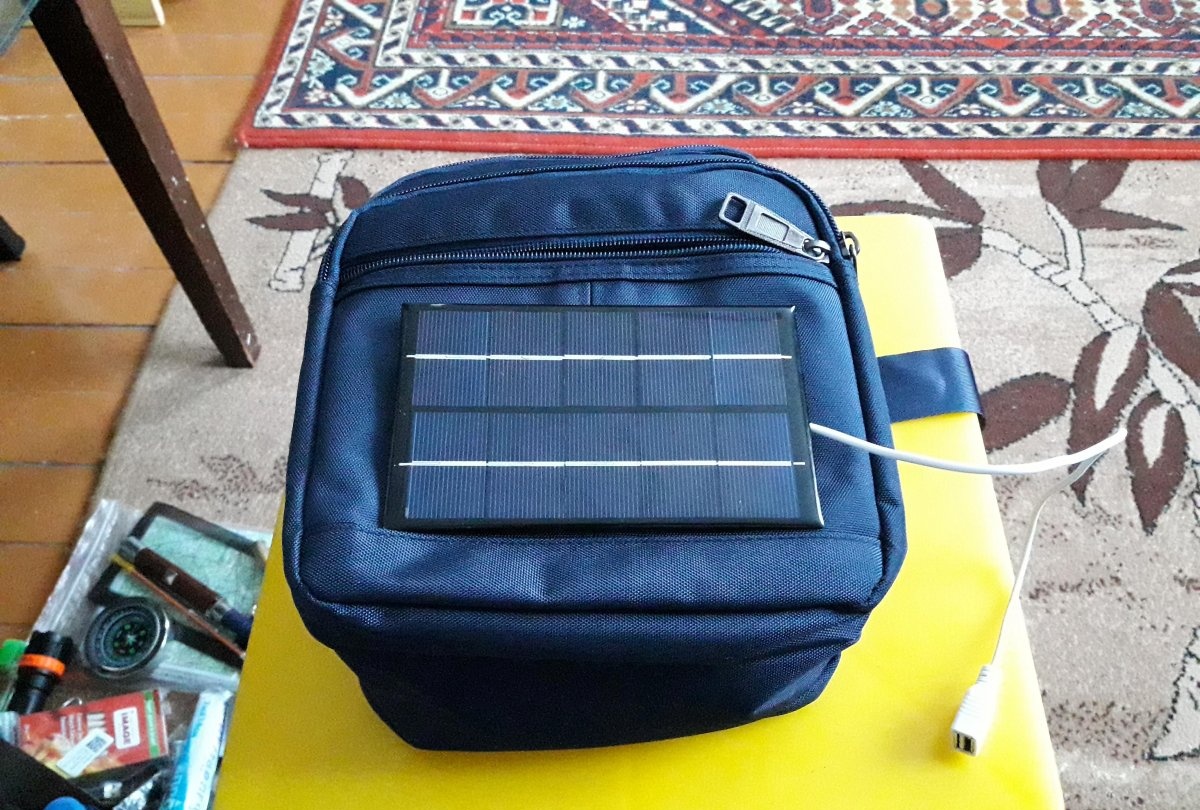
It is precisely to burn, and not to puncture, so that the fabric of the partitions does not unravel and thereby enlarge the hole. The fabric should be burned as close to the end wall as possible so that the cable does not interfere with the cable in the future. Now we thread the cable with the connector into the holes made, and just like the protective casing at the end, glue the module to the bag.
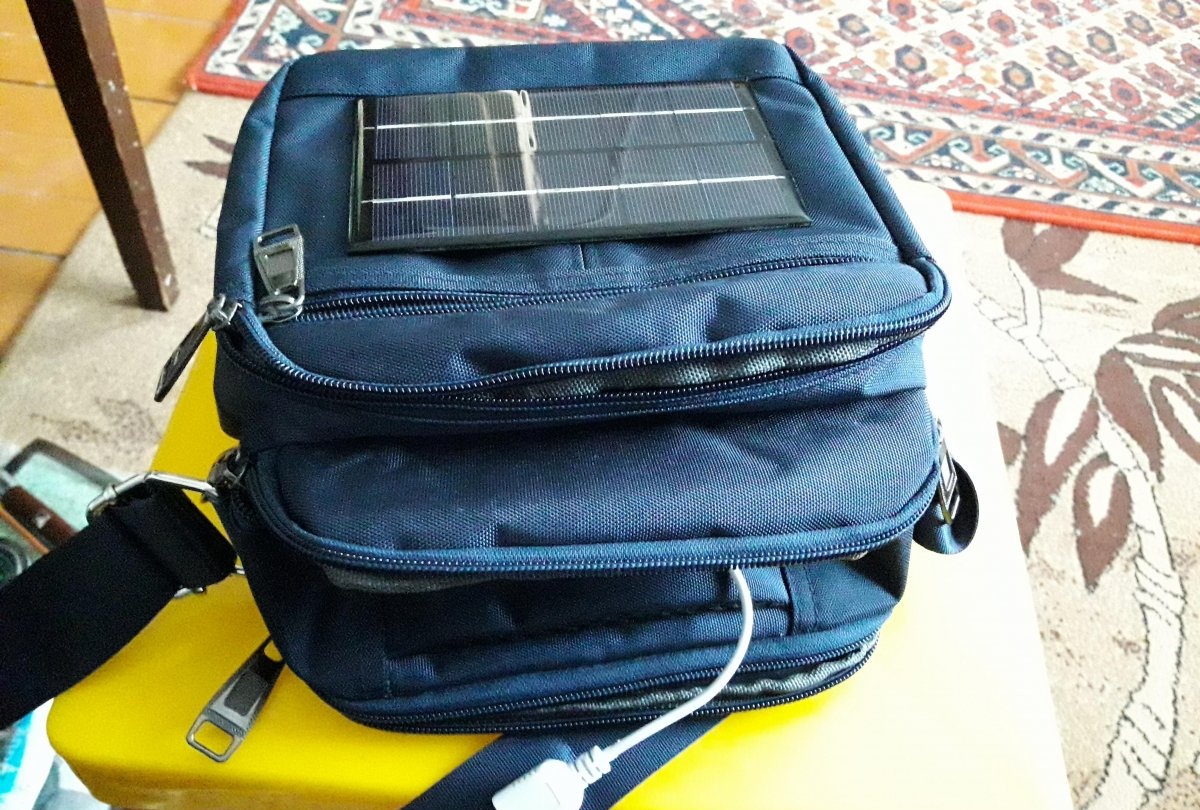
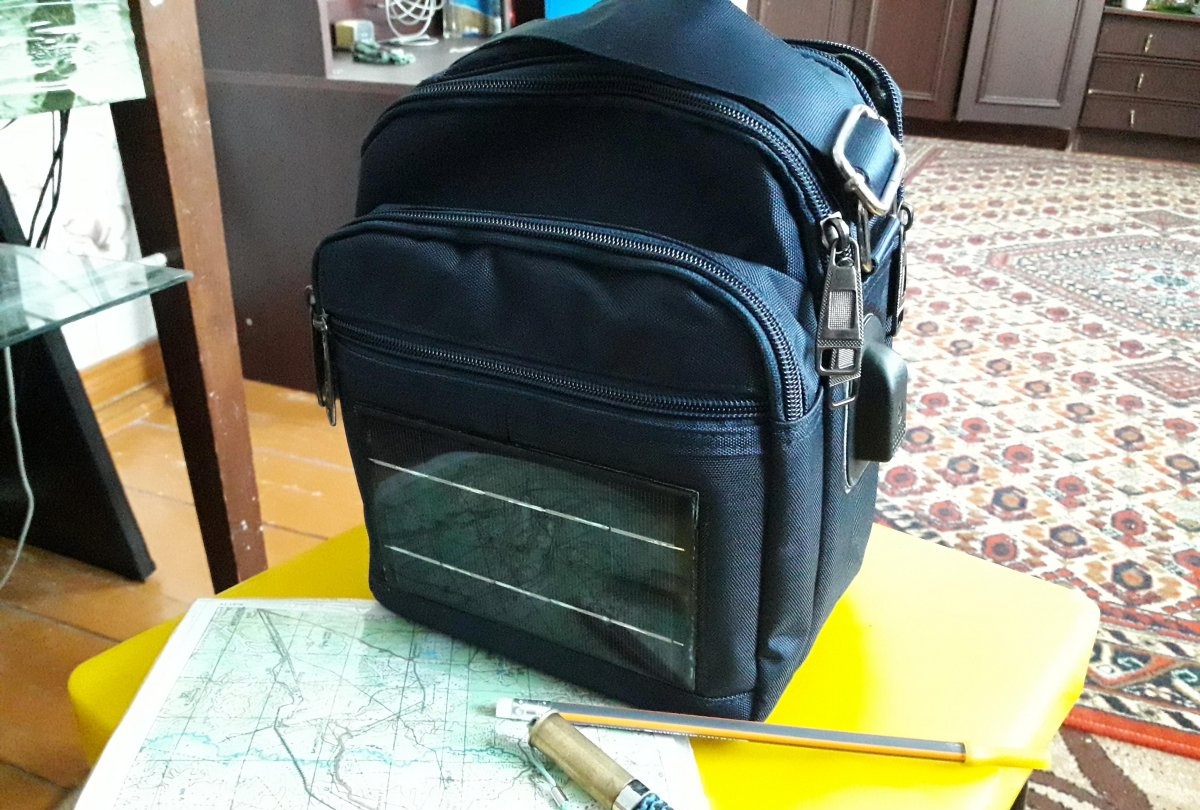
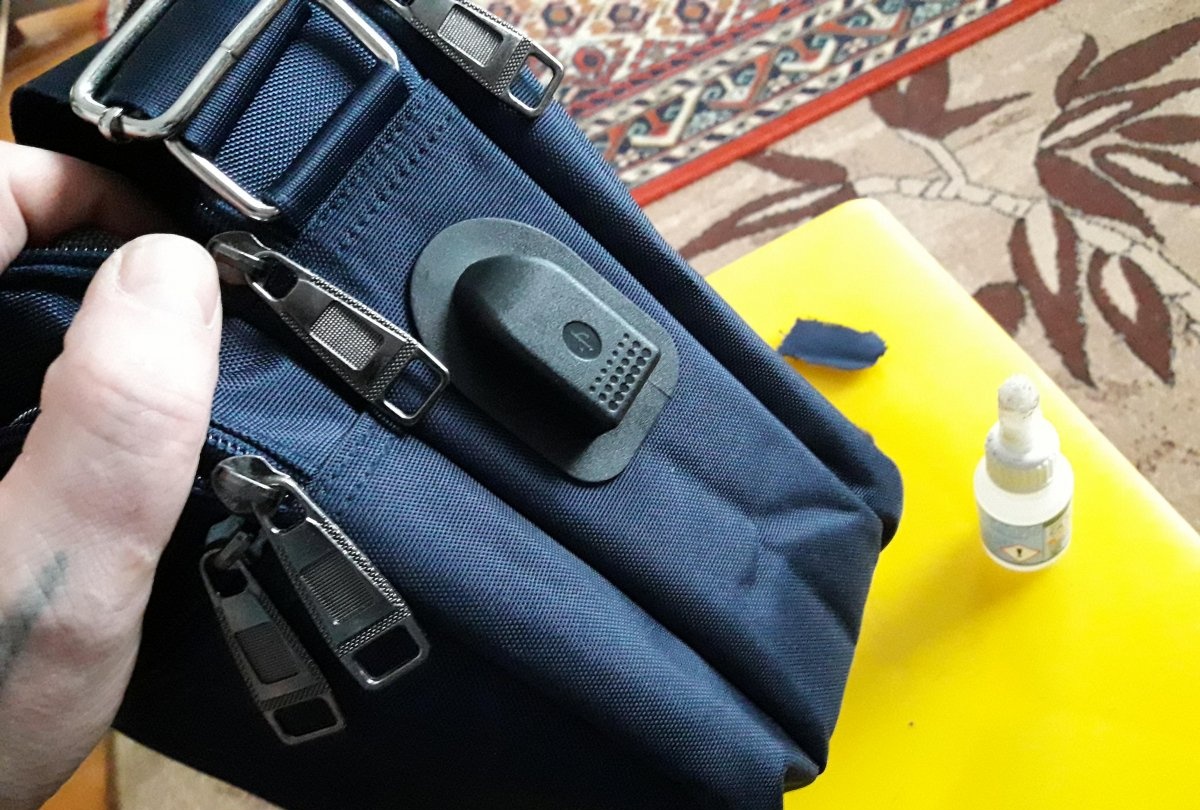
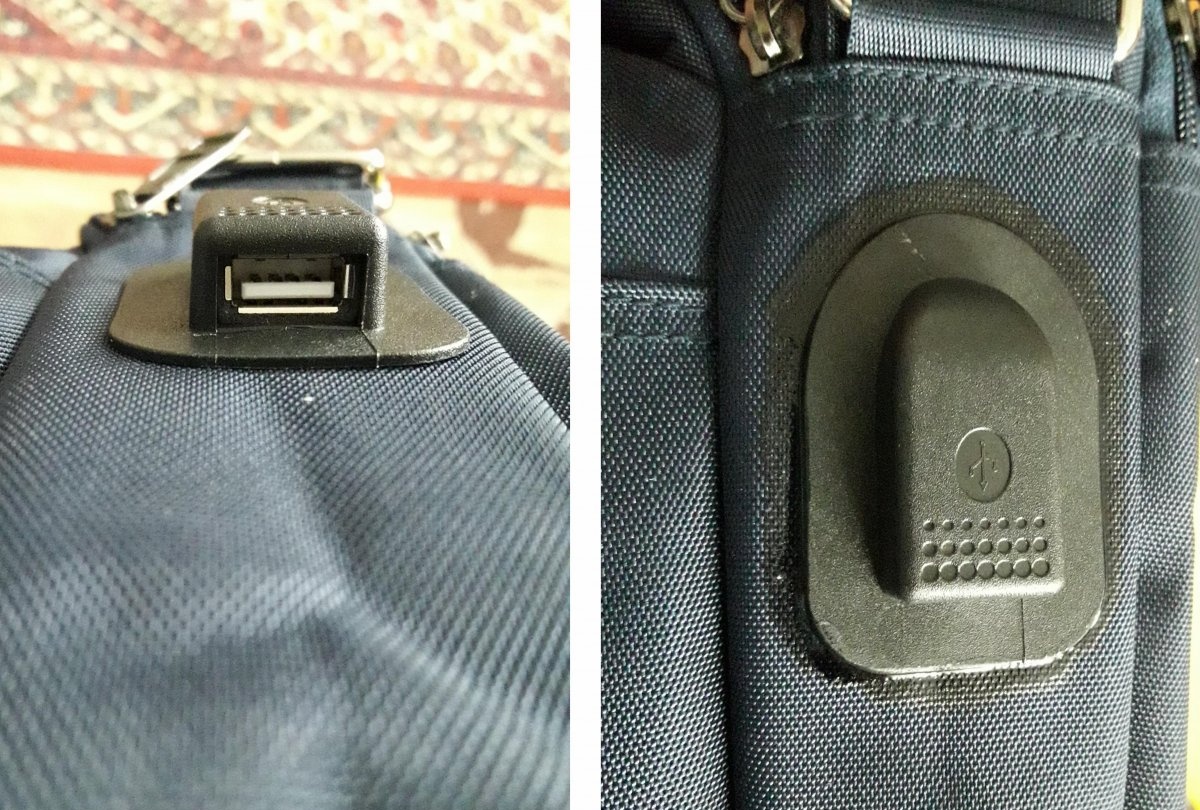
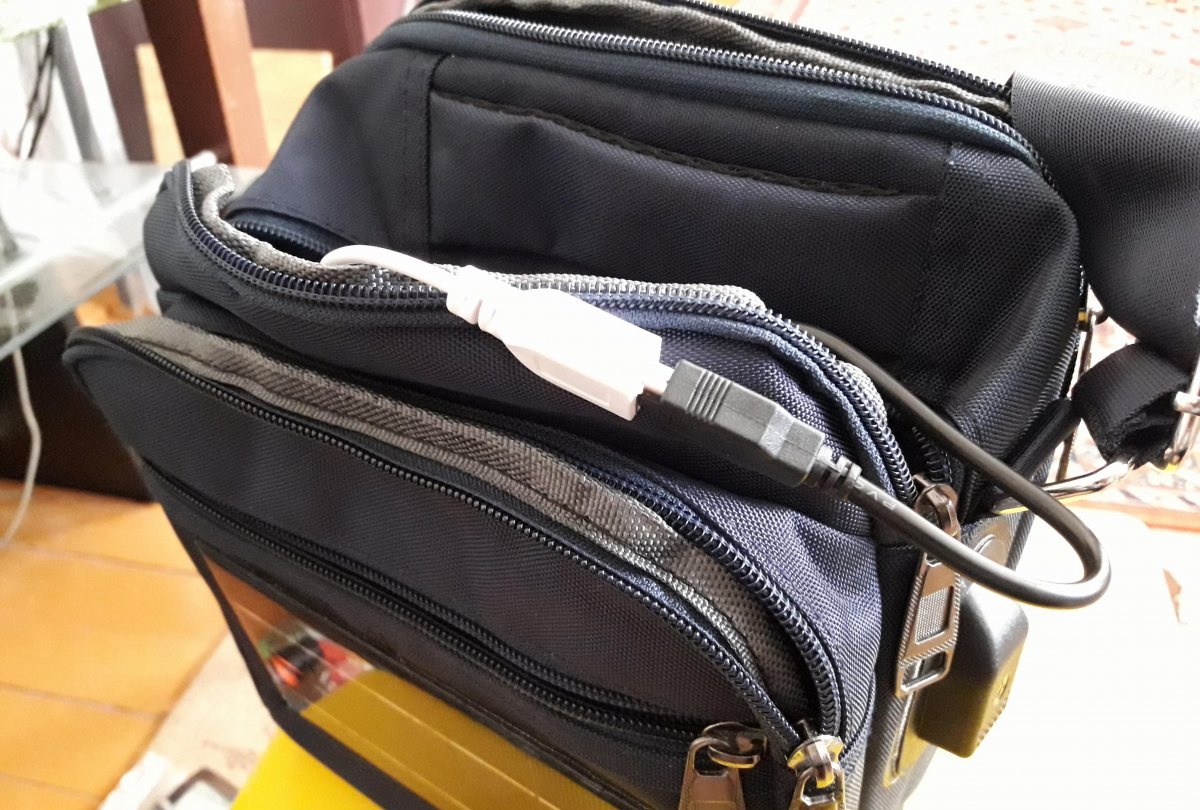
We wait until the glue hardens.Thus, it turned out that in one compartment of the bag there was a USB plug from the extension cord and a USB connector from the charging module.
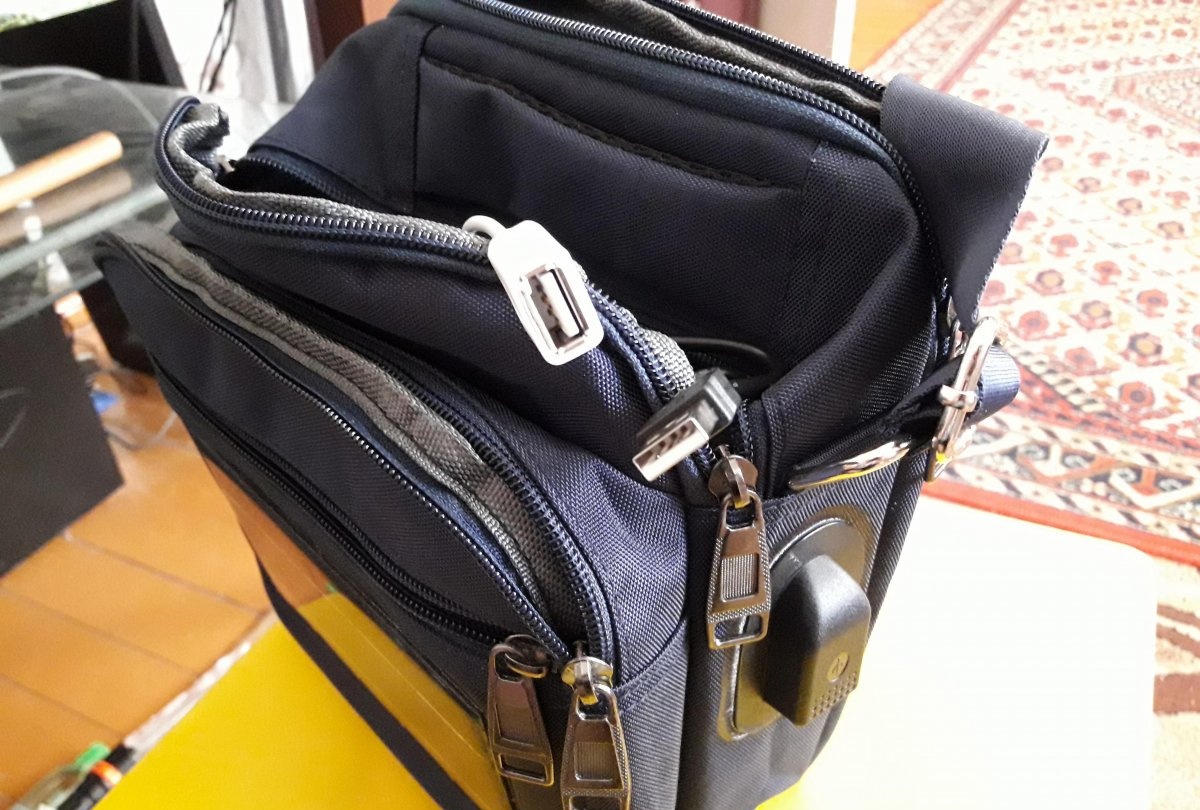
By connecting these contacts, we get a charging port at the end of the bag.
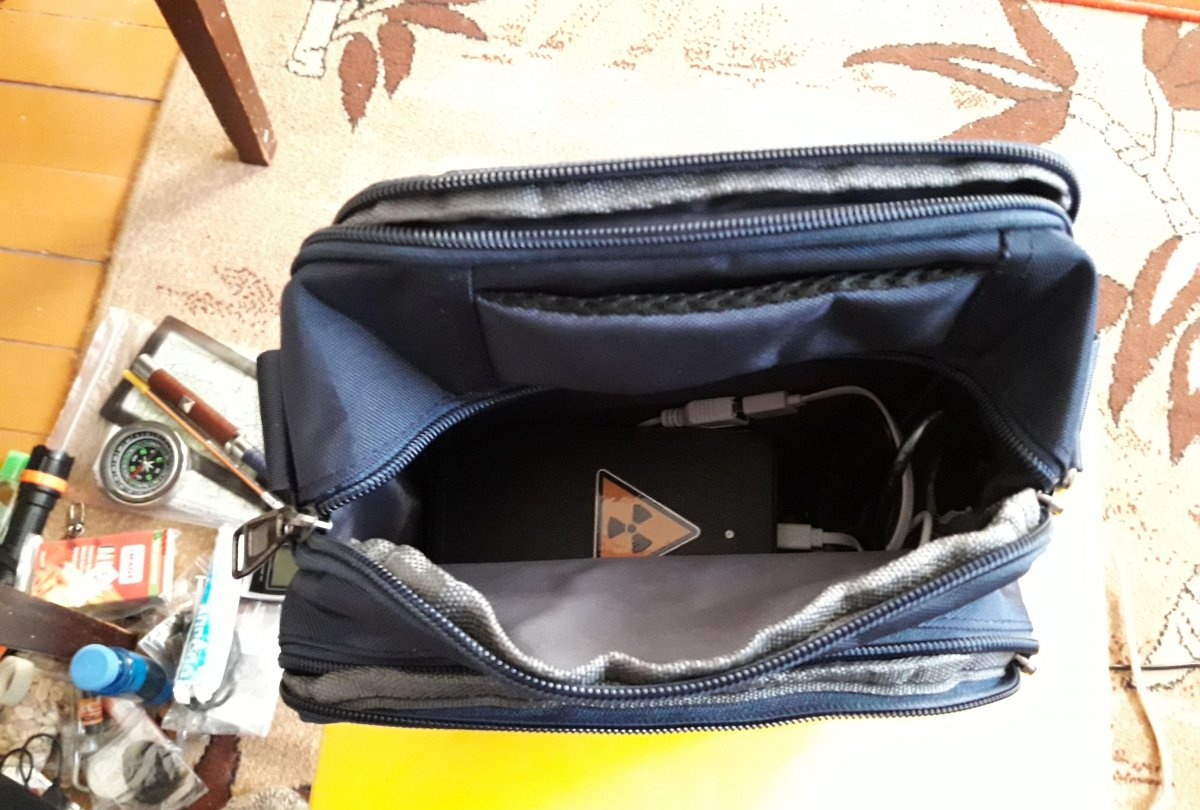
You can connect a power bank or solar module to an extension cord, or you can connect a power bank inside your bag to a solar module...
All in all; There are several combinations, and all of them will be beneficial. Someone will probably think; What is the difference between this bag and a simple power bank with a built-in solar panel? It's simple - SOLAR POWER BANK works effectively only from direct sunlight, thereby not only charging its battery, but also heating it very much. Especially in hot weather. And this is not good for any battery - at best, it will simply stop working much earlier than its intended time, and at worst, if it turns out to be defective or damaged... I don’t even want to think about it. I am not at all a supporter of external chargers with a built-in solar panel, since these panels are usually small and ineffective, which heat up their battery more than they charge it. And in the same bag, the solar module is separate, outside in the sun, and the power bank is inside the bag, in the shade, and is no longer subject to such strong heating as under direct sunlight. Plus, more reliable protection of the battery from rain. All in all; modifying a bag is worth the time and money spent. This charger bag can work autonomously, regardless of the outlet. Of course, in addition to the power bank, you can also put everything you need on a hike in the bag.