The idea to make a money tree came to me by accident. For a long time I couldn’t decide which one present give to my husband for his birthday. It may be trivial, but a hand-made gift was preferable, and besides, a money tree promises unheard-of riches. And I got to work.
In order to make a money tree we need:
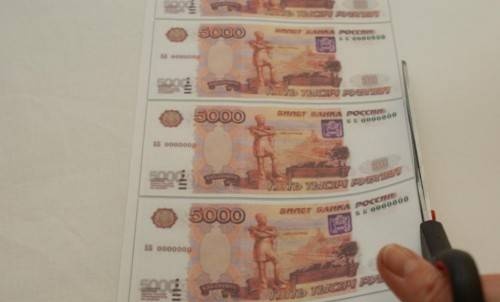
- scanned and printed banknotes of any country and denomination;
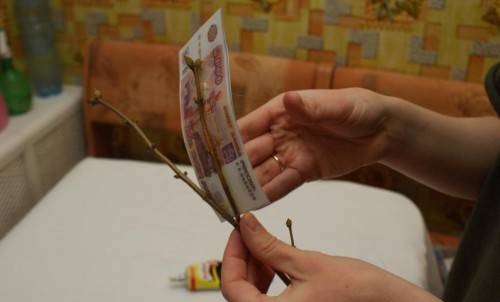
- a branch of any tree;
- plaster;
- coins;
- glue “Moment”
- acrylic paints with a metallic tint and brushes.
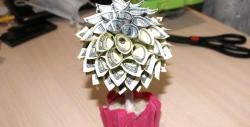
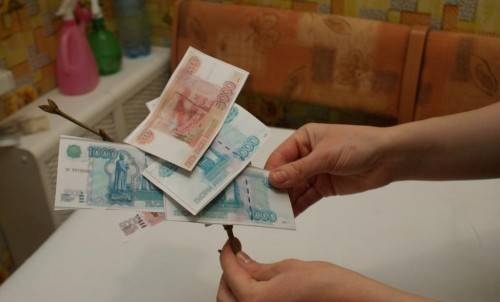
Carefully cut the scanned banknotes.
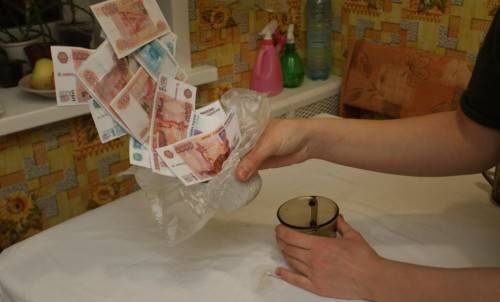
We take a branch from a tree and glue the prepared banknotes onto it, starting from the top.
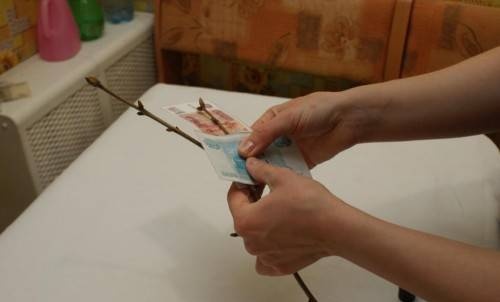

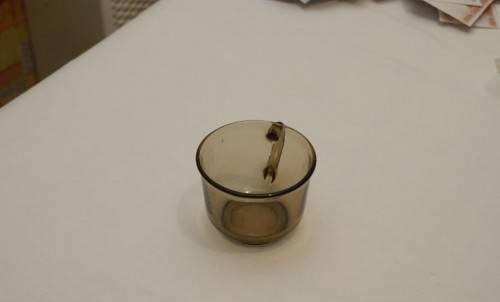
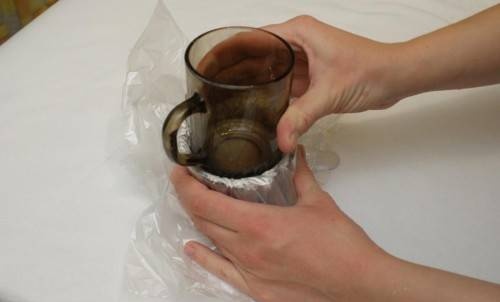
When the bushes are ready, we will make a stand from plaster. To do this, take any small cup with beveled edges.
Place a piece of plastic bag inside the cup
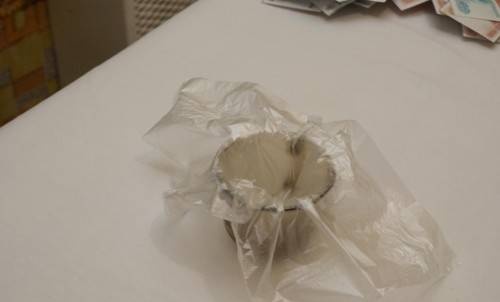
and cover it with a coin, this is done so that the film remains motionless.
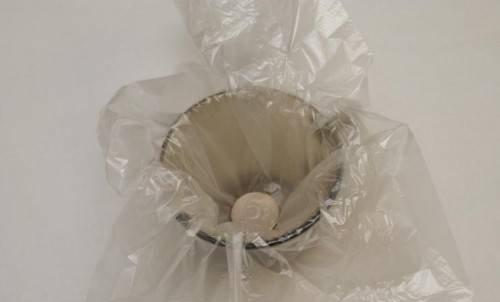
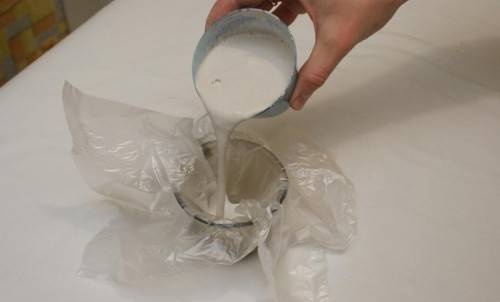
Pour diluted gypsum solution into a cup,


put a piece of cellophane on top
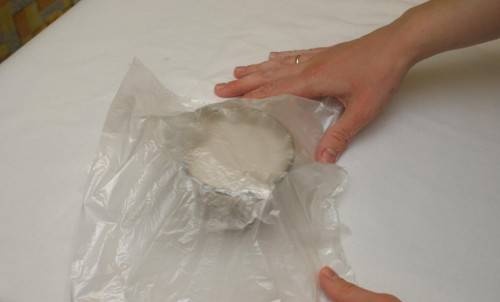
and press down with another cup.
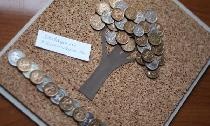
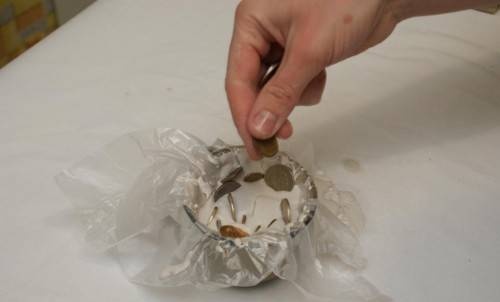
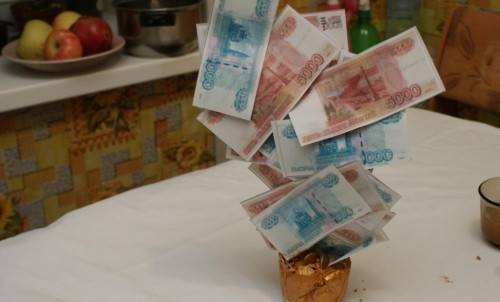
We remove the top piece of cellophane and stick coins and money bushes into the plaster.

After 15 minutes, carefully remove our tree from the mold and leave it to dry for a day.
Now let's put the tree in order. I find it more convenient to work with acrylic paints and brushes, this way I can paint the most inaccessible places and not spoil the paper part of the tree. In addition, they do not smell at all and do not require much space to use.


If you don't want to work with acrylic paints, you can buy a can of gold spray paint. It can be purchased at a hardware store or auto parts store. It is worth painting the tree on the balcony or in the entrance, because the paint has a rather pungent odor.
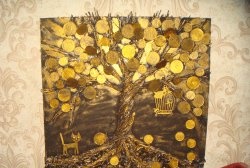
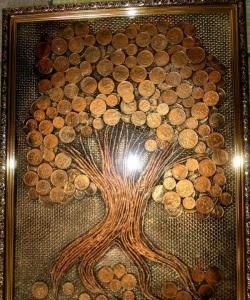
When the paint dries, you will receive a very beautiful and unusual souvenir made by yourself. Such a souvenir can be given as a gift or placed at home in a most visible place.