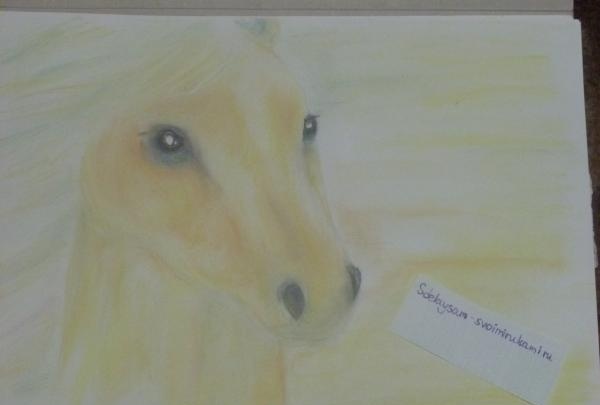
To create a pastel painting of a nightingale horse, you do not need any special artistic skills. However, such a small “work” made with your own hands will be a great gift.
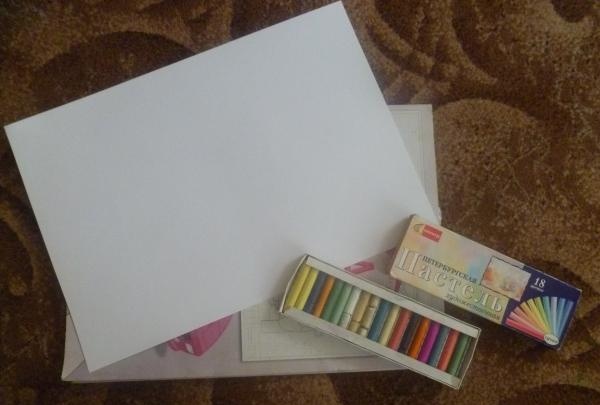
We will need:
- A3 sheet
- Pencil and eraser (use a hard pencil)
-Art pastel.
Instructions for implementation:
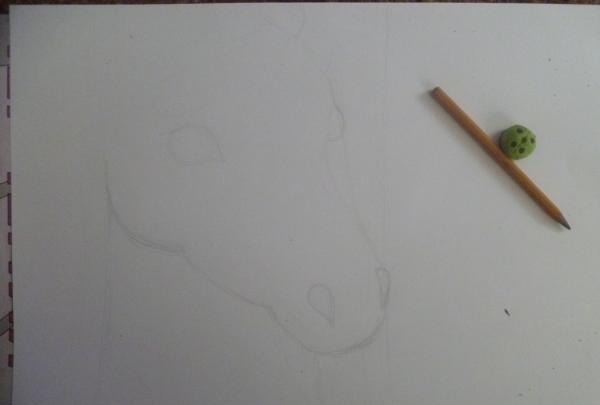
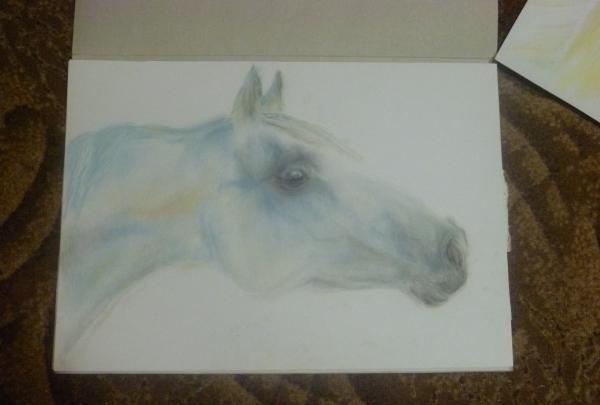
1. The first thing you need to do is mark on the sheet where approximately all the parts of the horse’s muzzle will be located. This is done with light strokes so that, if necessary, all unnecessary lines can be easily erased.
2. Now we carefully erase everything unnecessary and pick up the pastel. It is important that the pastel be of medium hardness, since too hard one will not be able to create smooth tints of the horse’s golden fur, and a soft one will not be suitable for the mane.
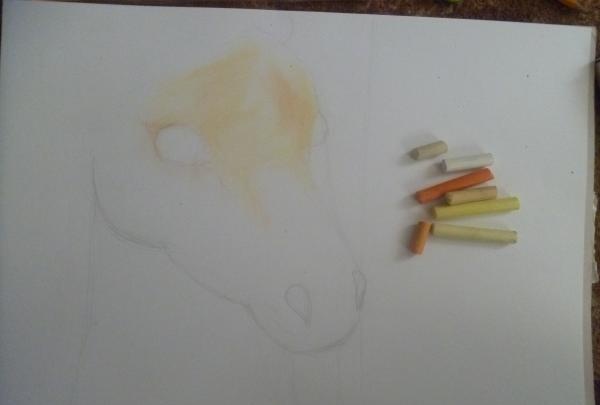
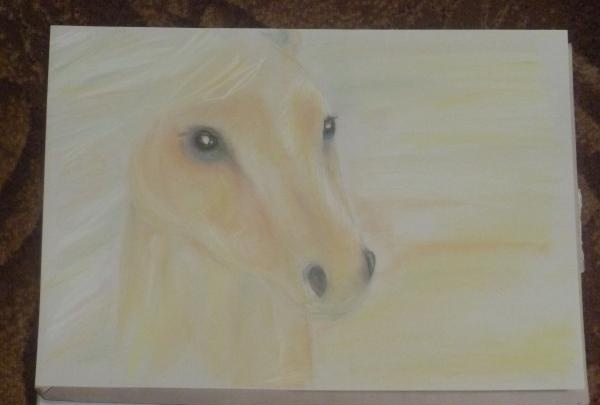
Let's start shading. Usually, pastels are shaded from the very top of the future painting, so as not to get your hands dirty or smear the lines on the paper. The top of the eye sockets should be shaded with a light orange color, while shading the hard lines with the little finger (we will mix all the colors of this picture with each other using shading).The horse's forehead should be painted with soft yellow pastels, adding some white highlights.
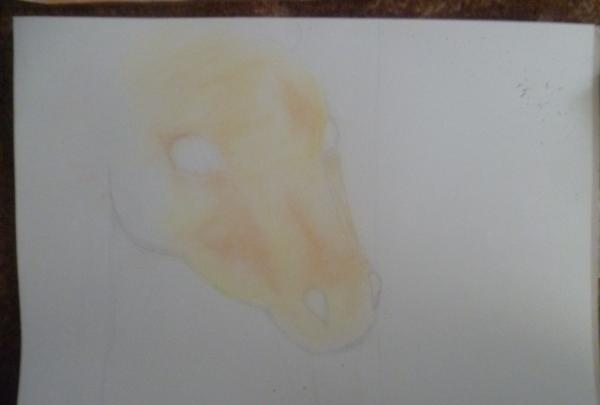
3. Gradually we begin to shade the entire muzzle of the nightingale horse, shading together all sorts of shades of orange, yellow, pink, and coral. With all this, a rather beautiful picture is slowly beginning to emerge.

4. Let's move on to the horse's eyes. First, we mark the places where the glare will be, and you need to draw small circles in the eyes so as not to accidentally paint them over. We add a little blue and green to the still black eyes, which will give special depth to the look of the mysterious horse. We paint the nostrils using not only black, but also sand and blue colors.
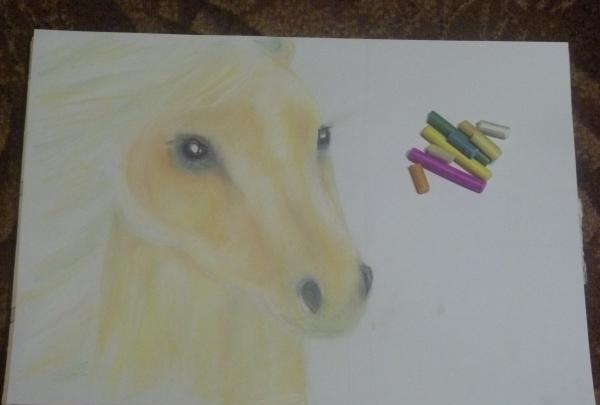
5. Draw the mane. To do this, first draw the contours of the horse’s mane with a thin line, shade, line again, shade again. Then we take blue and green crayons and draw individual hairs (without shading). Add some white highlights to the horse's golden fur.
6. In conclusion, we just have to shade the background of our work. This is done with light strokes of various warm shades of yellow, orange, purple and green. We shade the resulting lines and that’s it - our magnificent picture is ready!
With this technique, with a little practice, you can create more complex and beautiful paintings.