Will need
To work successfully we will need:
- multilayer plywood of different thicknesses;
- jigsaw files with pins;
- compression spring;
- rods made of wood and metal;
- 775 DC motor - ;
- adapter or 12 V battery;
- switch;
- wood glue;
- annealed wire.
The tools we will use are a screwdriver, a jigsaw, pliers and sandpaper.
Manufacturing process of an electromechanical jigsaw
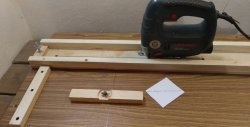
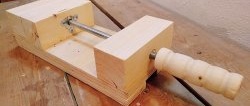
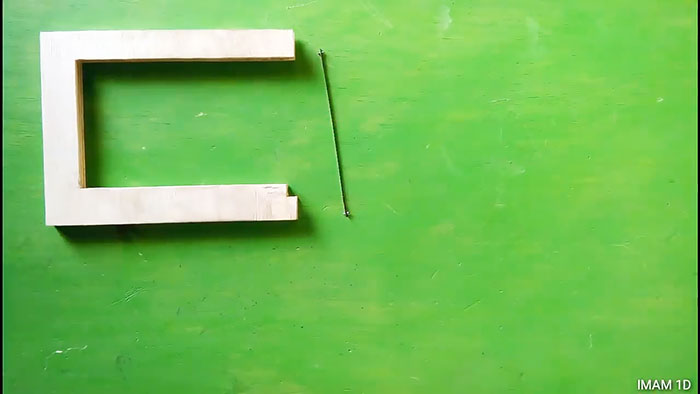
From multilayer plywood we cut out a U-shaped cross-section profile with a height of 10 and a length of 15 cm. We make the lower element somewhat larger, since it will serve as the base of the homemade product.
At the ends of the horizontal elements we make grooves to the same depth, and at the bottom we also make a notch on top. They are needed to move the file fixed in special slides.
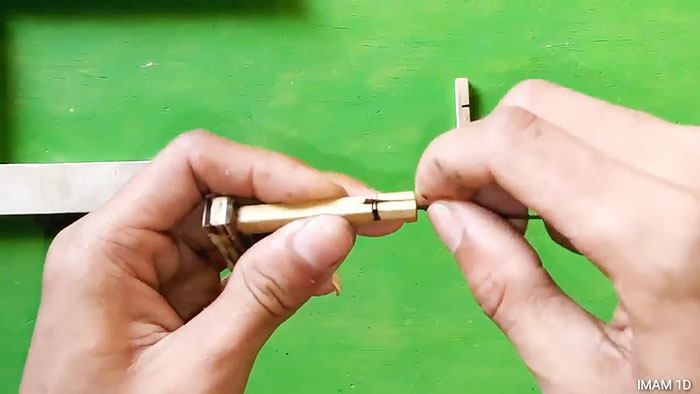
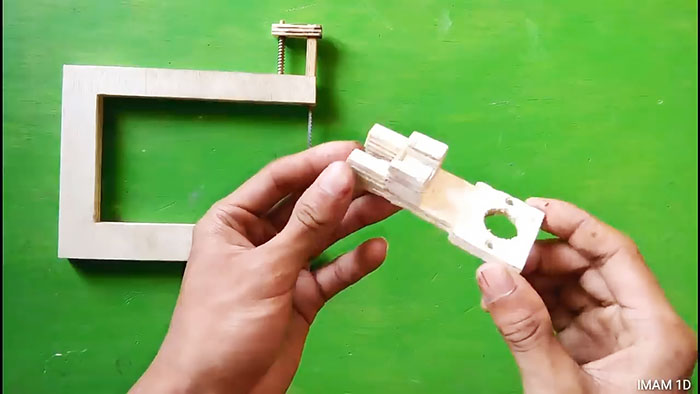
The upper L-shaped slider with a vertical element slightly offset to the center is glued to the horizontal one and with a hole closer to the far end.At the end of the vertical element of the slide we make a longitudinal slot about 20 mm long, with a depth to the middle of the section and a width equal to the thickness of the file.
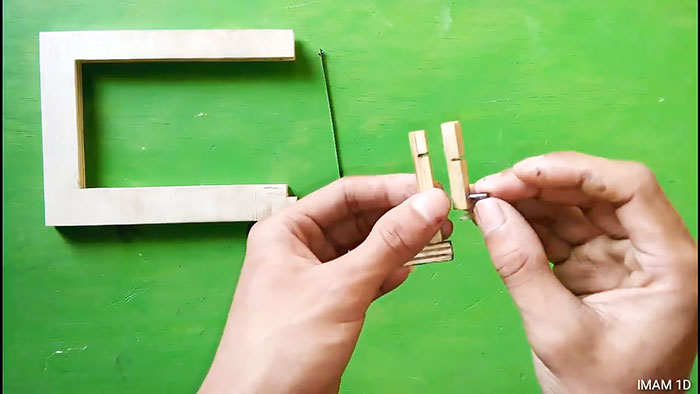
Stepping back 5 mm from the end of the narrow slot, we make a transverse slot as wide as the diameter of the saw pin. We make exactly the same slots in the lower slider in the form of a square block, and a steel rod driven outward at the other end. We place the file in the longitudinal slots of the sliders, and fix the pins in the transverse slots.
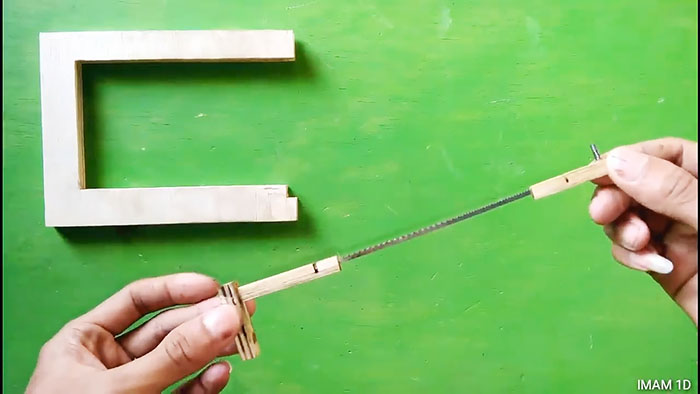
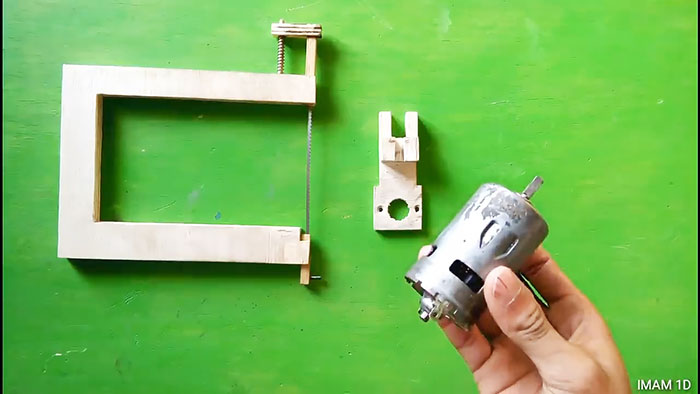
We install the sliders, with a file attached to them, into the grooves of the horizontal elements of the U-shaped part, where they should move freely up and down.
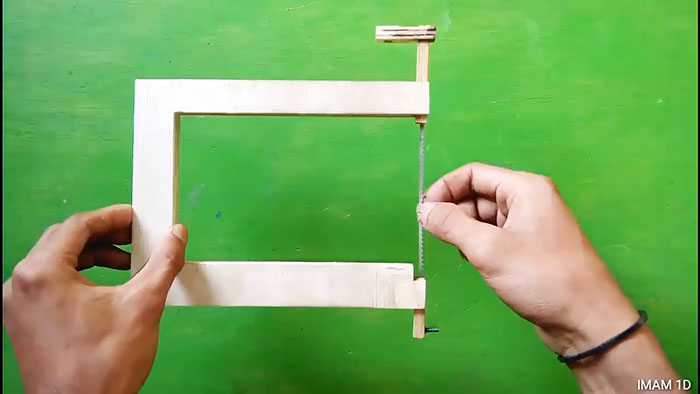
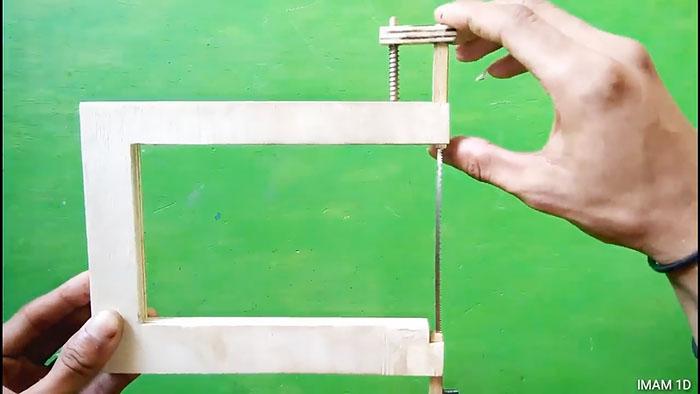
We freely insert a wooden rod into the hole of the upper slider, which we fasten with tension in the blind drilling of the upper U-shaped element. Between them we place a spring that will return the file to the top.

We fix a 775 DC motor operating on a voltage of 12-36 V to a special bracket made of multilayer plywood with two screws.
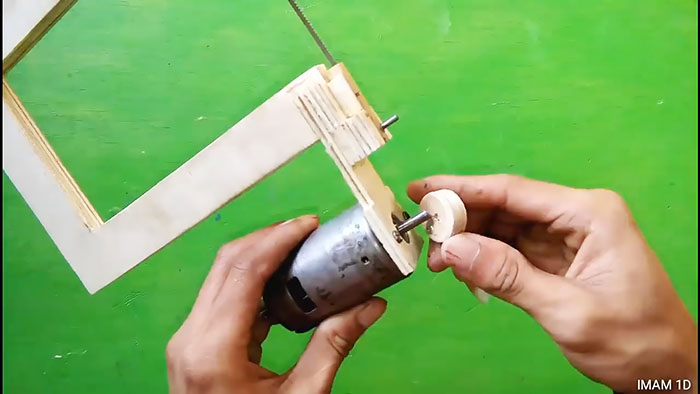
We insert the lower element of the U-shaped base into the upper groove of the bracket and connect them with glue. In this case, the lower slider enters and will slide along a special groove in the bracket. To stabilize the saw, glue a limiter onto the bracket.

We install a wooden disk with a hole in the center on the motor shaft with an interference fit and a pin rigidly fixed closer to its edge on the outside.
We connect the pins on the lower slider and on the disk with loops of a crank bent from wire. If voltage is now applied to the motor terminals, the rotating disk will pull the lower slider, with the file fixed in it.
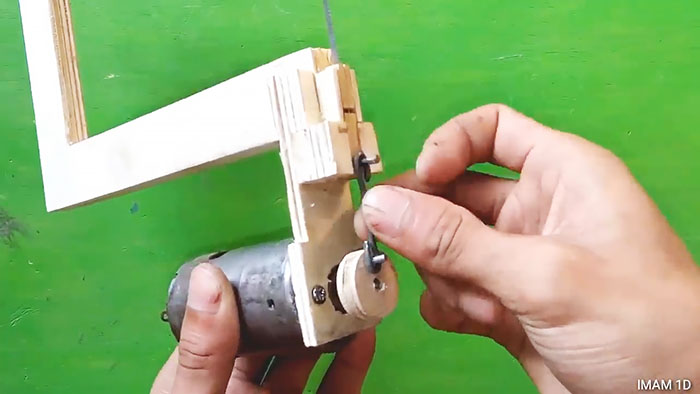
As a result, under the influence of torque from the engine and spring force, the saw will begin to move back and forth and cut the material.
We glue a work table made of thin plywood to the top of the base by inserting a saw into the central hole through a transverse slot made from the edge of the table to the center.

We supply power to the engine through an adapter or from a battery, installing a switch between them, mounted under the desktop in a convenient place.

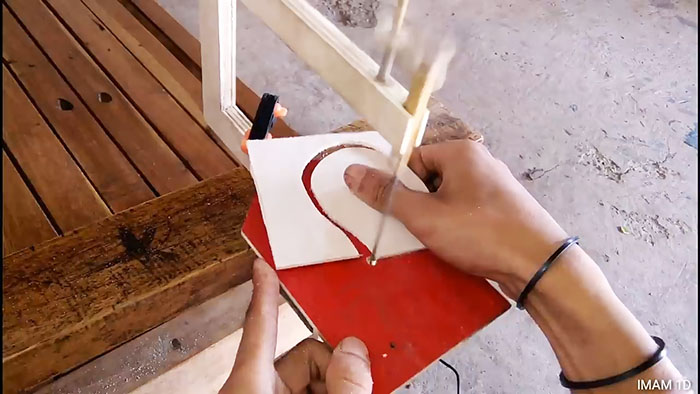
This mini jigsaw with a drive can be used to process solid wood, chipboard, fiberboard, and multi-layer plywood, both along straight and curved lines.