Materials:
- two-component silicone for molds;
- synthetic clay;
- separator for silicone molds;
- transparent two-component casting resin.
Lens casting
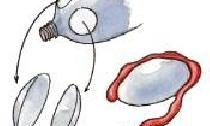
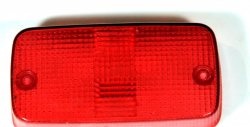
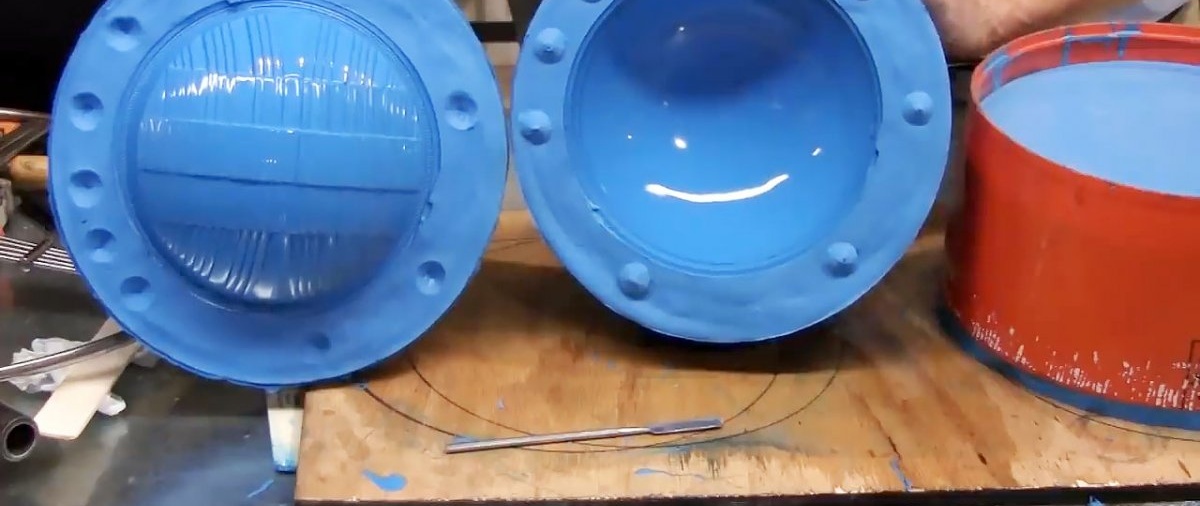
For casting, you need to make a lens mold from two-component silicone. It allows you not only to recreate the contour of the headlight, but also to completely replicate the fine relief and even shine on a replica. Silicone components A and B are mixed in proportions according to the instructions. You need to prepare enough composition to completely fill the existing original lens.
Silicone is prepared in a clean container without dust, much less dried dirt. After kneading, the composition is installed in a vacuum chamber to remove air bubbles. If this is not done, then it will not be possible to transfer the gloss of the original to the replica.

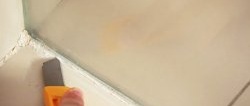
The original lens is perfectly cleaned, there should not even be a fingerprint on it.It is installed in a clean container without a bottom on a thick base of synthetic clay. It needs to be lightly pressed into the clay to seal the internal cavity from silicone. The clay serves as the bottom of the container; in addition, it will hold the glass, preventing its possible floating in the silicone. On a clay lining on the side of the headlight, several indentations are made with your finger, which will later help center the halves of the injection mold. The lens must be filled completely.
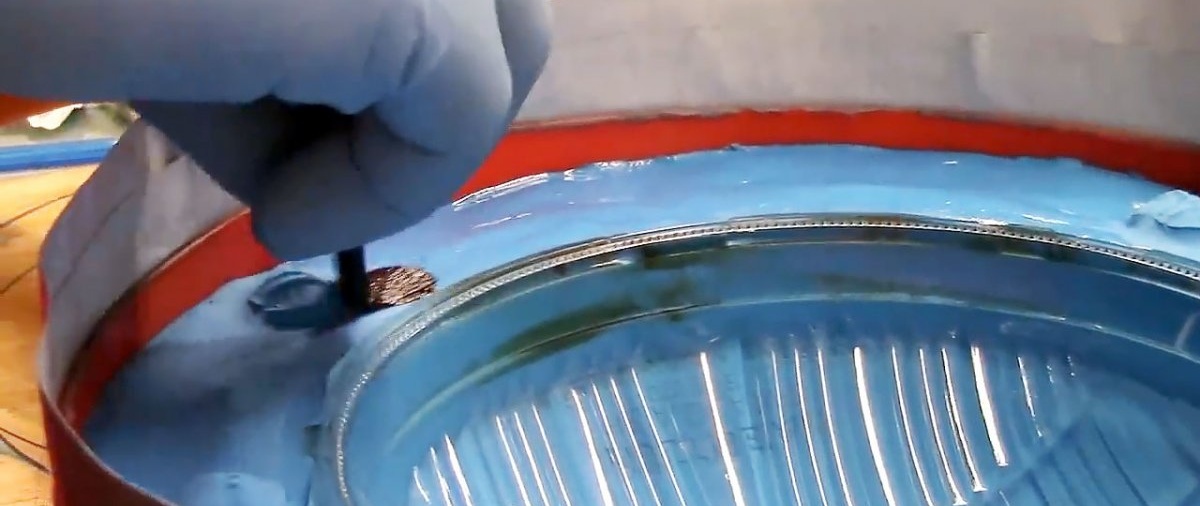
After the silicone hardens, the mold is turned over. The clay backing is removed down to the last piece. After this, the back side of the lens glued into silicone is wiped again.

The silicone, cleared of clay, is lubricated with a separator. This prevents the two halves of the mold from sticking together in the future.
Silicone is poured from above on the back side of the lens. This time it will be needed less. Naturally, before this it is prepared in a vacuum chamber.

As soon as the second portion of silicone hardens, the finished mold halves with the original lens located inside are removed from the container.
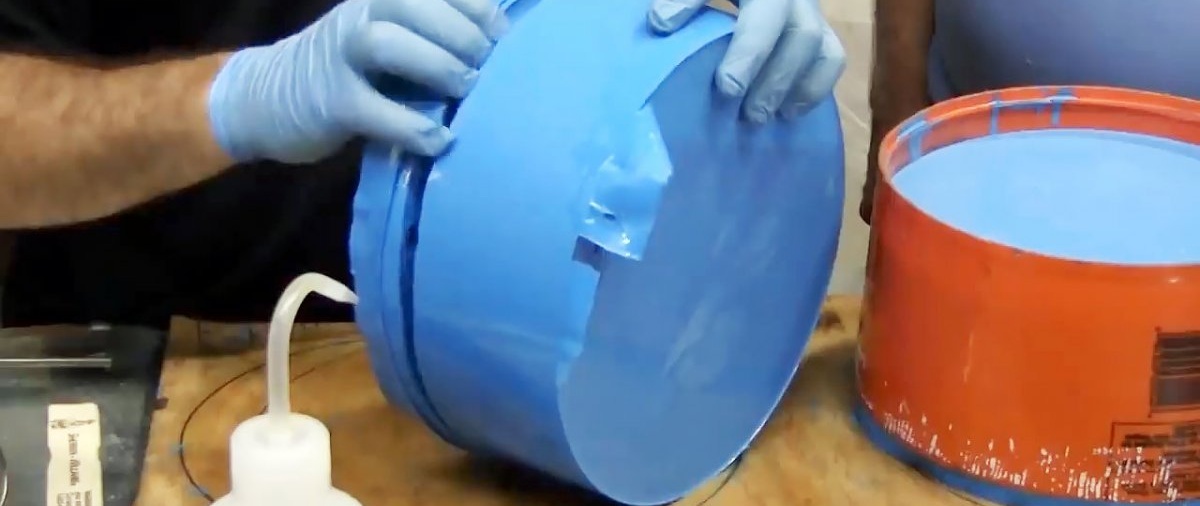
To make them slide out more easily, you can add any silicone-compatible lubricant or water under the walls.
Next, the halves of the mold are separated and the original lens is removed. In order not to spoil the casting material, they must be carefully inspected for defects.
Optically transparent casting resin is mixed according to the instructions. The composition is placed in a vacuum chamber to remove air bubbles.
The mold halves are assembled and laid sideways. They move apart a little, and resin is poured into the gap formed.

Then the mold is closed and clamped with a clamp, but without squeezing.

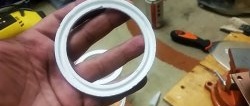
After the resin has cured, the replica lens is removed. In this case, the form can be reused.

This method is also applicable for casting other rare parts that cannot be purchased due to their rarity. If you use high-quality resin when copying a lens, the headlight will never turn yellow and will be equally strong in both cold and hot weather.