Making a real wooden box, especially a carved one, is a very troublesome, labor-intensive and time-consuming task. In addition to the necessary skills, this task also requires the appropriate tools (various cutters, chisels, etc.), which not everyone has on hand. However, there are faster ways to get your hands on an original box, without extra costs of money, time and labor.

Will need
- Box of the size you need.
- Thin corrugated cardboard (for example, from a shoe box).
- Double-sided tape.
- Ruler.
- A simple pencil or marker.
- Scissors.
- Stationery knife.
- Stencil for letters.
- Paint (green and black).
- The varnish is transparent.

Making a box
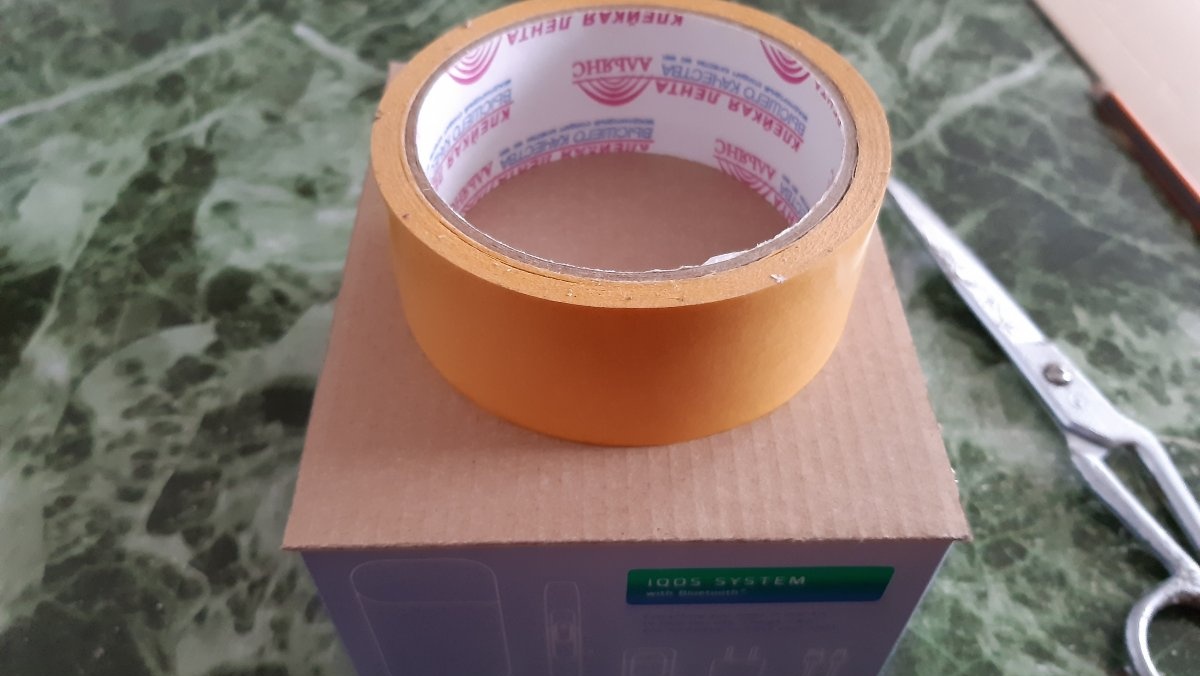
As you probably already guessed, we’ll take a box as the basis for the box. Any one you like. I took it from IQOS - it opens very coolly; slowly moves out under its own weight.

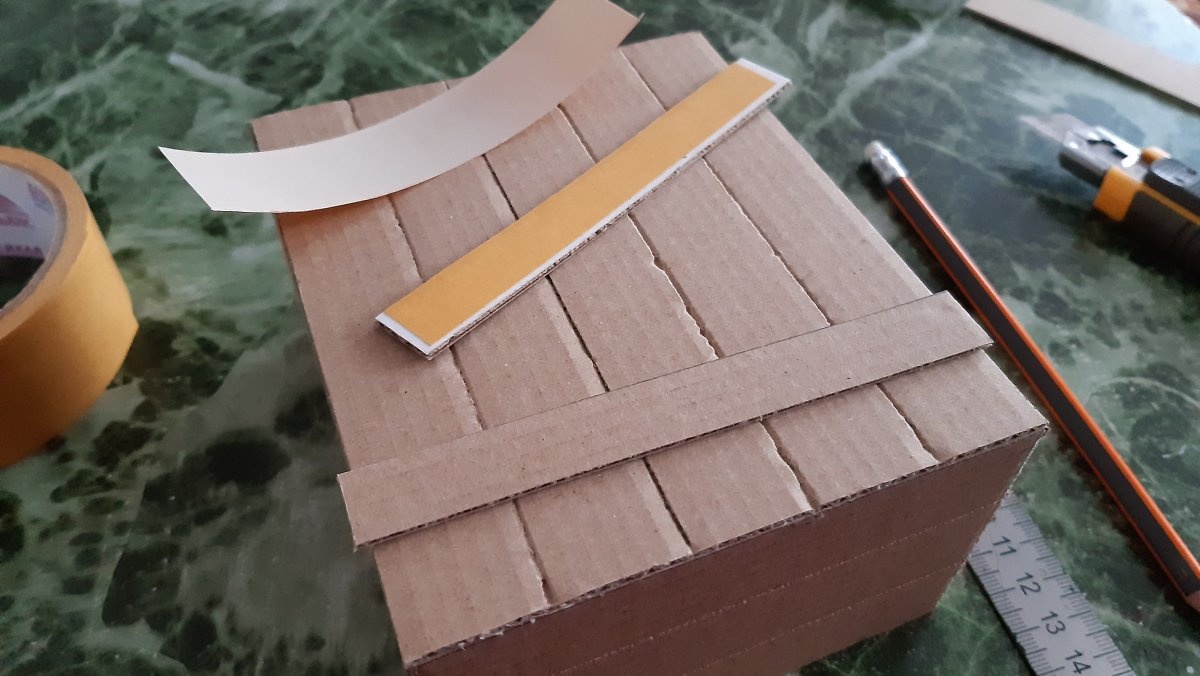
Next, we simply style the selected box as an army box. We will decorate only the top half. That is, the lid.In order not to suffer and not cut out each “plank” of cardboard separately, we will simply take measurements from the box (length, height, width), and cut out a whole piece of cardboard for each plane. When taking measurements and subsequent cutting, do not forget about the margin for whip in the corners!

Using double-sided tape, glue each cardboard to the corresponding side of the box.


Next, we accurately measure the width of one of the sides and convert it to millimeters. We divide the number of millimeters obtained by 4 or 5, as you wish.


Due to the fact that the cardboard is corrugated, the indentations are very clear and deep. The result is a relief similar to a plank surface. We repeat the procedure with the remaining four walls. Now we will make the transverse and corner crossbars. From the same cardboard we cut out strips, slightly narrower than the improvised boards. Also, using tape, we adjust them across the “boards” on the upper plane.

At the long ends we attach a continuation downwards, of the same width. At the short ends, glue the “crossbars” close to the corners. We cut out one more crossbar at short ends, but do not glue it yet. Next, using the tip of a pen or other similar pointed object, we make punctures simulating driven nails in the places where they should be located.

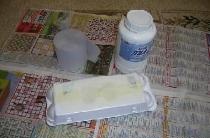
It's time for painting. There is one subtlety here. Since I only had paint in cans, I had to spray it into a container in order to paint by hand, and not with the aerosol method. This is necessary for a more complete resemblance to a real box, from which the paint has rubbed off in places over time.Using a sponge or brush, casually smear (smear, not soak!) the paint over the surface of the box. Along the "boards". When it dries, applied in this way, you will get the structure of a surface that has been worn over time, long ago painted. Now we glue the previously prepared crossbars to the short ends, onto the corner strips, exactly in the middle. We paint them in the same way.

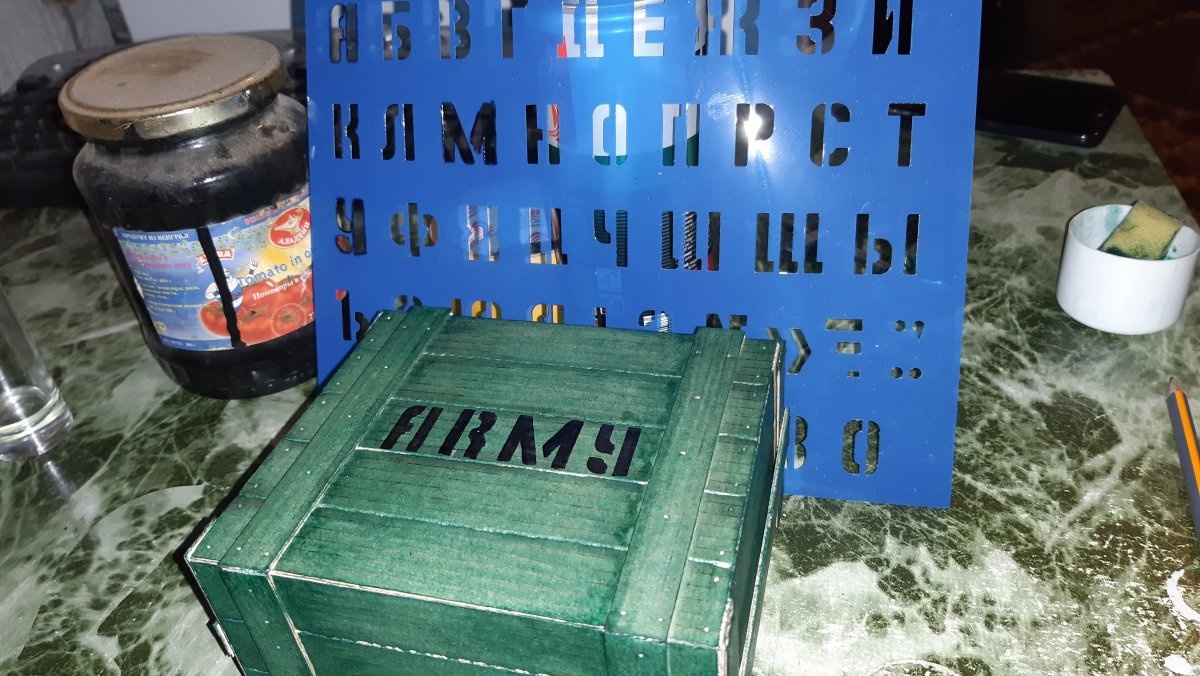
When the applied paint is absorbed into the cardboard and dries, the cardboard will become much stronger than it was before. Also, after the green paint has dried, using a stencil and black paint, you need to put an inscription on the resulting army box. What exactly to write there is a personal matter for everyone. I wrote the standard “army” inscription for such boxes.
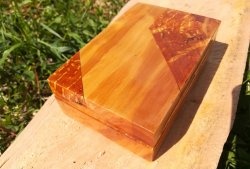
And finally, we coat the resulting box with transparent varnish to further strengthen the cardboard and give the product a slight oily shine. Here the varnish can be applied directly from the bottle. So, in literally 40-50 minutes, with the help of decor, you can turn an ordinary box into an original box in which necessary, rarely used items will be stored.