As you know, metal is quite difficult to process at home without special skills and tools, especially if it is such a hard metal as steel. However, you can call on chemistry to help: there is such a chemical process - electrolysis. It flows on the electrodes when an electric current passes through electrolyte solutions. Those. If you take a metal workpiece as an electrode and use ordinary salt water as an electrolyte, then when a current passes through it, the metal will begin to be etched, in other words, atoms from the surface of the metal will begin to “fly away.” Thus, metal processing does not always require any special skills and tools, because electricity can do everything for us.
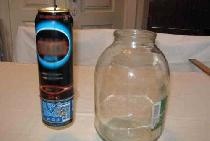
- Plastic or glass container.
- Salt.
- Metal plate.
- Power supply 5 - 12 volts.
- Connecting wires.
Electrochemical engraving on metal
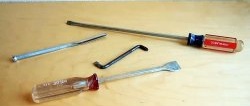
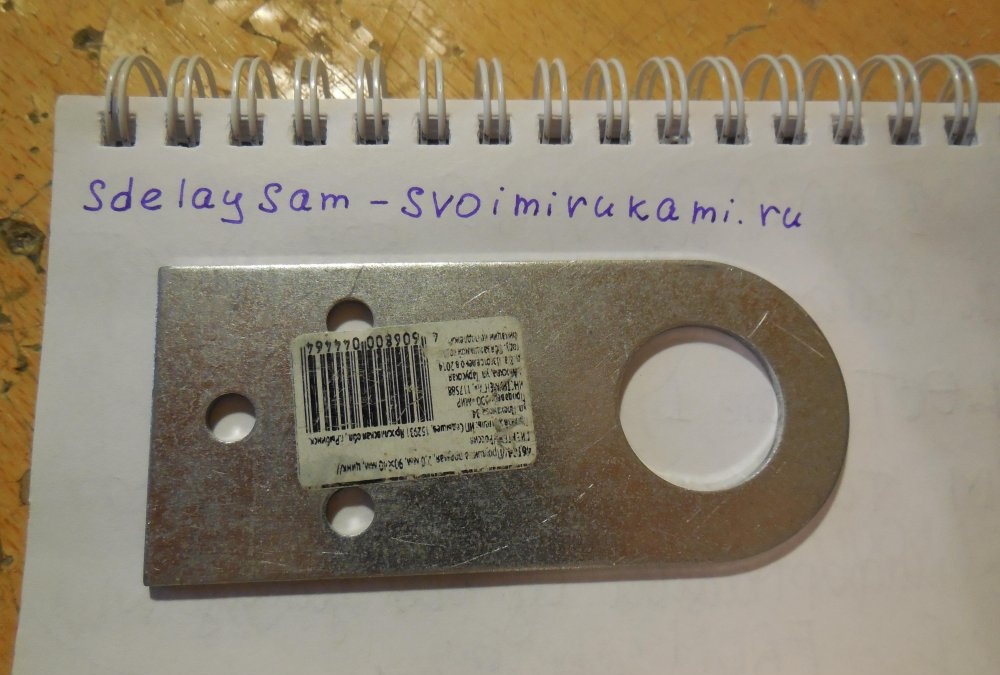
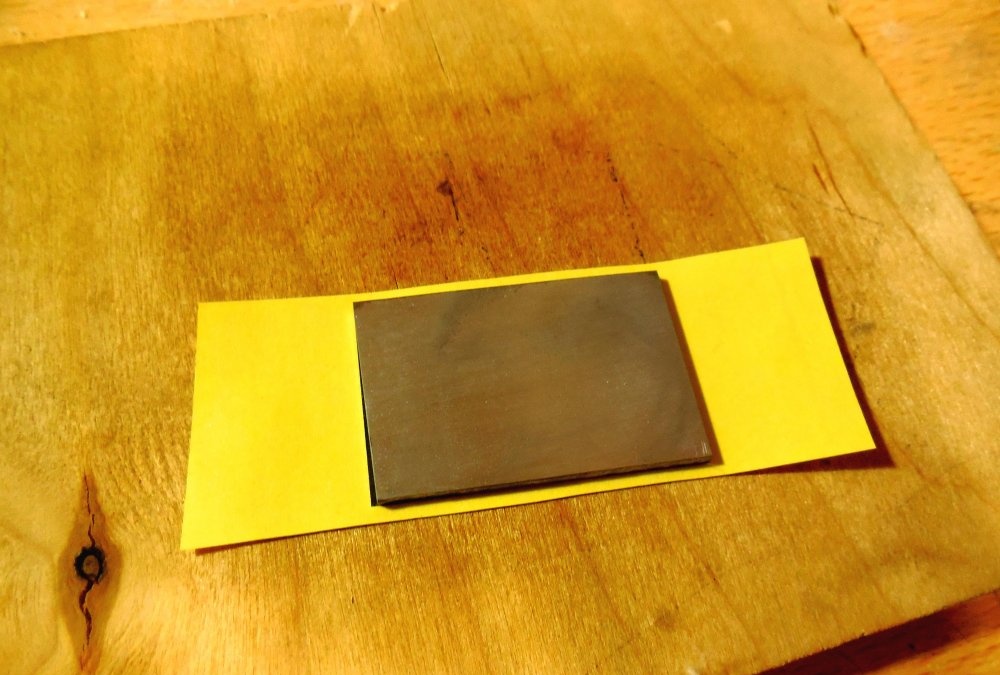
Step 1.We will cut out a rectangular piece from a metal plate, on which the inscription will be etched in the future. You can get a metal plate 1-2 mm thick at any hardware store; I bought the cheapest steel eye.
A piece cut from it:
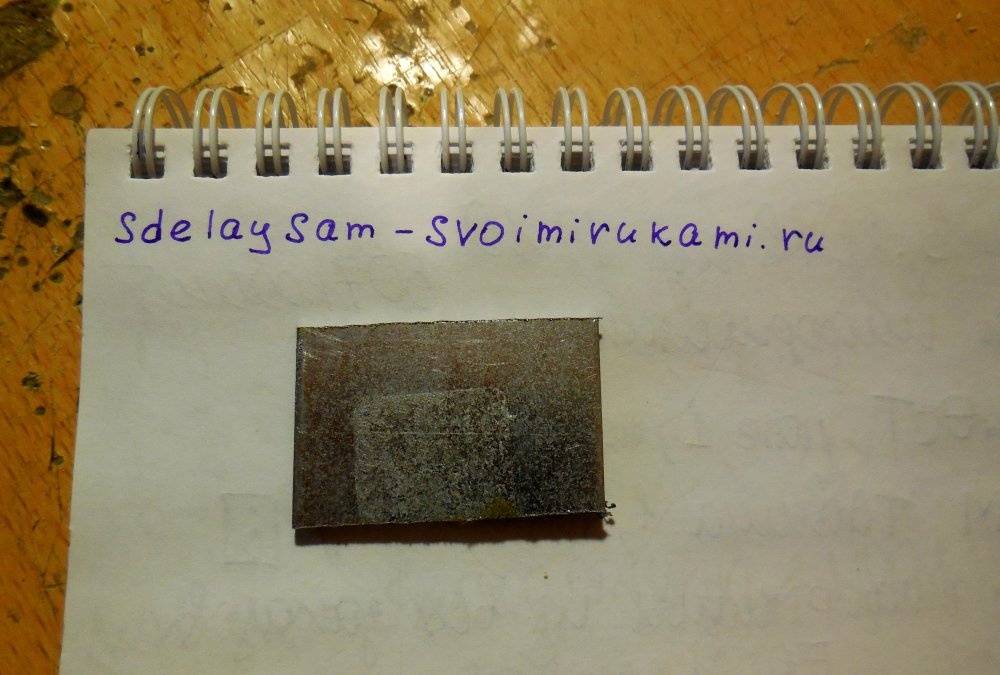
Step 2. Carefully sand the surfaces of the workpiece, first with coarse sandpaper, then with fine sandpaper. The surface should become shiny, covered with many small scratches. You also need to run sandpaper along the edges and edges of the plate. After sanding, the metal must be degreased with alcohol, solvent, or simply washed thoroughly with hot water and soap. After this, you should not touch surfaces with oily hands.

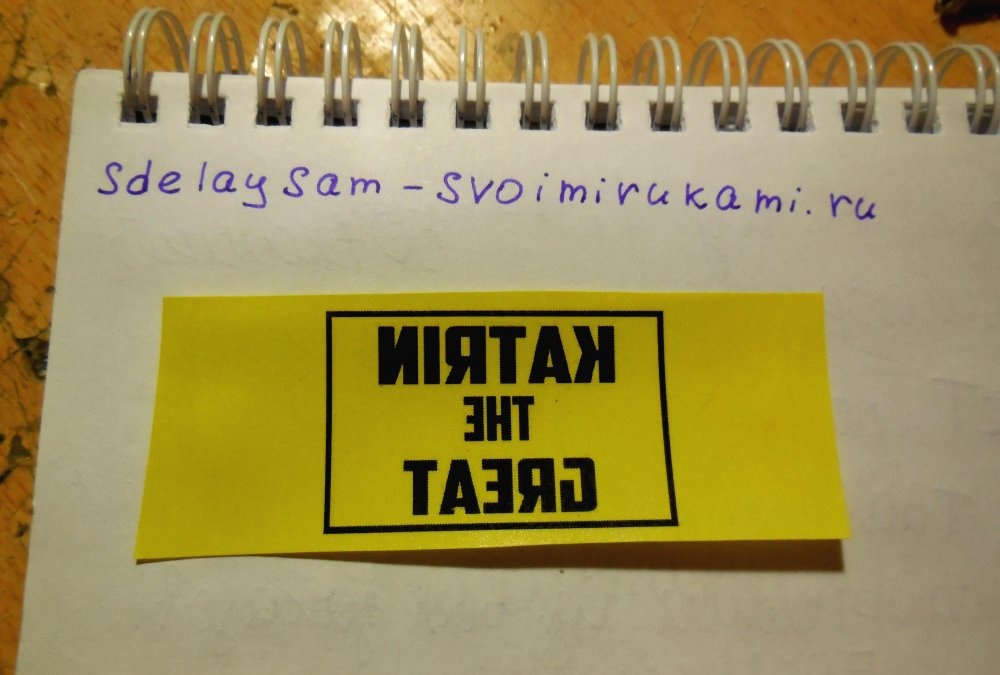
Step 3. Using a laser printer, print out the design that will be immortalized on the metal and transfer it to the metal using laser-iron technology, which has been described more than once on the Internet. You need to print it in a mirror image. If you don't have a laser printer at hand, you can just as easily draw a design with nail polish or a permanent marker. The painted area will remain untouched, and the bare metal will undergo electrolysis, i.e. it will simply get poisoned.
Step 4. Now that the workpiece is completely ready for etching, you need to take a non-metallic container, pour water into it and add salt. The speed of etching greatly depends on the concentration of salt; the more salt, the faster the process. If the etching speed is too high, there is a risk of damage to the protective layer of varnish or toner from the printer, and the drawing will not be of high quality. The optimal ratio is a tablespoon of salt per glass of water.
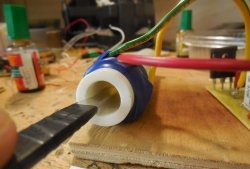
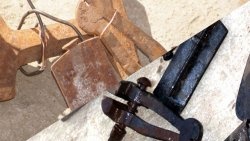
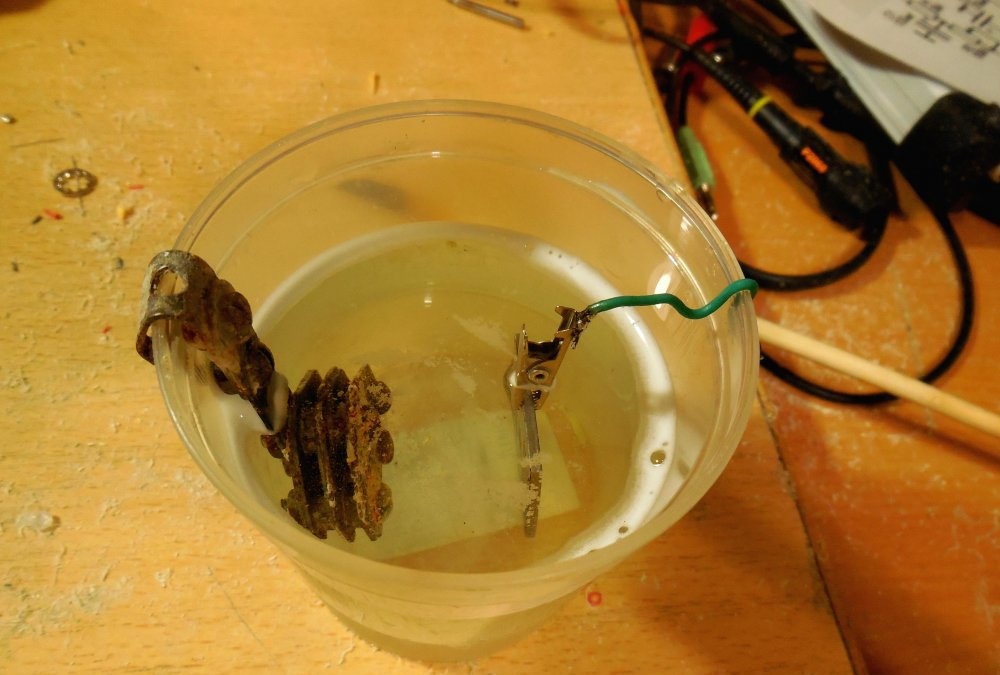
The anode must be secured in the container, i.e. the metal workpiece itself and the cathode - a simple piece of metal.The larger its area, the higher the etching rate will be. The etching installation is clearly shown in the picture below:
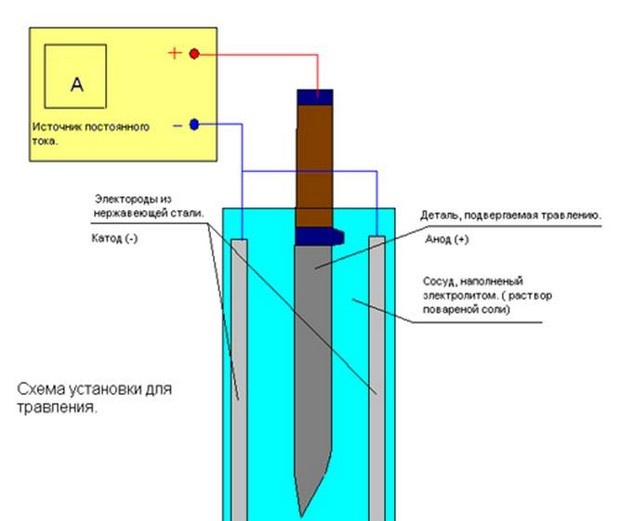
The plus from the power source (anode) is connected to the workpiece, and the minus (cathode) is connected to the solution. In this case, it is advisable to install several negative contacts on all sides of the workpiece, then the etching will take place evenly on all sides.
A few words about the power source. I use a computer power supply, or rather its 12-volt line. The higher the voltage, the higher the etching speed. You can also use a regular cell phone charger; its output is 5 volts, this voltage will be quite enough. You should not increase the voltage above 12 volts, otherwise the process will be too active, the protective layer of varnish will fall off, and the solution will overheat.
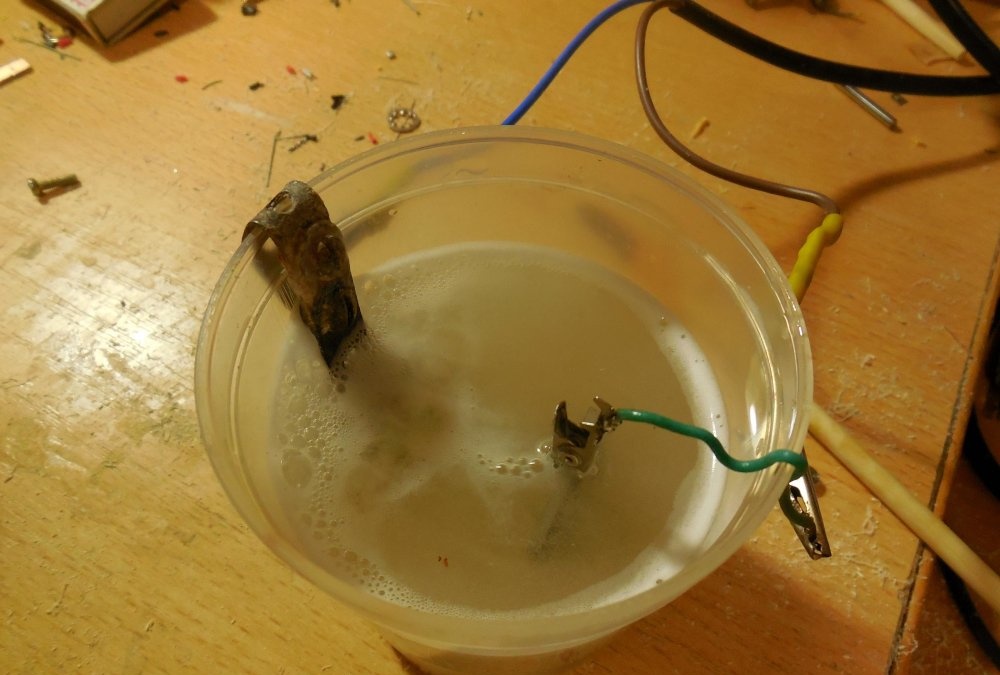
Having correctly connected all the wires, turn on the power supply. Bubbles will immediately start coming from the negative contact (cathode), this means that the process is in progress. If bubbles begin to come from the workpiece, then you need to change the polarity of the power supply.
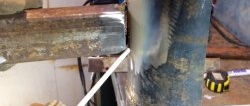
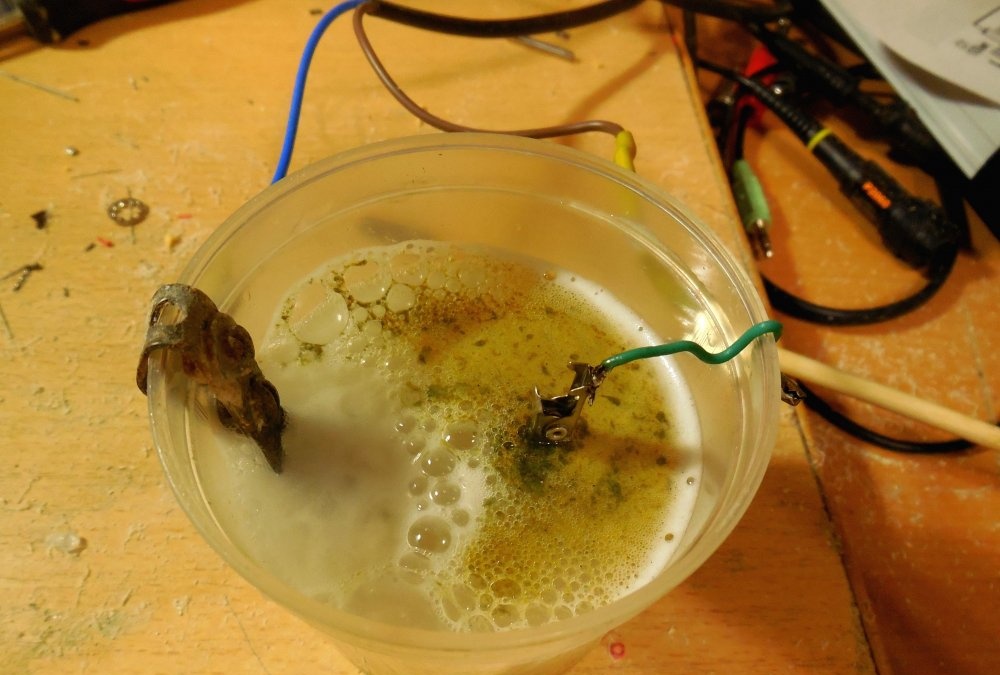
After several minutes of etching, a nasty yellow-green foam forms on the surface of the solution.
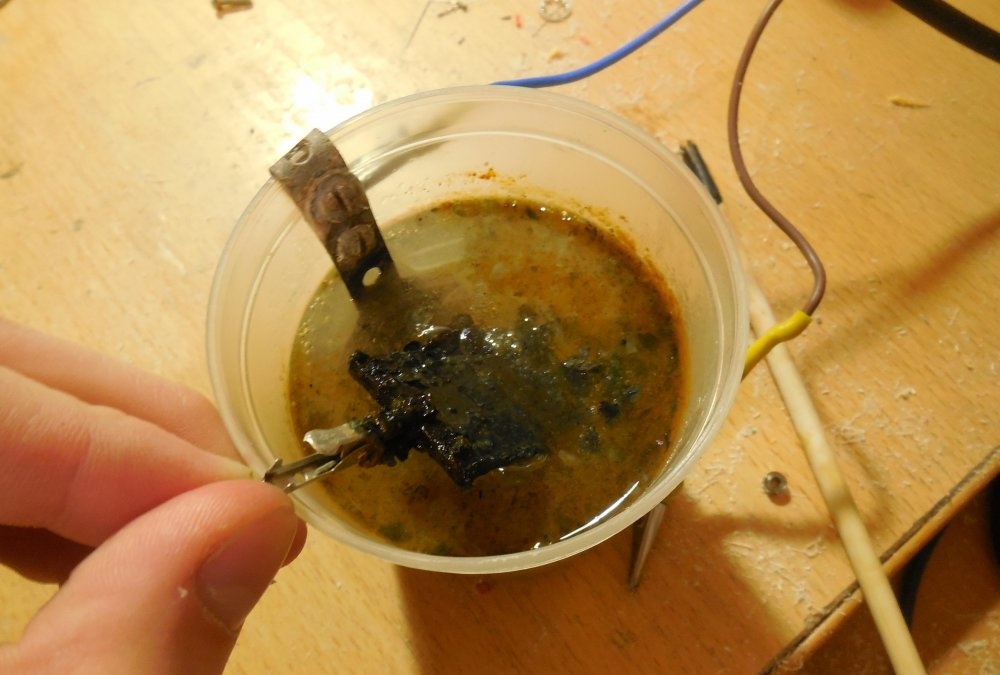
After 30-40 minutes, the workpiece can be removed from the solution, having first turned off the power. It will be completely covered with a black coating, this is normal.
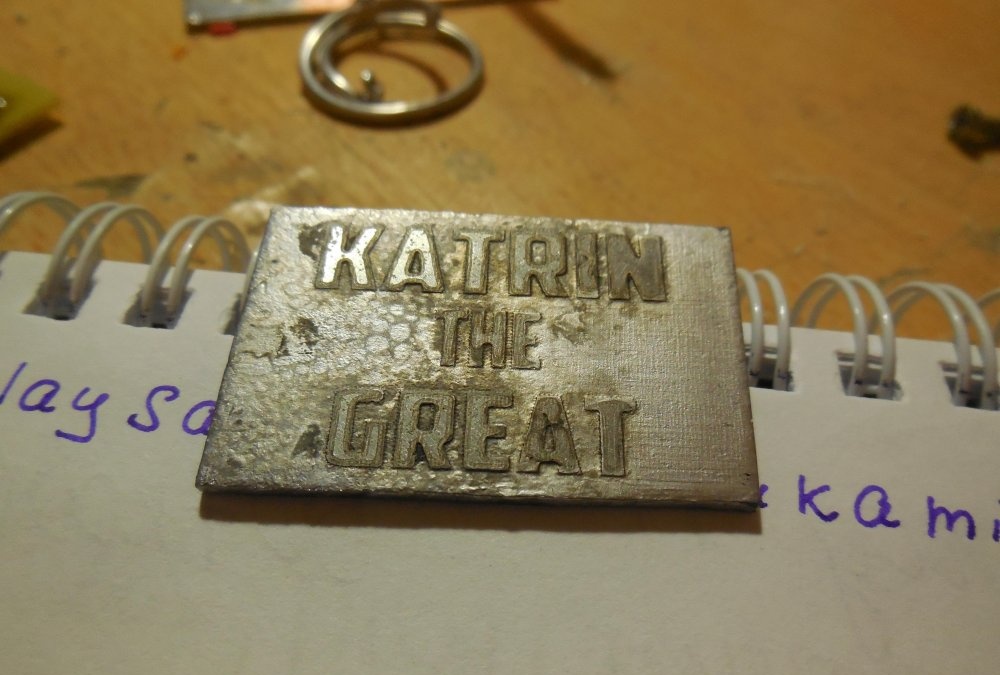
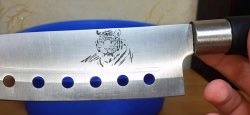
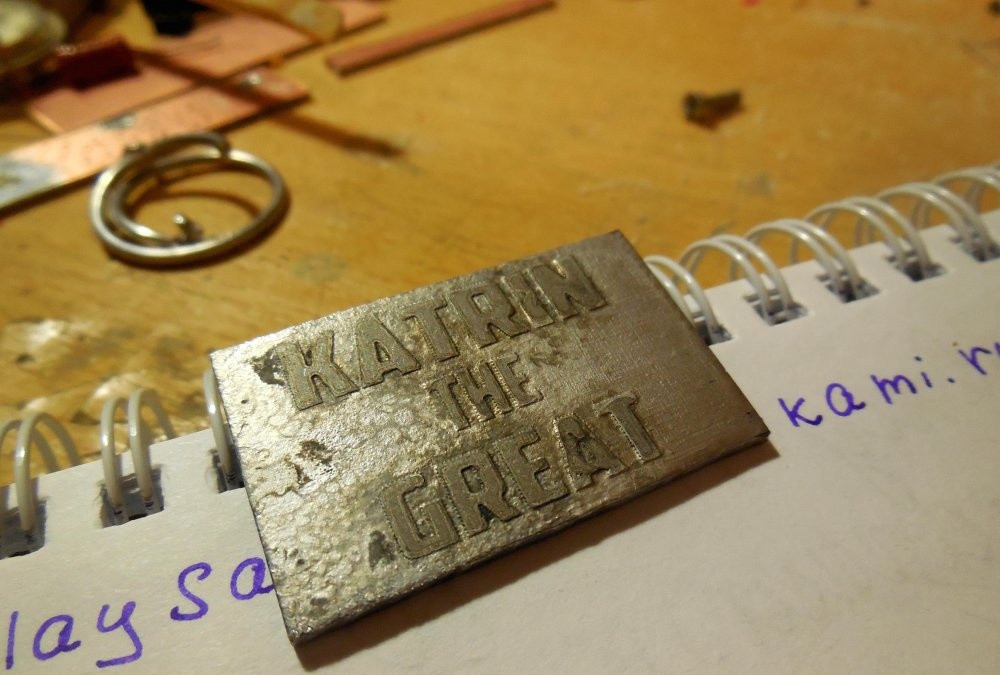
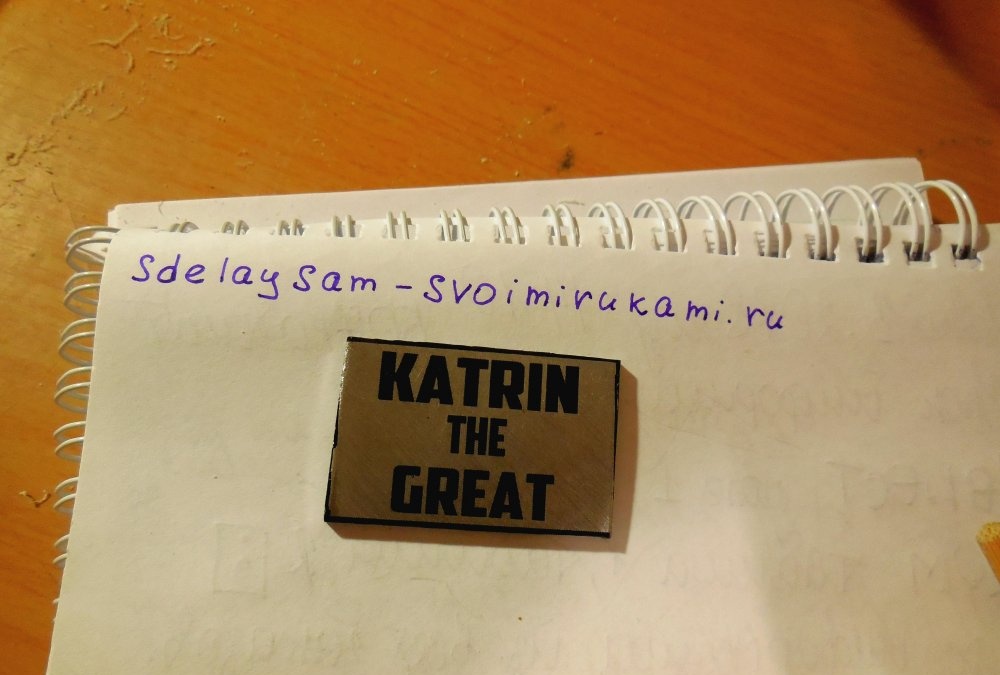
Step 5. Now all that remains is to clean the metal from plaque, wipe off the toner or varnish, and, if desired, sand the surface again. Black deposits can be easily removed under running plain water; the varnish or toner is washed off with acetone or nail polish remover. Now it is clearly visible that the letters on the metal have become embossed, and the metal surface itself has become matte after etching.