Do it yourself
Life hacks, master classes, useful tips, recipes.
home » Useful and interesting » How to make a stool seat from PET covers and other plastic
If you are passionate about carpentry, you can make something quite beautiful and comfortable at home. furniture. However, without having a bright talent for this, all projects turn out to be standard ones of the same type. To make something truly original, you can use unusual materials. An example of such integration is the production of a stool with a seat from recycled plastic waste.
How to make a stool seat from plastic lids and canisters

Materials:


  • HDPE plastic (caps from PET bottles, canisters, bottles from household chemicals);
  • wooden beam;
  • wood glue;
  • countersunk screws;
  • plywood;
  • chipboard;
  • self-tapping screws;
  • dye.

Stool making process


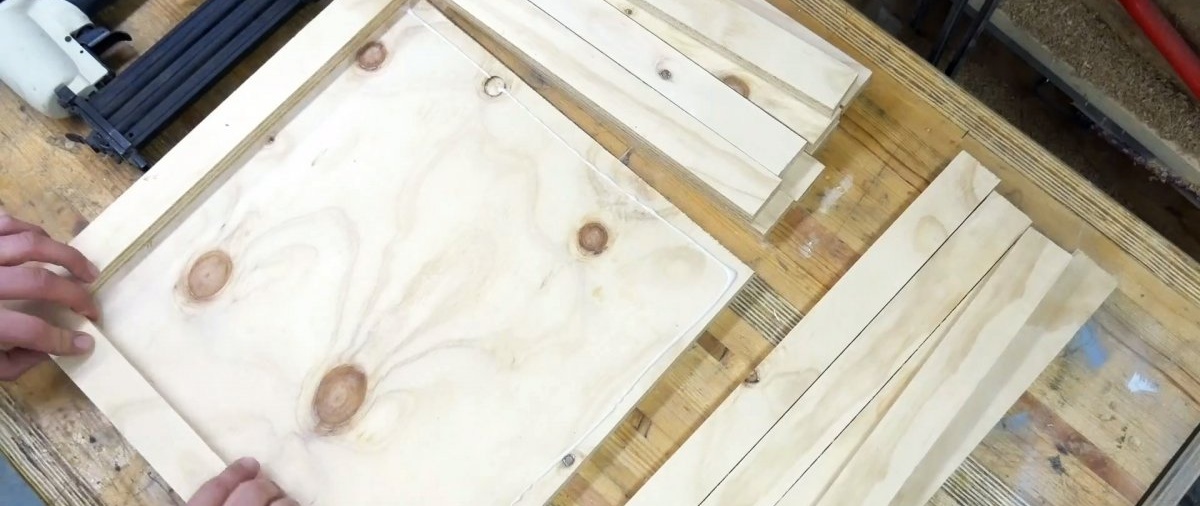
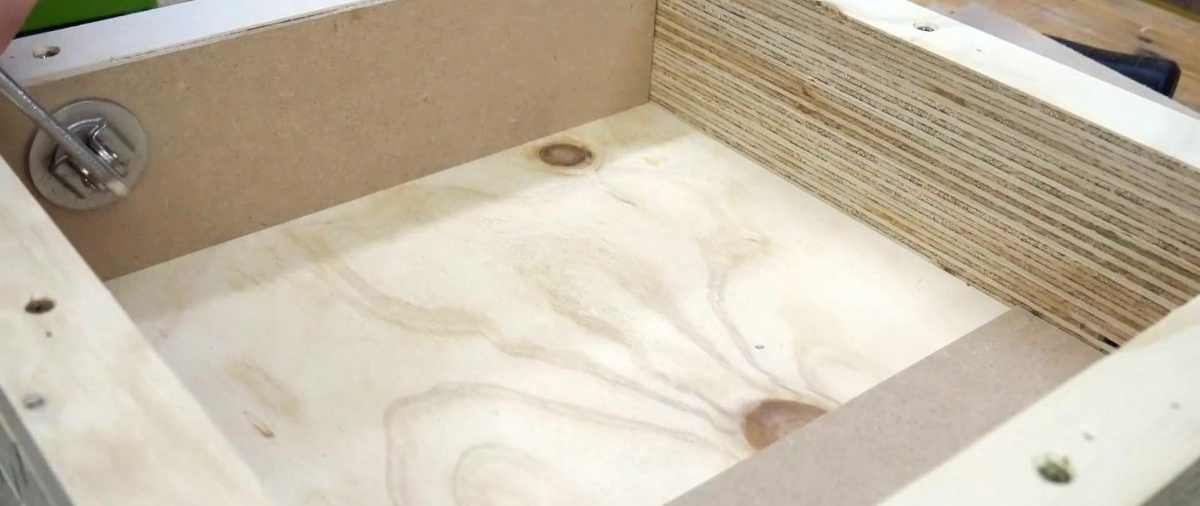
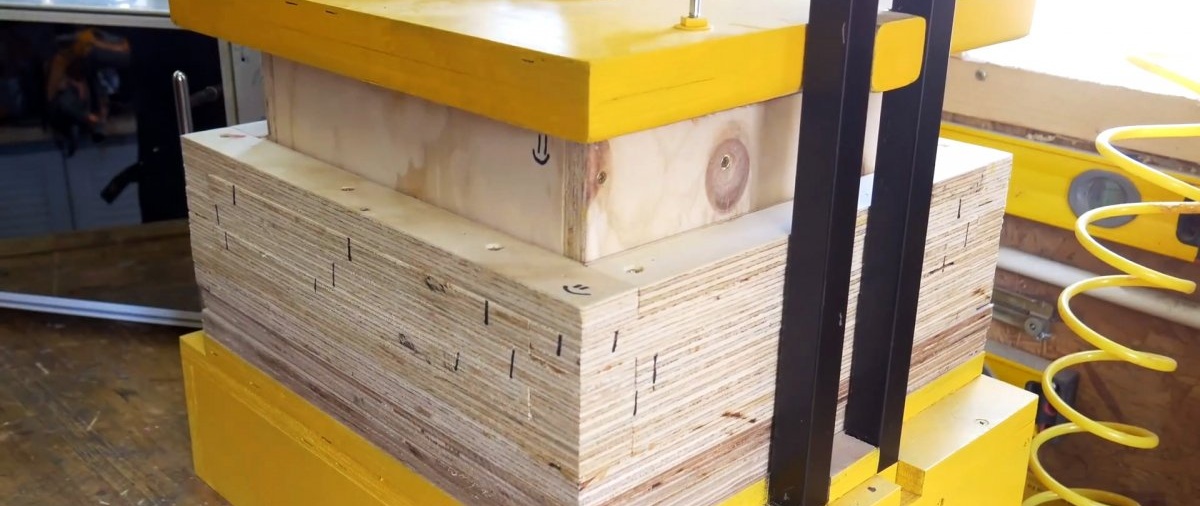
To make a seat, you must first assemble a mold for pressing the seat. Plywood is used for this. The form consists of 2 boxes, one of which fits closely into the second. To ensure smoothness, their internal surfaces must be covered with laminated chipboard.
How to make a stool seat from plastic lids and canisters

How to make a stool seat from plastic lids and canisters

Next, you need to prepare the plastic for recycling. Canisters and bottles are cut into small strips. Then they are mixed with caps from PET bottles.
How to make a stool seat from plastic lids and canisters

The resulting mass is divided into portions and melted in the oven on one baking sheet.
How to make a stool seat from plastic lids and canisters

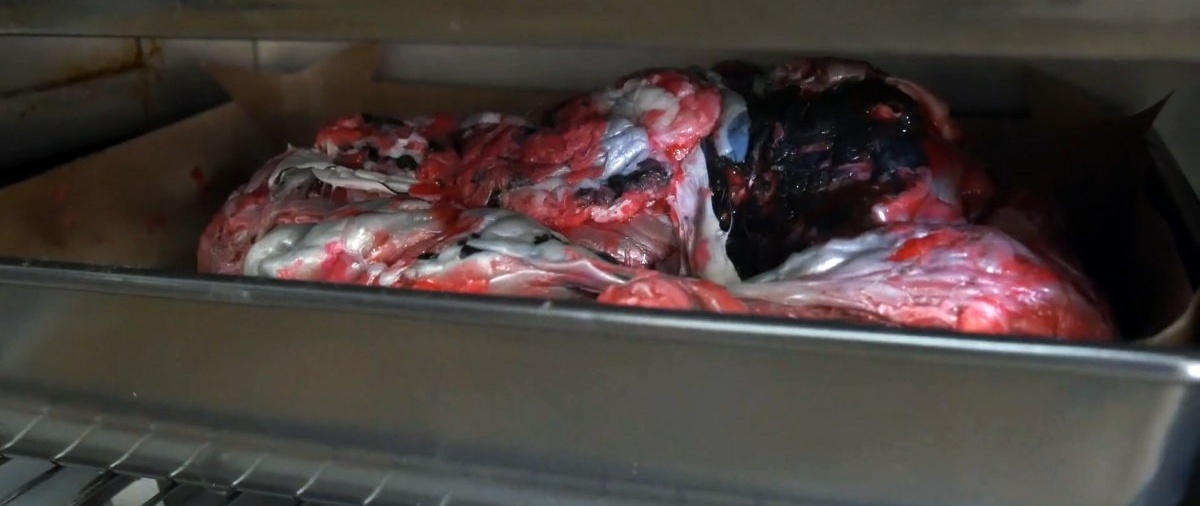
When the plastic becomes pliable, it is lumped together and left in the oven on a second baking sheet. Thus, all portions are melted one by one and collected into one lump. Naturally, you need to work with thick gloves.
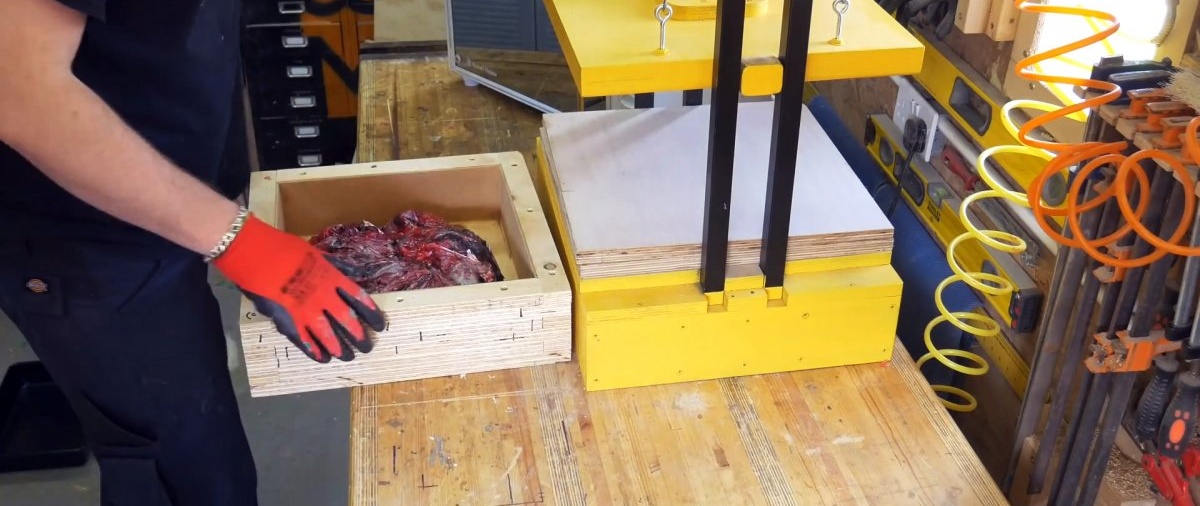
The plastic mass is mixed by hand according to the principle of working with dough or caramel, but not too much, so as not to mix all the colors into one. Then it is placed into a mold and compressed. This requires serious effort, so it is advisable to use a press.
How to make a stool seat from plastic lids and canisters

How to make a stool seat from plastic lids and canisters

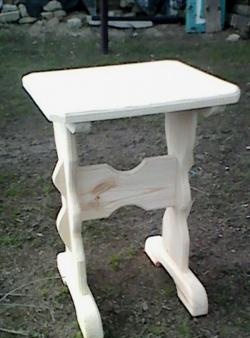
While the plastic is cooling, you need to make the frame of the chair. If it is a stool, then a timber is used.
How to make a stool seat from plastic lids and canisters

How to make a stool seat from plastic lids and canisters

How to make a stool seat from plastic lids and canisters

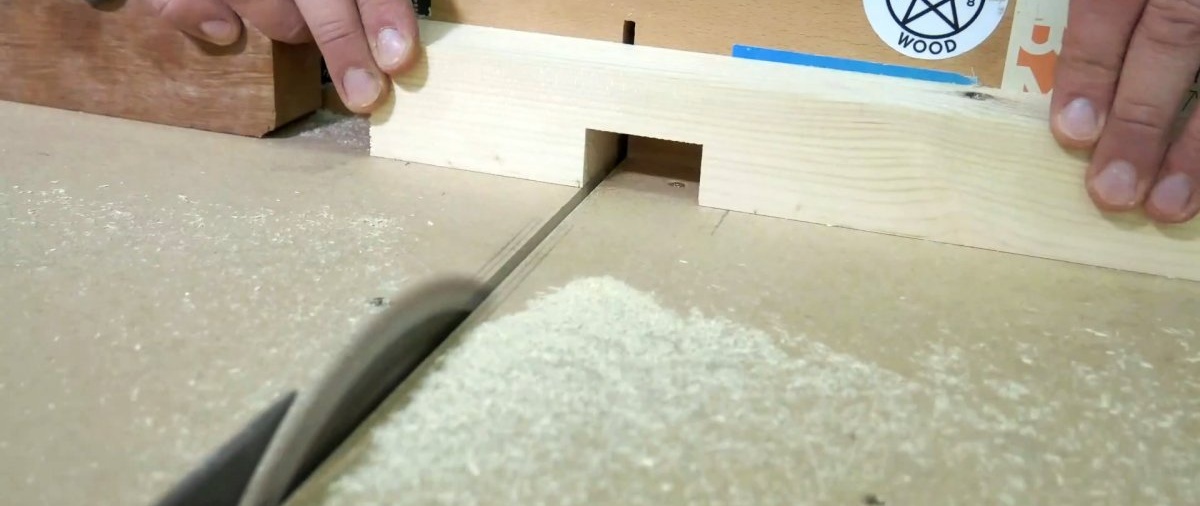
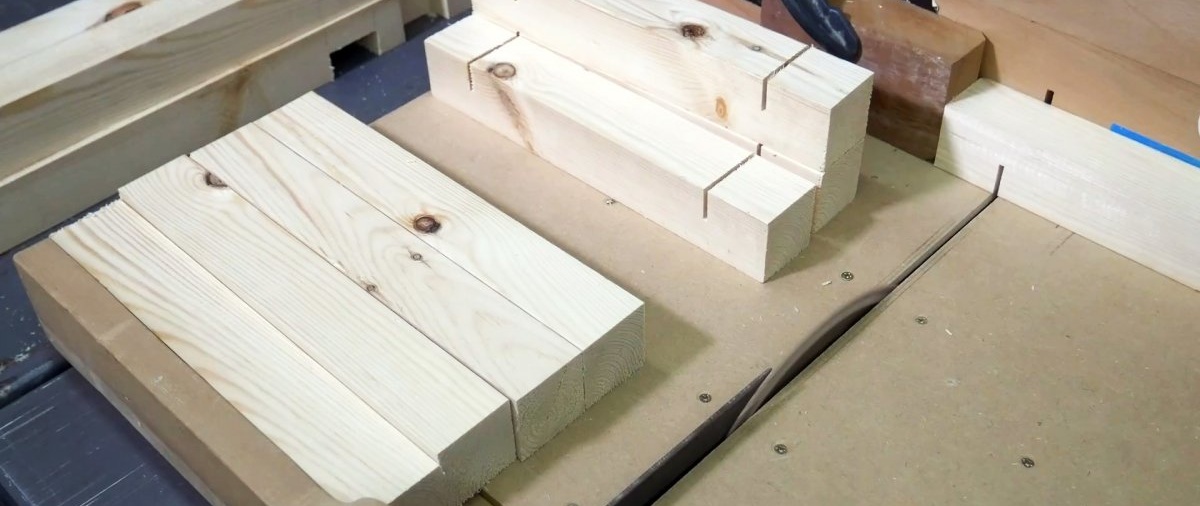
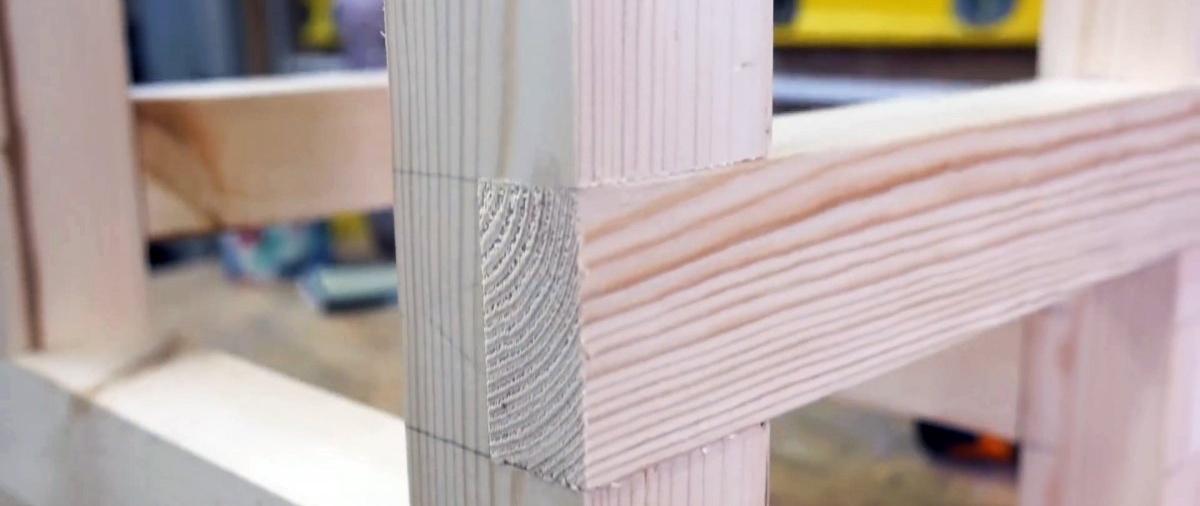
To keep everything as neat as possible, it is better to glue the parts together without using fasteners. The assembled frame is polished to perfection.
How to make a stool seat from plastic lids and canisters

How to make a stool seat from plastic lids and canisters

How to make a stool seat from plastic lids and canisters

The compressed blank of a seat made of cooled plastic is removed from the mold and refined with woodworking equipment. It needs to be planed, preferably on a surface planer, then trimmed and the edges milled. All the resulting shavings are collected and can be used again to make other seats.
How to make a stool seat from plastic lids and canisters

How to make a stool seat from plastic lids and canisters

How to make a stool seat from plastic lids and canisters

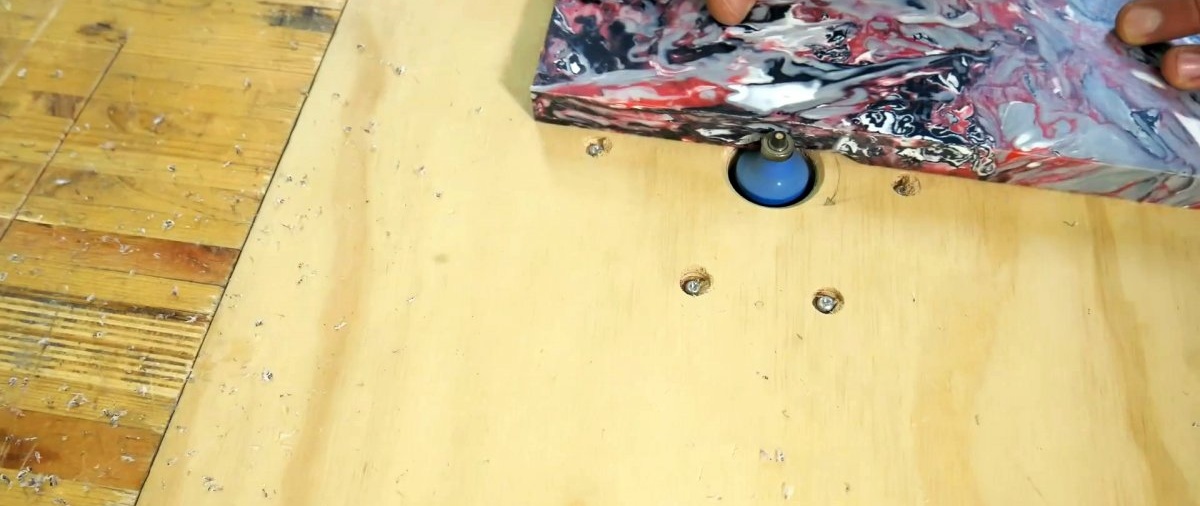
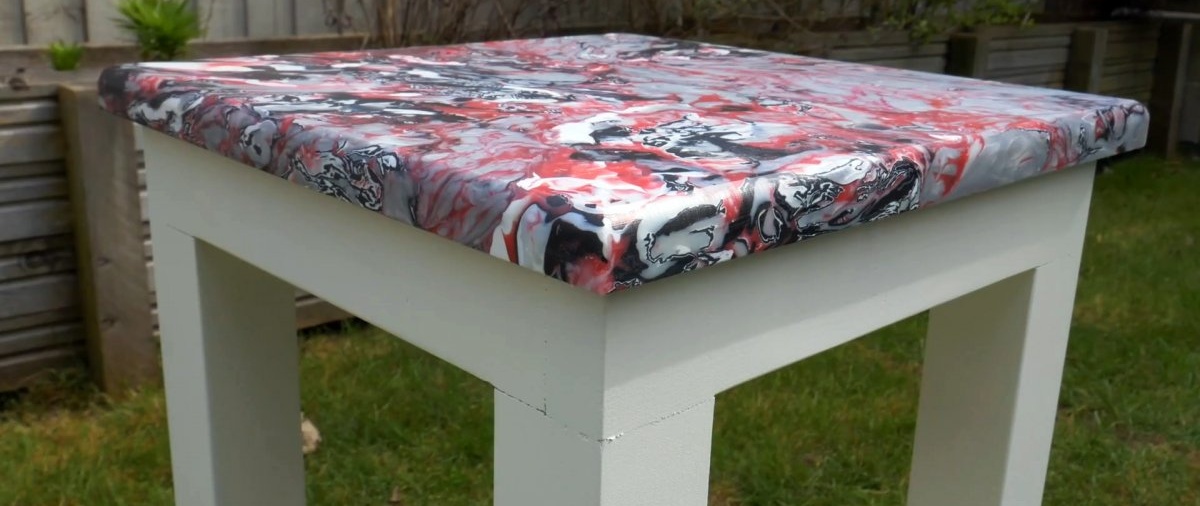
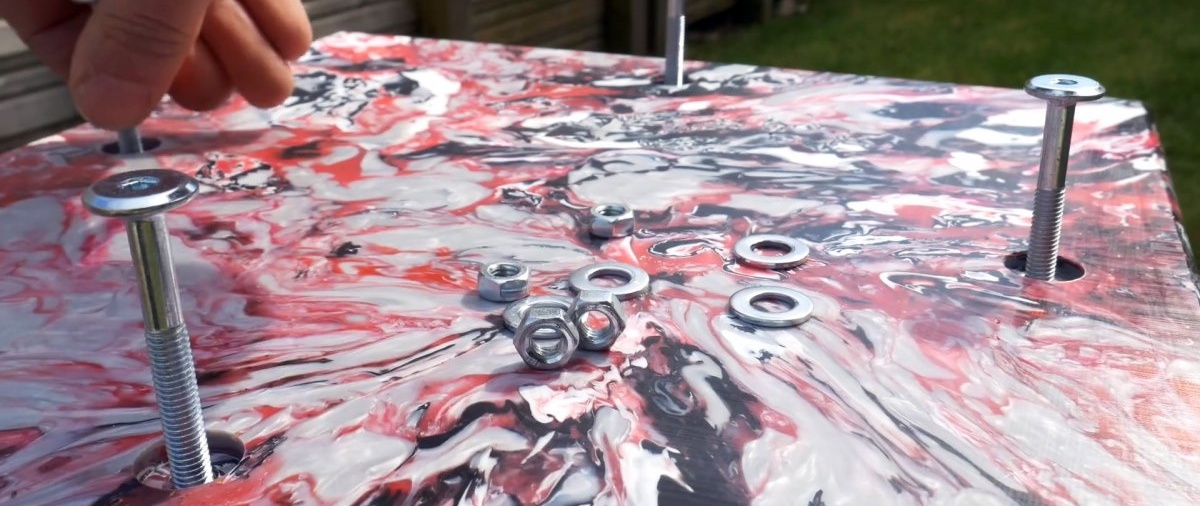
Next, the stool frame is painted in the required color. When the paint dries, the seat is screwed to it. The plastic does not hold the fasteners well, so the seat must be drilled through and use countersunk screws.
How to make a stool seat from plastic lids and canisters

How to make a stool seat from plastic lids and canisters

How to make a stool seat from plastic lids and canisters

Having collected a sufficient number of plastic lids and canisters, you can assemble a whole kitchen set of 4 stools and a table. The production of such furniture is a promising business idea, but to implement it, it is necessary to refine the technology for melting plastic, since it takes a long time to do it in such volumes using an oven.
How to make a stool seat from plastic lids and canisters

Watch the video


come back
Comment
  • bowtiesmilelaughingblushsmileyrelaxed relaxedsmirk
    heart_eyeskissing_heartkissing_closed_eyesflushedrelievedsatisfiedgrin
    winkstuck_out_tongue_winking_eyestuck_out_tongue_closed_eyesgrinningkissingstuck_out_tonguesleeping
    worriedfrowninganguishedopen_mouthgrimacingconfusedhushed
    expressionlessunamusedsweat_smilesweatdisappointed_relievedwearypassive
    disappointedconfoundedfearfulcold_sweatperseverecrysob
    joyastonishedscreamtired_faceangryragetriumph
    sleepyyummasksunglassesdizzy_faceimpsmiling_imp
    neutral_faceno_mouthinnocent
3+three=
Comments (0)

Stylish bookmark for a book | Do it yourself

Handicraft techniques | Page 43 | Do it yourself

Master class of the “Apple Blossom” kit | Do it yourself

Red brooch | Do it yourself

«Do it yourself - with your own hands» - a site of interesting homemade products made from scrap materials and items at home. Step-by-step master classes with photos and descriptions, technologies, life hacks - everything a real master or just a craftsman needs for needlework. Crafts of any complexity, a large selection of directions and ideas for creativity.

We recommend reading

Washing machine error codes