Let's start with a selection of materials for making a wonderful kit. Let's prepare:
- - plastic suede in white and olive colors.
- - scissors.
- - basis for a brooch.
- - iron rim.
- - thin double-sided tape.
- - wire.
- - floral green adhesive tape.
- - plastic imprint for leaves.
- - lighter.
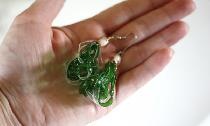
- - glass decorative ball.
- - foam sponge.
- - dry pastel.
- - foil.
- - wet wipes.
- - stamens for flowers.
- - “Moment” glue.
- - wire cutters.
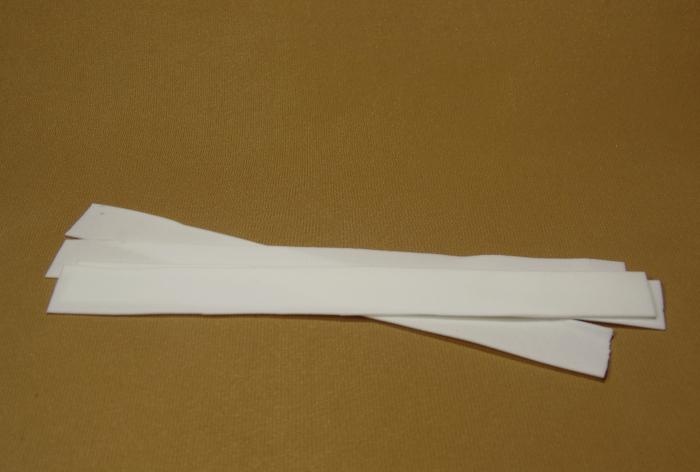
And let's move on to production. For the entire composition we will make 10 large flowers and 5 smaller ones. Another 14 buds and 20 leaves. We will work without templates. Let's start with large petals for the flowers. Cut strips of white suede 2 cm wide.
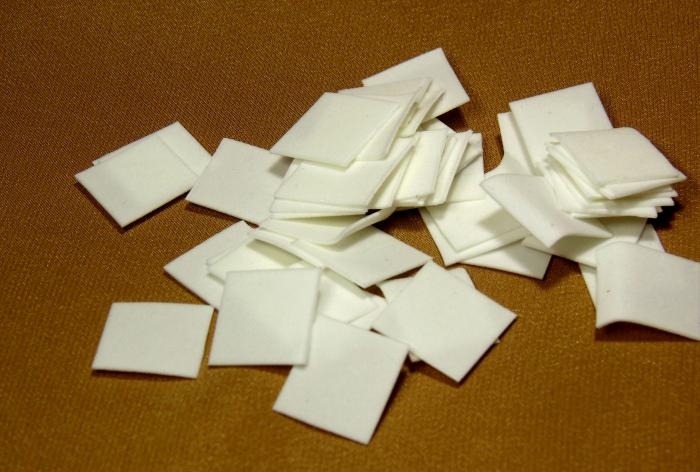
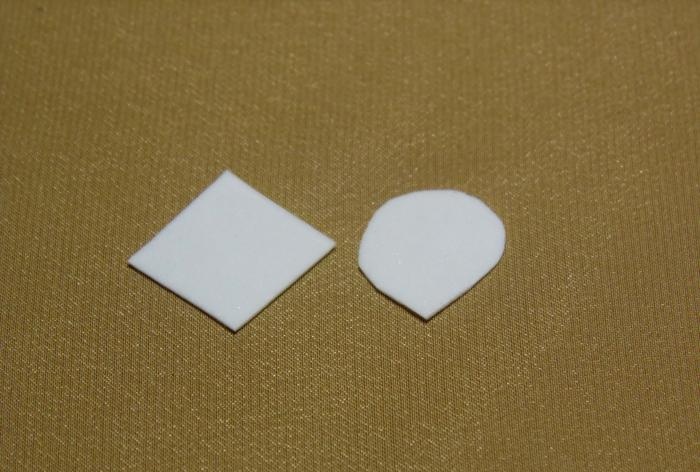
Then we make 50 squares from them with a side of 2 cm.
Next, we cut out petals from each blank. We hold the square by one corner, and simply carefully round the rest.
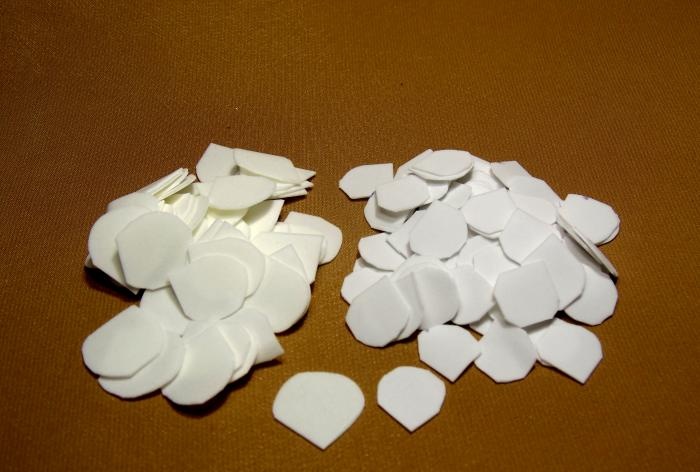
And we make petals for smaller flowers from 1.5 cm squares and cut 63 blanks.
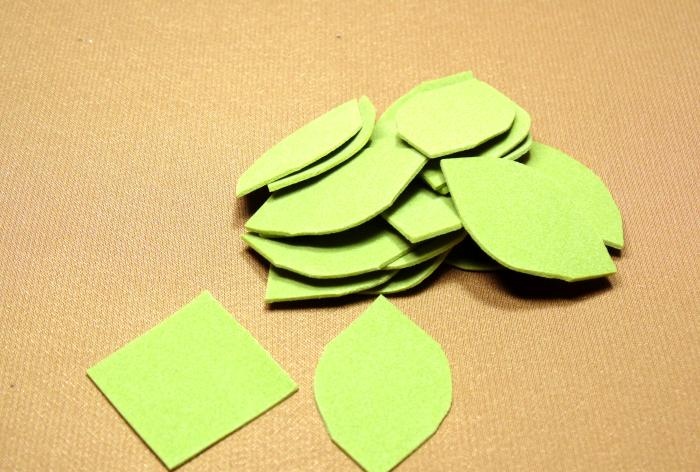
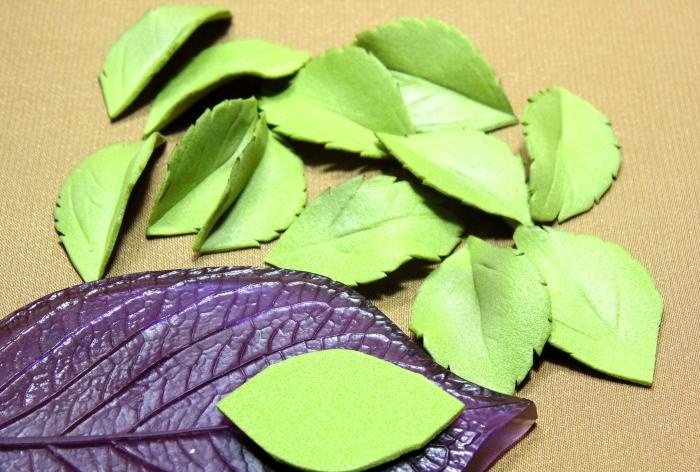
In the same way we make leaves from green suede, using blanks 2 cm in size. We cut off only the side corners.
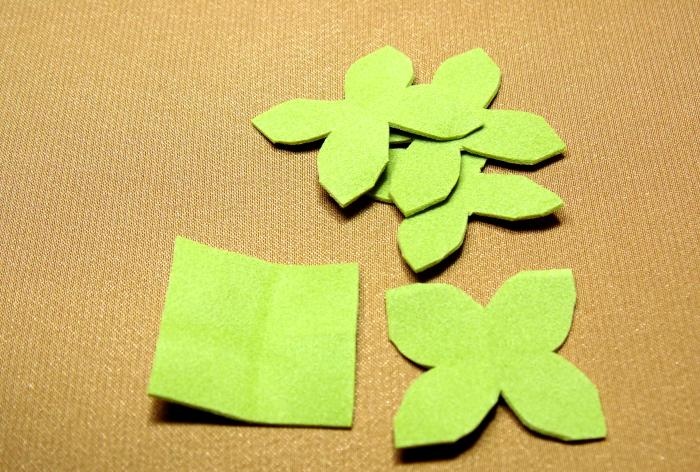
From the same 2 cm green blanks you need to cut out the sepals for 14 buds. This detail looks like a flower with 4 petals. The square should be folded in half twice and we get a square divided into 4 equal parts. And the corners of the square will serve as the tops of the sepals. Using scissors, we cut out only the indentations between the petals.
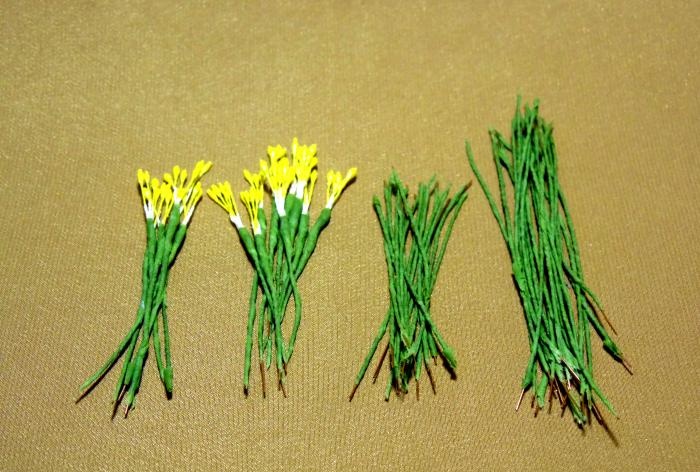
Now let's move on to the wire. For the leaves, cut 13 pieces 8 cm long. The buds need 14 pieces, 6 cm long. And for flowers we will use 16 pieces of 5 cm each. We will start processing all these parts with blanks for flowers. We attach 3 stamens to six segments. And to the remaining 10 parts we attach five stamens. And we wrap green floral tape on top of these prepared parts, well covering the junction of the wire with the stamens. Then the tape should be passed over all prepared wire blanks.
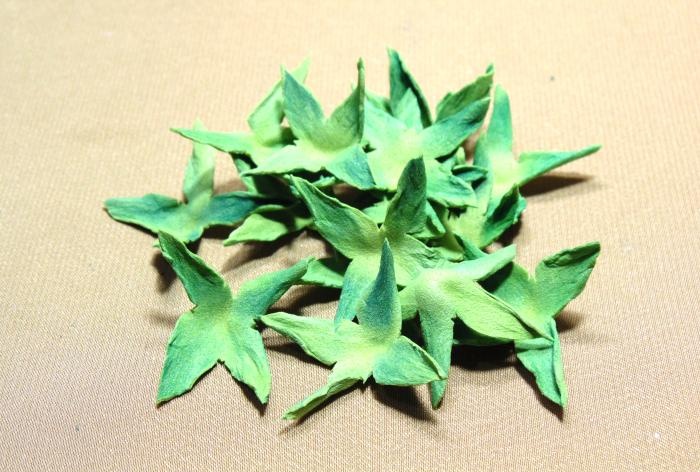
Now we move on to processing all the cut out parts. Let's start with green leaves. First, we cut small slits along the edge. Under the warmth of a lighter they open up beautifully. Then you need veins along the leaves. They can be done in two ways. The first is to simply draw on the front side of the sheet with a toothpick. And in the second method, we heat the workpiece with a lighter and quickly apply the sheet texture to the plastic imprint. We press well and we also get veins.
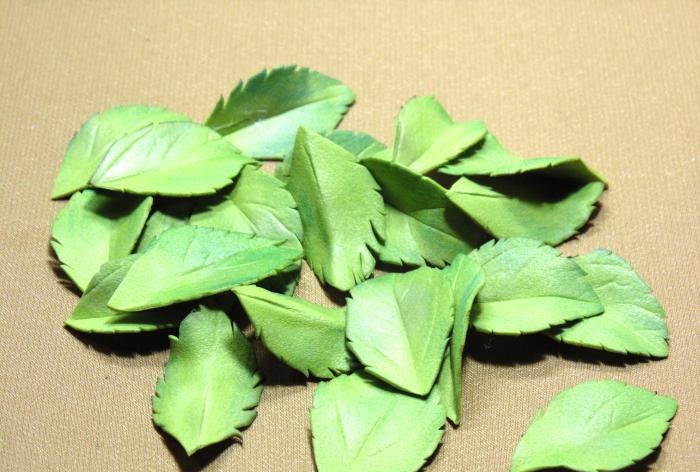
Next, we give the resulting leaves a slight tint along the edges using green pastel. Just take a little paint with a damp cloth and run it over the leaves on both sides.Additionally, we warm up the middle of the sheet quite a bit with a lighter along the wrong side and bend the part in half, strengthening the central vein.
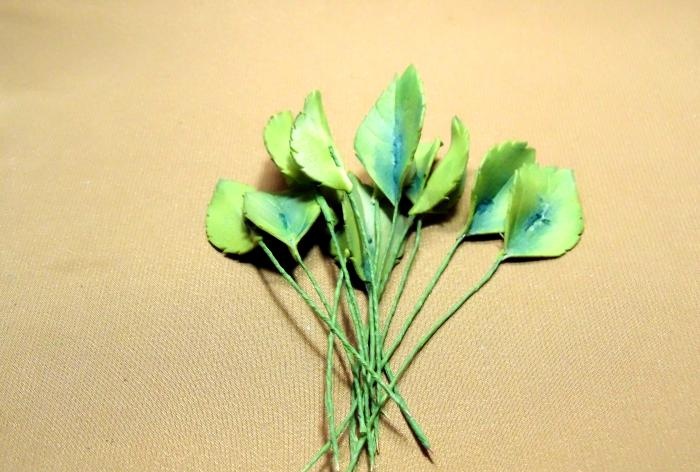
We continue working with the leaves. We attach leaves to 13 prepared large stems. You can simply glue it to the center of the part, and we will do it with increased grip. We pierce the leaf twice with wire from the base up, and then glue the edges of the wire and the bottom of the leaf. Then, if desired, you can additionally tint the joint.
Now let's move on to the sepals. They should be tinted on both sides, first two opposite parts and on the second side the other two. And the processing is very simple. We fold the part in half again and scroll it with our fingers, then straighten it a little.
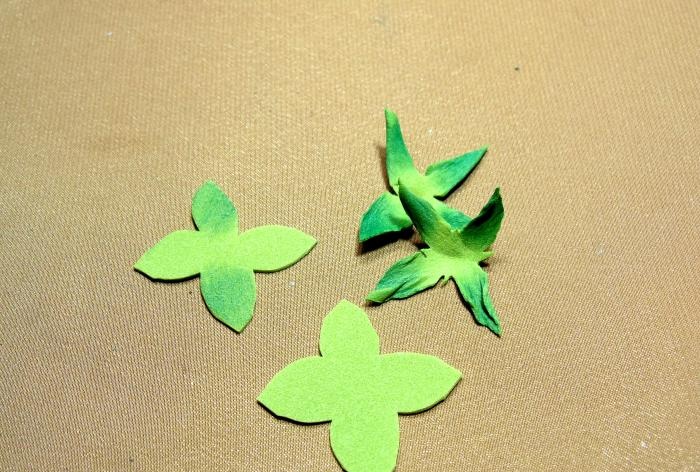
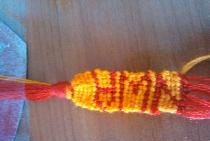
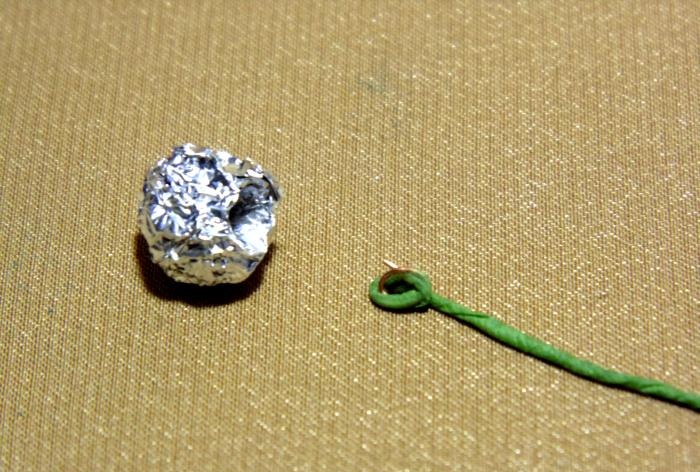
Next we begin to make the bases for the buds. You will need 14 pieces of foil with a side of about 8 cm. Roll into balls. The size is determined by the length of the small petals, which should completely lie from bottom to top on the foil. Using the corner of the scissors, we make a depression on the ball. And on the wire on one side we make a small loop. Then we insert the wire into the recess and use scissors to press the top edge of the foil tightly against the wire. We get a stem with a base for a bud.

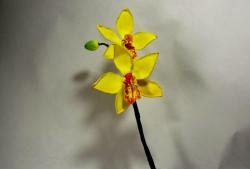
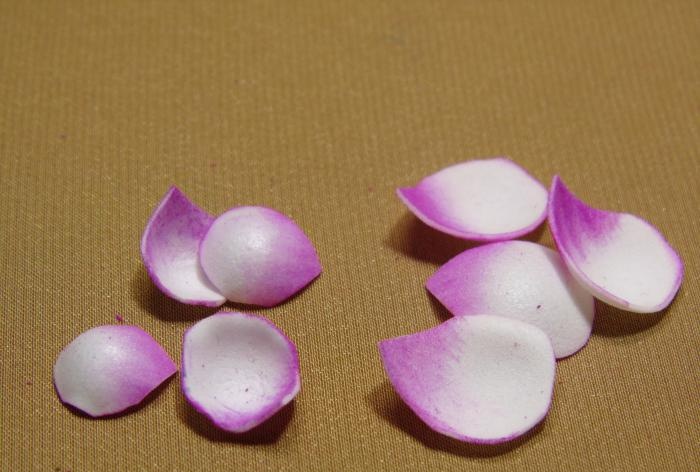
It's time to work with flower petals. Let's start with coloring. Using a damp cloth, pick up some pink paint and go along the bottom corner of the petal on both sides. Then we put several pieces together and paint the sides of the cut with it. We process all the petals the same way.
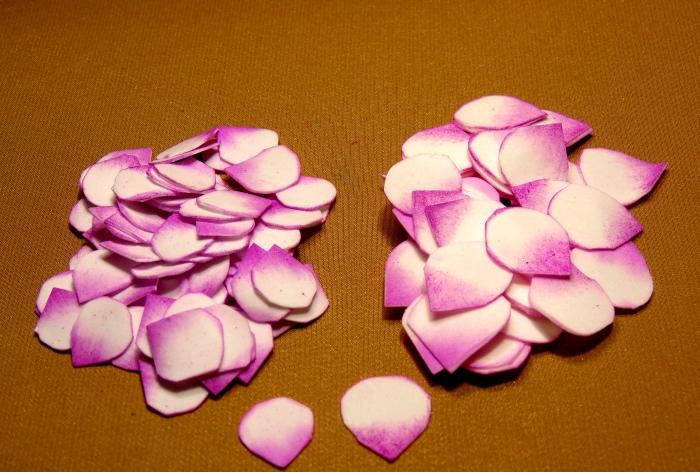
Now you need to give a new shape to the painted petals. We will use a glass decorative ball to help. We hold the petal by the sharp edge, heat it from below with a lighter, quickly place it on the foam rubber and immediately press it with the ball.
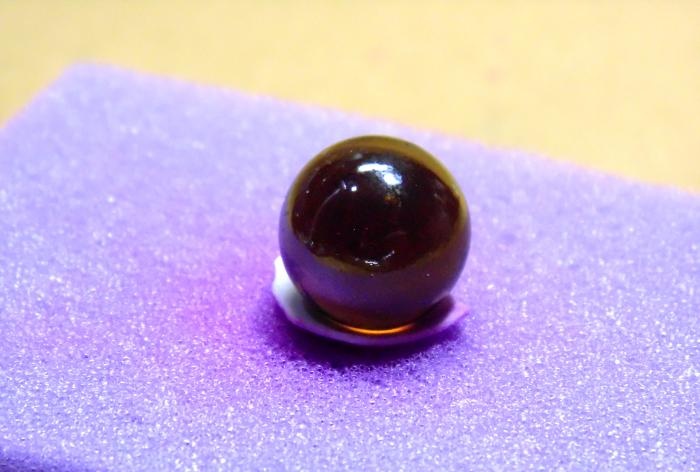
Small indentations are obtained. We make all the petals the same way.
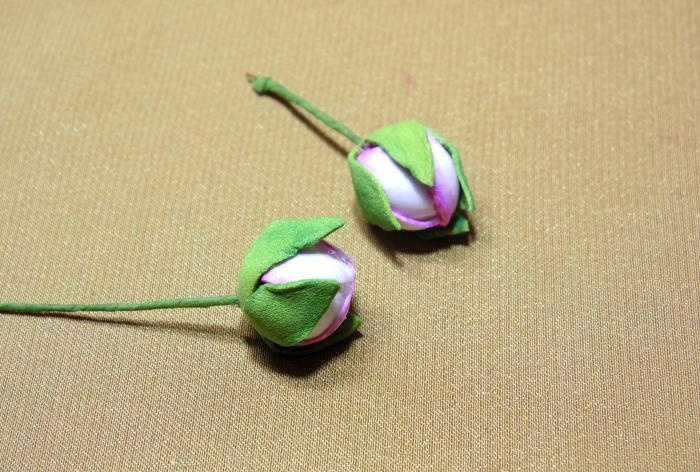
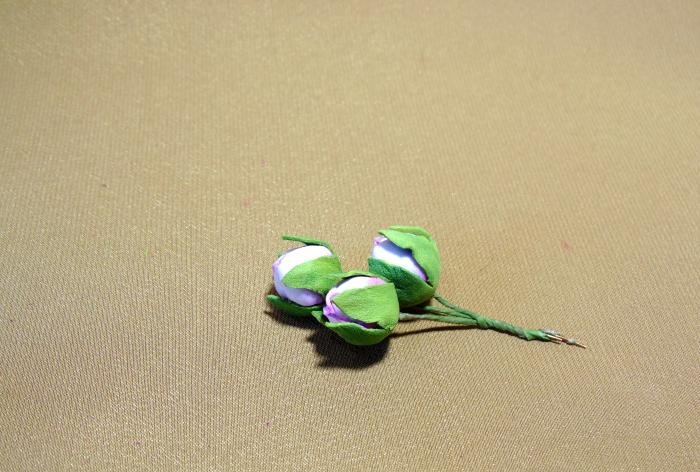
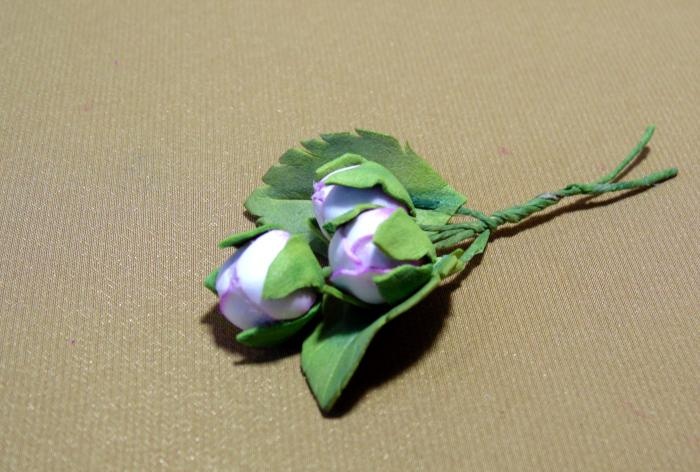
Now we have all the main parts ready. And we move on to assembling the buds. For one you will need a stem with a base, a sepal and 3 small petals. We glue the petals onto the foil one by one, the main thing is to completely cover the entire base. Then insert the wire into the middle of the green part, lift it up and glue it onto the bud.
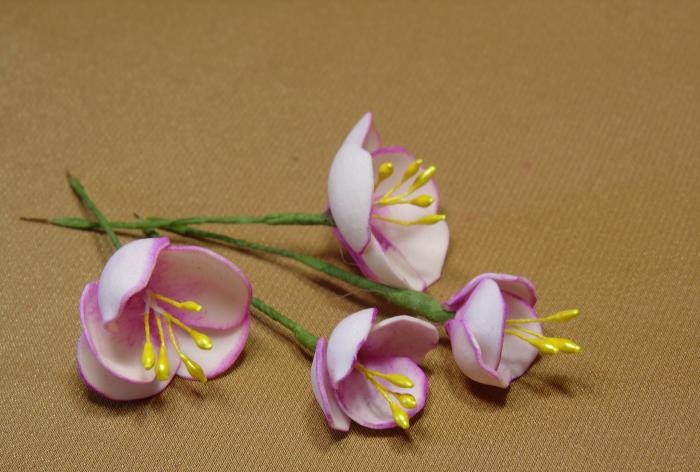
Next we will make small flowers. Let's prepare a stem with 3 stamens and 4 smaller petals.
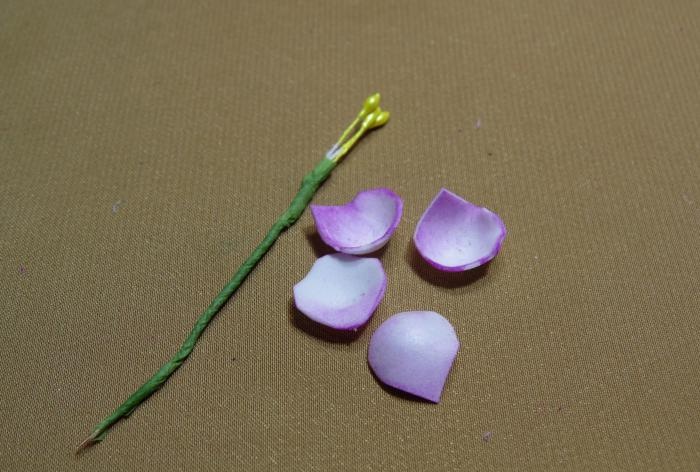
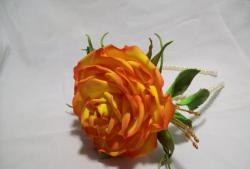
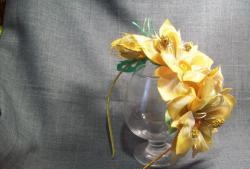
We glue the petals to the stamens in a circle, applying glue only to the very edge of the blanks. Small flowers turn out half-closed. In order for large flowers to open, you need to additionally bend down the sharp edge of each petal. Warm it up a little with a lighter and adjust the downward tilt. You just need to take into account that the concave part of the petal and the bend of the corner are directed downwards. And when assembling the flower itself, we use a stem with 5 stamens and five petals. Which we try to glue only to the bent bottom of the part. We arrange them in a circle.
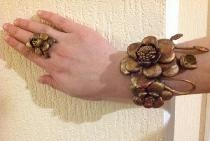
Now let's start assembling the brooch. Initially, we attach the blank for the brooch to a wire base, this will give a strong base for the entire brooch. Let's take a thin and thicker wire, the smallest base and adhesive tape.
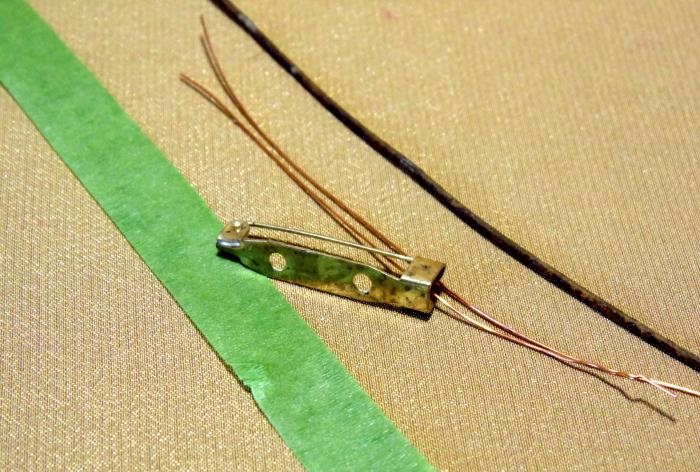
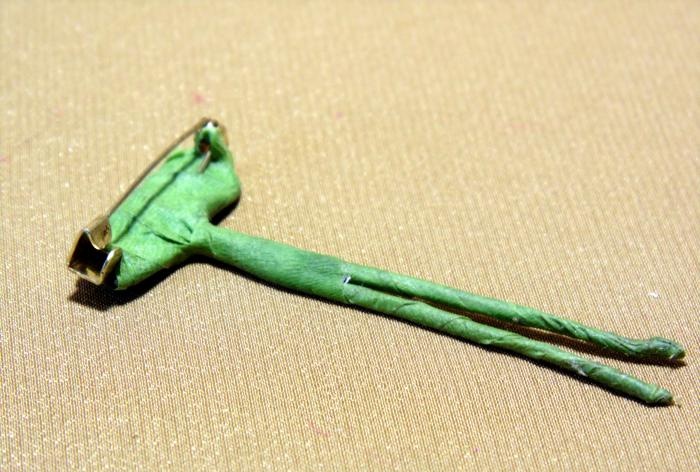
We make the letter “T” from thick wire. The width of the top crossbar should correspond to the length of the small base. Using a thin wire through the holes in the base, we attach it to the bent wire. We apply the resulting structure to ourselves and determine the rotation of the needle fastener, cutting off the excess length of the leg. And we wrap and close all connections and irregularities with green tape. We wrap the long edges of the wire separately; they will serve as stems in brooches.
The brooch will contain 4 buds, one small and two large flowers. We use 3 leaves on the stem and three additional ones, without wire. For the convenience of assembling the entire composition, we will make several bouquets. First we attach 3 buds together.
Under each bud we place a leaf with a stem.
The next bouquet of two flowers, large and small. We place them slightly below the first one.
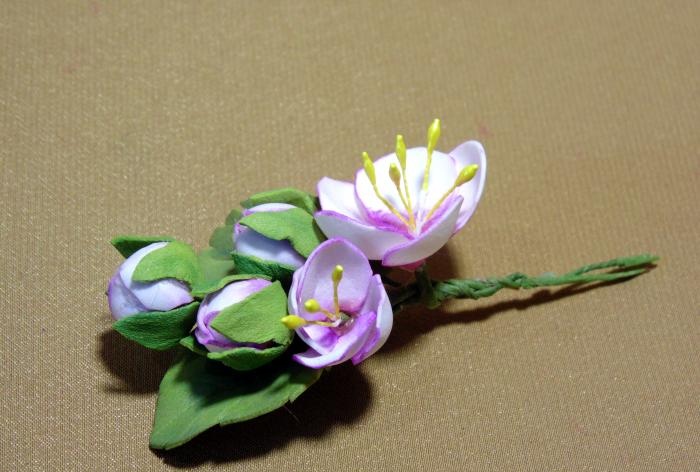
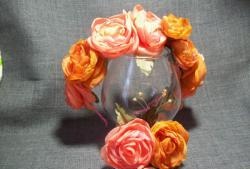
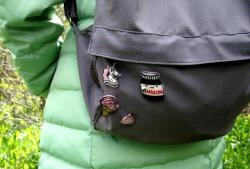
And in the last bouquet there will be a bud and a large flower. And we attach it even lower on our structure. All that remains is to glue 3 leaves at your discretion. It is advisable to close unsightly places. You can twist a curl from the thin edge of the wire. Do not glue anything on the wrong side, there will only be a fastener. The brooch is ready.

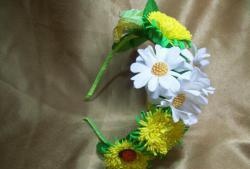
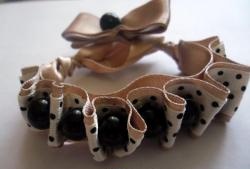
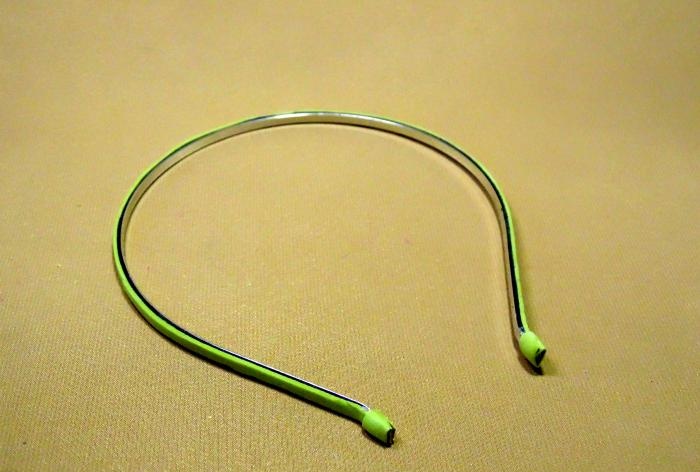
Let's start working on the rim. The first step is to process the iron rim itself. First, glue double-sided tape to the outer part. If the tape is wider than the required size, just cut off the excess. Next, remove the second film and attach a thin strip of olive cloth, and trim off the excess. At the edges of the rim we make additional wrapping with suede. And the base for decorating the headband is ready.
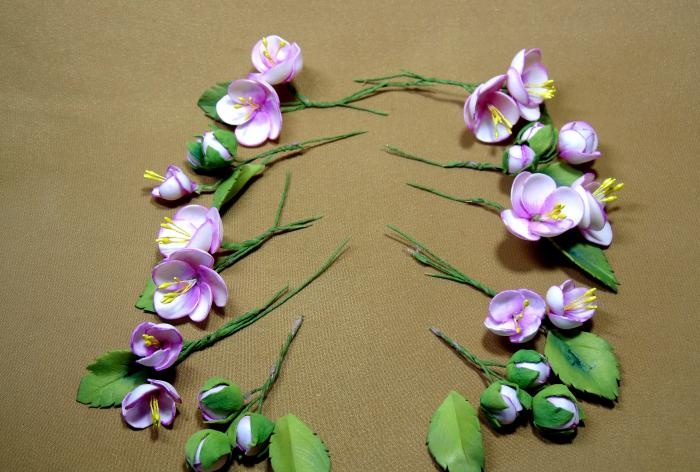
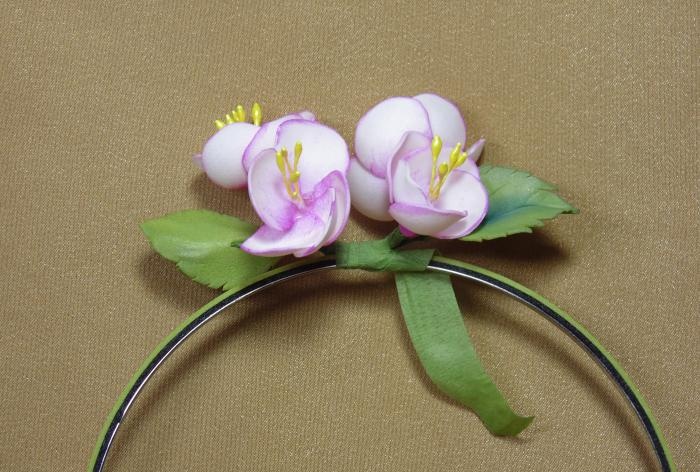
When assembling, we will do the same as the brooch. We will collect everything in bouquets and attach them one by one. And in the free space we will immediately pre-arrange all the details. We make paired bouquets. Two bouquets of the top ones, which will be in the middle. Two large flowers and a leaf per stem. In the second pair we connect a bud, a leaf and a small flower. The third pair of two large flowers with a leaf. The next pair will be two small flowers with a leaf on the stem. And there were bouquets of three buds left.
And now all this needs to be secured to the base. Determine the middle of the rim. Place the first two bouquets closer to the center and cut off the excess wire.We glue and additionally use floral tape, which we wrap completely around the base.
We also try on the following bouquets and attach them below the base. We don’t place the bouquets very close. We wrap the tape without gaps on the inside. The reverse side should also be beautiful.
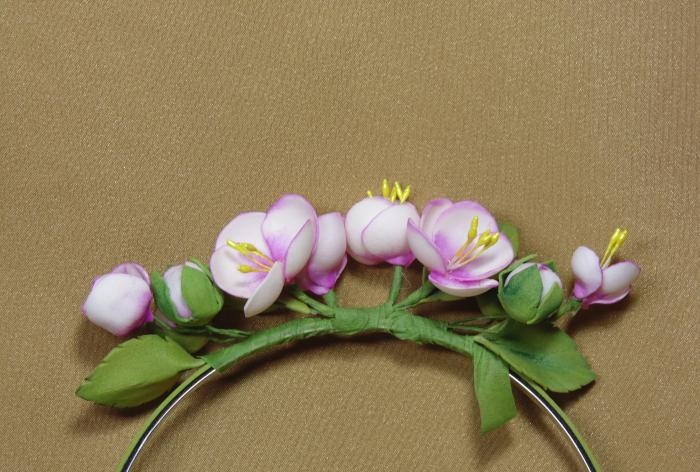
And so, one by one, we attach all the prepared bouquets. And with the tape we reach the very bottom of the base.

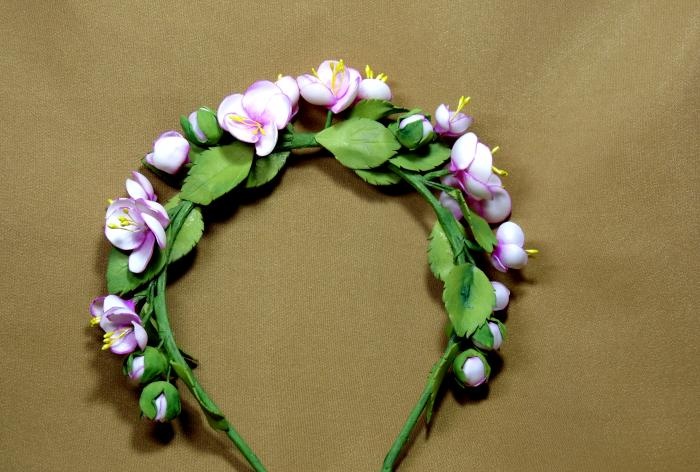
And there are free leaves left that need to be placed on the rim as well. Be sure to glue one at a time under the last buds, and place the rest along the entire structure on both sides in places where there is no beautiful connection. We straighten the flowers, because we have them on a wire. The headband is ready.
Good luck to all!