Materials:
- vibrating grinder;
- plastic jar lid;
- tin or sheet aluminum;
- self-adhesive Velcro;
- rust remover;
- cord or rope.
Manufacturing process of rust removal vibrator

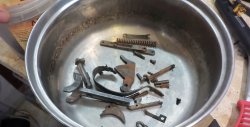
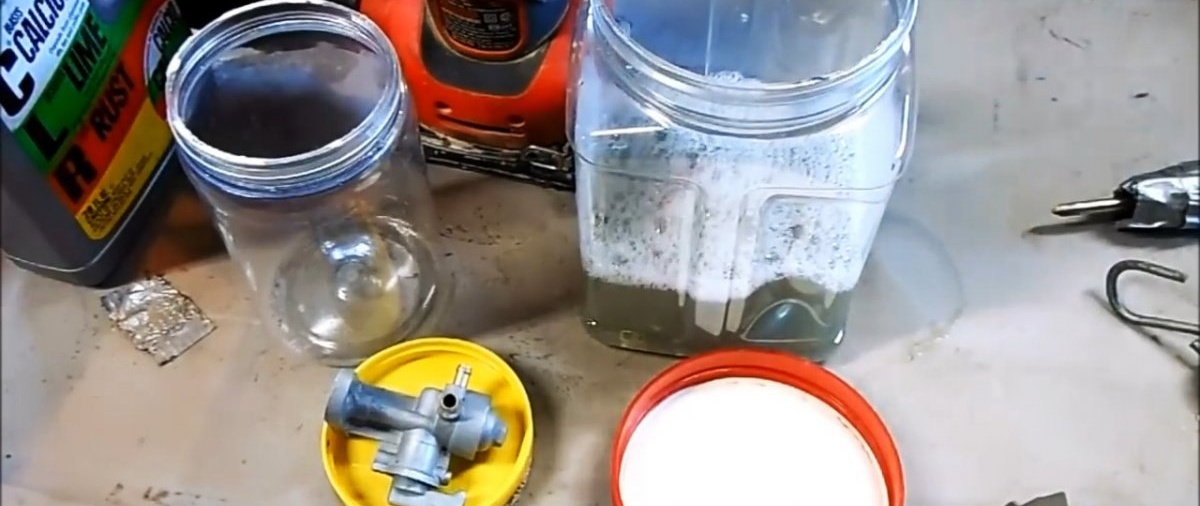
To place the parts to be cleaned in a bath with rust remover, you need to prepare a container with a lid. A jar will do just fine. It is desirable that it be plastic. In this case, the spare parts will not ring against its walls.

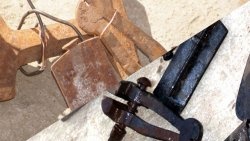
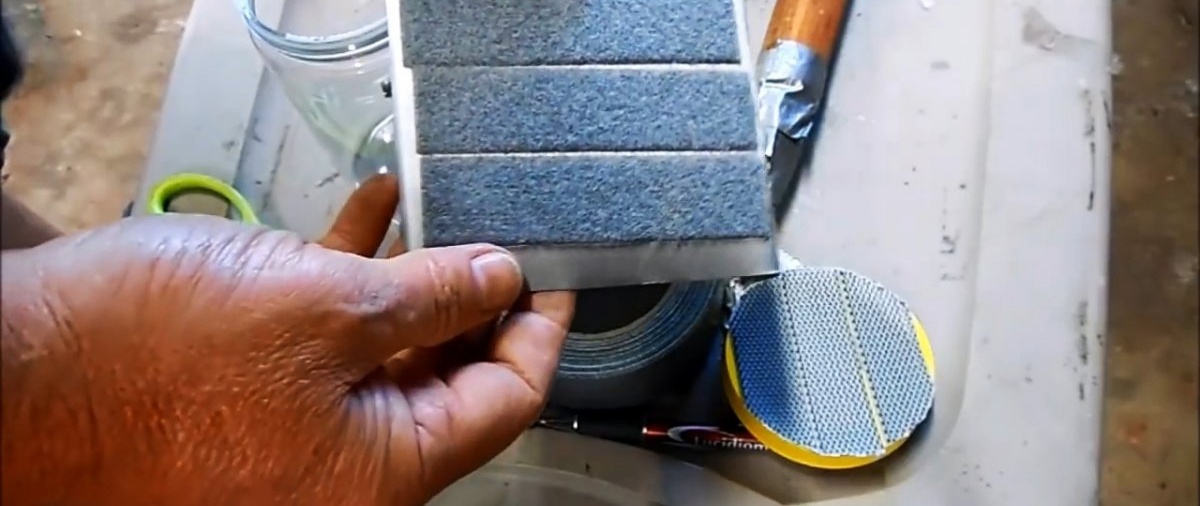
To attach the can to the oscillating sander, you need to make an adapter. To do this, a plate is bent from tin or sheet aluminum, which is clamped onto the sole of the machine instead of sandpaper. Then you need to glue Velcro to the adapter and the lid of the jar. If it is not there, then simply tighten the adapter with the cover using self-tapping screws with a countersunk head, sew them together with wire, or come up with something else.

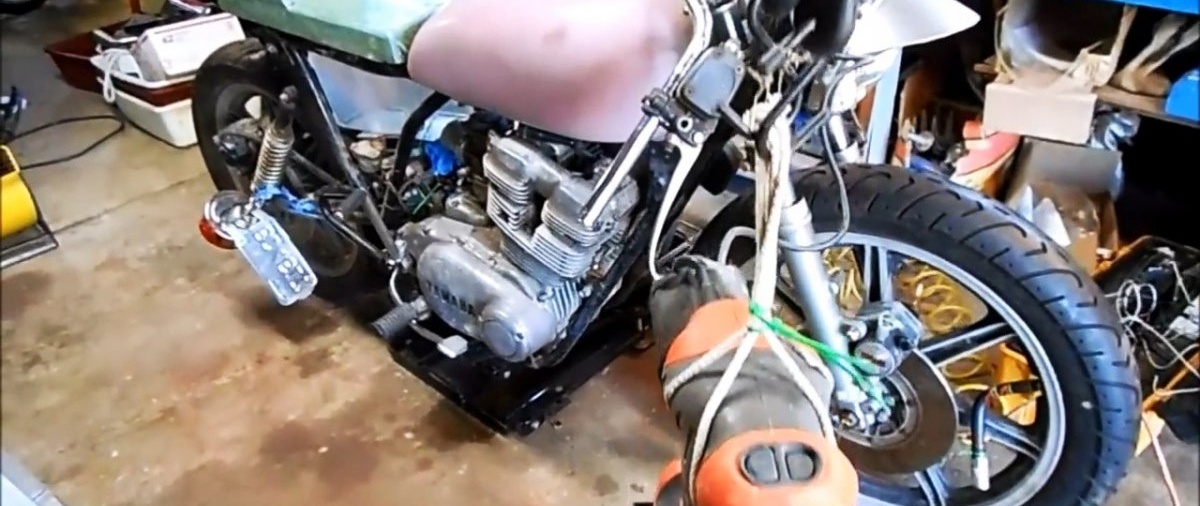
To prevent the unit from “running away” anywhere and dissipating vibration, you need to hang the grinder on a cord. If it vibrates in the canopy, the device is guaranteed to remain in place and make less noise.

Then the part to be cleaned is placed in the jar and completely filled with corrosion remover. If the product is good and oxidized parts made of non-ferrous metals are being cleaned, then to save money it can be diluted with water 50:50.

After this, the can is suspended from the adapter on the sole, and the machine starts.
Under the influence of vibration, the part in the cleaning agent is washed away from rust and adhering deposits many times faster and more effectively.
Corrosion is removed from all recesses and cavities, even in inaccessible places. If you need to clean a part that does not fit in the jar, you can use a plastic paint bucket as a container.