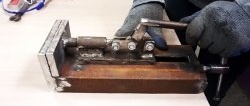
Standard steel vise jaws leave deep dents on round and profile wooden workpieces, so you have to wrap them with rubber every time, which is inconvenient. If you have a router, you can make aluminum prismatic linings for the jaws. Due to their shape, they will be able to hold cylindrical and profile workpieces without the need to tighten the screw extremely tightly, and due to the softness of the metal, they will not press in the wood so much.

Materials:
Manufacturing process of prismatic overlays
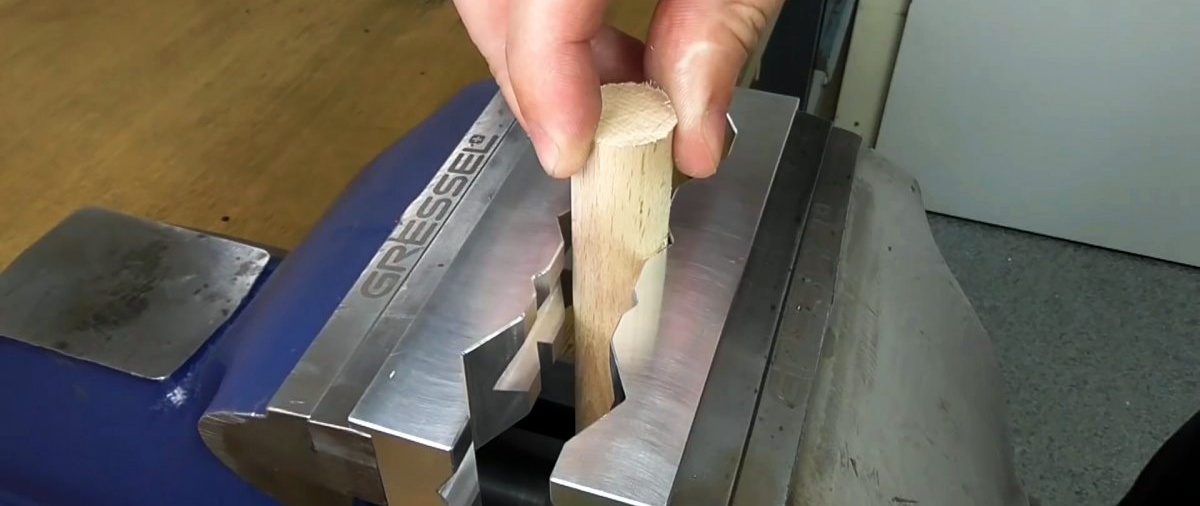
It is necessary to measure the length of the jaws of the vice. Starting from it you need to make a drawing. When joining, the linings should form prisms of different sizes with a cross-sectional shape in the form of rhombuses and hexagons. Each of them will be used for a particular diameter of cylindrical and profile workpieces. The wider the vice, the more prisms you can fit on the pads.In the example, on 125 mm jaws it was possible to place 4 figures of different widths for vertical clamping of workpieces. You also need to provide a diamond-shaped prism horizontally. In the drawing, it is necessary to start from the milling angle of the prisms of 120 degrees. It will be optimal for compressing both cylindrical and profile workpieces.

Next, 2 aluminum blanks are selected that are equal in length to the vise jaws. They need to be a little wider in order to mill out step-shaped hooks on the back of them.
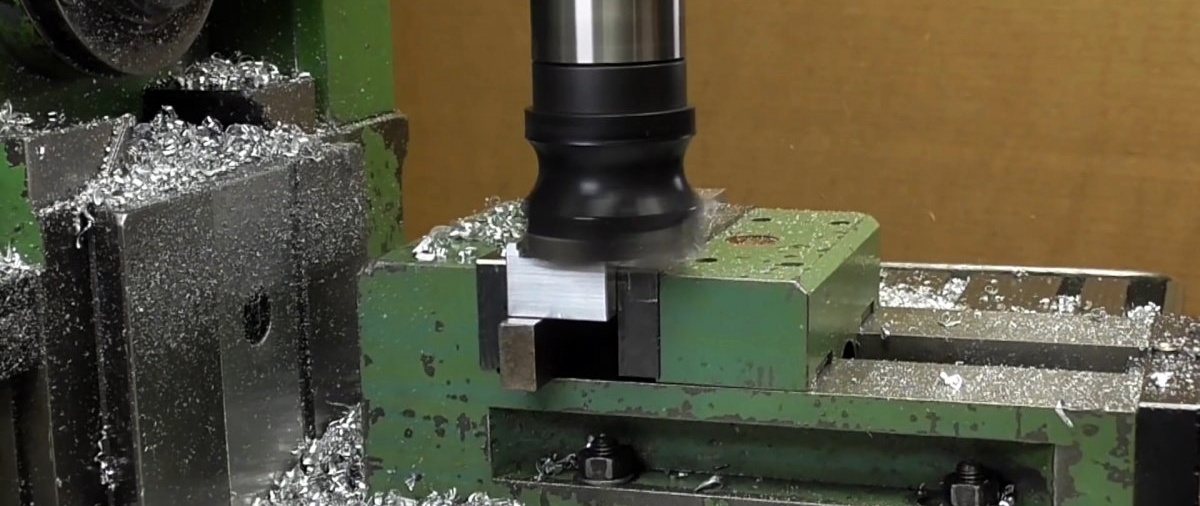
The blanks are milled one by one. It is necessary to bring all the planes onto them at 90 degrees in order to obtain even, identical bars.


Then you need to mill out half of the prisms on each of them according to the drawing. On a figure with a hexagonal cross-section, a groove is first made, then the cutter is fed onto its walls at angles of 120 degrees. Diamond-shaped prisms are initially selected at an angle.


Milled workpieces are chamfered. Then a sample is made on the reverse side to form a hook. Here it is important not to get confused and not to create a step from below on one overlay.
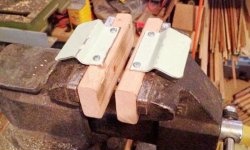
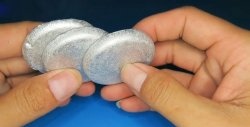
On the back of the blanks, below the hooks, 4 blind holes are drilled and magnets are placed in them using epoxy glue. After the epoxy has set, you need to sand the magnets with a file so that they sit flush.


Thanks to magnets, the resulting pads are quickly removable.


In addition, when removed, they are attracted to each other, so they will always be stored together.