Wood processing is a multifaceted job. Each stage has its own nuances. And if to harvest the wood directly you need machines, chainsaws, and transporters, then to dismantle solid wood boards you cannot do without a sawmill. All this is done by industrial complexes or private entrepreneurs. The more stages of processing a tree has gone through, the more expensive it is. Individual carpenters and joiners have to choose: purchase ready-made lumber or take wood at a certain stage of production and finish it on their own. A simple example. If I have an electric plane, I can buy an unplaned board. Although the benefit is obvious only if you know how to work with a plane. But difficulties arise with cutting the boards. Therefore, in a personal household you need to have a workbench for trimming.
Why do you need a cross-cut workbench?
I made a table like this for myself to cut boards evenly and cleanly. Initially I chose a saw and looked closely at stationary disk units. The cutting depth of up to 80 mm and the angle of inclination of more than 45 degrees captivated me.Of course, there are simpler models, which are limited to a 40 mm cut in depth and a rotation of no more than 45 degrees. The gradation of prices is great: from unrealistically expensive to cheap. However, there is another type of circular saw that can be trimmed. These are hand-held circular saws with a rectangular base. They only require a side support. A metal foot is already included in the kit. But its functionality is limited by its small size. Therefore, for a separate saw, an external side stop is designed, along which the base of the hand-held circular saw slides. The advantage of a workbench is that it provides a clean and even cut at almost any angle. The versatility lies in the fact that the circular saw can be used not only on a workbench, but also suspended when sawing panels. There is a limitation in the depth of cut, which depends on the specific model. For me it is 70 mm.
Types of workbenches for trimming
It all depends on the tasks. Meanwhile, tables are divided into types according to external characteristics:
- Small, half a meter in size. Blanks for crafts are cut onto them. The side stop, which is often combined with a miter box for hand sawing, is suitable for small circular saws.
- The average table size starts from half a meter in length and one and a half meters in width. It is equipped with a wooden fence for a medium-sized hand-held circular saw.
- Large workbenches are designed for trimming furniture panels. Length and width start from two meters. Such tables are equipped with metal stops on bearings.
And then the flight of fantasy begins. After all, if everything is clear with the dimensions of the tabletop, then the stop devices can be different: - Simple wooden ones of four elements: two legs, a platform, a side ledge.
- Metal from welded corners.
- On bearings, the number of which is four or more.
- On rod guides.
Return springs and saw clamps complicate the design, but simplify operation.
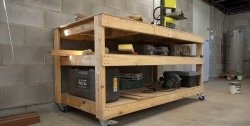
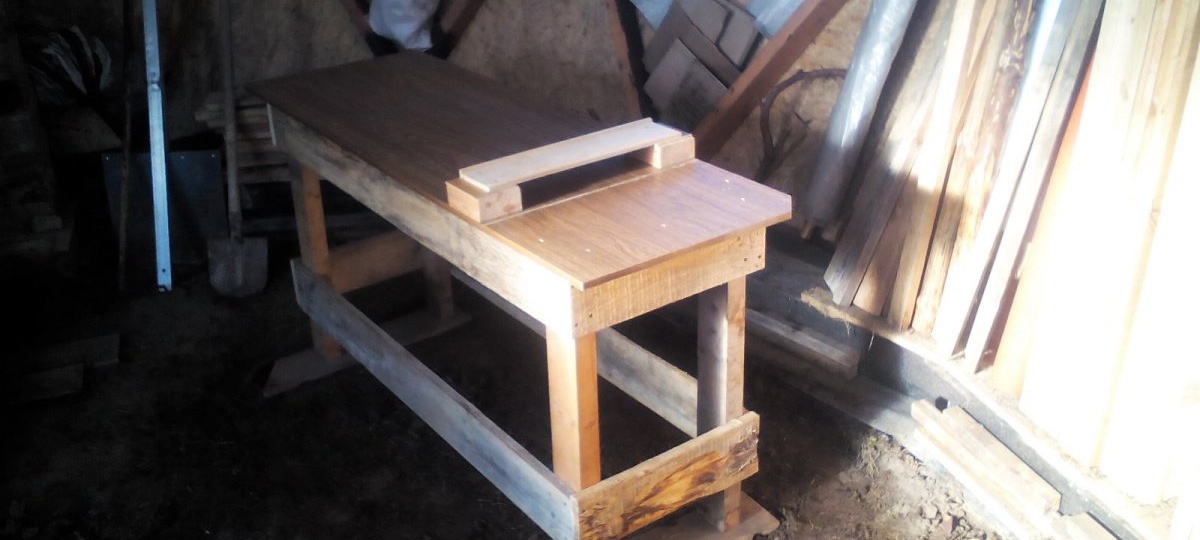
My crosscut workbench design
In my opinion, the table should have maximum stability and minimum vibration. Therefore, I used strong and durable materials.
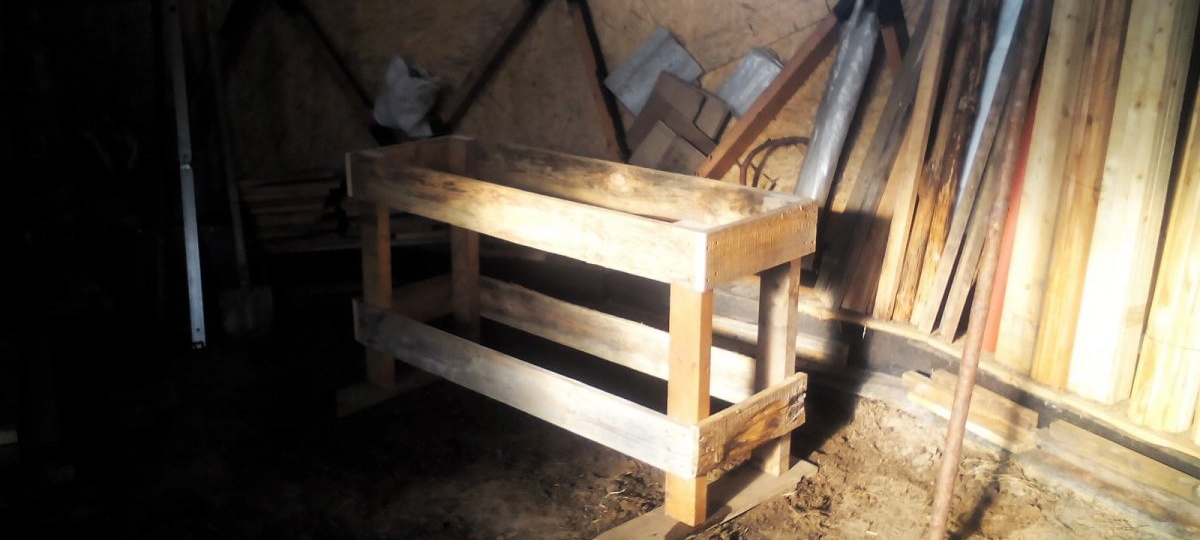
- For the tabletop I took a door from a Soviet cabinet. It was disassembled and stood in a barn.
- For the legs I used a 100x50 mm board. Scraps left over from the construction of the house frame.
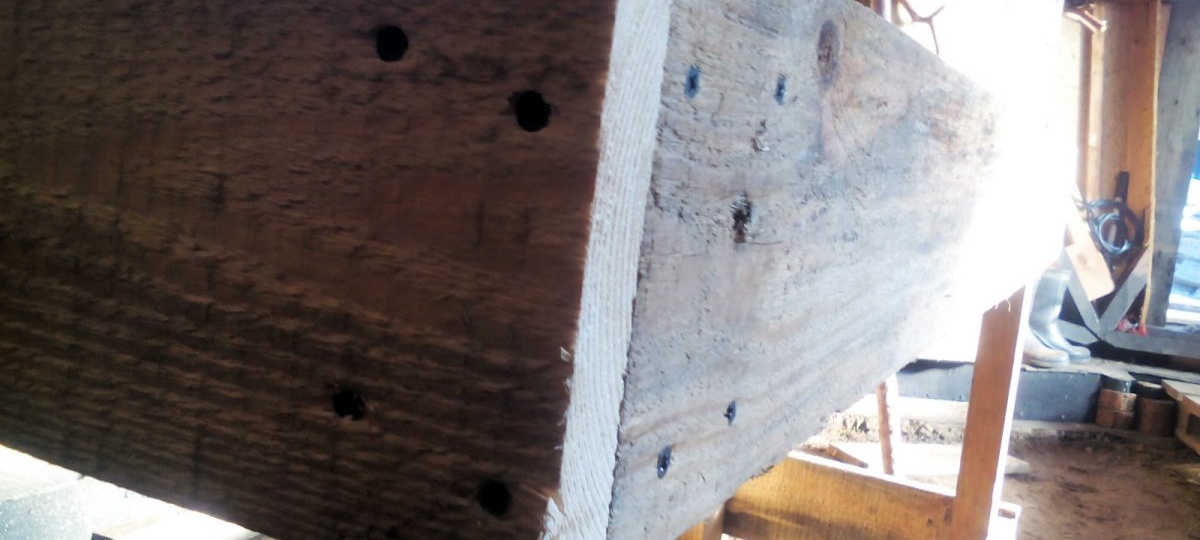
- The binding was made from a 125x25 mm board. I took these scraps from neighbors from a construction site as construction waste.
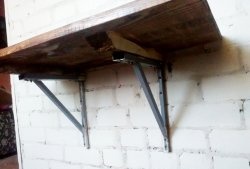
- For the side stop, two scraps from the same 100x50 board were required, the side wall of a drawer from the same Soviet cabinet, a window block and two pieces of fiberboard to increase the depth of the future cut.
- Fastened with self-tapping screws measuring 55 mm and 90 mm.
Workbench assembly procedure
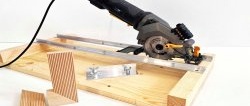
The first thing I did was sketch out a project in my mind. I wanted it to be very easy to implement. It's good that I just bought a circular saw. This is Parma 200D. Although it can be equipped with a 210 mm disc. Which is what I did later. But let's get back to the project. The four legs are connected to each other by the lower and upper trim on the sides, and by the tabletop on top. Afterwards the trimming device is installed. That's the whole project. I rarely used a tape measure, but often used a square, a pencil, and a handsaw.
1. I sawed off the four legs with a handsaw at a right angle. Important point. I selected the height to suit myself, namely, the width of my palm above the waist.
2. I drew a rectangle on the tabletop (on the lower plane), within which the legs are placed in the corners. An indentation is necessary so as not to stumble when working with your feet.
3. Calculated the size of the harness, attaching the appropriate blanks.
4. I didn’t bother with the harness.It turned out four long boards and four short ones. After sawing the elements, I began assembly.
5. Using a square and two clamps, I mounted the lower and upper trim on one side.
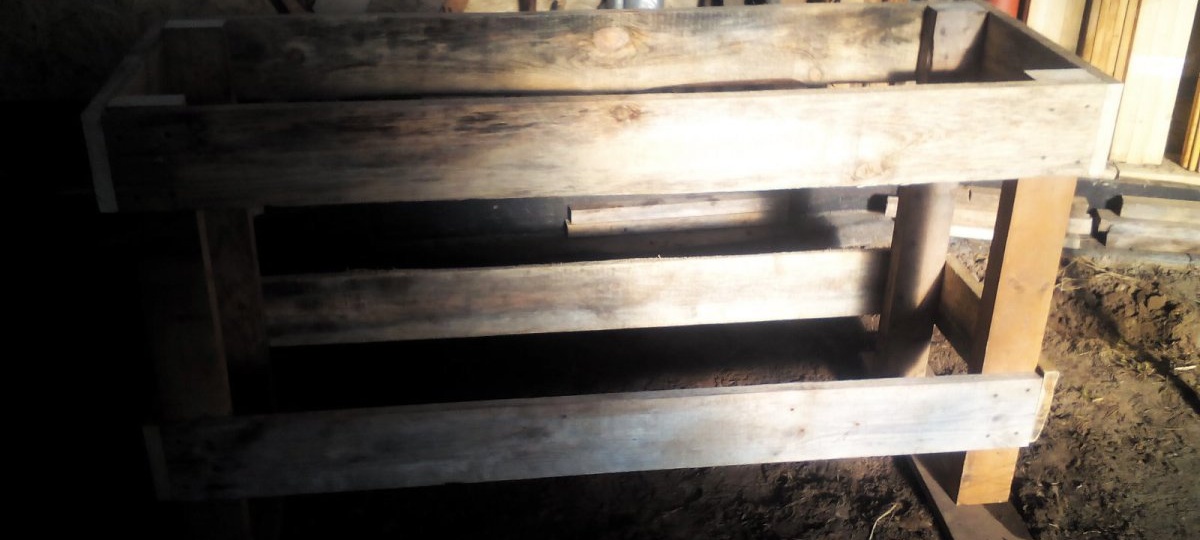

6. Then on the other side. I used four screws per fastening.


7. On the ground, I leveled the area for the legs by placing two wide boards under them.
8. Next, I connected the two sides with short side boards.


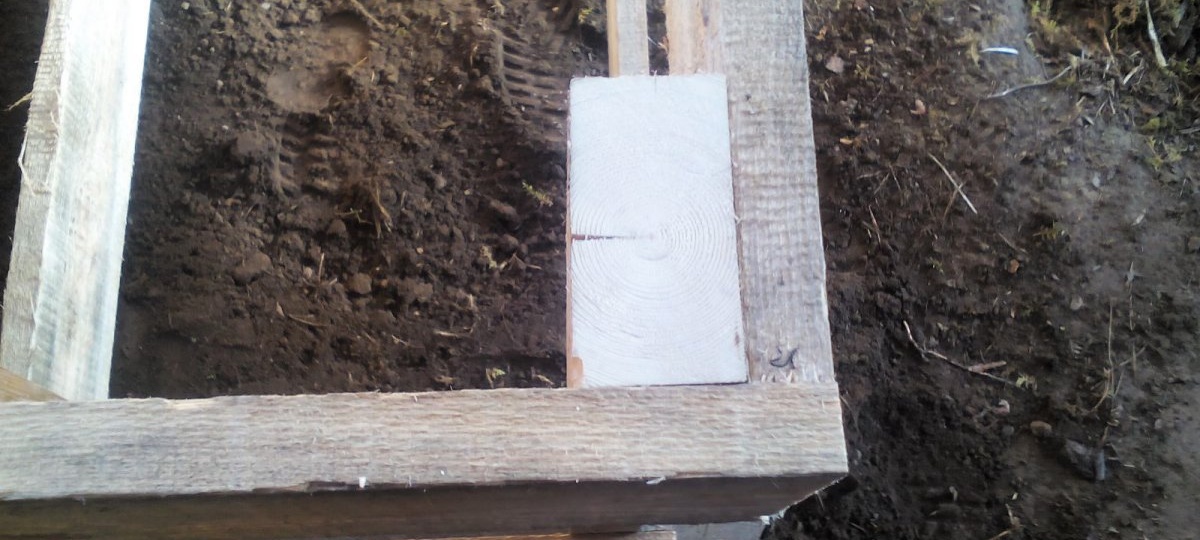
9. On the underside of the tabletop, there are still guidelines along which it was leveled and fastened to the base.
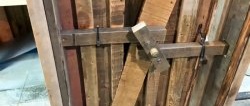
10. Next, I mounted the trimming device, having previously glued a window block to the wall of the box and sawed off two posts.
I wanted the saw blade to go no more than 3mm into the tabletop. Since the cutting depth of my circular saw is 70 mm, I experimentally determined that I needed to put a couple of pieces of fiberboard. The height of the side stop was 67 mm.

Conclusion
The most difficult step was the last step - running the saw along the stop to create a groove in the tabletop. This was my first time working with a circular saw, so the groove turned out a little crooked. Meanwhile, everything worked out. A miter bench is an alternative to expensive miter saws, as well as a sturdy table for everyday use.