Necessary materials:
For one pair of medium-sized slippers (37...40) you will need about 200 g (up to 300 g, depending on the thickness of the thread) of high-quality wool, about 150 g of synthetic threads, 6 knitting needles with points on both sides and a long hook.
Sole
She gets out first. The basis for the calculation is the insole from an existing shoe or simply a foot circled on a piece of paper. The pattern can be adjusted so that the slippers do not differ between right and left, and can be knitted taking into account this difference.
The number of stitches cast on for the sole and the number of stitches added during the knitting process may vary depending on the size of the leg and the thickness of the yarn.I came up with the following calculation: for size 37, knitting needles No. 4 were taken, three synthetic threads were added to the wool - the thickness of the yarn turned out to be approximately equal to the thickness of the knitting needle. To begin with, 10 loops were cast on (together with the edge loops), in the next even row a loop was added on each side, near the edge loops. After 10 and 20 rows, two more loops were added on each side. Next are three rows - without adding, subsequent rows - with decreasing one loop on both sides until the moment when 6 loops remain on the knitting needle, together with the edge loops. After this, the loops are closed.
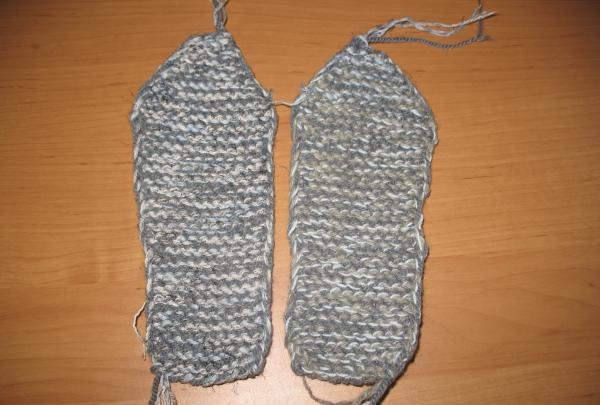
The knitting, as you can see in the photo, is a regular garter stitch. You can knit in stocking stitch (all odd rows - with knit stitches, even rows - with purl stitches) or another knitting stitch.
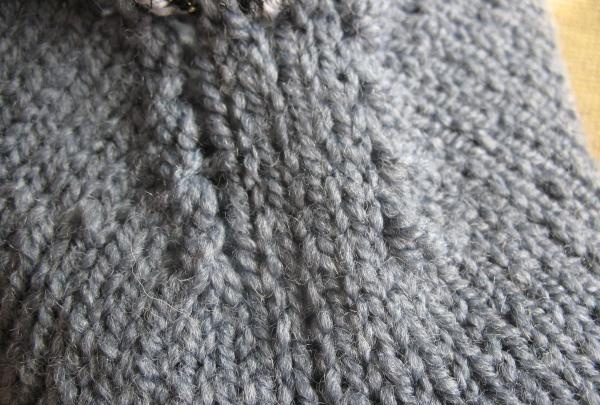
Top
To knit the top along the edge of the sole, loops are cast on (their number corresponds to the number of rows, beginning and end loops - that is, in my case 60+10+6=76). The set is made with either three or five knitting needles, as shown in the photo.

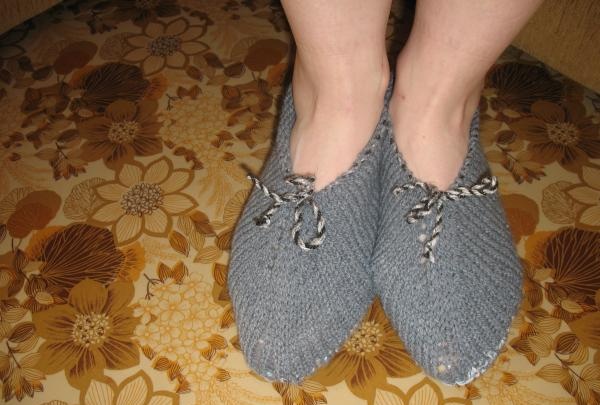
Next, 15 rows are knitted in stockinette stitch, after which the loops in the toe of the slipper are decreased. This is done in this way: on both sides of the four loops that were cast on from the end of the sole, in each even row (16, 18, 20 and 22 from the beginning of knitting the top, respectively), three loops are tied together. Odd rows are knitted without decreasing.
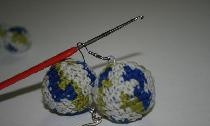
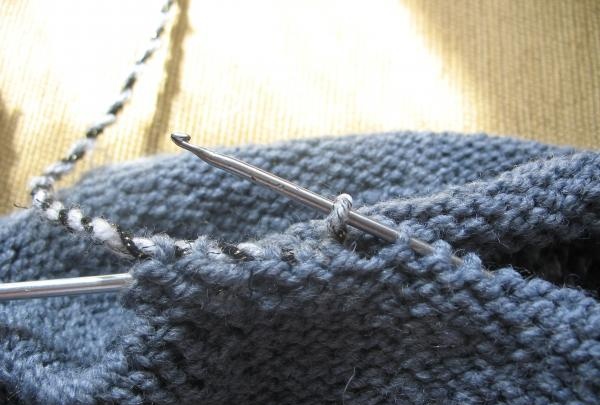
After the 23rd row, the knitting needles are alternately replaced with a long hook, as shown in the photo, and a lace or ribbon is pulled through them - they will fasten the top of the slipper, allowing you to adjust its tightening according to the fullness of the foot.
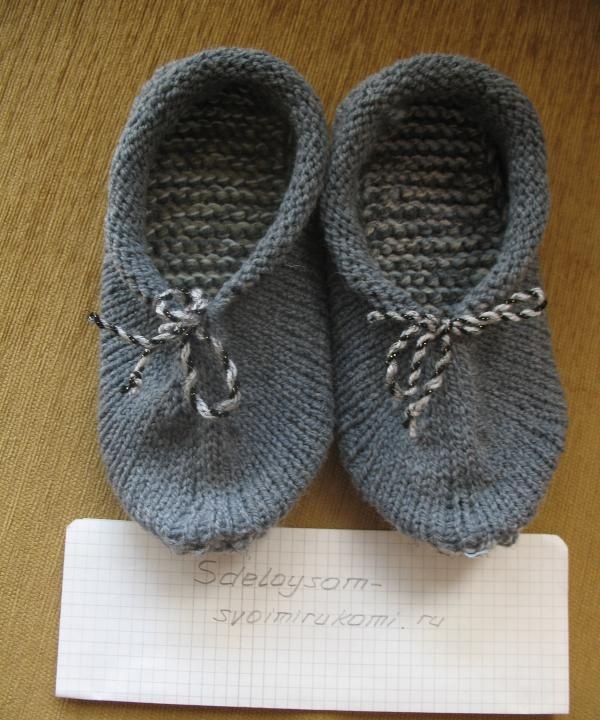
Result
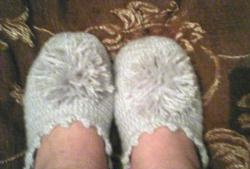
On the finished slippers, use a hook to hide all the “tails” and pull them to give the desired shape. It’s a good idea to wash them after this in cool water and dry them on a pad.If the product turns out to be larger than needed, don’t worry - wash it in VERY hot water, and, carefully straightening and stretching it with your hands, dry it again on a block. The slippers will “fit” and fall into shape.
The gift is ready!