Do it yourself
Life hacks, master classes, useful tips, recipes.
home » Different » Crafts » Origami » New Year's snow-covered tree
For this crafts We will need several sheets of plain white paper; you can use colored paper if desired. For a snow-covered Christmas tree, white paper is used. Scissors, glue stick, simple pencil, empty rod or thick wire, piece of plasticine.

New Year's snow-covered tree


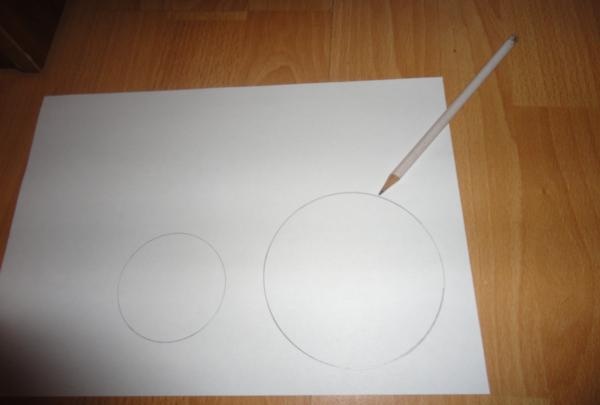
Circles are drawn on sheets of paper; these will be the tiers for the Christmas tree. In the example there are 11 tiers. Therefore, it is necessary to draw 11 circles so that each one is slightly smaller than the previous one.


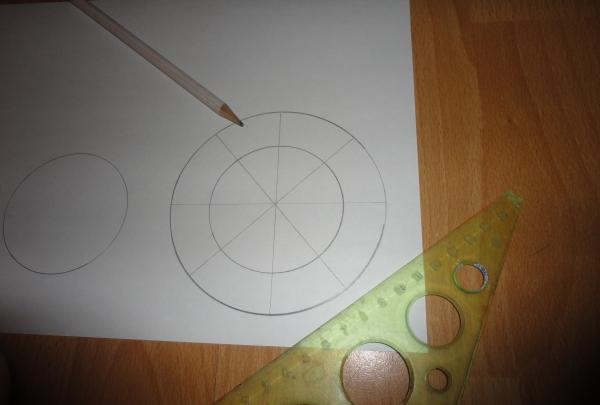
Divide each circle into eight equal parts. Inside the circle, draw a line exactly in the middle from the center to the circle, as shown in the figure.


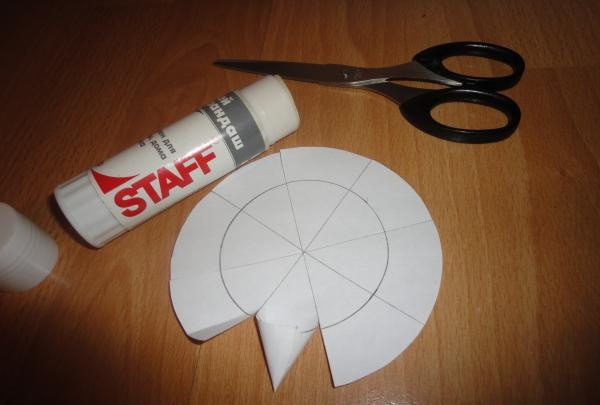
Next, a circle is cut along the main line. Cuts are made to the midline that we drew in the previous step.


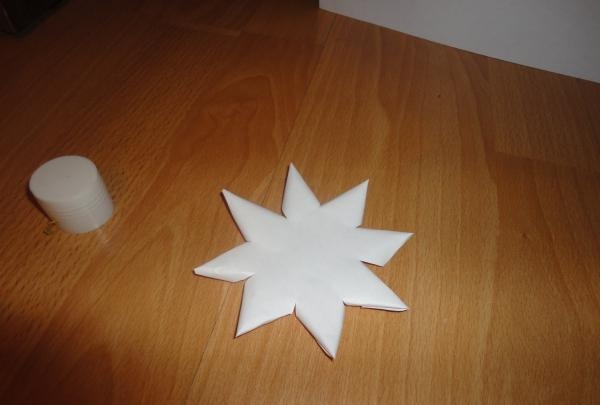
Then carefully roll each piece into a roll. At the same time, use pencil glue to secure it. Do this with each circle. You will get some kind of small cones.


One tier for the Christmas tree is ready. You should do the same operation with the remaining circles.


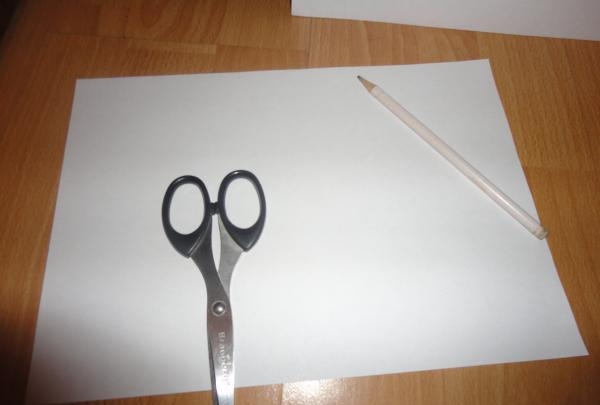
Next, the base for the Christmas tree is cut out. This can be cardboard or a regular sheet of paper.It is best to take something solid so that the tree does not wobble or fall. You will need a piece of plasticine into which either a rod or a thick wire is inserted.


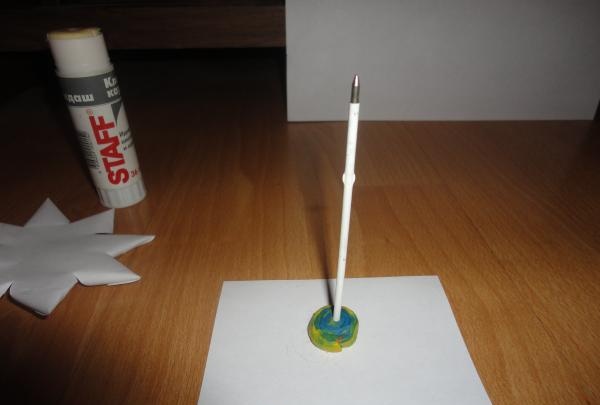
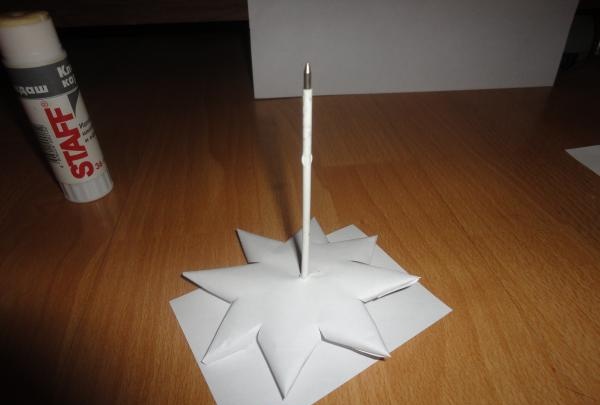
We place each tier on the prepared rod, as shown in the figure.


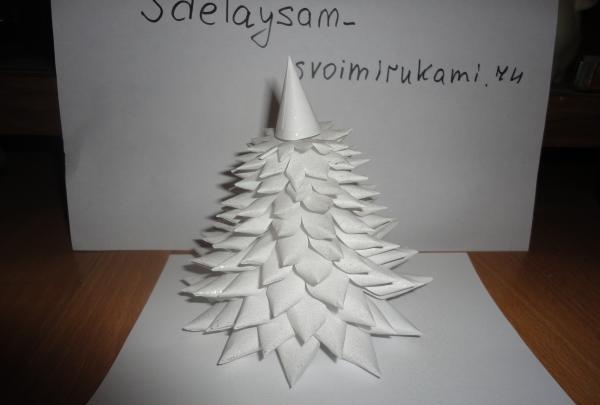
It turns out such a beautiful and original greeting card present for the New Year. You can sprinkle dry eye glitter on top, or use hairspray with glitter, as shown in the example. In addition, you can place mini gifts or small toys below the tree. In the light, the tree will shimmer in different shades due to the large layer of sparkles. It will seem like there is a real snow-covered Christmas tree in front of you.

come back
Comment
  • bowtiesmilelaughingblushsmileyrelaxed relaxedsmirk
    heart_eyeskissing_heartkissing_closed_eyesflushedrelievedsatisfiedgrin
    winkstuck_out_tongue_winking_eyestuck_out_tongue_closed_eyesgrinningkissingstuck_out_tonguesleeping
    worriedfrowninganguishedopen_mouthgrimacingconfusedhushed
    expressionlessunamusedsweat_smilesweatdisappointed_relievedwearypassive
    disappointedconfoundedfearfulcold_sweatperseverecrysob
    joyastonishedscreamtired_faceangryragetriumph
    sleepyyummasksunglassesdizzy_faceimpsmiling_imp
    neutral_faceno_mouthinnocent
3+three=
Comments (2)
  1. feelloff
    #1 feelloff Guests November 5, 2012 09:13
    0
    Needed from green paper do it, nothing will happen! :bully:
  2. Sniper
    #2 Sniper Guests November 27, 2012 09:42
    0
    Cool!!!

How to make a box in the bathroom | Do it yourself

How to make a three-tier garden fountain from old tires

Delicious cake “Anthill” | Do it yourself

We make square holes in metal in the garage with our own hands

«Do it yourself - with your own hands» - a site of interesting homemade products made from scrap materials and items at home. Step-by-step master classes with photos and descriptions, technologies, life hacks - everything a real master or just a craftsman needs for needlework. Crafts of any complexity, a large selection of directions and ideas for creativity.

We recommend reading

Washing machine error codes