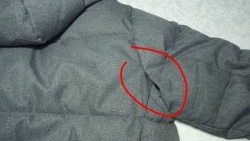
First, you need to study in detail the processing technology of your product, because you will need to try to repeat it when performing repairs. True, in some cases this can be problematic due to the specific assembly sequence of the product or the presence of some parts. But then it will be possible to resort to a simplified repair scheme, as in this case.
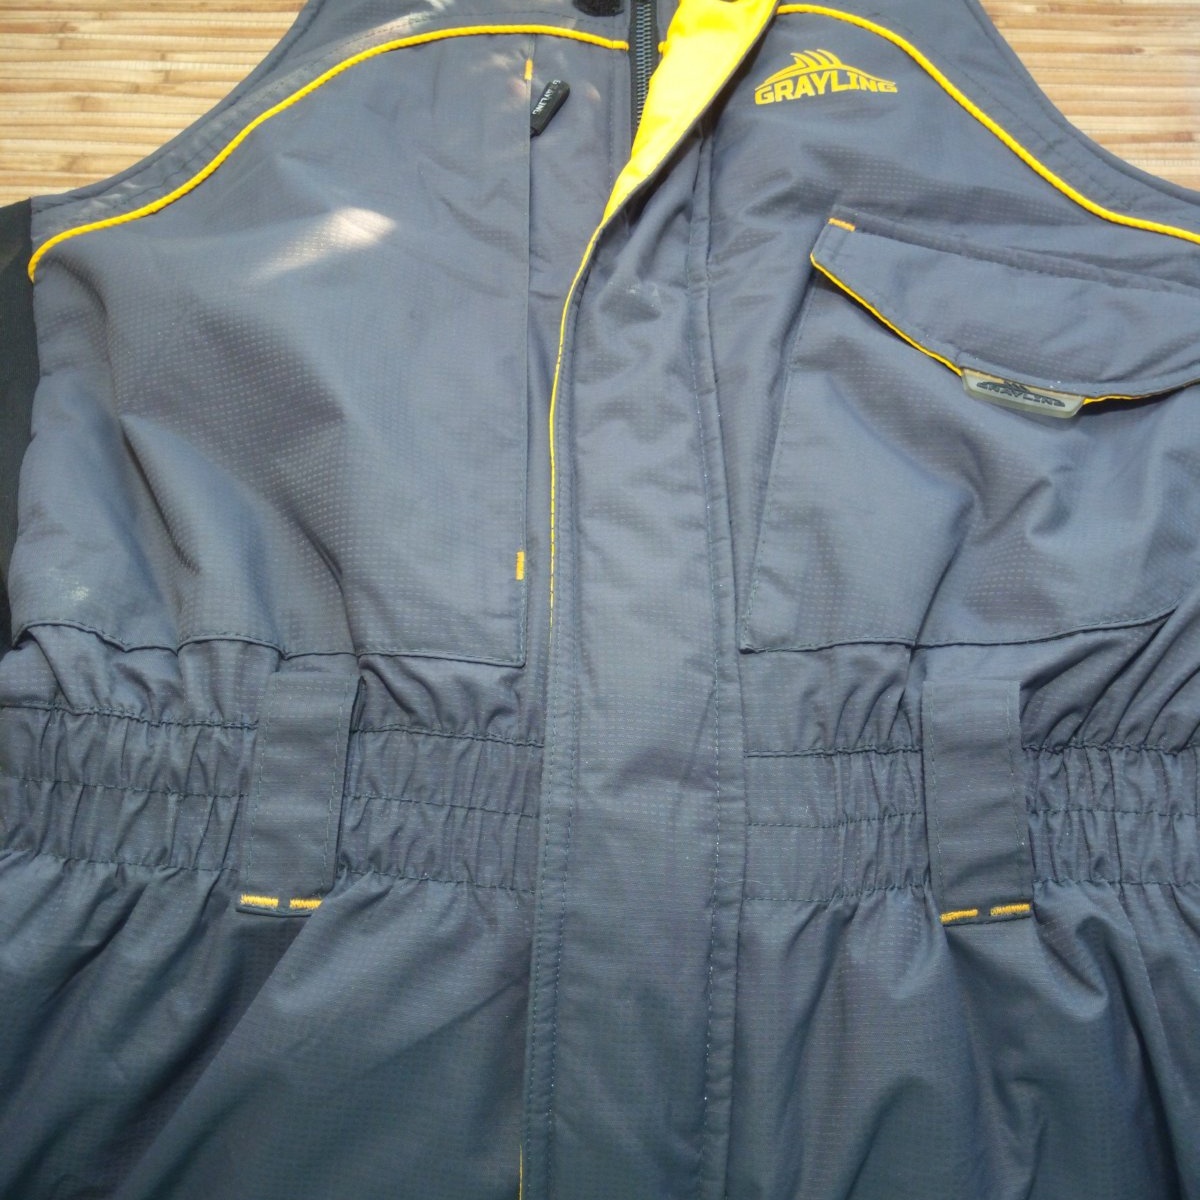
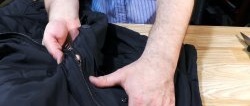
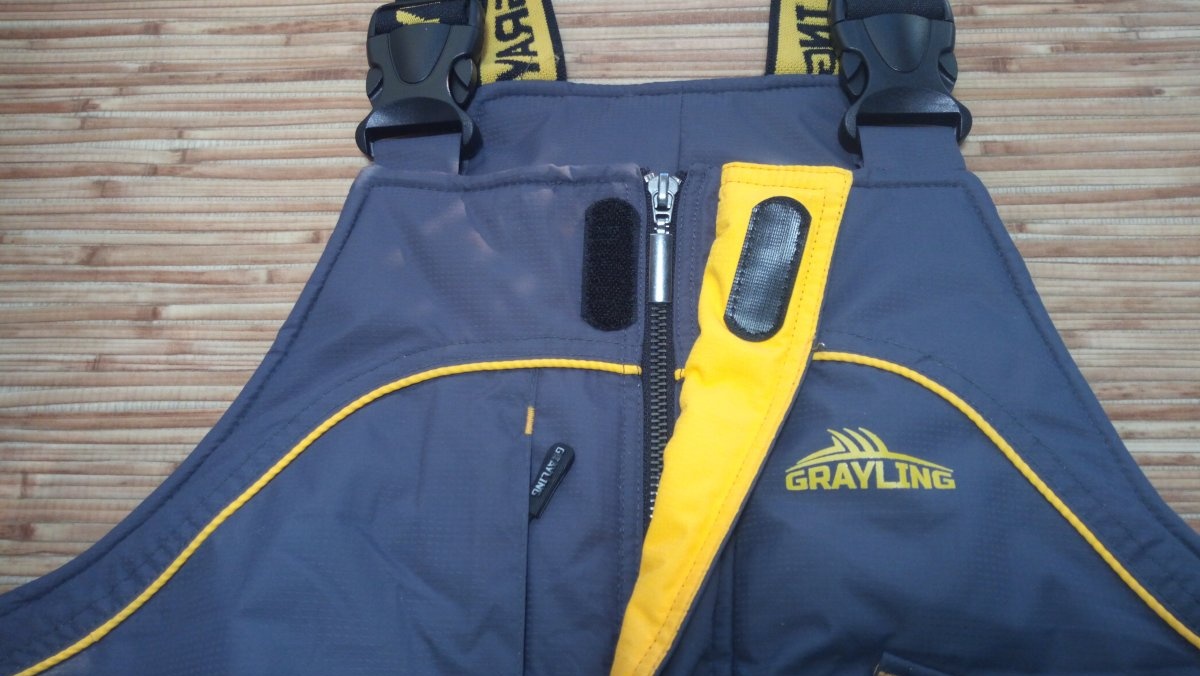
In the product in question, the zipper is sewn in the center of the front, between the top and the lining. Moreover, on the left side of the zipper (if you look at the product from the front), there is also a strip sewn under the zipper. There, almost right next to the zipper, Velcro is stitched onto the front part. They will interfere with work, because... the seam of their stitching holds the allowances of the fastener and zipper. There is also a bar on the right. It is stitched onto the front part at a short distance from the zipper.It will not interfere with the repair, because... the seam of its fitting onto the front part does not cover the zipper allowance.
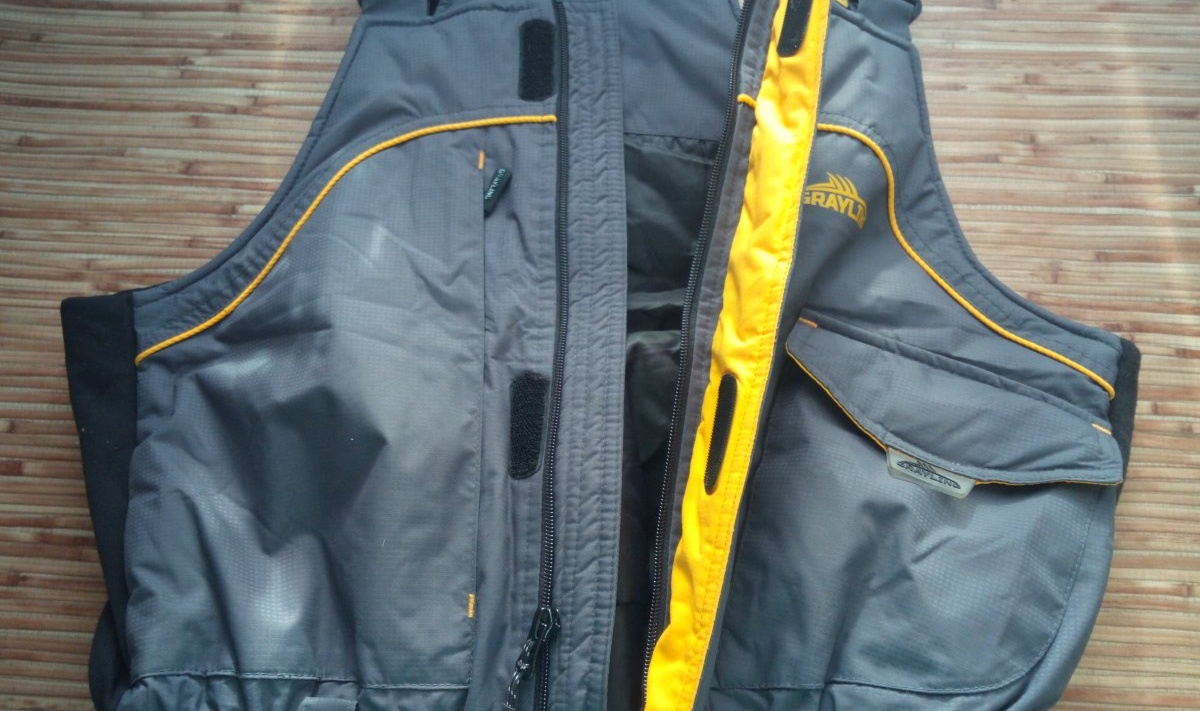
Repair procedure
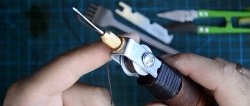
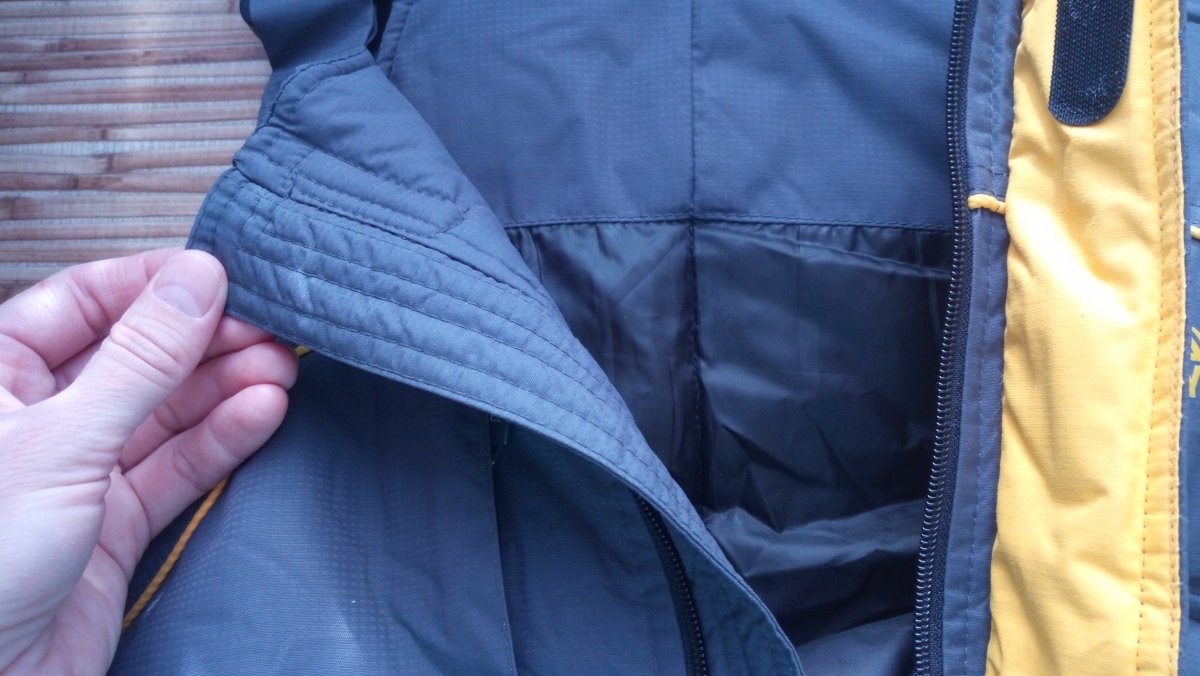
1. First of all, you need to temporarily remove the Velcro, and then remove the faulty zipper. This should be done extremely carefully so as not to damage the fabric. The strip, which is located under the zipper and is sewn to it with an auxiliary stitch, also needs to be flogged.

2. After this, you need to measure the zipper and the length of the fastener and see if they match. If the zipper is long, it needs to be cut at the bottom, leaving a length margin of about 3-4 cm, and secured so that it does not diverge. Using hand oblique basting stitches, you need to sew the zipper into the upper left part of the front, on the side where the placket is stitched.
3. Then, on the reverse side of this part of the zipper, you need to baste the lining of the product, passing it beyond the border of the basted top by literally 1 mm. This is necessary so that during the process of machine stitching, all layers of this unit (and this is the top, zipper and lining on the insulation) are tacked. The thickness of this knot turns out to be impressive, and layers of fabric can be “squeezed out” by the machine’s foot, which is why it is recommended to make this slight override in the width of the lining allowance.

4. After this, you can add a finishing stitch along this side of the fastener. The stitching should be double, and go along the edge of the part and next to it, following the traces left from the factory stitching. The insulated bib overalls are a very voluminous and heavy product, and sewing them on a household machine is extremely inconvenient. Therefore, finishing stitches along the fastener can be laid gradually, first on one side and then on the other.This will be much more convenient than trying to lay the entire line at once, unfolding the overalls under the machine’s foot. In the same way, you should insert the zipper into the top of the product on the other side.

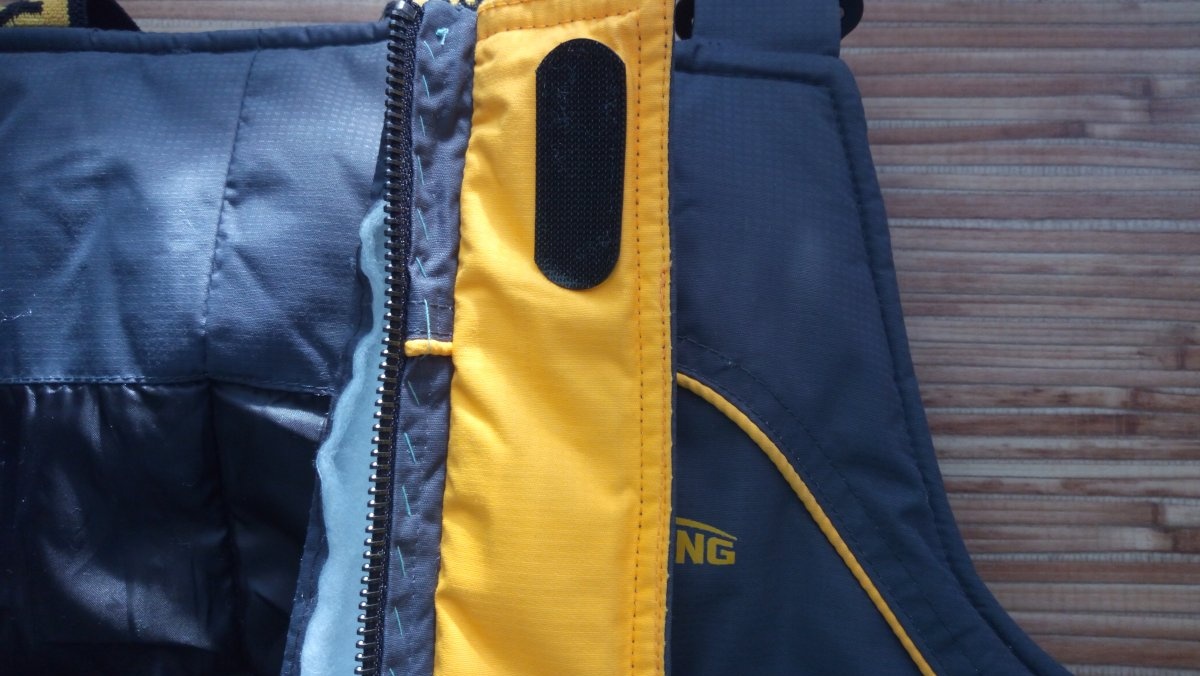
5. Then you need to substitute the bar and baste it to the zipper at the same time as the lining.

6. After this, you can topstitch the second side of the fastener, and then place the machine tack in the ledge along the bottom of the fastener.
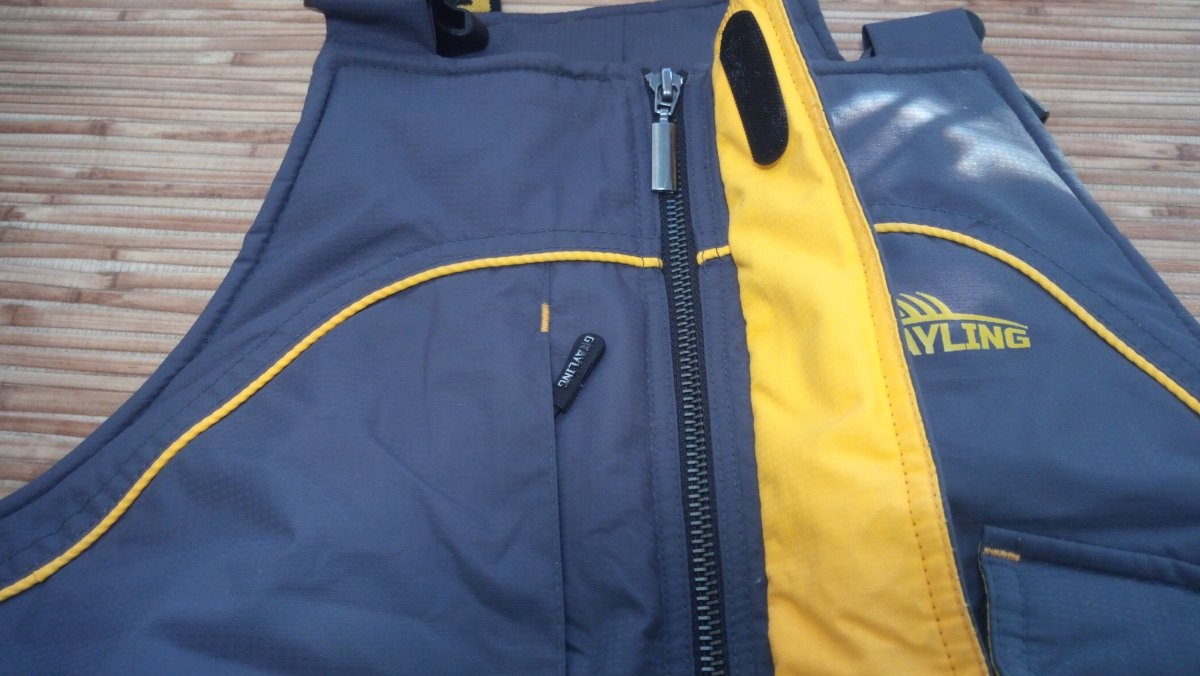
7. Finally, you need to adjust the Velcro to where they were.
The repair of the insulated bib overalls is ready!