Sometimes you have to repair computer power supplies. Checking the idle voltage is not enough. Also, to check the power supply, it must be turned on through a protective light. I decided to combine the protective light bulb and the load in one device.

Scheme
I drew a diagram, it is very simple and without unnecessary things.
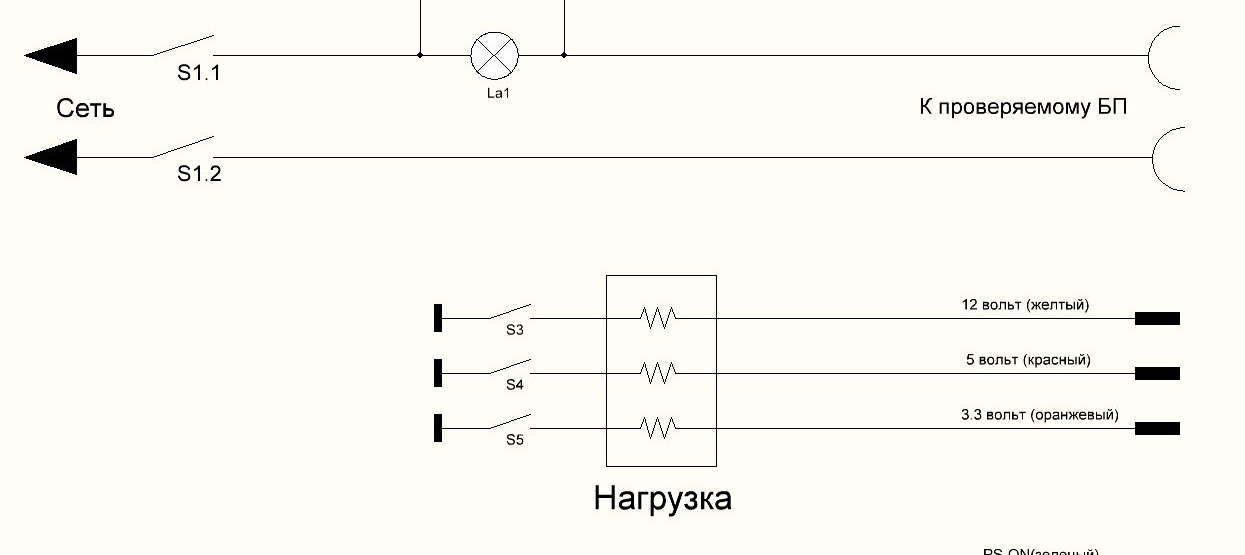
There is a network toggle switch S1. Toggle switch S2 bypasses the light bulb. S3, S4, S5 turn on the load. The PS-ON contacts are closed, so the computer's power supply is constantly running. You can install a push button to start. The lamp is used to check the primary circuit for short circuit. If it blinks, then there is no short circuit in the primary circuit. If it lights up, look for the problem.
Parts and body
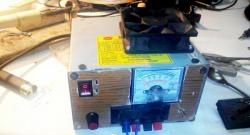
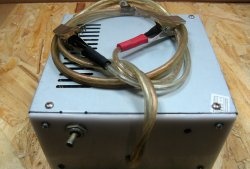
I will mount all the elements in the computer power supply case. I also use the installed fan.

I'll cut out the front panel from plastic.

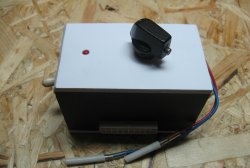
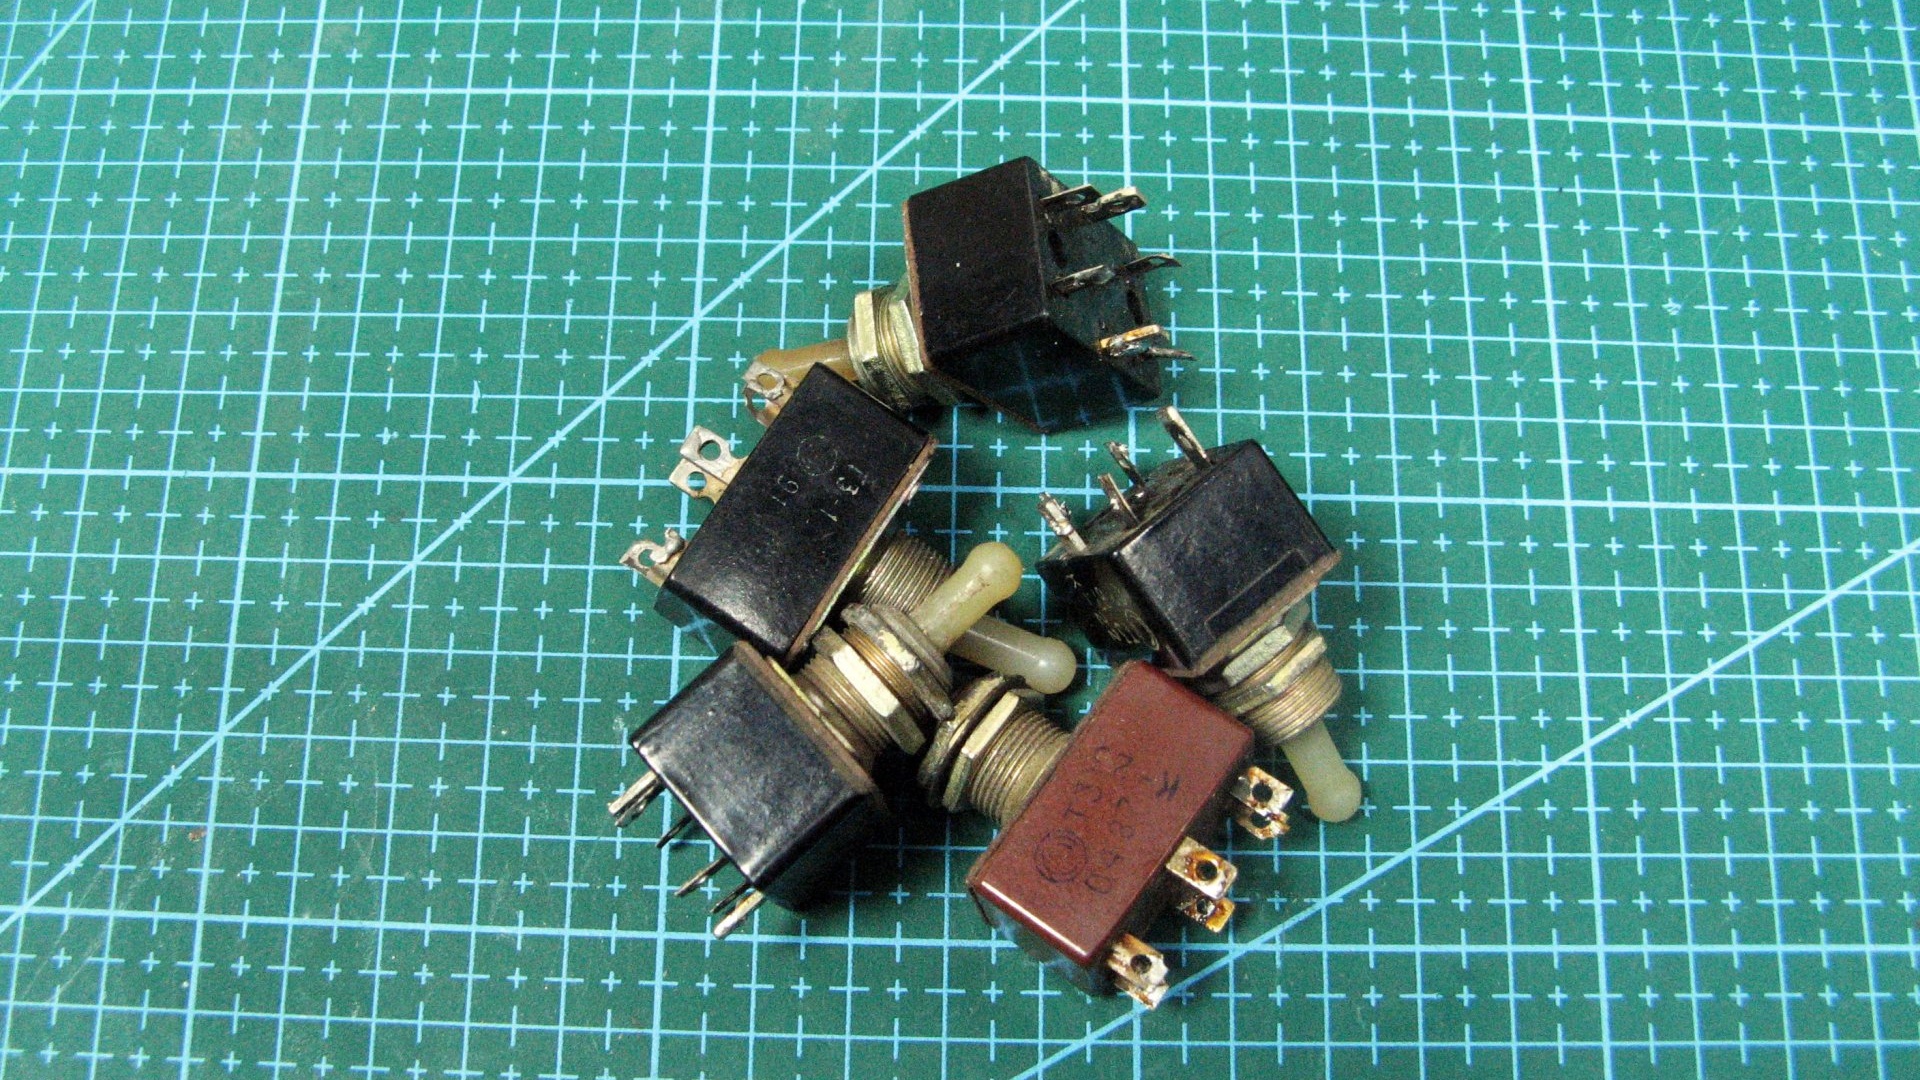
For switching I use toggle switch T3. To make it more powerful, I will connect the contacts in parallel.
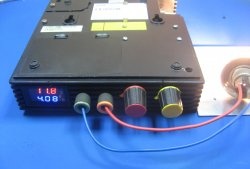
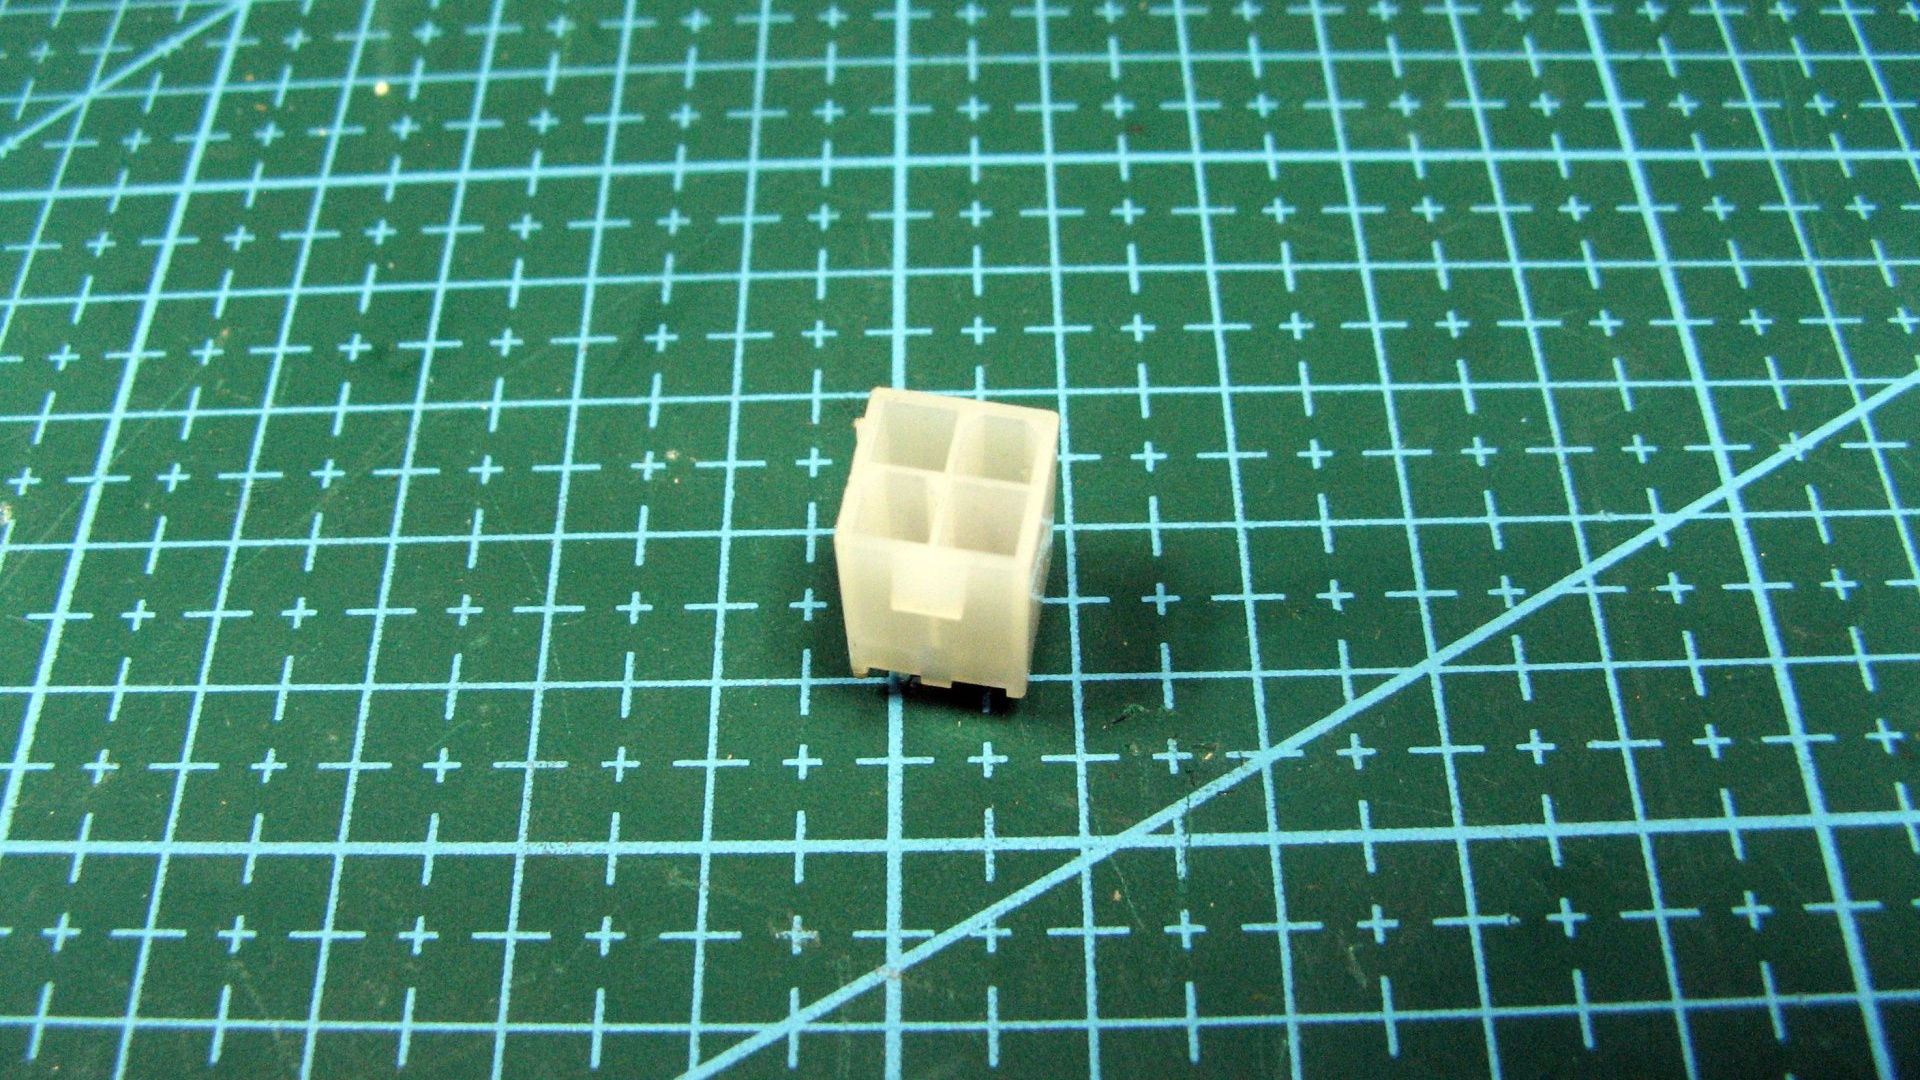
I will connect the power supply being tested to the 20-pin connector. It was cut from an old motherboard.

Since there is only one 12 volt wire on the 20 pin connector, I will install another one on 4 pin.
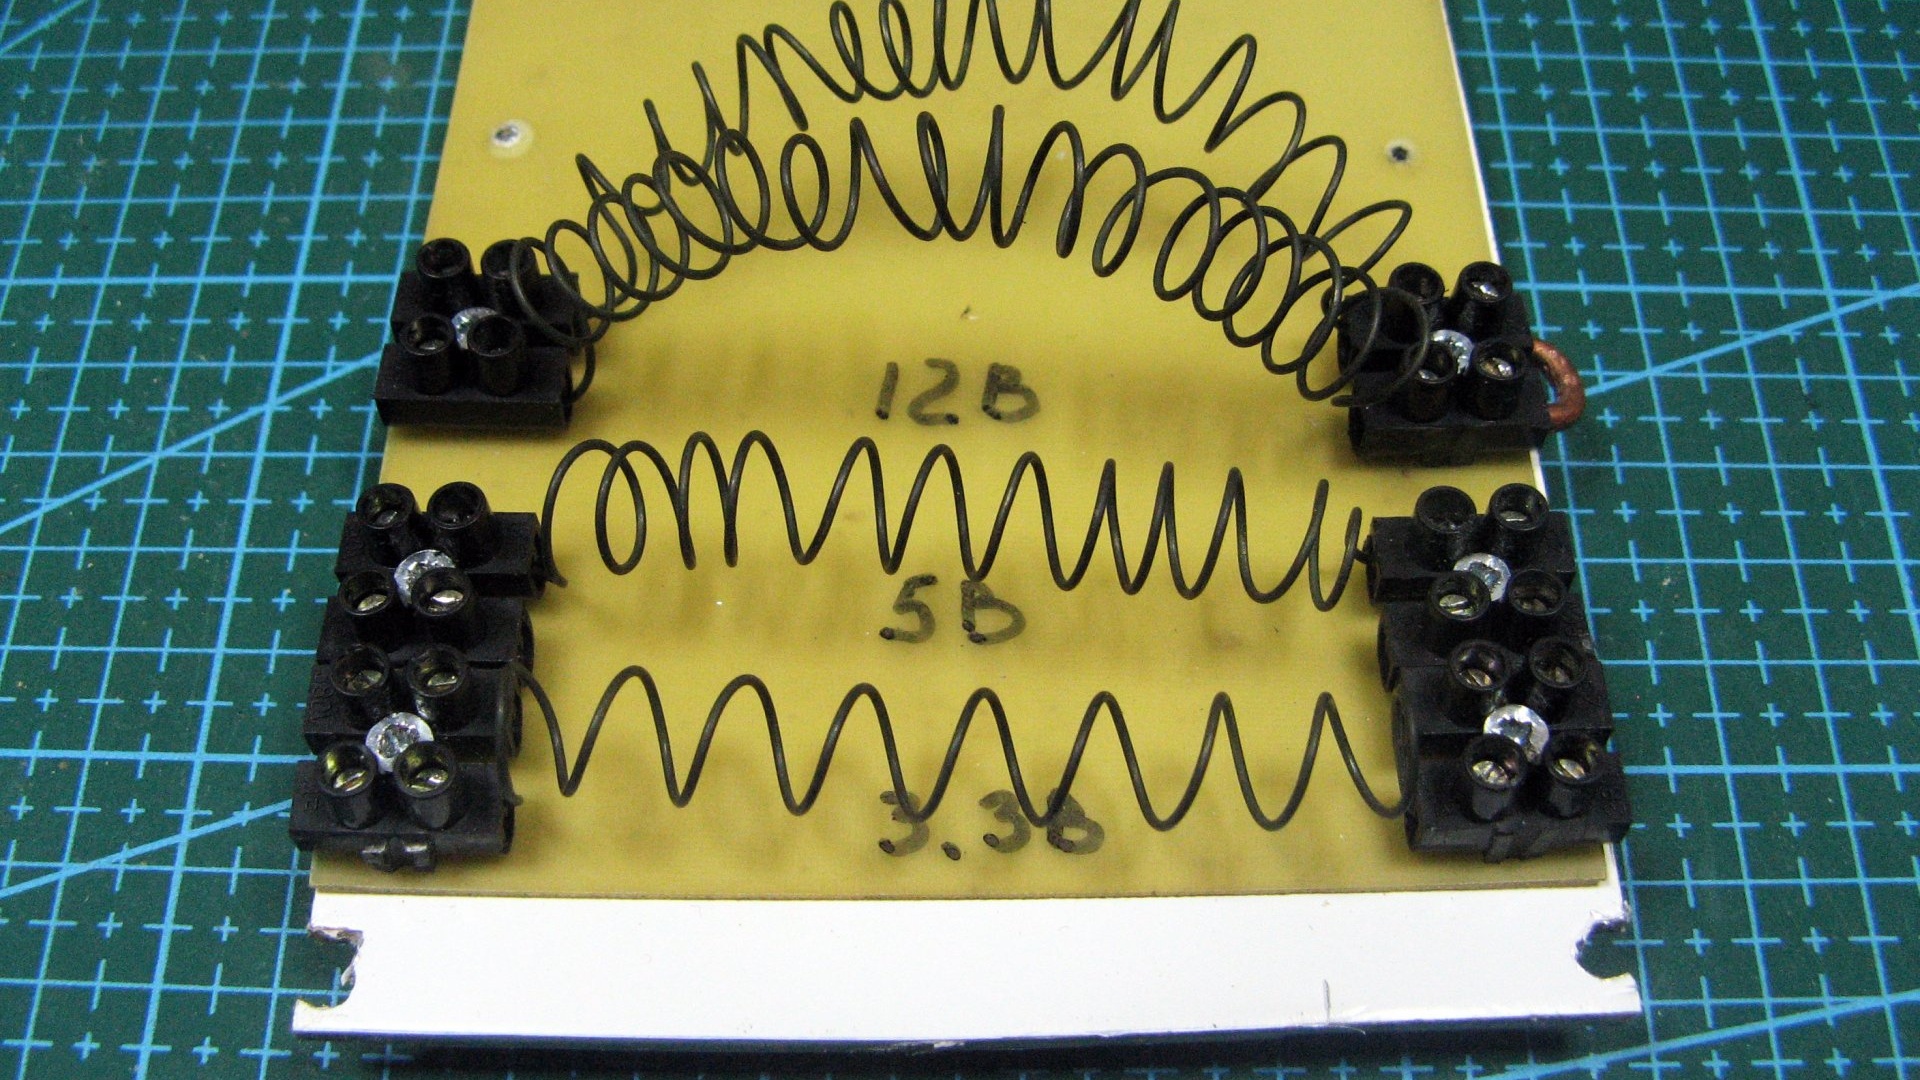
I will twist the load from nichrome.There are a couple of such resistors. The wire is about 0.6-0.8 mm.

Manufacturing a universal load
I measured and wound the coils at about 4 amps. For each voltage: 3.3; 5; 12 volts. Resistance can be found using Ohm's law.
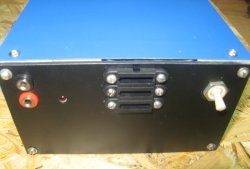
I cut out and mark the front panel.

I make all the holes and screw the panel to the body. I secure the connectors with screws and epoxy glue.

I install load resistors. I solder the wires according to the voltages.

I connect the contacts of the toggle switches in parallel.

Now I install the socket for the safety light bulb.

I solder the wires according to the diagram. The toggle switch bypasses the lamp. I soldered the fan, it is not on the diagram, for 12 volts. It turns out. As soon as the power supply being tested is connected and 12 volts are working, it rotates. The fan is blowing out.
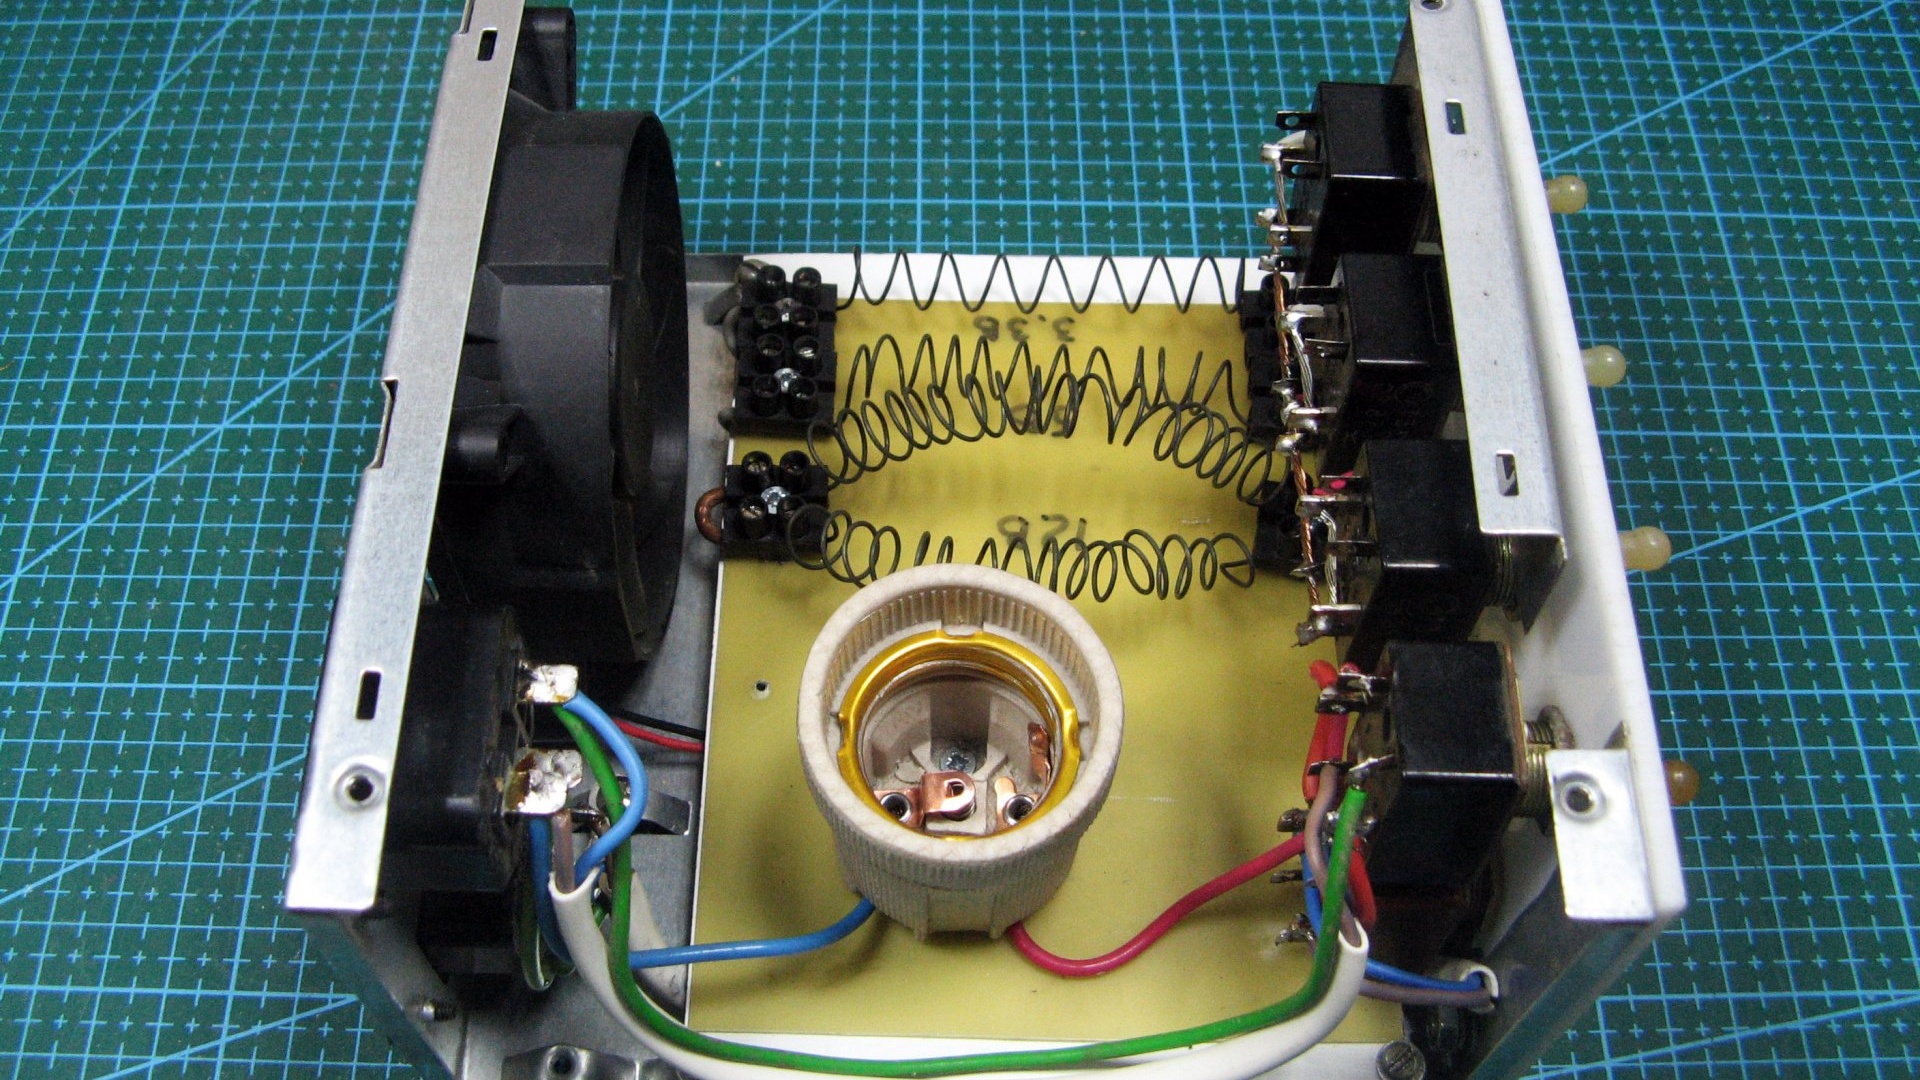
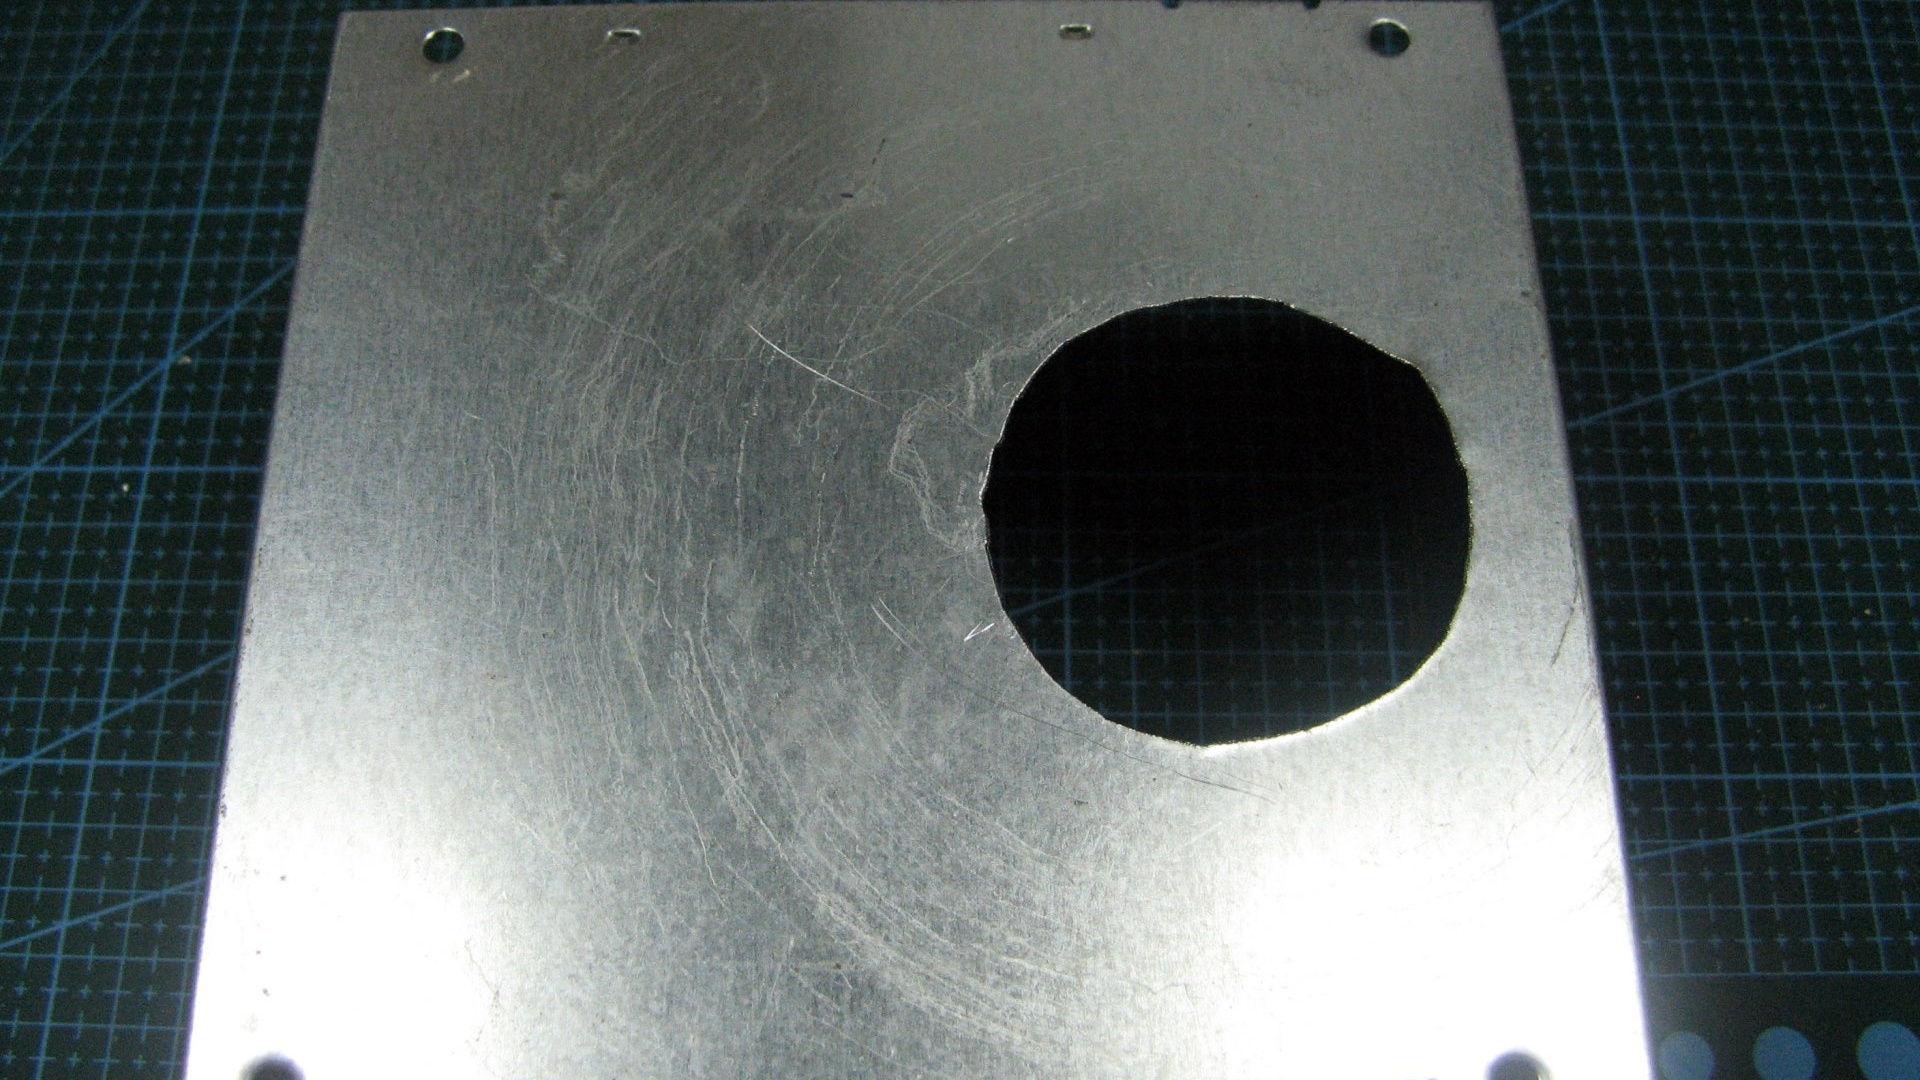
I cut a hole opposite the cartridge and didn’t even miss. The lamp is easy to replace. I have a 100 watt lamp, you can set it to 60.
I screw the lid on. I decided to leave the body as is, not to paint it. It is advisable to sign the Tumblr, I will do it later. This is the load-bearing, or protective, box it turned out to be. I think it will help me with repairs, and I advise you to repeat it.