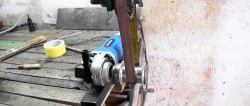
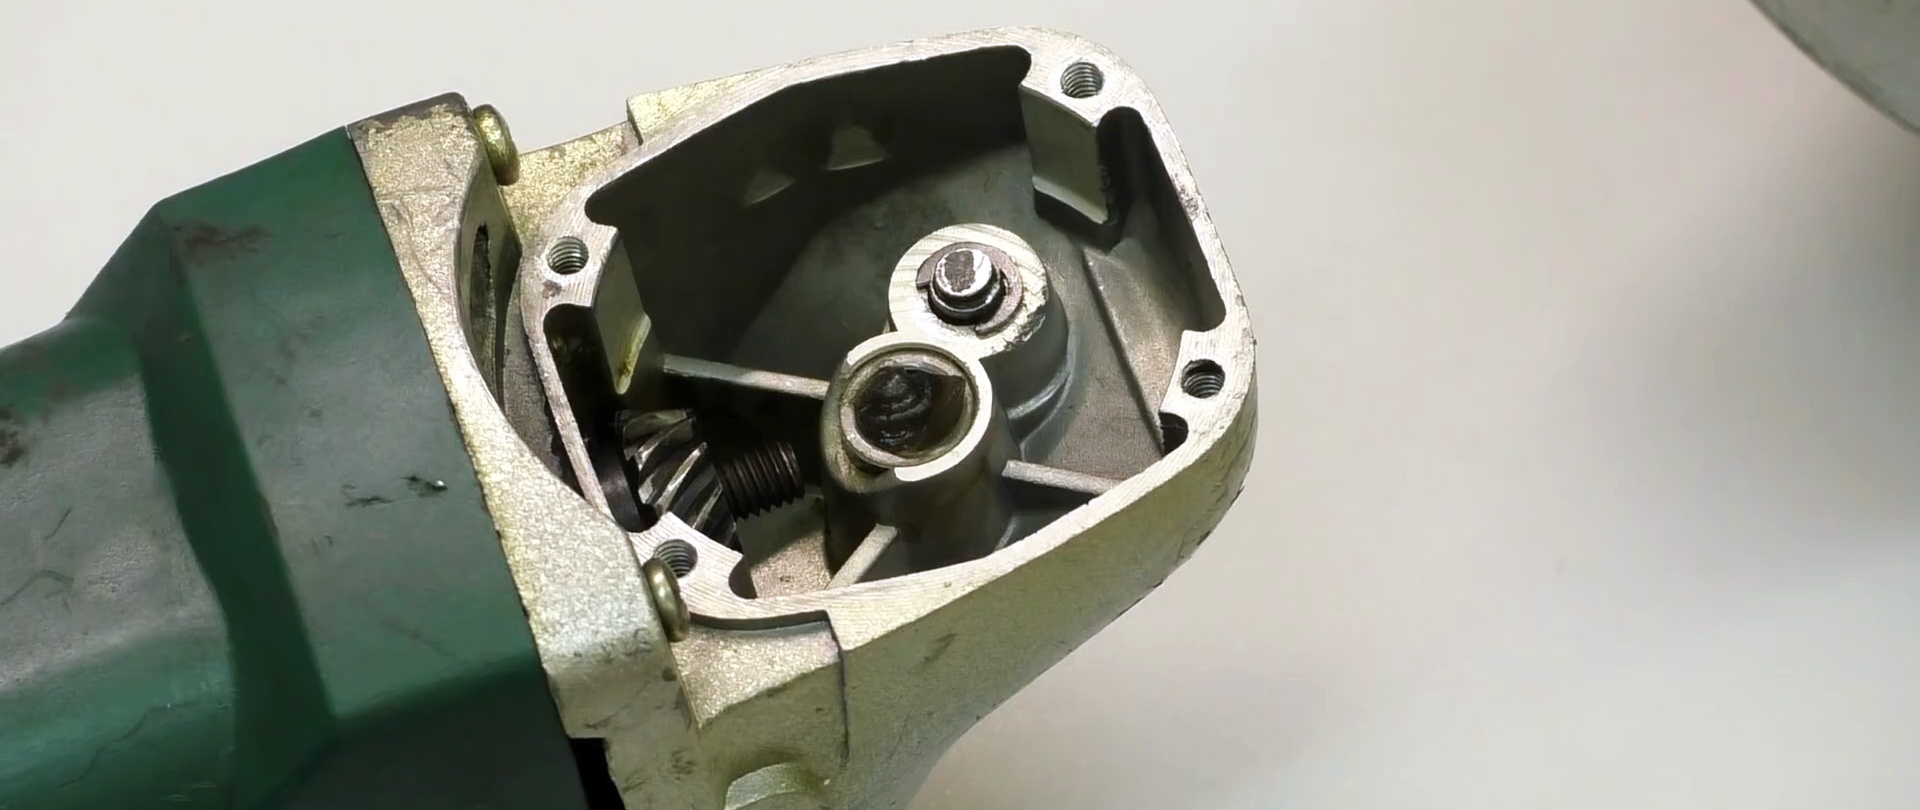
The bushing in the angle grinder, which we are going to press out of its seat, performs the function of a bearing, that is, in fact, it is a sliding bearing. It takes heavy loads and wears out over time. To install a new bushing, you must remove the old one. Below are 7 ways to do this.

7 relatively simple ways to press out a worn bushing
1. Depending on the degree of production bushings take an M9, M10 or M11 tap and screw it into the sleeve with a drill or wrench, having previously lowered a steel ball into the hole to stop the tap.

As a result sleeve gradually leaves the socket along the threads of the tap until it is completely outside.

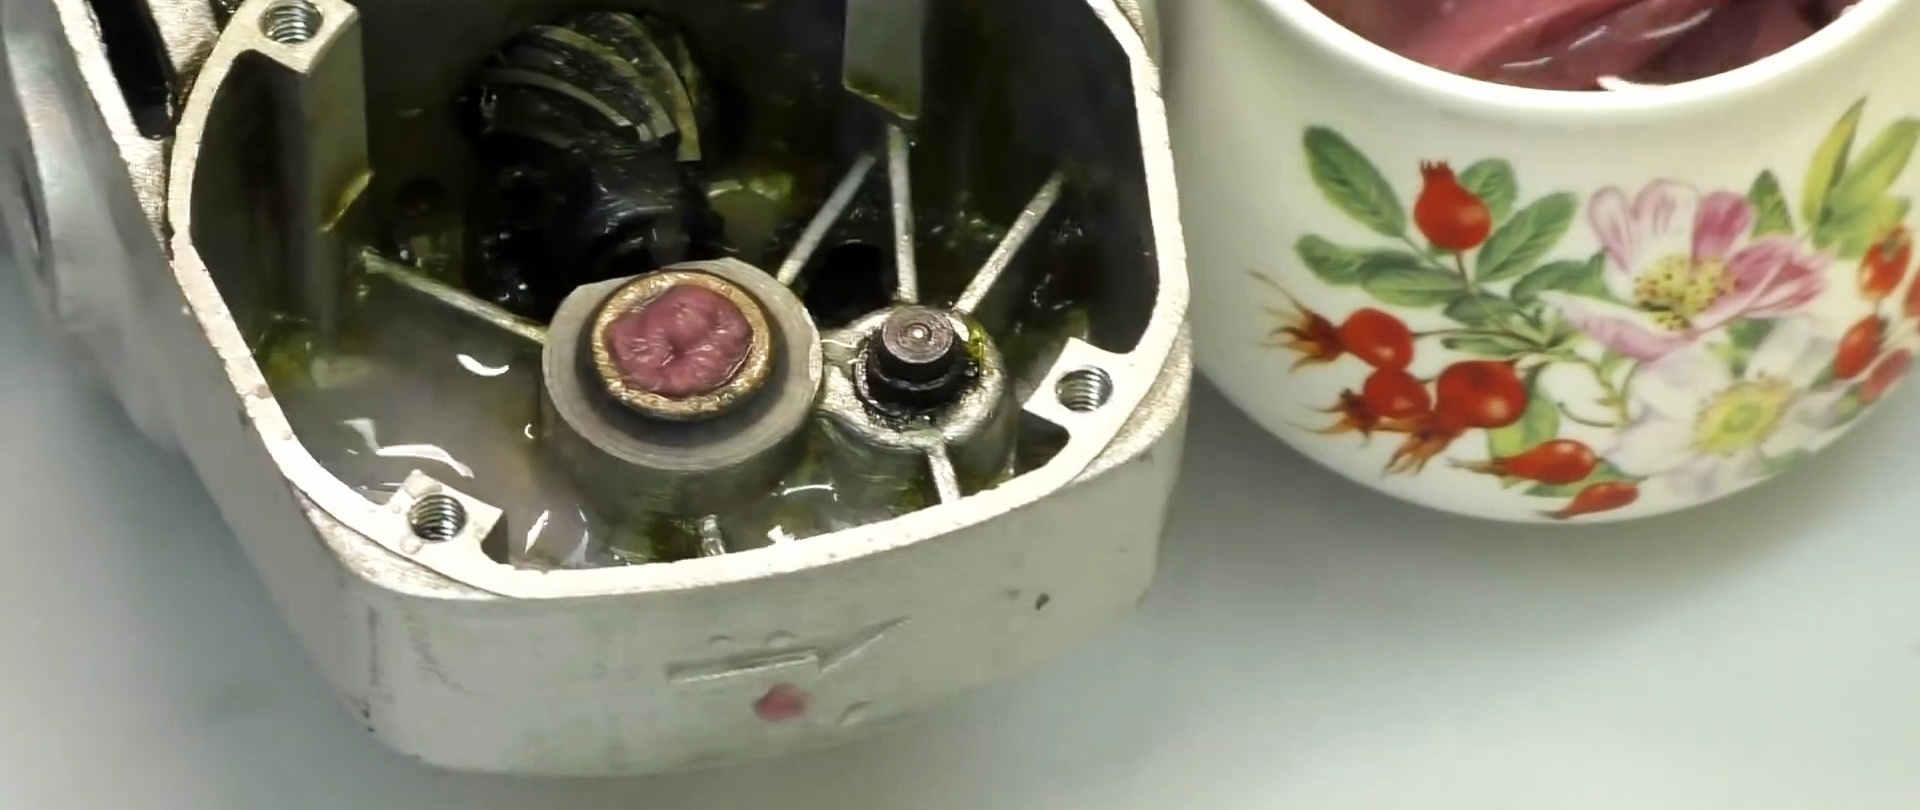
2. We completely fill the socket into which the bushing is pressed with thick Litol-24 lubricant, drawn up in advance into a medical syringe.

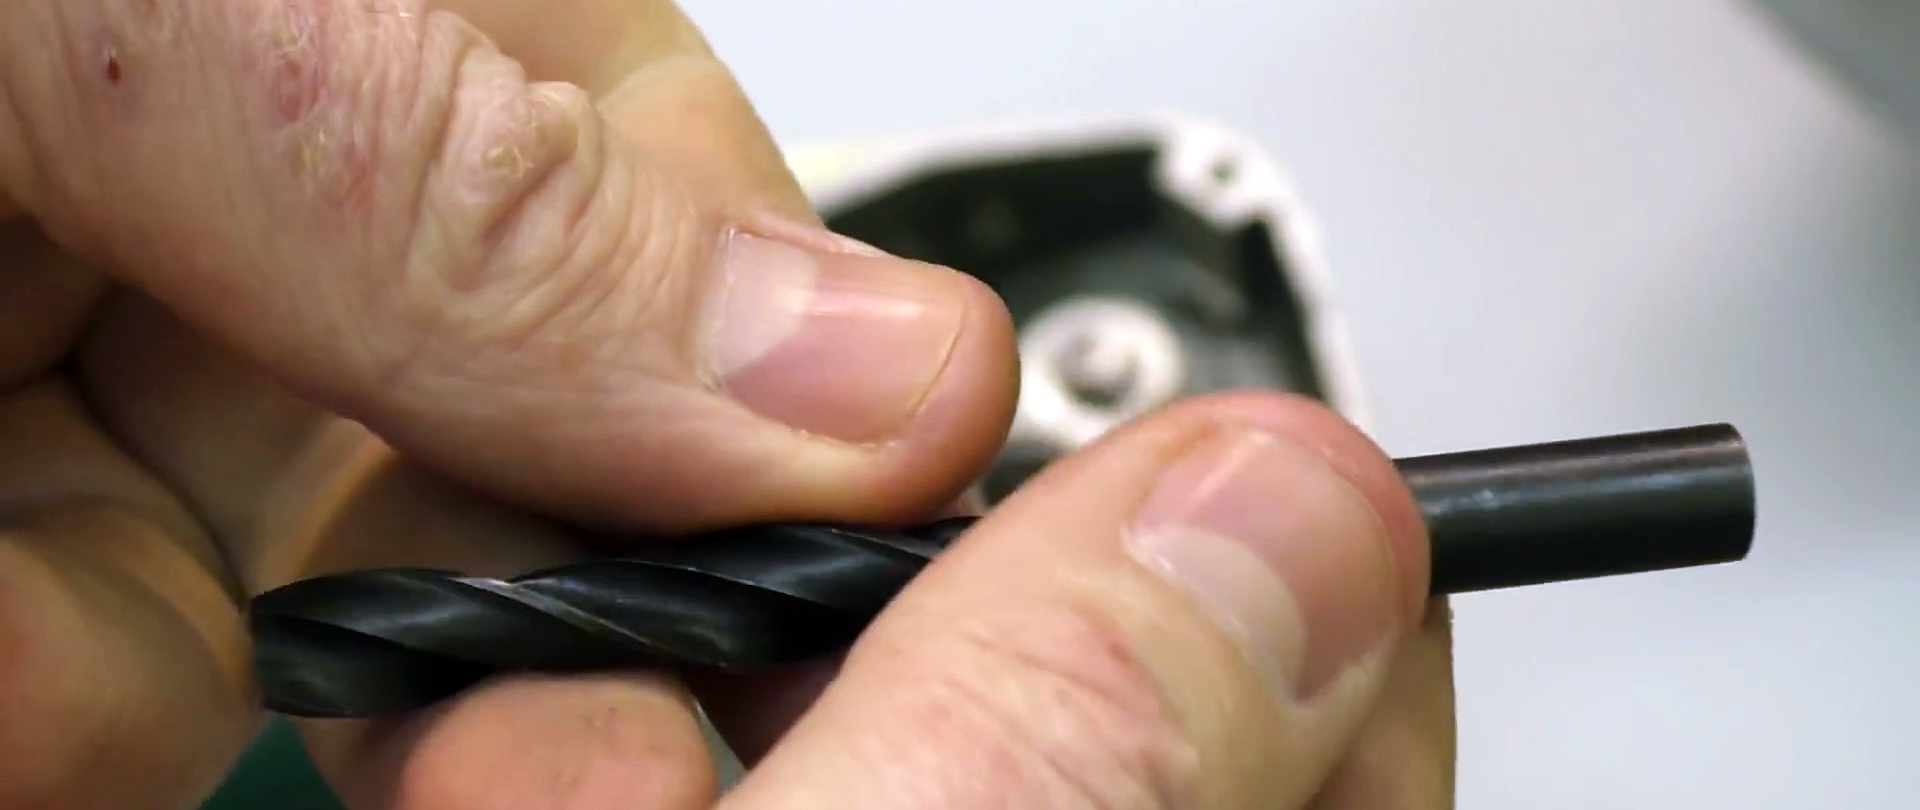
Based on the inner diameter of the sleeve, which is 8 mm, we select an unusable drill, also 8 mm, and, placing it with the shank into the hole of the sleeve, drive it in with a hammer, creating pressure inside the socket, which squeezes the sleeve out.

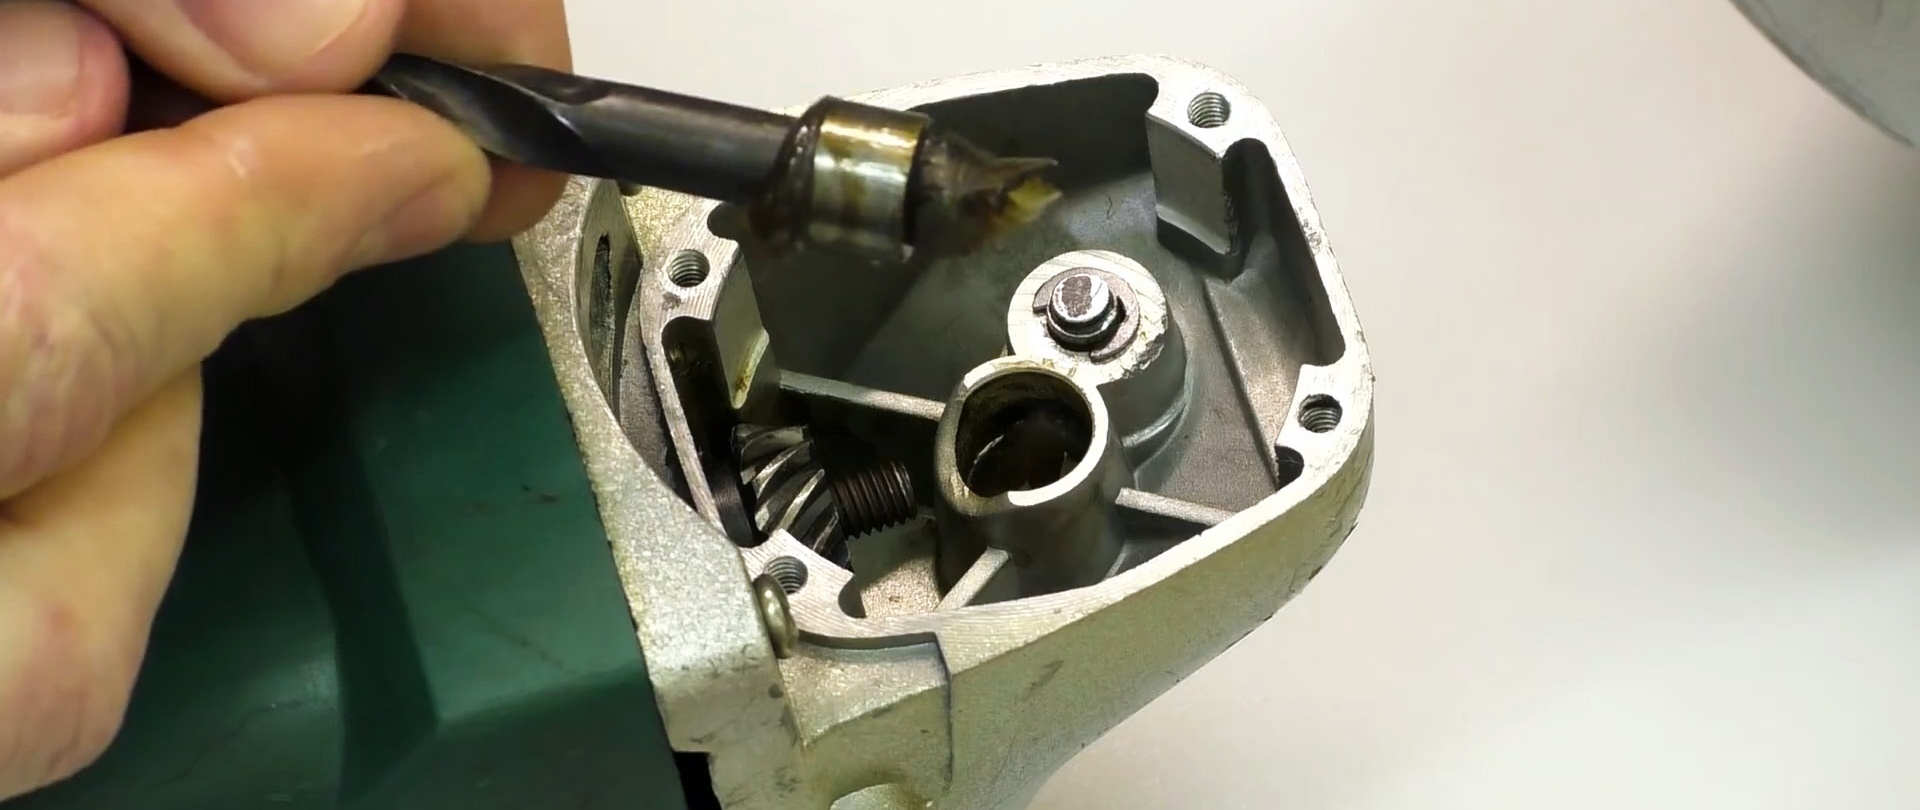
3.The pressure in the socket into which the sleeve is pressed will be created by the bread crumb, since it has some moisture, and therefore viscosity.

We stuff the crumb into the nest in parts, compacting it with a screwdriver until it is filled to the top. Next, use the drill shank to create pressure, which pushes the sleeve out. The advantage of this method is that the bread crumb, having a high viscosity, is not squeezed out through the annular gap between the sleeve and the drill.
4. To press out the bushings from their socket in the body of the angle grinder, laundry soap is suitable, since it is quite viscous and very slippery. We put the soap in small pieces into the sleeve socket up to the limit and use the shank of a suitable unusable drill, which we drive into the socket, to create pressure.
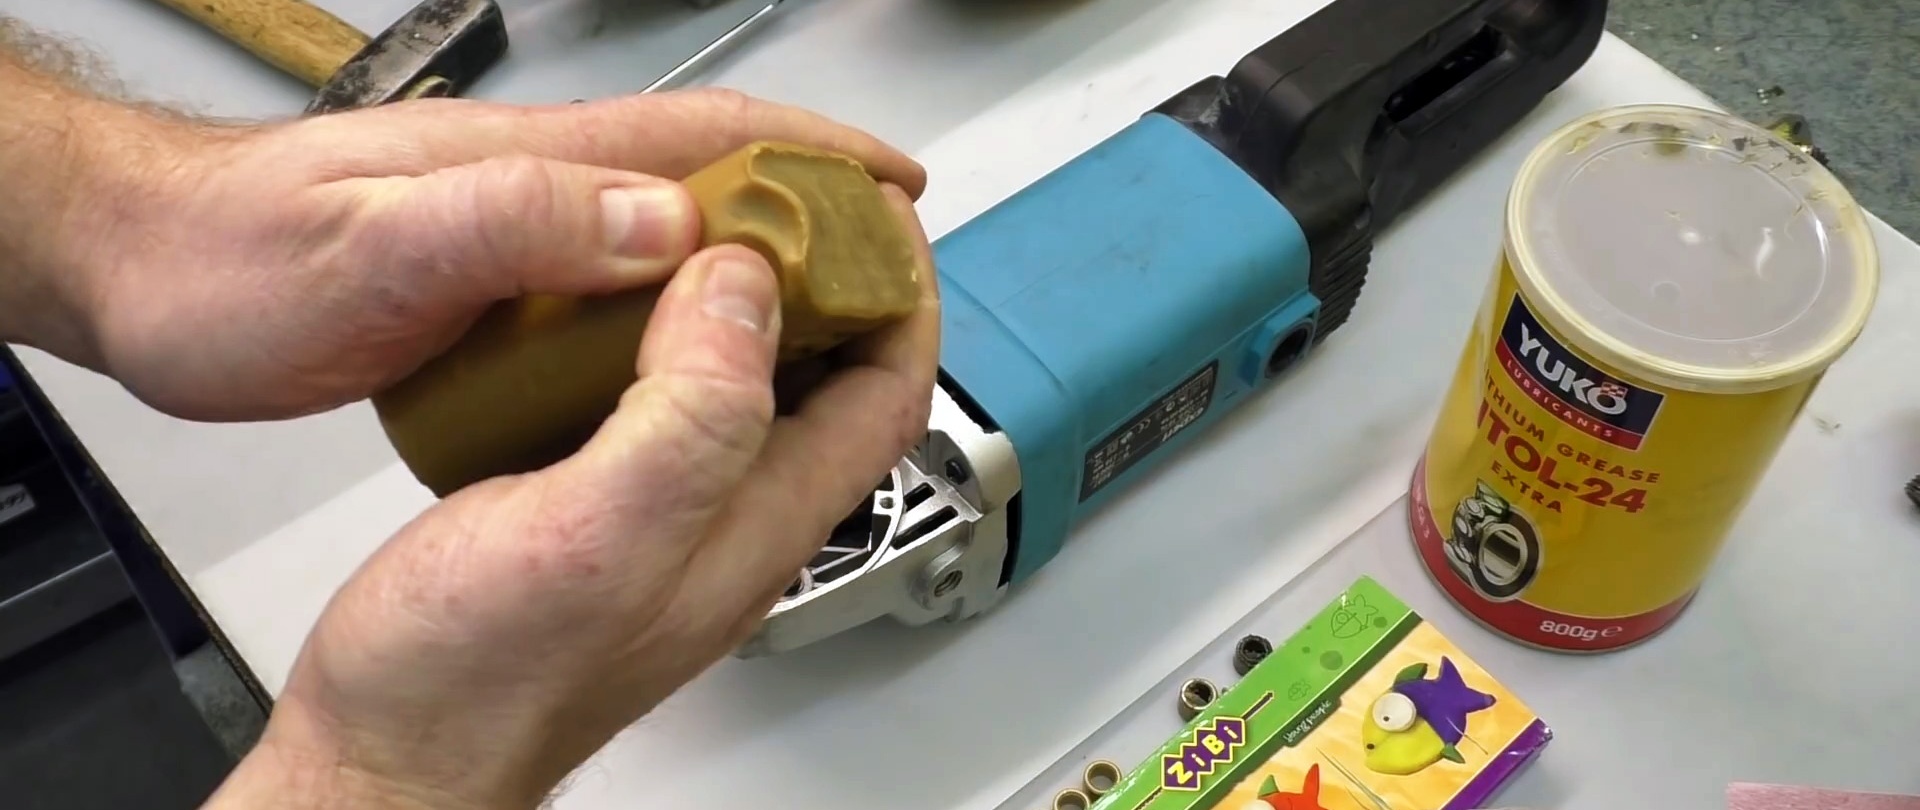
Soap, being viscous and slippery, easily penetrates into the gaps between the socket and the bushing and squeezes the latter out of the seat. This method is one of the most convenient.

5. To remove a worn bushing from the seat of the angle grinder, ordinary plasticine for children is suitable. We knead a small piece of it until it becomes somewhat plastic and completely fill the socket into which the sleeve is pressed. To create pressure, we use the shank of an old drill, which we drive into the socket with a hammer. As a result, the bushing comes out after some time.

6. To remove a damaged bushing from the socket in the body of the angle grinder, you can use toilet paper soaked in water. We squeeze it out a little and fill the socket in which the bushing is pressed. We drive a shank of the same diameter as the hole in the sleeve over the paper into the sleeve.
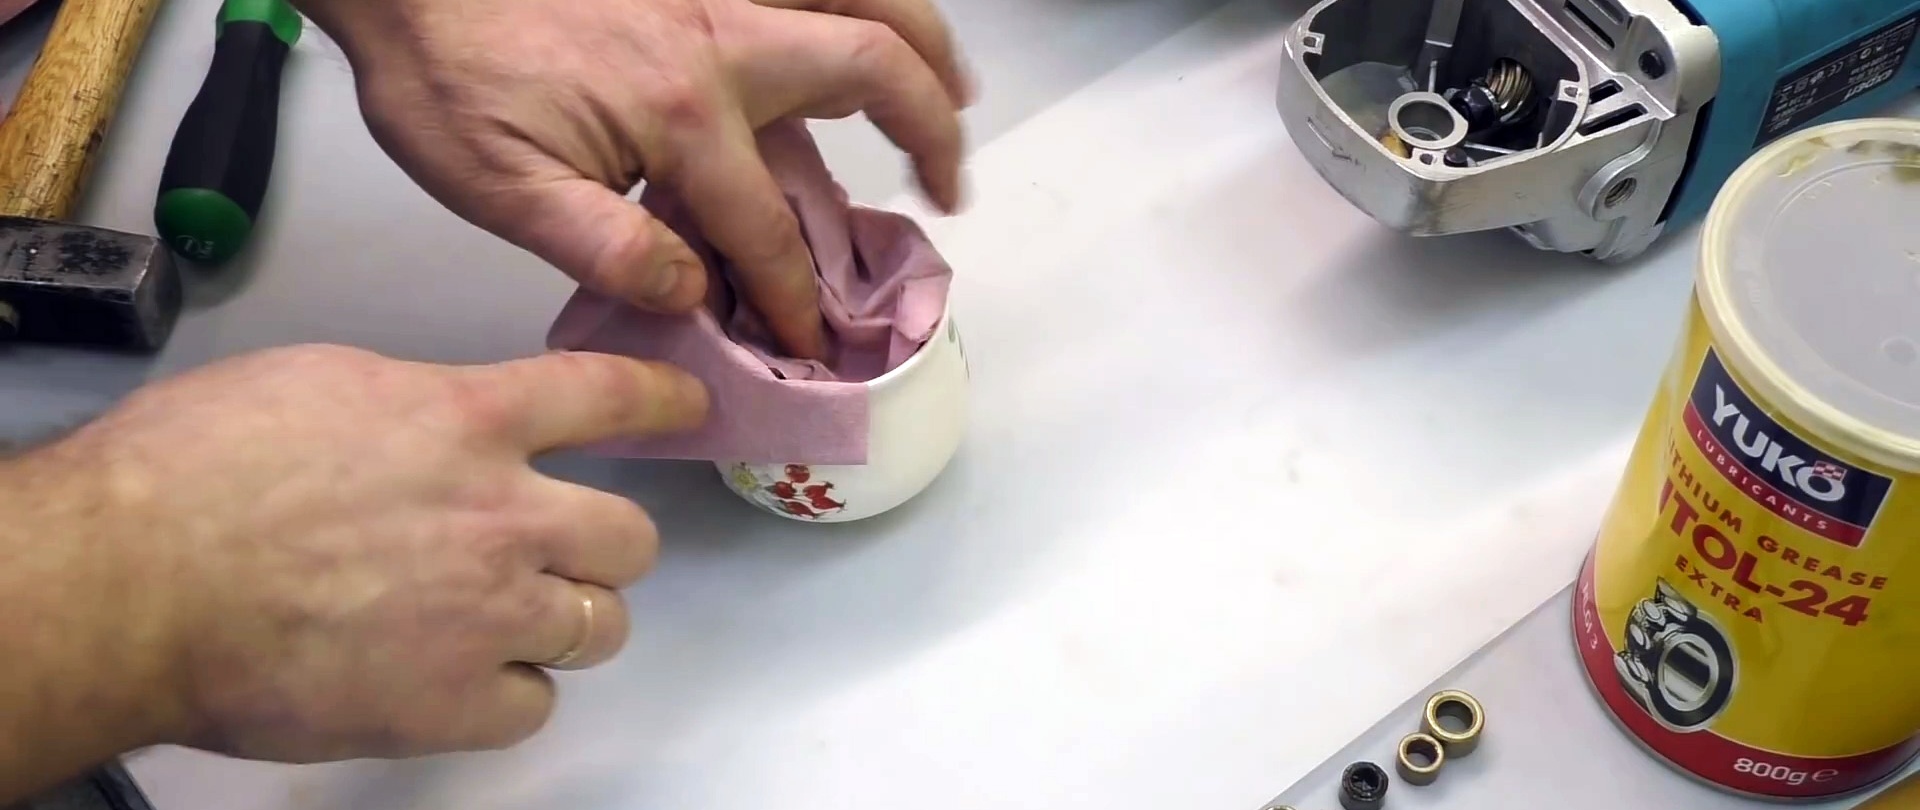

After several hits with a hammer on the drill, the pressure created by the wet paper will tear the sleeve out of place and then push it out.

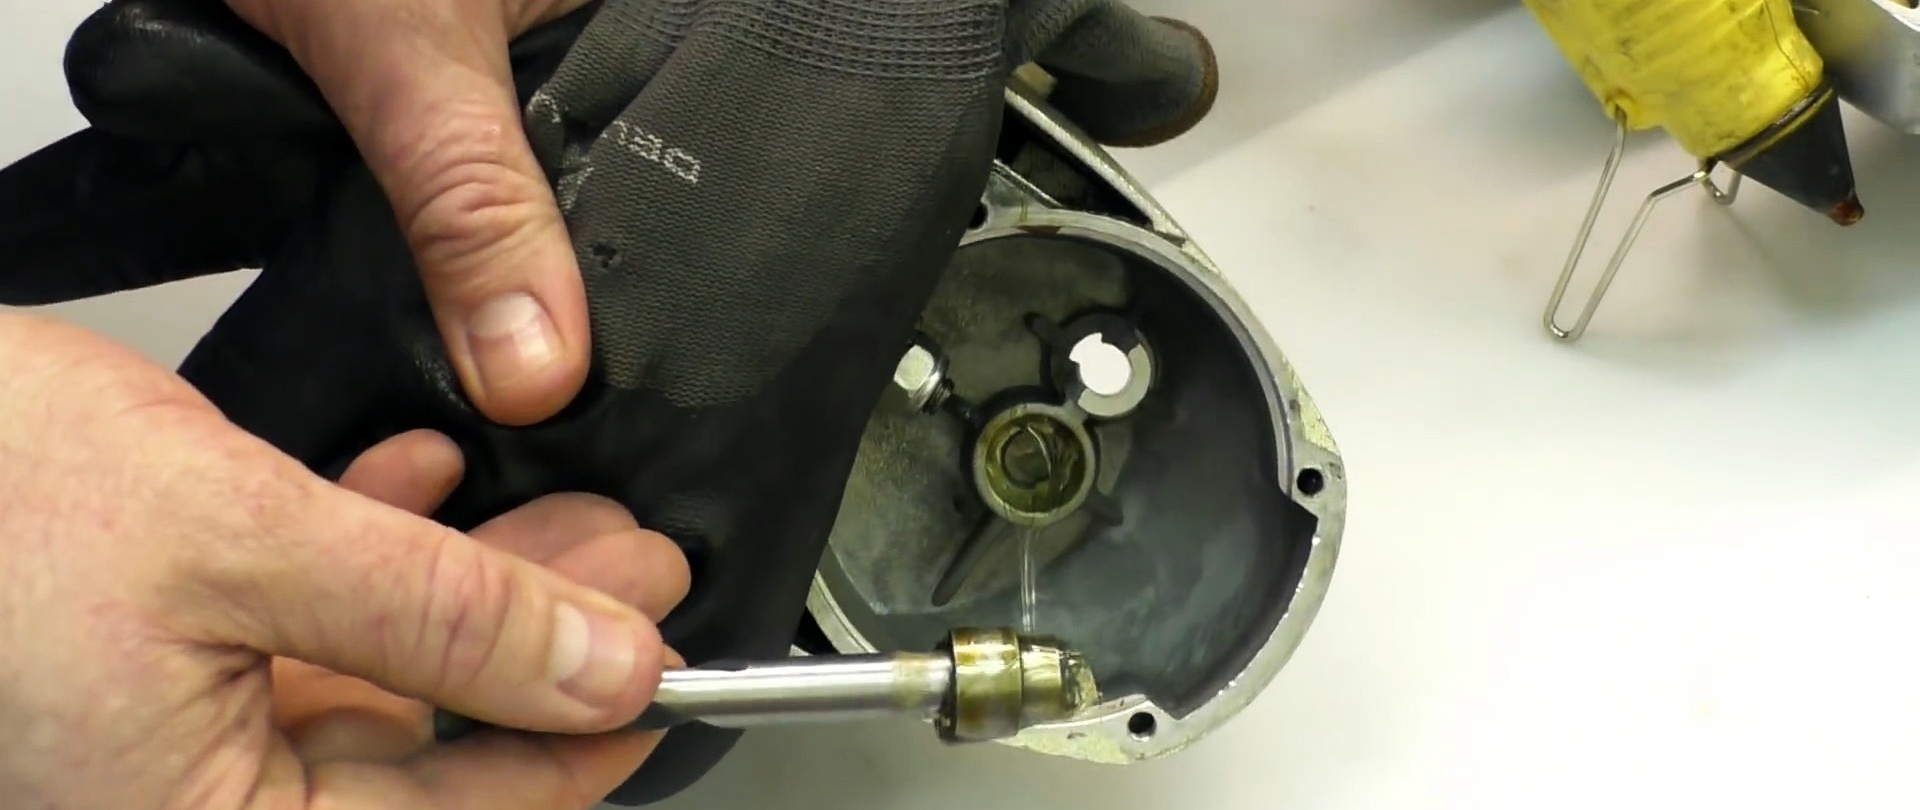
7.In order to remove the damaged bushing from the socket in the body of the angle grinder, we use a glue gun, but first heat the body in the area of the socket with a gas burner.
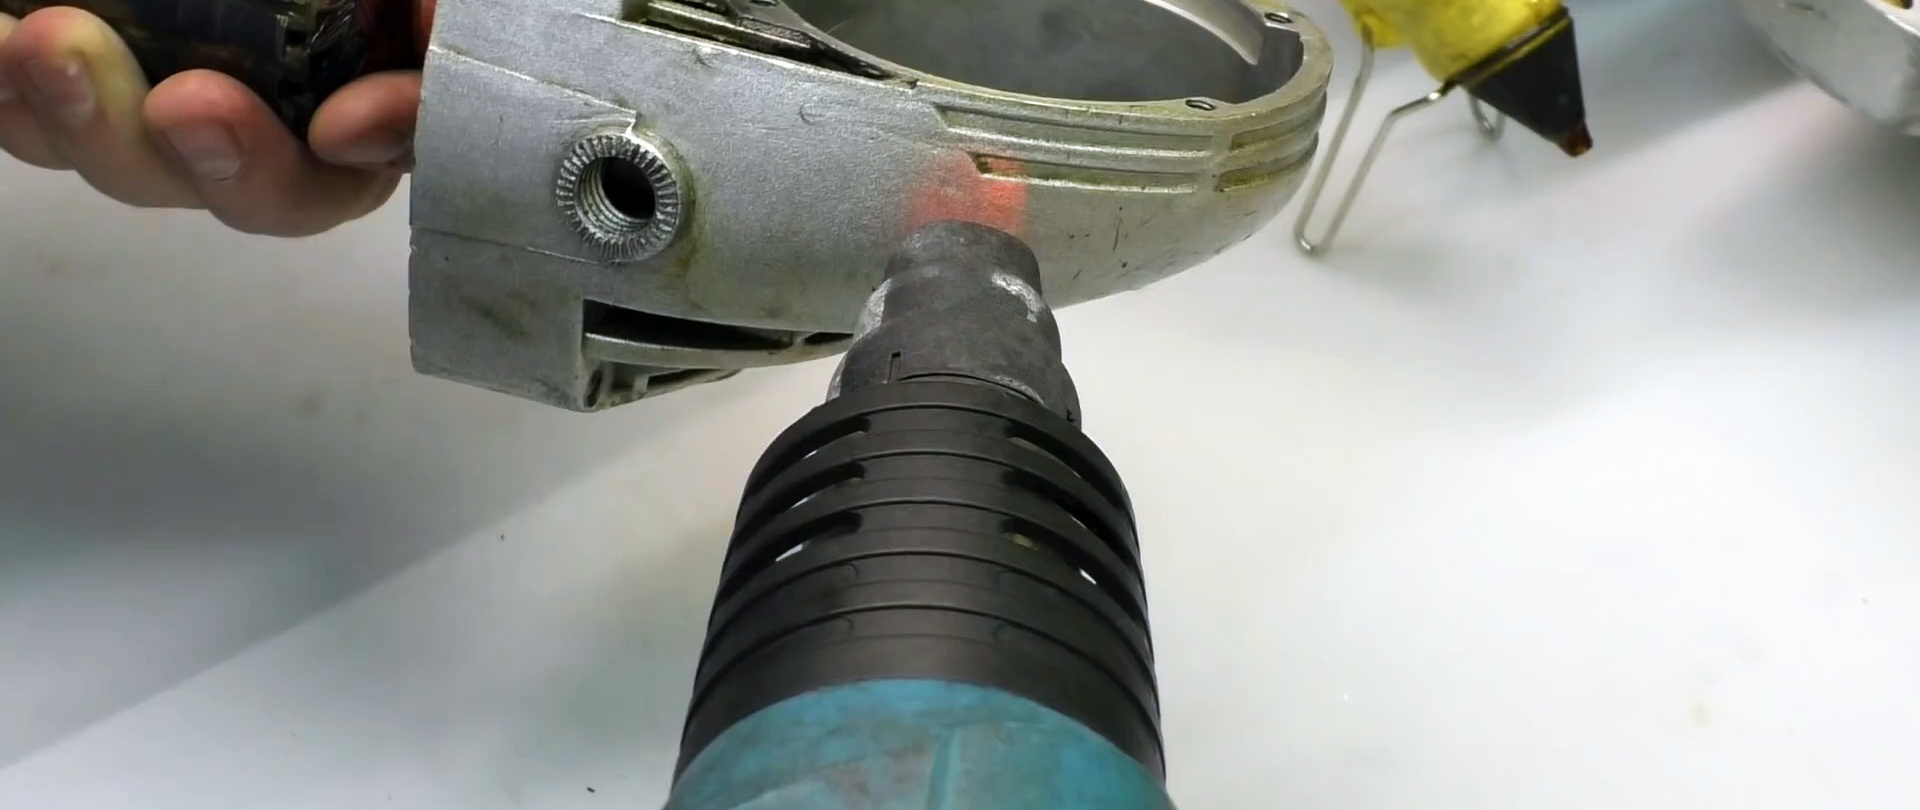
This is necessary so that the glue does not set.
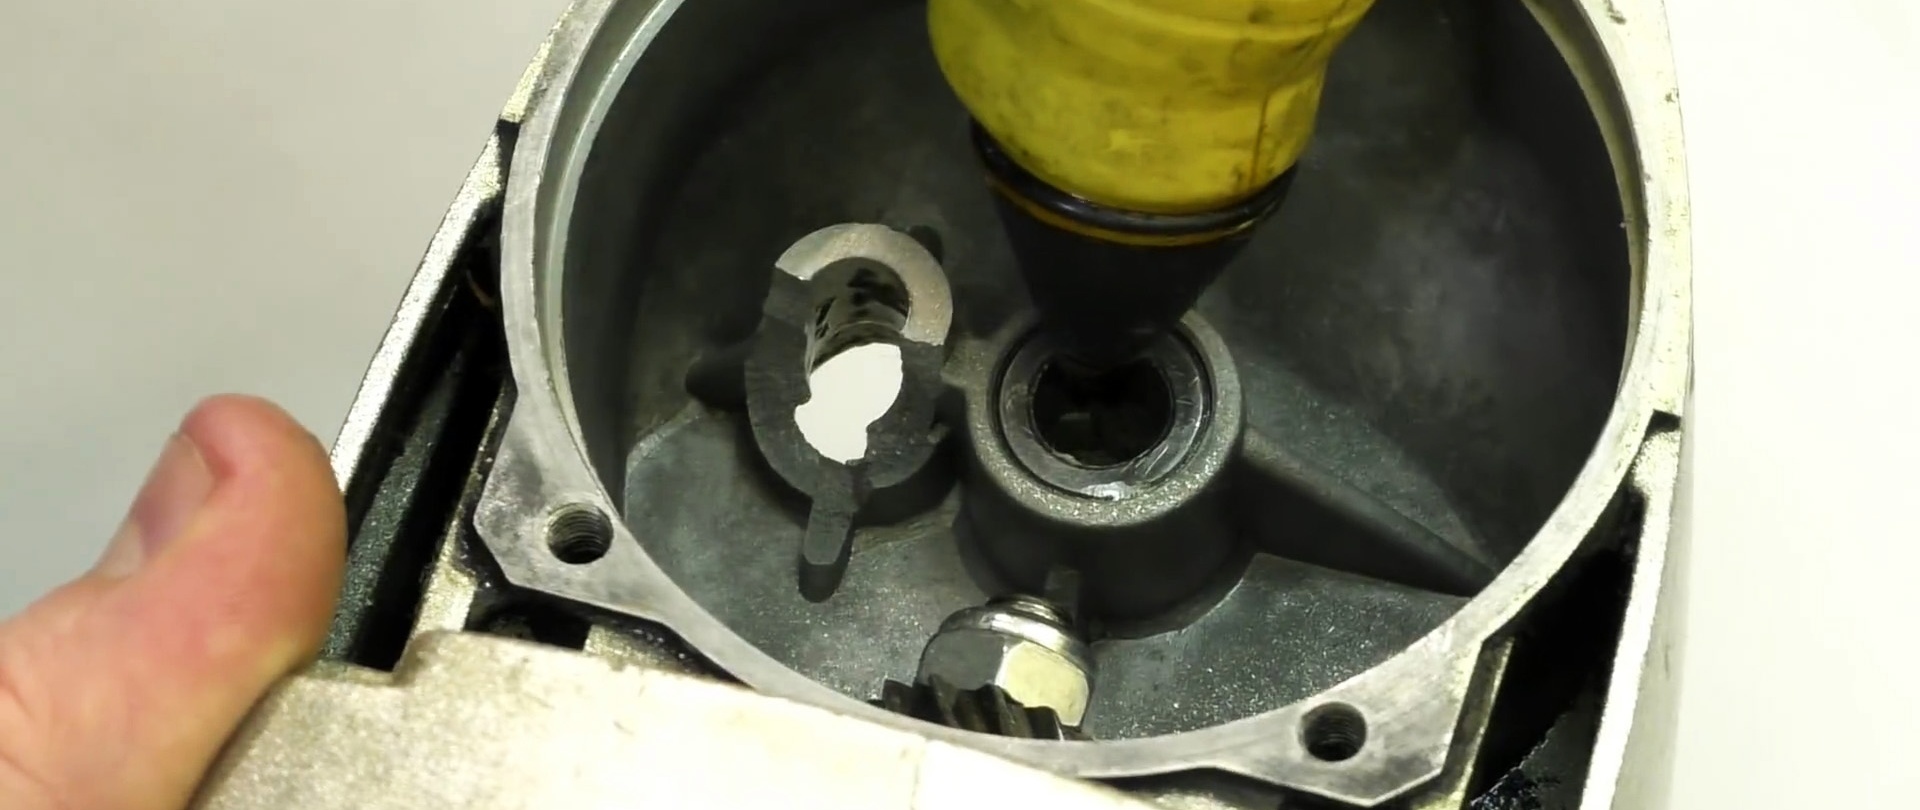
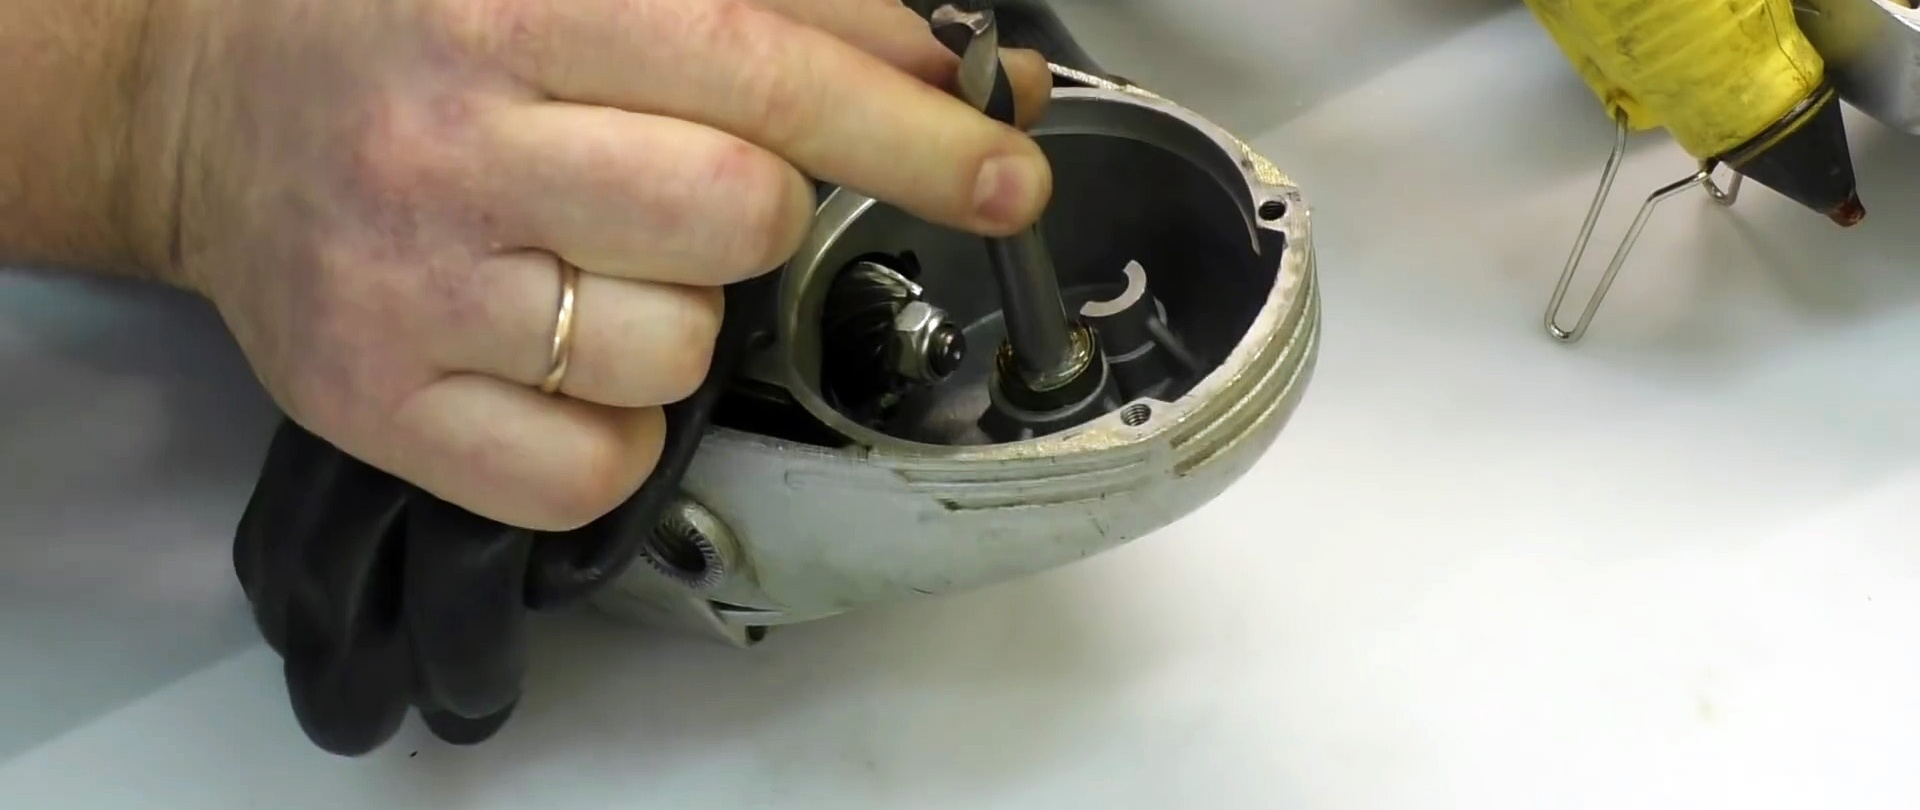
We fill the socket cavity with the adhesive mass from the gun and quickly create pressure using the shank of an old drill, hitting it with a hammer. Over time sleeve moves from place, and then completely comes out.