Do it yourself
Life hacks, master classes, useful tips, recipes.
home » Electronics » How to make a micro cordless drill with your own hands
How to make a micro cordless drill with your own hands
It is convenient to use a miniature drill for drilling circuit boards or making parts for modeling. It is light, quiet, and does not take up much space. Sometimes even the smallest drill on sale is too big for delicate work. If you haven’t found a tool that’s compact enough, you can assemble it yourself.

Materials:

Drill manufacturing process

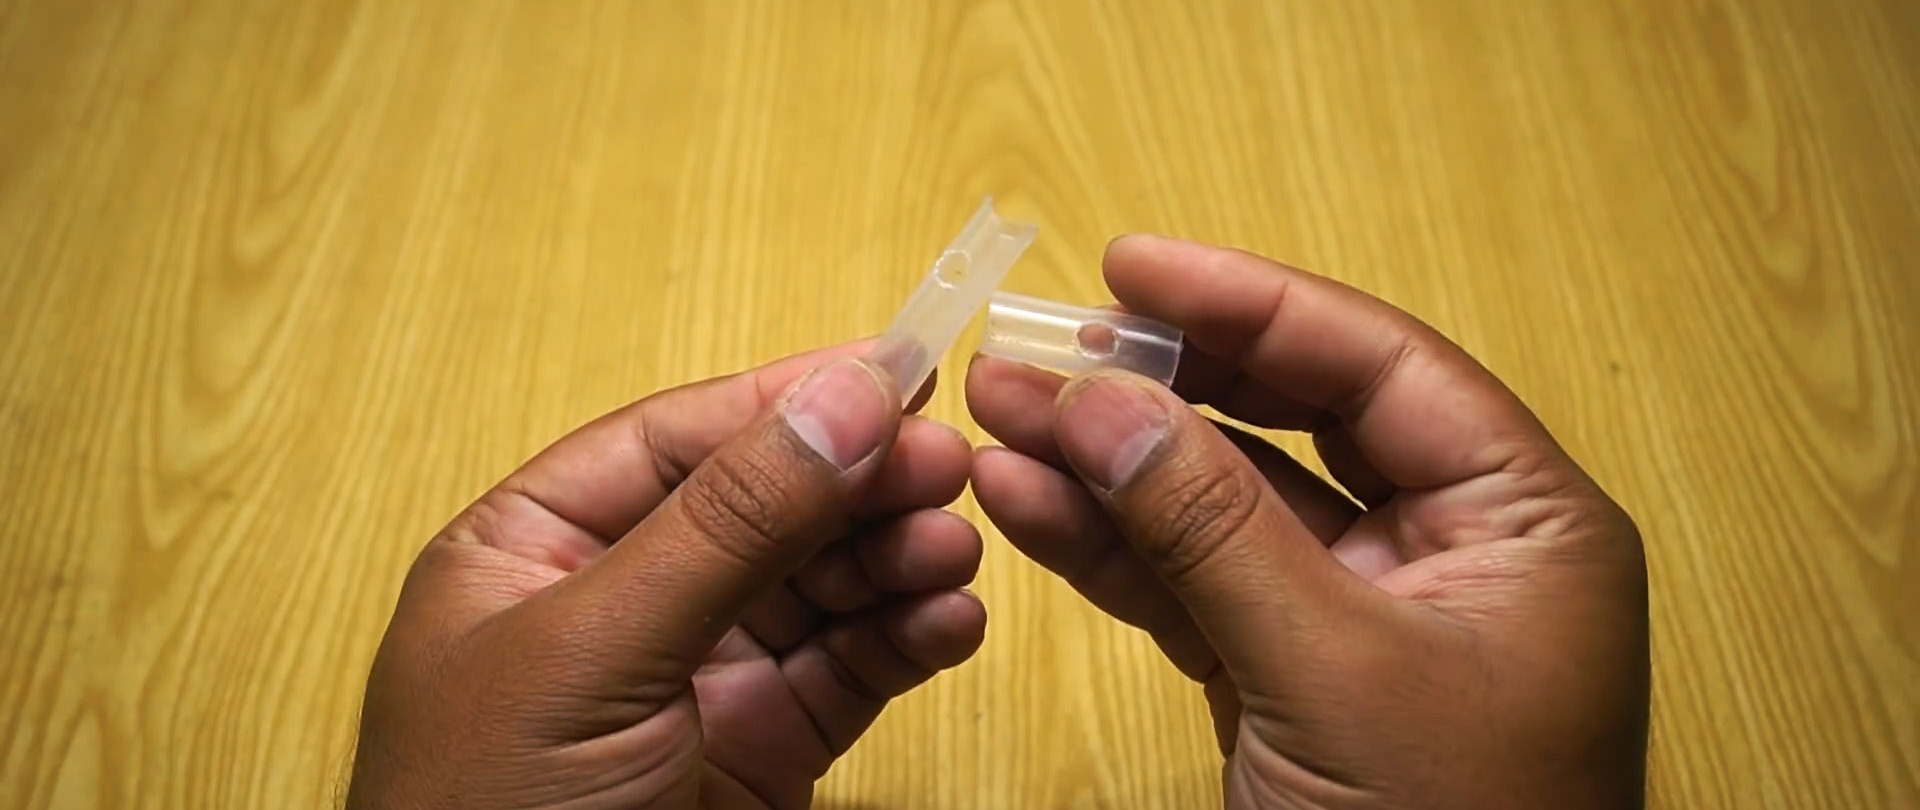
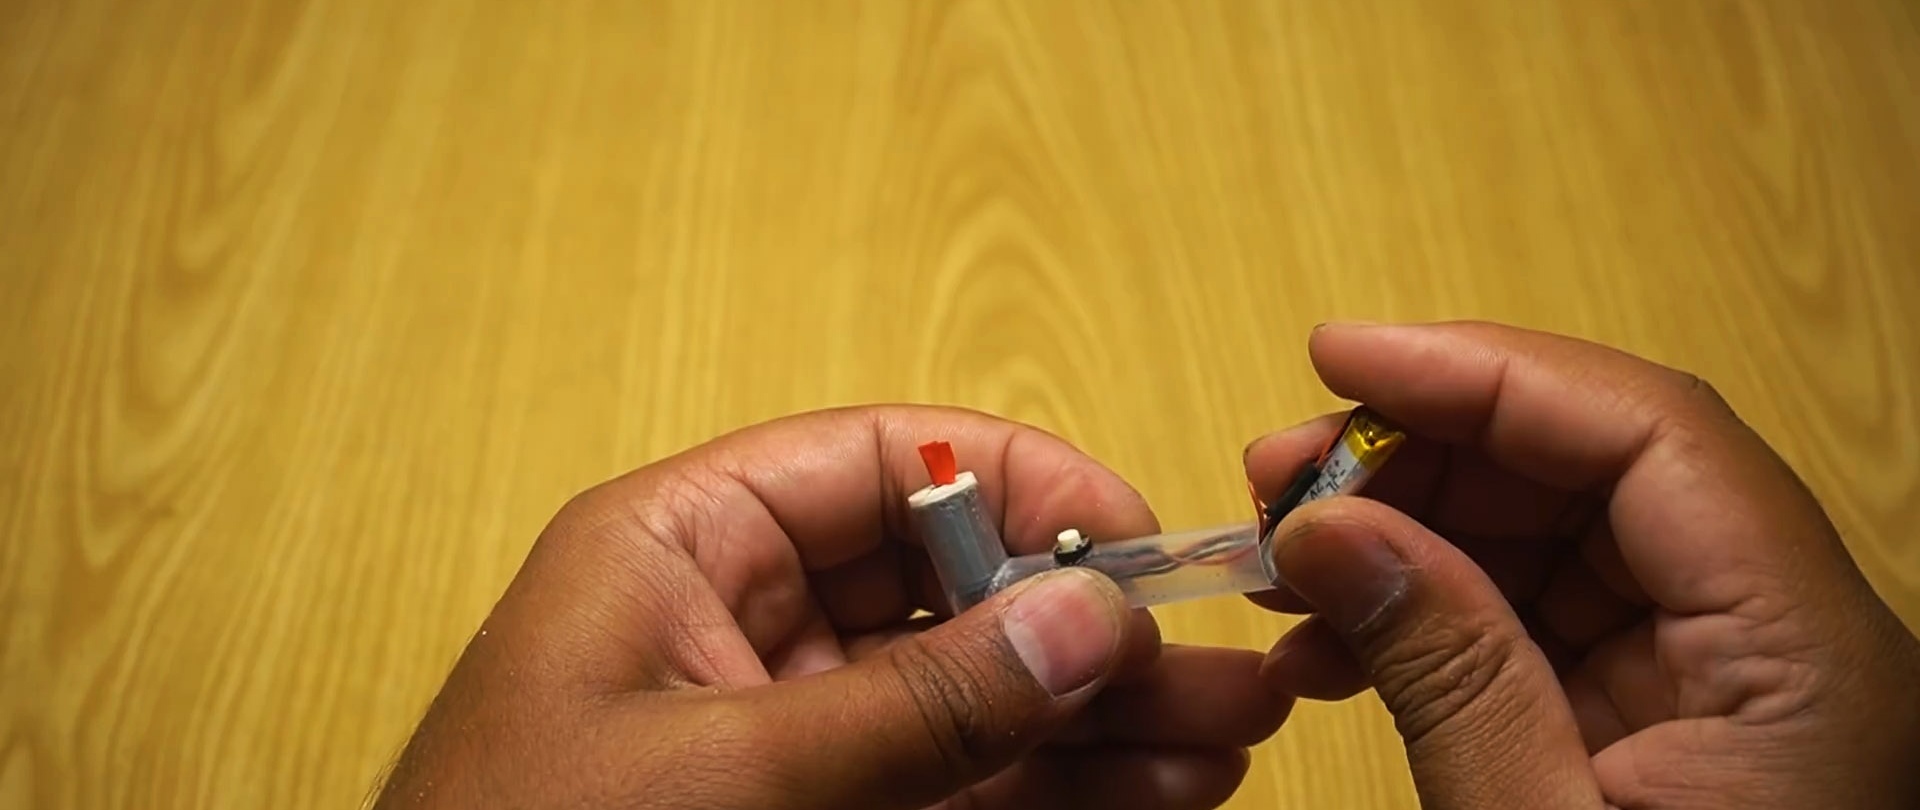
To make the drill body, you need to cut out and clean the central part of two syringes from the volume scale.
How to make a micro cordless drill with your own hands
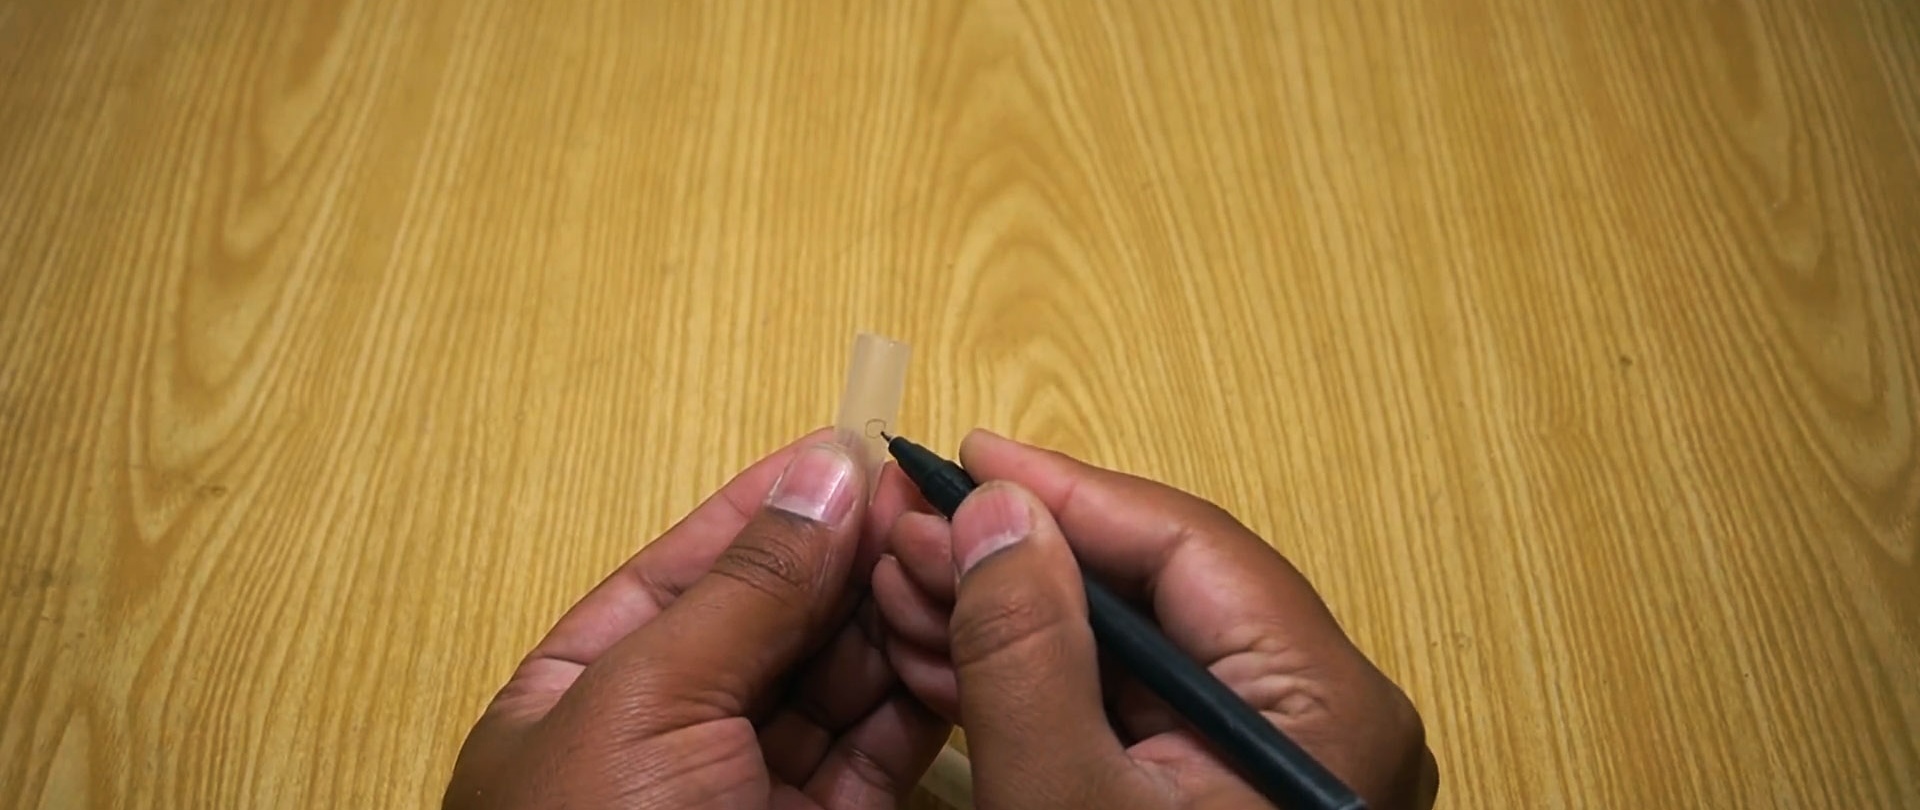
Holes are cut in the center of the blanks: in one for the wires, in the other for the button.
How to make a micro cordless drill with your own hands
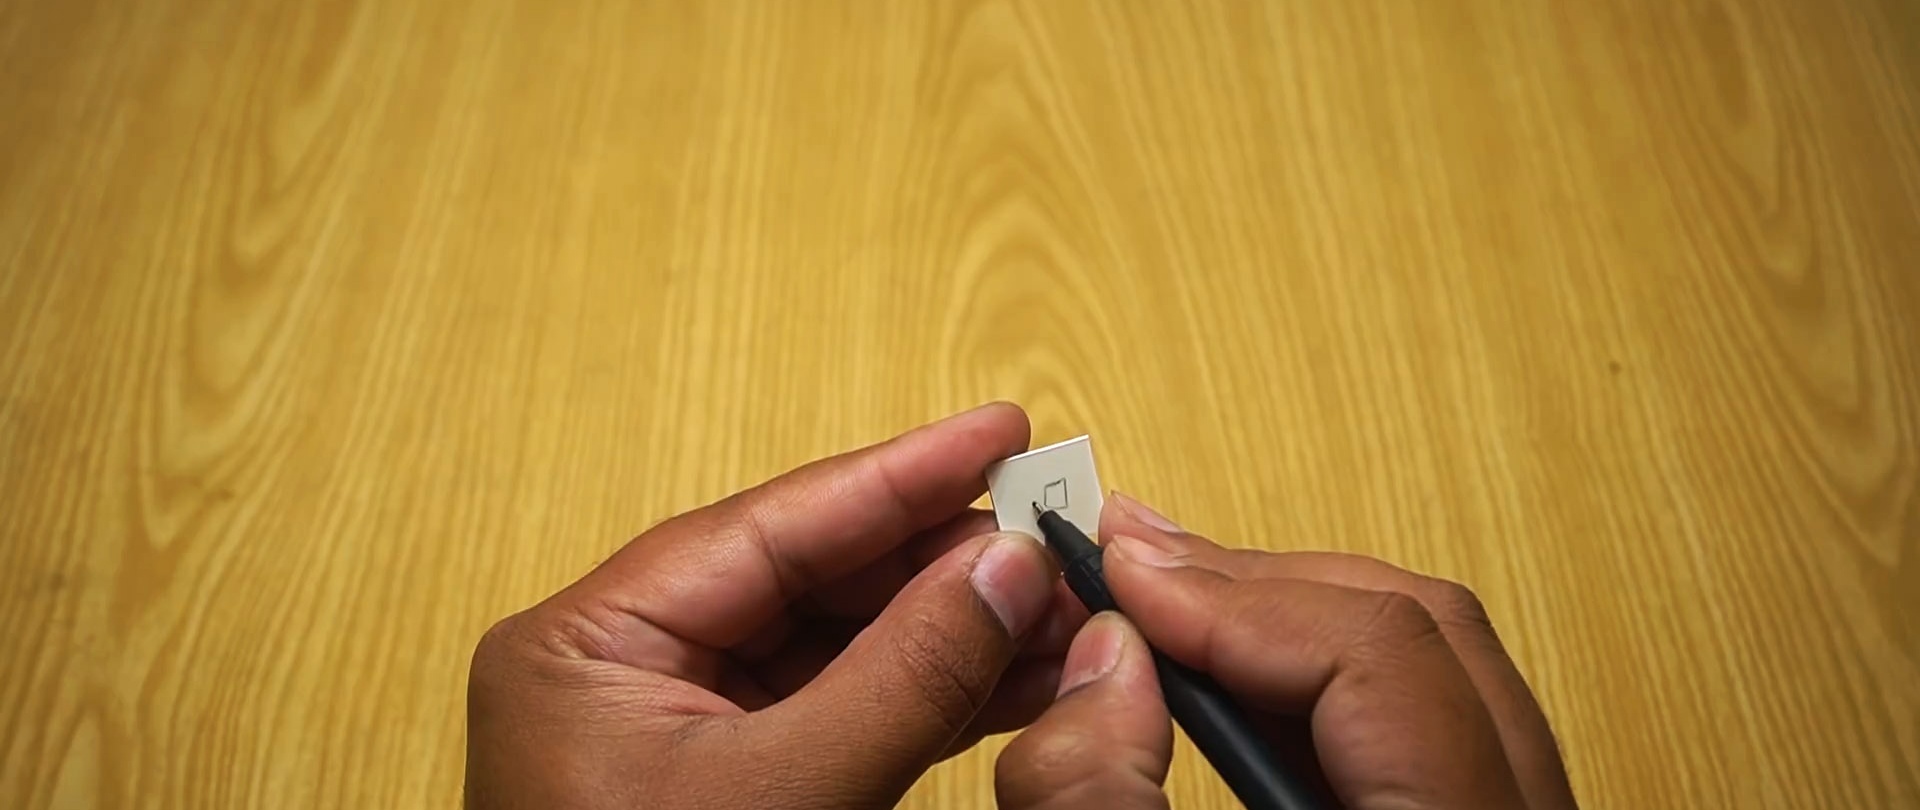
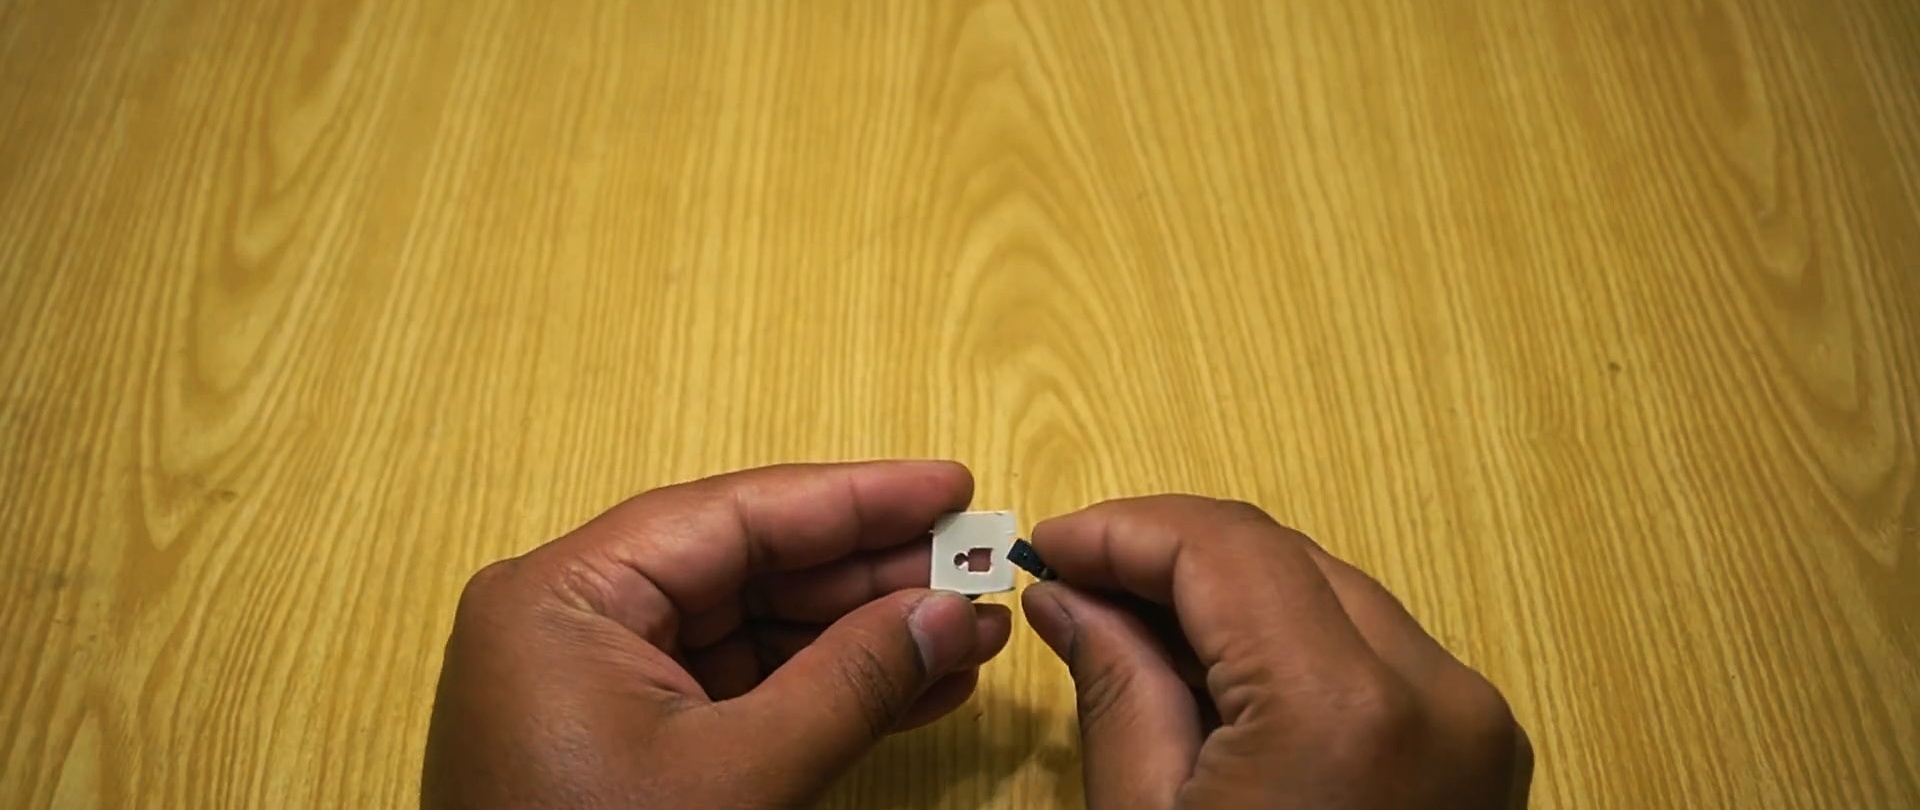
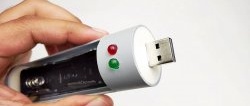
Then 2 blanks for plugs are prepared from sheet plastic.The connector for the charger fits into one plug and Light-emitting diode. The socket from an old Nokia push-button telephone is perfect. One leg LED soldered to the negative of the connector (side contact).
How to make a micro cordless drill with your own hands
A wire is soldered to it to connect to the battery. Soldering the second leg to the positive of the connector is done through a 1K resistor. Then a rectifying diode is soldered to the same contact, and a second wire is soldered to it for connecting to the battery.
How to make a micro cordless drill with your own hands
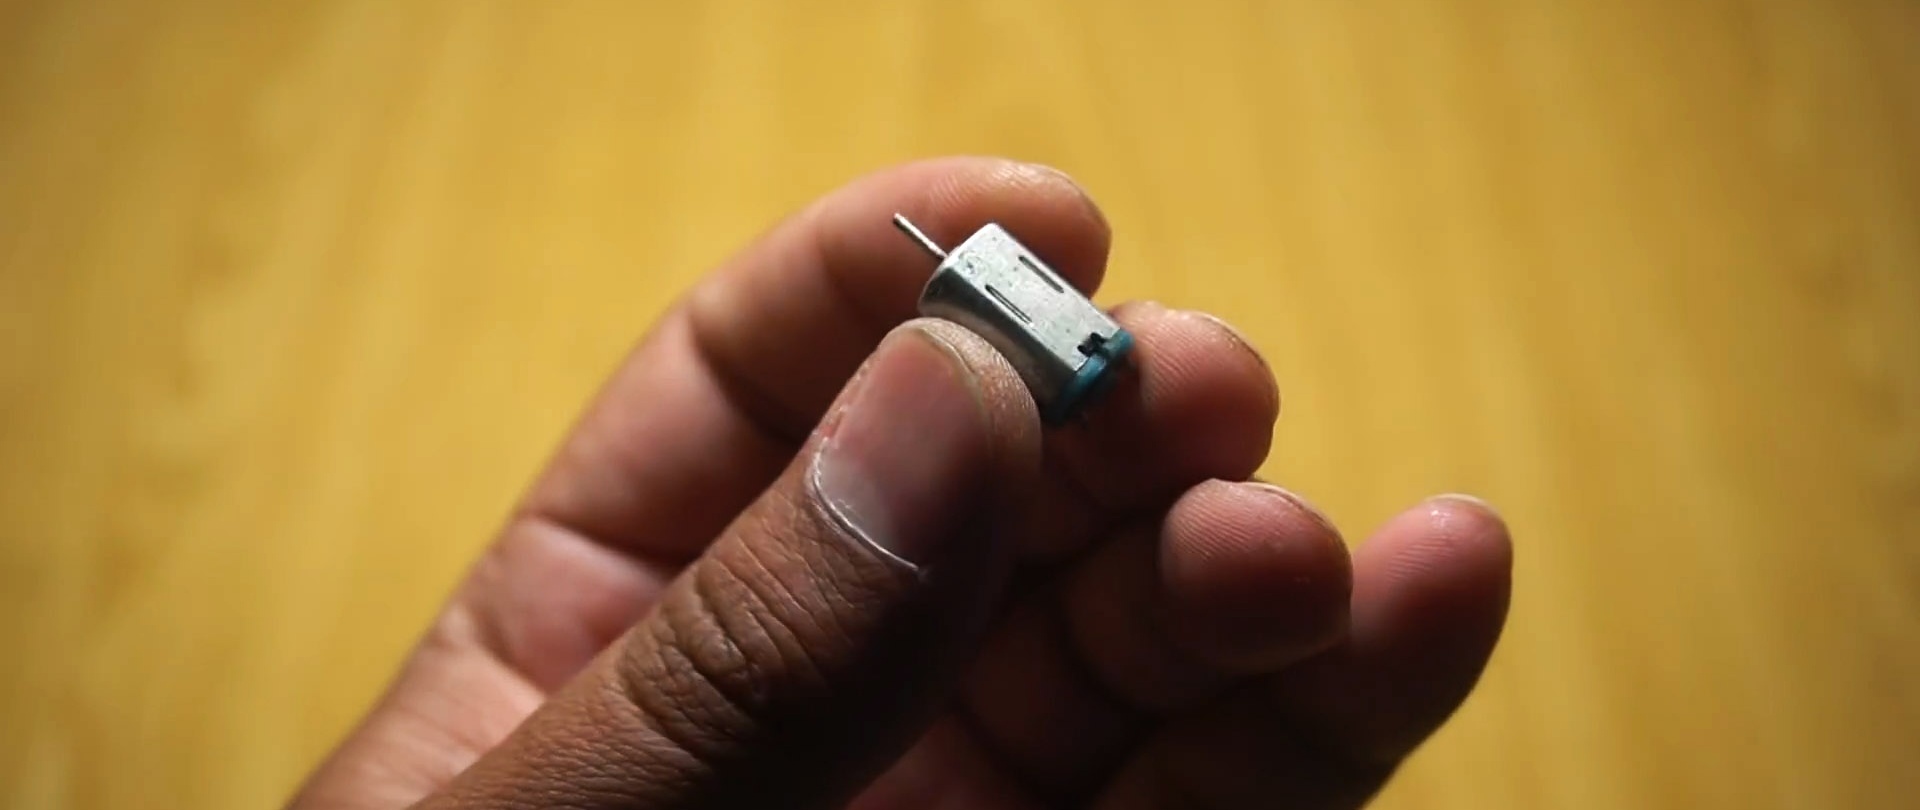
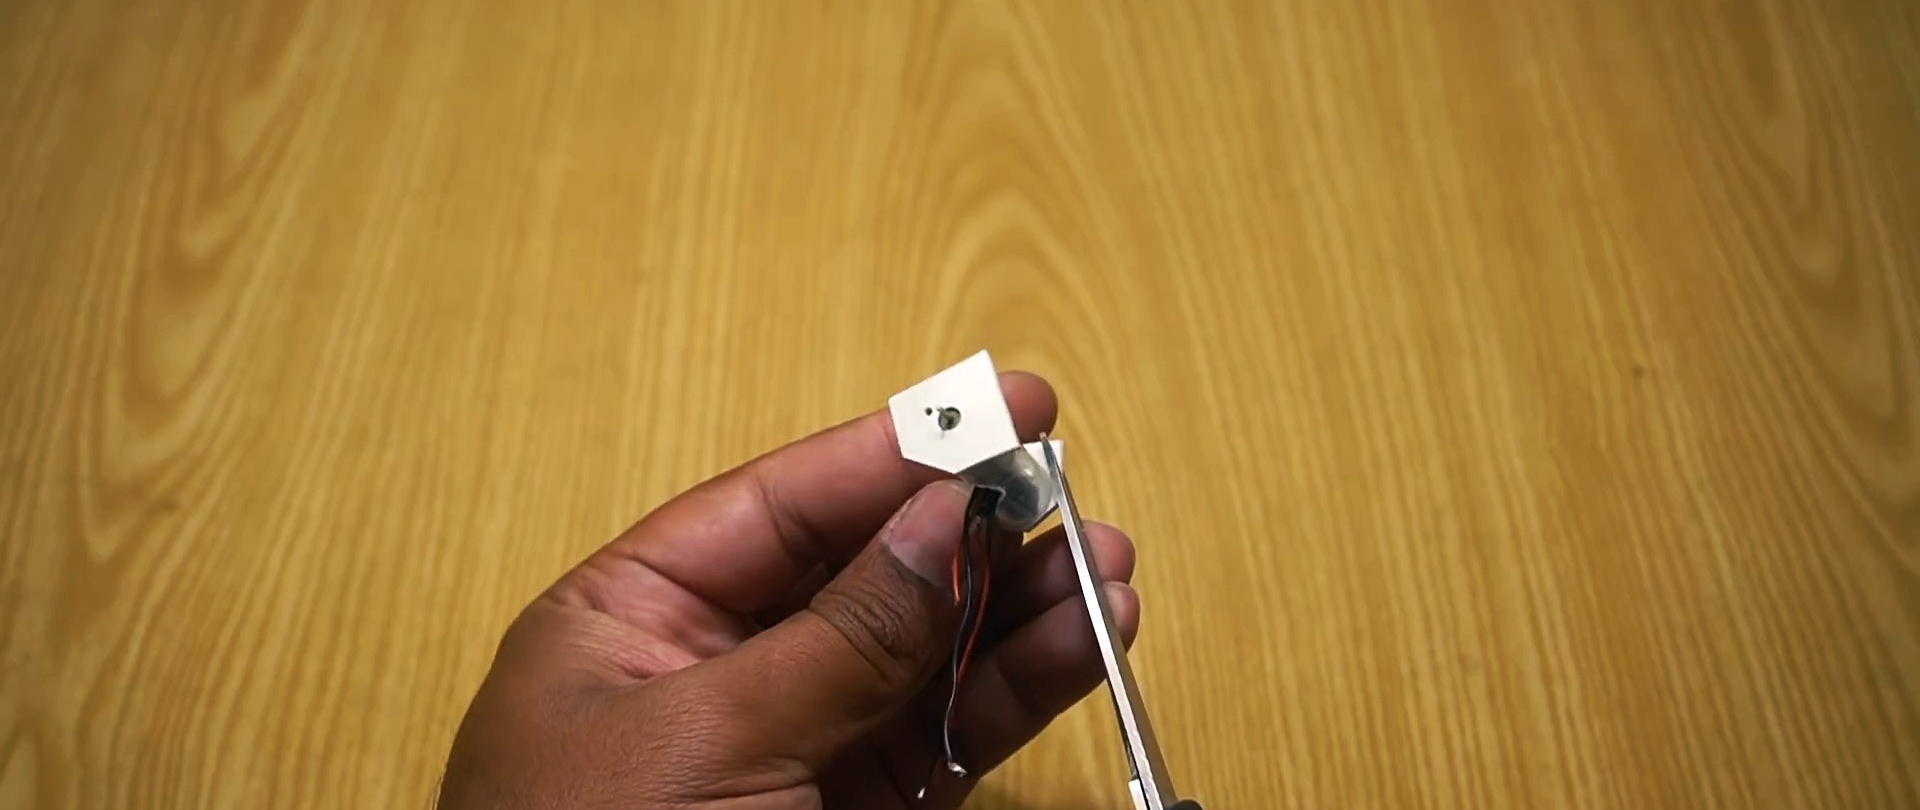
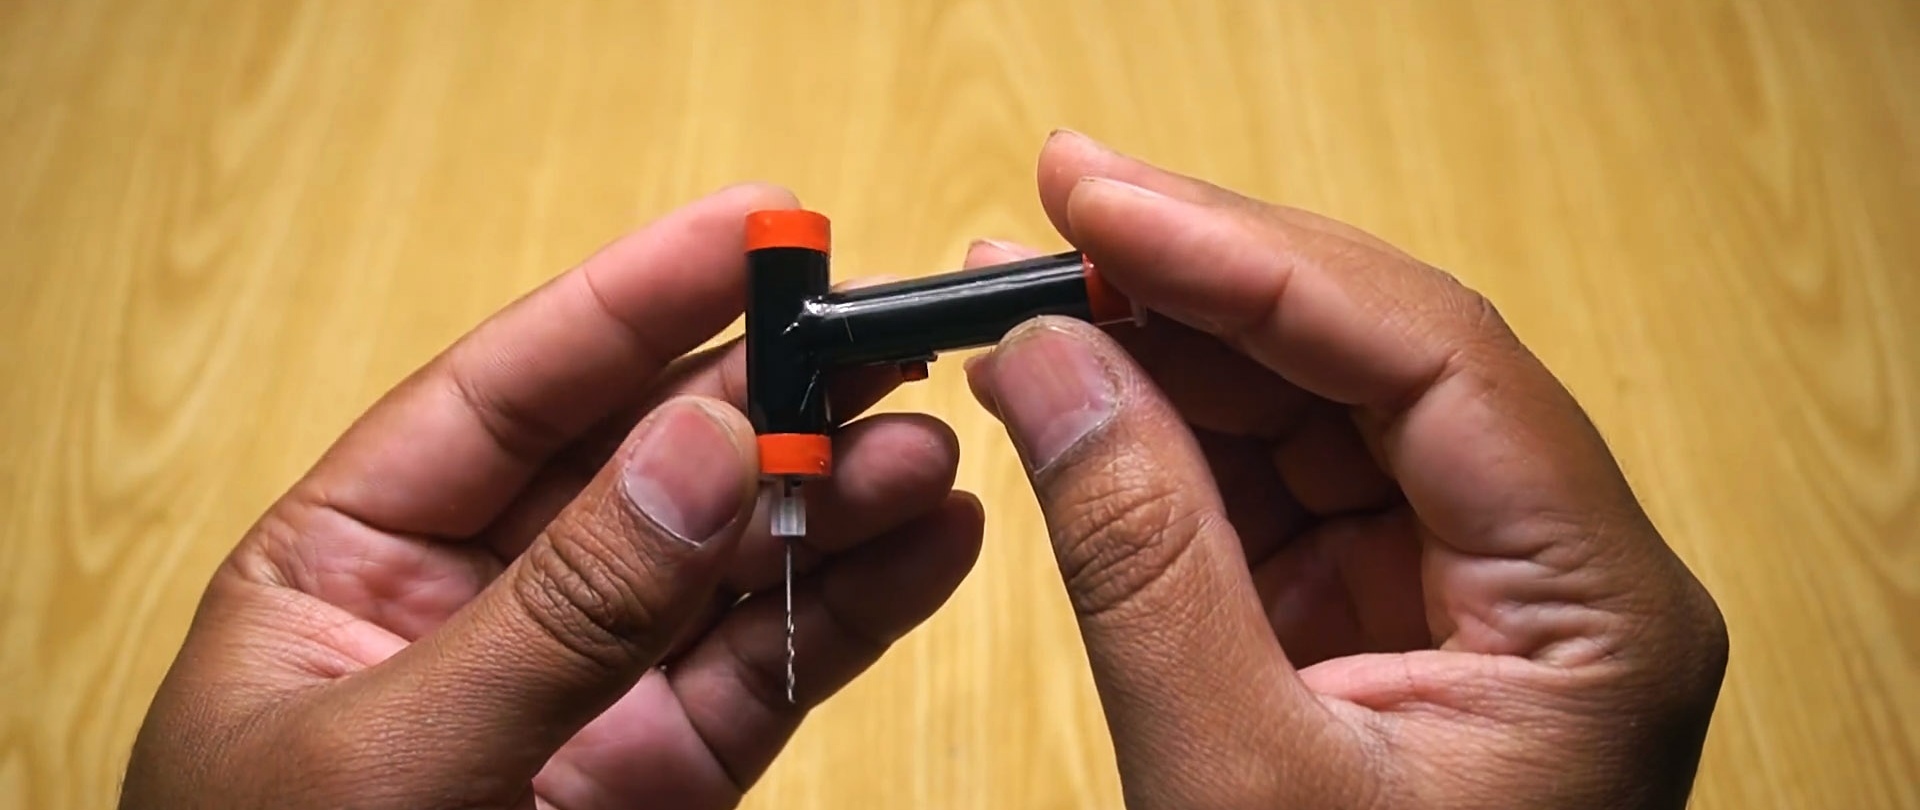
Next, a micromotor is placed in one tube from the syringe, and a plug with electronic equipment is glued in. The second blank blank is glued in front. You need to make a hole in it for the motor shaft.
How to make a micro cordless drill with your own hands
The wires from the motor and connector are routed out from the side of the tube. The glued plugs are cut off.
How to make a micro cordless drill with your own hands
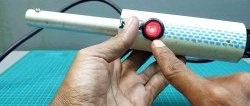
A second tube is glued to the assembled part of the body, which will serve as the handle of the drill. Wires are routed into it. It was necessary to make a hole in it and glue the power button. It should close the positive wire going to the engine.
How to make a micro cordless drill with your own hands
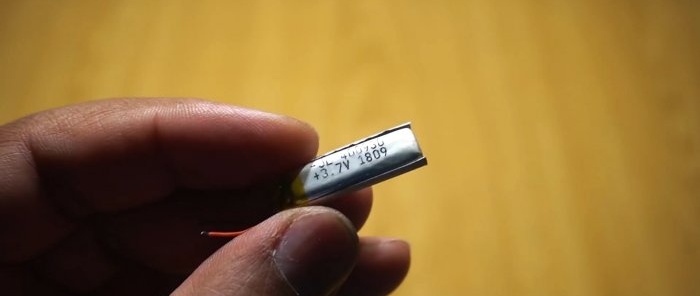
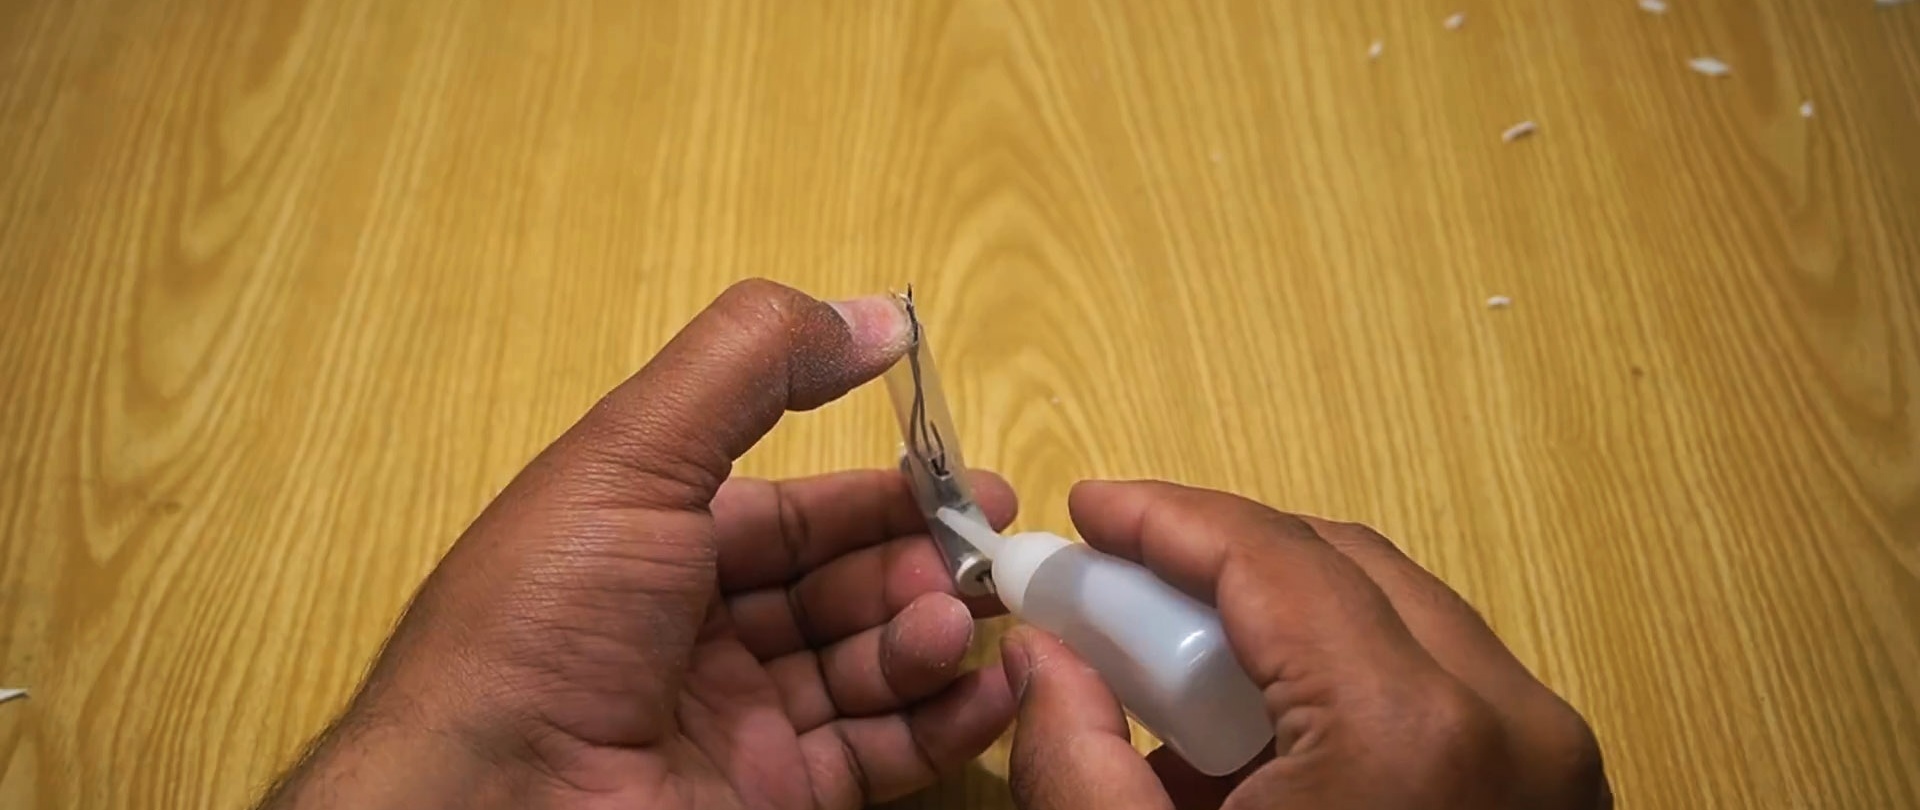
All that remains is to solder the wires from the connector and the motor to the battery, and place it in the drill handle. A plug is glued to it.
How to make a micro cordless drill with your own hands
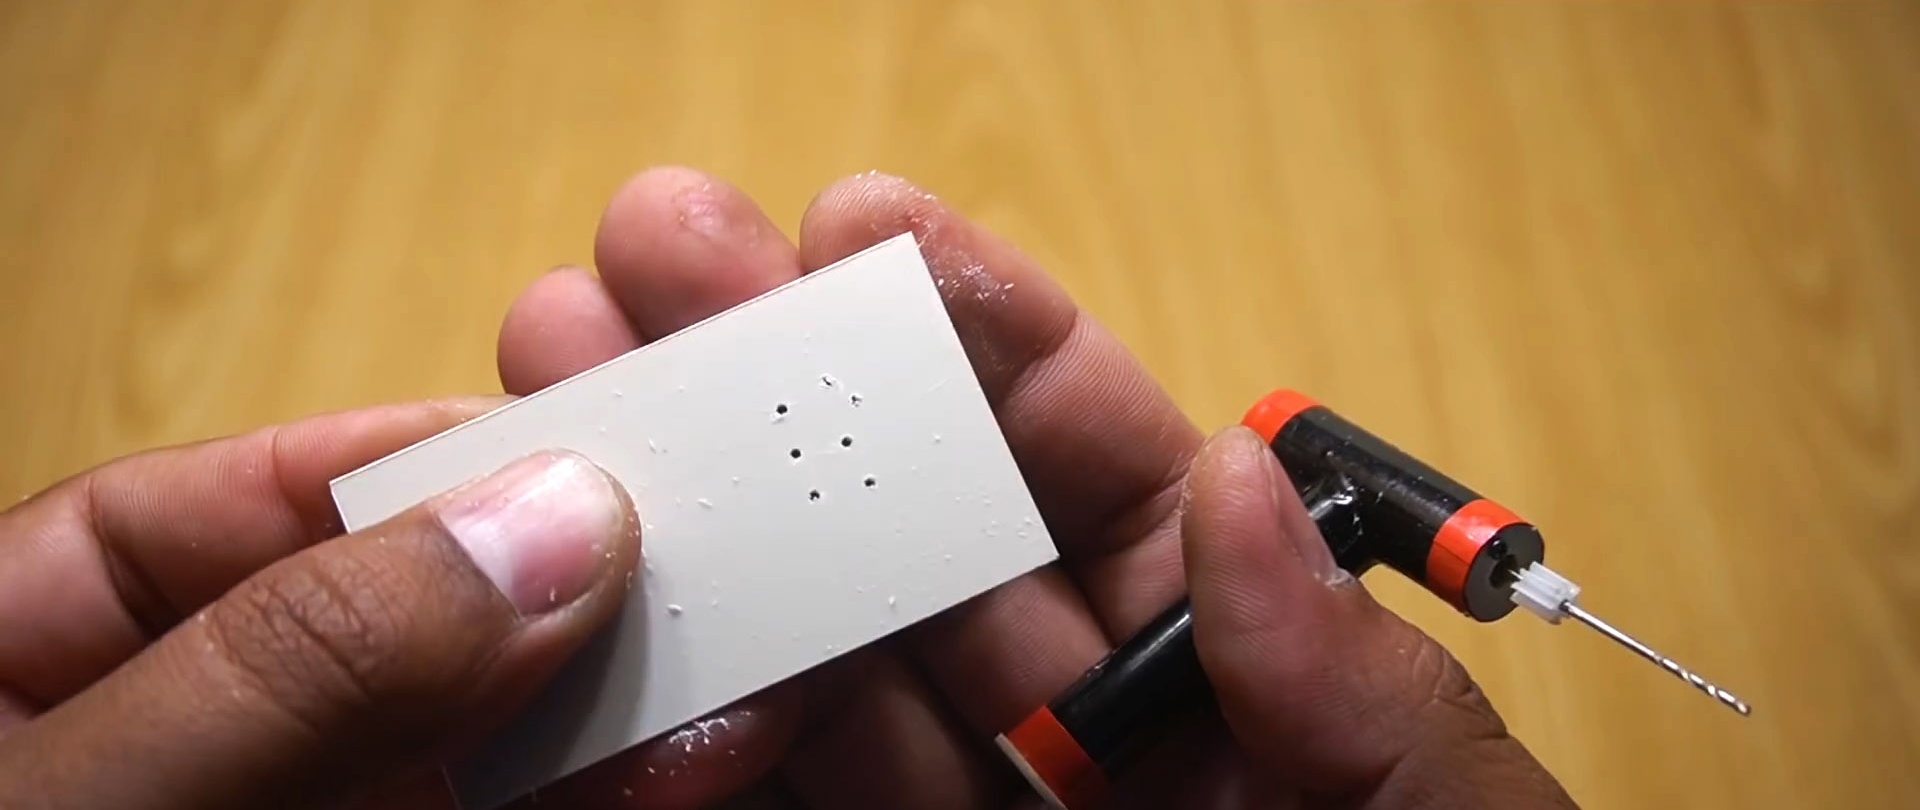
After this, you need to put its standard gear on the motor shaft. It will serve as an adapter for connecting a thin drill.
How to make a micro cordless drill with your own hands
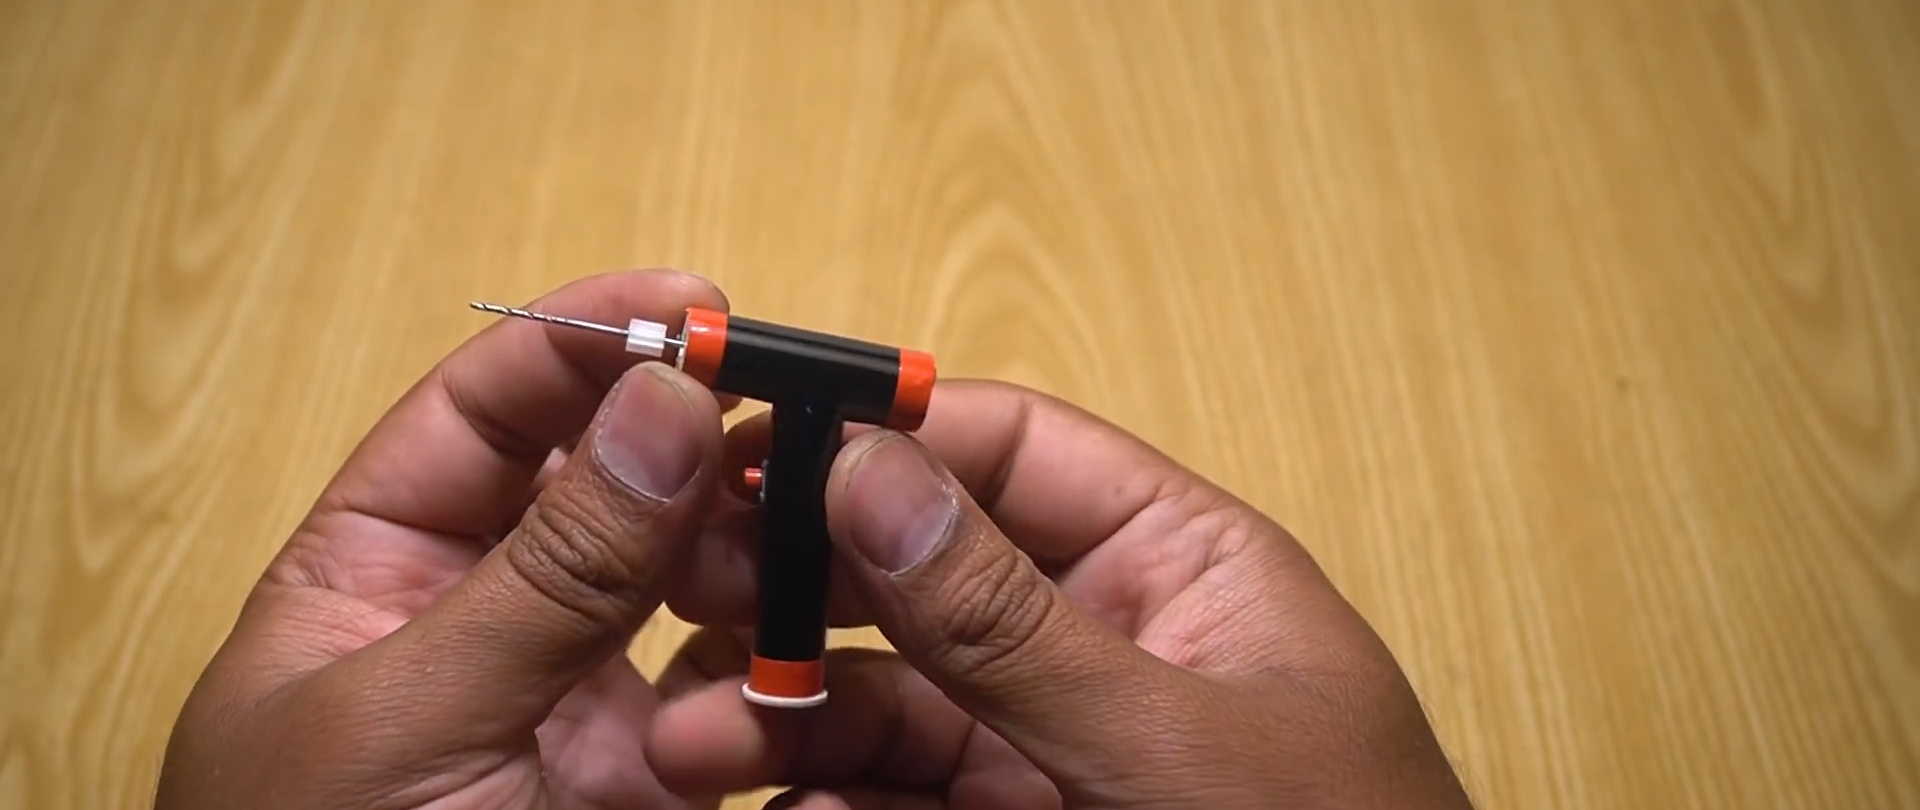
If desired, the drill can be covered with film or painted.
How to make a micro cordless drill with your own hands
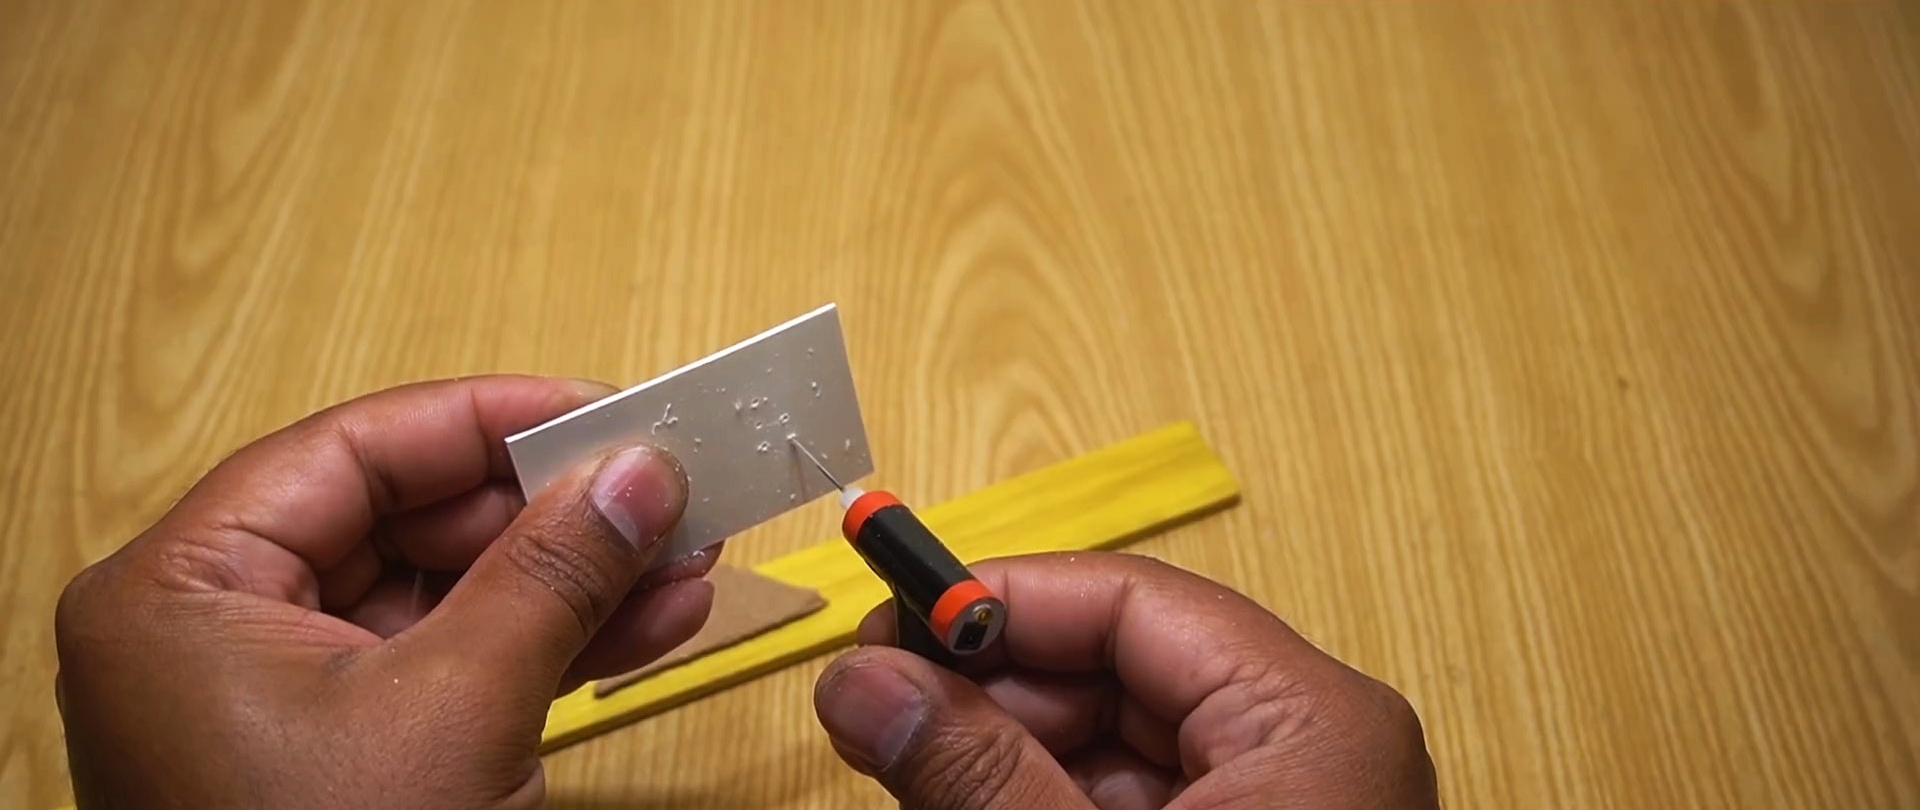
This tool is excellent for drilling sheet metal, wood, printed circuit boards and other materials.
How to make a micro cordless drill with your own hands
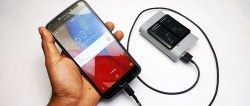
It is recharged using a regular charging unit from a Nokia feature phone. It takes 20 minutes.
How to make a micro cordless drill with your own hands
Since the electronic component here is not quite the simplest: the polymer battery contains a controller, after this time it is not necessary to turn off charging.

Watch the video

come back
Comment
  • bowtiesmilelaughingblushsmileyrelaxed relaxedsmirk
    heart_eyeskissing_heartkissing_closed_eyesflushedrelievedsatisfiedgrin
    winkstuck_out_tongue_winking_eyestuck_out_tongue_closed_eyesgrinningkissingstuck_out_tonguesleeping
    worriedfrowninganguishedopen_mouthgrimacingconfusedhushed
    expressionlessunamusedsweat_smilesweatdisappointed_relievedwearypassive
    disappointedconfoundedfearfulcold_sweatperseverecrysob
    joyastonishedscreamtired_faceangryragetriumph
    sleepyyummasksunglassesdizzy_faceimpsmiling_imp
    neutral_faceno_mouthinnocent
5+two=
Comments (0)

Making a wood cutter from a wrench

How to convert a kitchen blender into an engraver

Crochet bookmark | Do it yourself

Developmental panel | Do it yourself

«Do it yourself - with your own hands» - a site of interesting homemade products made from scrap materials and items at home. Step-by-step master classes with photos and descriptions, technologies, life hacks - everything a real master or just a craftsman needs for needlework. Crafts of any complexity, a large selection of directions and ideas for creativity.

We recommend reading

Washing machine error codes