When doing carpentry you need a lot of clamps, especially when gluing. A good tool is expensive, so you can’t buy it in the required quantity. However, you can make a high-quality clamp with your own hands, and for a nominal sum.
Materials:
- Steel strip 20x3 mm;
- rod 8 mm;
- rod 12 mm;
- spring;
- M8 nuts – 3 pcs.
Clamp manufacturing process
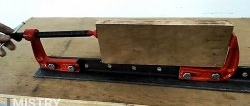
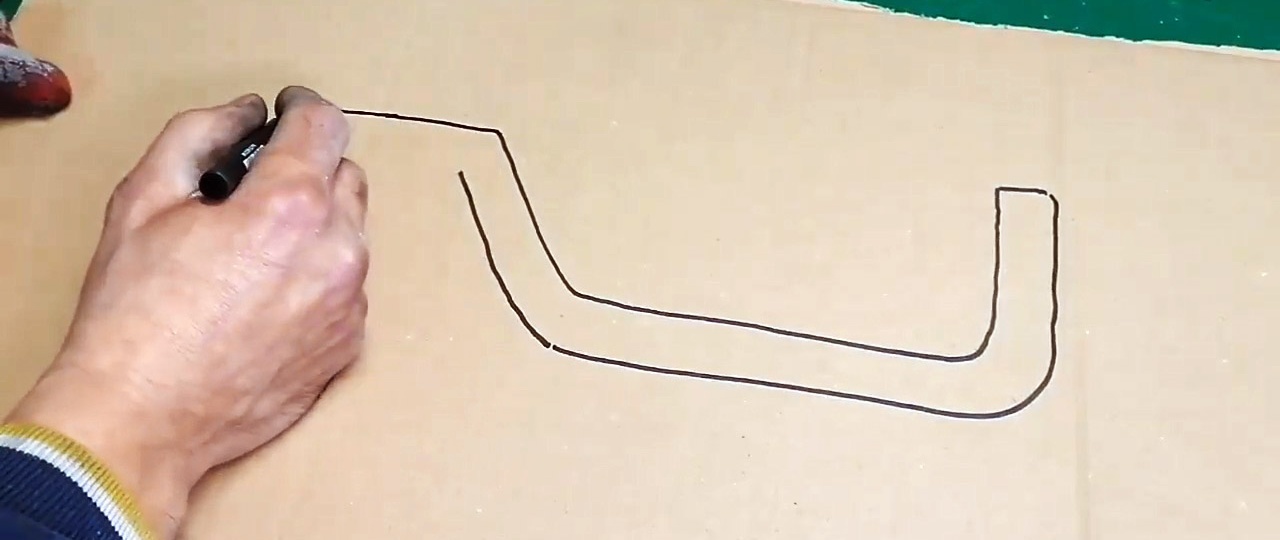
A clamp of this design can have any required size. To make it exactly as needed, it is better to first draw a template on a 1:1 scale, as in the photo, and then make it according to it.
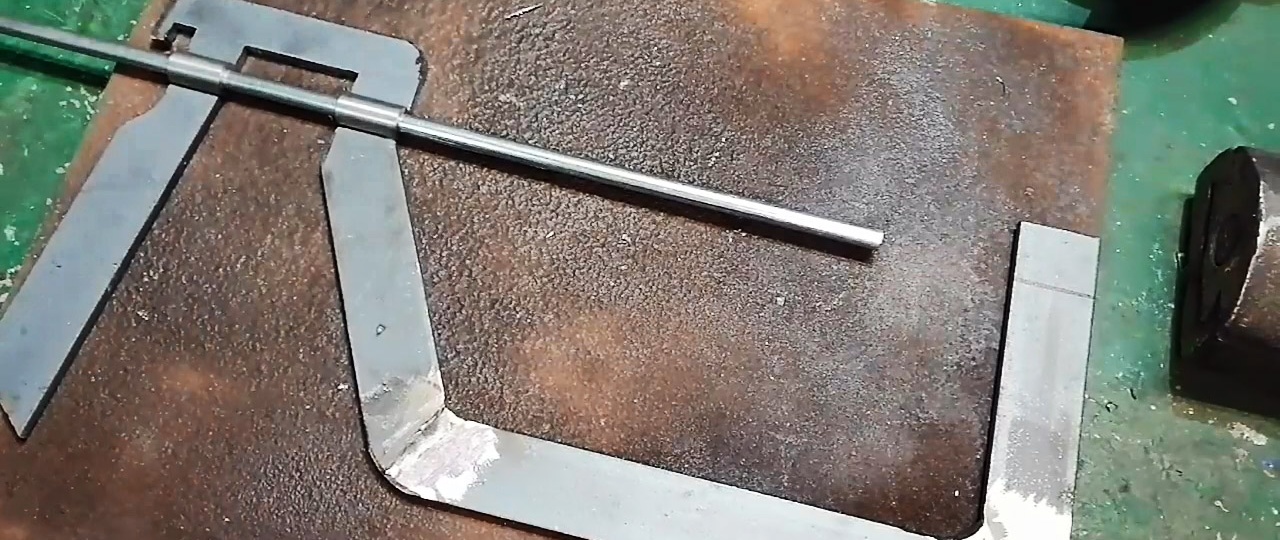
It is necessary to weld the clamp frame from the strip.
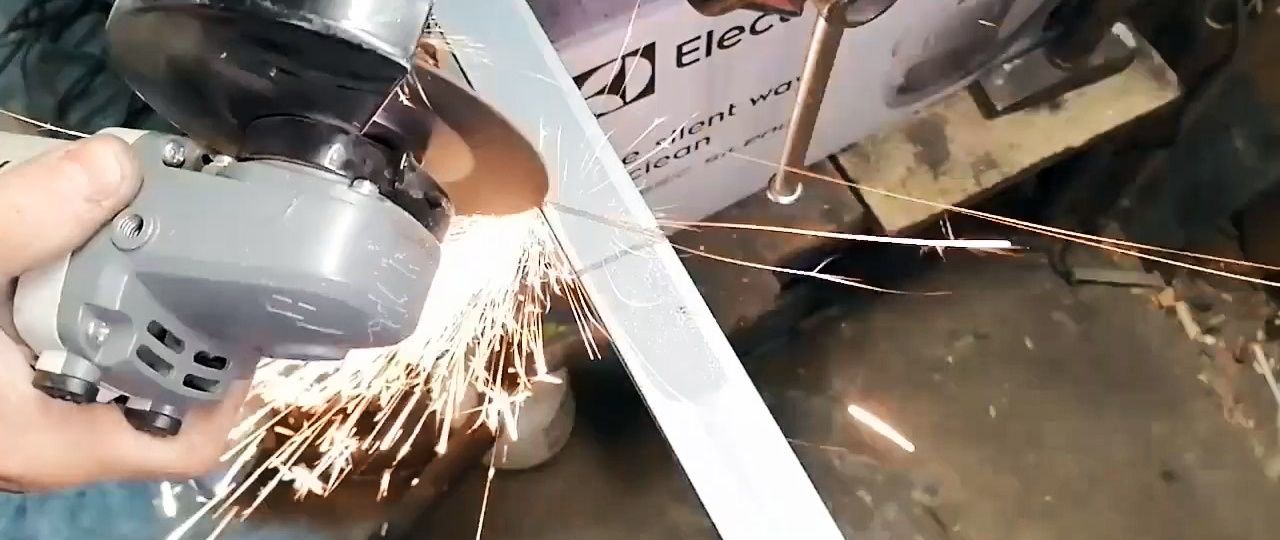


After this, you need to drill the M12 rod with an 8 mm drill to make 2 bushings for the rod. The runout of the drill in this case is only welcome, since an 8 mm rod should slide through them without any problems.


Bushings and a strip machined from the same strip must be welded to the frame blank. The last one has a groove as in the photo, which is necessary for the compression mechanism. A piece of strip is welded to the outer sleeve, which will serve as the handle of the clamp.
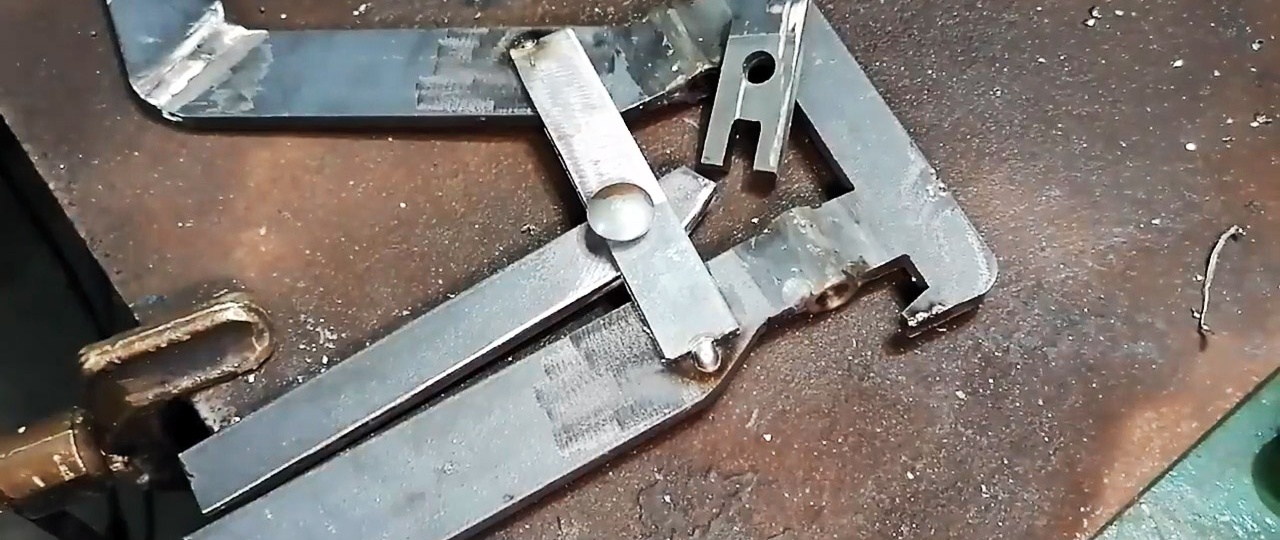
2 strip jumpers are welded between the handle and the main part of the frame. They need to be drilled in order to install the clamp lever on the rivet. The edge of the latter needs to be made pointed.


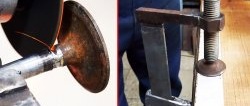
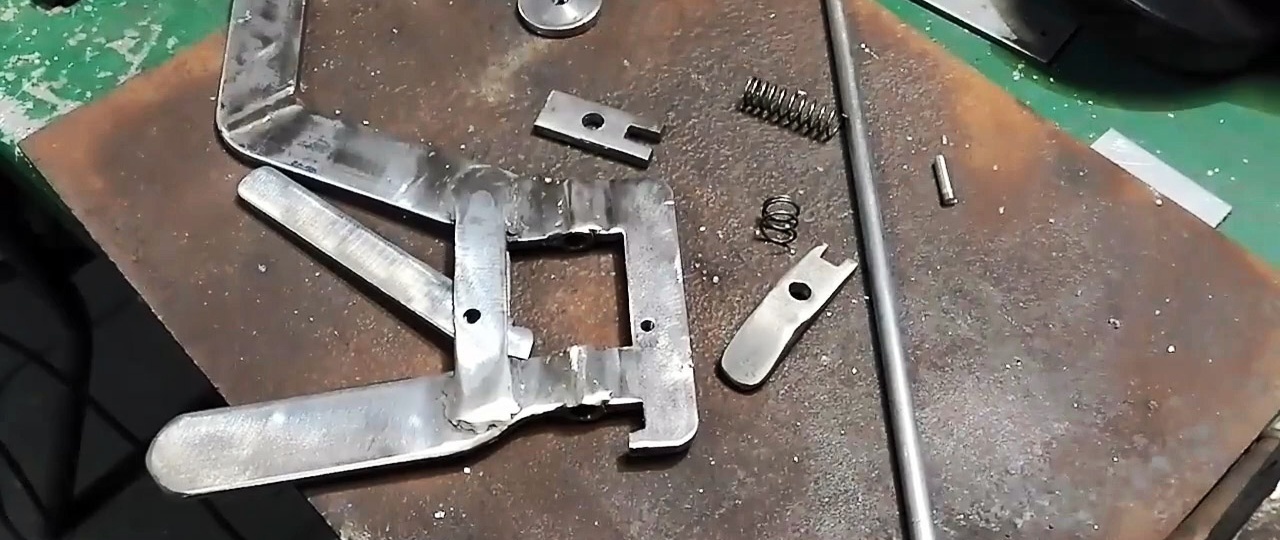
From the same strip, or preferably thicker sheet metal, it is necessary to cut and drill 2 parts for the clamp compression mechanism. One will work as a rod stopper, and the second will allow the clamp to be released. The last piece will need to be bent.

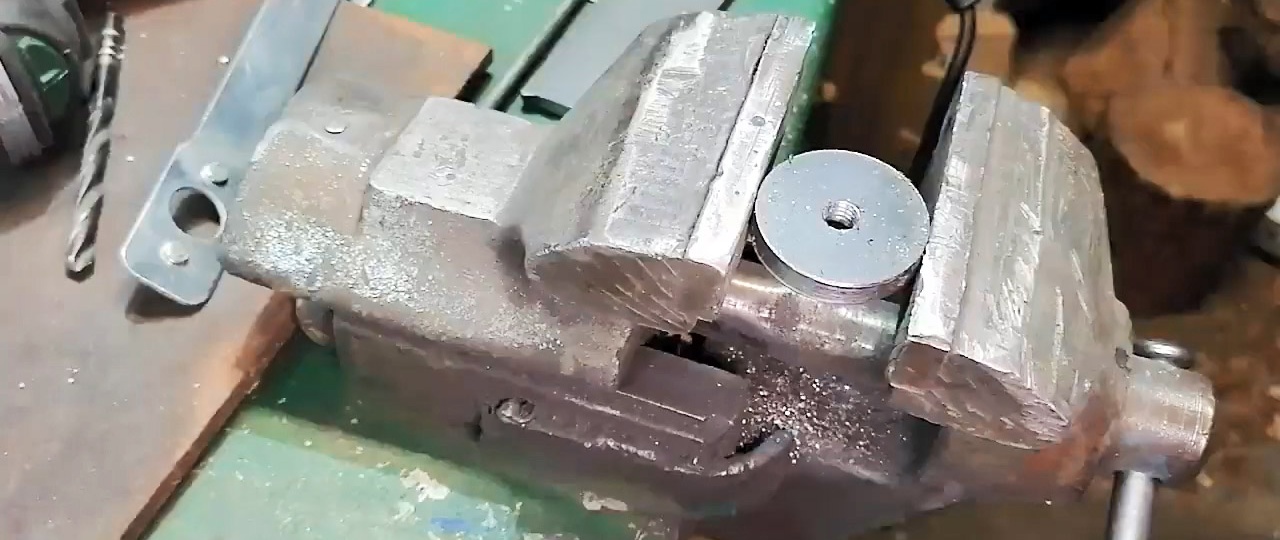
2 washers are drilled out of sheet steel using a core drill.

Then the compression mechanism is assembled with the two previously made parts, the rod and the spring. You will need to drill a hole in the frame to screw in the stopper.

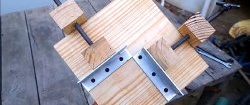
A thread is cut on the edge of the rod and a washer is screwed on. It will rest against the workpiece when compressed. The second washer is welded to the edge of the frame, on the contrary.

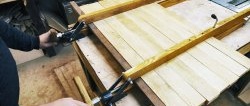
As a result, we get a quick-release clamp that works on the same principle as a store-bought one, only it is made of good thick material, so it can compress more strongly.
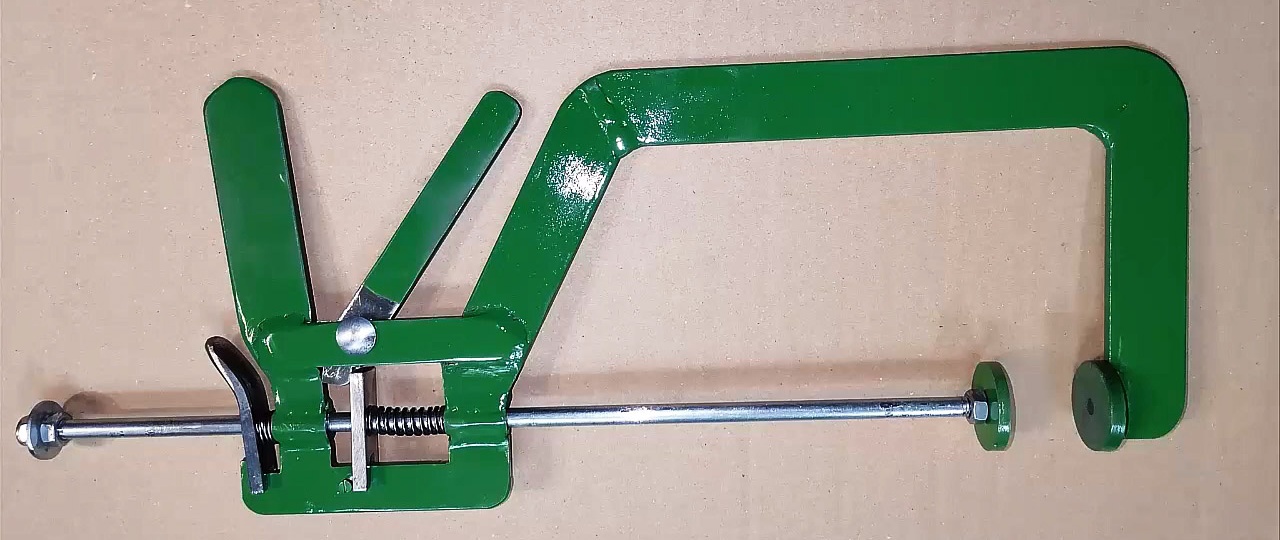
This is a reliable and, most importantly, maintainable design that has proven itself to be excellent.