To glue furniture panels you need a lot of powerful large clamps. They are expensive in the factory version, so even professional carpenters have to make do with homemade devices. We offer a design of reliable and cheap-to-manufacture clamps, of which only 2 pieces are required for gluing a panel.
Materials:
- Oak slats 50x20 mm – 4 pcs.
- sheet steel 3-5 mm;
- strip 2 mm of any width;
- threaded rods M12 20 cm – 2 pcs.
- steel bar 6 mm;
- extended nuts M12 – 4 pcs.;
- self-tapping screws 10 mm;
- bolts, nuts, washers M8.
Clamp manufacturing process
For one clamp you need to prepare 2 slats of oak or other hard wood.
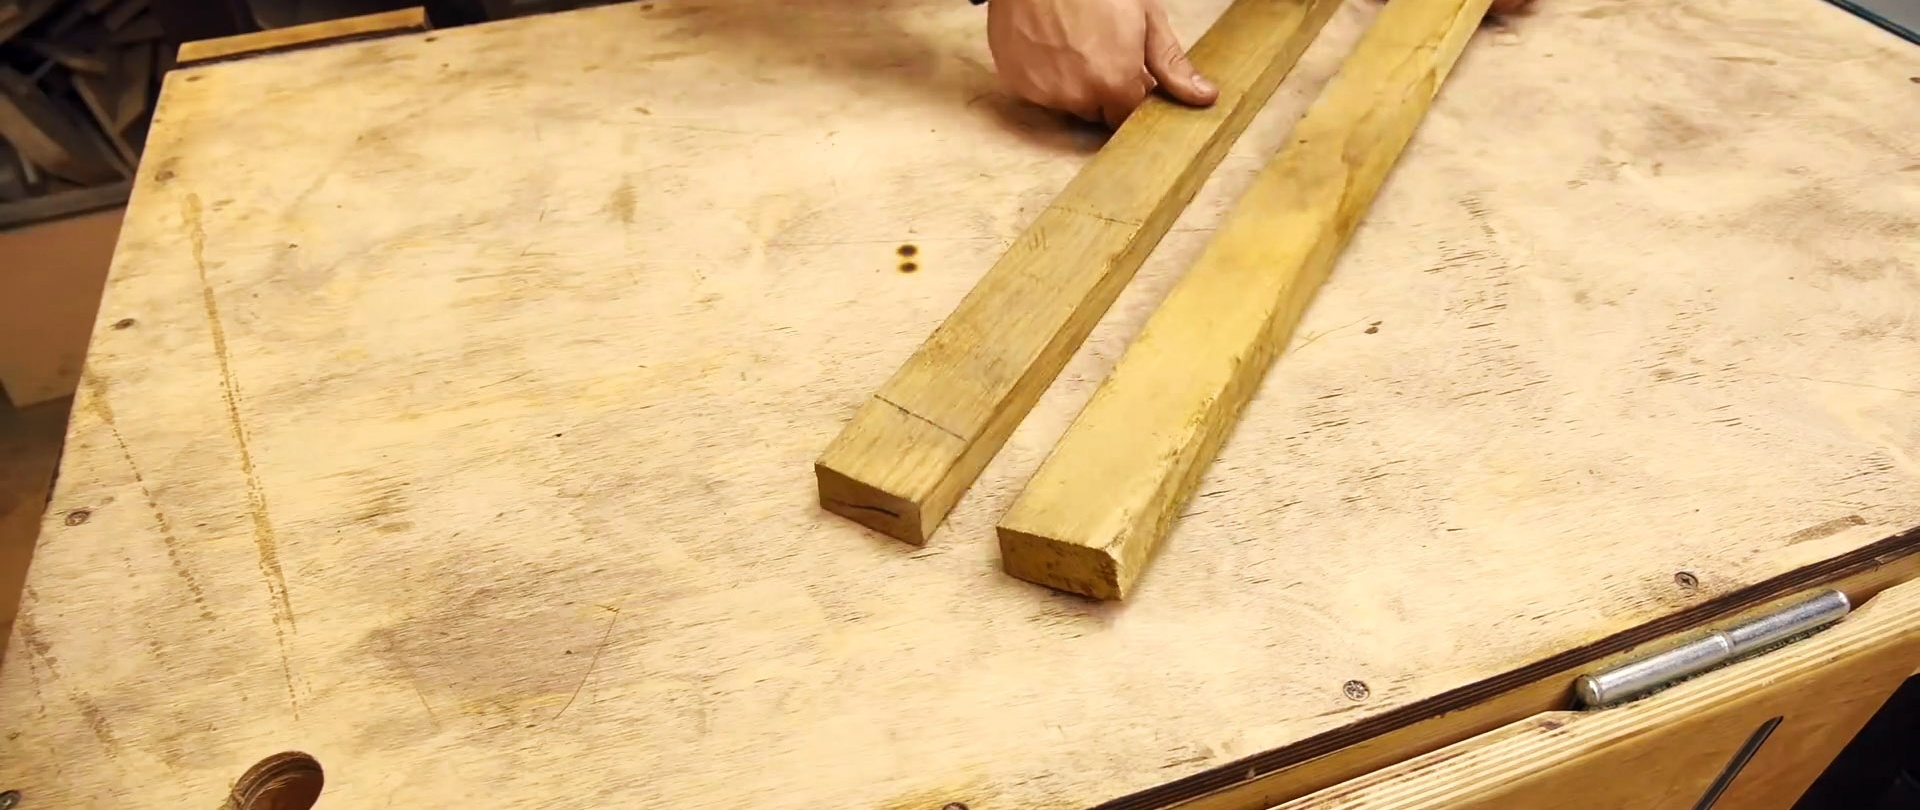
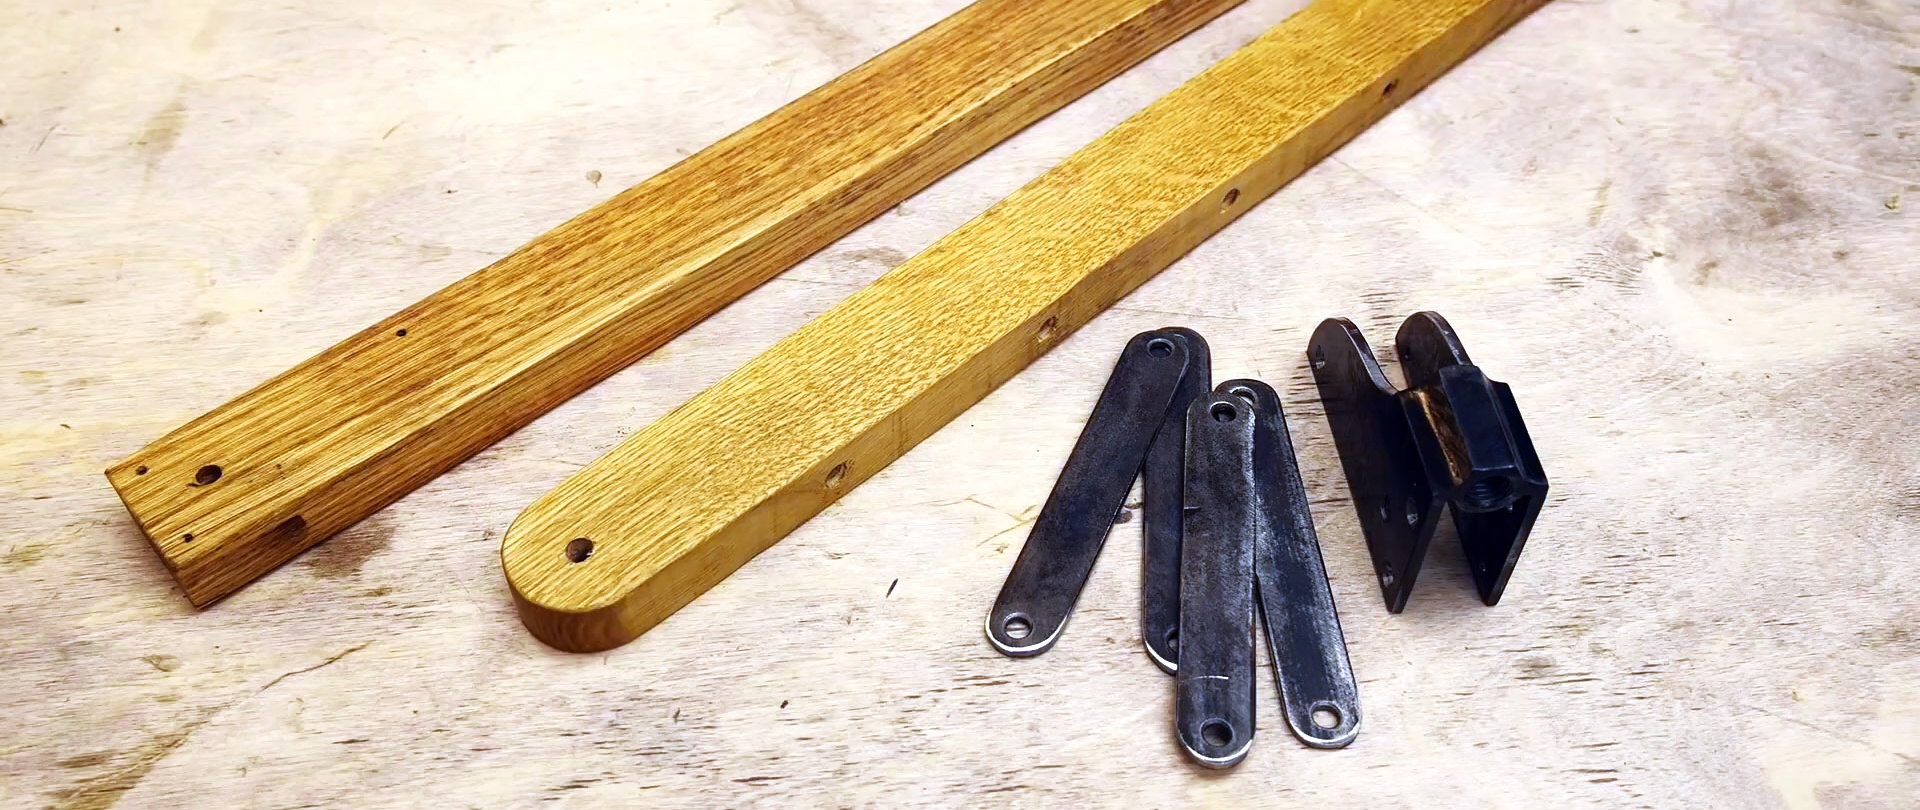
It’s better to assemble a couple of wires at once, so the number of all parts will need to be doubled. The length of the slats should be 20-30 cm greater than the planned maximum width of the board to be glued. You need to cut 2 corner fasteners from sheet steel.


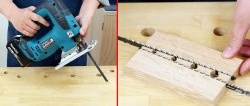
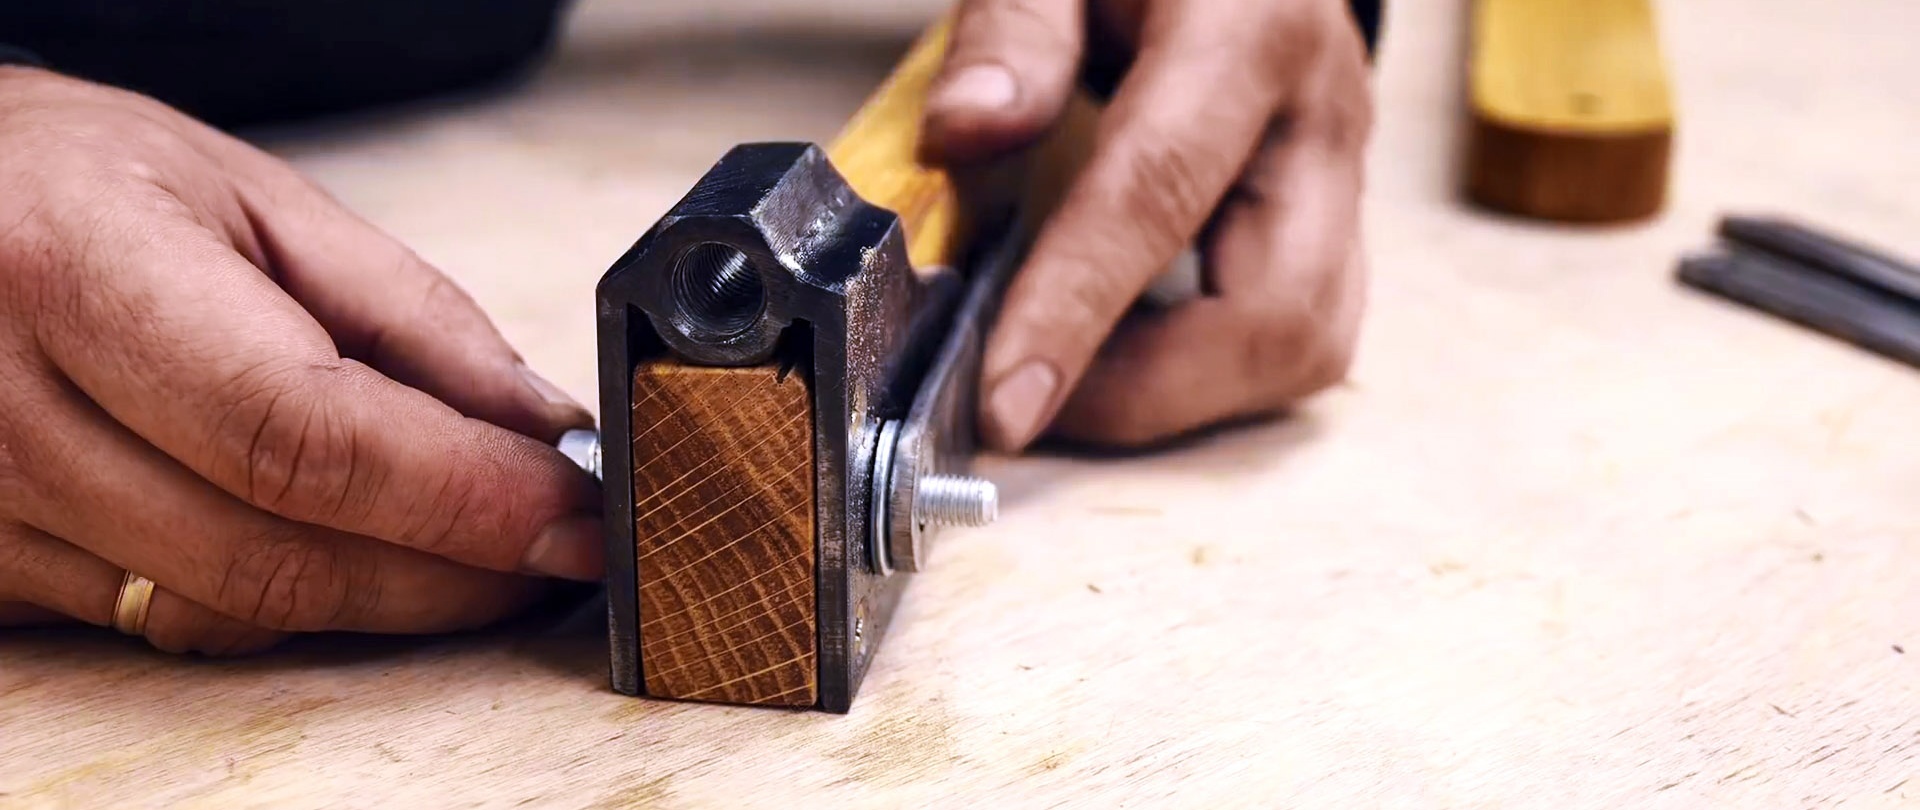
4 holes are drilled in them, as in the photo.

Both fastenings are installed on one rail.They are tightened through the central hole with a bolt, and short self-tapping screws are screwed into the rest. This rail will be the bottom of the clamp.
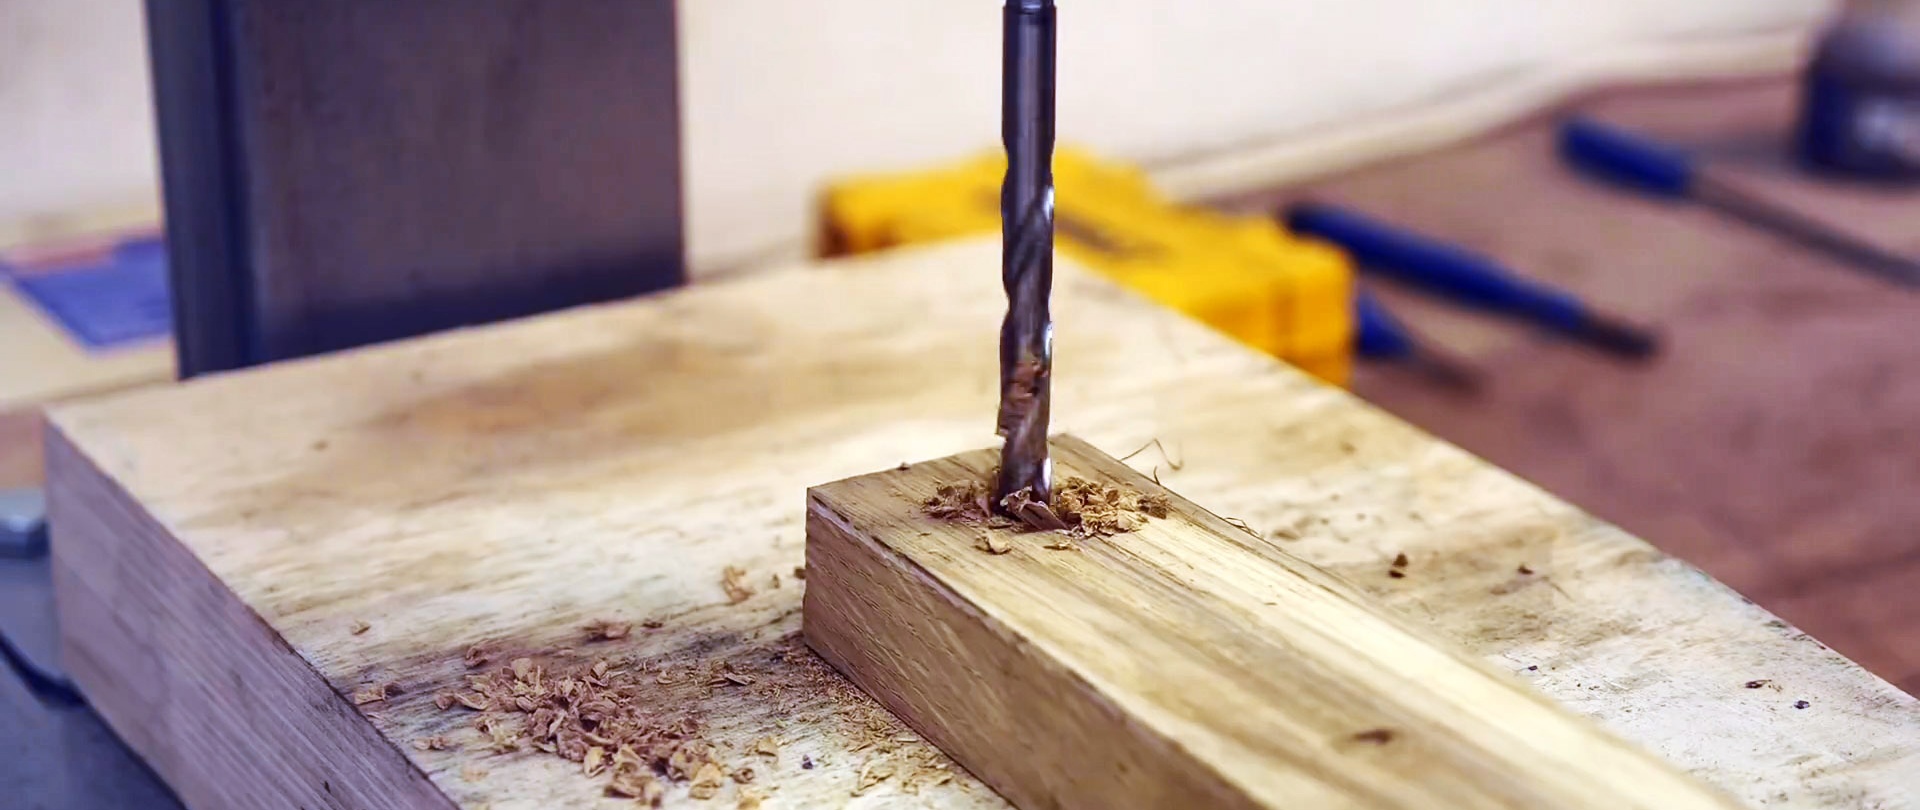

The upper rail of the wedge needs to be rounded at the ends and drilled along the edges for the bolts.

It is drilled from the side in 10 cm increments with a 7 mm drill for a stopper.

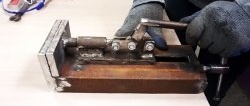
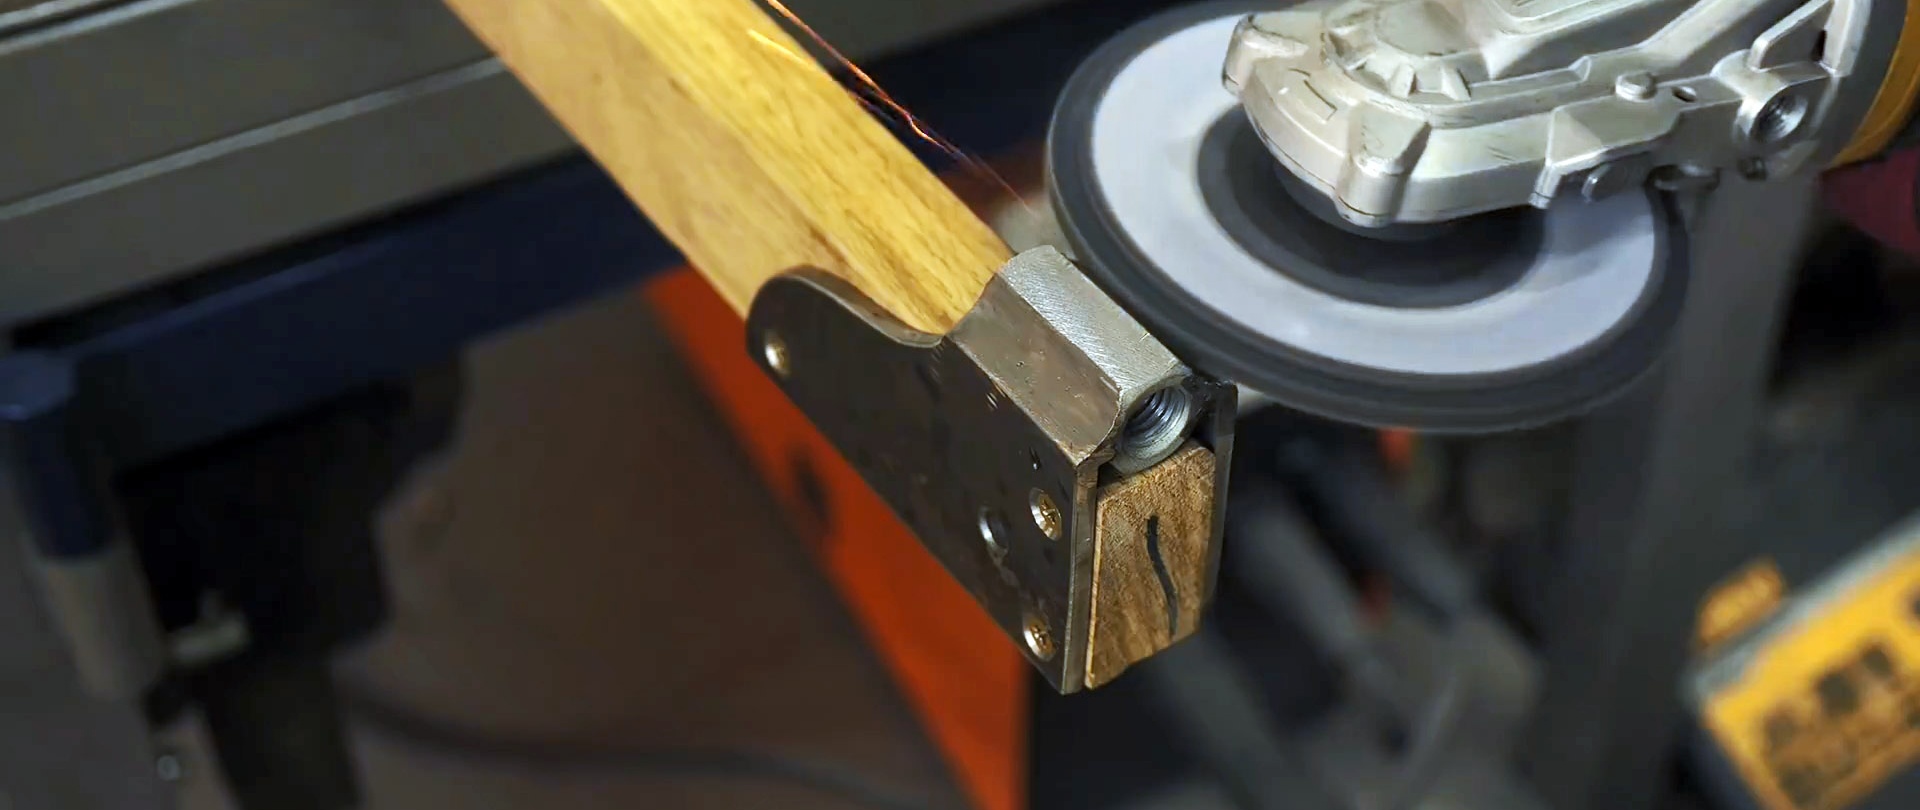
An extended nut is welded onto the screwed bottom rail mount. You need to cook it evenly so that when you screw the pin into it, it does not rest against the bars.

You need to make a handle to rotate the clamp from a piece of strip.


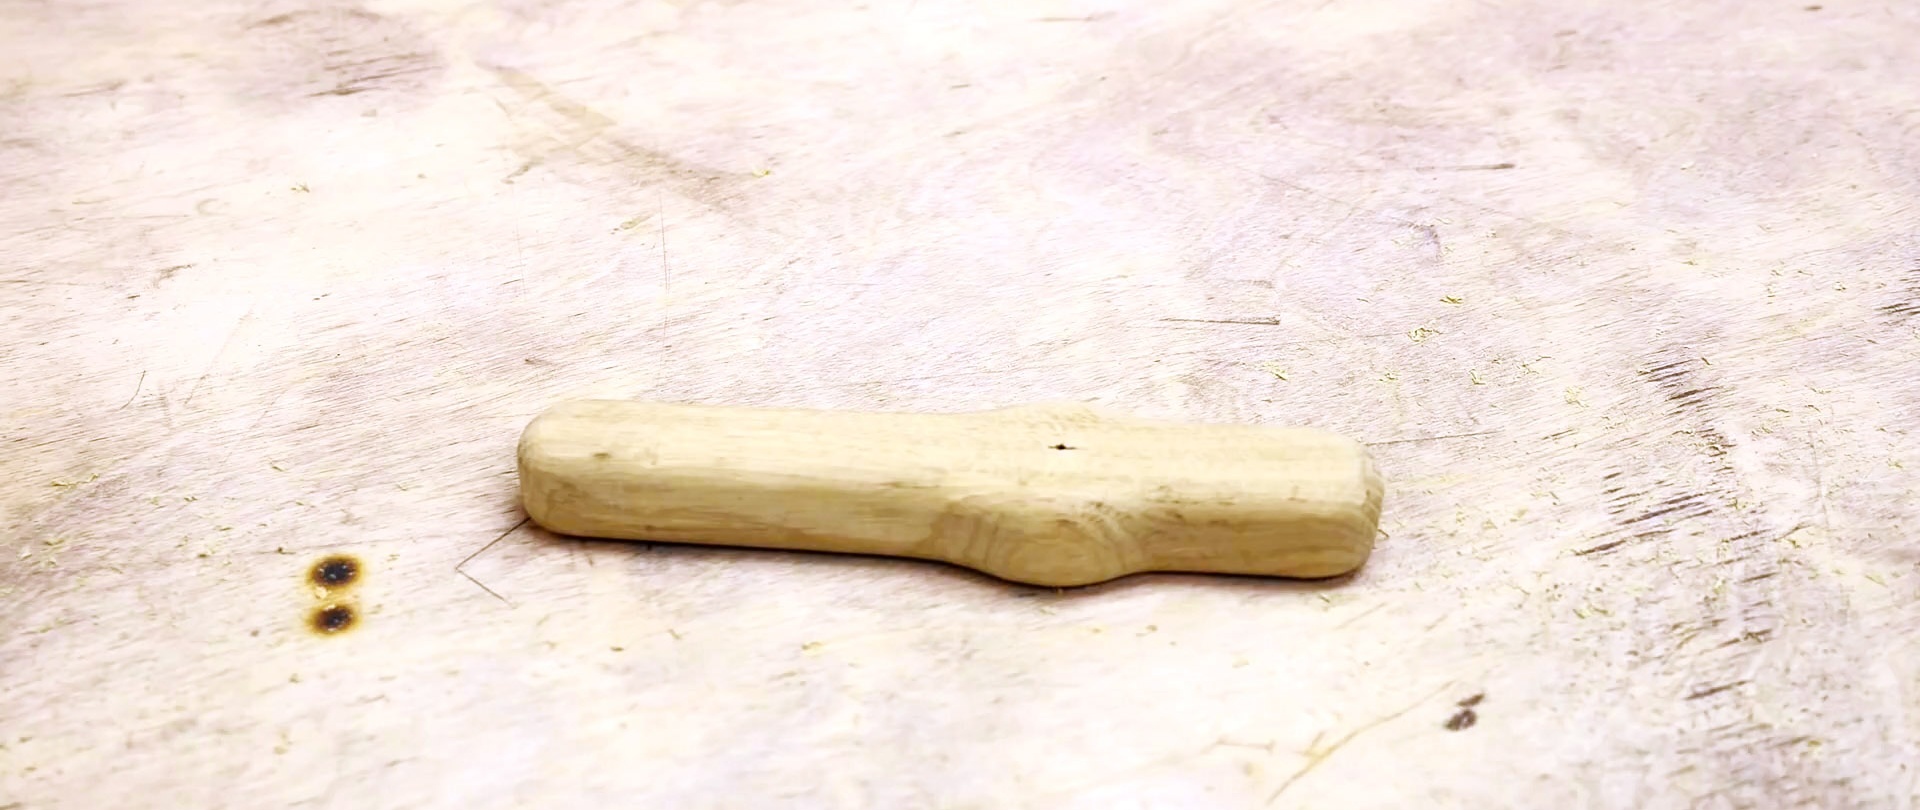
An elongated nut is glued into it using two-component glue. Then a hairpin is wrapped in it.

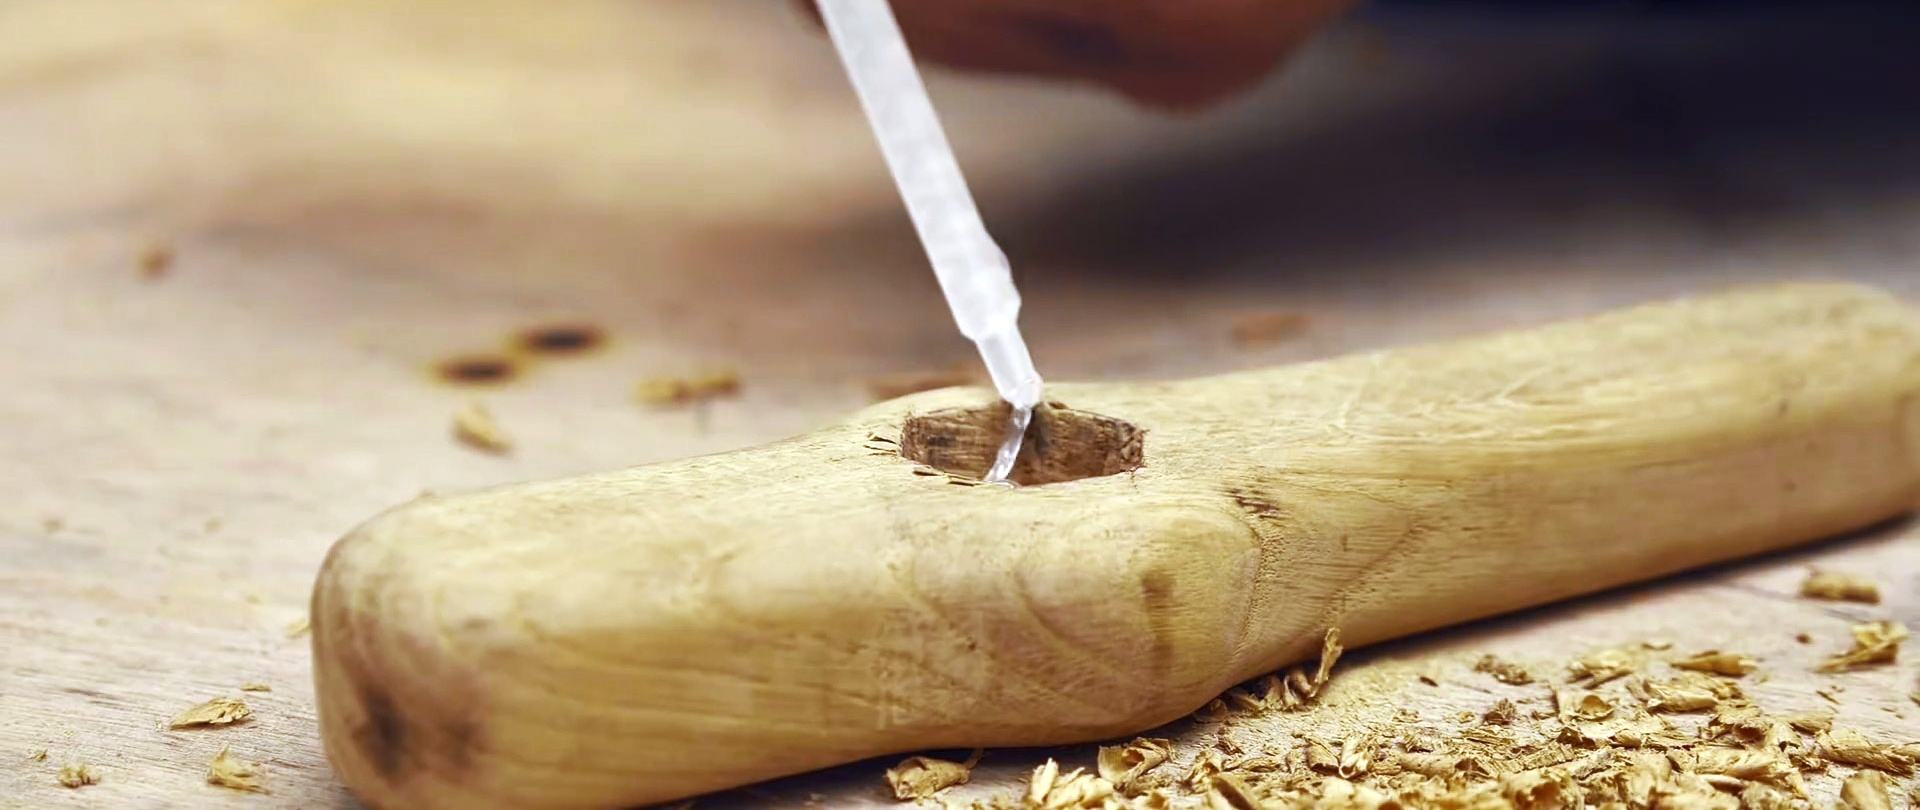
After this, you need to secure the connection by drilling through the side and installing a thin screw.


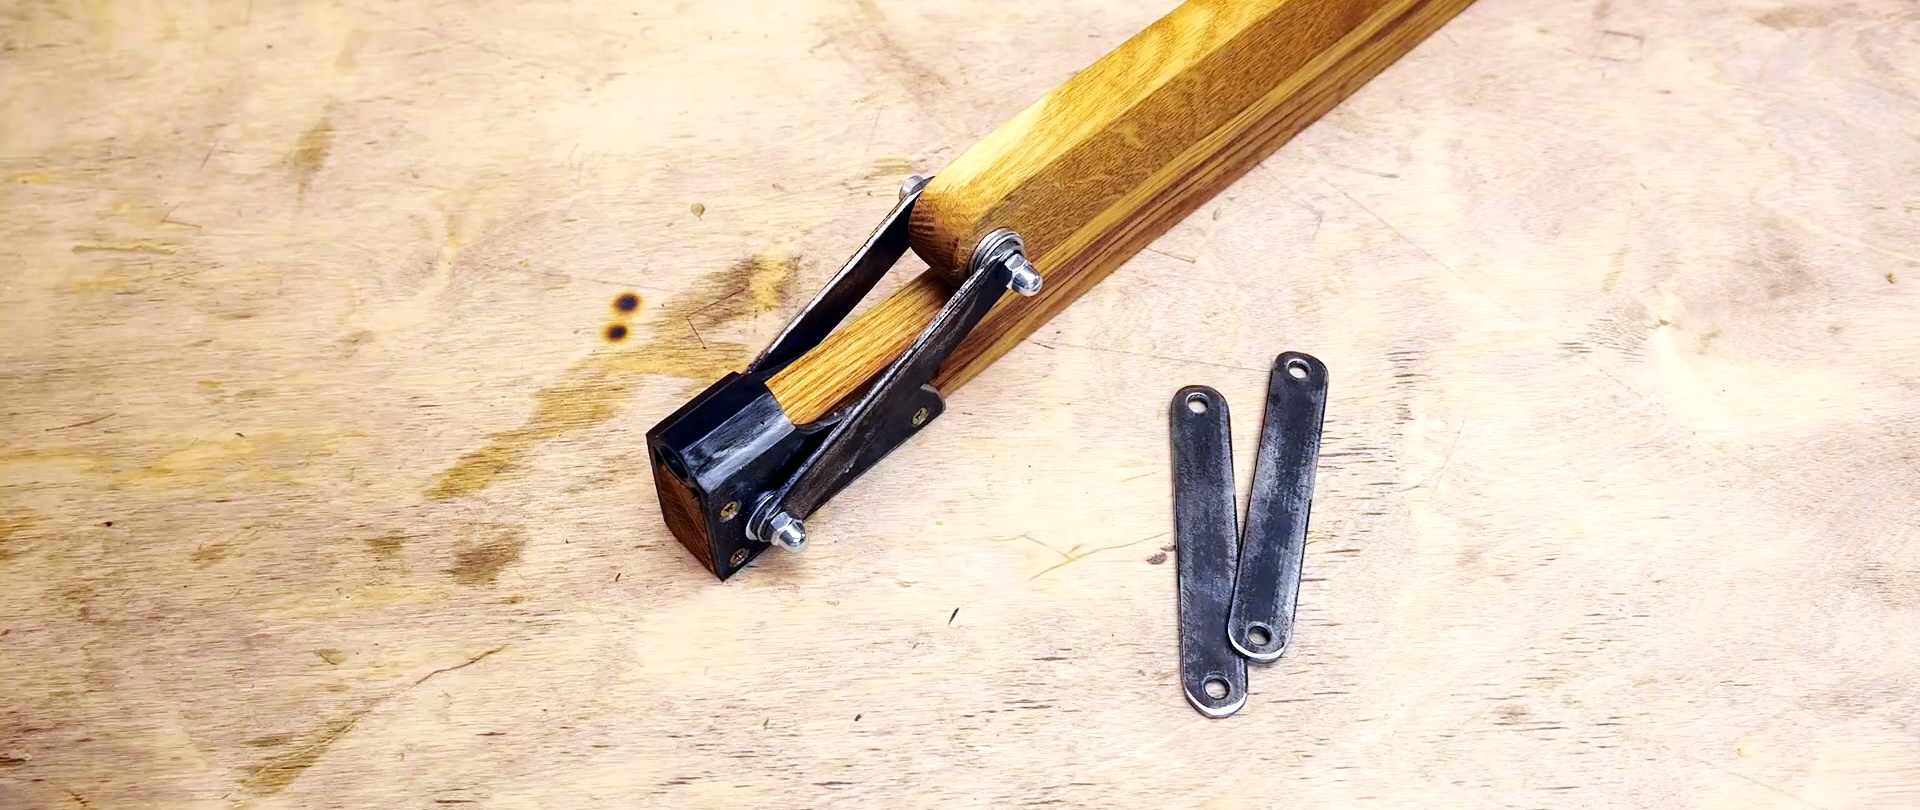
From a strip or sheet steel you need to make 4 levers of 12 cm each with holes at the edges. This length will be sufficient for gluing a panel of lamellas with a cross-section of 50 mm.
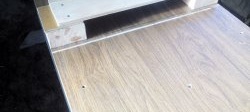
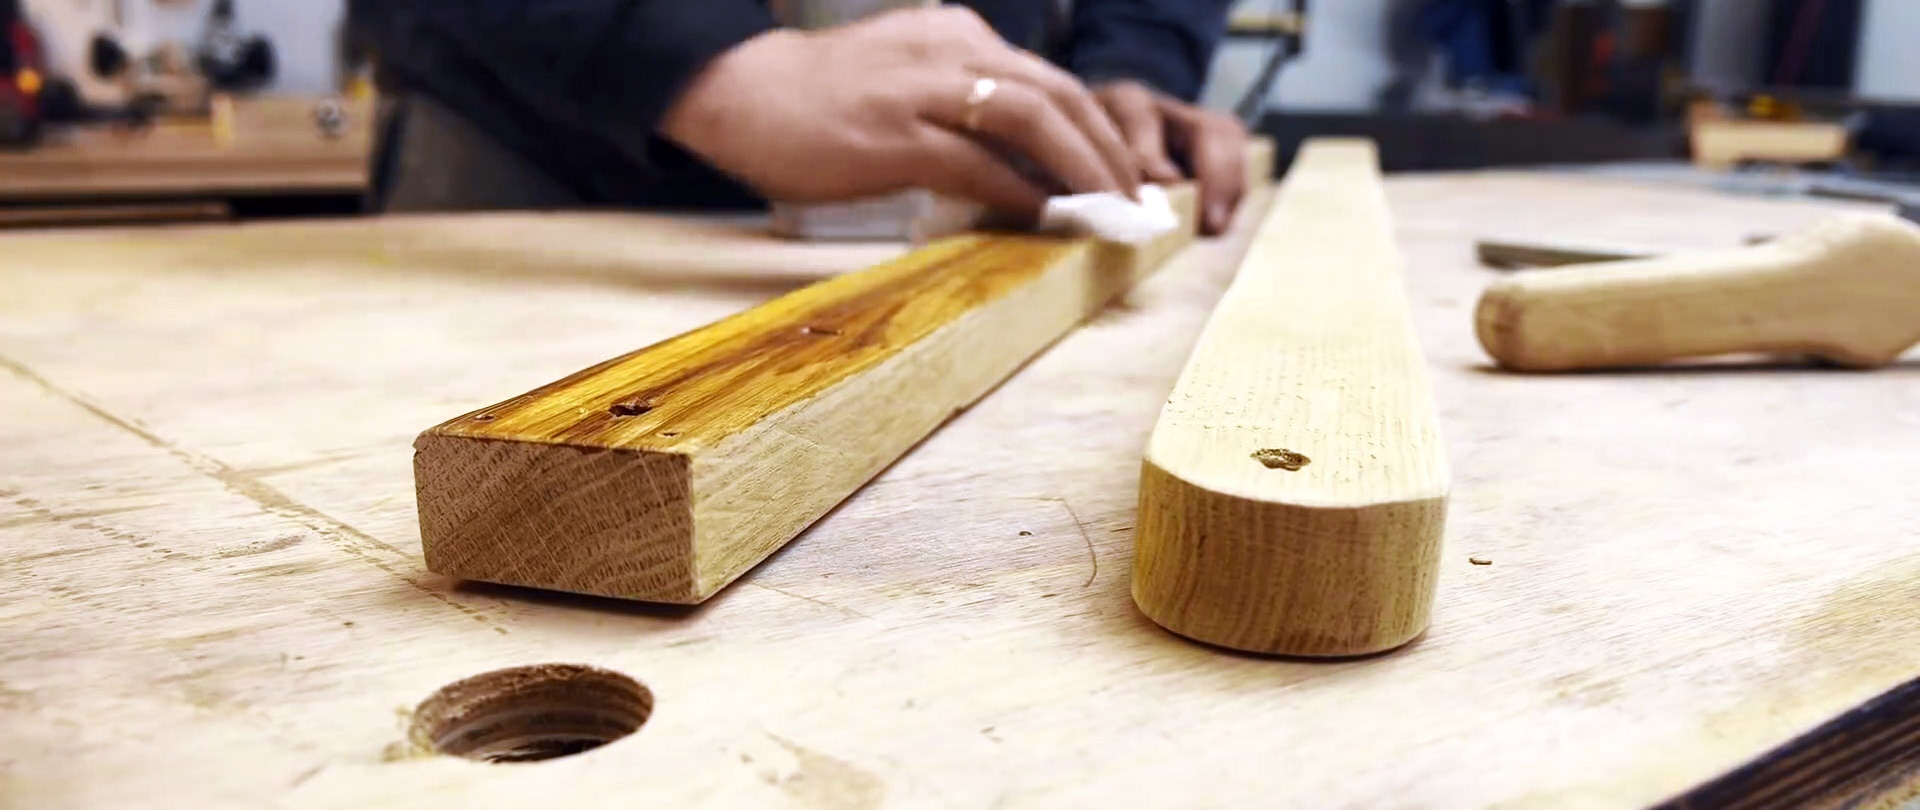
Wooden parts are impregnated with oil.
Then the slats are assembled onto the arms with preliminary installation of the welded fastener. After this, a pin with a handle is screwed into the nut.


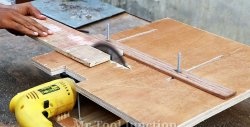
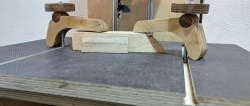
A pair of these clamps can be used to glue a shield together. It is important to place blocks before the first and behind the last lamella so as not to crush the lamellas. As a distant stop, rod stoppers are used, inserted into the side holes of the top rail. In front, the lamellas are tightened by screwing in the pins. Such a clamp not only compresses them together, but also keeps them flat. When gluing, you can unscrew the levers near the pin to make it more convenient to lay out the parts.