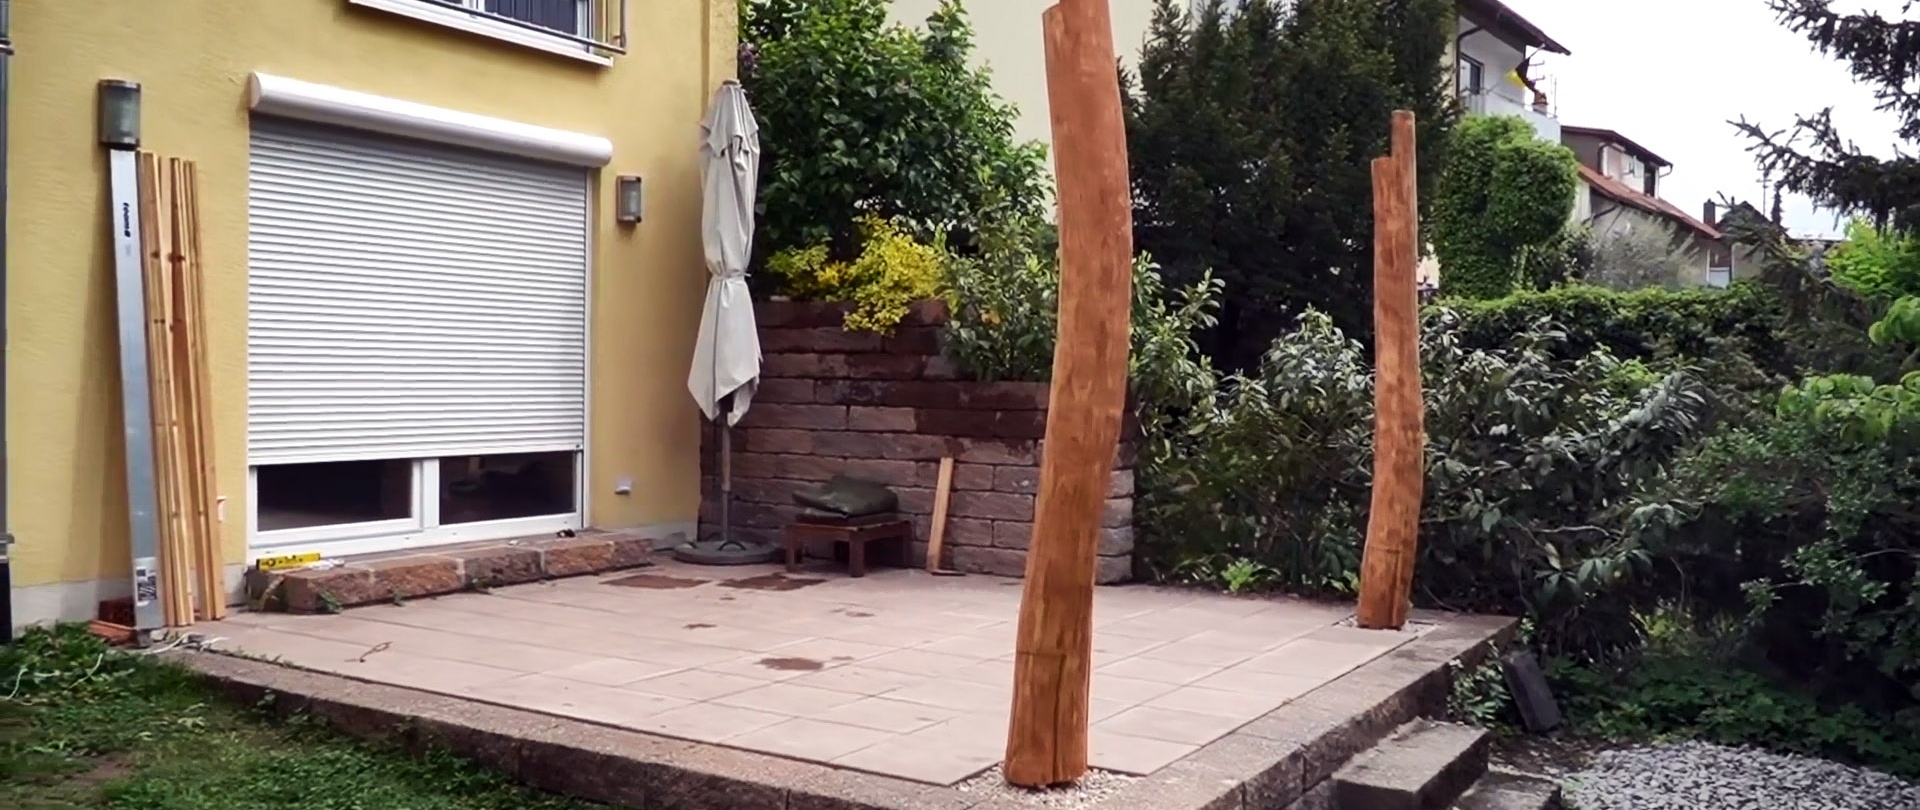
If you want to build a terrace using pillars made of crooked round timber, a problem arises with their installation. The irregular geometry of such supports looks very interesting and advantageous against the backdrop of a country house site, but creates difficulties during installation. The proposed method allows you to install the pillars 100% reliably, evenly, and in addition, it also prevents them from rotting.

Materials:
- Dry crooked round timber;
- wide steel strip;
- M12 studs;
- M12 nuts;
- nails;
- concrete.
Pole installation process
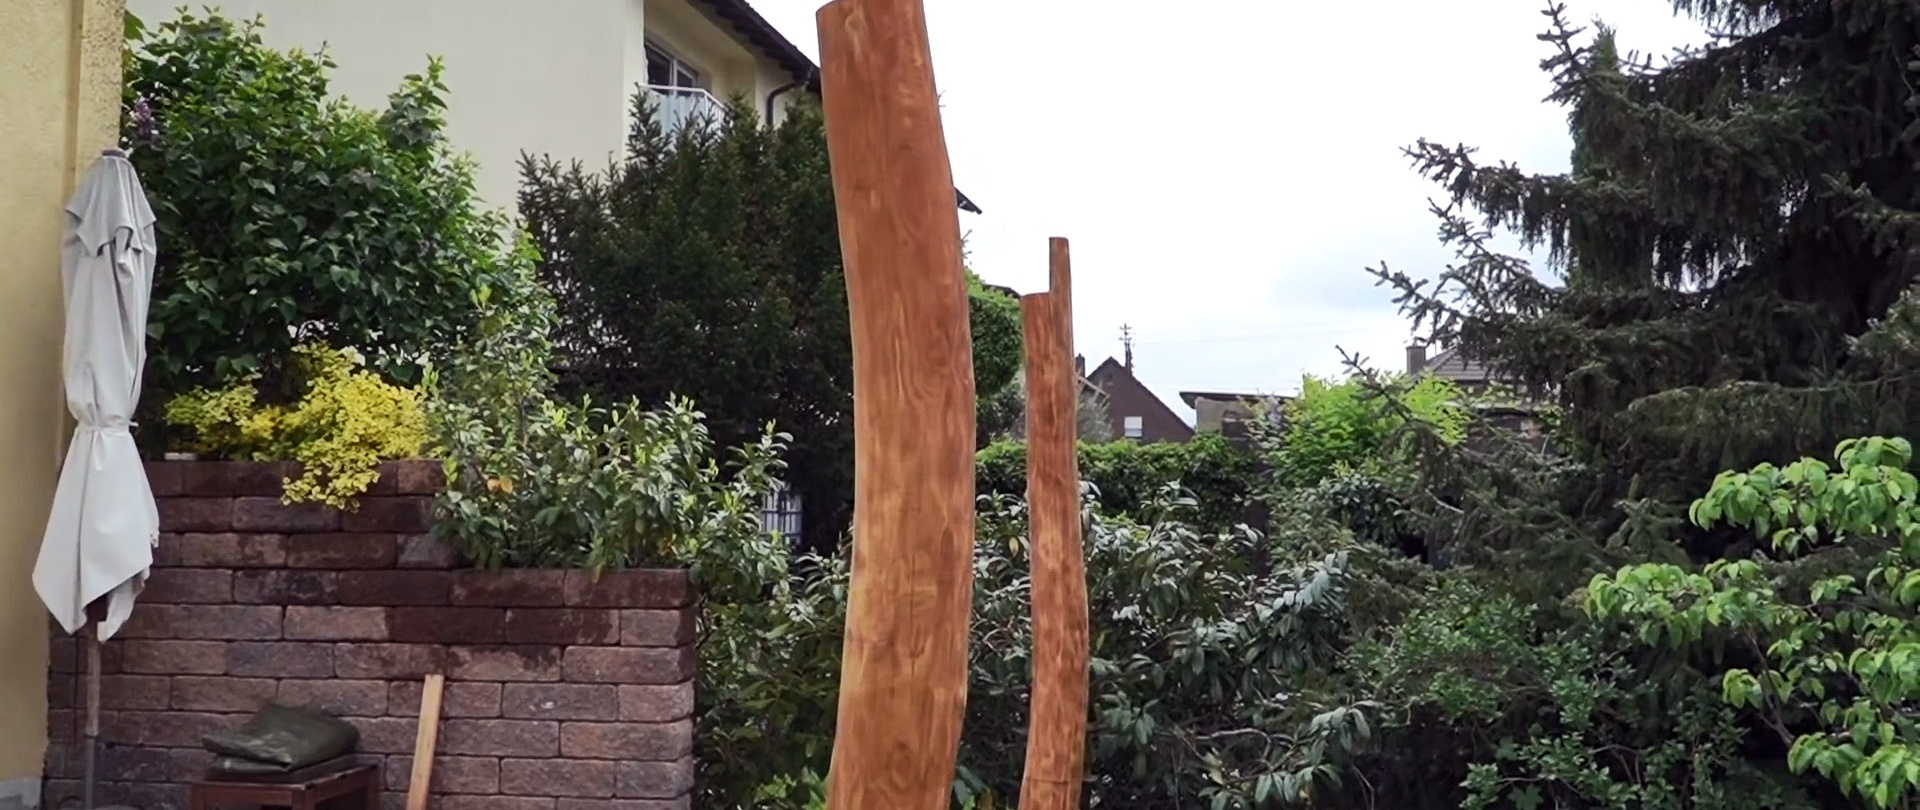
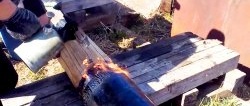
Construction The terrace begins with the installation of pillars. The supports must be positioned evenly and securely in order to mount the ceiling on them. The crooked round timber chosen for this needs to be dried and the bark removed from it.
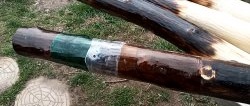
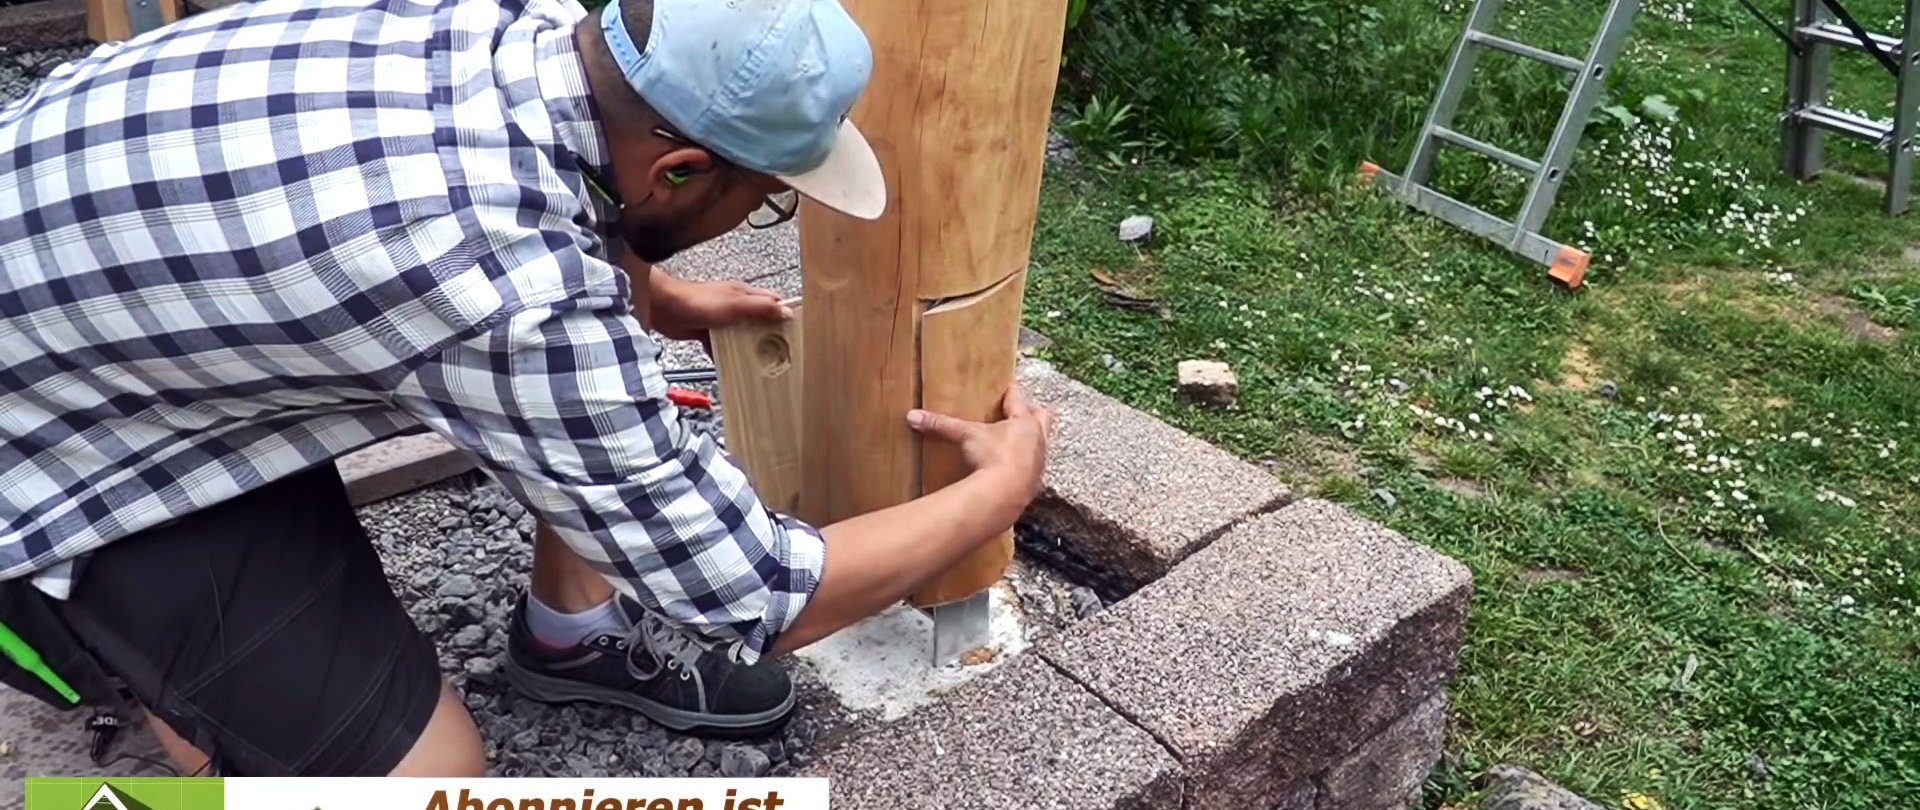
It is necessary to weld a mounting bracket for each post from a wide steel strip. It is made in the form of a ladder with two rungs. One half of it will be concreted, and a round timber will be screwed to the protruding second. The width of the fastening bracket is made 10-15 cm narrower than the cross-section of the pillar.

In order for the prepared post to fit into the bracket, it needs to be trimmed. To do this, its lower end is first leveled. If a crack appears on it, this part is sawed off.


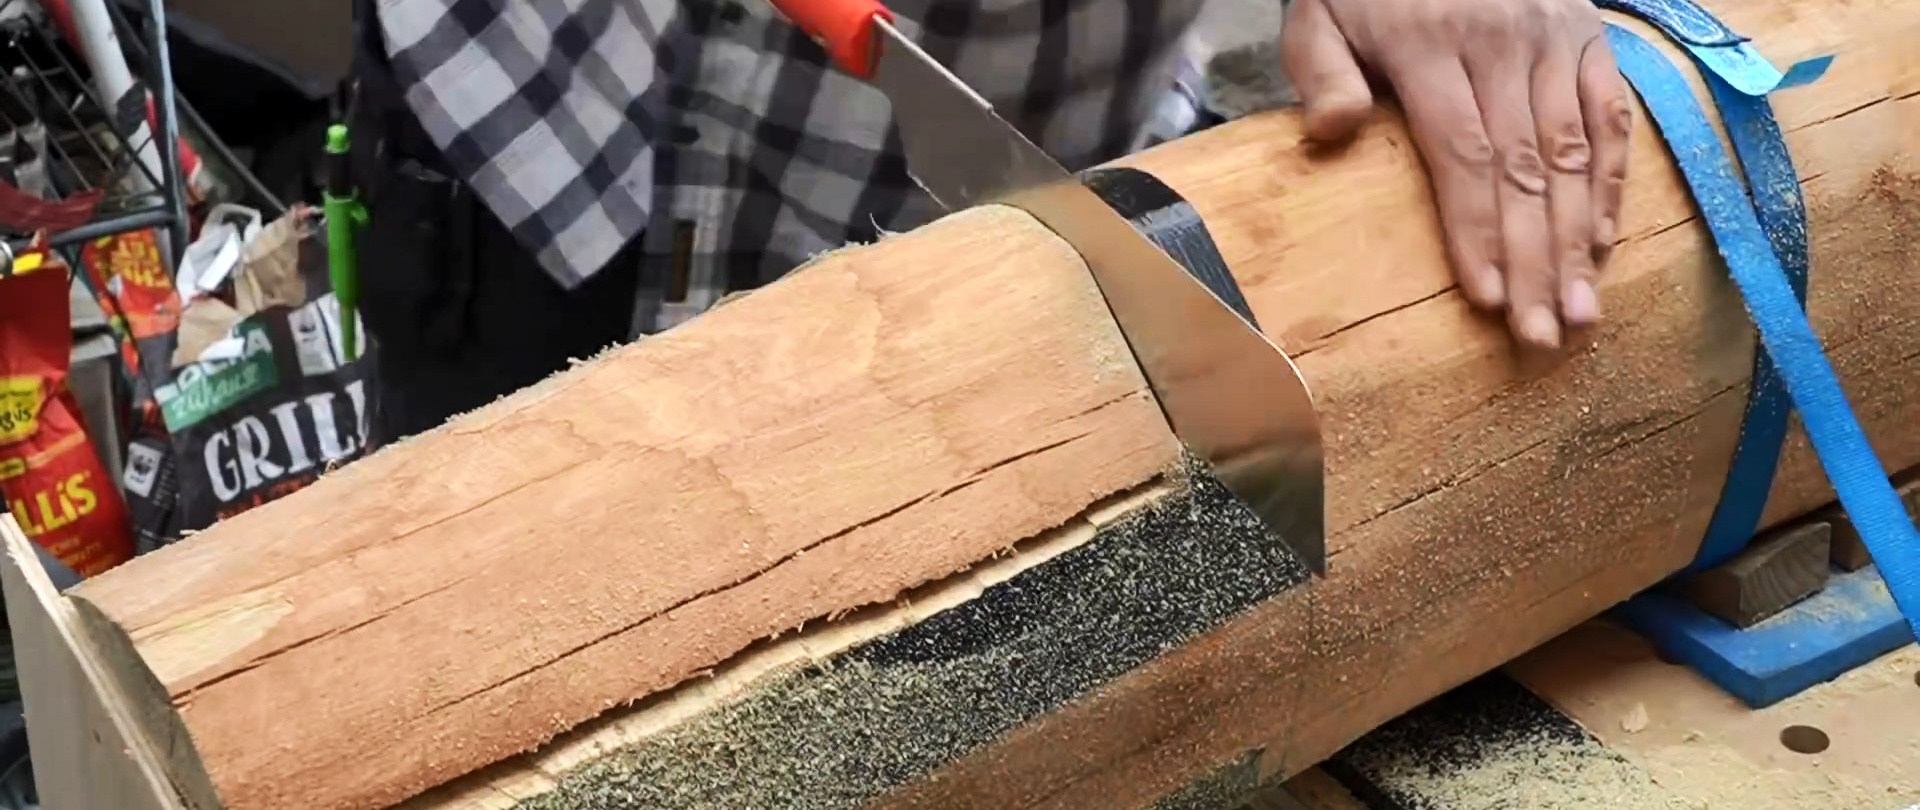
Then the excess thickness is cut out from the bottom of the post in the longitudinal direction, on both sides, to the length of the bracket. To avoid cutting crookedly, you should screw plywood templates to the round timber at the end and sides. This will allow you to trim with a hacksaw.
It’s even easier to mark the cutting line by gluing electrical tape and cutting out the bottom of the post with a chainsaw. If after sawing the staple does not fit, you can slightly modify the cut with a grinder and chisel.
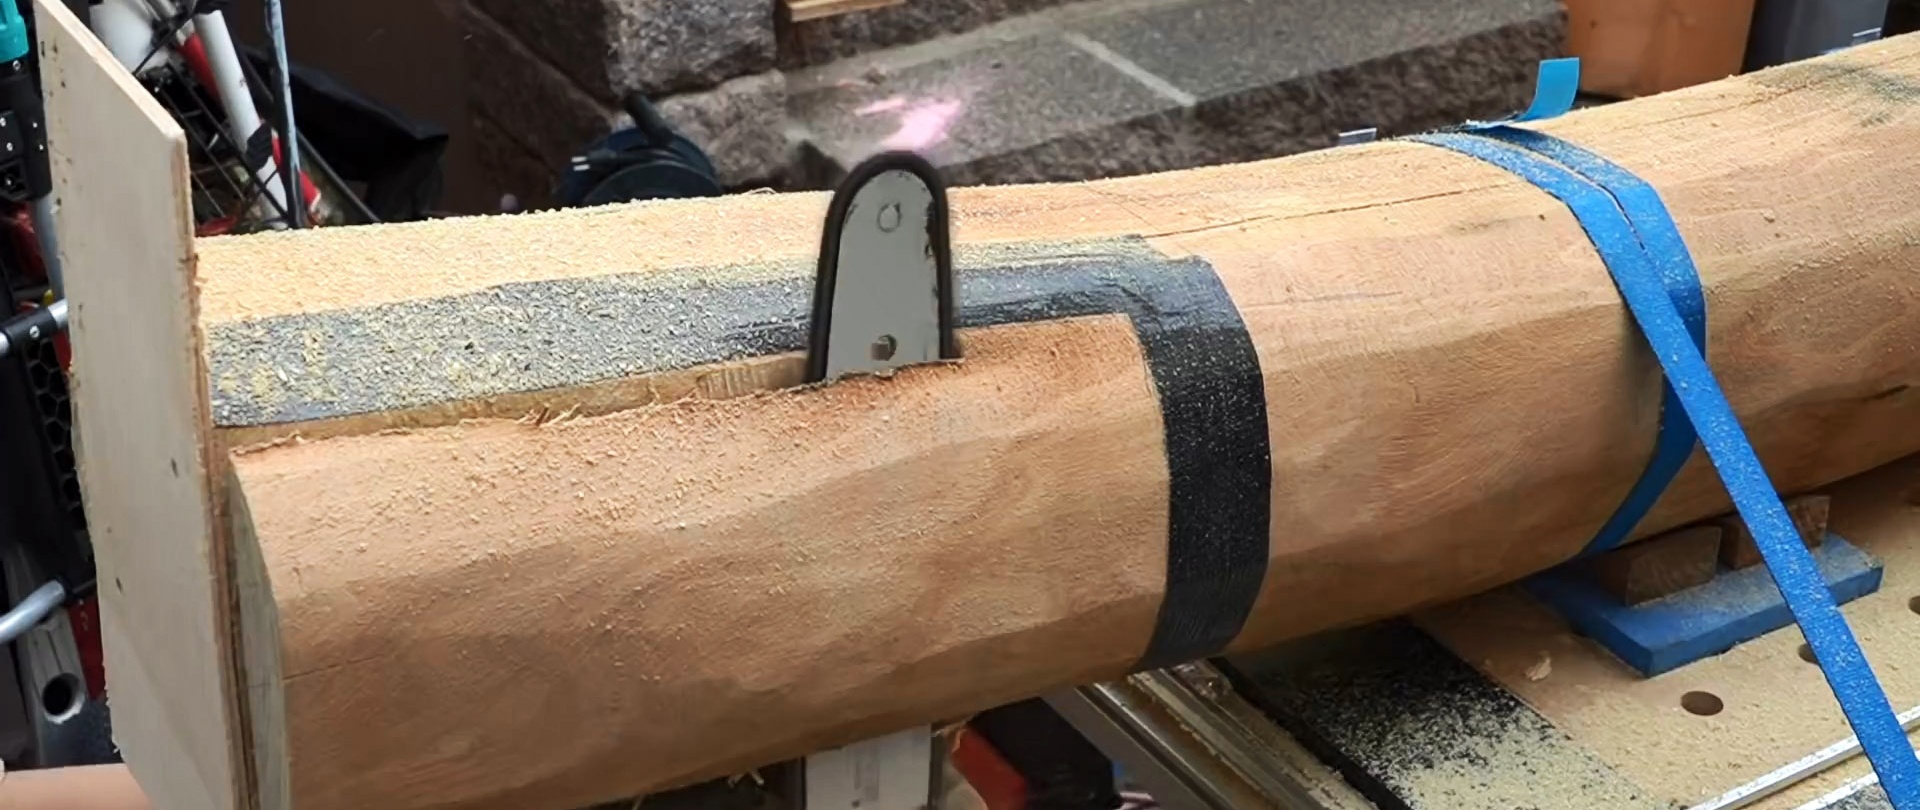
Please note that you need to file the post so that there is 3-5 cm left before the jumper of the bracket. It should seem to hang on the racks, and not rest against the bottom. This will prevent the wood from getting wet and rotting.

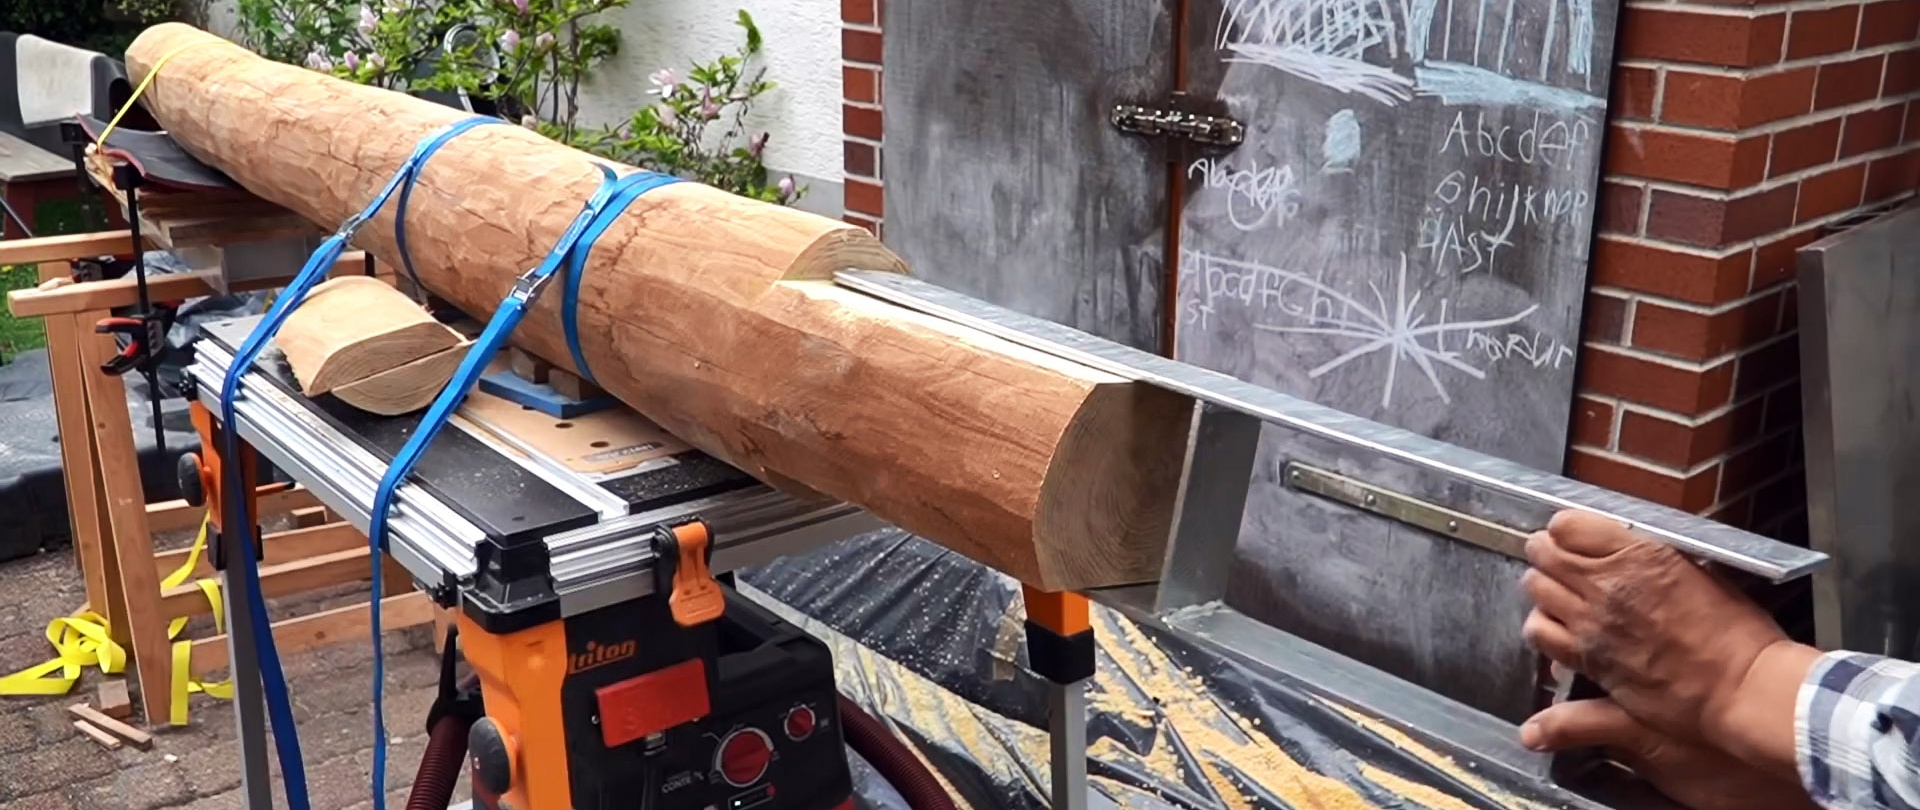
After preparing the lower end, the pole must be shortened at the top to the required length, and a groove must be made for mounting the ceiling. It is important to take into account that the round timber is curved, so the length is measured with a stretched, and not sagging, tape measure.
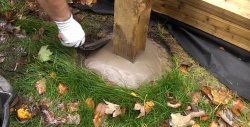
At the location of the terrace supports, the brackets must be concreted; after the concrete has set, pillars are installed in them.
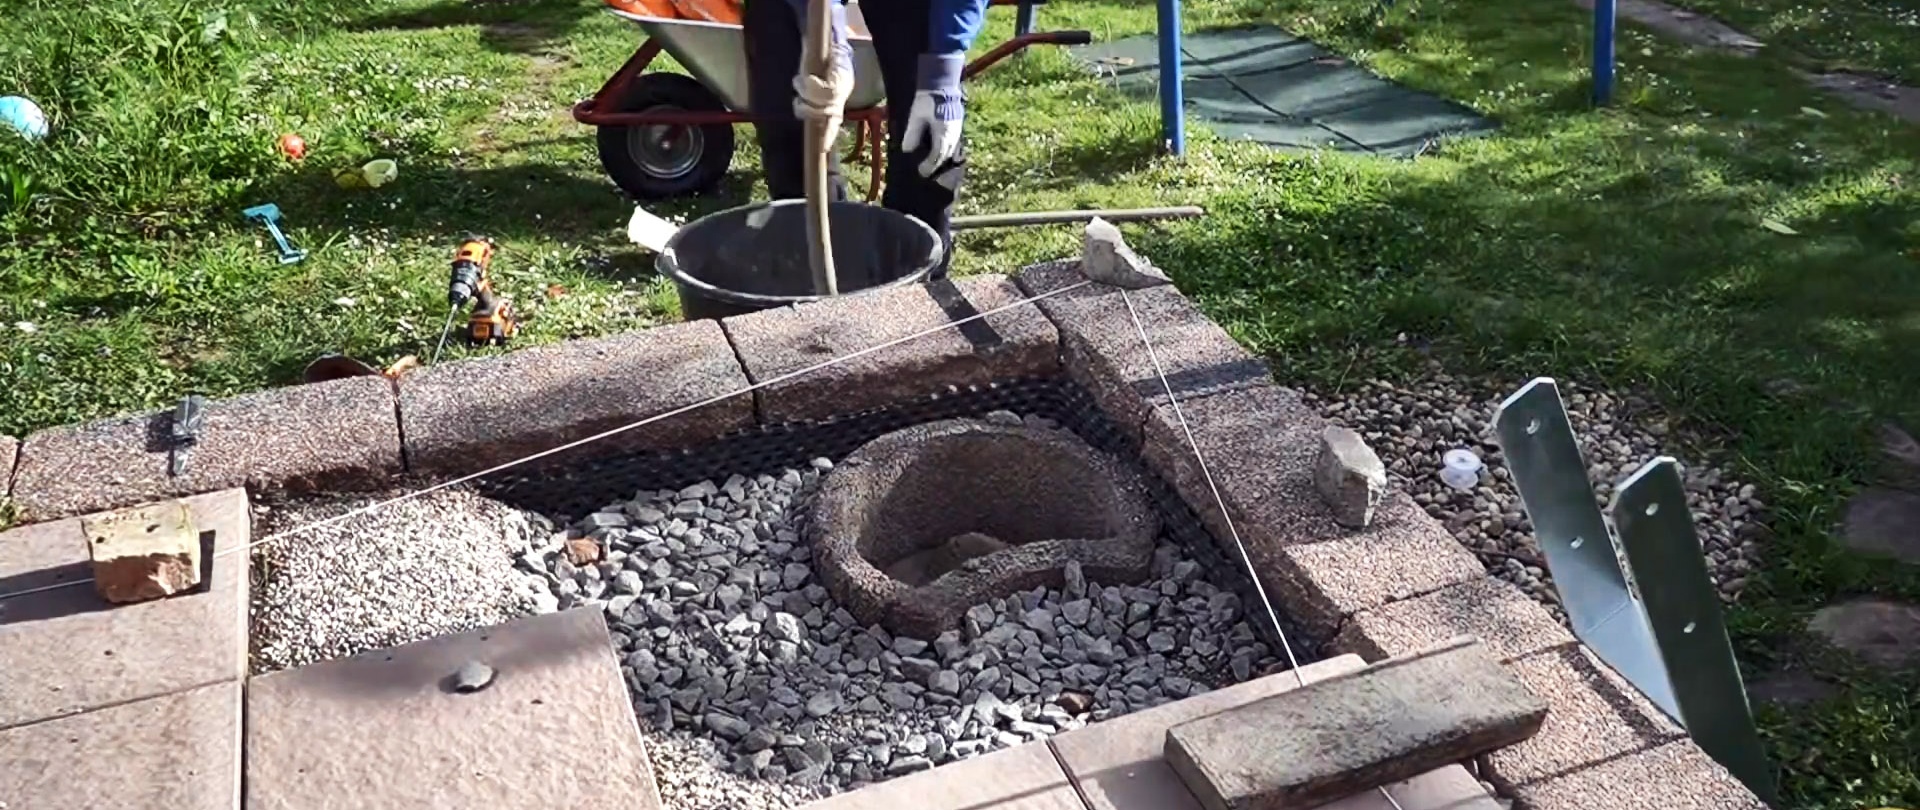

They are aligned vertically along a plumb line, and twisted with staples with a pair of pins.


The previously cut sides of the pillars are applied on top as overlays. They will close the bracket. To do this, blind holes are drilled in them for the nuts so that they fit tightly to the supports. You can secure the overlays with a pair of nails with a sawed-off head, which will make them less noticeable.

Supports installed in this way will not go anywhere. At the same time, they will not be constantly wet from below, due to which they will last even longer than the house to which the terrace is attached.