For cutting small plywood blanks, sawing slats and other small things, it is convenient to use a homemade jigsaw machine. At first glance, a homemade product of this level is quite complex, and it usually involves the use of a welding machine in production, and sometimes even the involvement of a turner. The proposed design of a jigsaw machine, in addition to the engine and file, consists almost entirely of wood. That is, anyone can do it, even without basic power tools.

Basic materials:
- Electric motor DC 775 -
- power supply 12 V - http://alii.pub/5nigpc
- connector for the power supply plug;
- motor bracket;
- push-button switch;
- plywood 6 mm;
- rail 15x25 mm or 15x30 mm;
- jigsaw files;
- Super glue;
- wood screws;
- rod 4-5 mm;
- compression spring.

Jigsaw manufacturing process
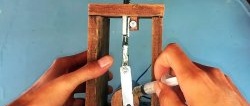
The sole of the machine measuring 18x13 cm is cut out of plywood, no less, provided that such a motor is used. You need to screw the engine bracket to it. Then the electric motor itself is installed on it. Its side with the protruding shaft should be directed towards the edge of the sole.

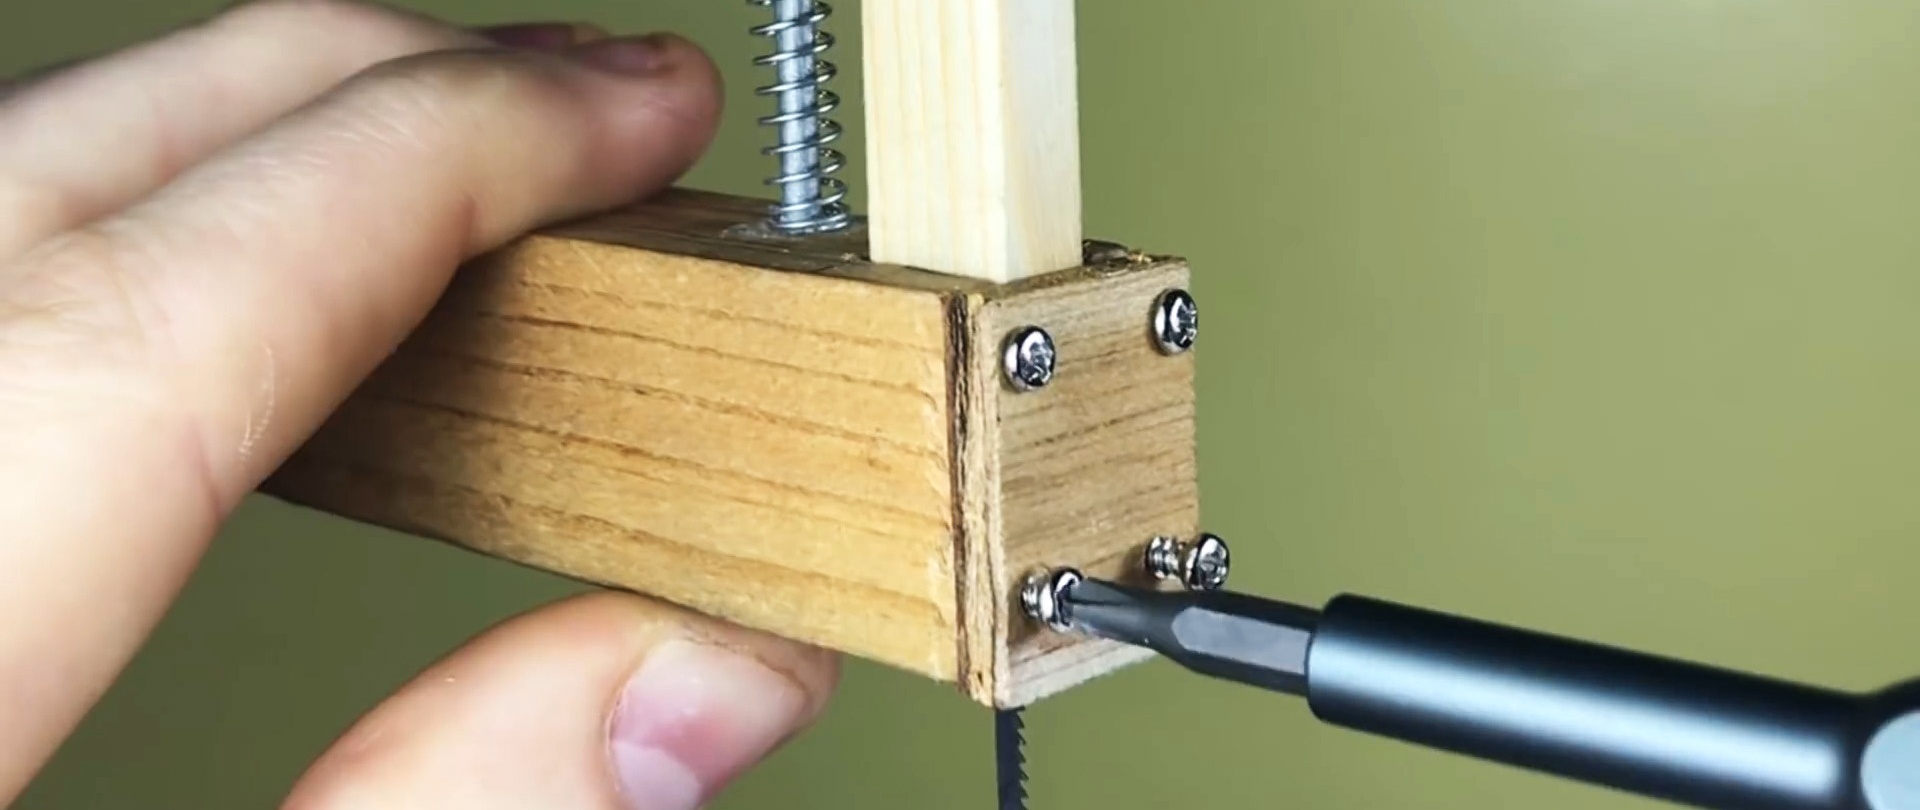
Along the continuation line of the shaft, on its short side, it is necessary to screw a board 8x6x1.5 cm to the sole with self-tapping screws. The holes for the screws must be countersunk so that their heads do not protrude.


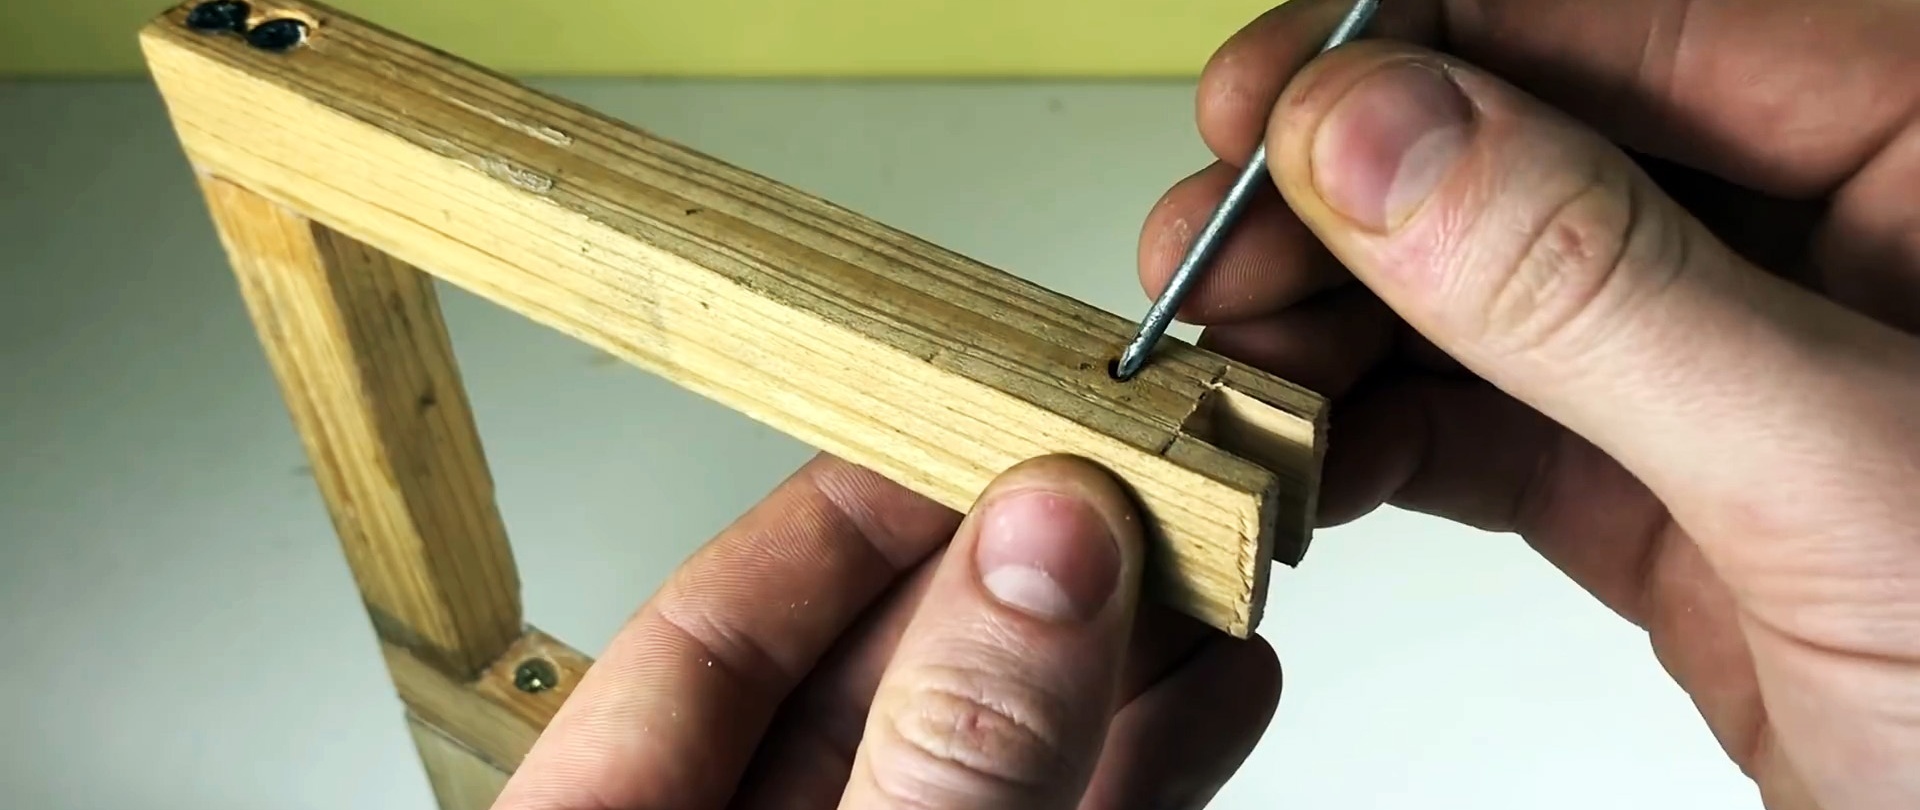
3 parts are sawn from the slats. Two of them are 15 cm long and one is 10 cm. At one end of the long blanks you need to cut a groove of an even rectangular cross-section, as for connecting to a tenon. Then an L-shaped part is assembled from a short and one long strip. It is very convenient to first glue them together with superglue, and only then drill and tighten them with self-tapping screws.

The current part is glued and then screwed onto the board previously attached to the sole. As a result, the groove on the long rack should be located above the motor shaft.

The remaining long one with a groove is screwed onto the short vertical rail. 2 screws are enough. Before the groove, it is necessary to drill the top rail, but not all the way through, and glue a piece of rod 6-10 cm long into it.
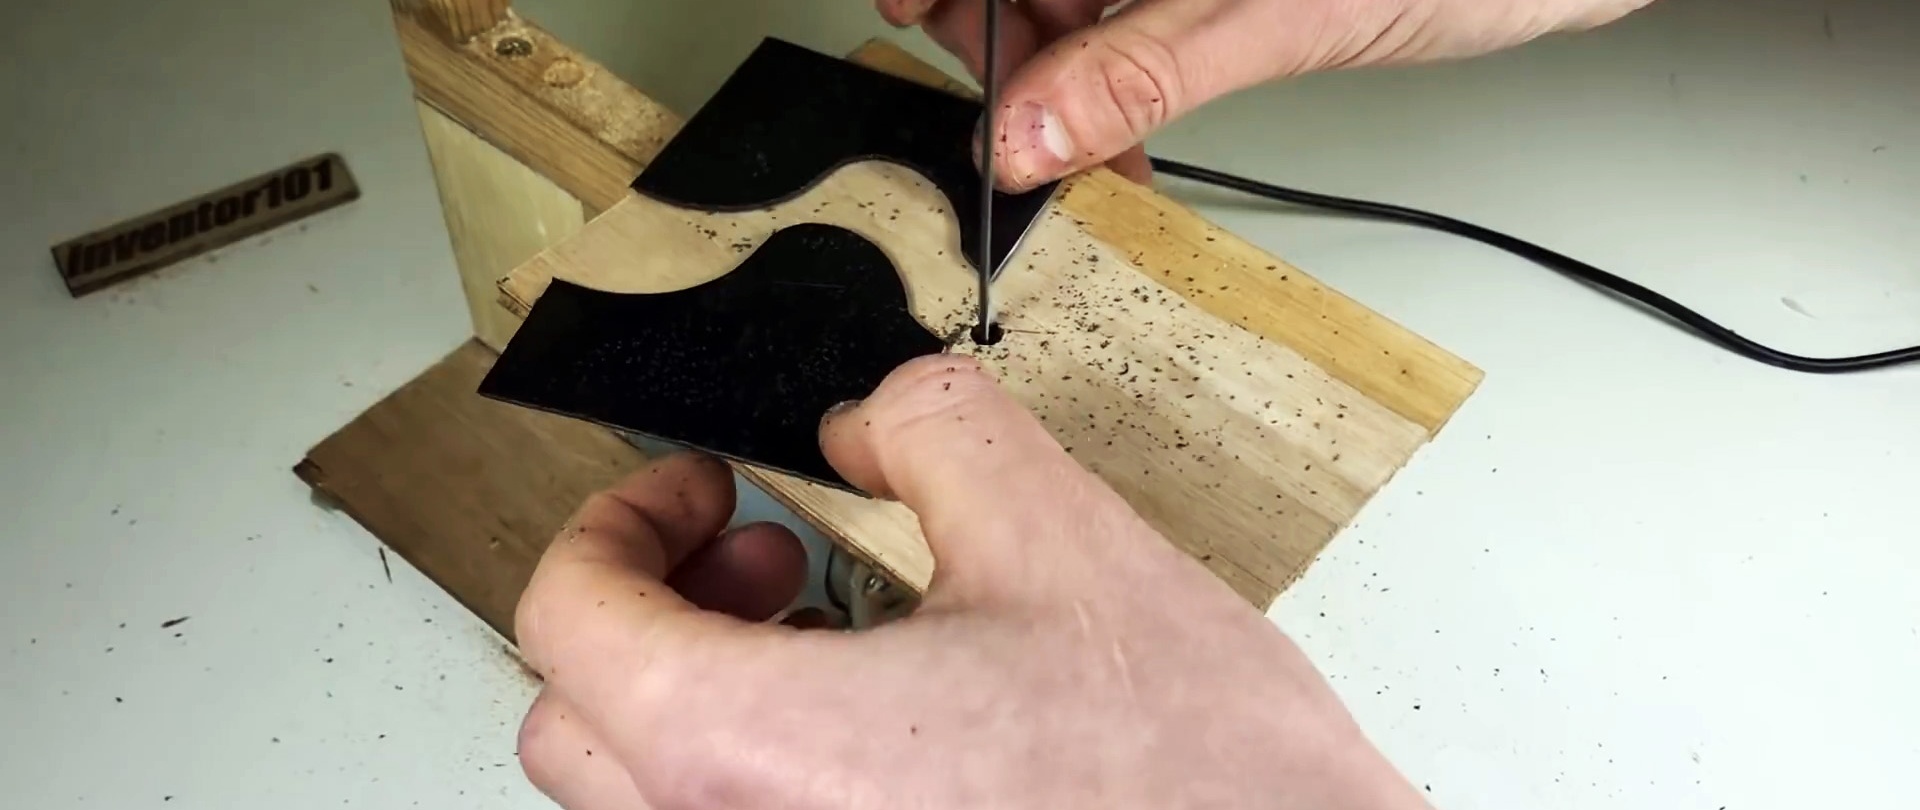
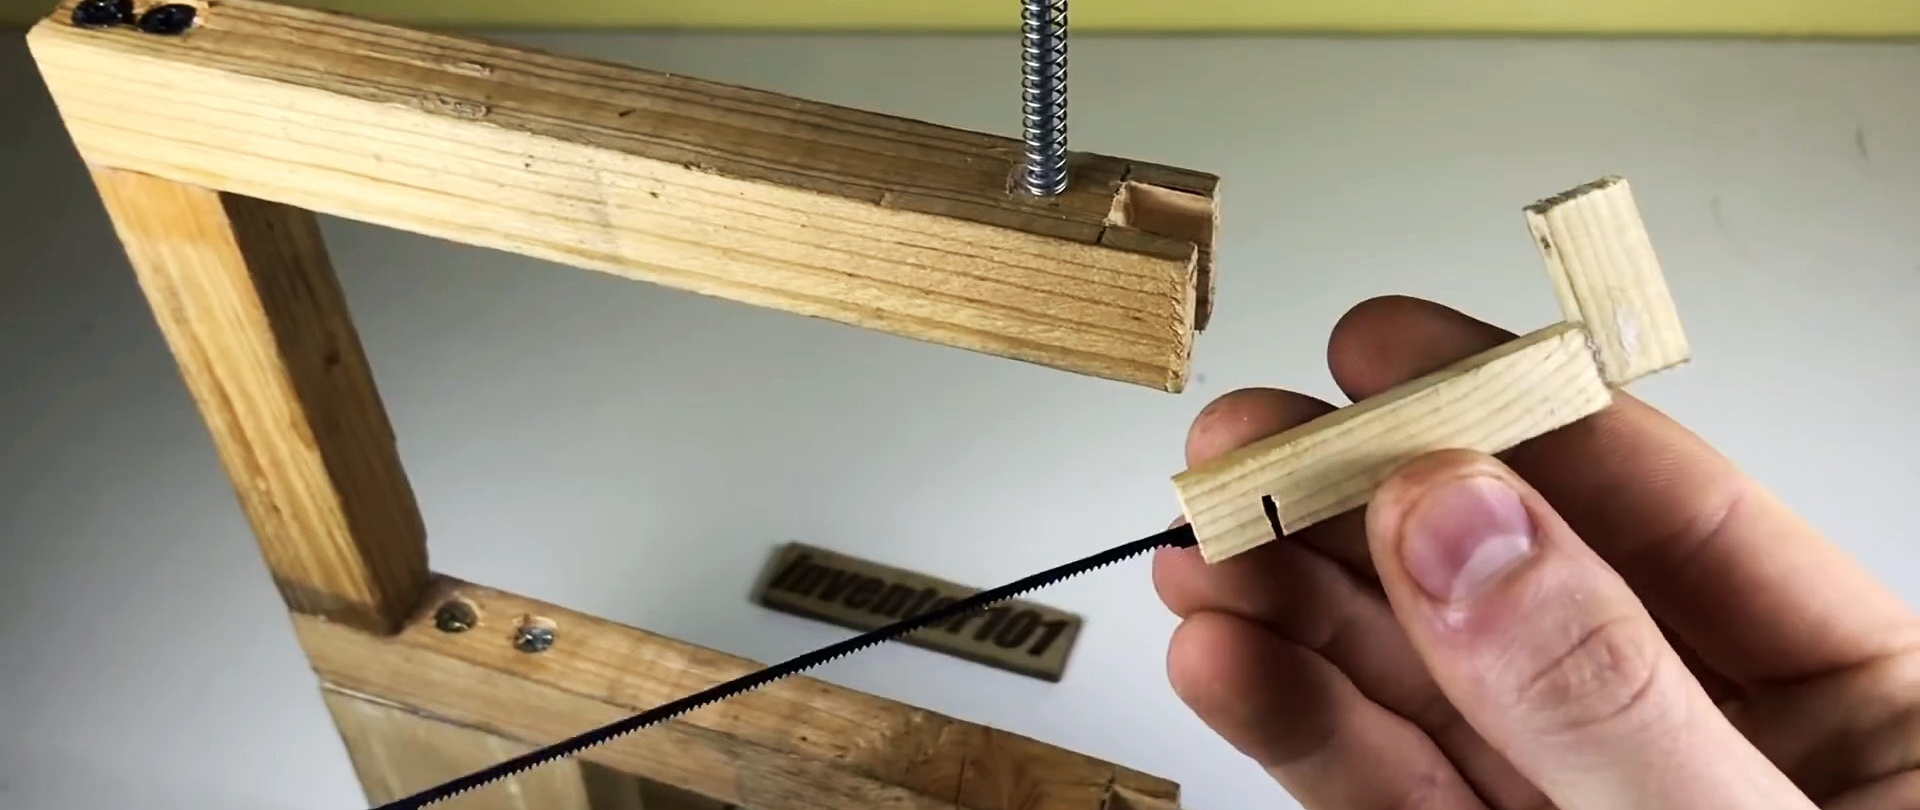
Now you need to make a thin strip with such a cross-section that it ideally fits into the grooves made in the machine bed without much friction, but also without play. 2 blanks are cut from it, which are glued together into an L-shaped part. There should be a hole in its short side to put it on the rod in the frame, with the spring installed. At the end of the long side, a cut is made for a saw blade with a pin.


The part with the blade is put on a rod with a spring and inserted into the groove of the frame. Then it needs to be limited by covering the groove with a plywood overlay. The latter is screwed with self-tapping screws.

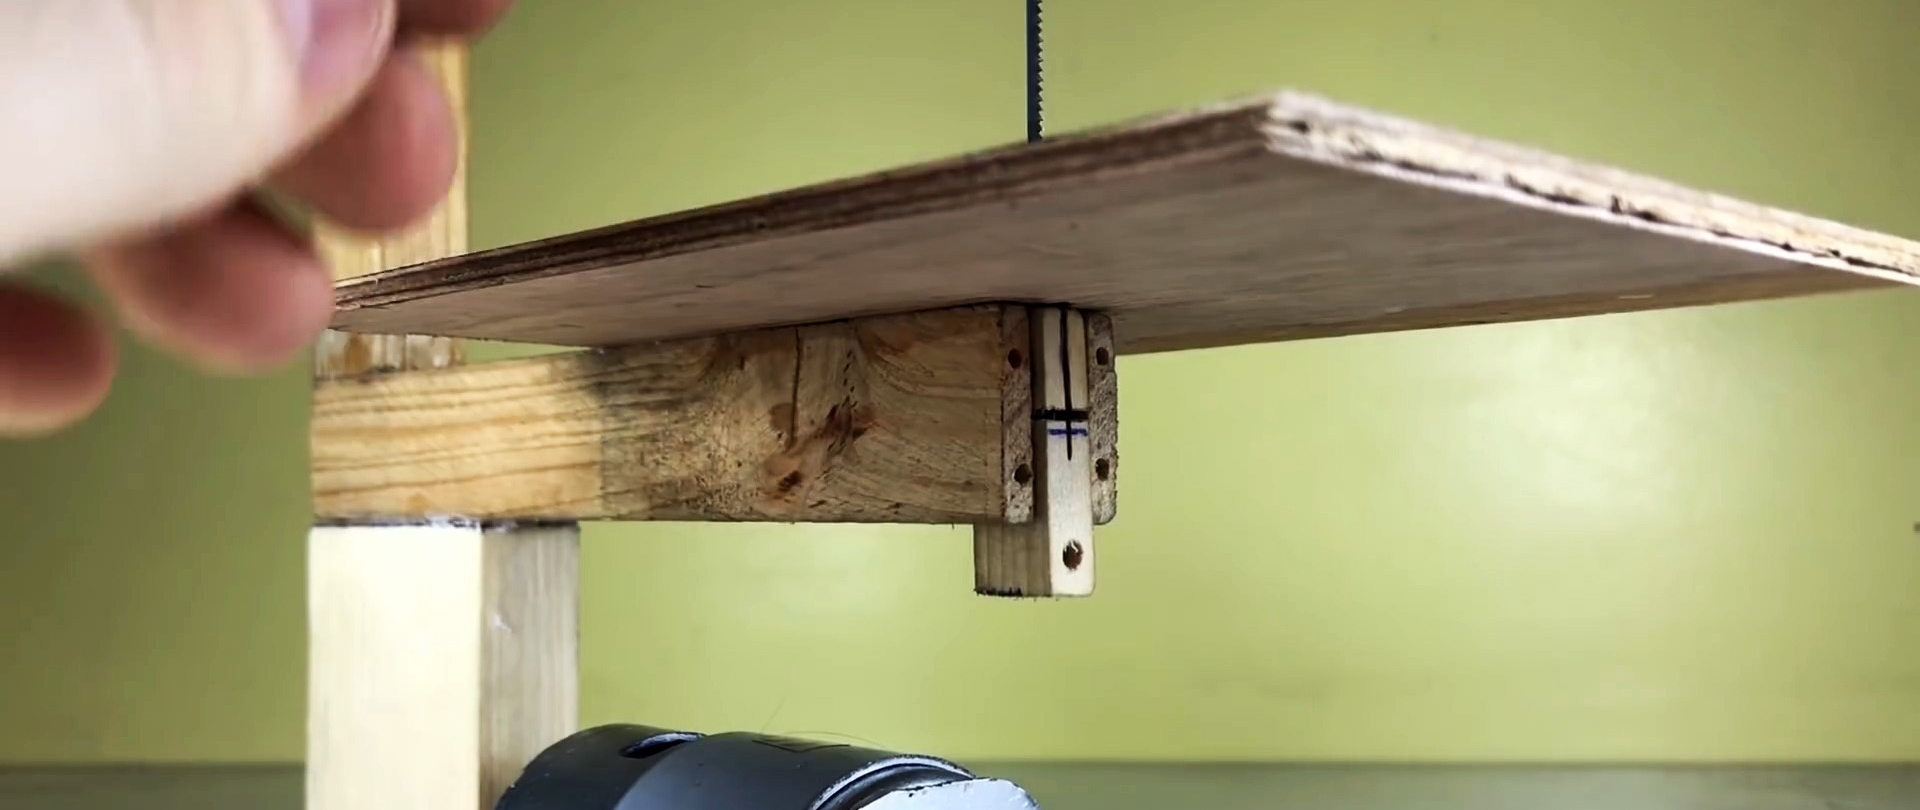
A plywood table is attached to the machine bed. Its size is 14x10 cm. A hole is made in it to insert a nail file.
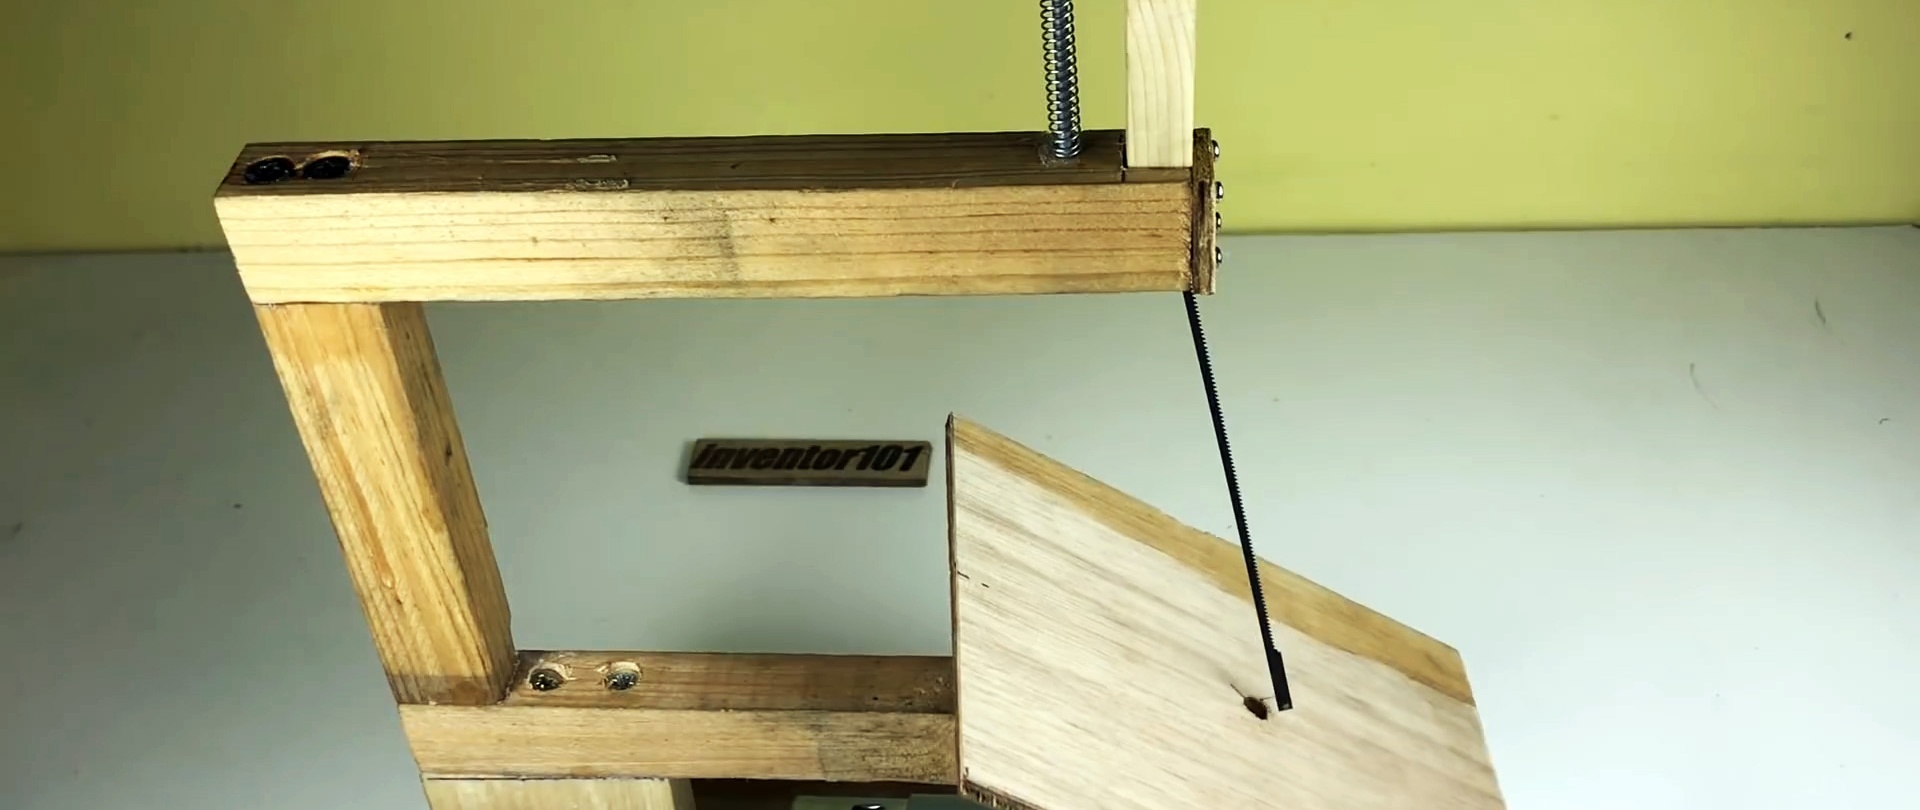

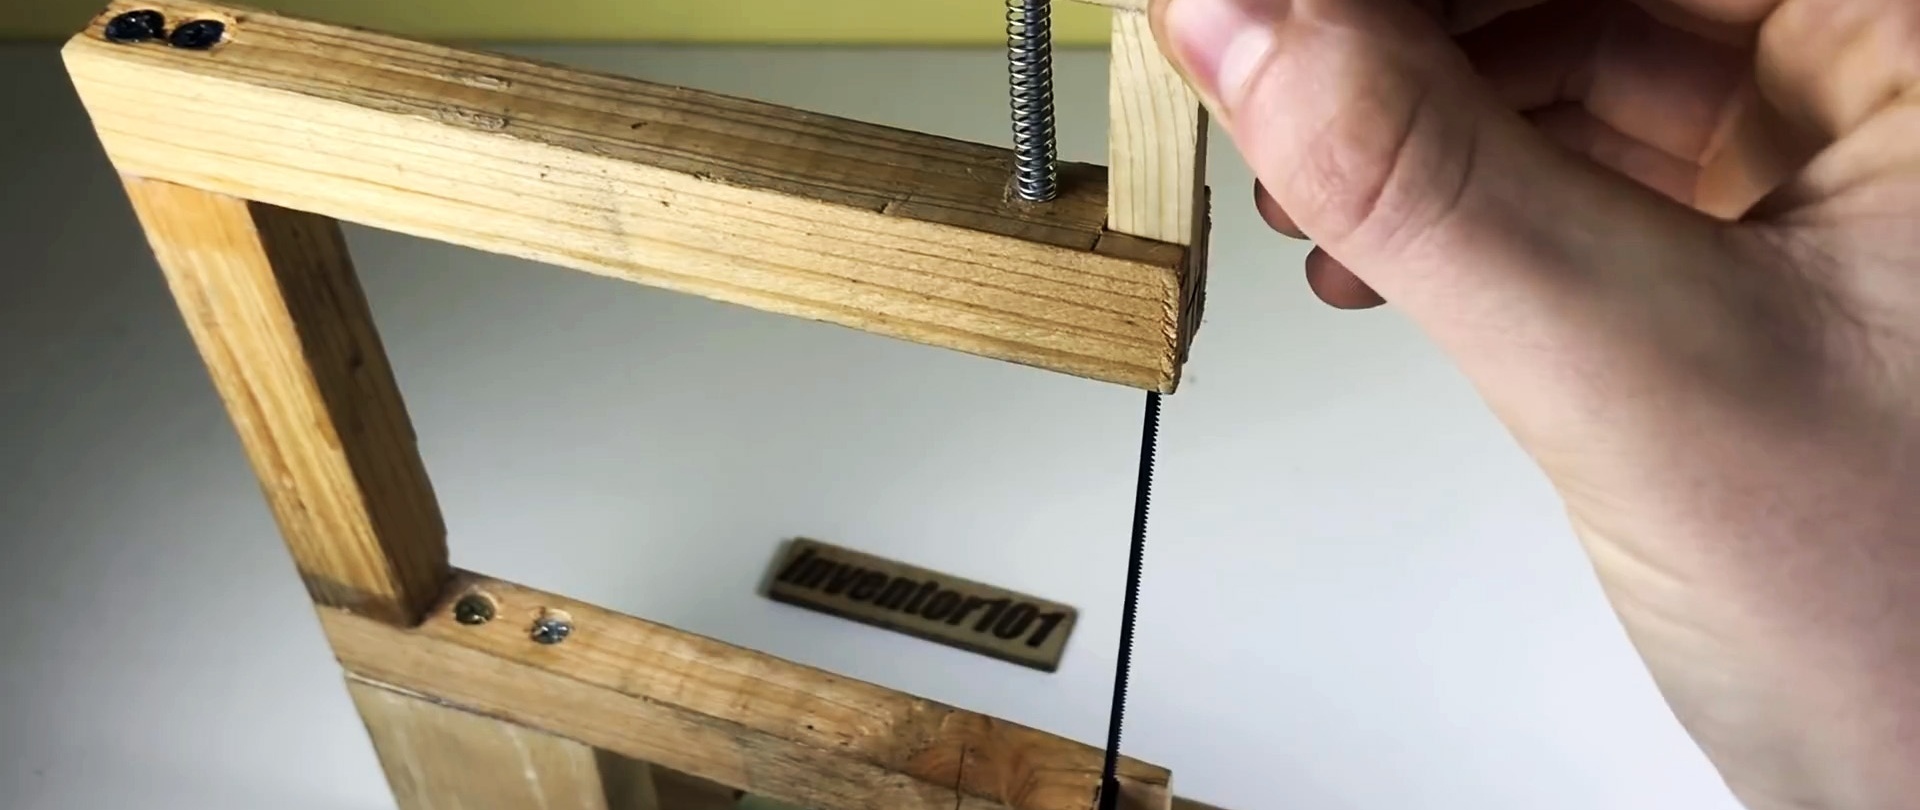
The lower pin of the canvas clings to a short rack with a cut, made according to the same principle as the upper fastening. It should also fit into the lower groove and be covered with a plywood cover.

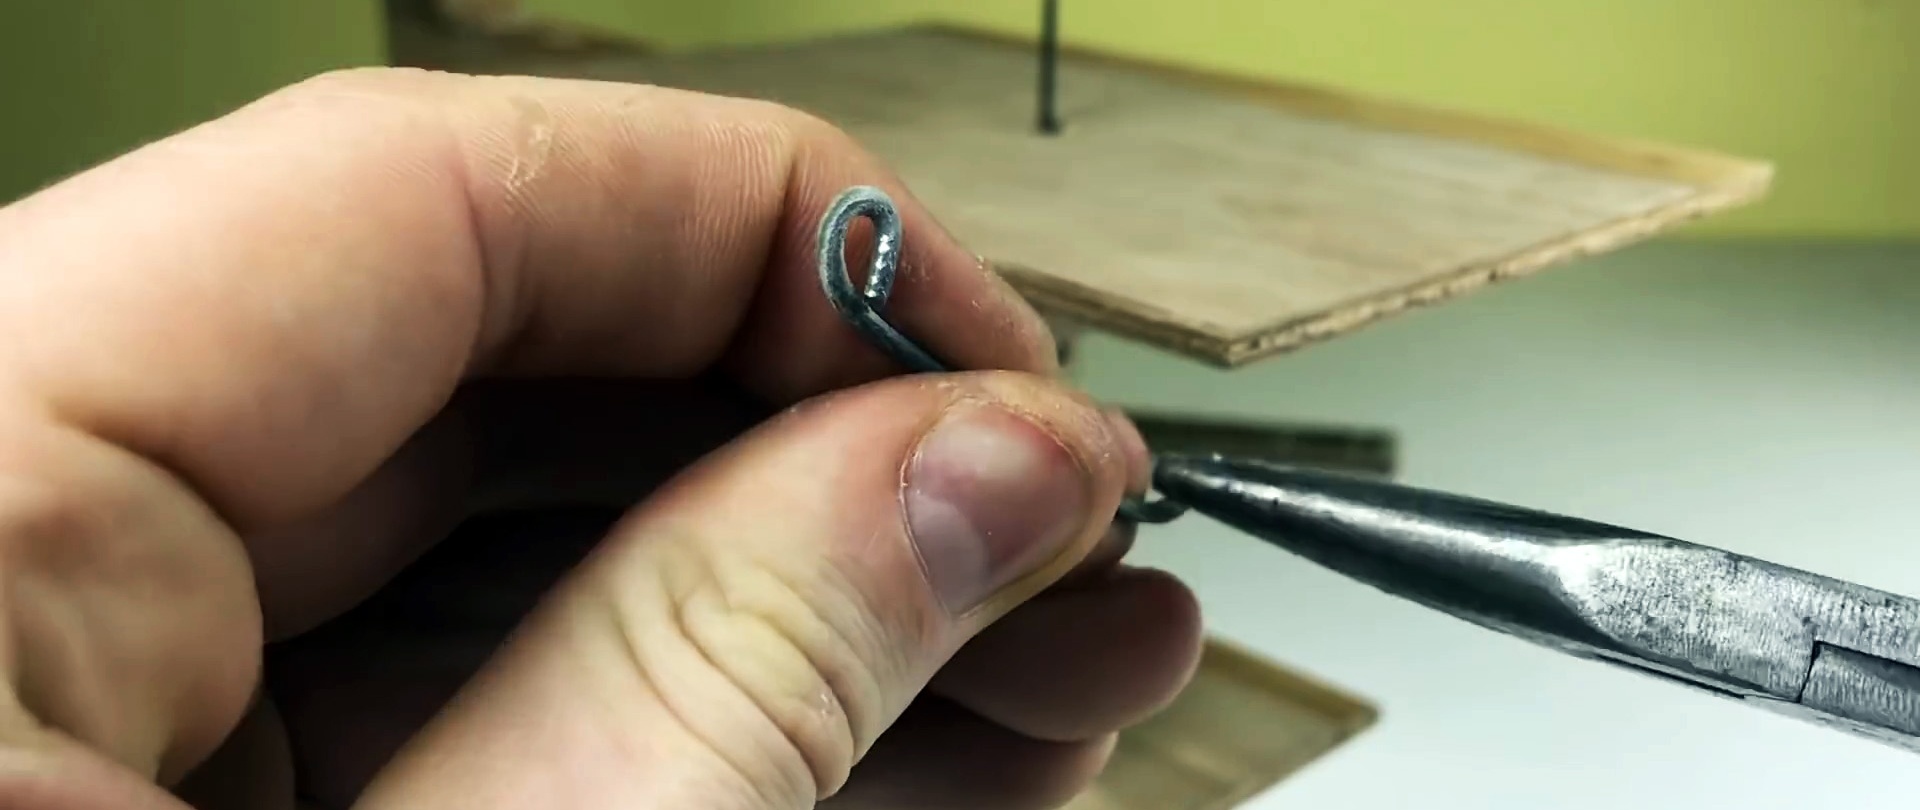
A thin washer is poured from a branch with a cross section of 40-50 mm. Next, it is drilled in the center under the motor shaft, and closer to the edge. This will be an eccentric to convert the rotation of the motor into a reciprocating motion.

A rod with loops at the ends is bent from the wire. Then it is screwed to the lower fastening of the nail file and the eccentric, whose hole is in the upper position.
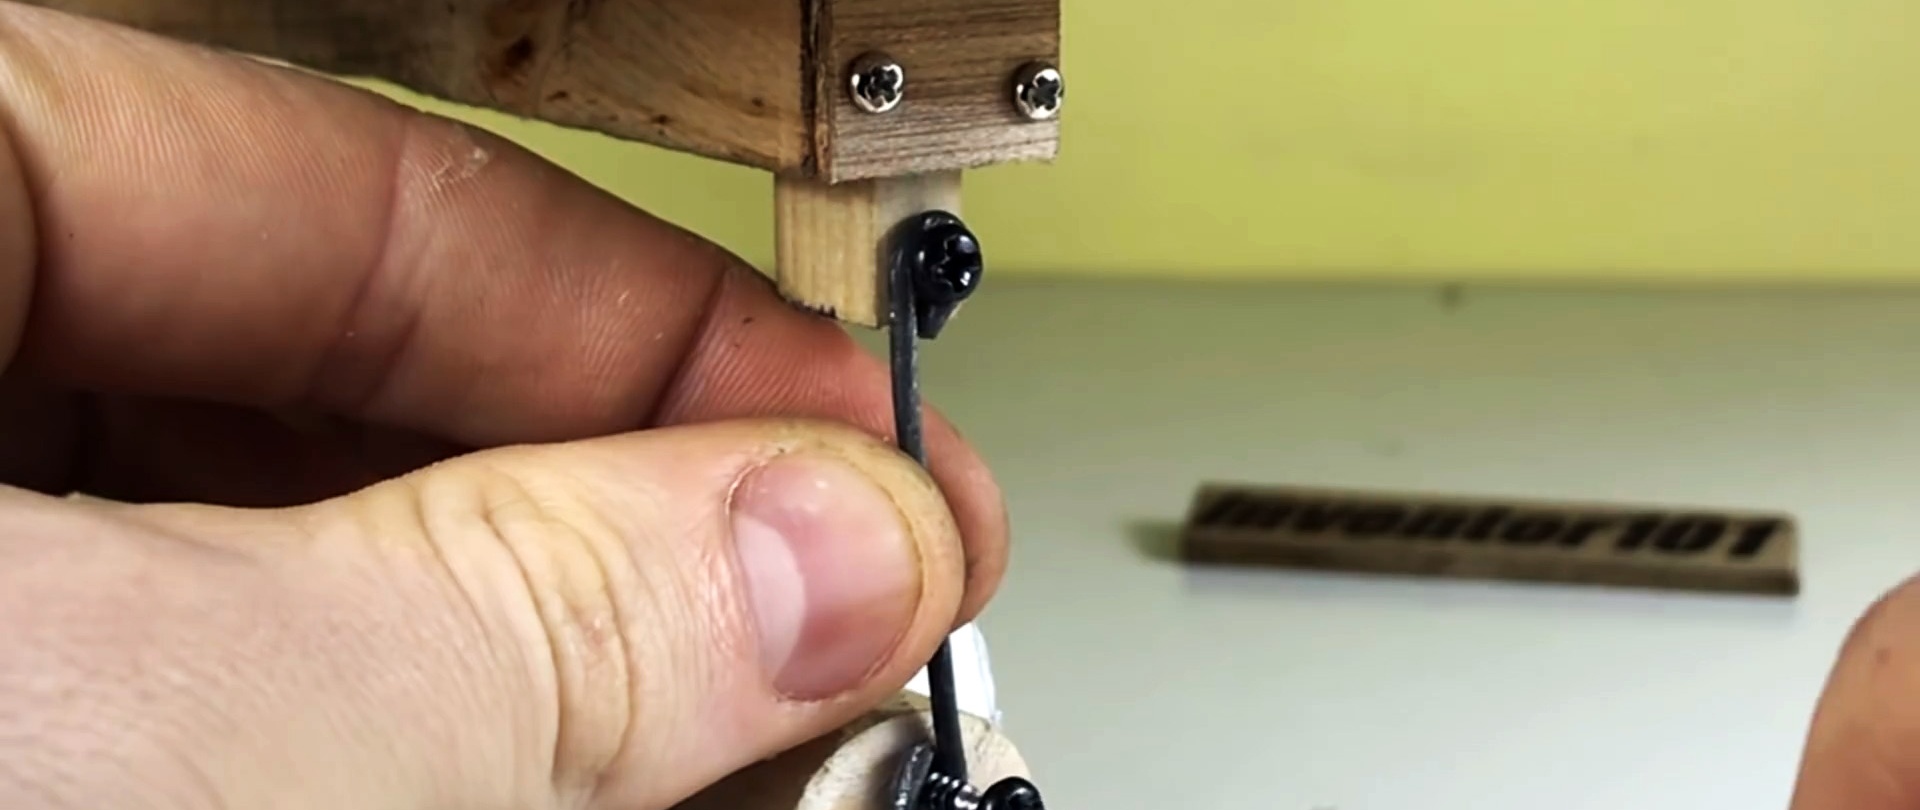
If after assembly the spring at the top is preloaded, the machine will work. Otherwise, it is necessary to shorten the wire rod.

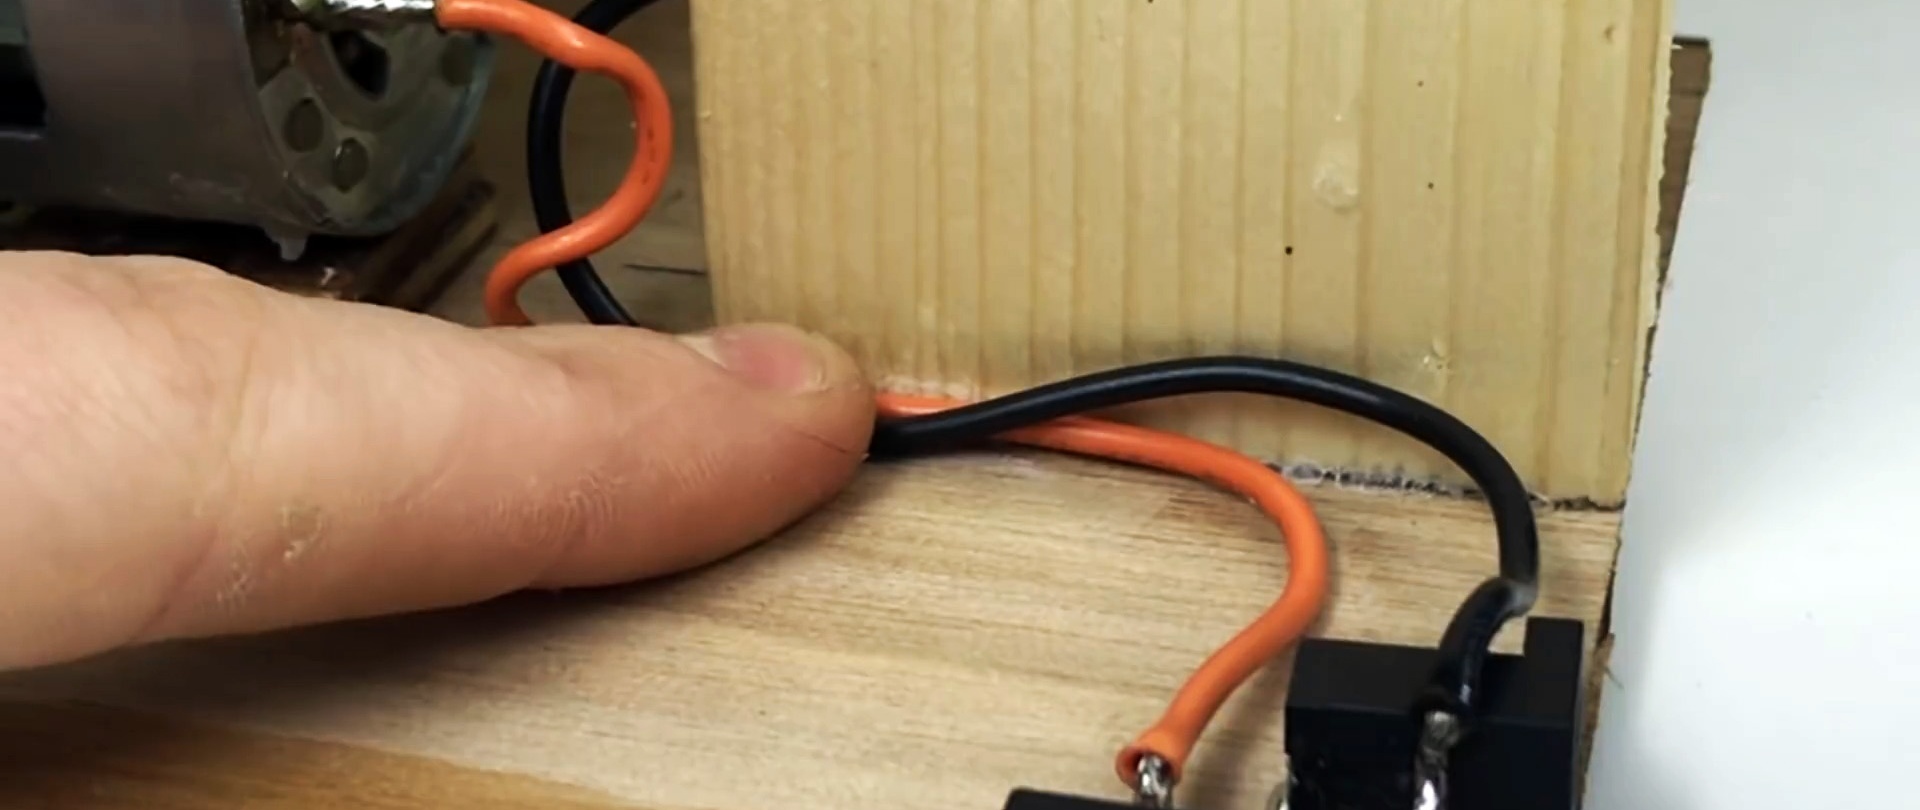
Next, the wires are soldered to the motor terminals. They need to be routed to the connector for the power supply through a button.
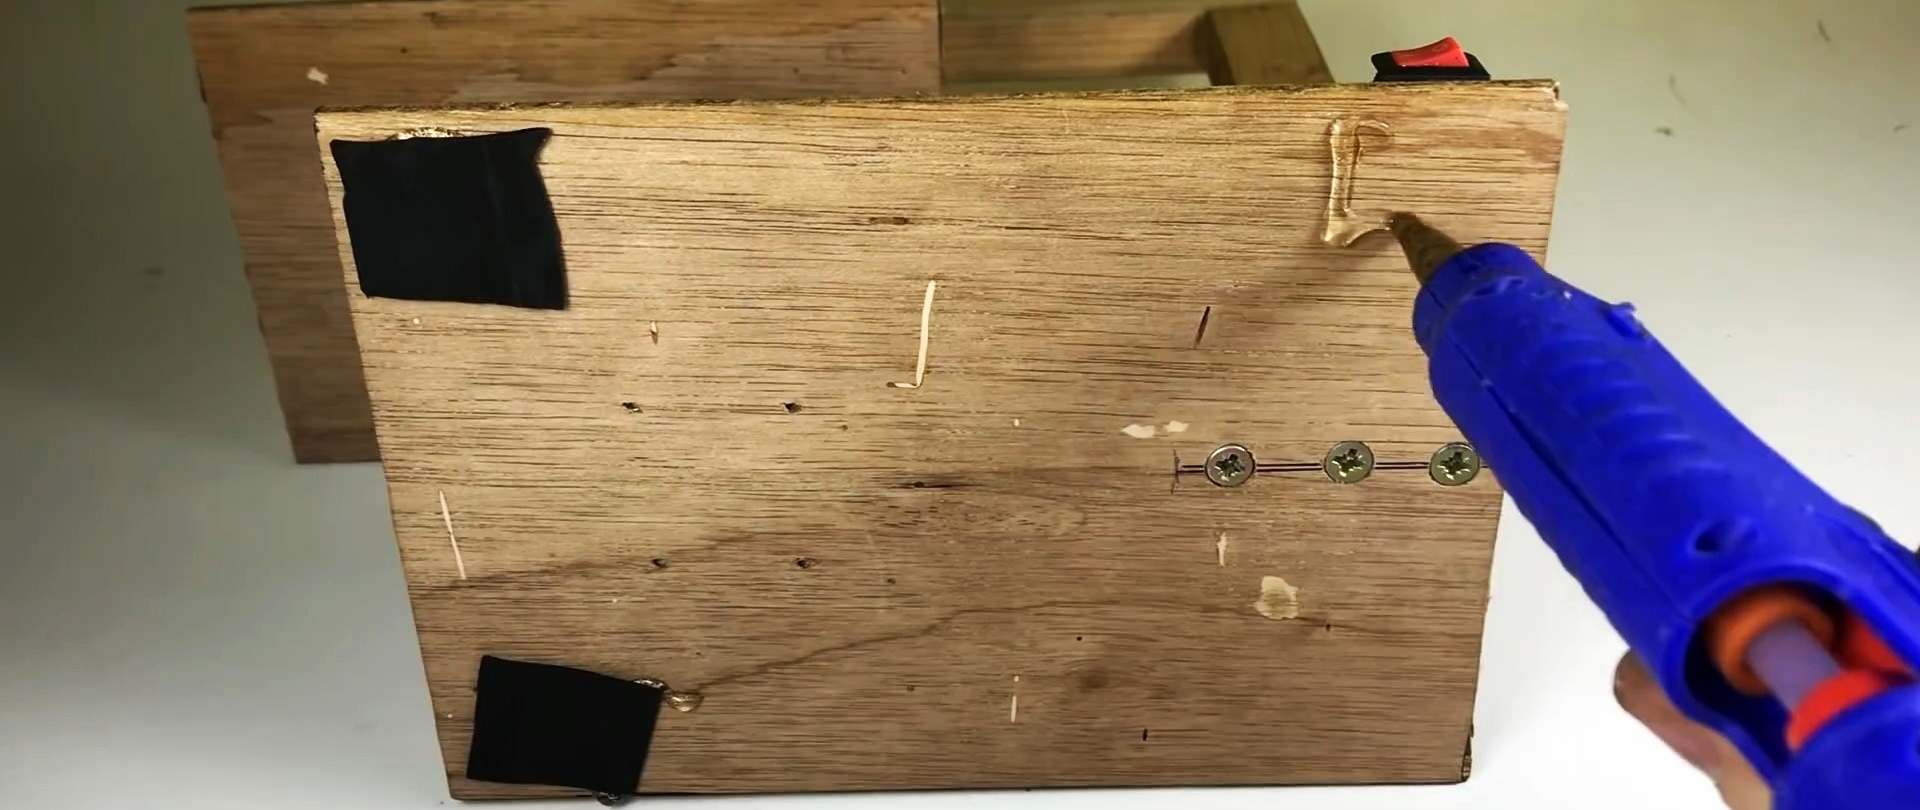
The machine is ready for work. The slats in the grooves can be slightly lubricated with oil to reduce friction. Although the machine is very simple, this engine makes it very productive, so with a good file it can do a lot.