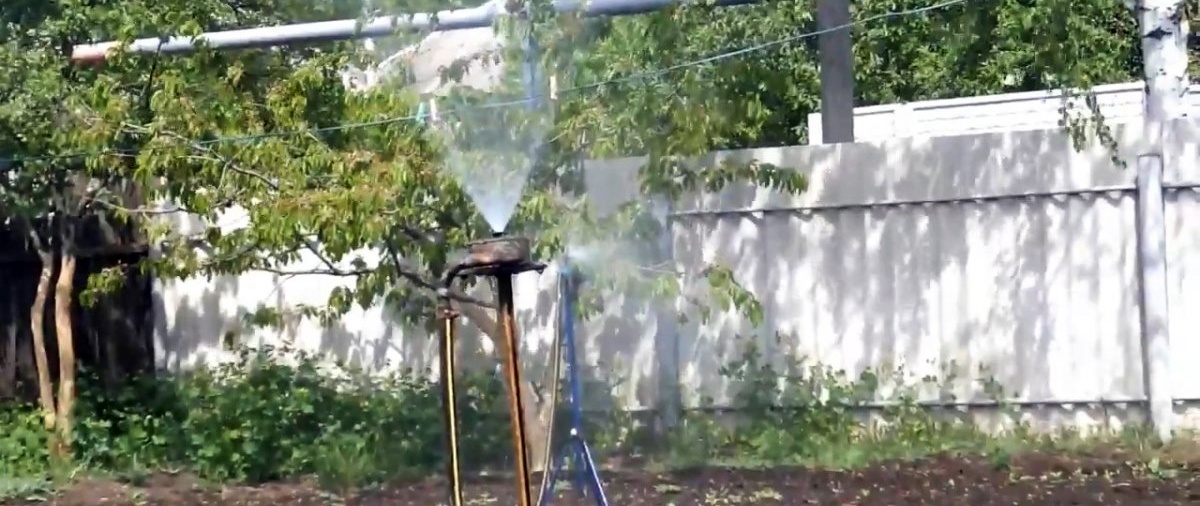
To water the garden and lawn, it is convenient to use a snail sprinkler, since it scatters small drops and covers a large area. Unfortunately, this device is made of fragile plastic that loses strength under ultraviolet radiation, which is why it rarely lasts more than one season. For this reason, it is best to prepare the materials and make a snail using your hands from metal, rather than periodically buying a low-quality sprinkler.

What you will need:
- steel pipe 100 mm;
- sheet steel 2 mm;
- 3/4 inch pipe;
- 3/4" elbow;
- welded fitting for 3/4 inch hose;
- steel ball with a diameter of 20-30 mm from the bearing.
Sprinkler manufacturing process
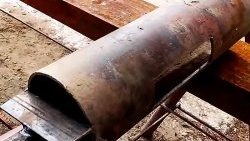
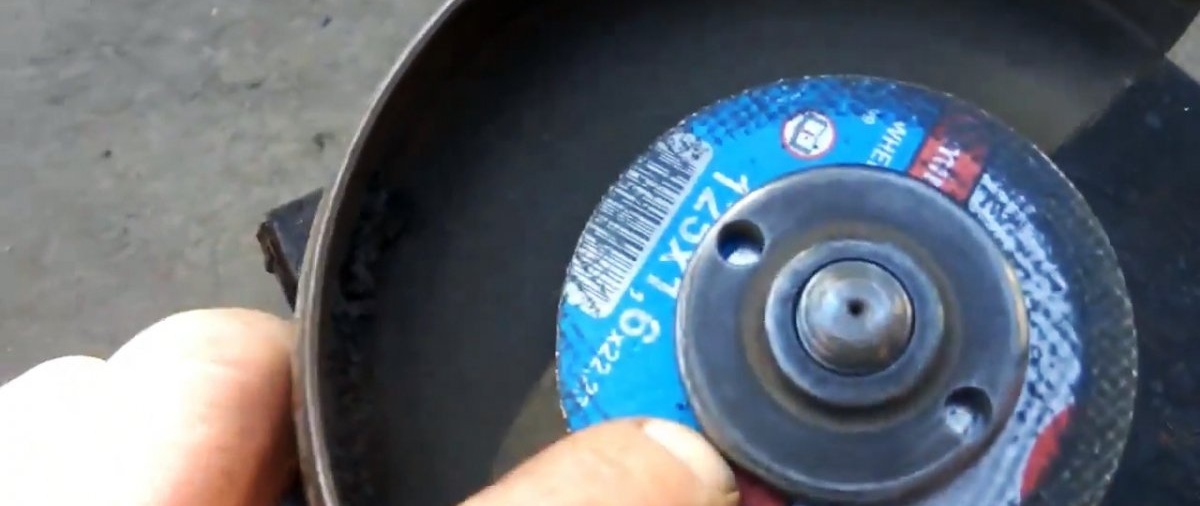
The snail body is made from a piece of pipe with a diameter of 100 mm. A piece of 45 mm is enough.

Then 2 circles with a diameter of 100 mm are cut from sheet steel to make sprinkler plugs.
A 3 mm hole is drilled in one of the disks in the center. Then you need to make a bulge around it.

To do this, the disk is applied with a hole to the large ball from the bearing on one side and the end of a piece of 3/4-inch pipe on the other side. After this, you need to deform it by hitting the ball or squeezing it in a vice. After this, the disk is welded to the end of a 100 mm pipe cut with the convex outward.

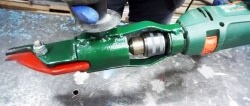
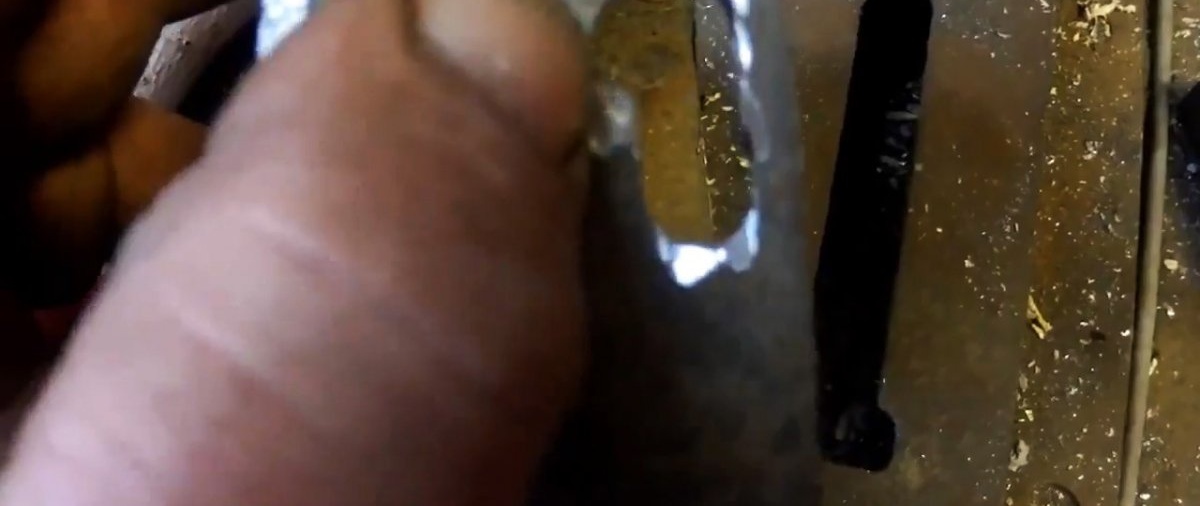
Next, you need to cut a circle with a diameter of 20-30 mm from sheet steel using a cutter. It also needs to be bent by holding it in a vice between the 3/4 inch tube and the ball. The result is a bent washer, which must be welded to the already welded volute cover. To do this, the discs are applied with bulges, aligned with the holes and welded. Then you need to drill out their double hole to 4 mm.

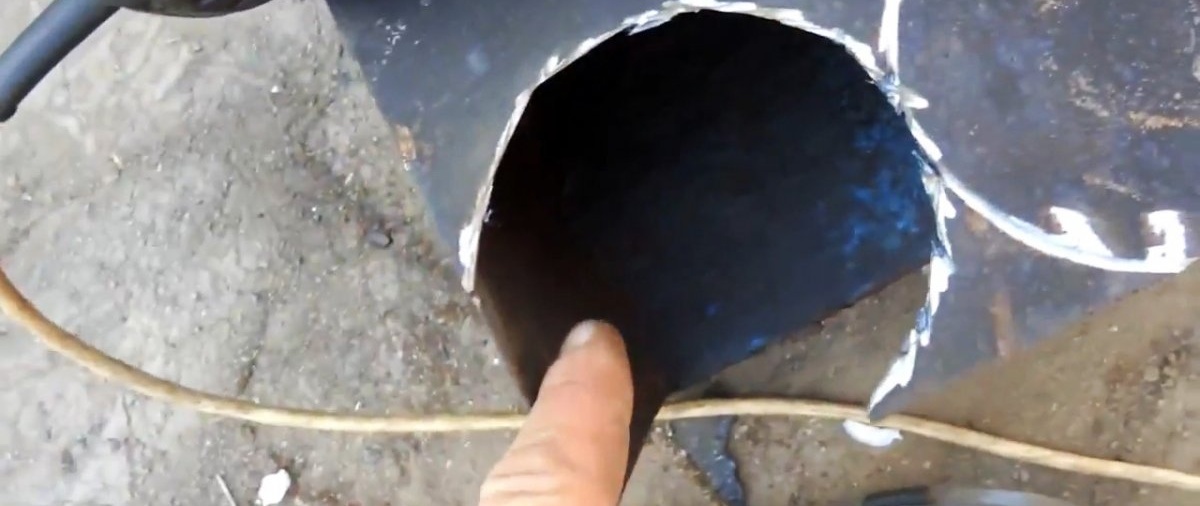
In parallel with installing the bent top, a hole is cut out on the side of the snail to insert the water supply pipe.
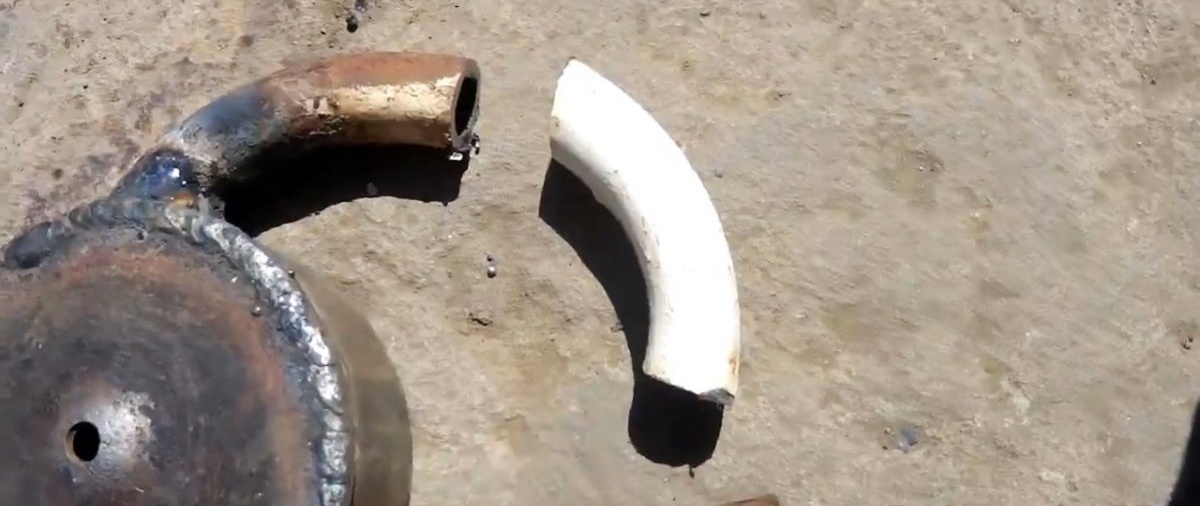
A bent 3/4-inch tube with an end cut at an acute angle is welded to it. This is necessary so that the flow entering the cochlea twists. Then an elbow is welded to the tube, and a fitting for the hose is welded to it. An elbow is required to bring the fitting at a right angle relative to the volute body. This will prevent the connecting hose from bending.
Next you need to weld the second lid. A piece of 3/4-inch pipe is welded to it in the center. A ball from a bearing is welded to it. In this case, its diameter is 29 mm. The length of the tube is selected so that when installing the second cap, the gap between the top of the ball and the hole with the top is 5 mm. After this, the second cover is welded to the snail. In order for everything to turn out smooth, you should put a visible point on the top of the ball, and then align the parts by visually checking it through the hole with the top.

To attach the sprinkler, you will need to weld 2 eyes to its bottom cover on the sides.They need to be cut out of sheet steel and drilled for screws or bolts.

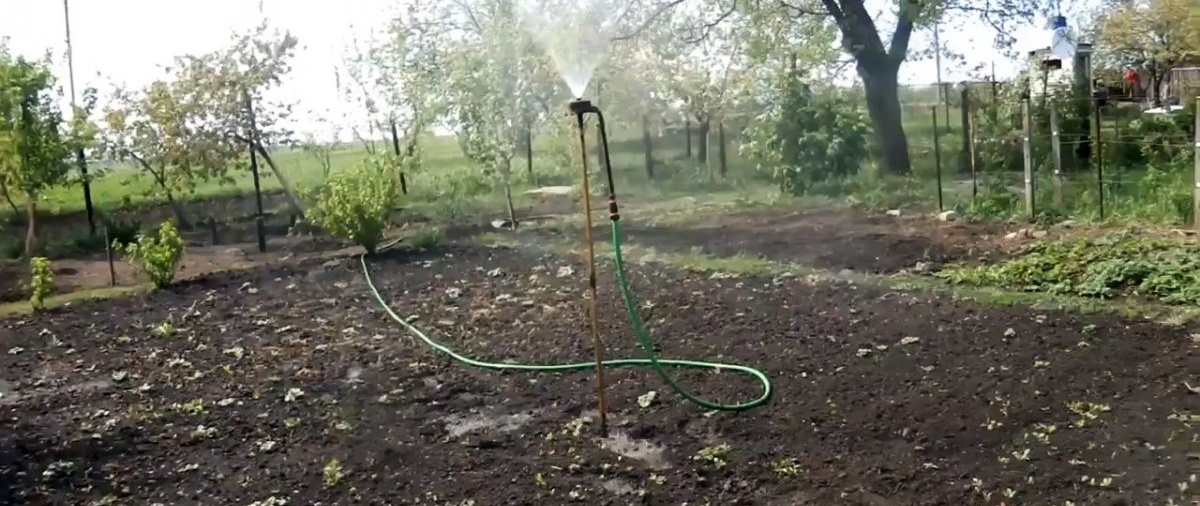
To install the sprinkler for irrigation, you will need to make a long rod. This could be a wooden pole, thin pipe or fittings. A platform is welded or otherwise attached to the top of the rod. A snail is screwed to it through the eyes. Then a garden hose is connected to the sprinkler fitting, the rod is inserted into the ground in the watering area and the water supply is opened.