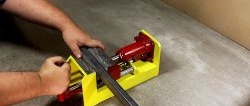
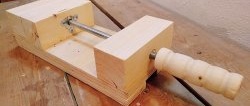
For a small workshop, a full-size bench vise is an unacceptable luxury. They are expensive, and there is nowhere to put them. For the average user, small removable vises are sufficient, which can be removed from the table when not needed. There is no need to buy a trial device, as it is quite easy to make it yourself.

Basic materials:
- Steel plate 10-15 mm, 20 mm;
- welded turned door hinge;
- M12 pin;
- extended nuts M12 – 4 pcs.;
- M12 washers – 3 pcs.;
- compression spring.
Vise manufacturing process
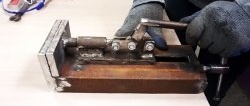
You need to cut 2 plates for the vice doors from a thick steel plate. Their width should correspond to the desired grip of the vice. The longer the length, the thicker the workpieces can subsequently be placed between the jaws.
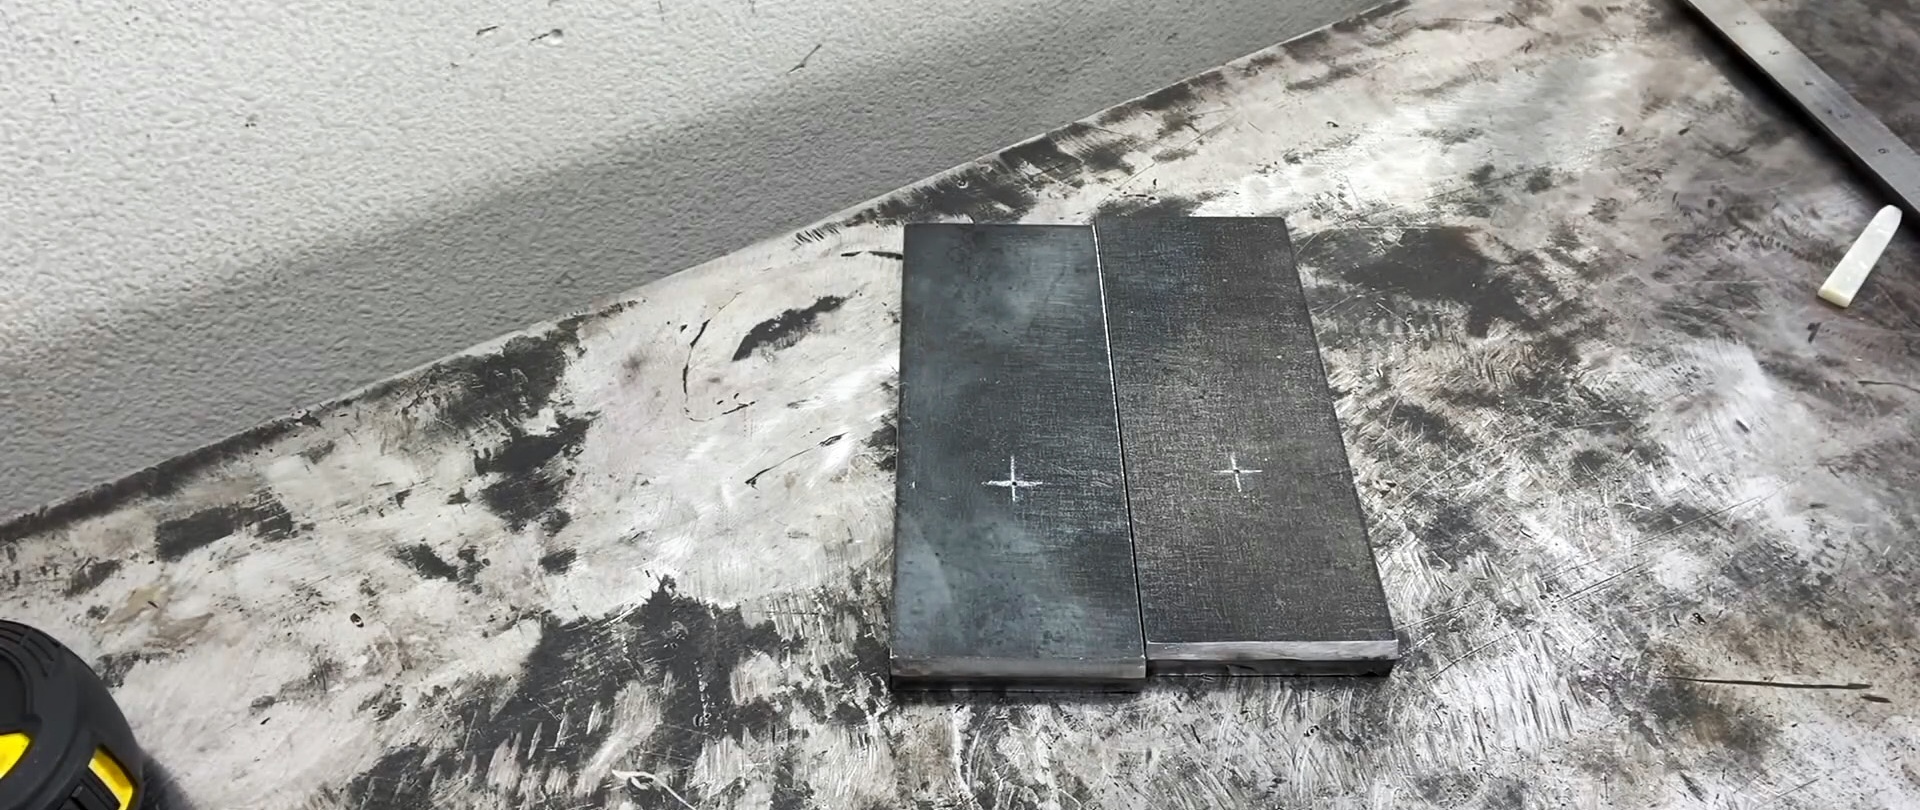
In casements with a slight offset from the middle, the hole is drilled and countersunk.


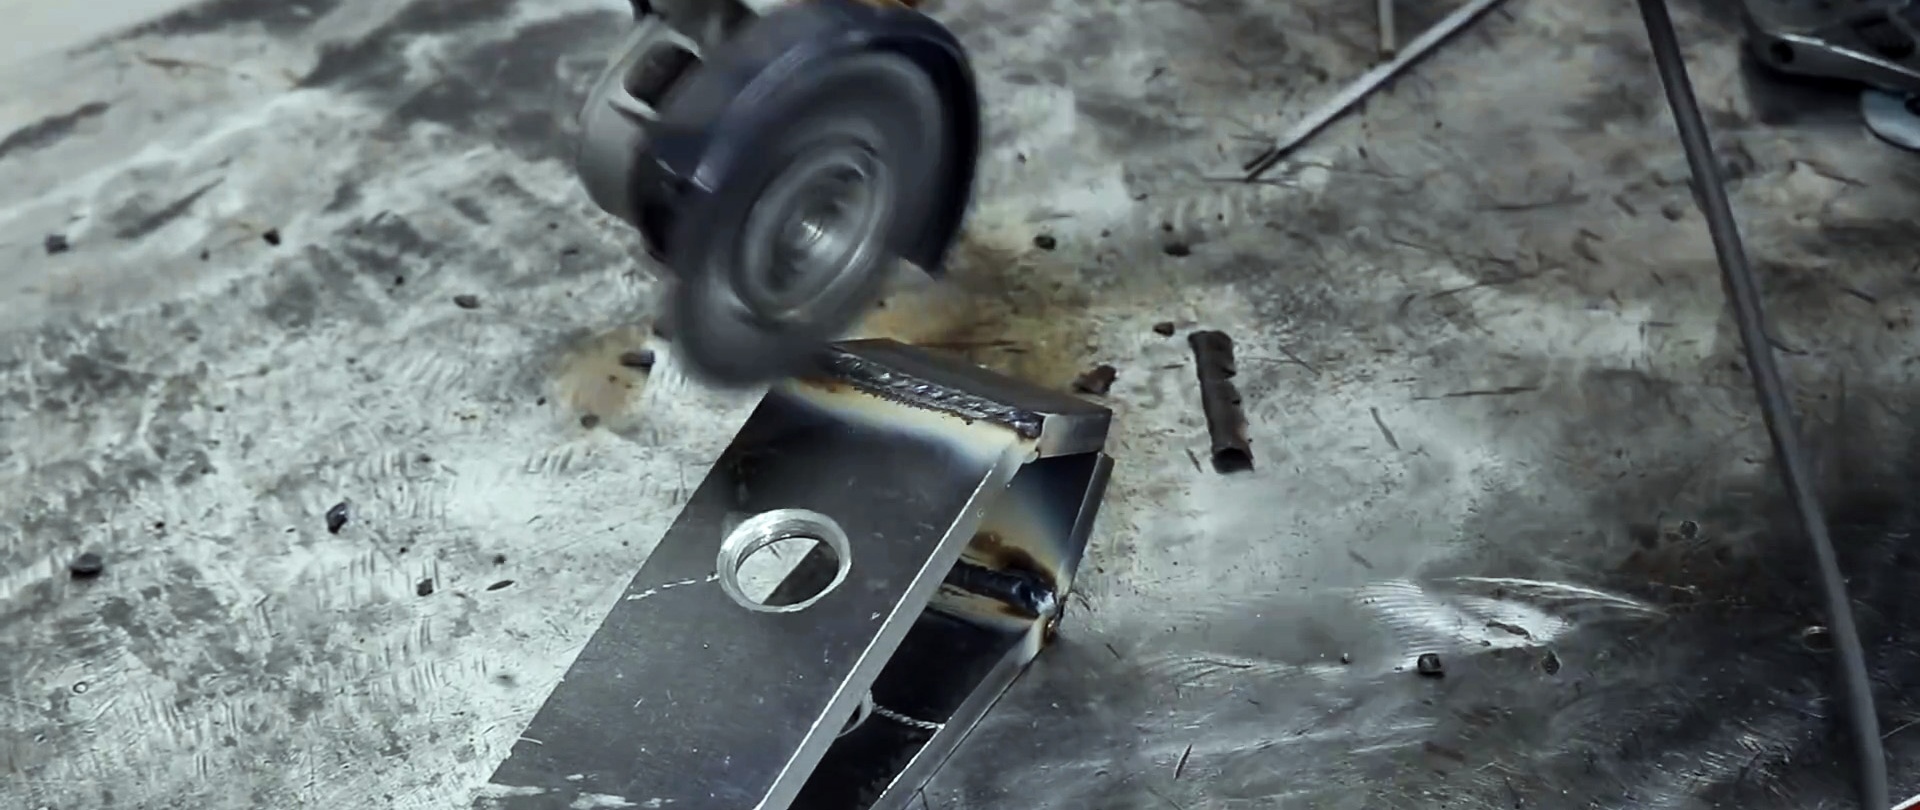
Next, a turned hinge is welded to the doors on the opposite side of the holes.

Then they are built up with narrow plates. The latter are welded at an angle of approximately 45 degrees.

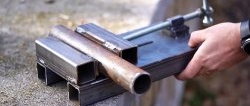
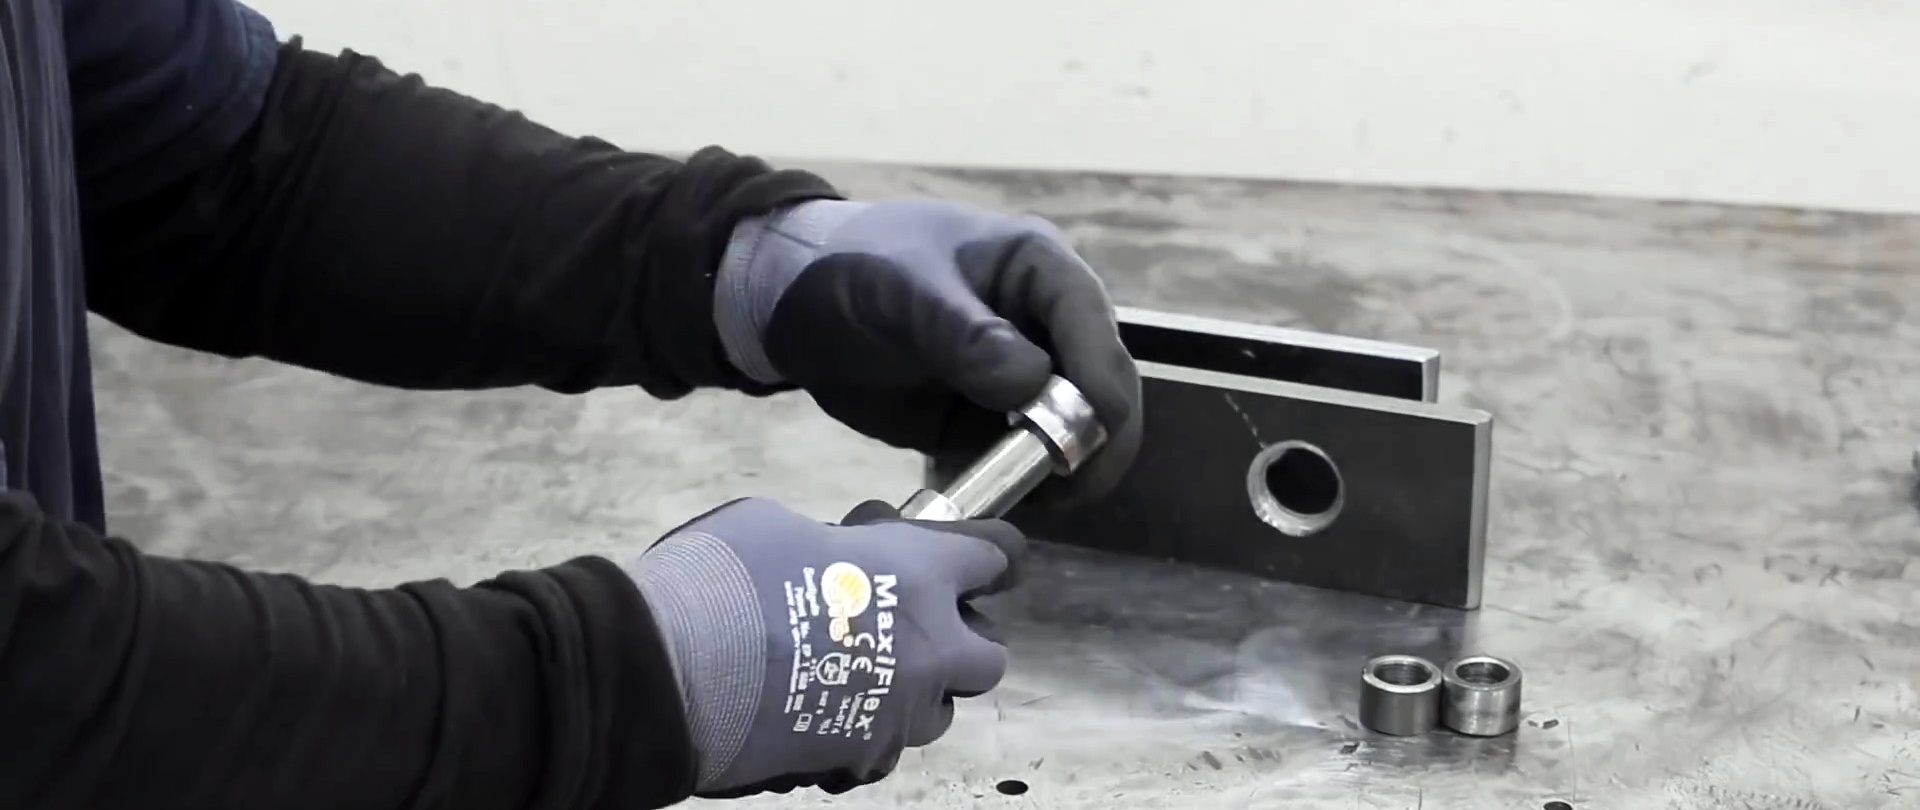
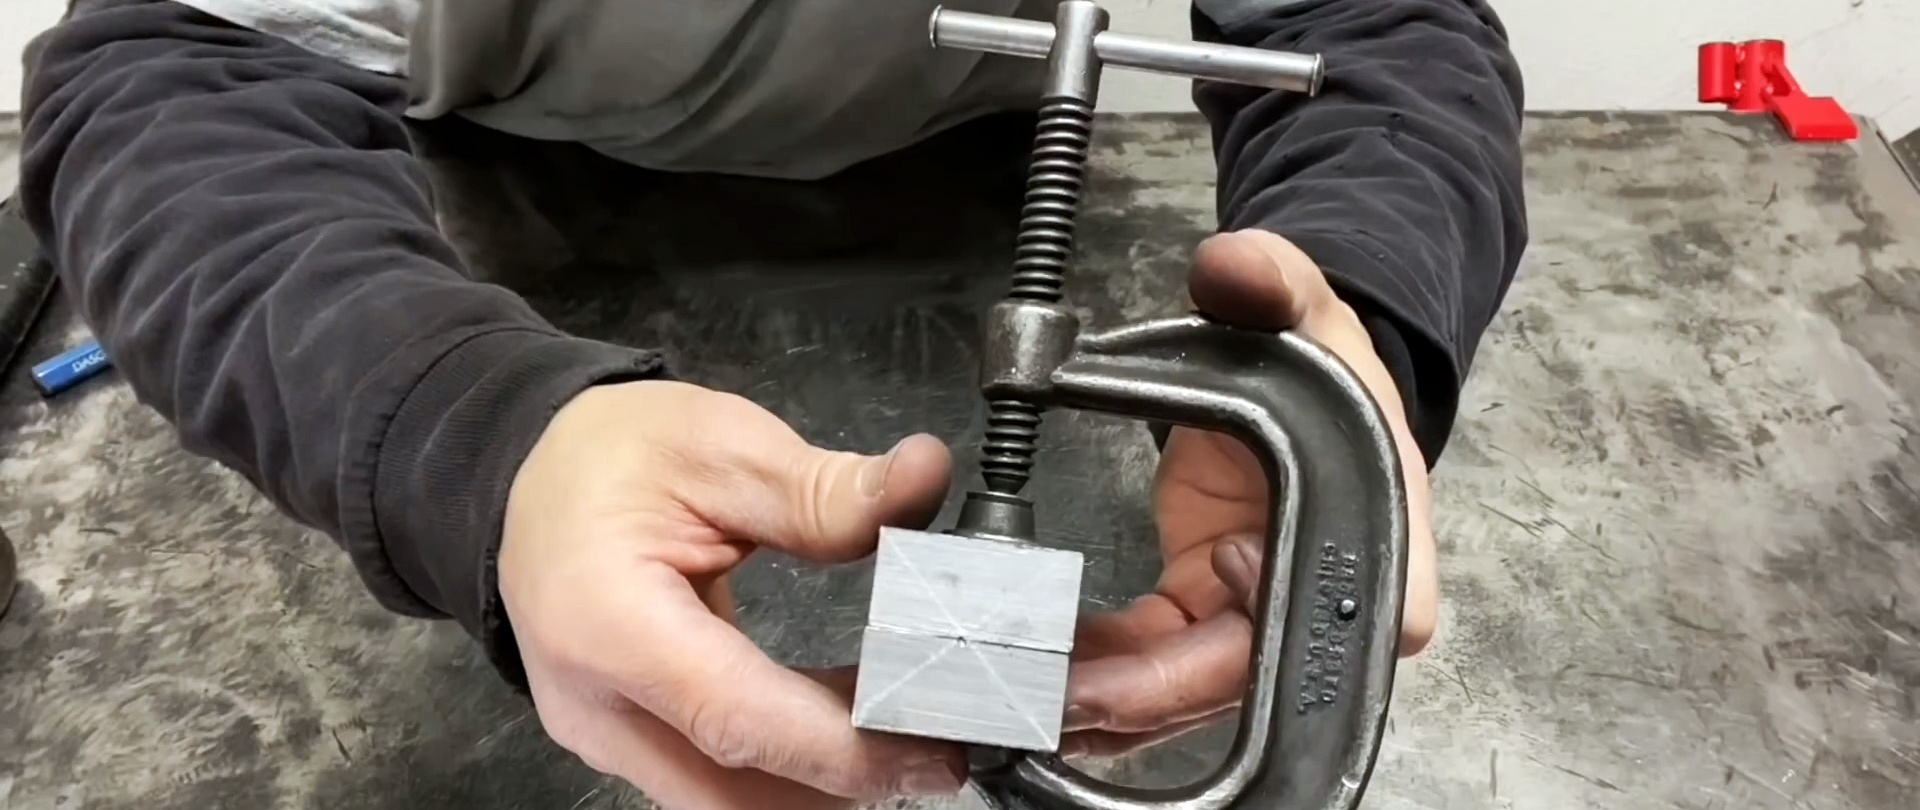
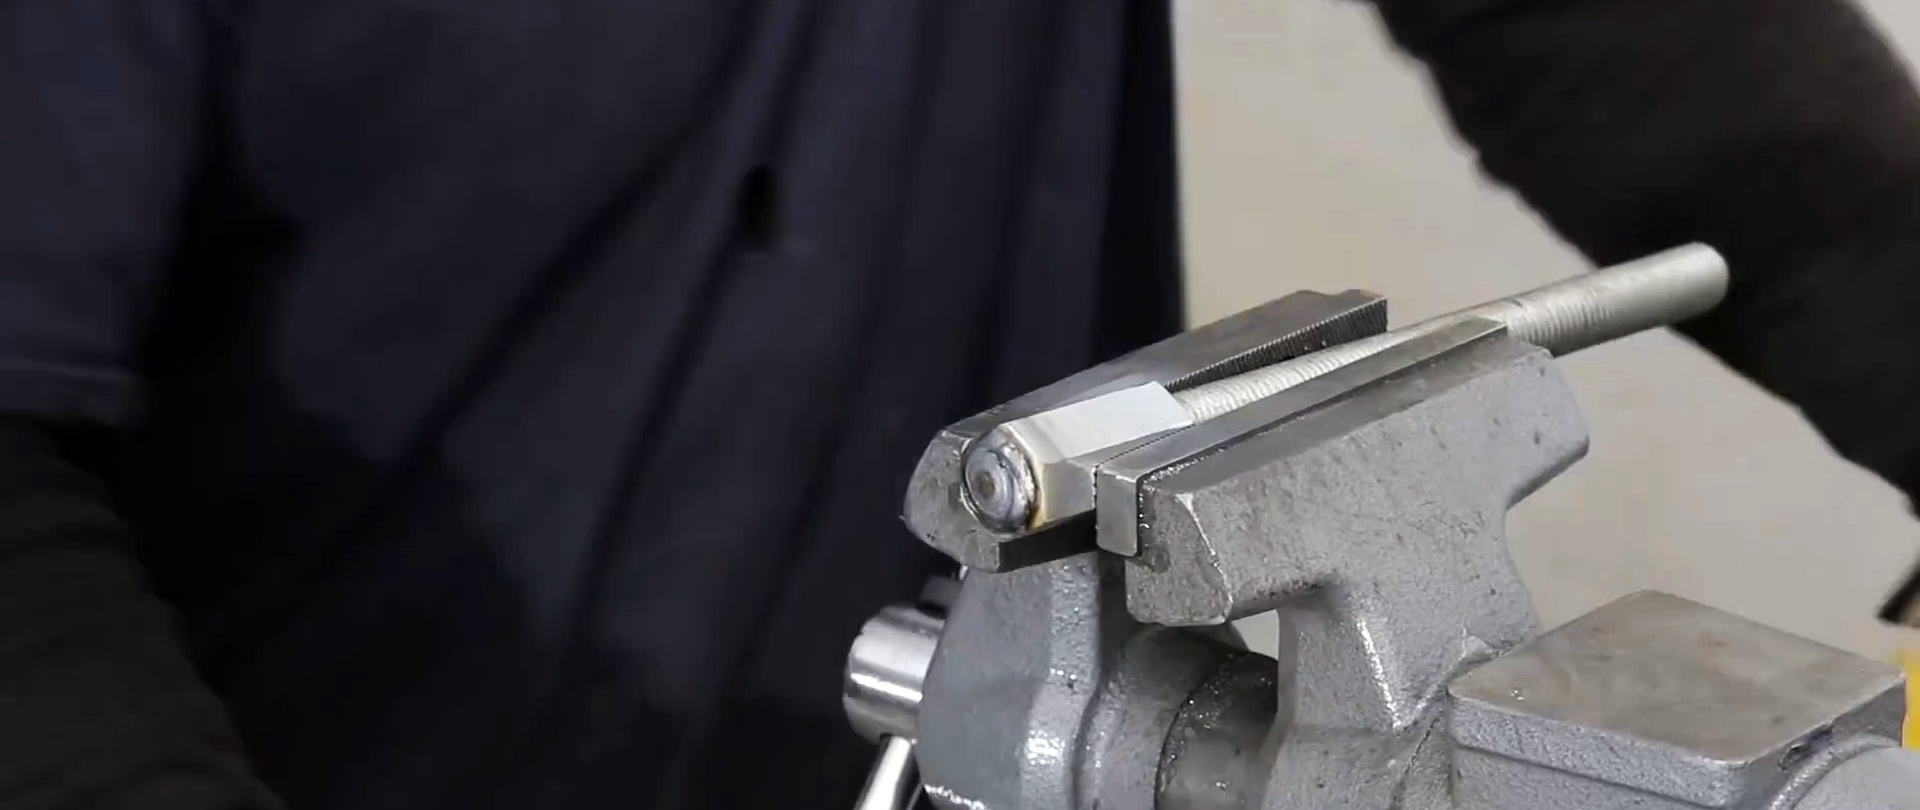
Next you need to work on the jaws of the vice.They are cut from 20 mm steel. The width of the jaws is the same as that of the sashes. The parts are pressed together with a clamp, then drilled lengthwise at the joint.
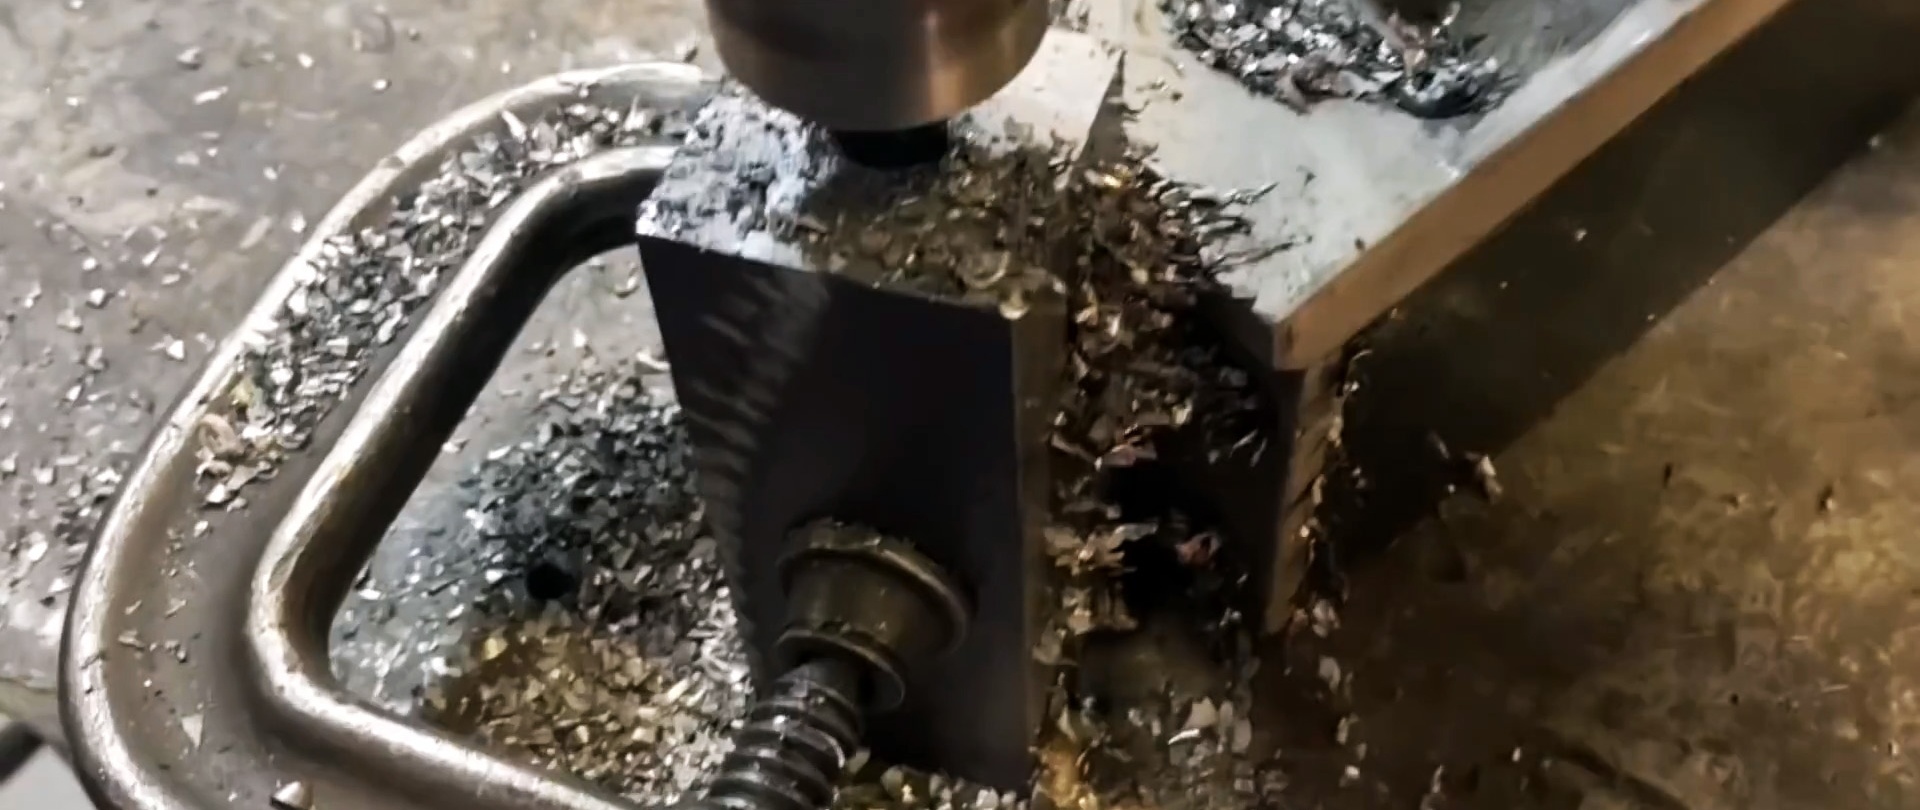
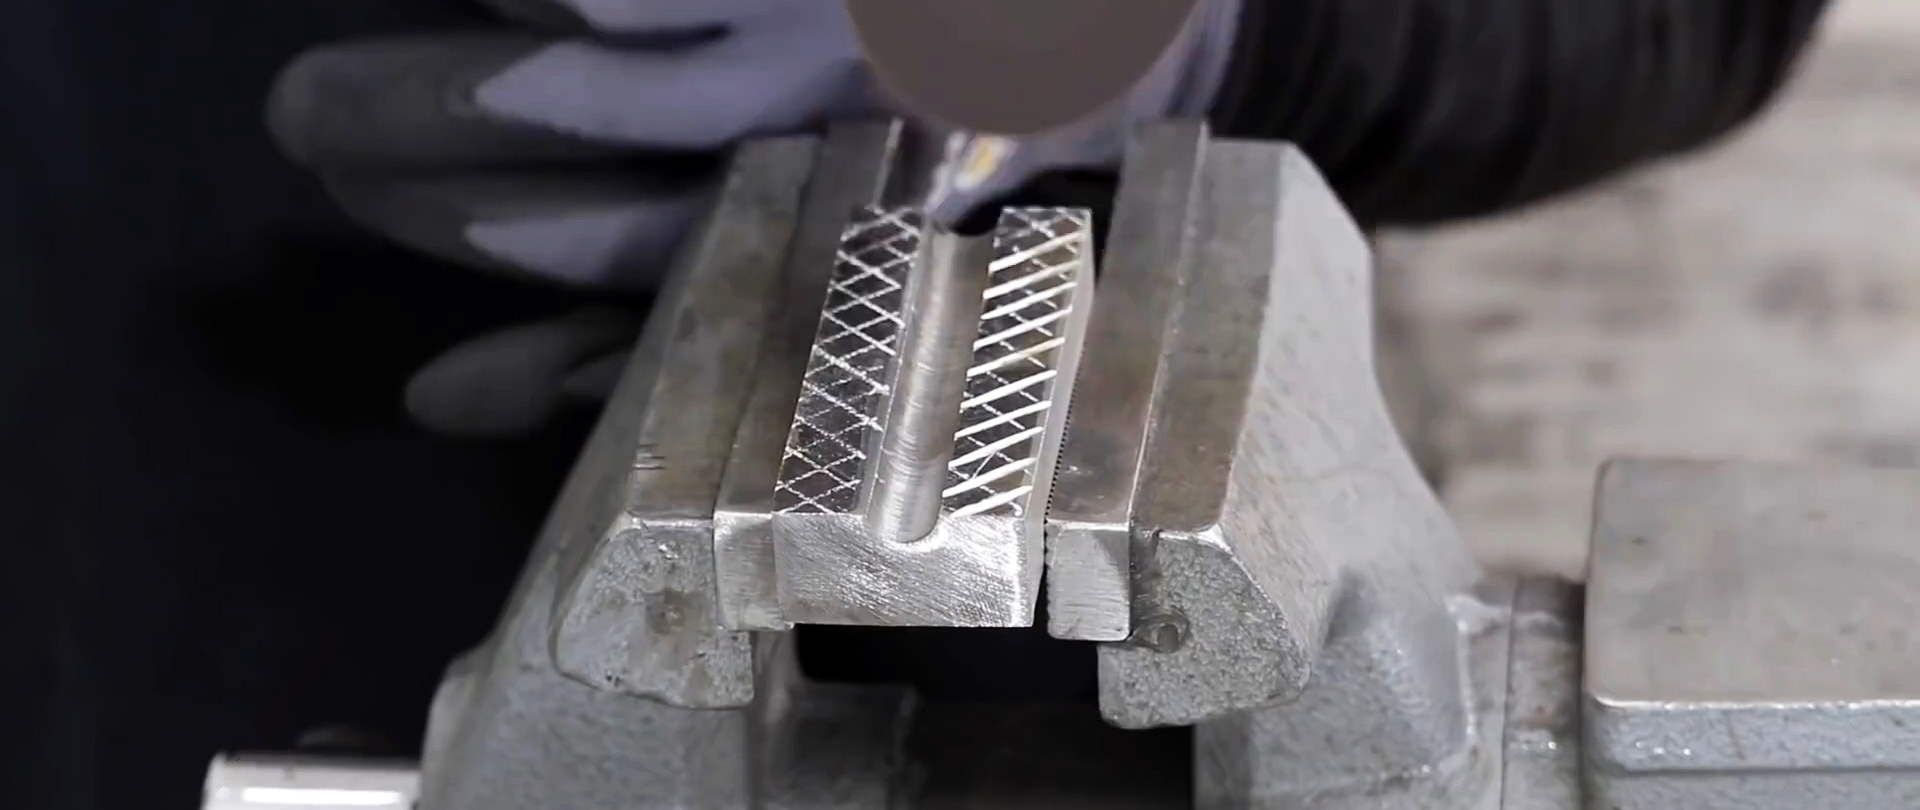
After this, they are separated, and notches are cut into them with a drill, grinder or hacksaw.
Now you need to tighten the clamp flaps with a bolt, placing jaws between them. Then the latter are trimmed and welded.

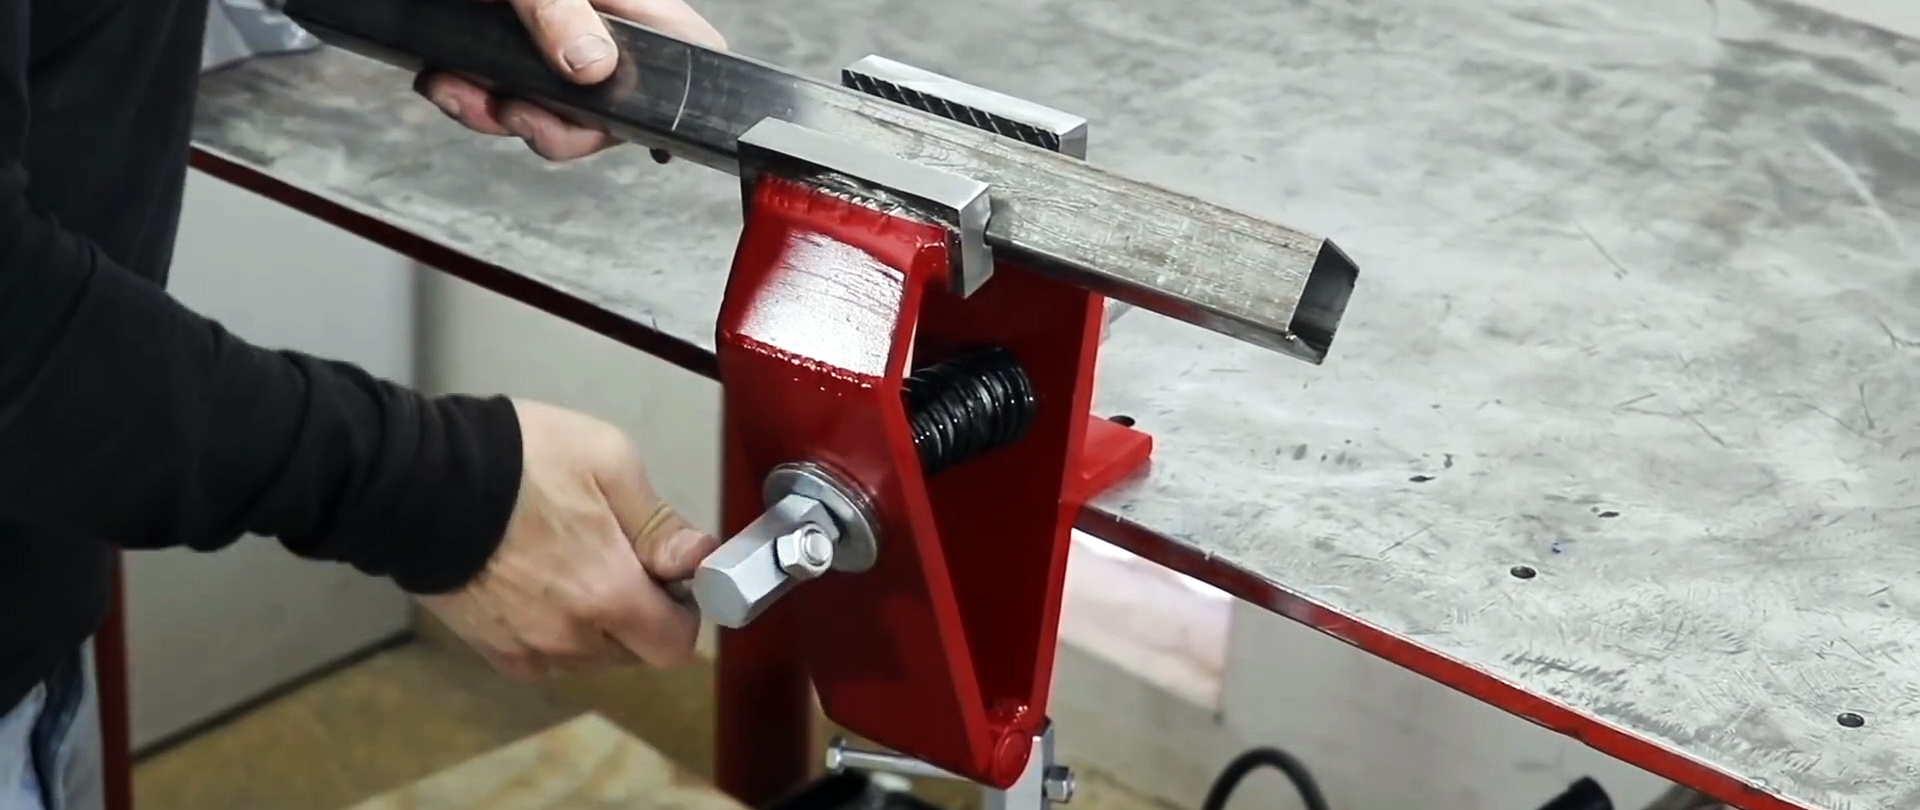
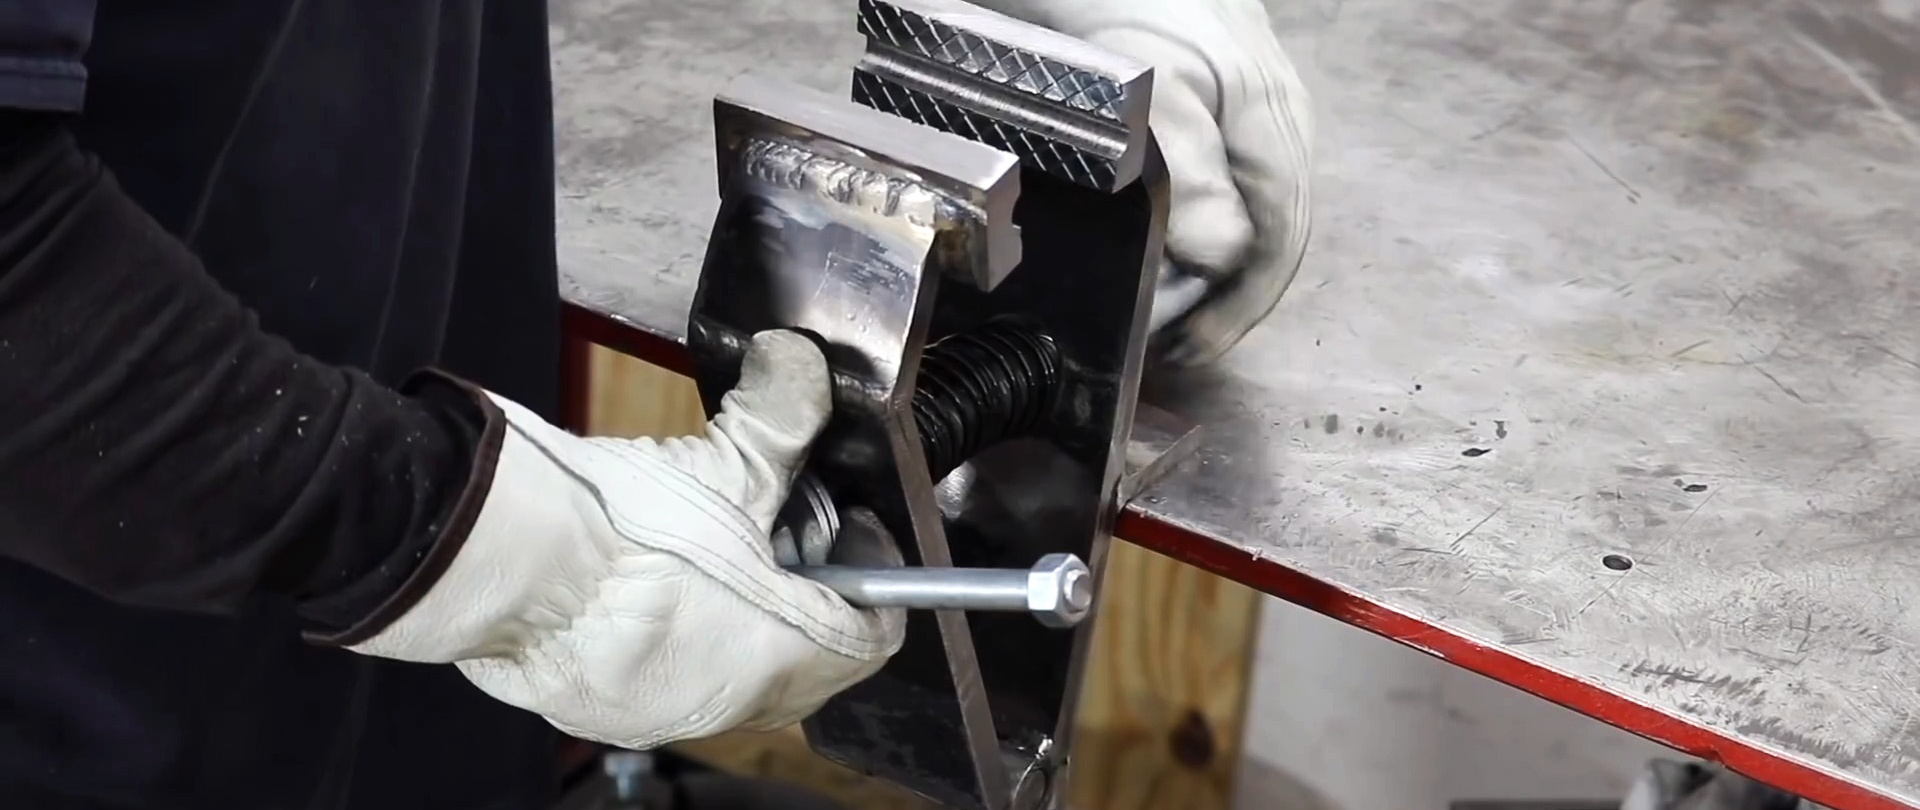
To attach the vice to the table, a shelf is welded to one leaf. Below it, an elongated nut is welded onto the spacer so that you can screw a bolt into it, thereby clamping the vice on the table top.

Now you need to make 2 screws. One is needed for clamping the vice on the table, and the second for bringing the jaws together. To do this, extended nuts are screwed onto the studs and welded. The resulting heads are drilled, and handles made of thin pins with nuts at the ends are inserted into them.

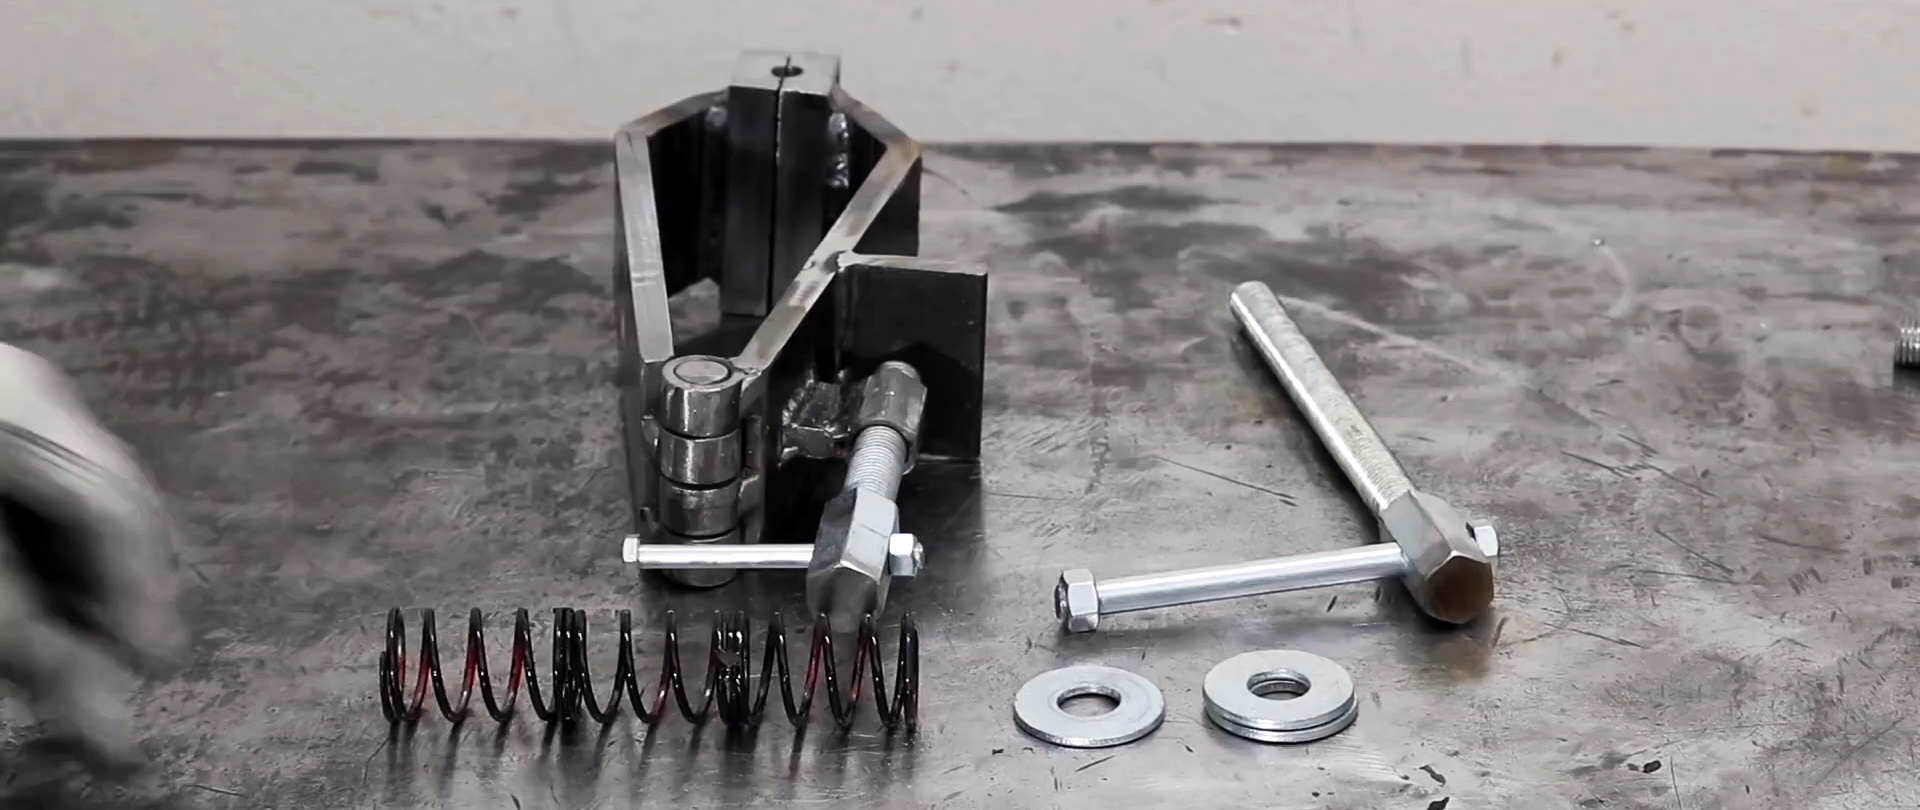
The short screw is used to mount the vise to the table. For the second screw, you will also need to select a compression spring and cut the extended nut at an angle.

To install it, you first need to put on the washer, then insert it into the hole in the sash, and install the spring. At the exit from the second leaf, 2 washers and a beveled nut are put on the screw. Due to this slope, it does not rotate when the screw rotates.
All that remains is to check the vice, and if everything fits correctly, then paint it. Now they can be used for their intended purpose.