The regulator is used to change the alternating voltage supplied to lamps and other household devices with low and medium power. This circuit is excellent for adjusting the power of a transformer.
The regulator circuit is assembled on the basis of a triac, which provides a noticeably lower level of interference in the supply network without the use of an additional filter.

- circuit simplicity;
- use of commercially available electronic components;
- does not require adjustment.
Schematic diagram of the regulator
The regulator is switched on in series with the load. It is permissible to either directly connect the load or use an intermediate transformer for galvanic isolation and change the output voltage. Both options are shown in the figure.

The schematic diagram of the device is presented below
The functions of the control component with variable resistance, which sets the current through the load and, accordingly, determines the voltage across it, are set by a triac. The change in the state of the triac is carried out by the dinistor. The dinistor response threshold is set by a potentiometer, which is turned on in variable resistance mode.There is also an additional protective 10-kilo-ohm resistor, which is connected in series with the potentiometer.

Parts used
The regulator contains:- triac BTA41-600, the pinout of which is shown below in the figure - http://alii.pub/5o284l
- dinistor DB3 - http://alii.pub/5o28g9
- potentiometer 200 kOhm - http://alii.pub/5o27v2
- 100 nF non-polar capacitor - http://alii.pub/5n14g8
- fixed resistor 10 kOhm, 0.25 W - http://alii.pub/5h6ouv
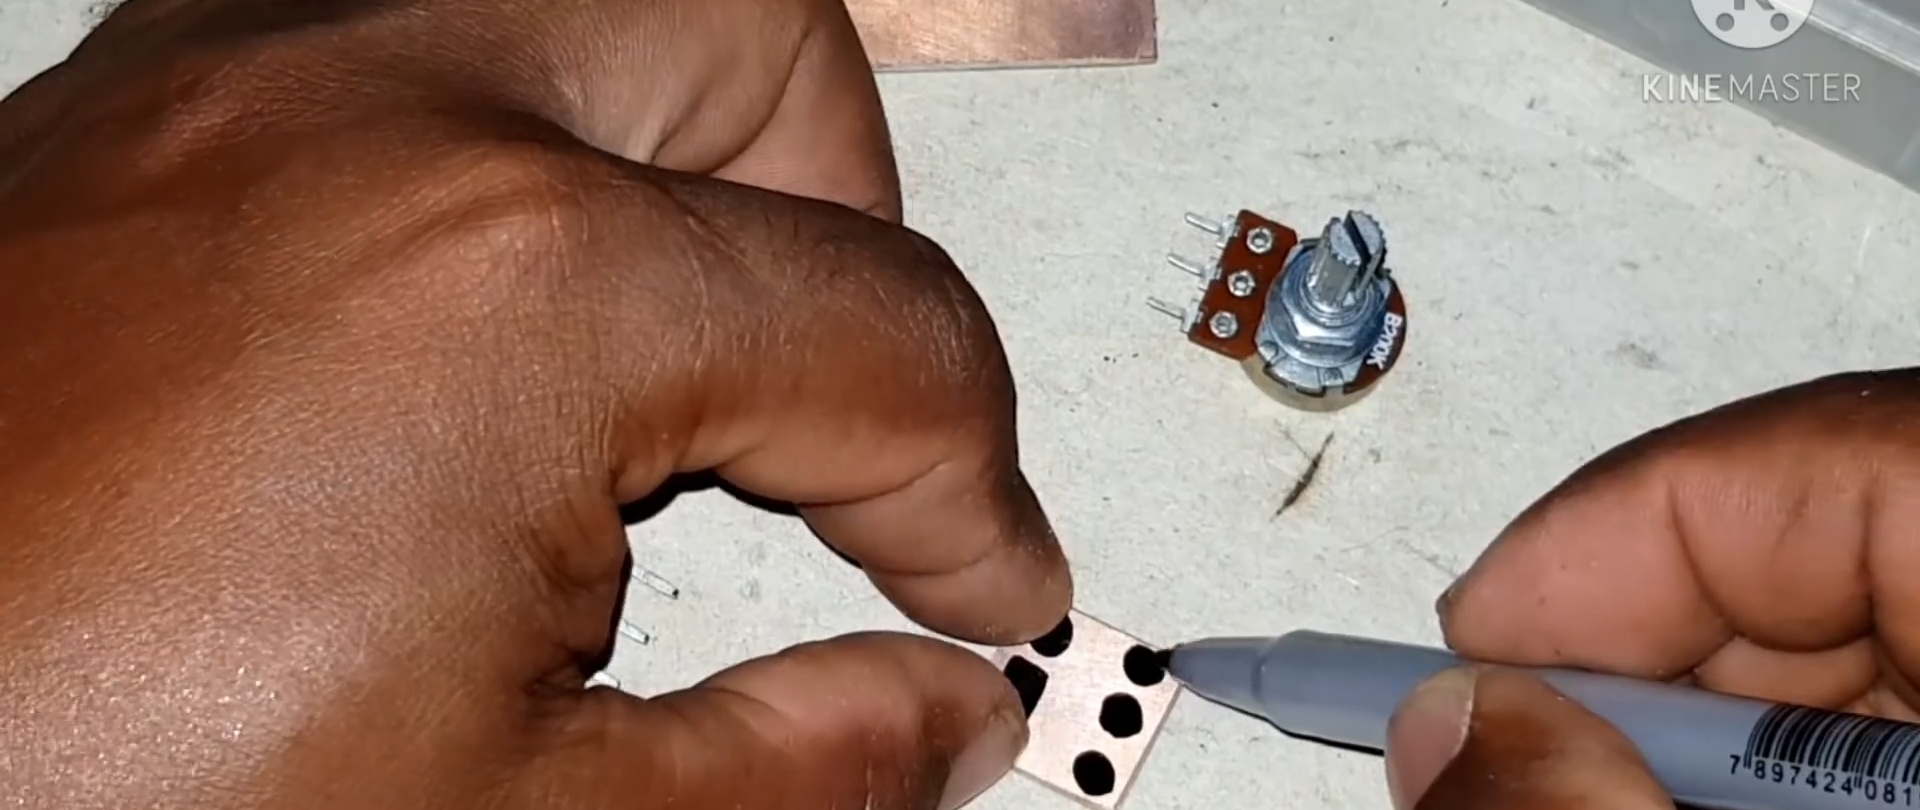
Printed circuit board
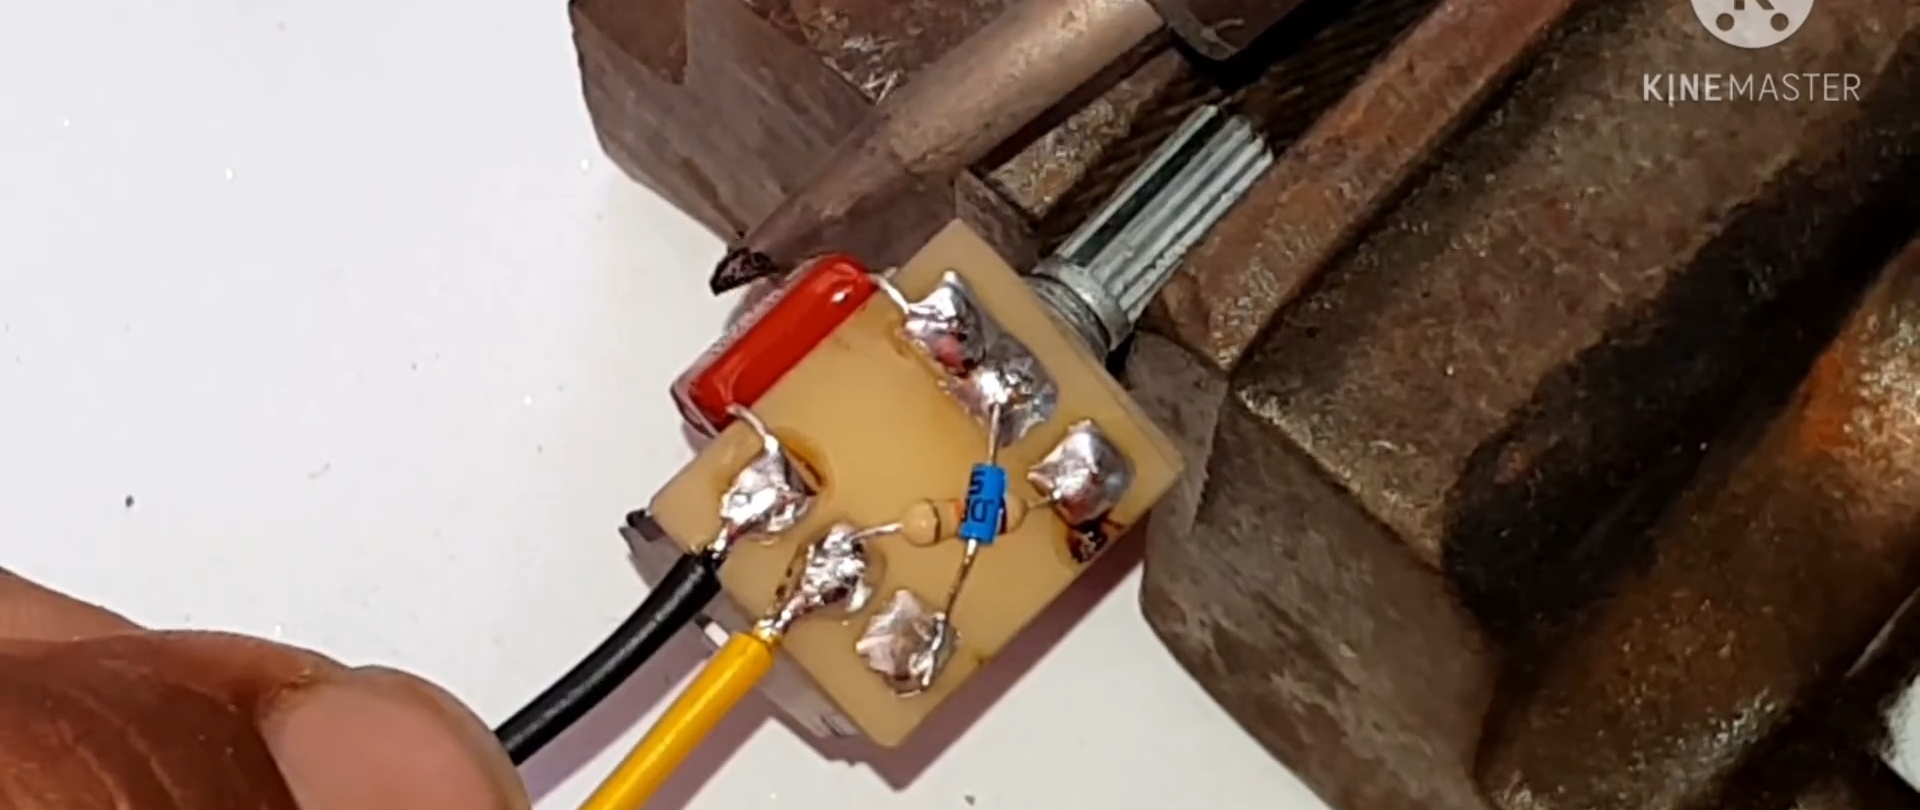
The printed circuit board has a square shape with a side of about 20 mm and rounded corners. It is made of getinaks with one-sided foil, the edges are refined with a file. No metal plating of holes is required.
The board topology is shown in the figure. The diameter of the contact pads is approximately 2.3 - 3 mm, the distance between the centers of the pads and the diameter of the holes must correspond to the dimensions of the triac and potentiometer leads.

Circuit assembly and installation features
The functions of the supporting base of the circuit are performed by a printed circuit board, onto which, starting with the triac and potentiometer, all five components are soldered, and then the connecting wires are again connected by soldering.

When installing a constant resistor and dinistor, you should leave a small gap between them. When installing a capacitor, it is advisable to select the lead lengths in such a way that the element body can be bent to the side where the triac and potentiometer are installed.
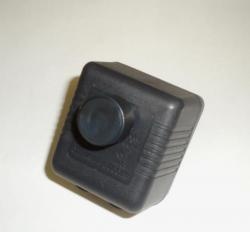
For ease of control, the potentiometer slider is oriented outward.
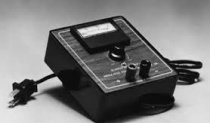
Checking the regulator in operation
We connect the regulator to the break of a 220 V incandescent lamp.

Quite acceptable smooth adjustment of the lamp brightness has been achieved.
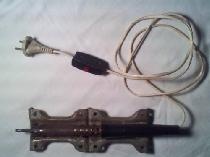
We turn on the open circuit of the burner transformer.

Now the filament power of the burner coil can be easily adjusted without any extra effort.