Potato - a very popular vegetable in our latitudes and there will always be a place for it on the plot. However, growing commercial tubers is half the battle. It is important to be able to preserve them for a long time. And to do this, it is necessary to strictly observe the cleaning terms and storage rules.
Preparatory activities
Usually they start digging potatoes at the end of August, after the 20th. But they prepare for the harvest in advance.
1. A few weeks before the start of the proposed work, the soil between the rows must begin to be loosened (once every 5-7 days). This will improve aeration in the tuber zone and contribute to faster coarsening of the skin. But the quality of potato storage directly depends on its density. In addition, the thick peel serves as a barrier to the penetration of pathogens and the tubers are less injured during harvesting.
2.If the tops remain green before digging, they must be quickly dried (about a week before harvesting the potatoes). You can resort to spraying with copper sulfate (25 g per 0.5 l of water) or magnesium chlorate (60 g per 1 l of water). This will lead to a more active artificial outflow of nutrients from the stems to the tubers. Such treatments should not cause any particular concern, since the preparations are almost harmless for humans. In addition, this aging of the tops has many more advantages: a decrease in the amount of nitrates in the final product, an increase in nutritional value due to an increase in dry matter, and easy separation of tubers from the stems during digging.
Principles of potato harvesting
1. It’s better to dig potatoes when the weather outside is warm and dry. The ideal air temperature is 17-20 degrees. You should not delay harvesting, because cooling of the soil (to 7 degrees and below) will cause the tubers to lose nutrients, which will worsen their durability during storage. And if the autumn days turn out to be abnormally warm, the potatoes may begin to grow again, expelling new shoots and becoming overgrown with young seedlings. Hence, losses in quality are inevitable.
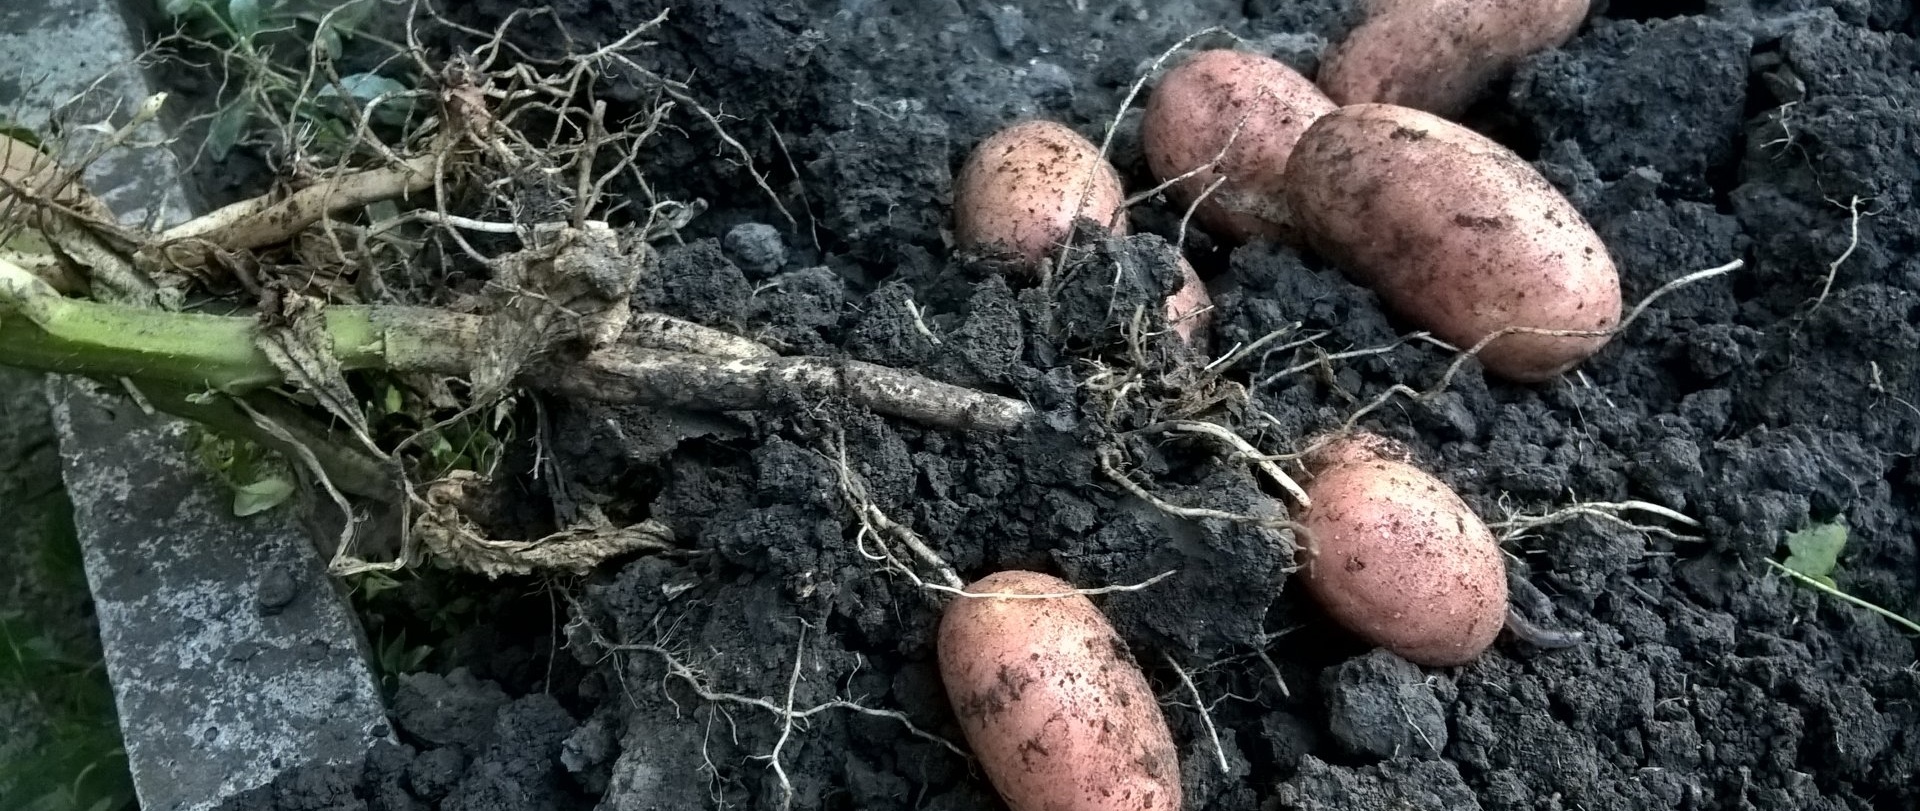
2. Many gardeners prefer to work with a shovel. This is not entirely true, because this approach results in a lot of defects. It's a shame, but often the best and largest tubers can simply be cut. That’s why the best way to clean is to use a pitchfork. They are not able to cut potatoes, and the soil between the teeth is easily passed through. It’s just important to stick the pitchfork away from the point where the stem grows (25-30 cm). The main principle is to pry up the growth area and tip the bush onto the ridge.
3. Sorting potatoes is an immediate task. Seed tubers can be selected only from healthy, best bushes. This is the most correct approach.Removing all the potatoes, drying them, and only then selecting tubers of suitable size from the general “pile” is not the best idea. Such calibrated planting material may turn out to be the fruit of a failed or diseased mother plant. And all this will certainly affect the harvest of the new season. Potatoes intended for food must be harvested separately from seed potatoes. But also with subsequent sorting. Healthier tubers are sent to the basement for storage, and fruits with defects are eaten as early as possible.

4. If the ground is wet when harvesting potatoes, the fruits may be covered with soil when dug up. There is no need to delete it right away. This can damage the delicate skin of the potato, and subsequently there is a risk of rotting. The soil should crumble on its own. To do this, the bushes are dried in the shade. But here it is important to observe time, to prevent the tubers from turning green and the formation of solanine (a toxic substance) in them. Therefore, the ideal duration of the procedure is no more than 2 hours.
5. After drying the potatoes, the soil is removed, and the finished product itself is placed in a cool, shaded place (for example, a barn) for 14 days. During this time, the tubers will finally ripen, dry properly, and it will be easier to discard rotten specimens.
6. The final stage after drying is sending the potatoes for long-term storage. If you control the dampness in the room and provide the desired temperature and microclimate, the tubers can easily survive the entire winter season in good condition.
Nuances of storing tubers
The best place to keep potatoes during cold weather is a basement or cellar.
1. Optimal temperature for lying down: 2-4°C. If the place is colder, potato tubers require shelter (sawdust, hay, rags or burlap).

2.Air humidity during storage is also important. For example, 70% will be enough. At lower rates, the tubers may wither, and at high rates they can cause rotting.
3. Buckets of water placed in the cellar will help increase humidity. It can be reduced by ventilation, and in particularly advanced cases, containers with quicklime or ash are installed in the room, which need to be changed occasionally. Ordinary beets protect potatoes well from bacterial damage and excessive dampness. Having a dense skin, this root vegetable is resistant to diseases and protects potato tubers from this. All you need to do is lay it on top of them in 2-3 rows.
4. From time to time it is necessary to inspect the tubers. Damaged ones must be removed in a timely manner, and those in the vicinity must be dusted with ash. This will slow down the activity of bacterial processes and prevent microbes from spreading to healthy potatoes.
Good results!