Gardeners root cut cuttings in different ways. However, it is impossible to clearly say which one is better without an exact comparison. The proposed experiment allows us to evaluate the rooting of cuttings planted using different technologies in order to understand which method is better.
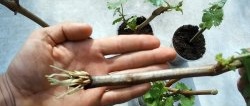
All cuttings within the experiment are prepared before germination. A fresh cut is made on them below. Below the first node, the bark is stripped in a couple of places down to the green cambium.

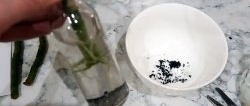
It is through these damages that new roots will begin to emerge. The prepared cuttings below the first node are smeared with a brush dipped in a preparation with growth hormone. Their upper part is dipped in paraffin so that they do not dry out.
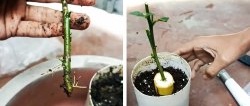
1. Rooting in small pots
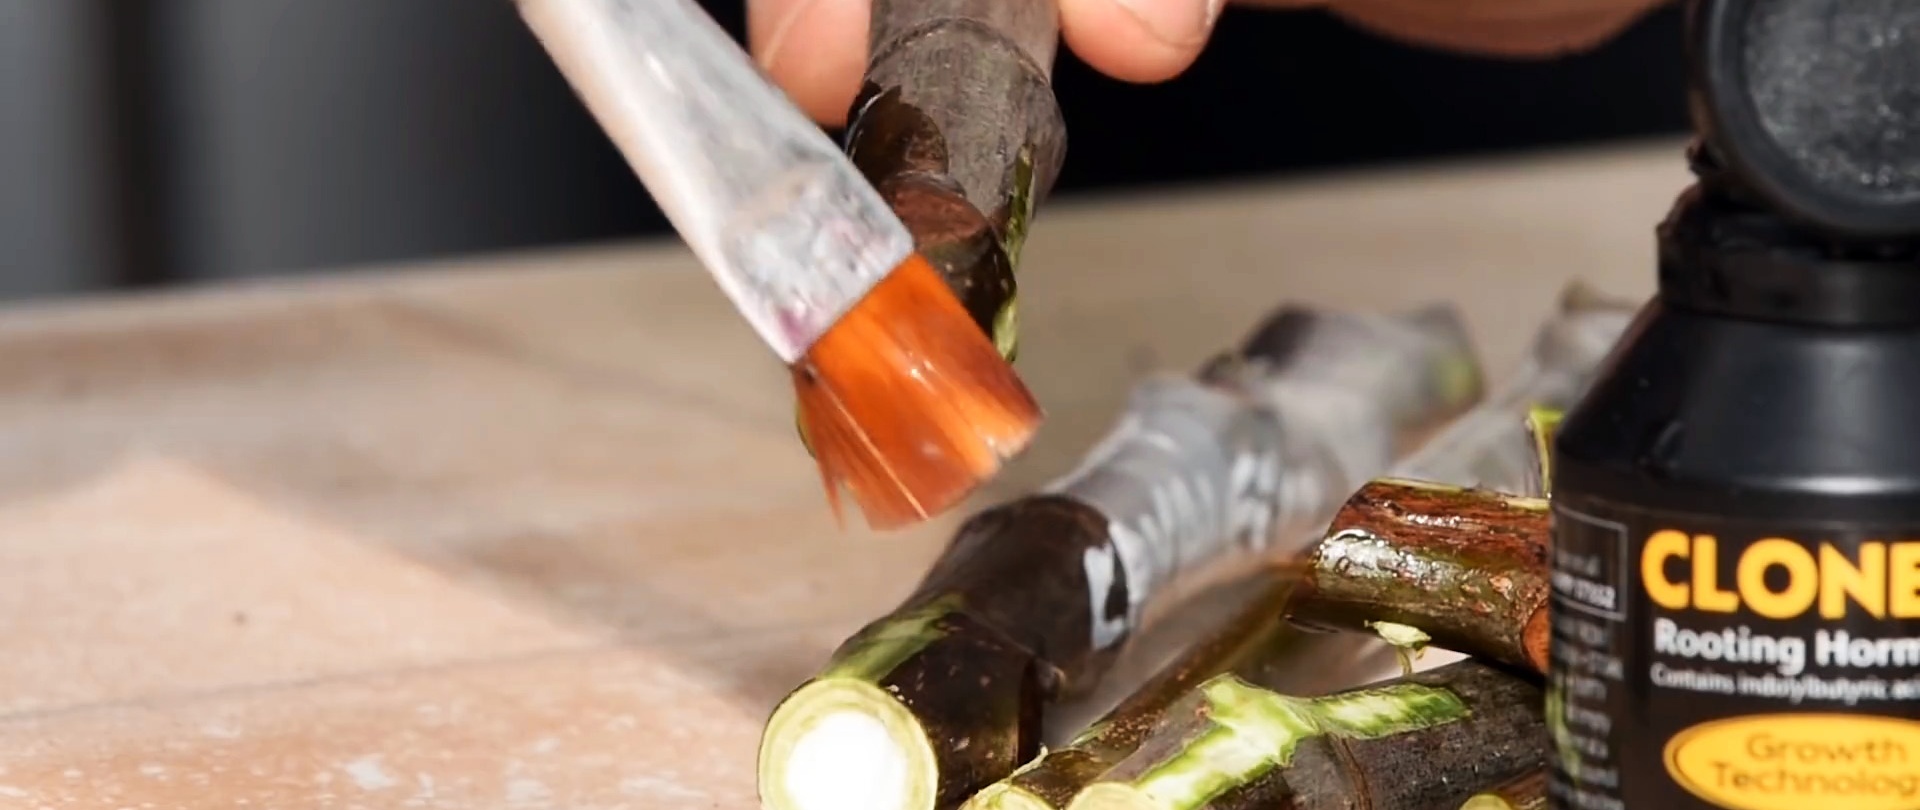
Using this method, cuttings are planted in a pot. This allows you to later, after rooting, pull them out along with the soil and plant them in a new place, with minimal damage to the roots. When transplanted, they will be, as it were, in a cocoon of adhered substrate, so there will not be much stress for them.
The disadvantage of this method is that you cannot see whether the roots are developing in the pot or not. A shoot may well appear on the cutting, but there will be no roots.Another difficulty is that it is difficult to control soil moisture. It is important not to keep the soil constantly wet so that the plant does not rot.

Cuttings in pots are covered with film or a transparent bag. This way the protruding part will not dry out from dry air. In addition, it maintains a more or less constant temperature inside.
2. Rooting in soil with sand in large pots
The second method involves preparing a light soil mixture.

For this purpose, purchased nutrient soil with the addition of sand is used. The difference from the first method lies precisely in the soil. This is not a heavy, dense soil, in which a swamp is formed when water is added, but a light substrate that becomes moderately moist when watered. Excess water easily escapes from it. Plants using this method are planted in larger pots for comparison. They are also covered with a bag or plastic bottle without a bottom.

As part of the experiment, cuttings planted in pots with light soil were placed outside in the shade. As a result, after a month in the cool night conditions, they still did not develop roots. The cuts made at the bottom of the cuttings healed. The roots began to appear only after a month and a half.

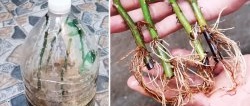
3. Pre-rooting in containers using coconut fiber
This method involves planting the cuttings reclining in containers filled with wet coir. It clearly shows when the substrate needs to be moistened, since as it dries, it becomes lighter. As part of the experiment, the containers are placed in a room where the temperature is stable without cold temperatures at night.

Since the containers have a lid, they are warm enough and constant humidity is maintained. Due to this, after 1.5-2 months, the cuttings planted using this method had the largest roots.
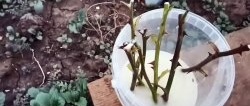
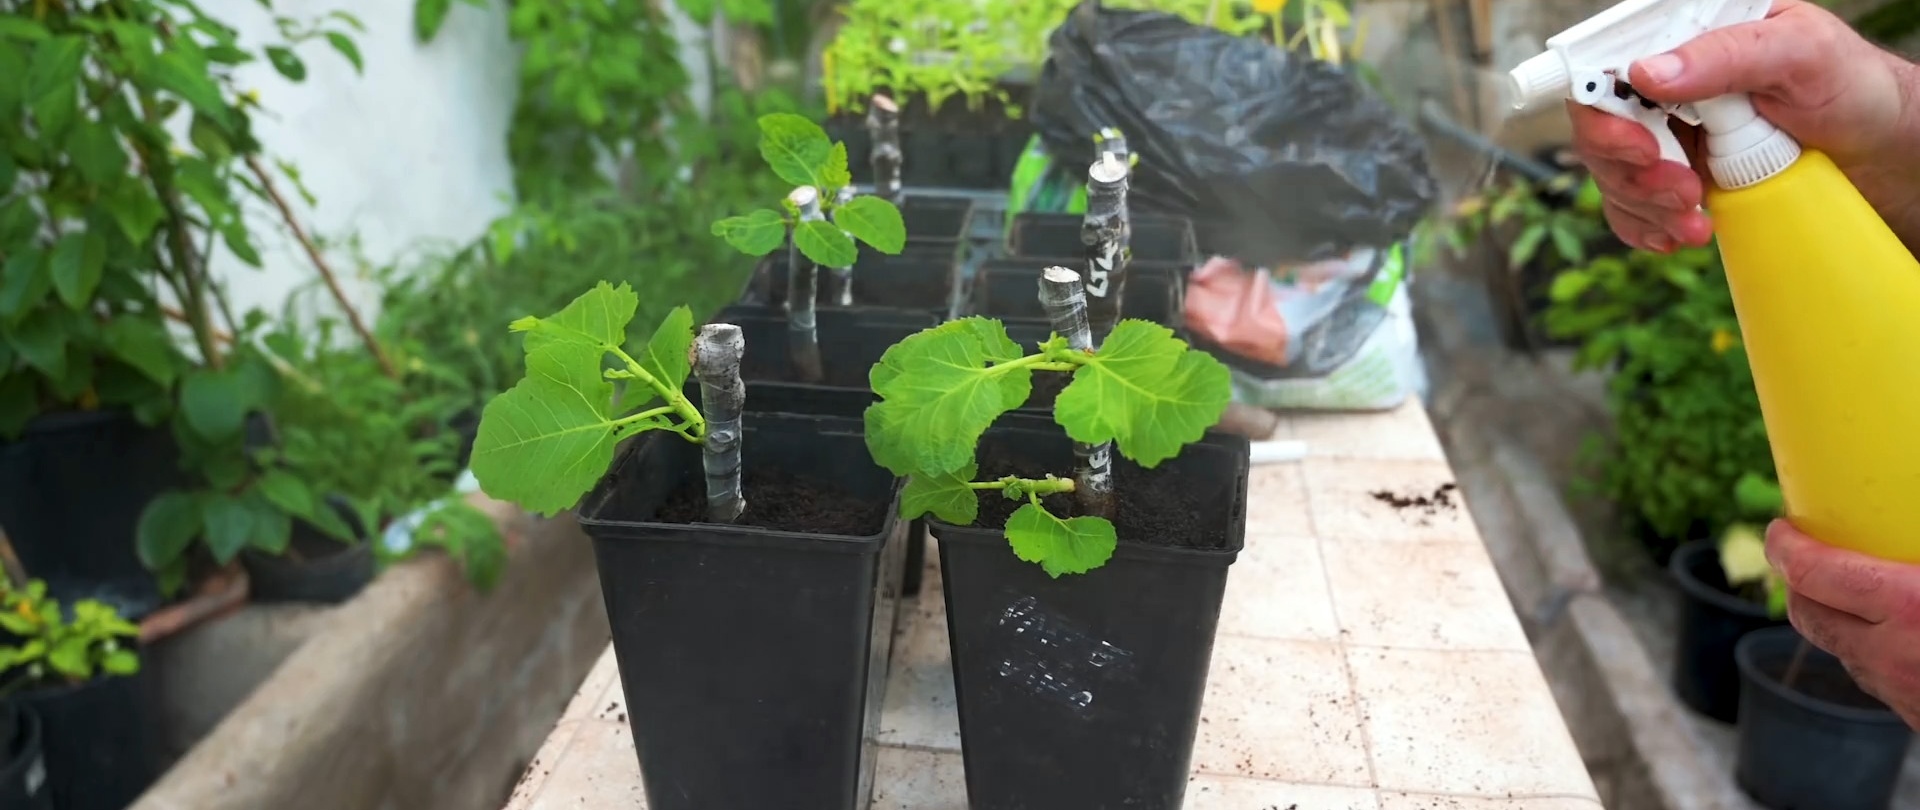
4. Rooting in open ground
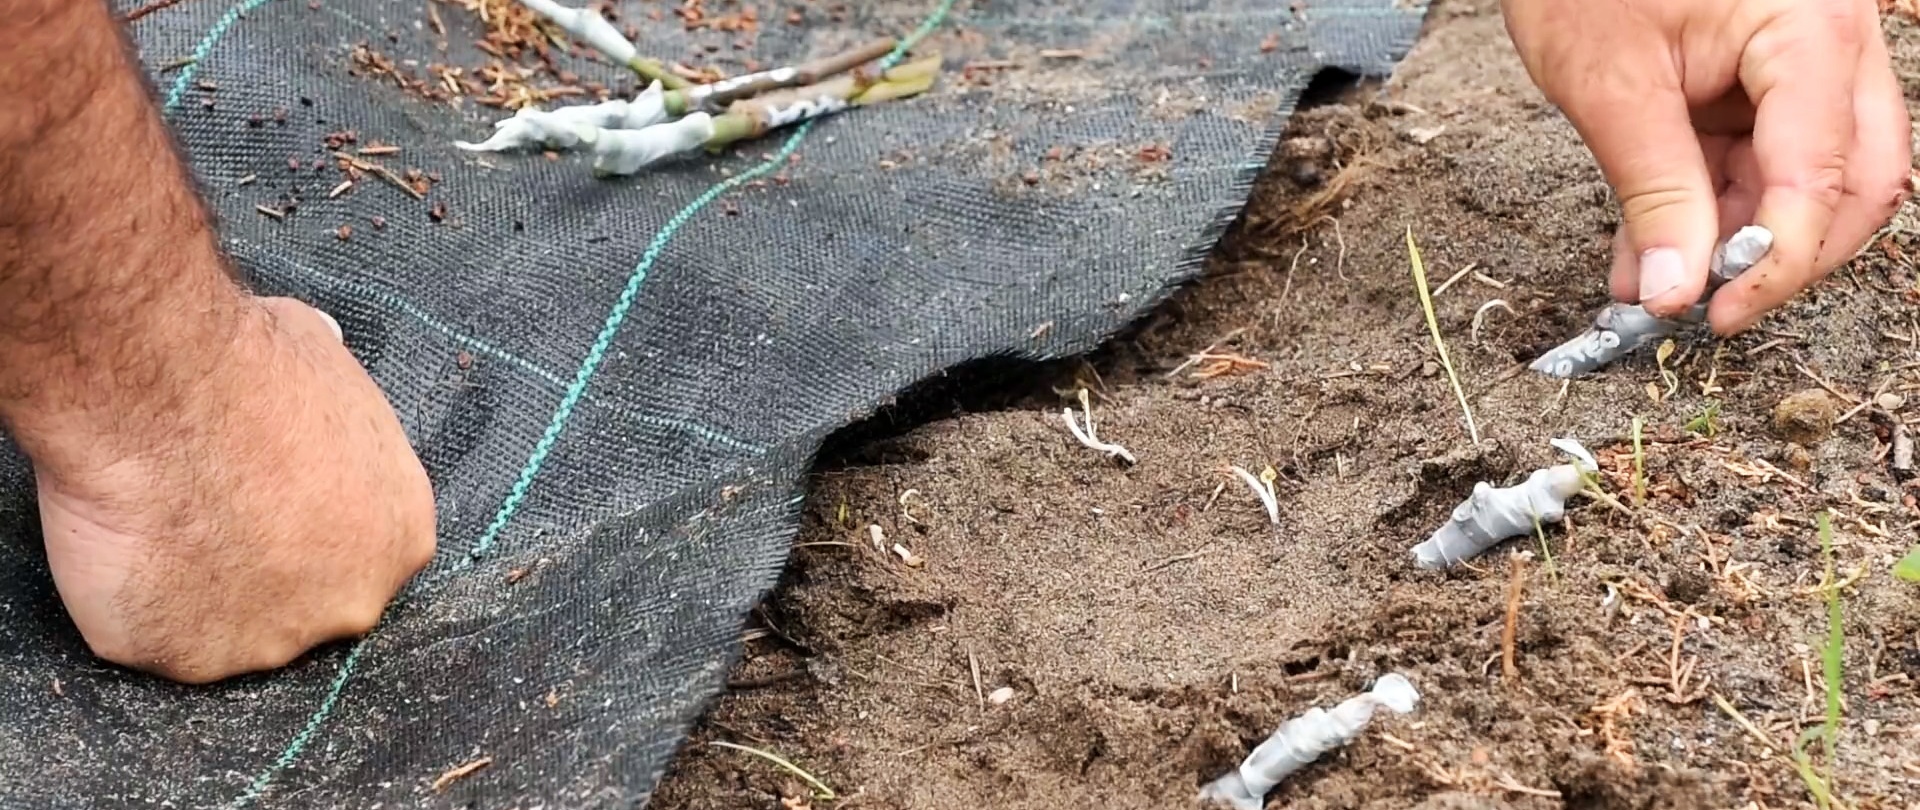
This is the least expensive way. The cuttings are simply stuck into the ground, reclining in a row, shaded and watered. You have to water them more often, since the water has somewhere to go. But this method can plant a large number of cuttings. Another advantage of the method is that there is no need to harden the seedlings. They grow without a dome that maintains stable humidity and reduces sudden temperature changes. The plants grow immediately accustomed to the street.

Which method turned out to be the most effective and efficient?
According to the results of the experiment, coconut fiber gives the best rooting result, provided that the containers are indoors. In it, the roots of the cuttings develop most quickly and become strong. Then, not surprisingly, according to the percentage of surviving cuttings to dried ones, there is a method of planting in open ground. Rooting in pots is less effective. Many plants die due to acidification of the soil, as well as after a change in conditions from removing the dome from the film or bottle.