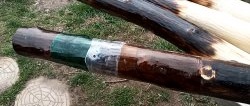
Often in a farmstead or dacha it is necessary to remove concrete pillars, bushes or stumps from the ground. This kind of work is quite difficult and requires a lot of effort and time. But if you modernize the factory winch, the uprooting work will be much easier and faster. Almost any adult can cope with such alterations.

Will need
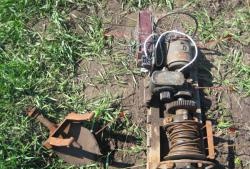
Materials and products:- Standard winch;
- transport belt;
- steel strips of different widths;
- bolts, washers and nuts;
- profiled square pipe;
- eye bolts;
- chains with carabiners;
- steel round bushing;
- bearings;
- cargo hook, etc.
The process of converting a standard winch into a special one for pulling concrete pillars out of the ground
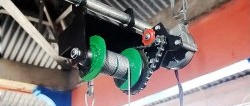
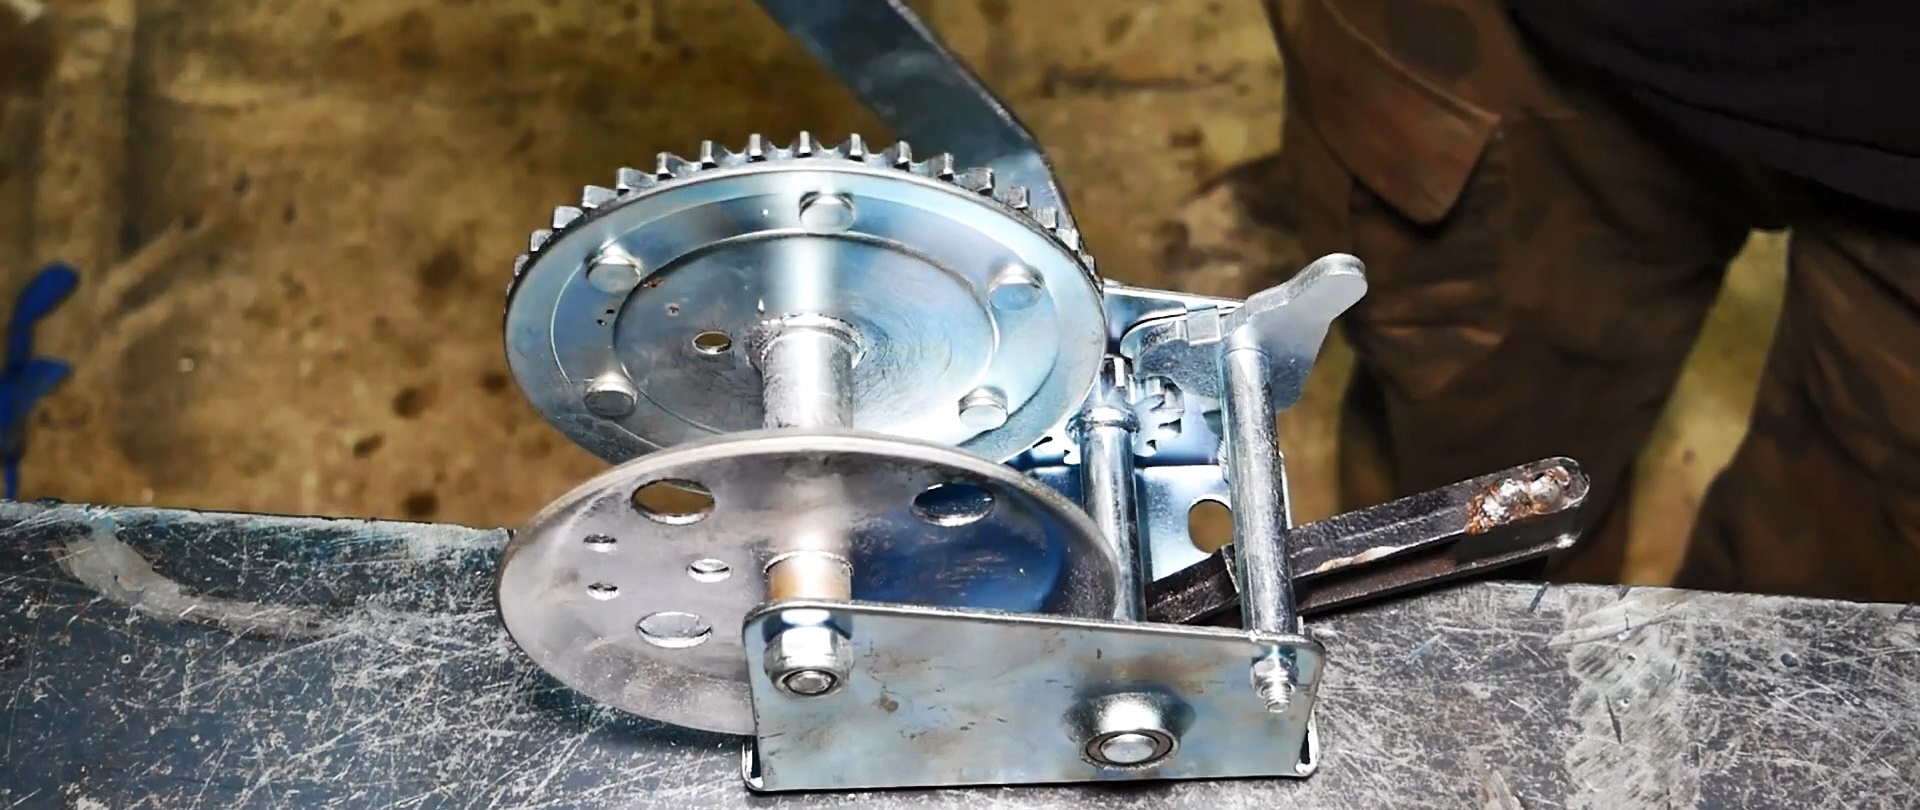
We replace the steel cable on a standard winch with a transport belt, which is more durable, convenient and safe. We check the operation of the winch and ratchet mechanism.
Unscrew the central bolt and nut. Having retreated some distance from the central hole, we make holes in the winch disks.

We insert the previously removed bolt into them and tighten the nut.

We wind a transport belt onto the winch drum instead of the removed steel cable.

We cut two equal pieces from a steel strip, weld them together and drill a hole in the center, and next to it on the axis of the workpiece another smaller one.
We cut a circle from a square piece of two steel strips and divide it into two halves along the axes of the holes.
We place the halves on the winch limit disk from the inside so that their half-holes encircle the central tubular axis and the bolt installed with eccentricity, and weld them to the disk.


We rewind the transport tape onto the winch drum.
Using the markings, we make three holes on a square-shaped piece of steel sheet and cut threads into them. We install the winch on it with the base and fasten it with three bolts.
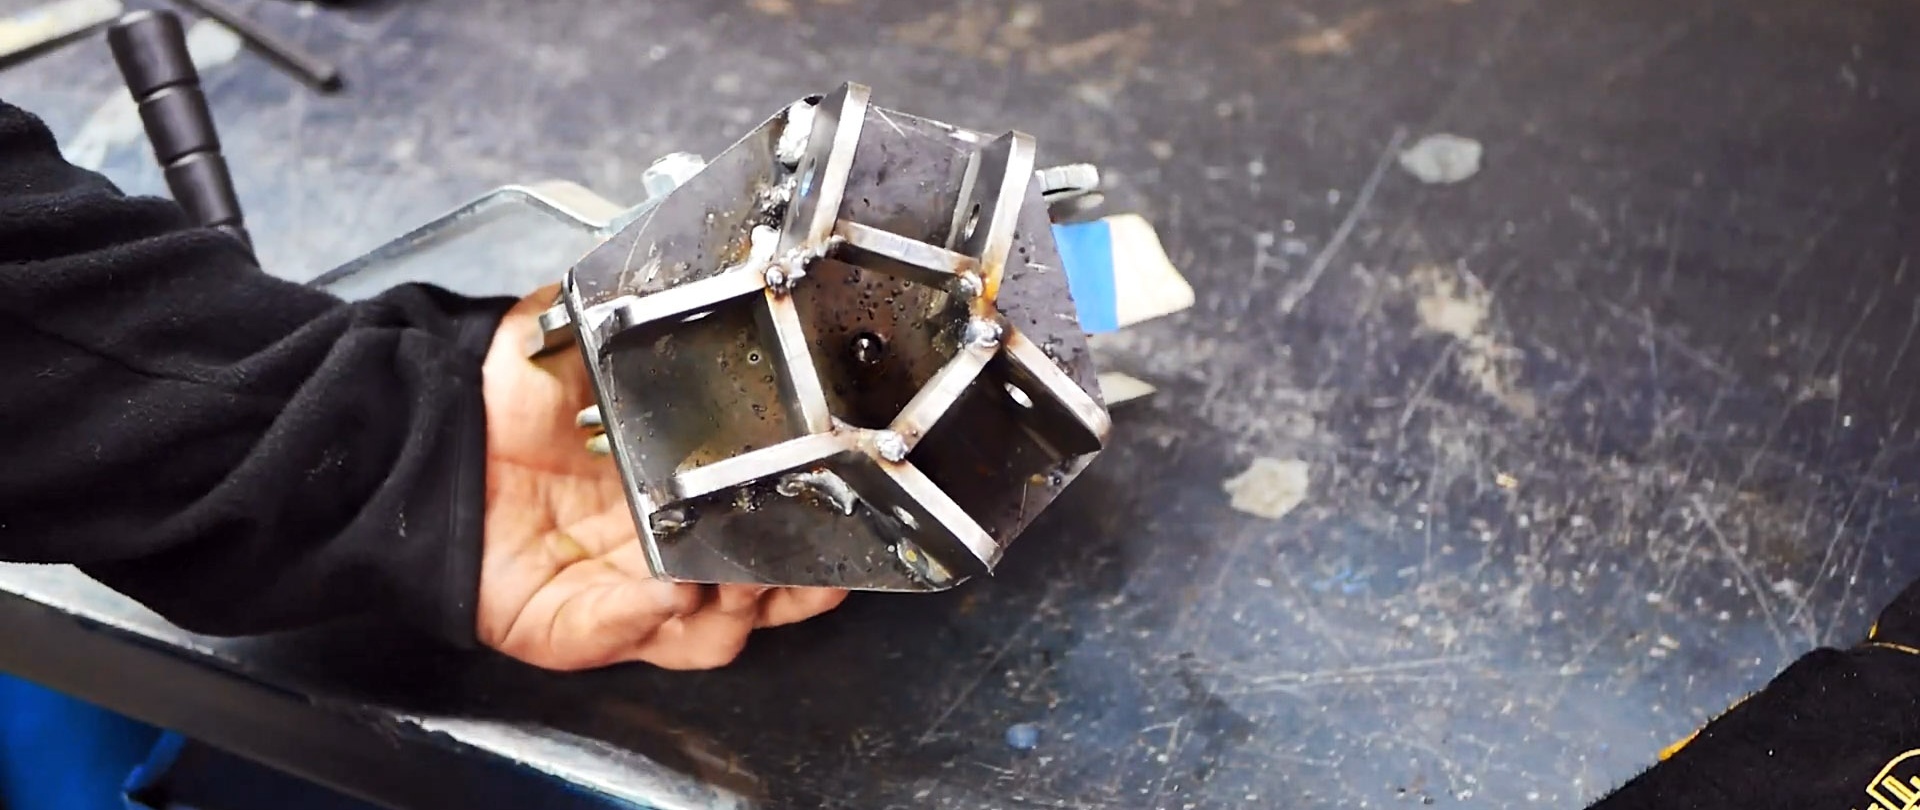
We cut 9 identical squares from the steel strip and drill holes in the center in six of them.

We place them at the bottom of the reinforced base of the winch and weld them so that 3 support legs made of profiled square pipes are placed evenly in a circle between them. We weld three squares without holes between the leg holders along the internal contour to give rigidity to the entire structure.

We insert plastic plugs into the legs, drill holes below them and use bolts, washers and nuts to secure them to the eyes.
We spread the legs, make bevels at the lower ends and weld the support heels.
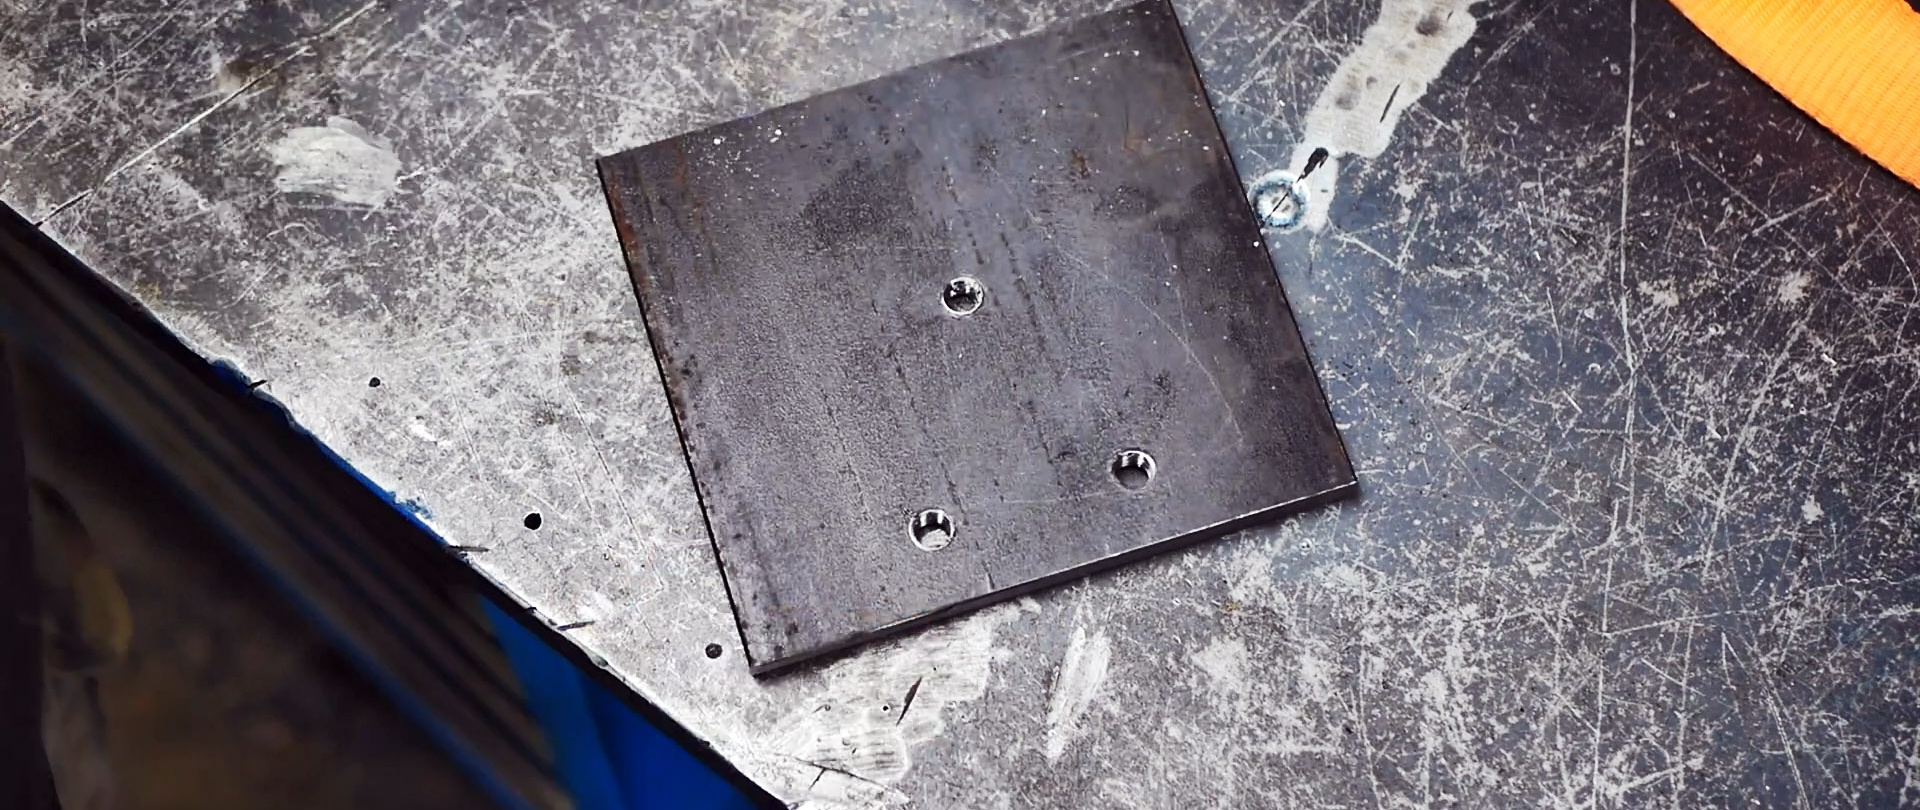
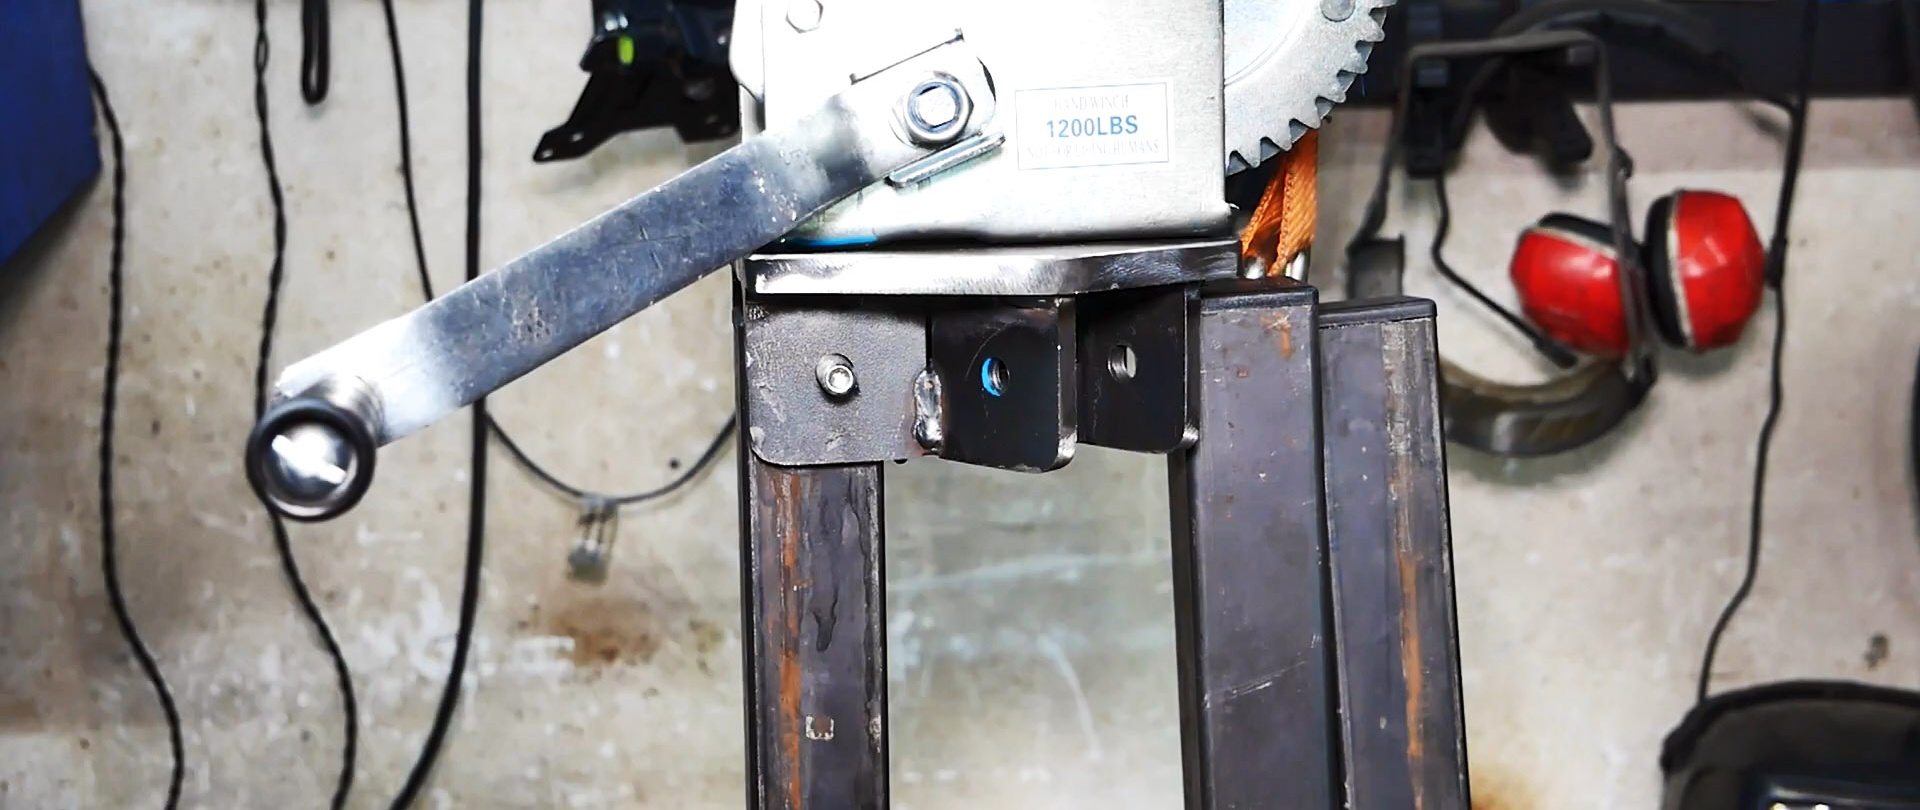
We cut two square fragments from a wide steel strip, lightly attach them by welding, make the necessary outer contour and drill holes according to the markings.
We place them on the sides of one of the legs closer to the base of the winch, fix them with a clamp and weld them.

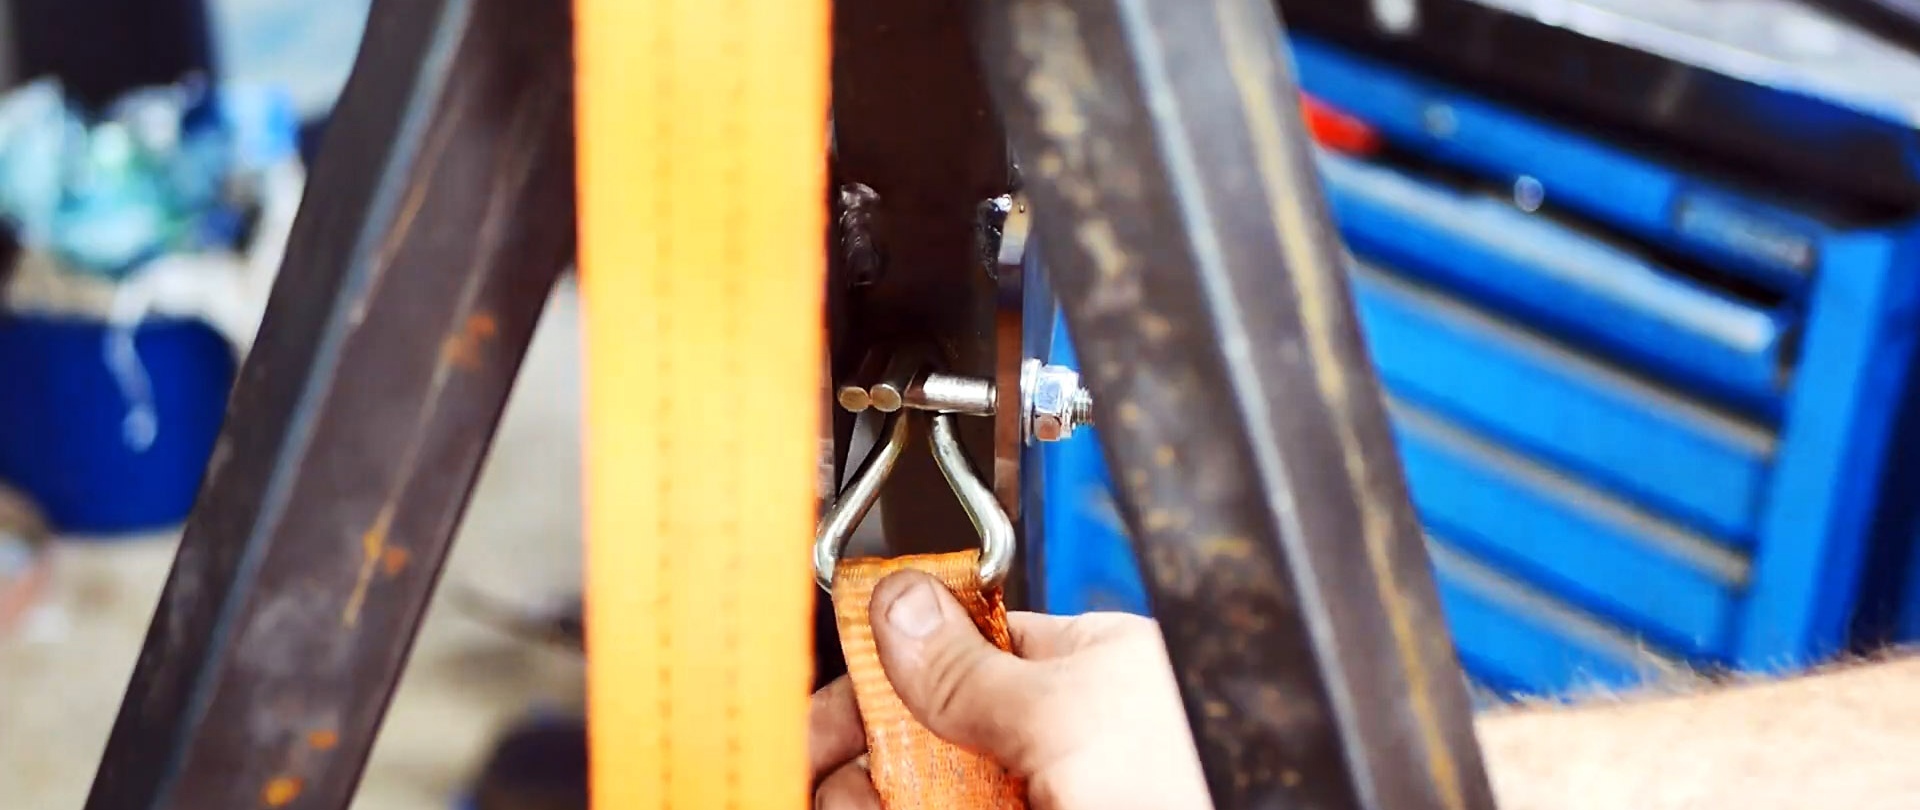
Insert the bolt into the holes and tighten the nut. It will serve to secure one end of the transport belt.
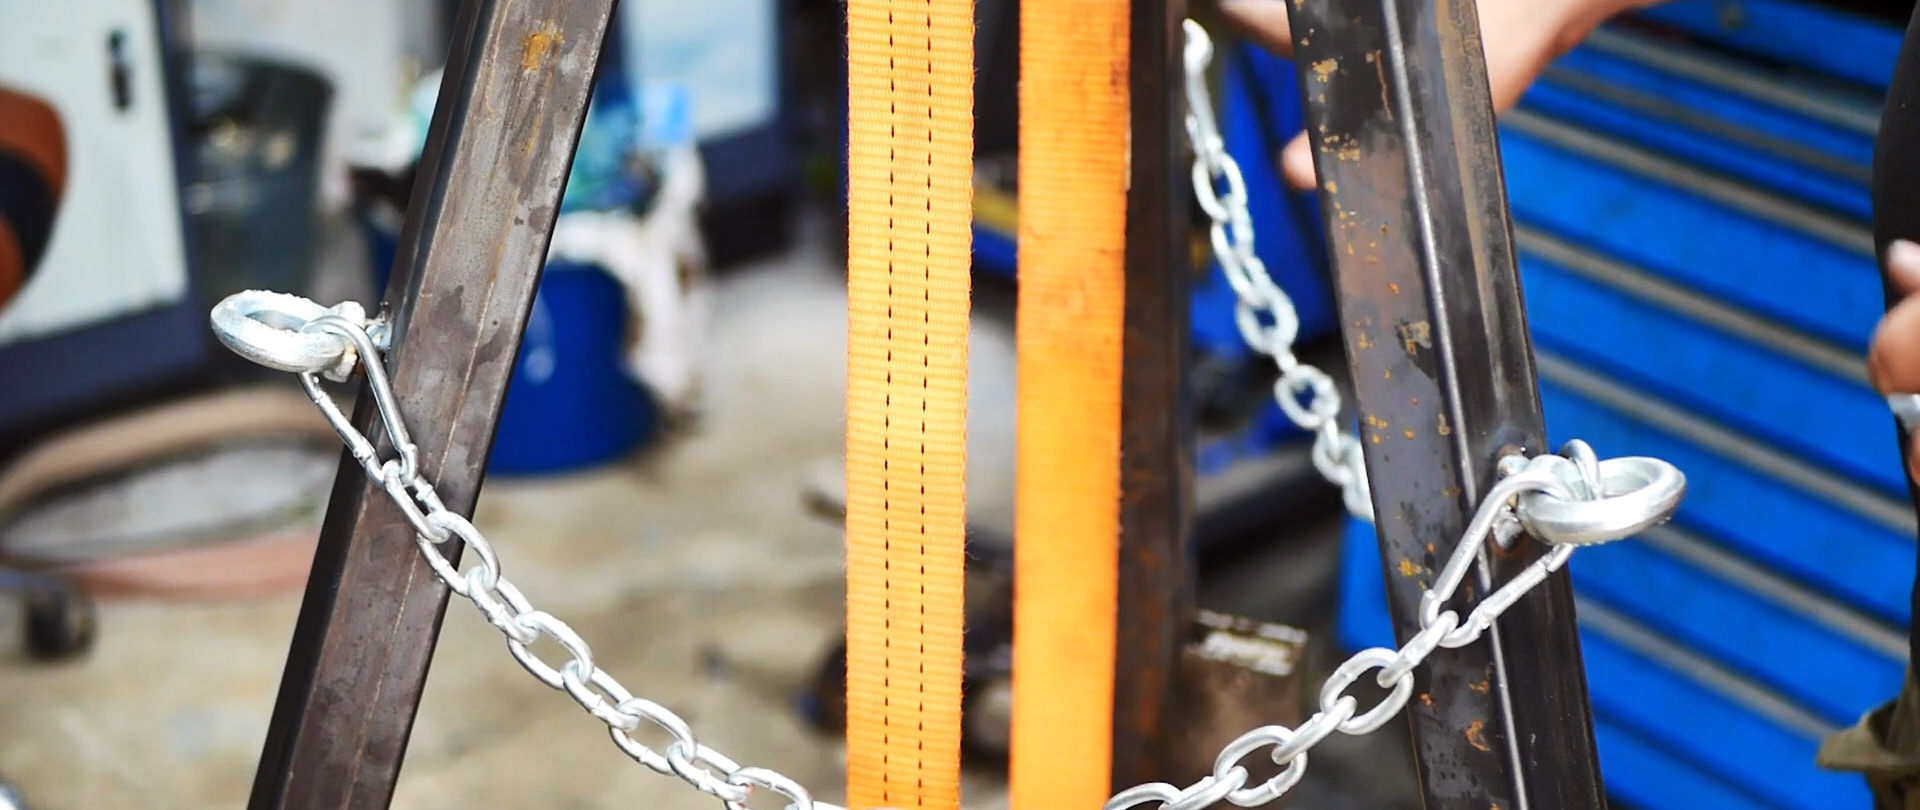
Approximately in the middle of the three legs, we drill holes, cut threads and screw in eye bolts, which we tighten securely and weld.
We attach chains of the same length to them in a circle using carabiners.
In a steel bushing on a lathe, we grind out the seats for the bearings on both sides and press them in there.


We place bushings with plate bearings on both sides, tightened at the bottom by a welded rod on which the load hook hangs.
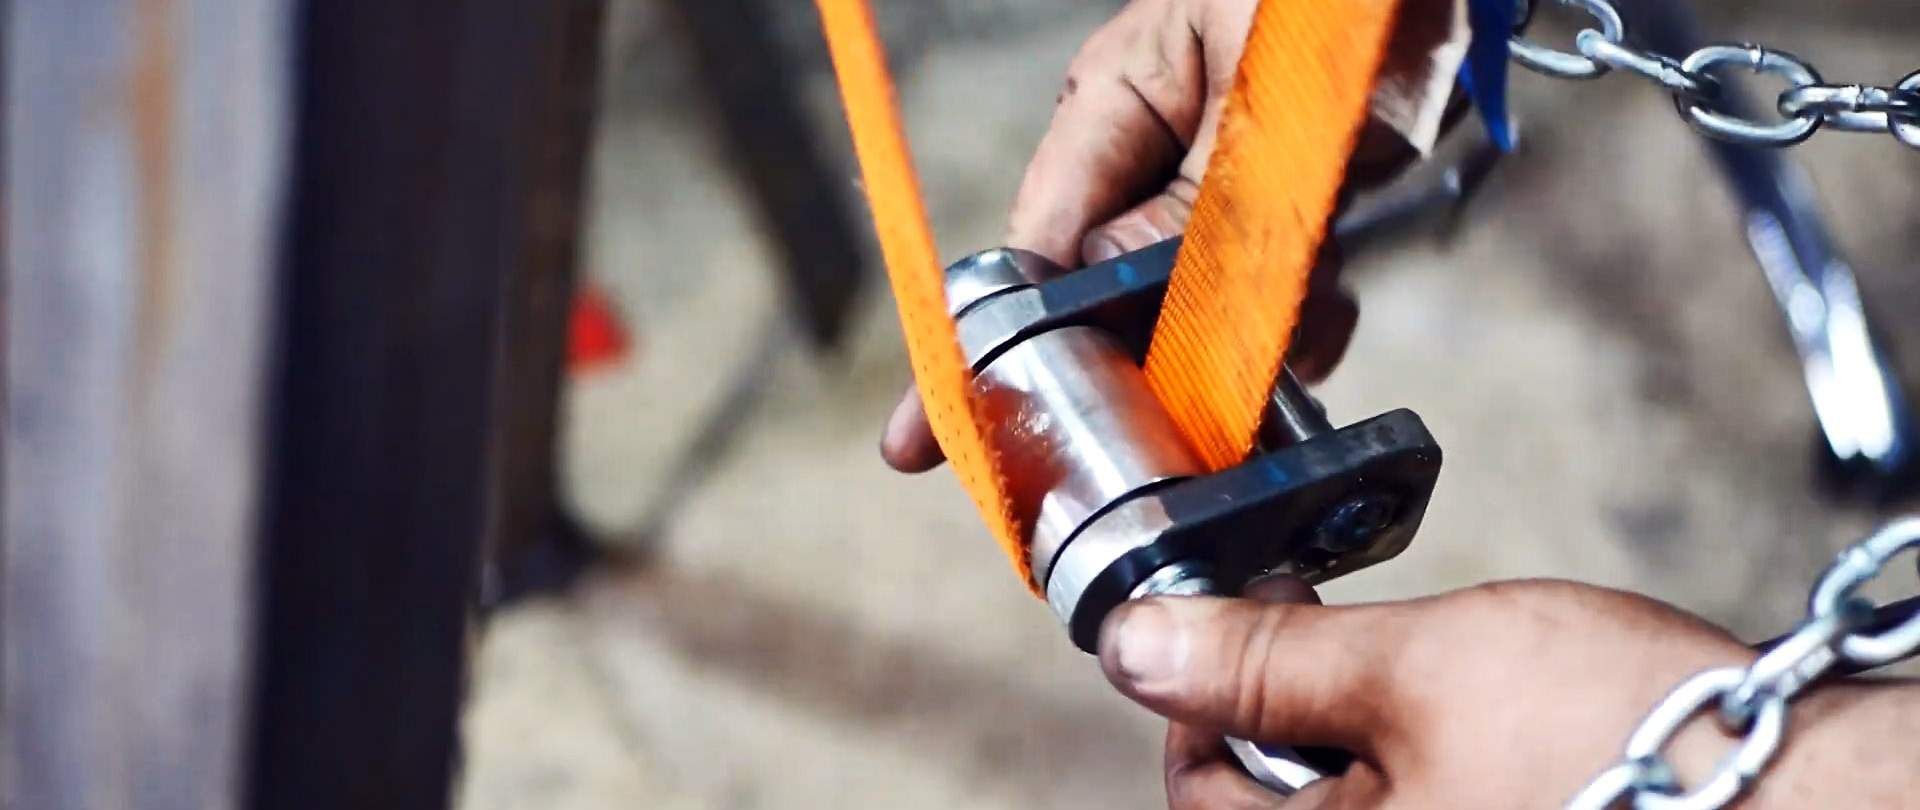
We pass a bolt through them and tighten the resulting assembly with a bolt and nut. We pass the transport tape under the sleeve.
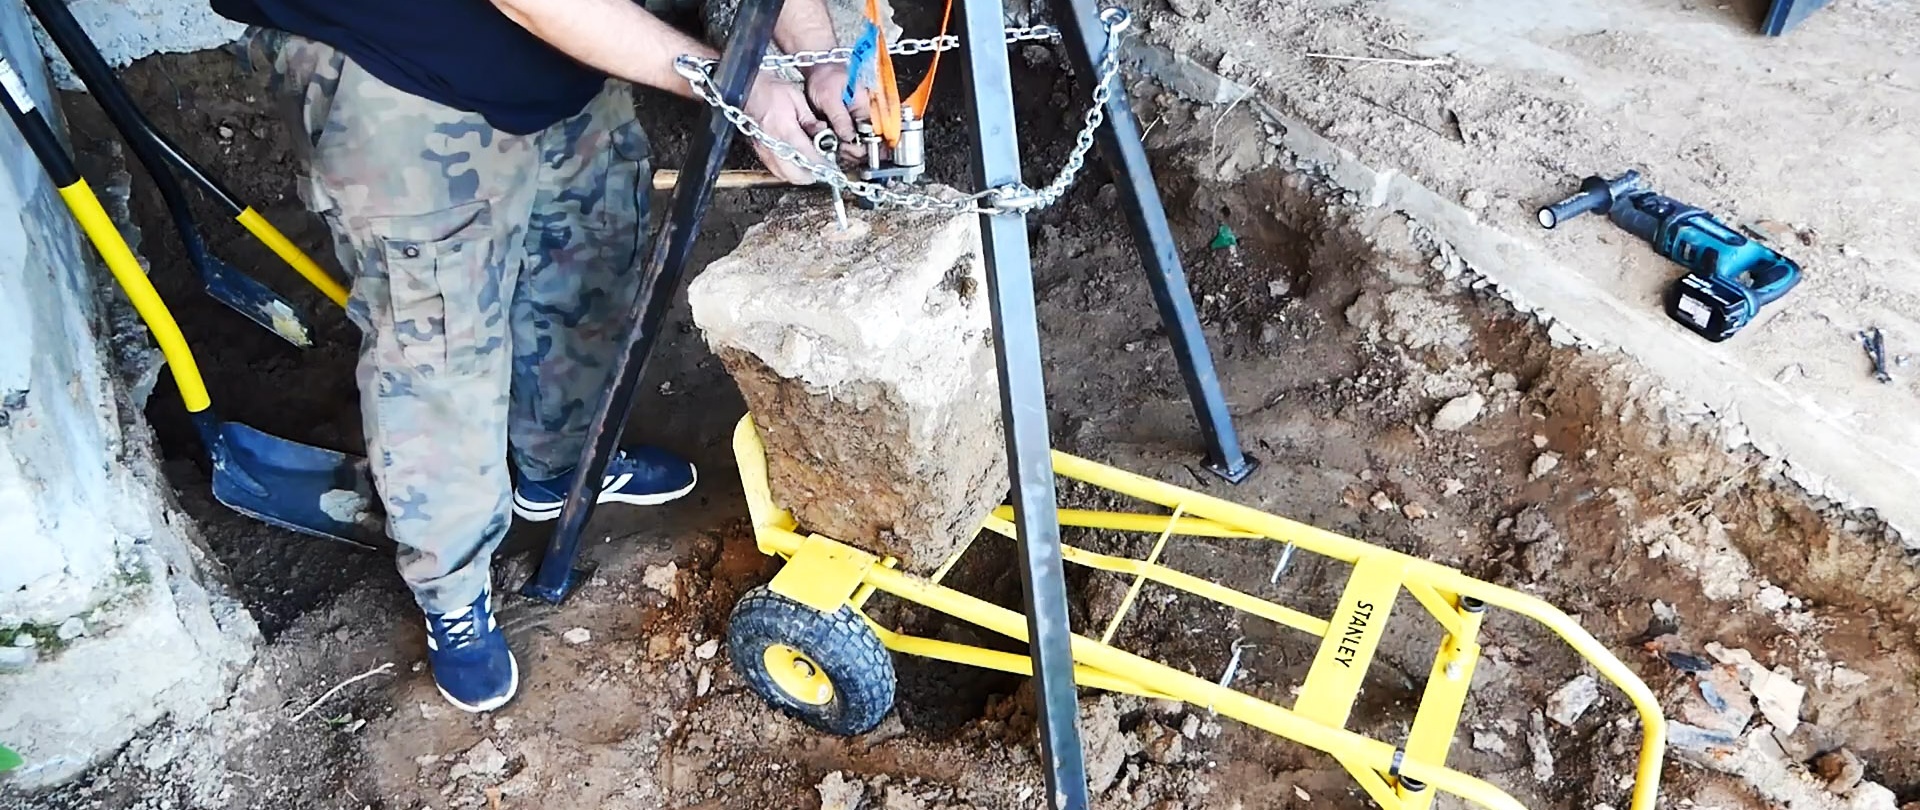
We are testing a modernized winch, first removing lightweight and then extremely heavy concrete foundations from the ground.


We see that the winch copes with its functions 100%.