In the absence of a sharpening machine, many basic tasks have to be completed longer than is possible with its help. If you are faced with the need to buy a sharpener, but you have a drill, then just make it based on it. This is a very simple and quick solution that requires almost no cost.
Materials:
- Bar 50x70 mm, 50x50 mm;
- M10 bolts with wing nuts and washers – 2 pcs.;
- M6 bolts with wing nuts and washers – 4 pcs.;
- plywood 20 mm;
- steel corner 25x25 mm;
- self-tapping screws;
- disc with Velcro for sandpaper.
Manufacturing process of grinding machine
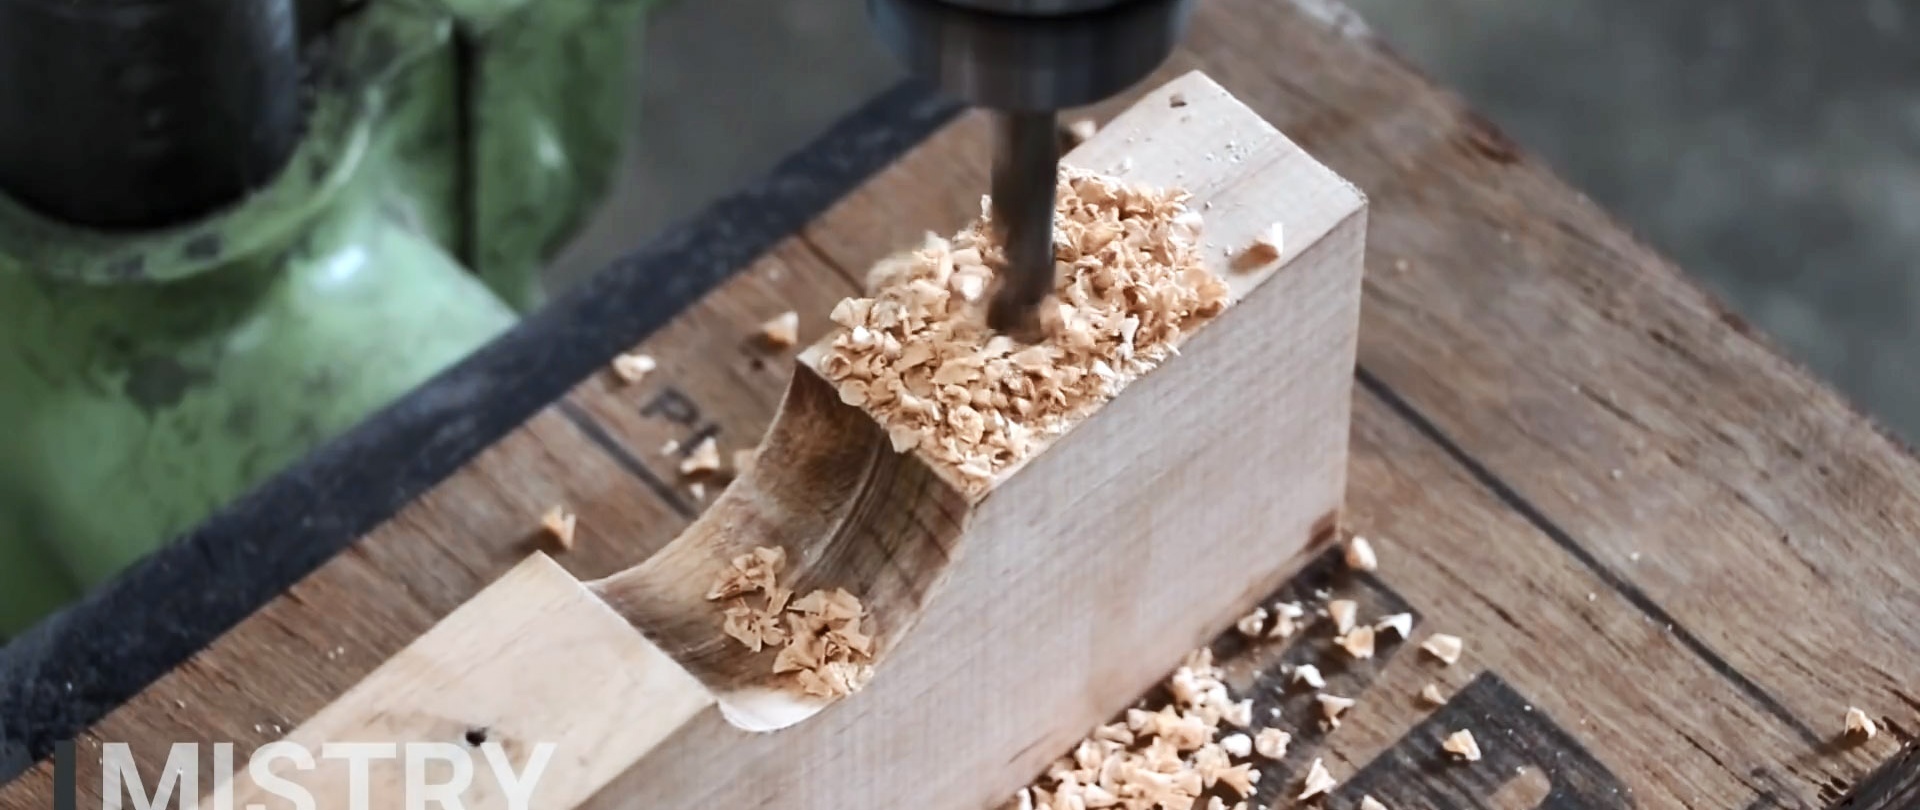
Assembly should begin by making fasteners for the drill in the form of a wooden clamp. To do this, you will need 2 bars 50x70 mm and 50x50 mm, each 180 mm long. They must be folded together through a thin spacer 5-8 mm thick made of plywood or MDF.

The bars are compressed with a clamp along with it, after which they are drilled in the center with a crown. The diameter of that should correspond to the cross-section of the drill body behind the chuck, where the removable handle is installed.

The clamp halves are drilled crosswise for M10 bolts.
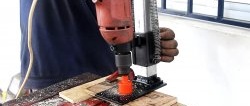
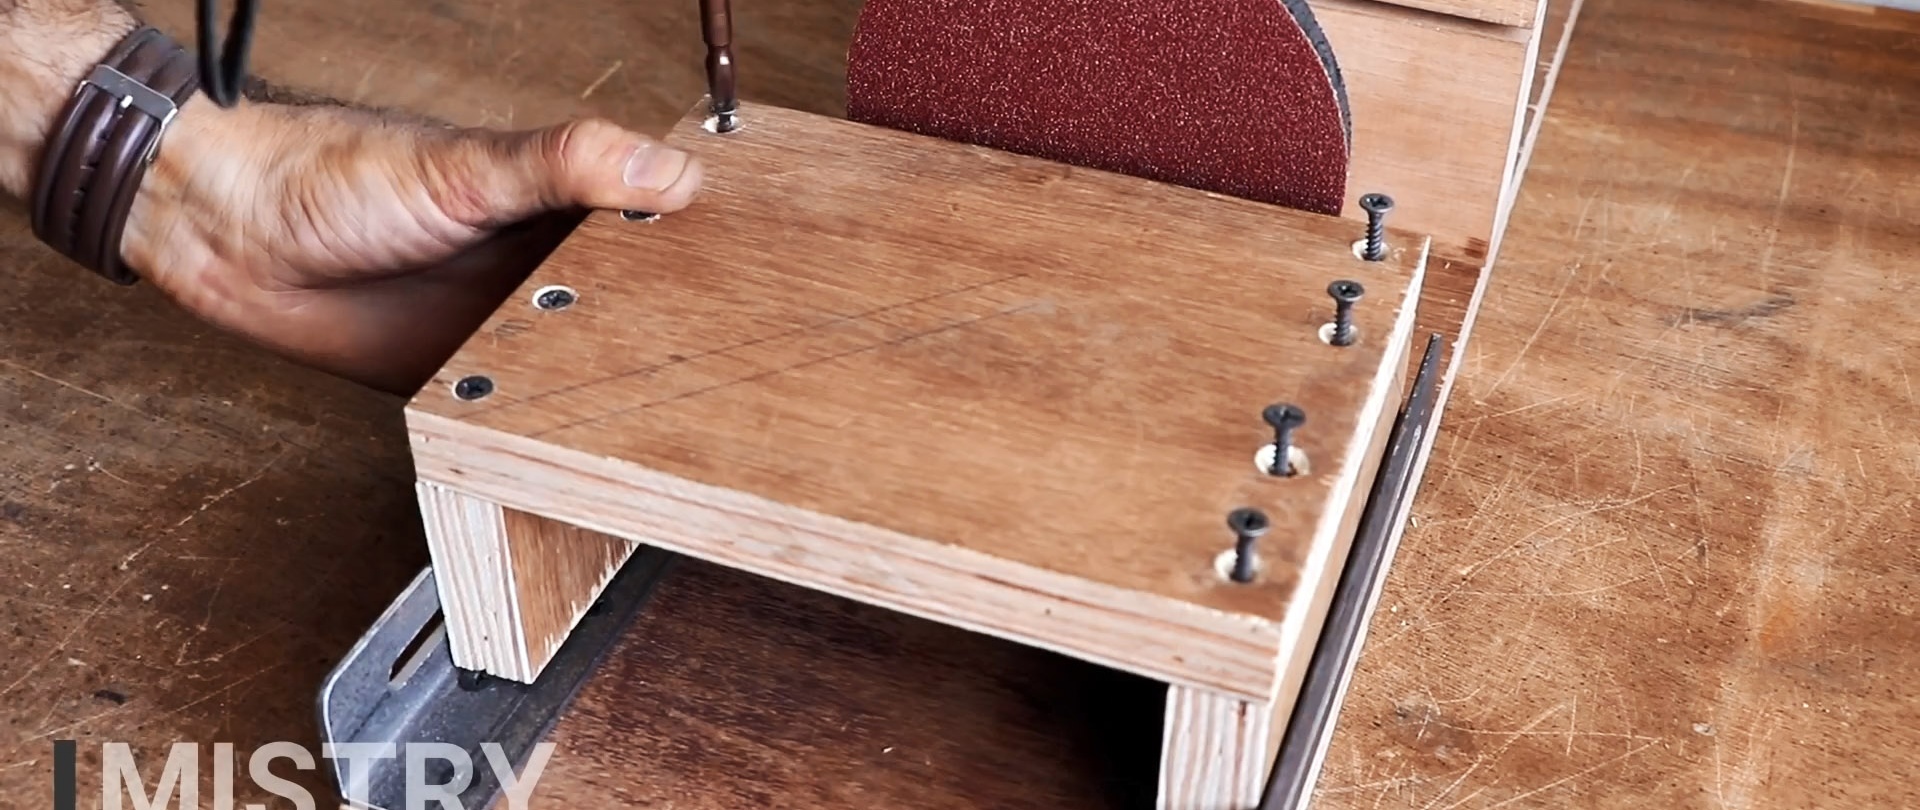
Then you need to cut out the sole of the machine from plywood.
It is drilled so that the clamp can be screwed onto it using long bolts. The heads of the latter will need to be pressed flush.

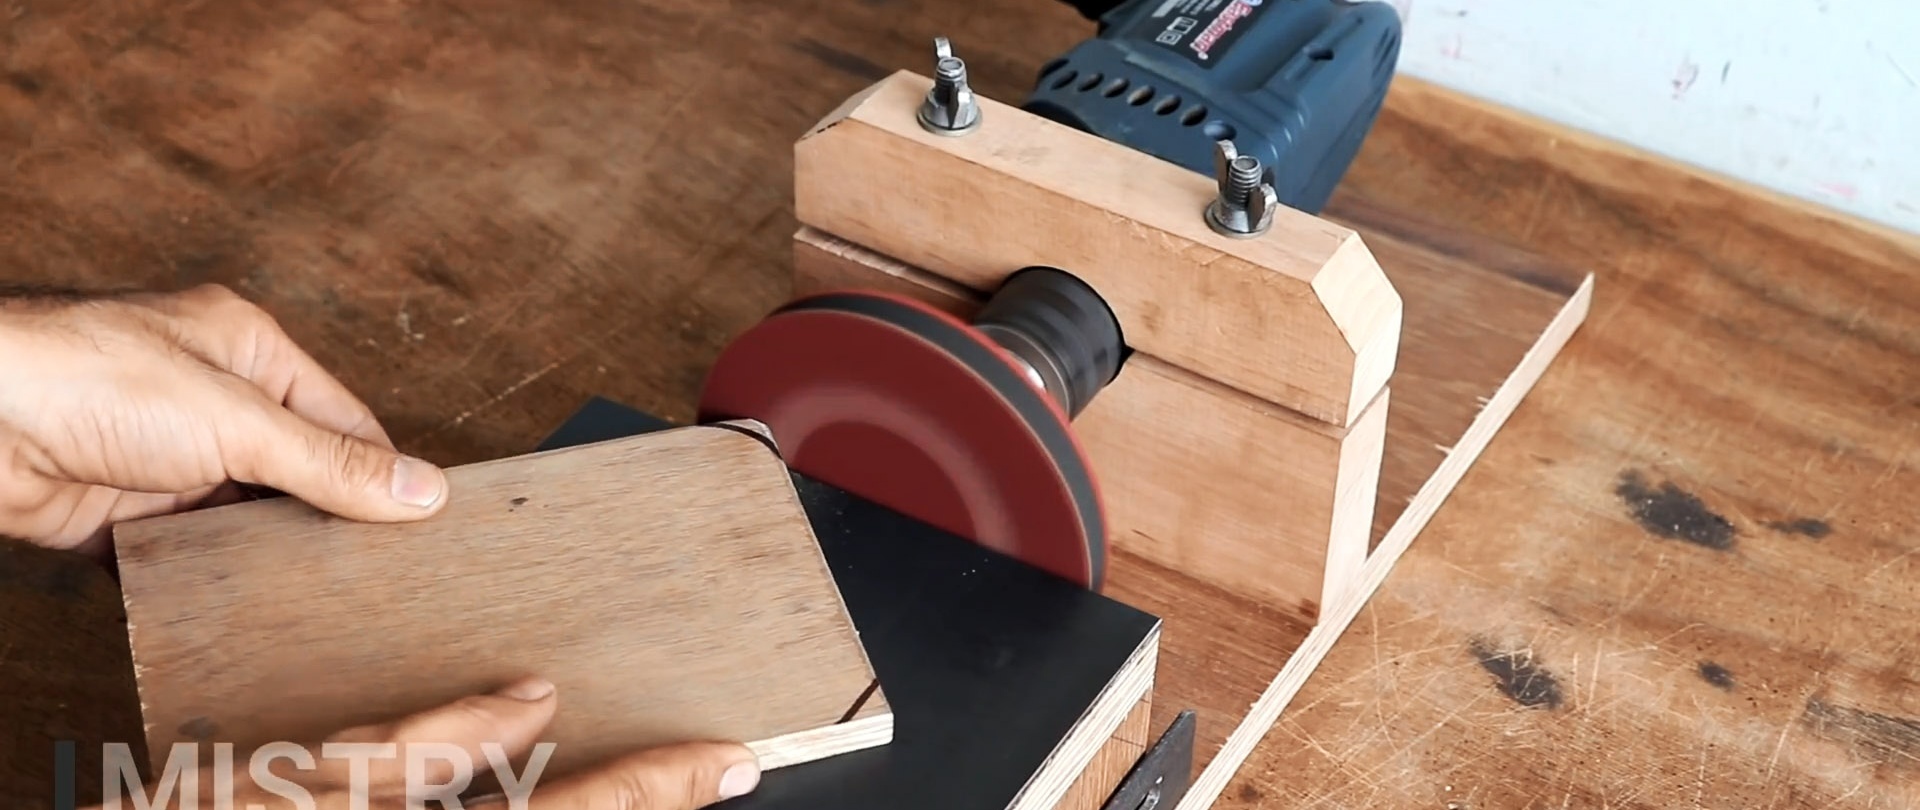
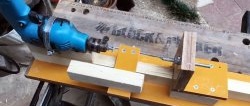
Now you can install the drill on the machine.

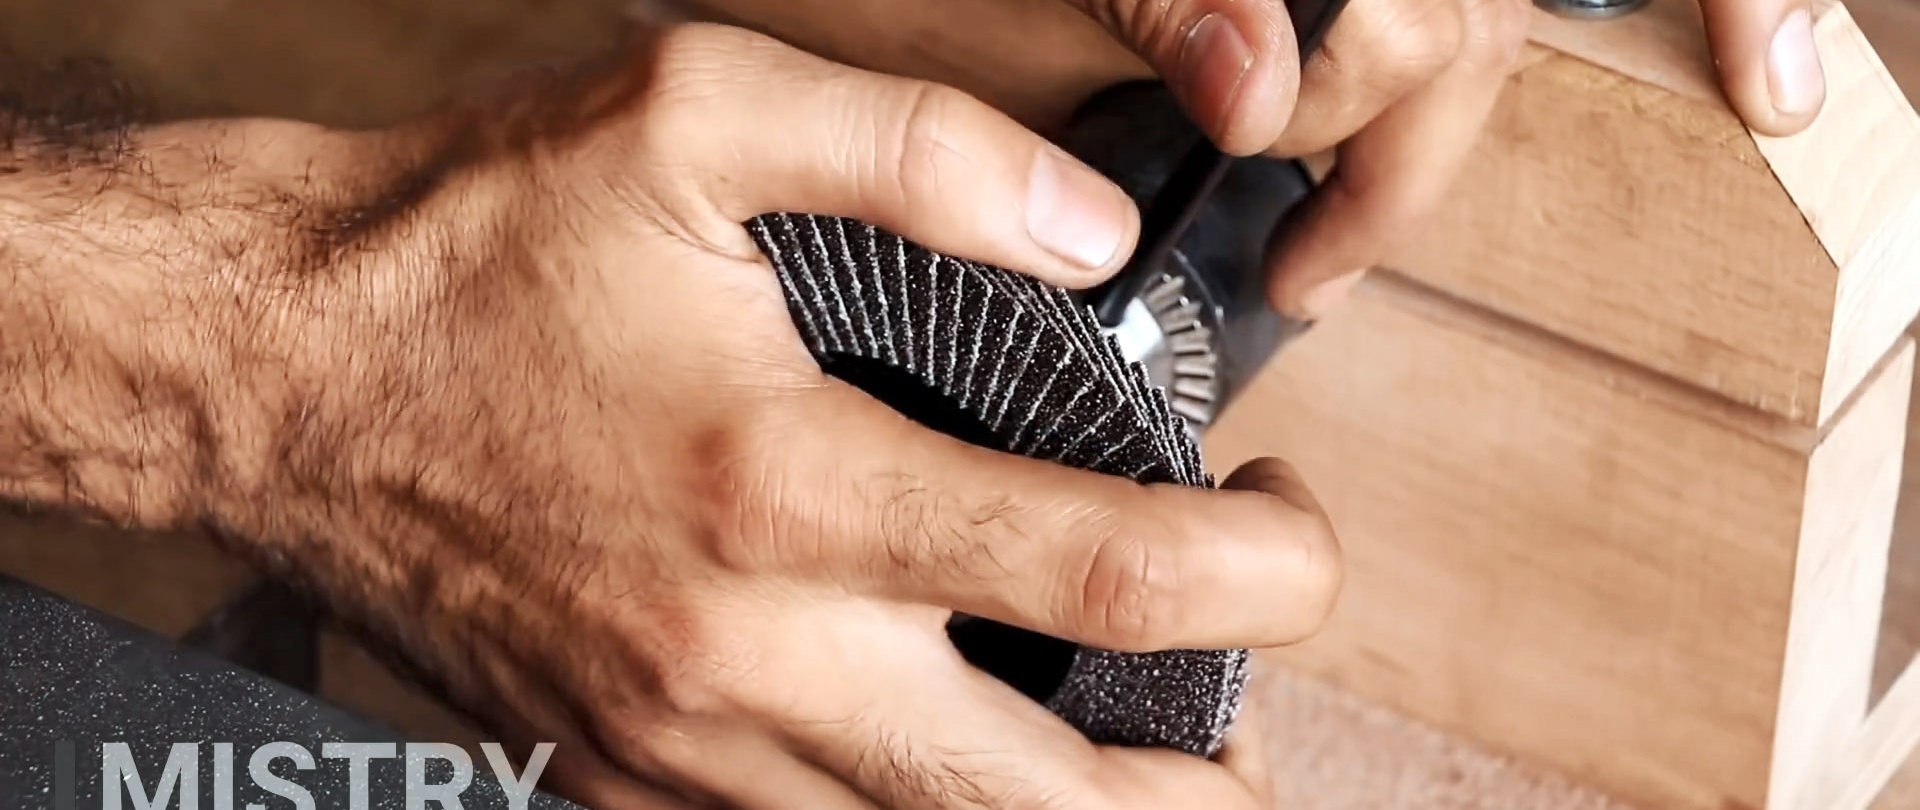
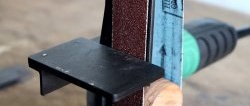
Next, you need to clamp the disk with Velcro under the sandpaper in its holder.

Based on its location, 2 pieces of corner are prepared. They are drilled one flange at a time to screw them to the sole. There is a groove in them on the second shelf.


The slides obtained from the corners are screwed to the sole.

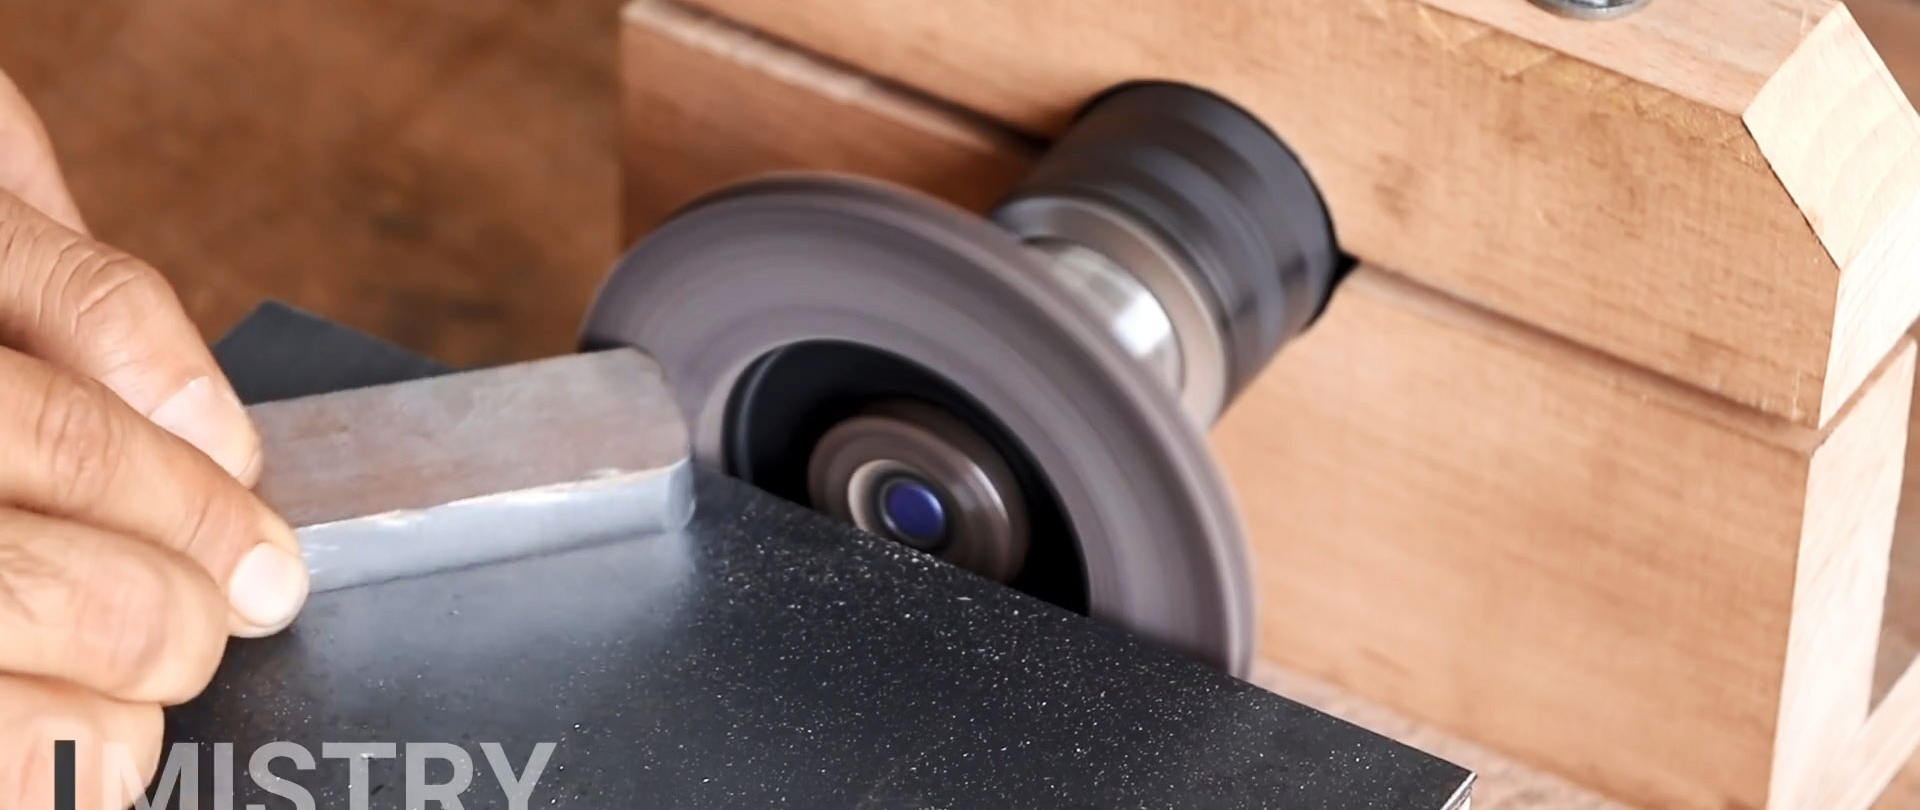
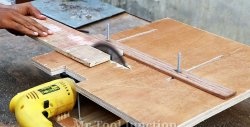
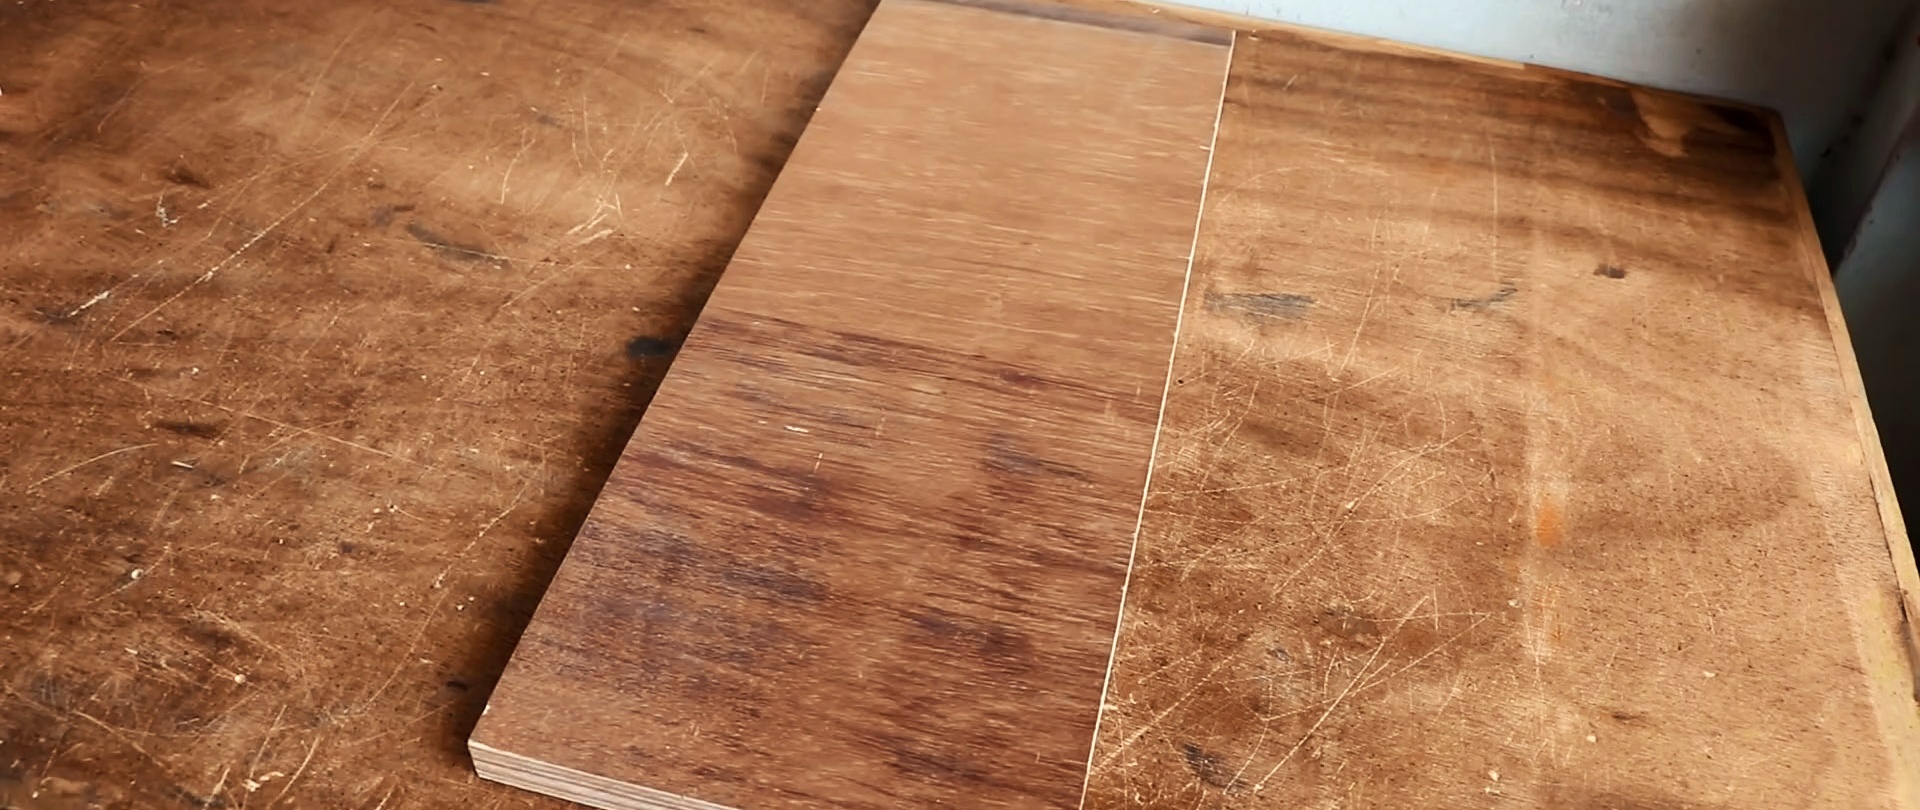
Then a table is made from plywood. It should be slightly narrower than the distance between the vertical shelves of the corners.
The table is drilled opposite the grooves.

Then through these holes you need to bolt it to the slide.
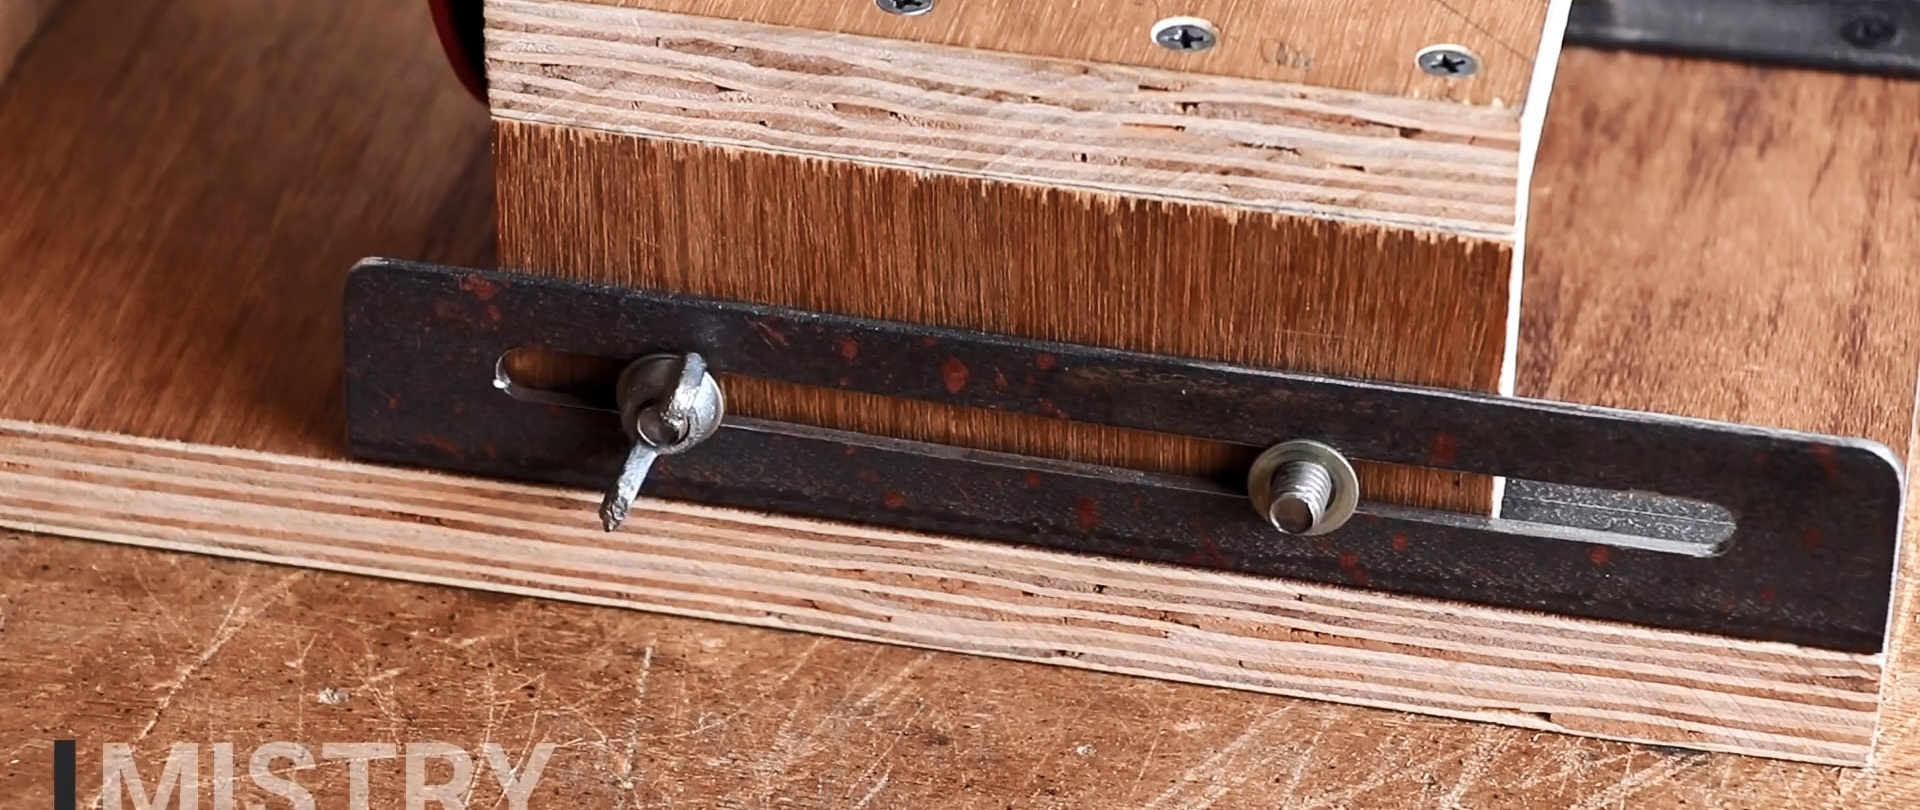
This will allow you to adjust its position. After this, if desired, a plastic or rubber pad is glued to it.

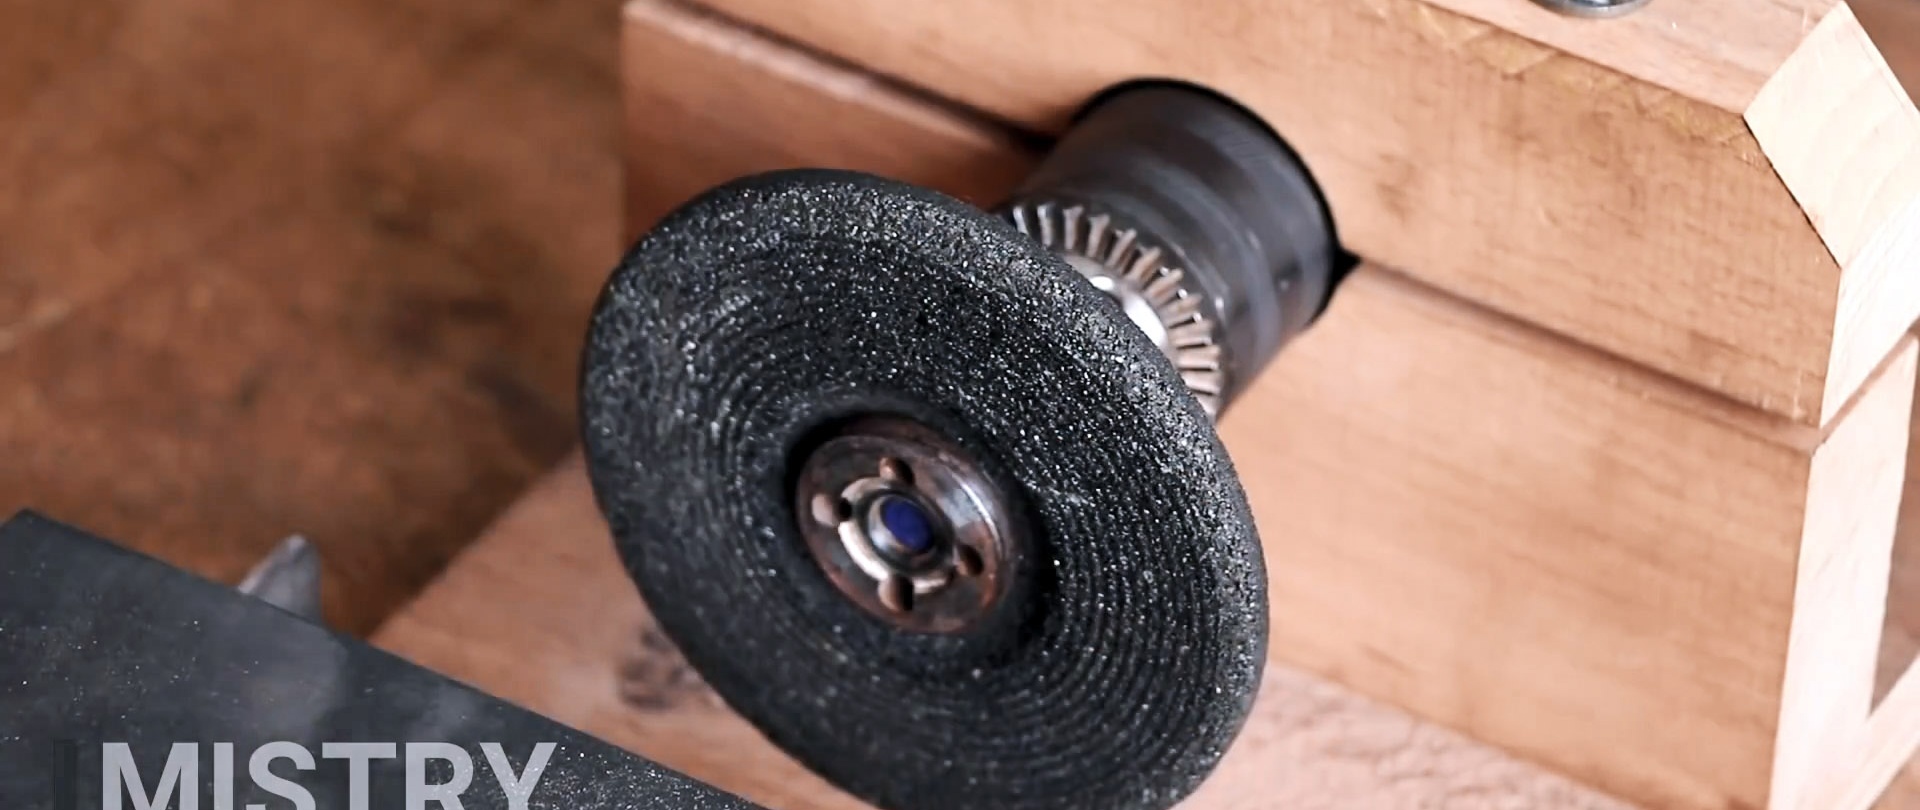
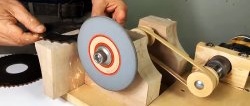
Now the machine can be used for its intended purpose. By moving the table, you can change the equipment. This could be a disc with Velcro under sandpaper or a flap circle. The latter is clamped onto the adapter using a nut from an angle grinder.