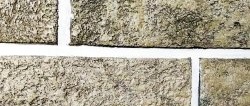
Marble with gray veins is rightfully considered one of the most beautiful finishing materials. It’s not for nothing that entire collections of expensive premium wall tiles are made to match it. You will be surprised, but you can make marble walls with your own hands much cheaper, simply by using Venetian plaster and the correct techniques for applying it.
Materials:
- Acrylic paint;
- black color;
- sandpaper P500, P1500;
- wax for Venetian plaster;
- felt or sheepskin polishing wheel.
The process of creating imitation marble using Venetian plaster
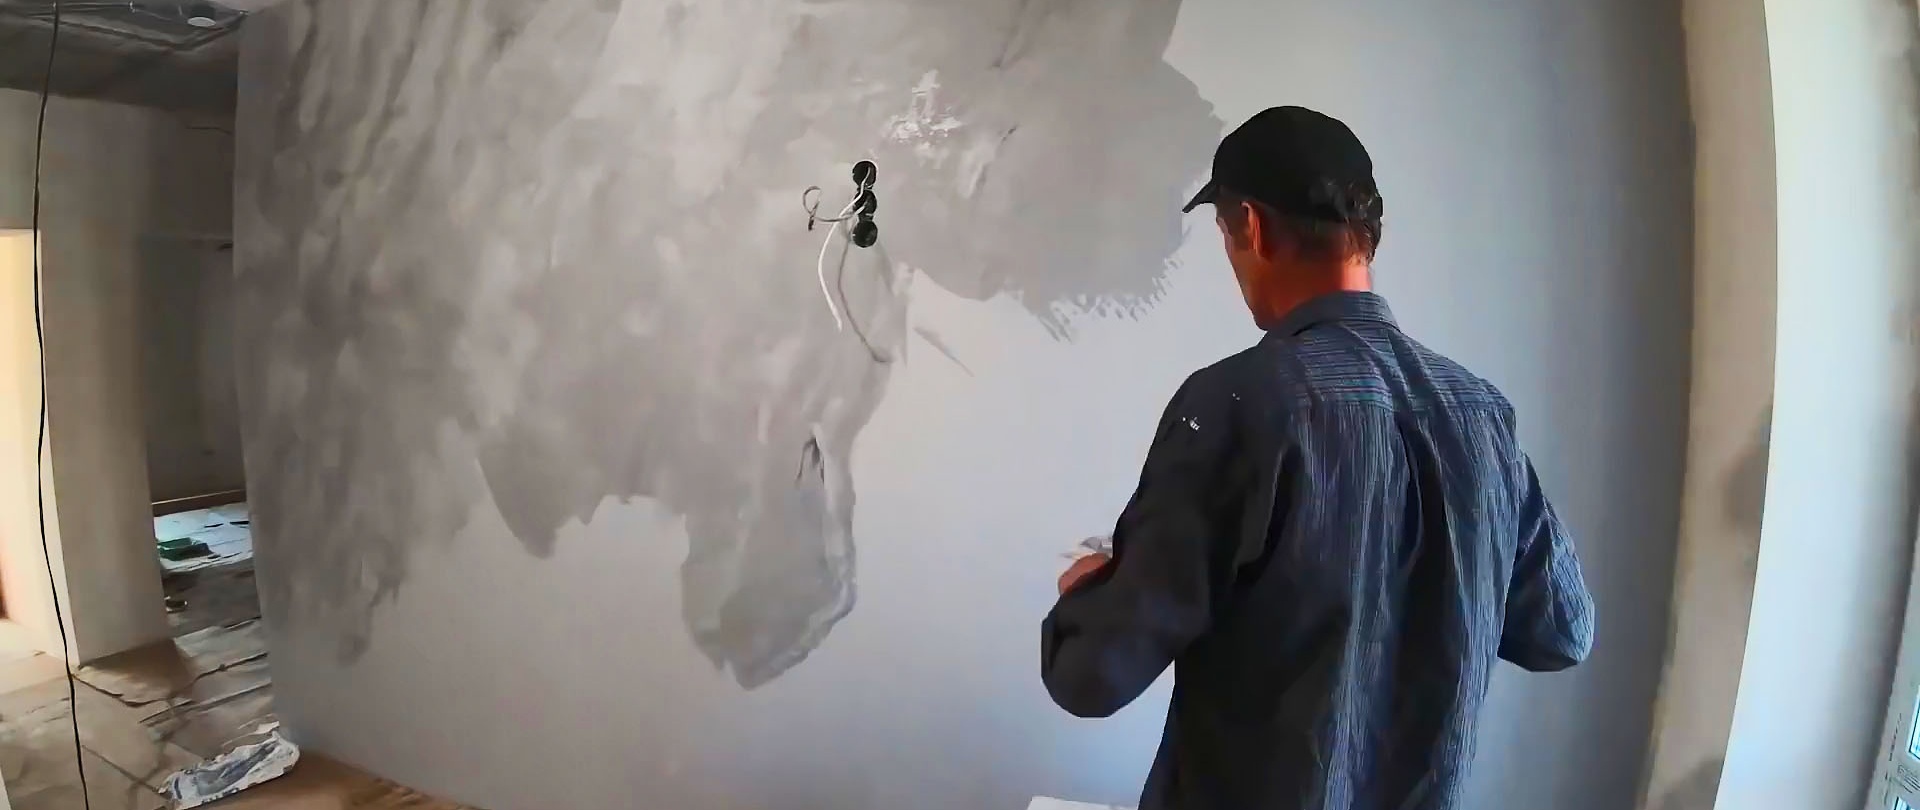
The wall on which the imitation will be created must be carefully prepared. It is puttied as if for painting. If there are defects on it, then you cannot start working with Venetian plaster. The prepared wall is painted with acrylic paint in the base color series. To do this, a small amount of black color is added to it.

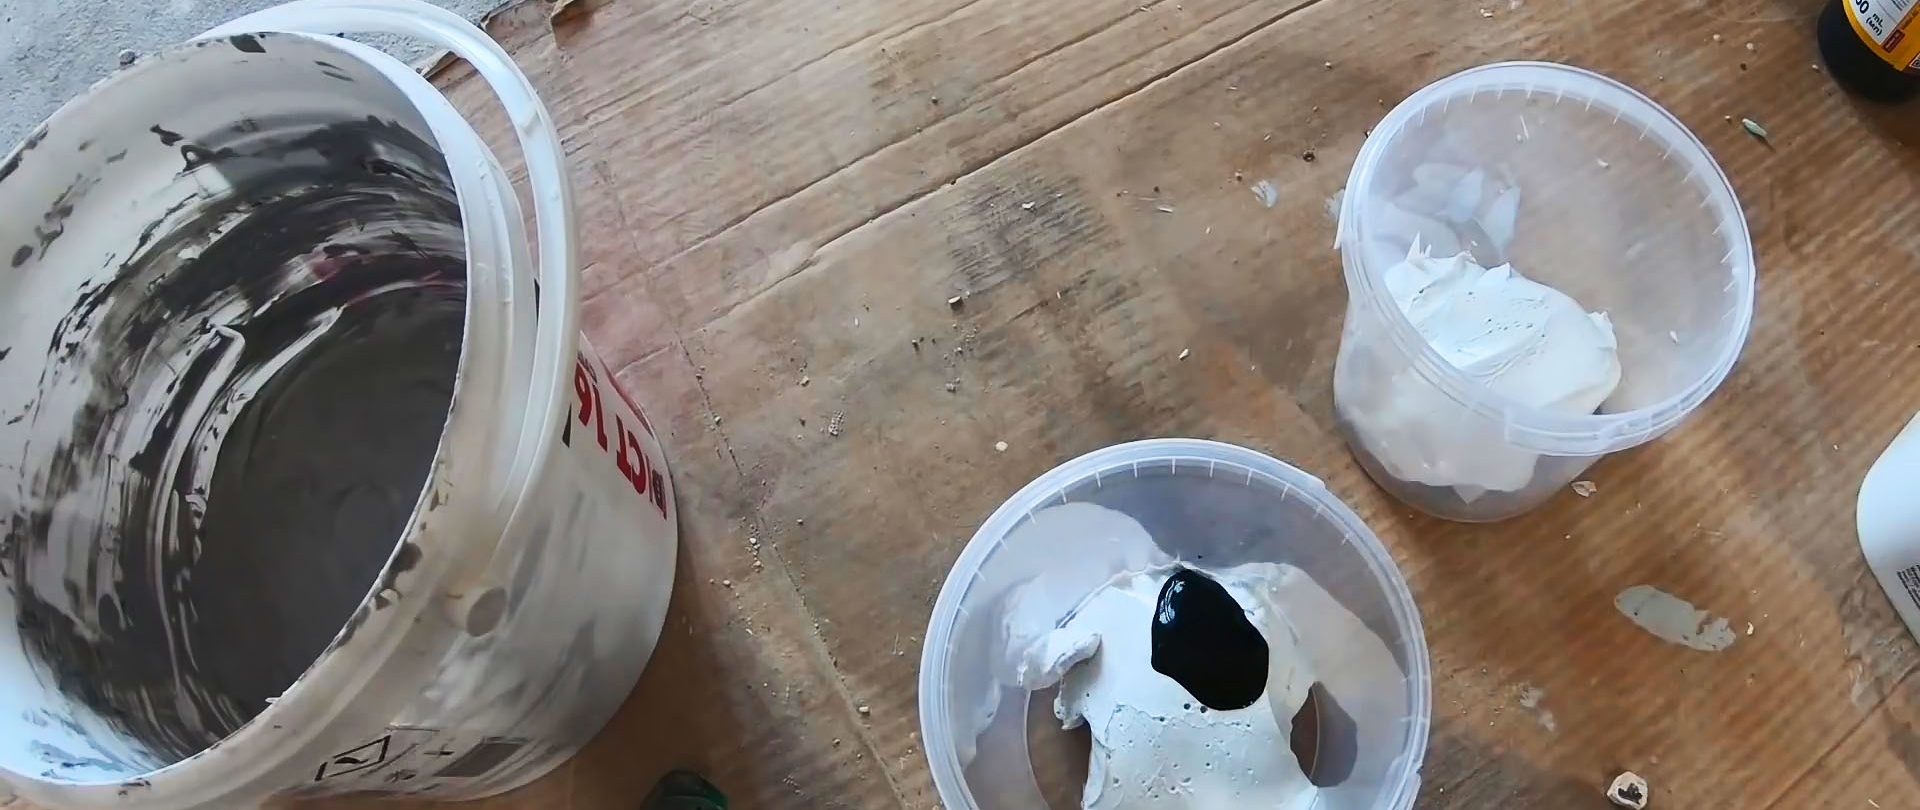
After the paint has dried, you need to take a small portion of Venetian plaster into 3 small containers.Black dye is added to them, and the compositions are mixed. You need to pour a different number of drops of color into each so that the shades of the plaster are ultimately different.
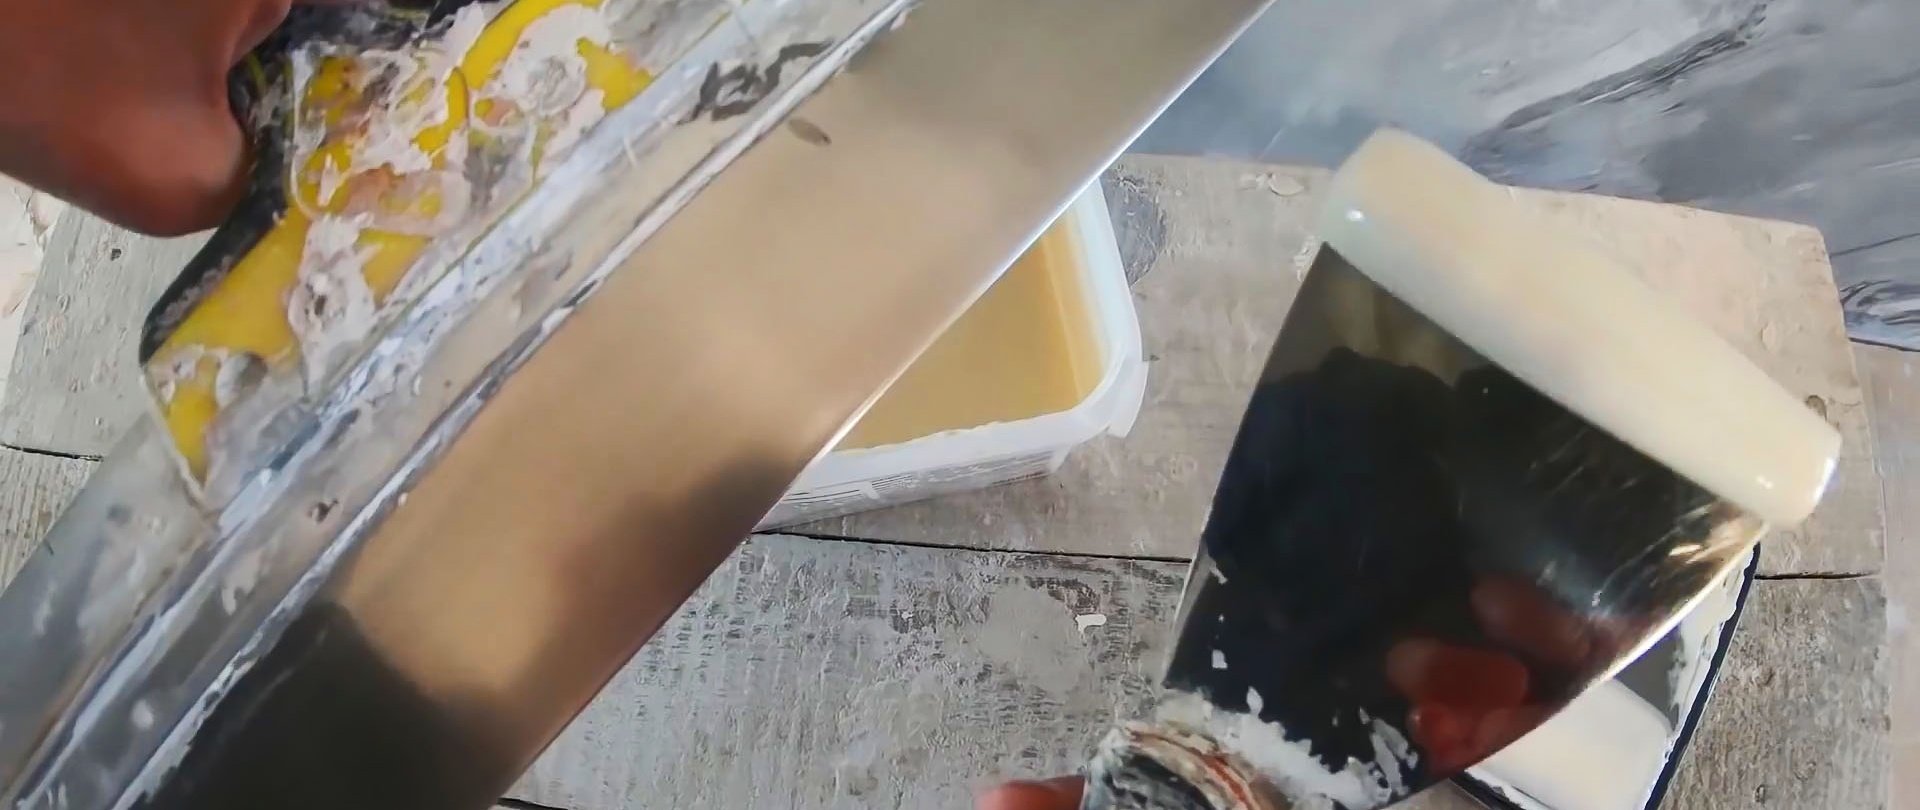
Then, using a small spatula, spread 3 compositions onto a large spatula. As a result, you just need to pass it along the wall, and the 3 colors will mix, giving interesting stains.

In this way, the entire wall is plastered with the thinnest layer. This is not even plastering, but rather painting over it.

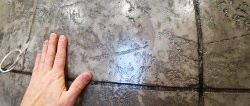
The second layer is applied with more tinted compounds to create dark veins. When drawn, the colors mix on the spatula, giving a gray mass. It should be removed and put away, since it will not be possible to make marble with such a mixture. The second layer is applied more thoughtfully. You need to look at where you want to make a dark vein, and where you want to leave a gray base. The spatula needs to be pulled a long distance from top to bottom, creating waves. The pattern printed with a thick layer of plaster must be passed over with a spatula once again to remove the excess.
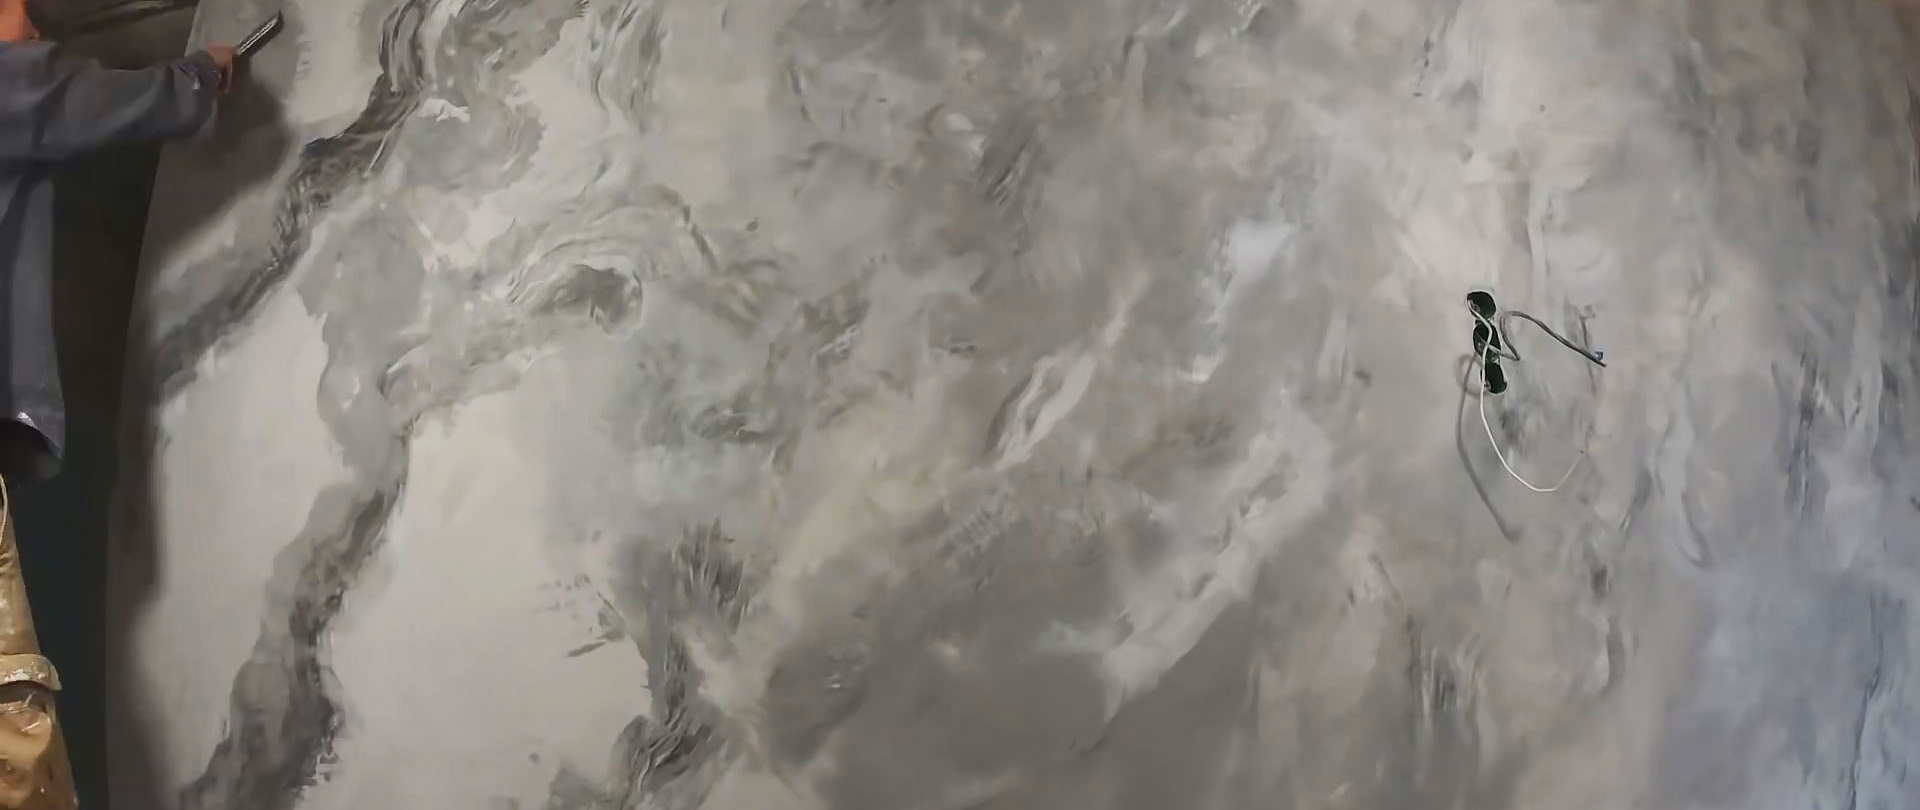
Ultimately, the second layer is applied completely without gaps, but you can get ahead of yourself to leave dark streaks where necessary. Between them, the filling is done with lighter plaster.

When drying, the plaster becomes lighter, so the initial contrast will disappear. An even darker plaster is applied as a third layer to create sharp transitions between patterns, like on real marble. If in some places the layer turns out to be thick, then the excess is removed with sandpaper before applying fresh compound over it.
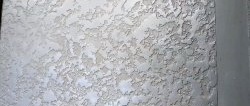
The plaster dries very quickly. Therefore, after 20 minutes you can polish it. For this purpose, P500 sandpaper is used. By sanding you should not only remove roughness, but also erase a poorly finished pattern.You can reveal the lower layers in which this place appears more natural. The task of sanding is like an eraser to remove what you don’t like and reveal a more successful bottom layer where it is needed. As a result, they naturally combine into one picture.

On a polished wall, you can use a thin artistic brush to paint veins. For this, white paint with a black tint is used. You can also dilute the plaster in water and tint it with pigment, the result will be the same.


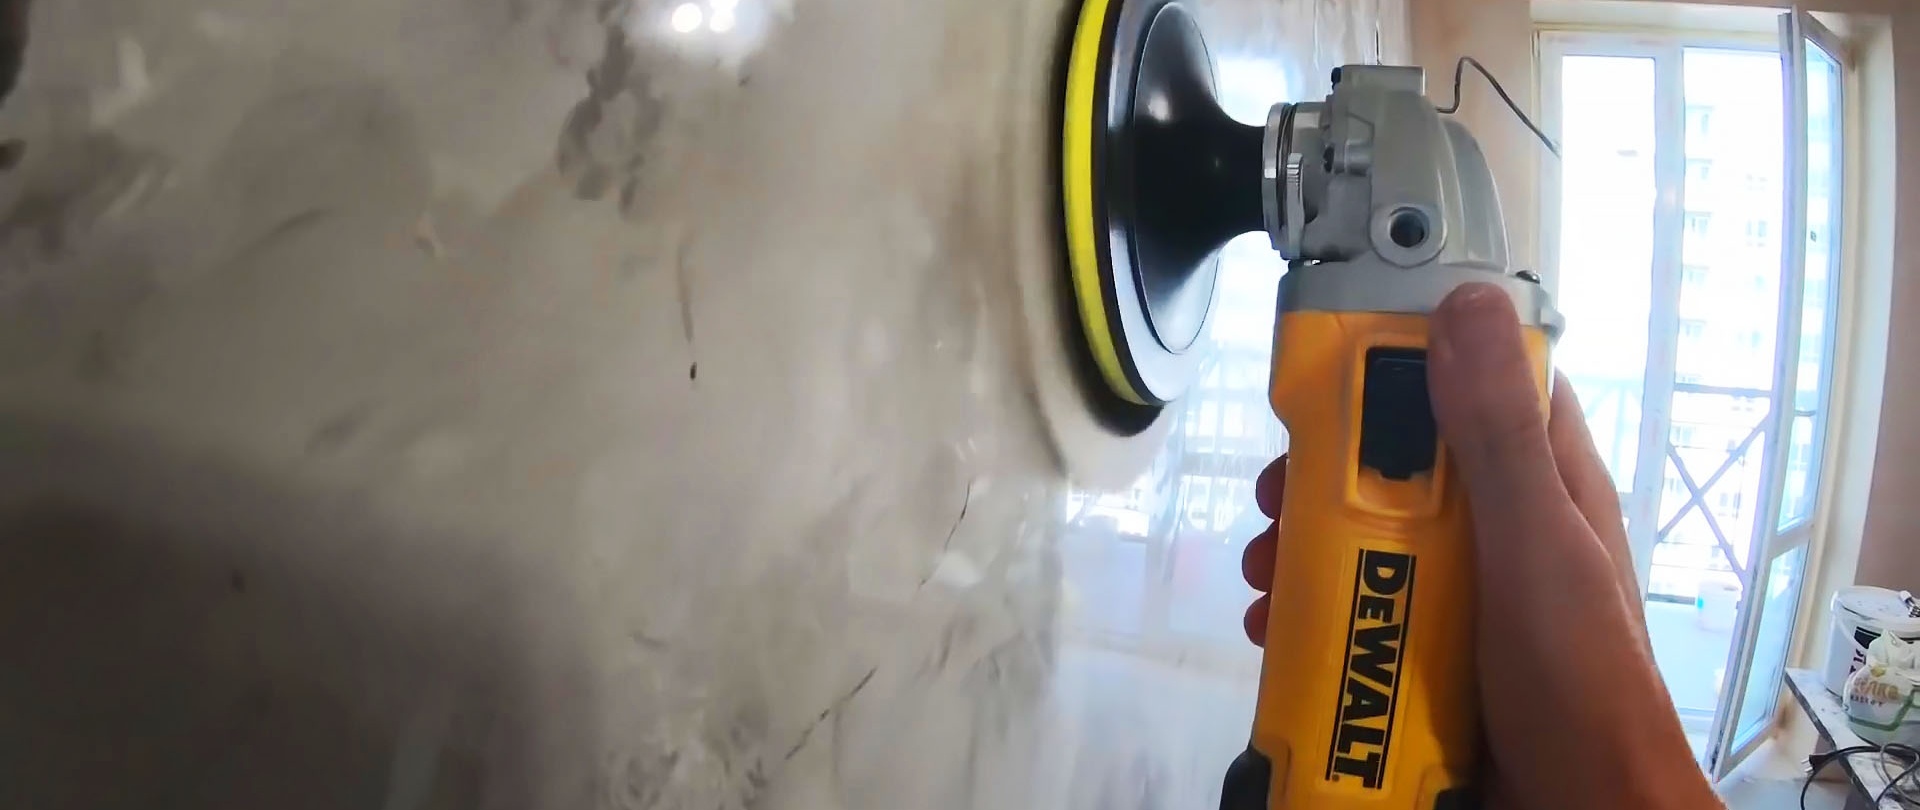
Next, the wall is polished with a grinder and a P1500 sanding wheel. It is optimal that its speed is 8-10 thousand revolutions. You definitely need to change laps after walking a little more than 1 sq.m. If you work with one abrasive for a long time, it becomes clogged and then begins to scratch the wall with lumps of plaster. The wall should shine. If matte areas remain, they will remain that way even under wax.


The polished wall is wiped first with a dry and then with a damp cloth. After this, wax is applied to it. It is desirable that it be from the same manufacturer as the Venetian plaster. The wax is spread with a spatula in a thin layer. If there is a lot of it in some place, then when polishing there will be a matte spot there. To avoid this, the layer must be thin.

The wax is polished with a felt wheel or sheepskin. You can start half an hour after waxing. If your wax is recommended to be polished after a longer period of time, then follow its instructions.

Thus, from seemingly chaotic movements with a spatula, the result is an unrealistically beautiful wall. In any case, it looks much better than tiles, since there are no seams. If you succeed, then the plaster is not inferior in beauty to natural marble.