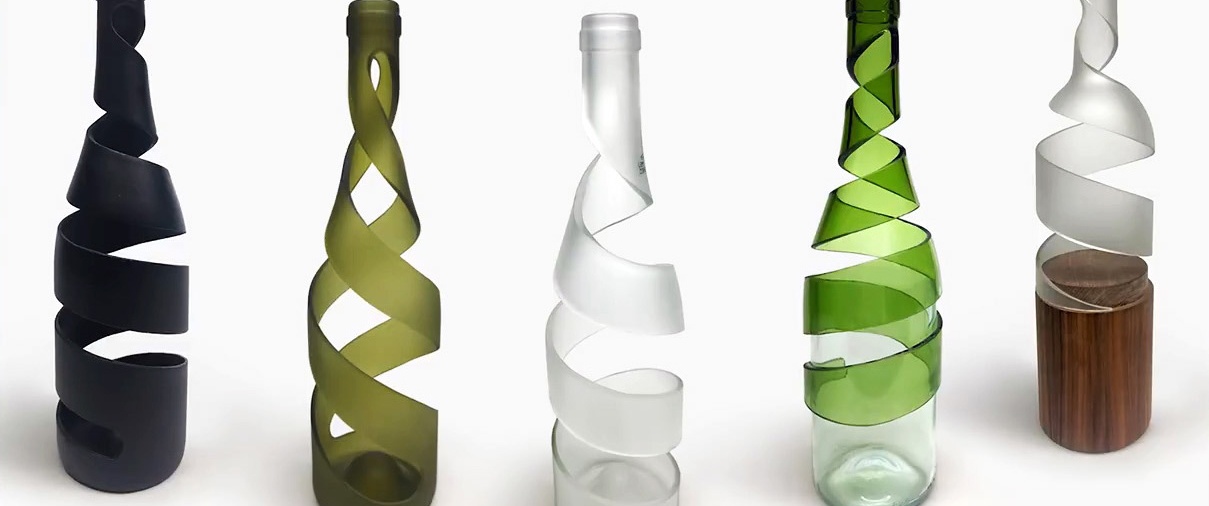
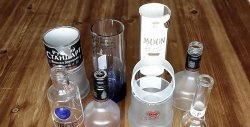
Many have probably come across various decorative items made from glass bottles, which are used to decorate open shelves, coffee stands and chests of drawers. They look quite unusual and beautiful. But you can make it more exotic decorthan just a bottle painted and covered with beads, if you cut it in a spiral. When you look at it, it’s hard to imagine how this is even possible, but after reading this master class, everyone can make something similar from a bottle.
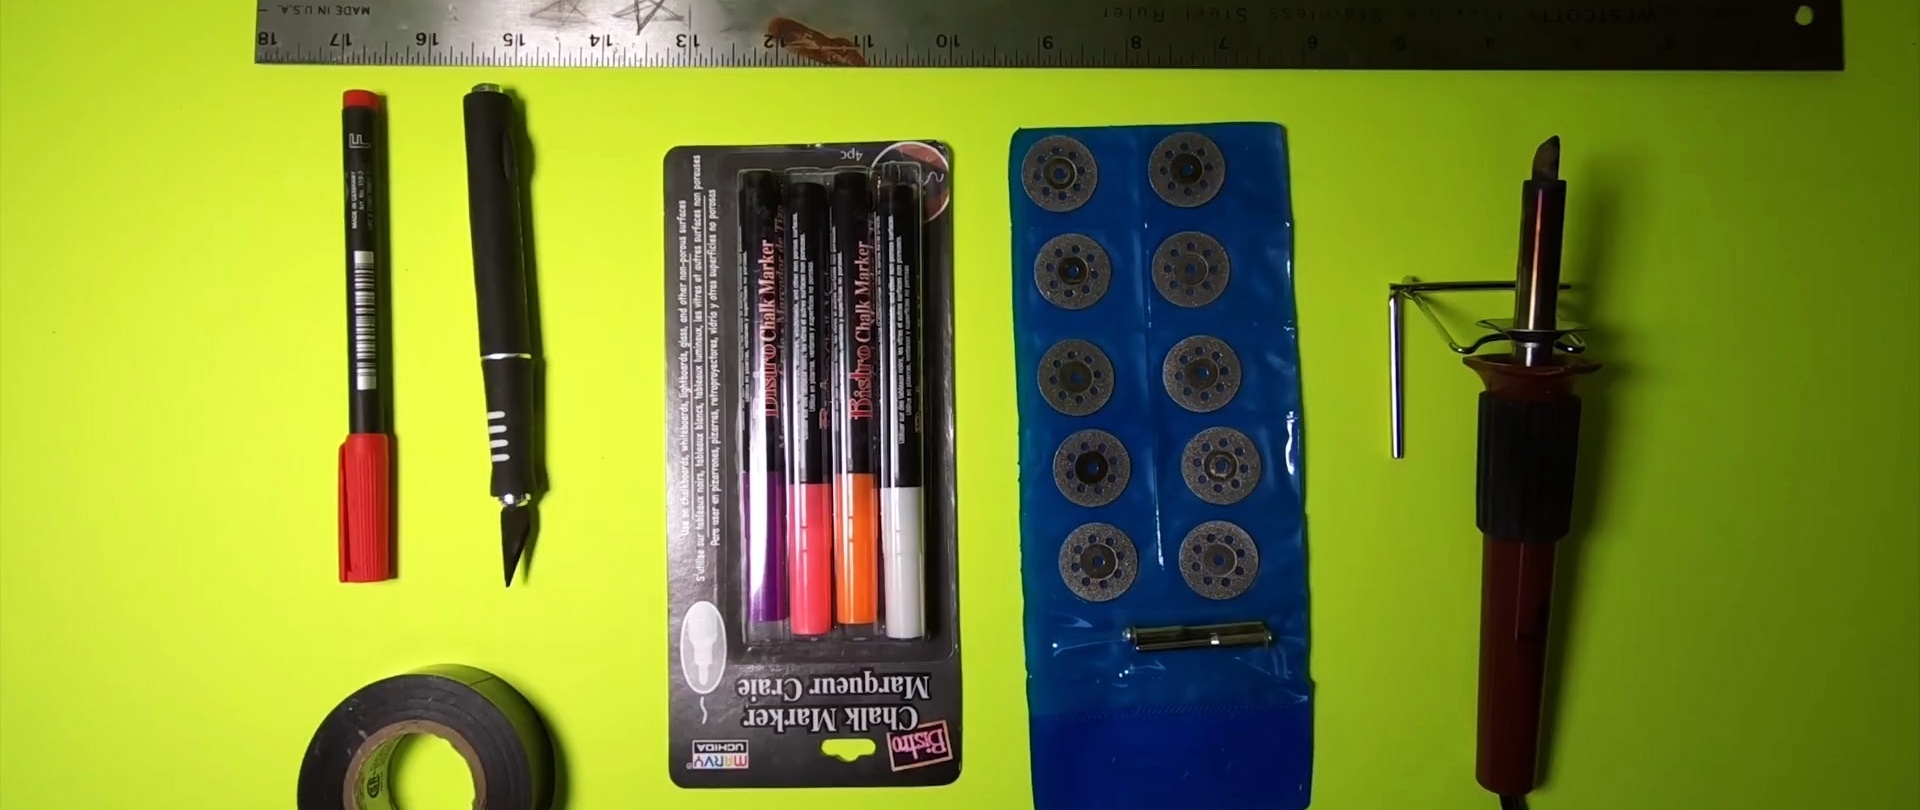
What you will need:
- Glass bottle;
- permanent marker;
- flexible ruler;
- insulating tape;
- mounting knife or blade;
- glass cutter;
- drill;
- soldering iron
The process of cutting a bottle in a spiral
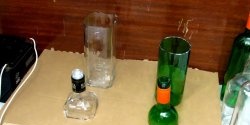
Any round, smooth bottle without embossing is suitable for cutting. It is best used from wine or champagne. The higher it is, the better it will look. The label is torn off, the glass is washed and wiped dry.
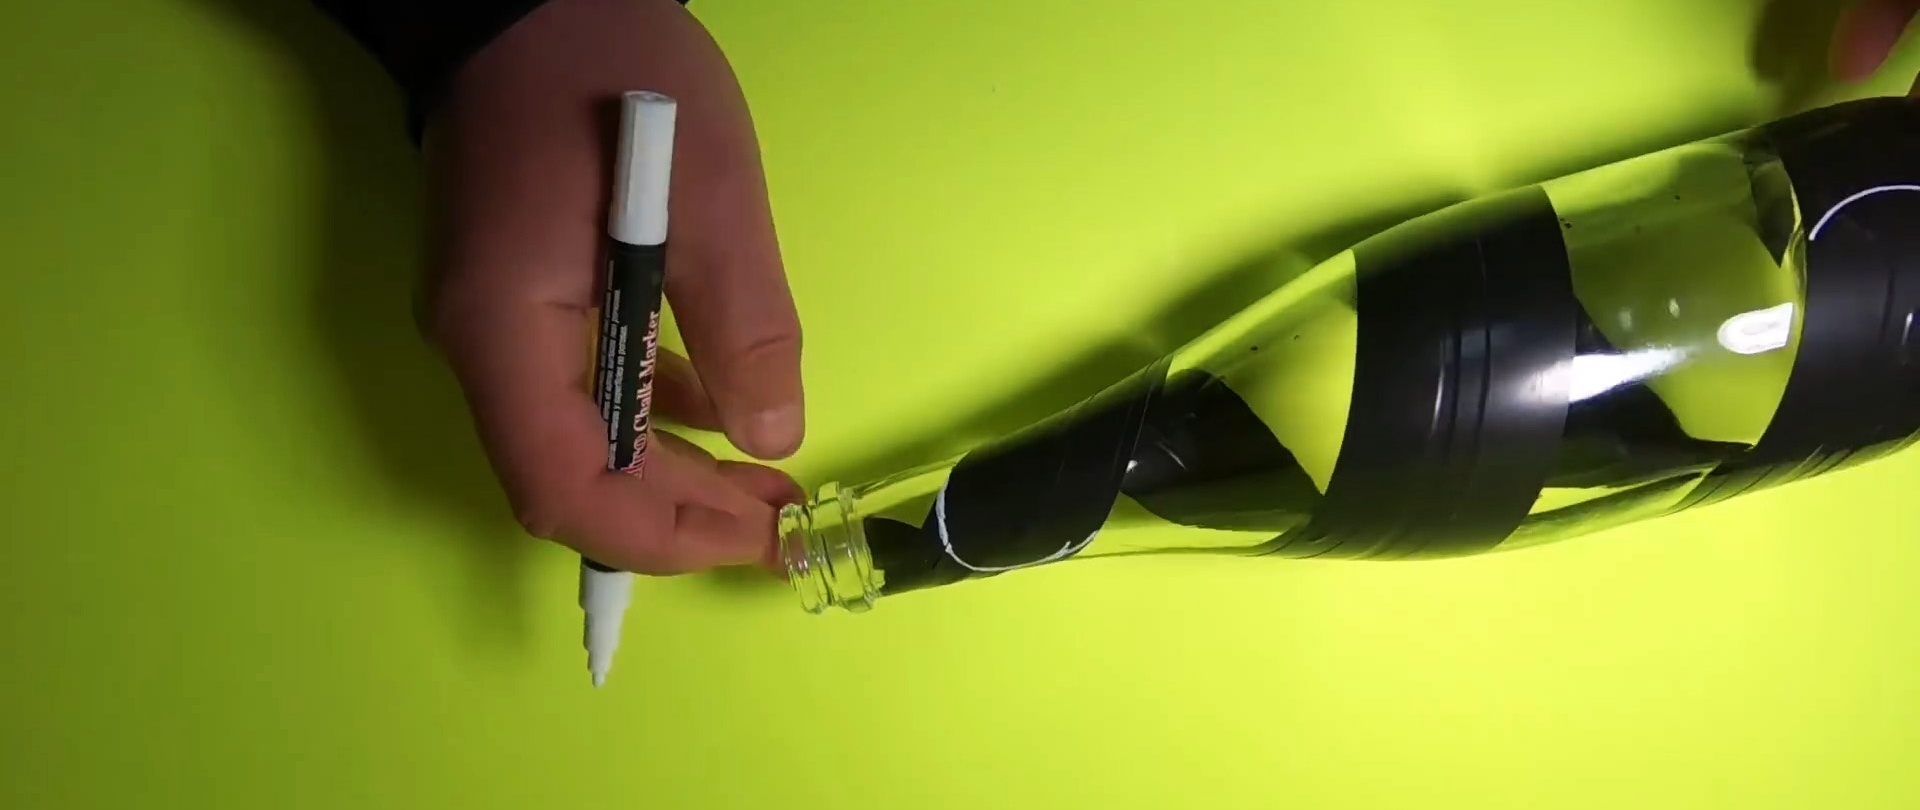
Next, markings are applied to the bottle to draw a spiral. To do this, dots are placed in a row on four sides from the bottom to the neck in increments of 2.5 cm.To ensure everything goes smoothly, they are marked according to the inch markings of a flexible metal ruler. You need to draw with a permanent marker, since a regular felt-tip pen will easily be erased from the glass.

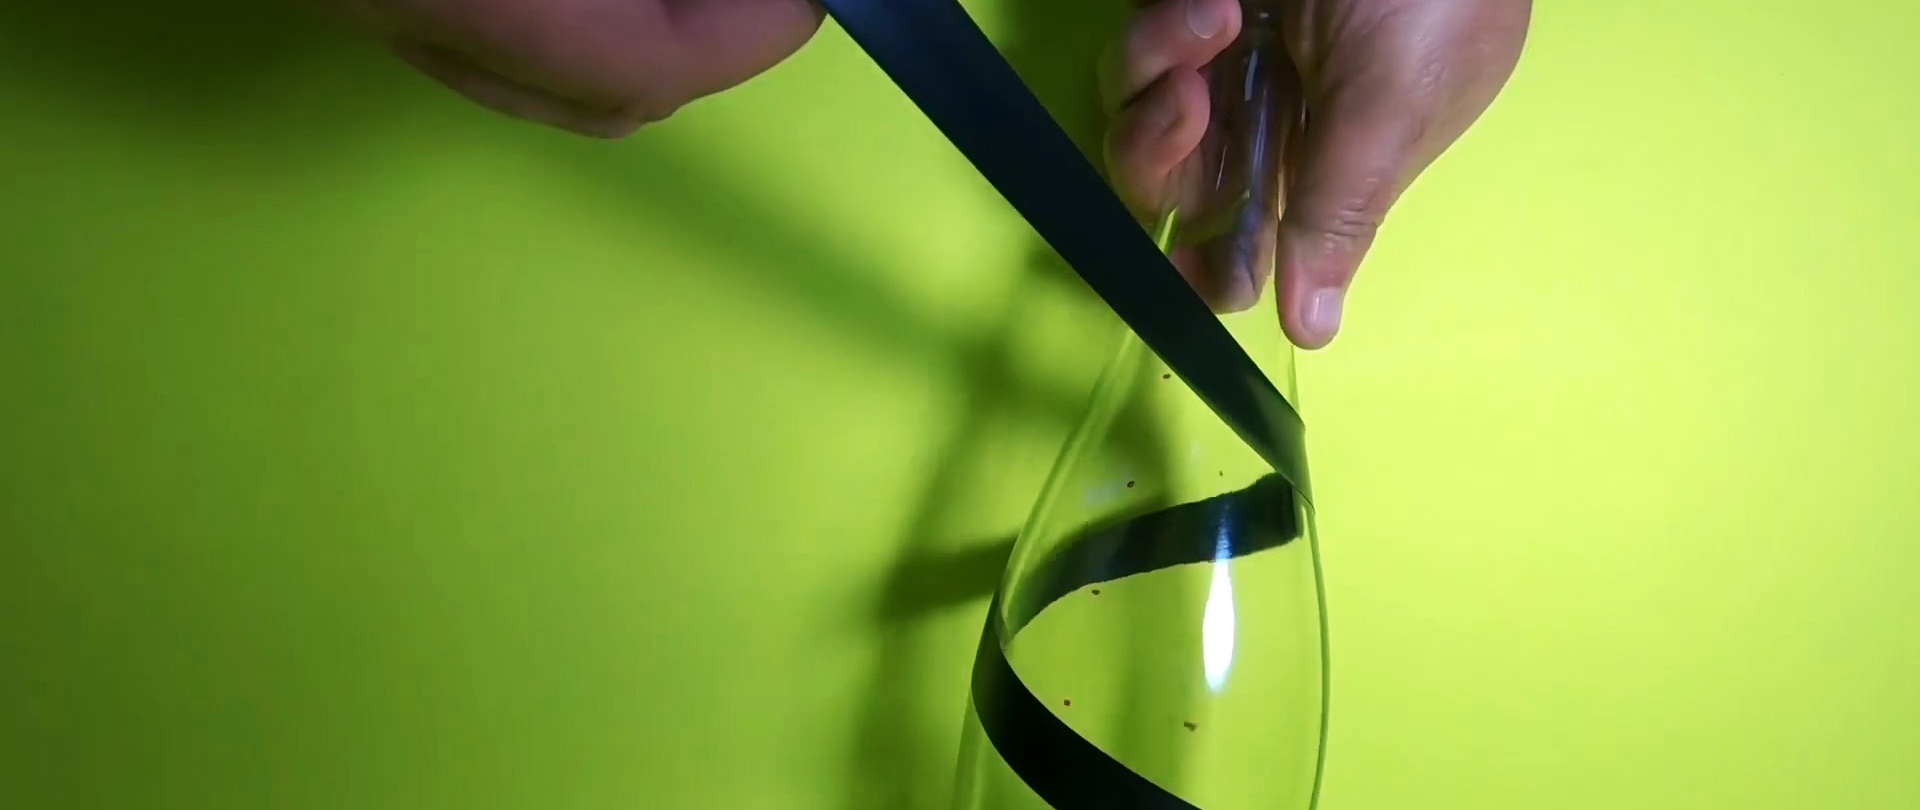
Next, take electrical tape and paste it onto the bottle in a spiral. The marks will allow you to make the pitch of the turns the same. Then another row of electrical tape is glued to make the spiral wider.
Now you need to draw a rounding at the beginning and end of the spiral. Then the electrical tape is cut with the tip of a knife along the drawn contours.
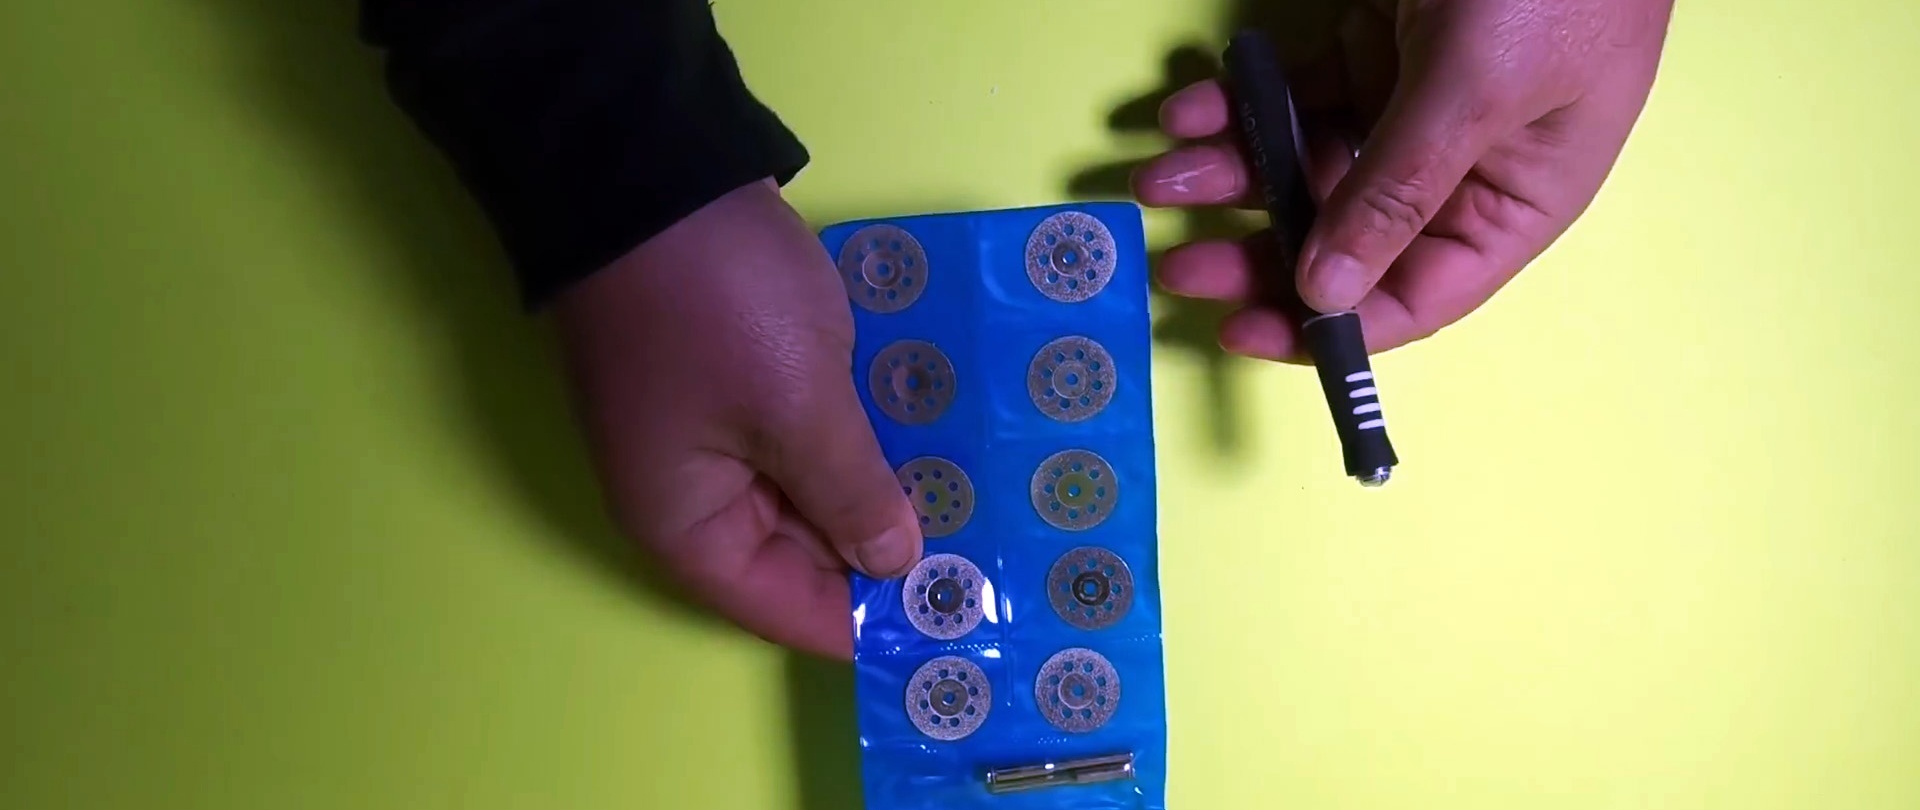
Next comes the crucial step - you need to scratch the outline of the spiral along the edge of the electrical tape. Using a regular glass cutter for this is not entirely convenient. Instead, it is better to use a diamond-coated cutting disc for a drill. To do this, it is clamped into the handle of a scalpel. The scratches they make on the bottle are deeper.


After the outline is scratched, you need to remove the electrical tape. Next, you need to turn on the soldering iron and heat it to maximum. It is advisable to use a tip sharpened obliquely, like the tip of a knife. It is applied to the scratch and held until the glass cracks on it. Then the tip moves a little further along the line beyond the extreme point to which the crack reached.

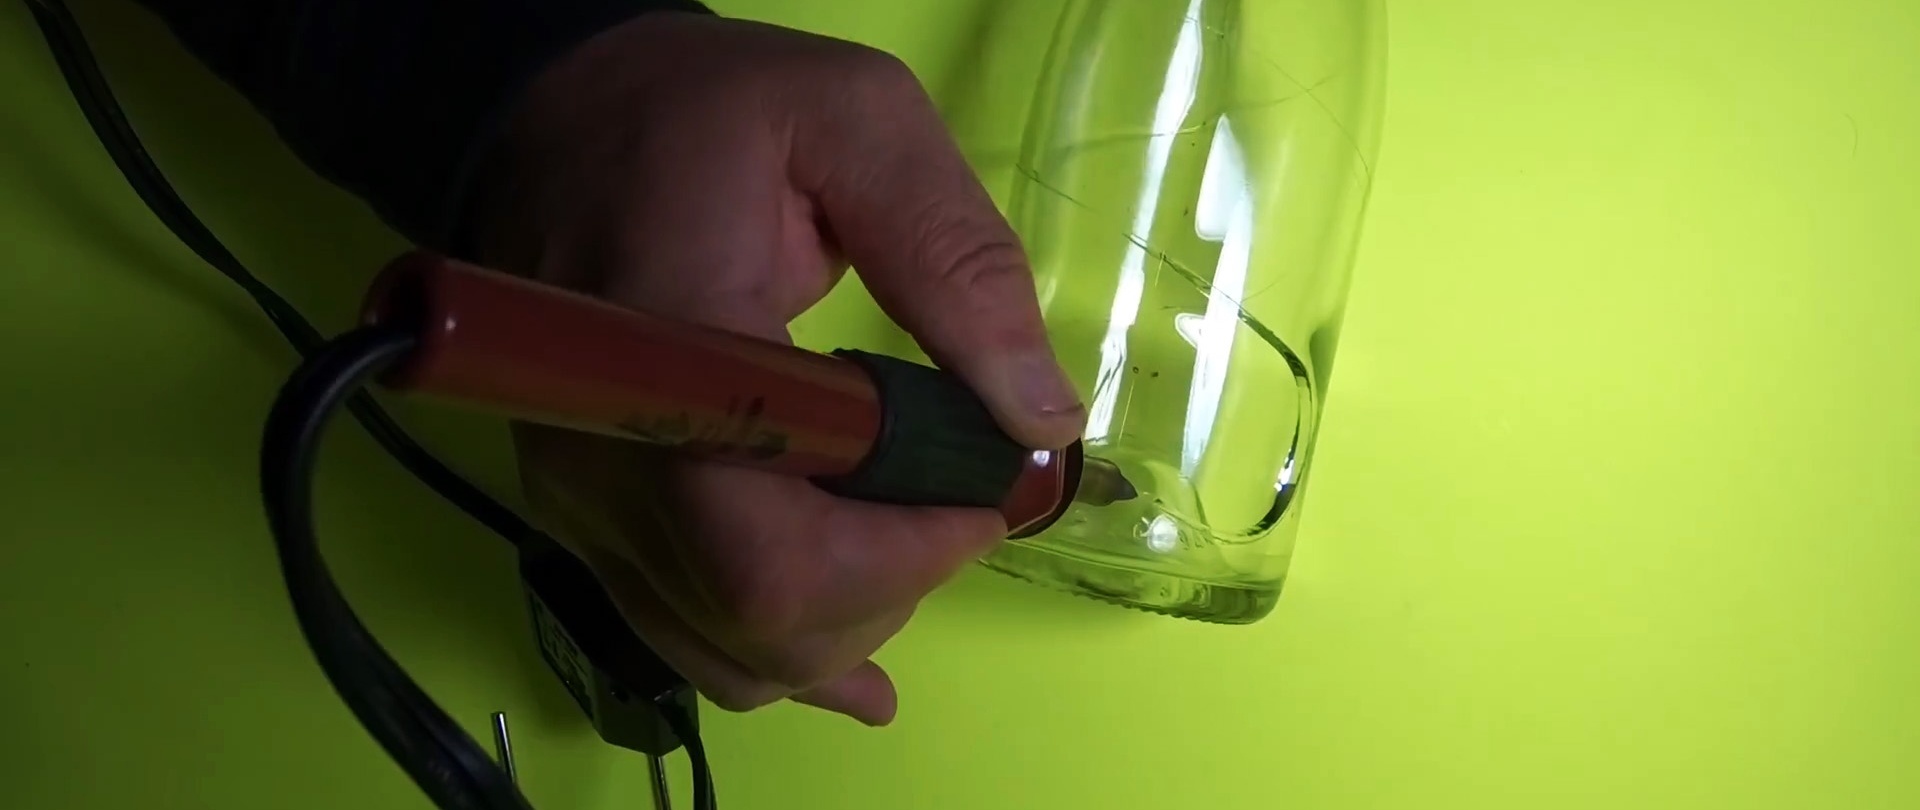
It is necessary to ensure that the marked spiral cracks along its entire length without gaps. If you look at a scratch from a glass cutter at a slight angle, through which the sting has already passed, then these cracks are very clearly visible.
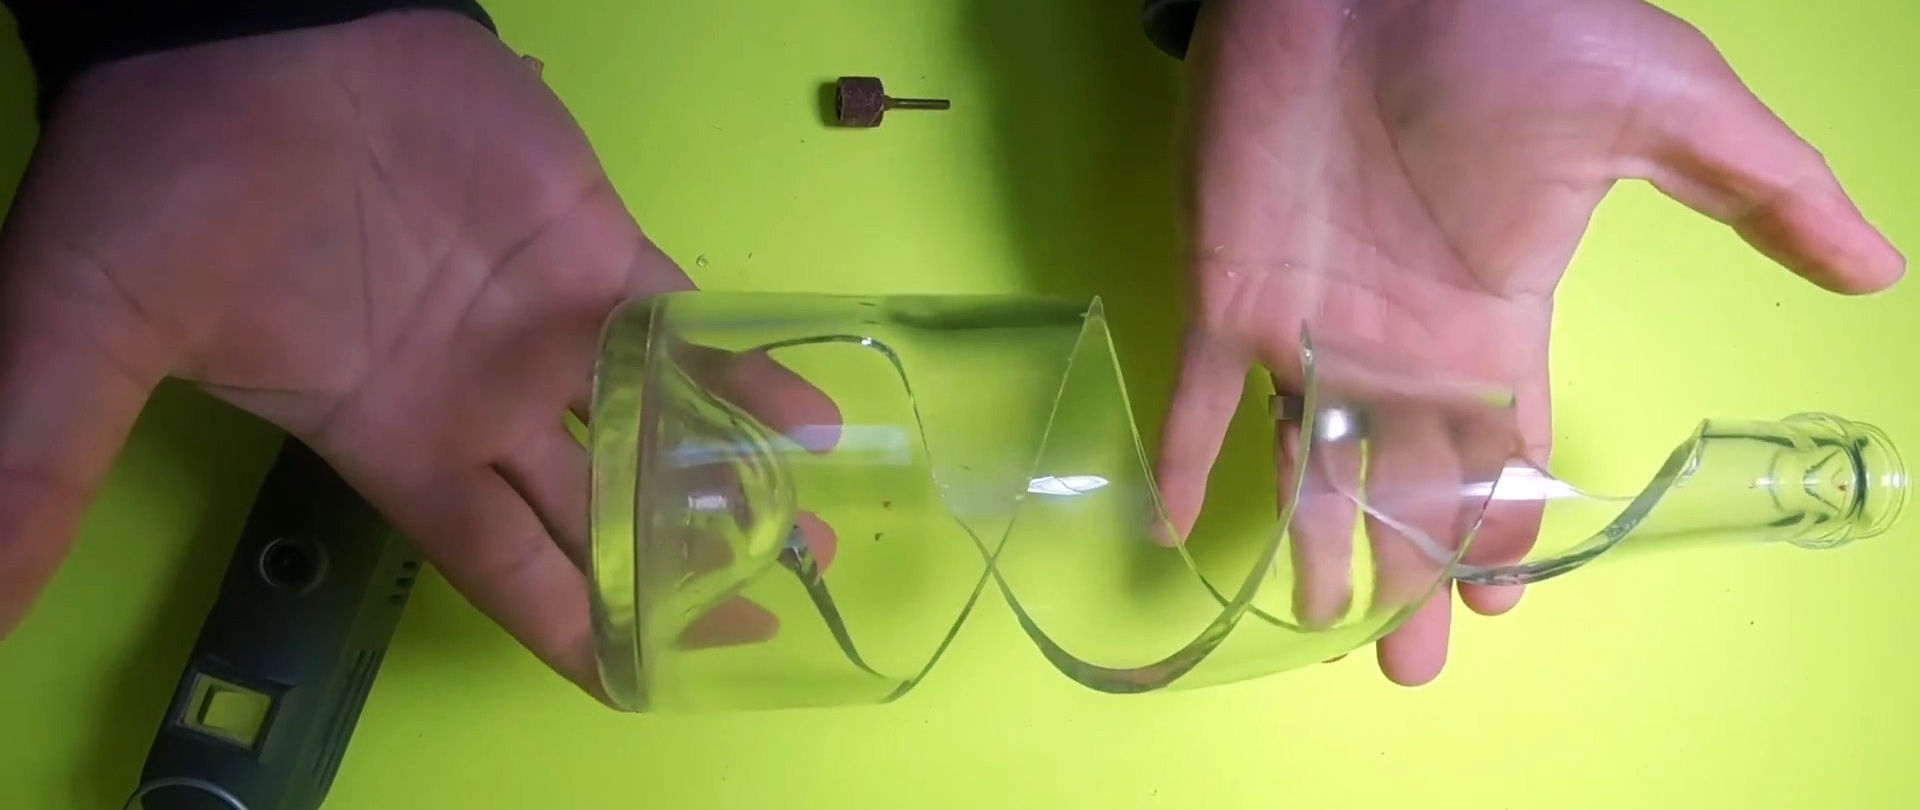
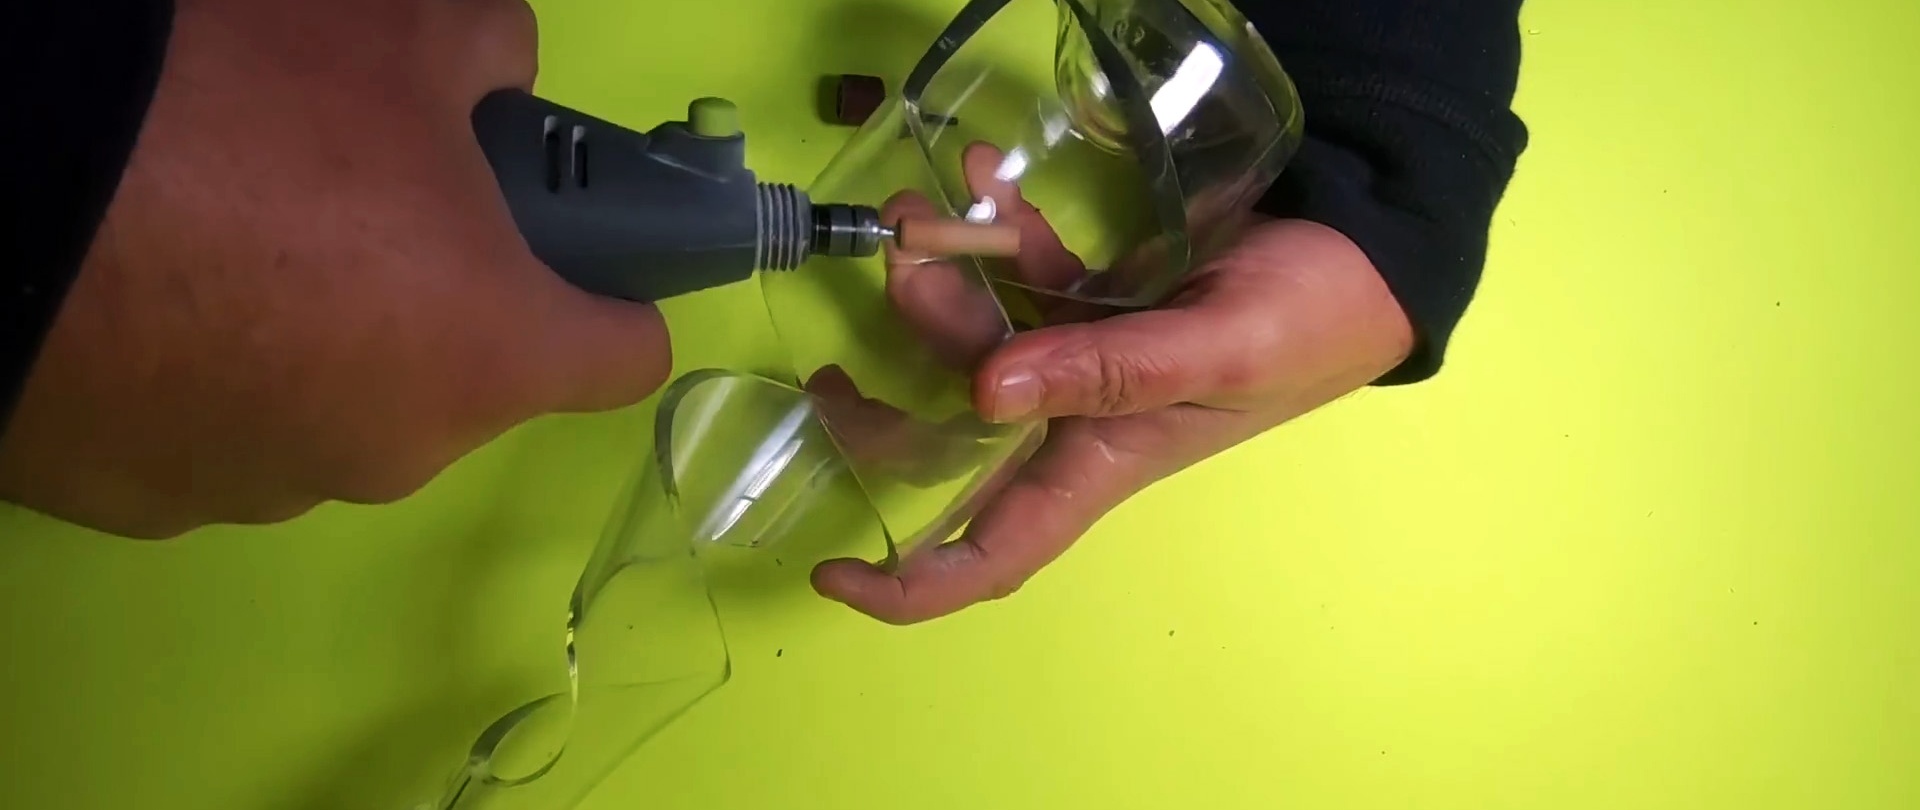
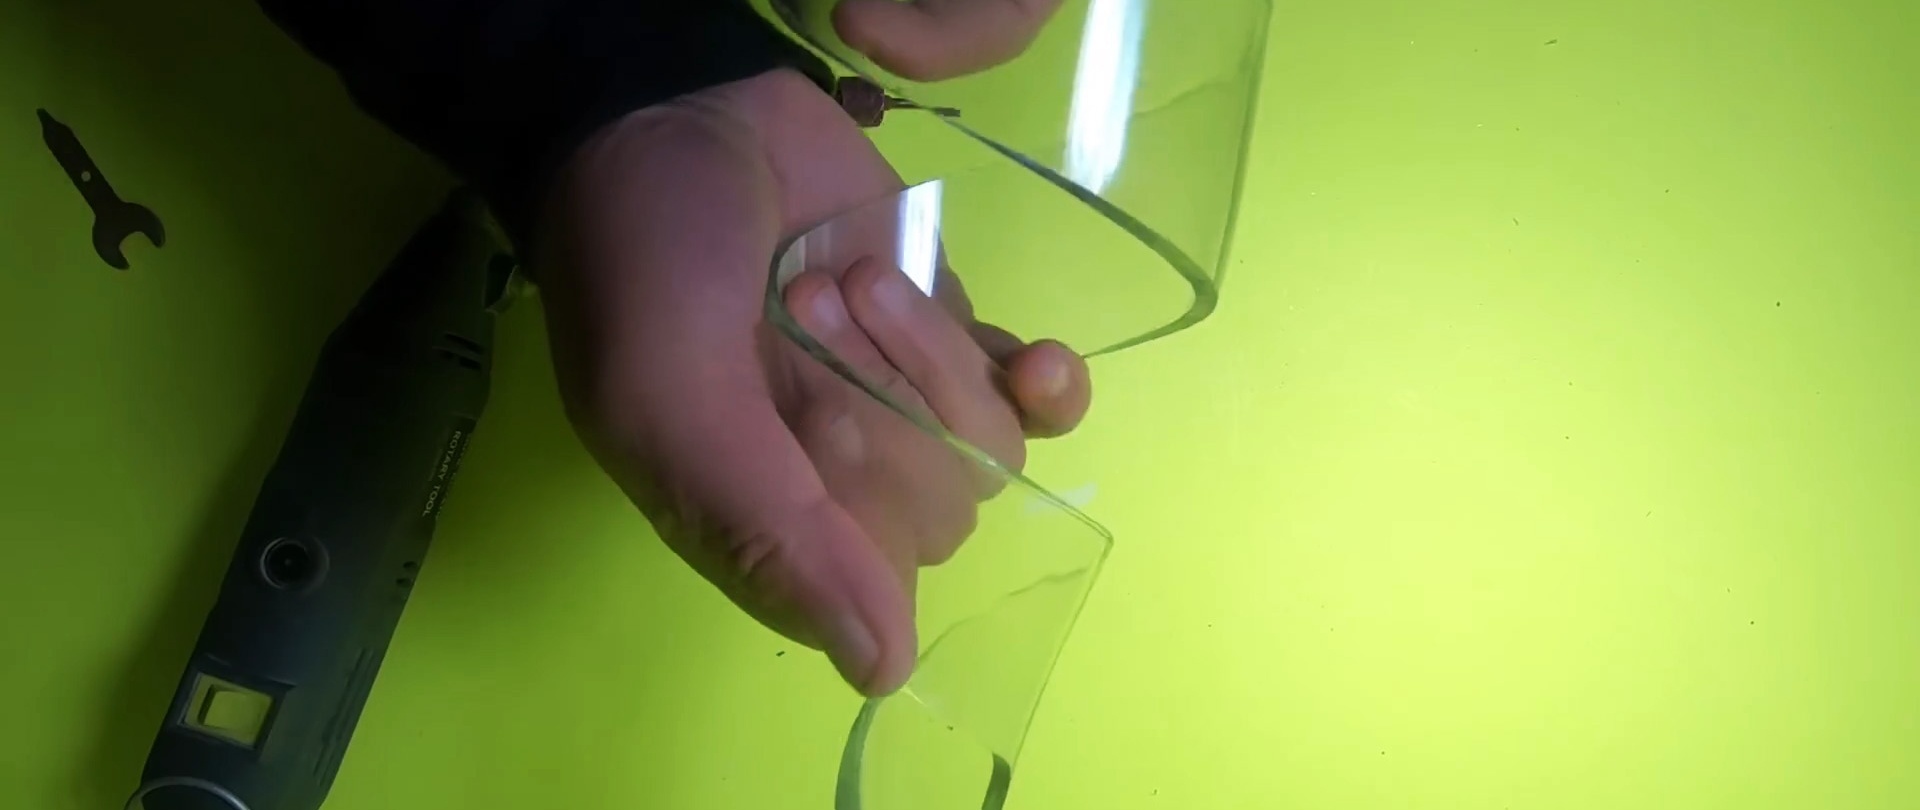
When the spiral is separated from the main bottle, it must be removed. For this, a drill with a diamond cutting disc is used. The spiral is sawed across, and when it cracks, you need to move a little further and repeat the cut.This way, segment by segment, you can completely remove the unnecessary.

Finally, you need to sand down the sharp edges on the bottle. You also do this with a drill, but with a grinding attachment. This work should be carried out wearing a respirator so as not to breathe glass dust.
After this, the bottle is ready to be placed on the shelf.