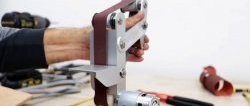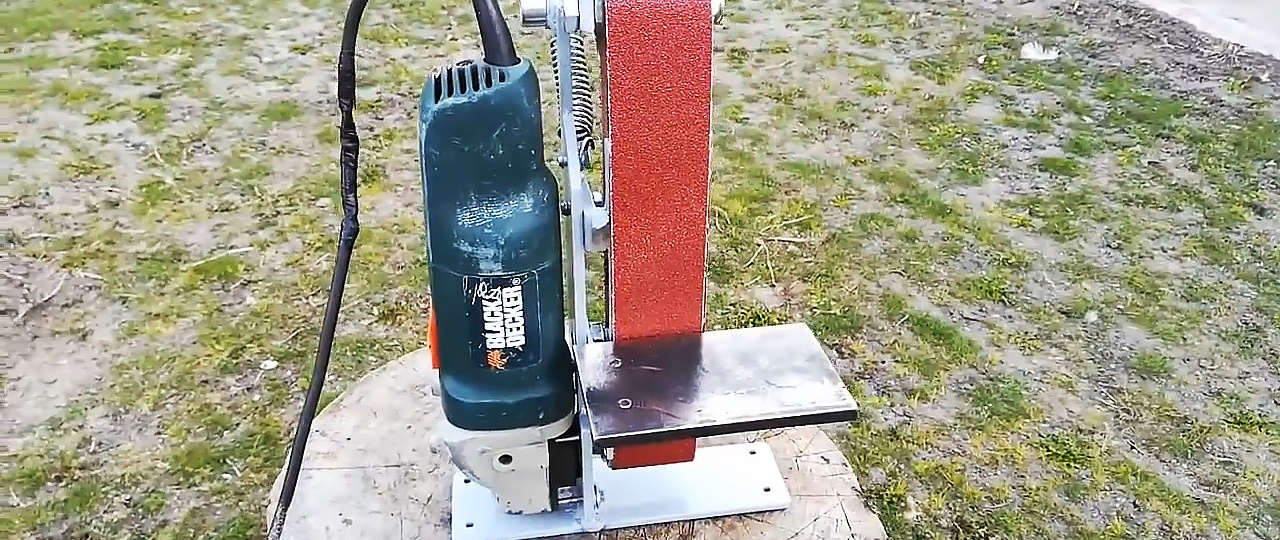
Grinding and sharpening is a very uninteresting, lengthy and painstaking task, unless of course you work on a belt grinder. This is perhaps the most convenient machine for such tasks. If you have an angle grinder, then you can make an attachment for it that allows you to turn it into a grinder.
Materials:
- Extended nut M14;
- aluminum pipe 25 mm;
- sheet steel 5-8 mm;
- corner 10x10 mm, 50x50 mm or more;
- bolts, nuts, washers M10;
- bearings with an internal diameter of 10 mm – 3 pcs.;
- extension spring.
Welding electrodes for general purposes on AliExpress at a discount - http://alii.pub/606j2h
Grinder manufacturing process
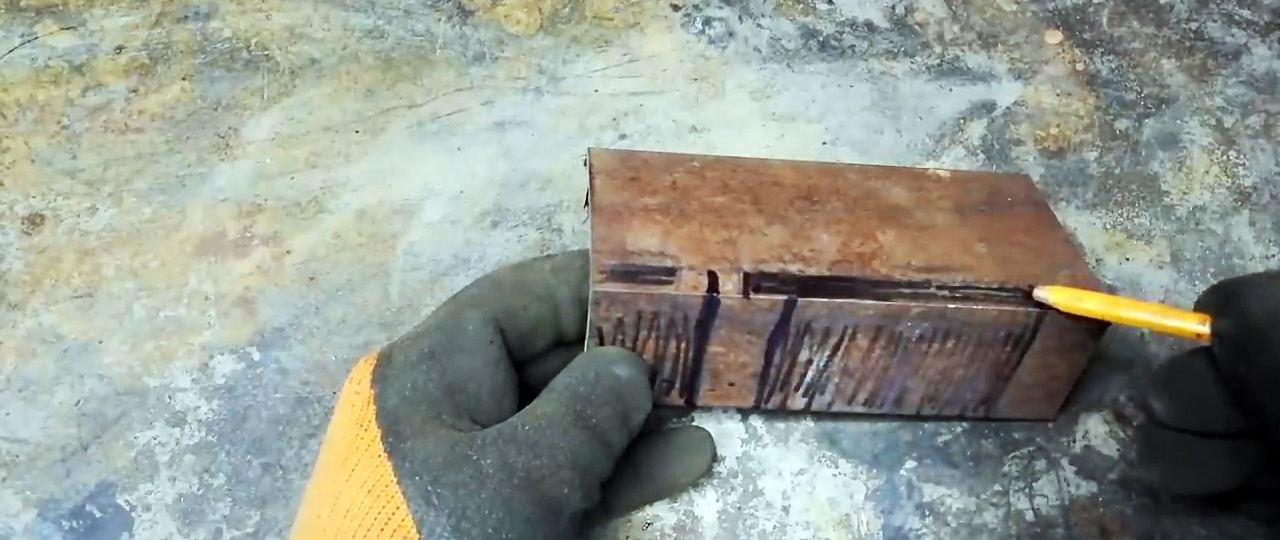
The assembly of a homemade grinder should begin with the manufacture of a drive roller, which will be screwed onto the spindle of the grinder. To do this, you will need to press an extended M14 nut into the aluminum tube. The length of the tube is selected depending on the width of the tape with which you plan to work.

The roller is screwed onto the angle grinder and it starts. You need to grind it with sandpaper on a block or a file to remove the runout.
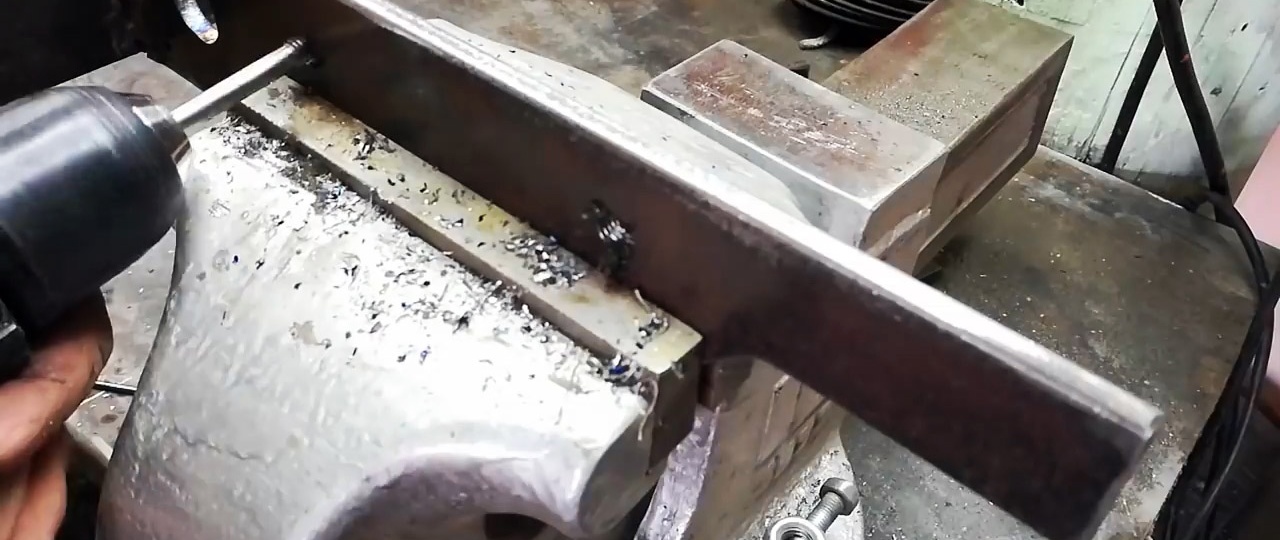
The gearbox of the grinder is temporarily removed.

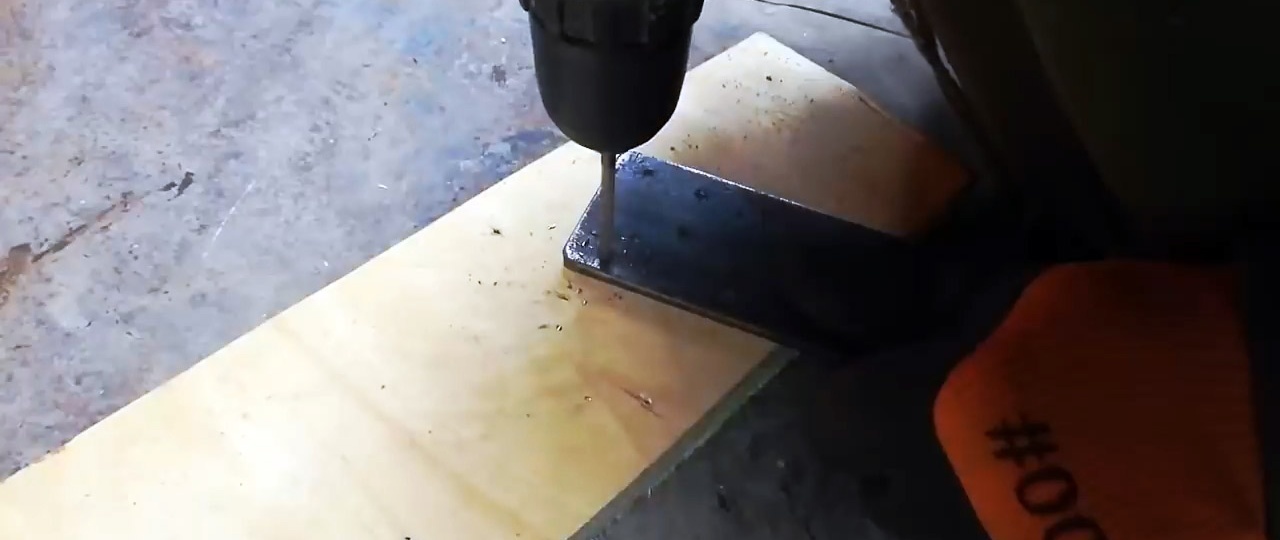
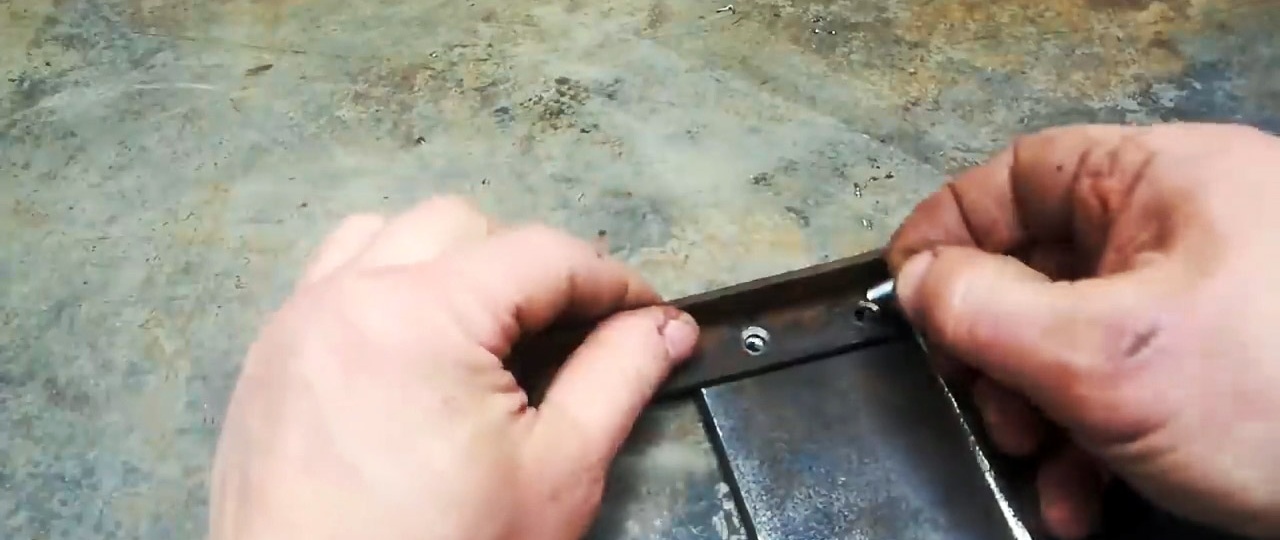
It is necessary to release its cover in order to accurately transfer the holes in it to the steel strip. The width of the latter is selected according to the size of the lid. It should be slightly longer than the length of the grinder body.
The strip is drilled.
Then it is screwed together with the gearbox to the angle grinder. To do this, the standard screws must be replaced with long ones.


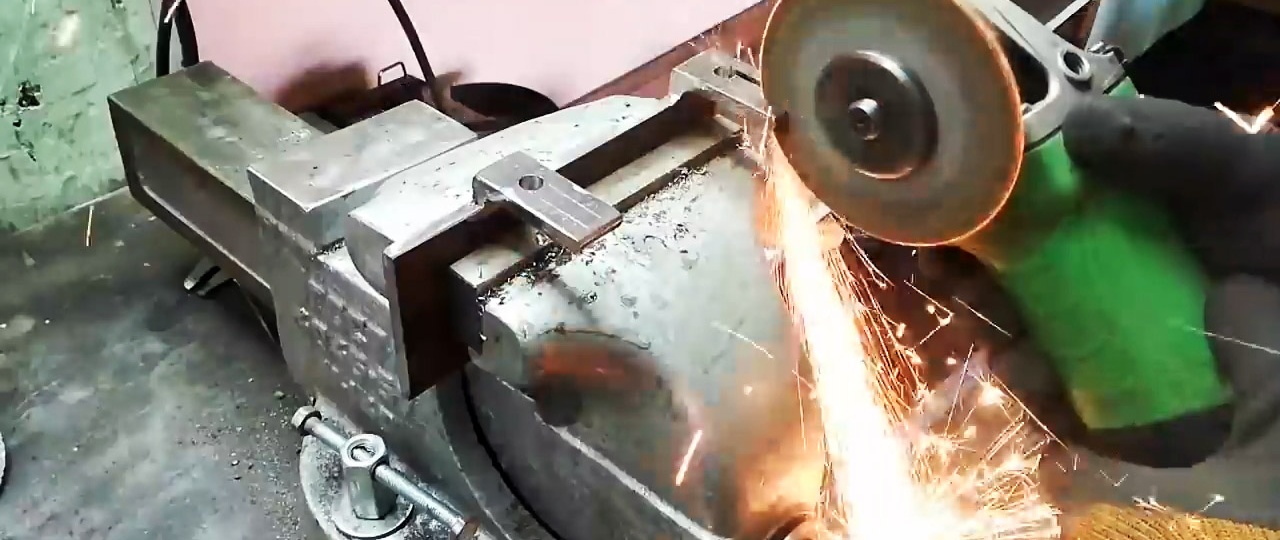
Having tried everything in place, you need to cut the strip as in the photo. Then, on the wide side, at a right angle, a strip is welded to the workpiece, which will serve as the sole of the machine.
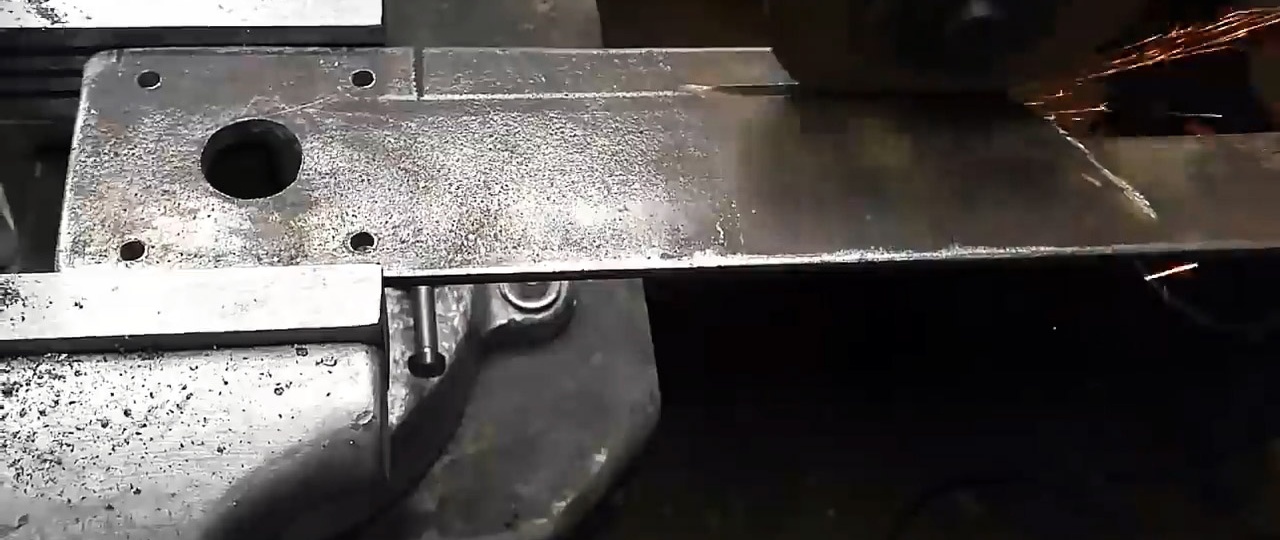
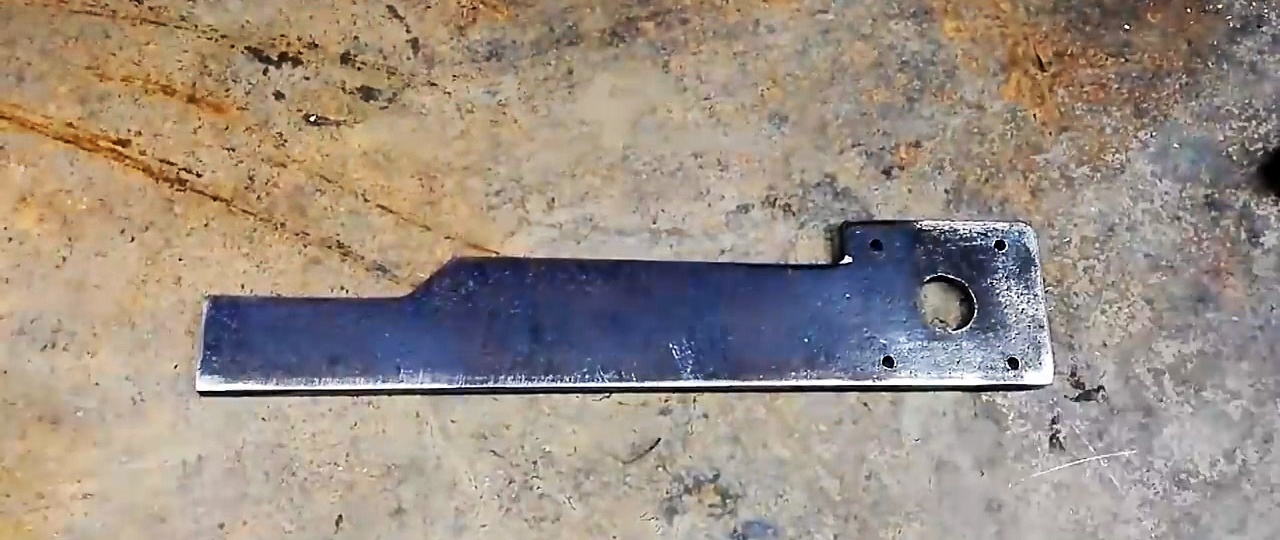
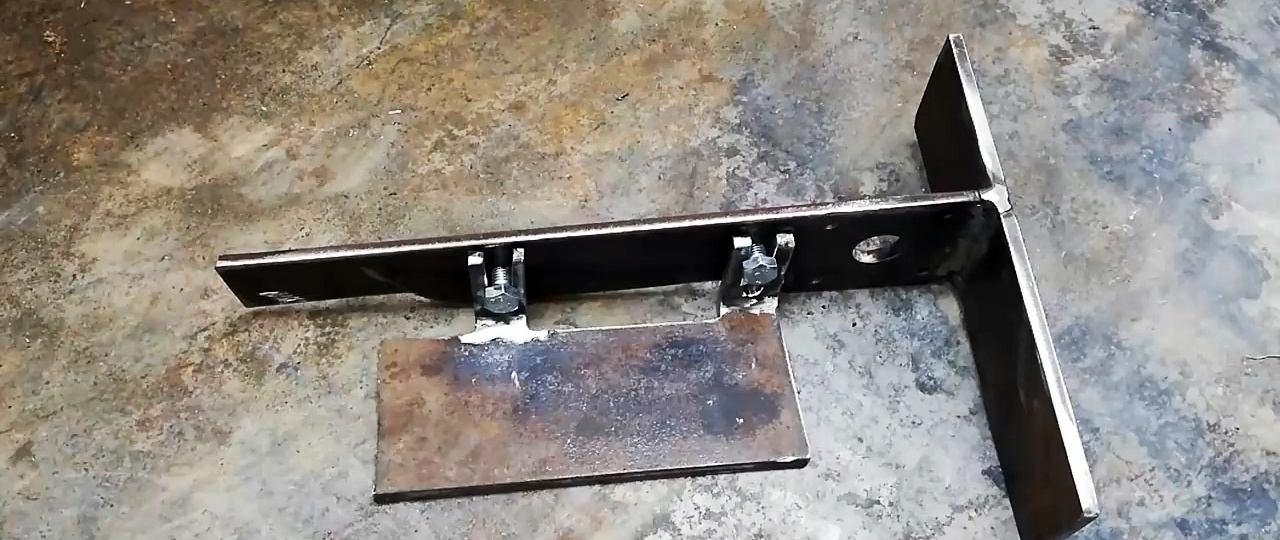
The result should be a T-shaped part.

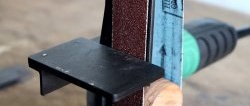
A support platform for the tape is made from a wide corner. One of its shelves is almost completely cut off. You only need to leave 2 narrow planes from it, required for fastening to the frame. On the second shelf, a 10 mm wide cut is made from the corner along the entire length. Metal is left only on the fastenings.

To install the support on the frame, you need to mark the junction points. Then we drill the frame and cut threads in the holes, and make grooves on the corner strips. Thus, we obtain an adjustable connection.
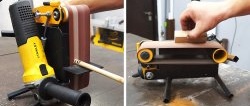
Next, you need to make a table to place the workpieces processed on the grinder. For this purpose, a steel plate of a convenient size is used. A 10x10 mm corner piece is screwed into it from the edge in the transverse direction.


A groove is made in the corner of the table for easy adjustment when attaching. Then we try the part on the frame and make a mark for fastening. We drill a post along it and weld a piece of thread into the hole. This way, the table and the support plate will not interfere with each other when making adjustments. In this case, the table can be installed relative to the sanding belt at a right or other angle.


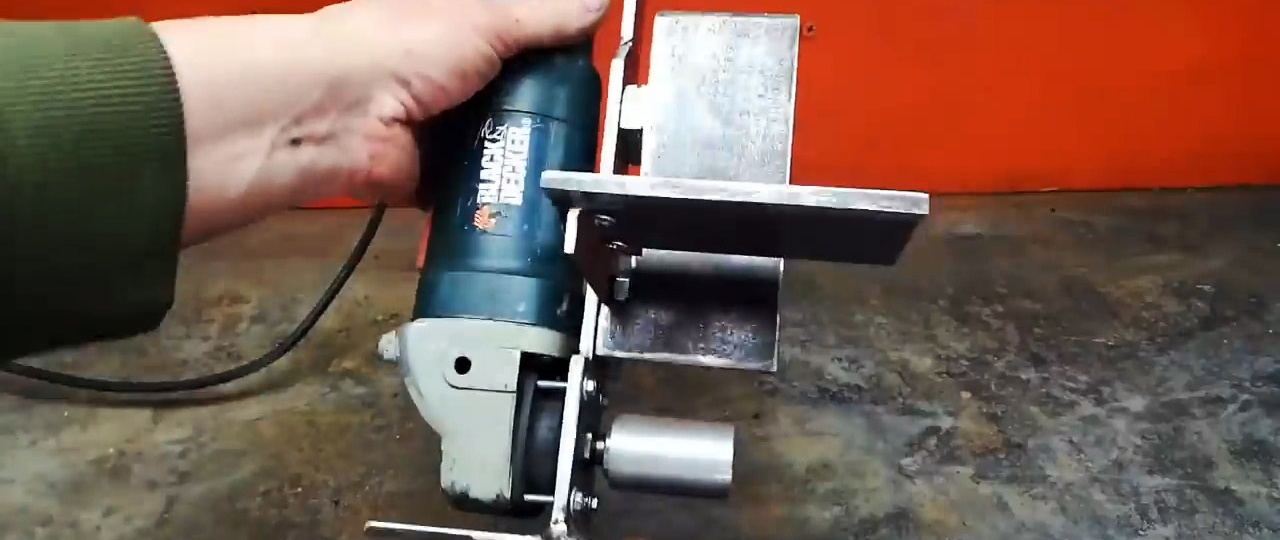
We weld a nut to the frame at the top to secure the driven roller.Next, we take a piece of a narrow strip 70-100 mm long and drill it from the edge. Insert a bolt into the hole and tighten it with a nut. Then we put bearings on it through washers. As a result, we get a roller of the required width.


We drill the strip with the roller in the center to attach it to the welded nut on the frame. From the remaining free end it is necessary to make a hole for hooking the spring. Now we assemble the parts with the grinder.

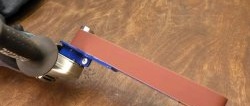
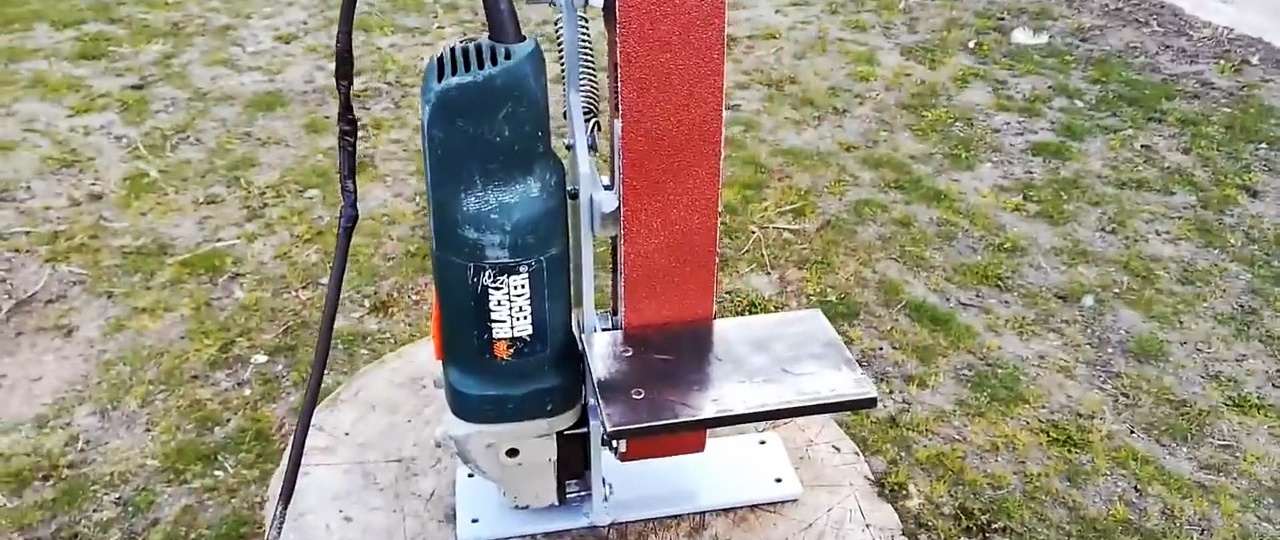
Next, we try on the existing spring and install a screw on the frame to stretch it, thereby holding the roller in tension. After that we put on the tape.
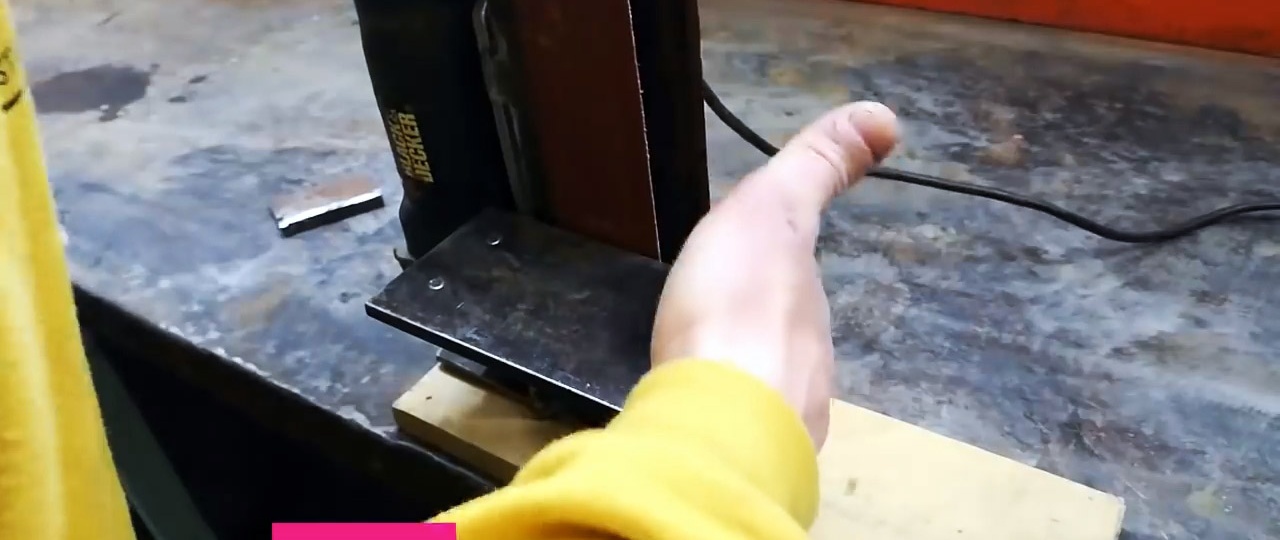
The machine is fixed on the table with a clamp, or you can drill the base and screw it on. Since everything is made collapsible, if necessary, the grinder can always be removed when needed.

Watch the video
Do-it-yourself miniature and functional grinding attachment for an angle grinder - https://enn.washerhouse.com/8149-miniatjurnaja-i-funkcionalnaja-shlifovalnaja-pristavka-k-bolgarke-svoimi-rukami.html