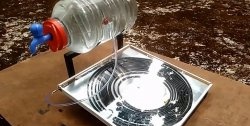
In recent years, solar collectors for heating water have become increasingly common on garden plots. With their help you can actually get practically boiling water on summer days. They are also used to heat the coolant during heating. However, the price of such collectors is high, so if you have a limited budget, you can make them yourself. Let's look at how to assemble a factory-quality manifold at home with a small investment.
Materials:
- Sheet aluminum;
- heat-resistant sealant;
- copper pipe 6 or 9 mm;
- expanded polystyrene;
- thermal paste for heaters;
- window glass;
- blind rivets.
Solar collector manufacturing process
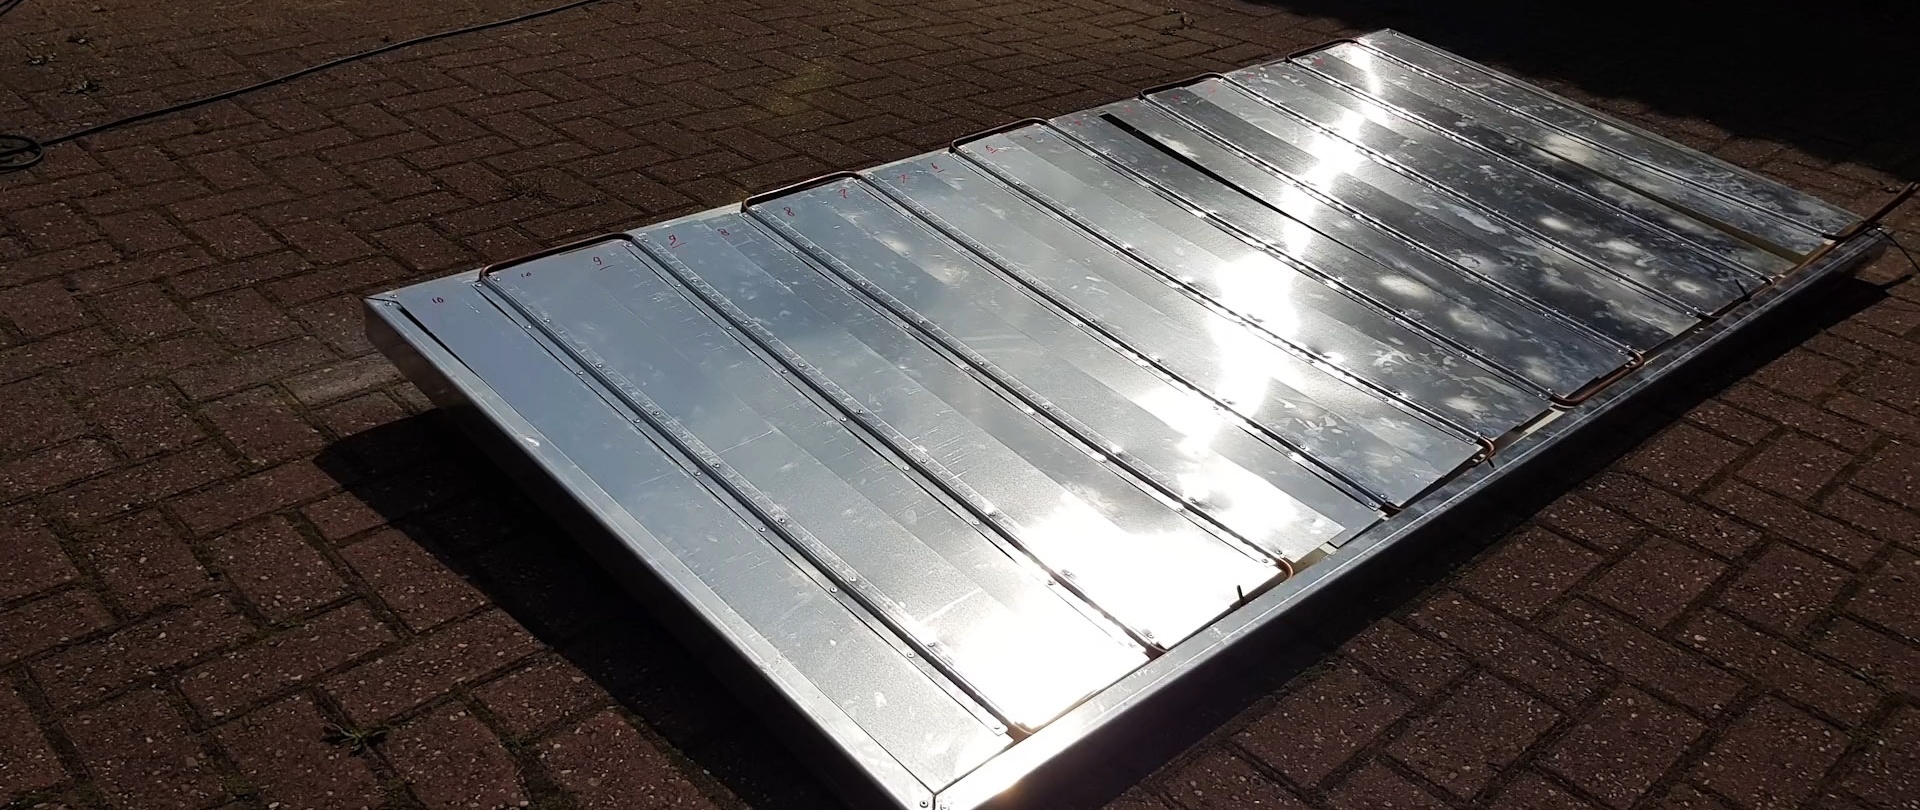
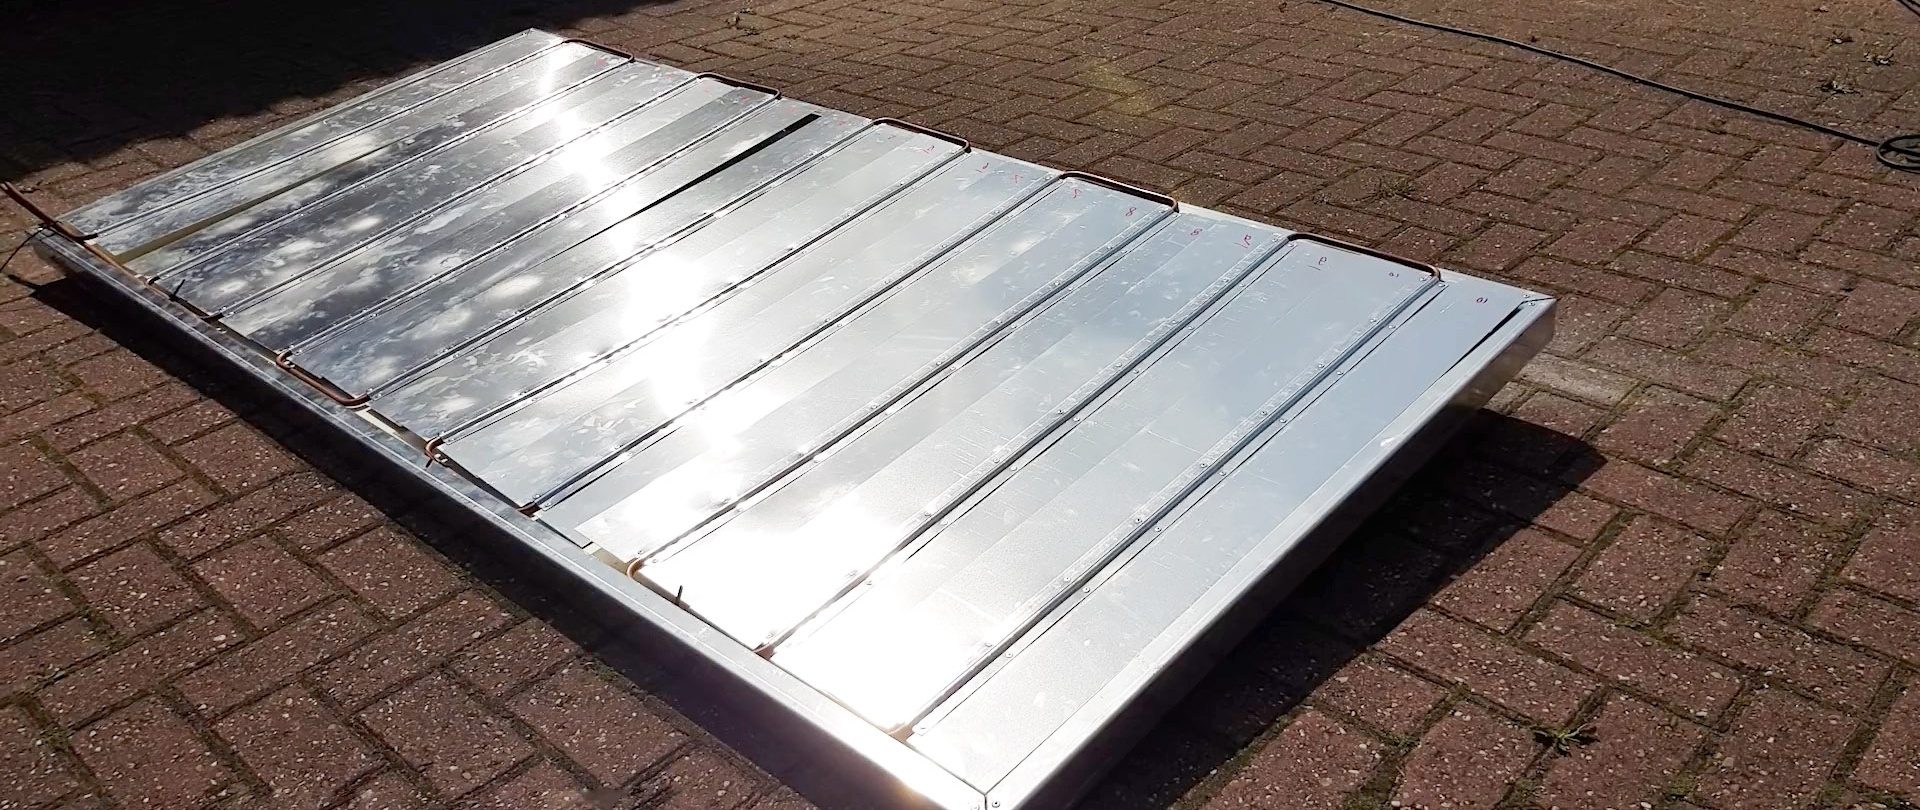
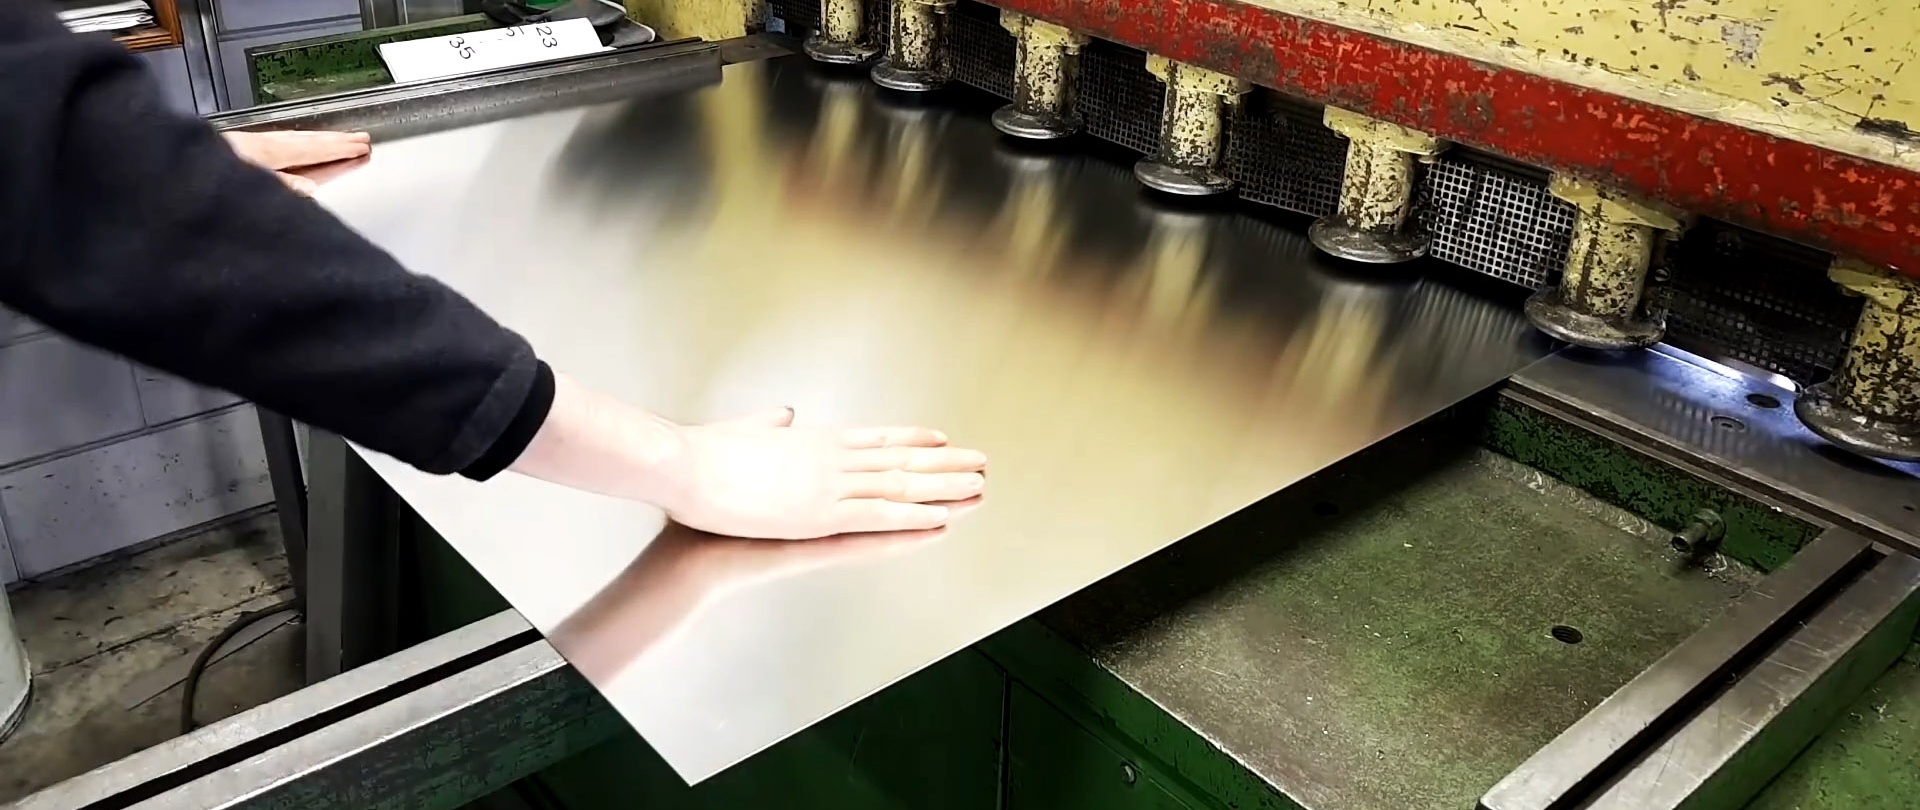
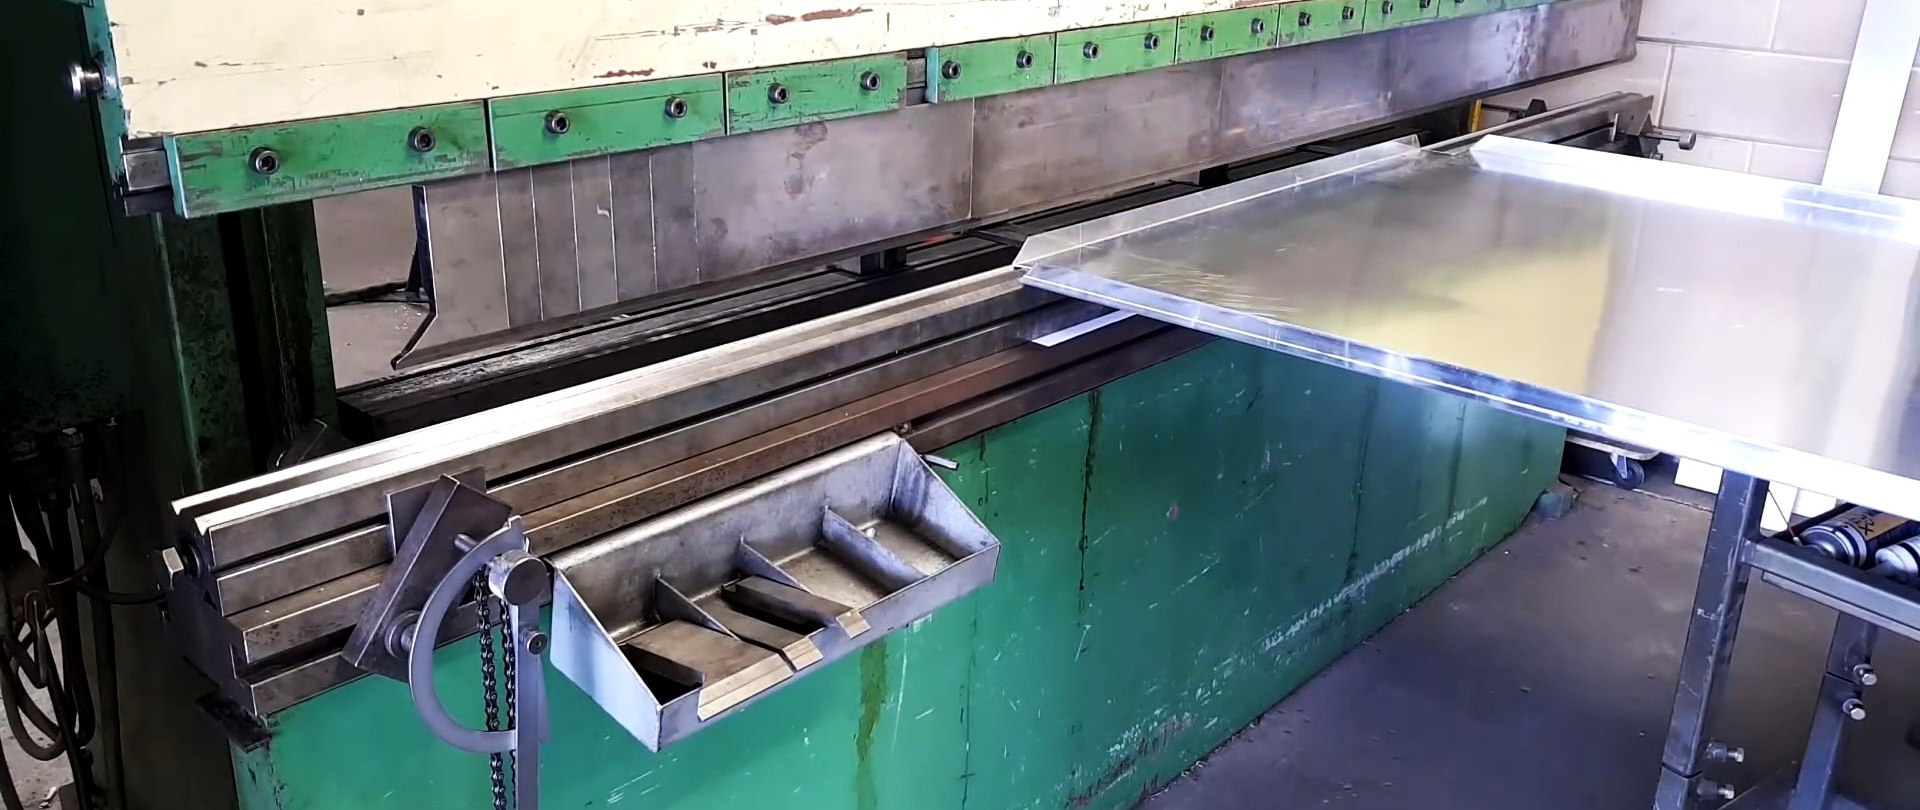
Work should begin by making the collector body from smooth aluminum sheet. If you have a sheet bending machine, you can bend it by forming each side with 2 bends. In this case, you will need to remove the corners of the workpiece in advance, as in the example. Without such equipment, you can simply screw profile or slats along the edge of the sheet.In this case, in addition to screws or rivets, you will also need to use sealant.

When making a body using the bending method, you need to strengthen the corners. To do this, inserts are placed from the inside and secured with blind rivets.

At the junction points, the corners should be filled with sealant.


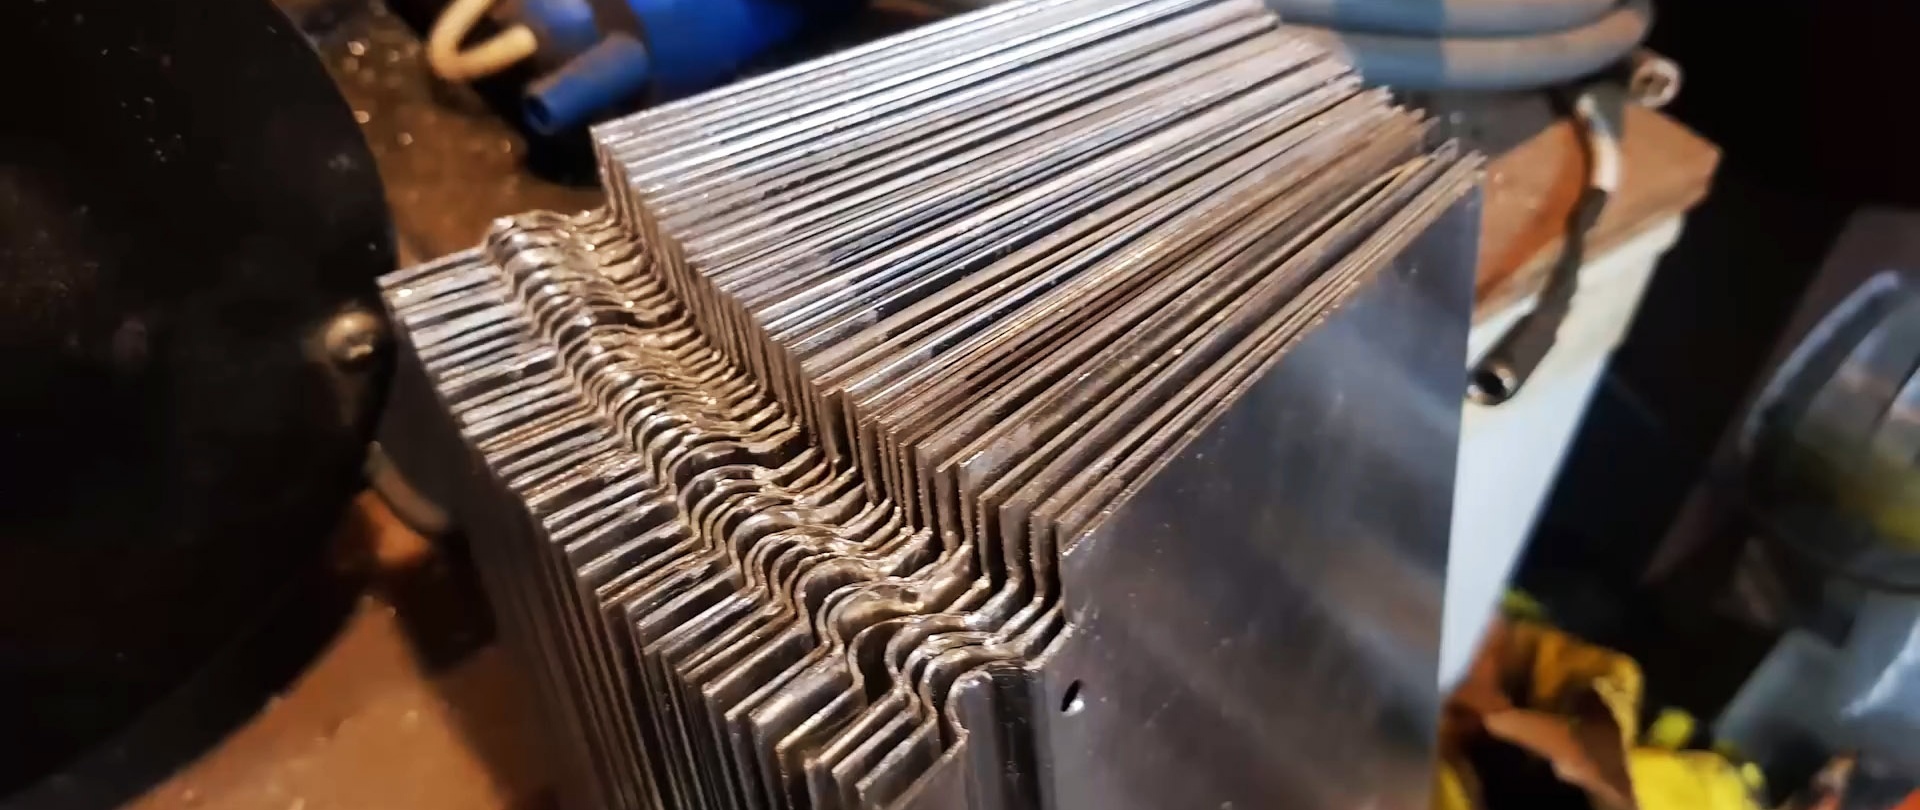
The next step is to make the ribs for the tubes. They will accumulate solar heat and effectively transfer it to the pipe. For this purpose, aluminum strips are prepared along the internal width of the collector body. They will be located across. For one turn of pipe in the collector, you will need to install 2 such strips. In each of them you will need to bend a groove 10-20 mm from the edge. Thus, the tube will be located between two workpieces. They form a rib with a large heating area, and will fit tightly to the pipe, effectively transferring their heat to it.
To make the ribs, you need to assemble a jig from plywood or boards. It is a plane with limiters along the width of the strip in order to fix it and stretch it strictly parallel. A groove is milled on it into which the workpiece will be pressed. The conductor is fixed in a vice.

The conductor stamp is a steel plate with a convex part made of a steel pipe or rod running along it. The latter should be the same diameter as the copper pipe used for the manifold.

The stamp is provided with a strip so that it can be fixed with a self-tapping screw to the jig in the gap of the parallel stop. When placing the workpiece in the device, it is necessary to press the stamp against it with a vice. Then the plate is released and pulled forward a little. Thus, you need to stamp it along its entire length, making a groove. It is best not to compress it completely with a vice at first, but to form a groove in 2 passes.For the first time, you should only designate the shape, and for the second time, bring it to the ideal.
Next, you need to combine 2 ribs and drill them for rivets. This can be done on your knee, or you can assemble another jig. That one consists of 2 boards with grooves, and a rod for insertion instead of a tube.

After this, you will need to cut and remove on the ribs. They are cut with metal scissors. The remaining dents can be smoothed out again with a stamp in the first jig.

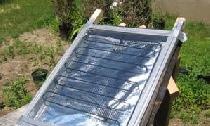
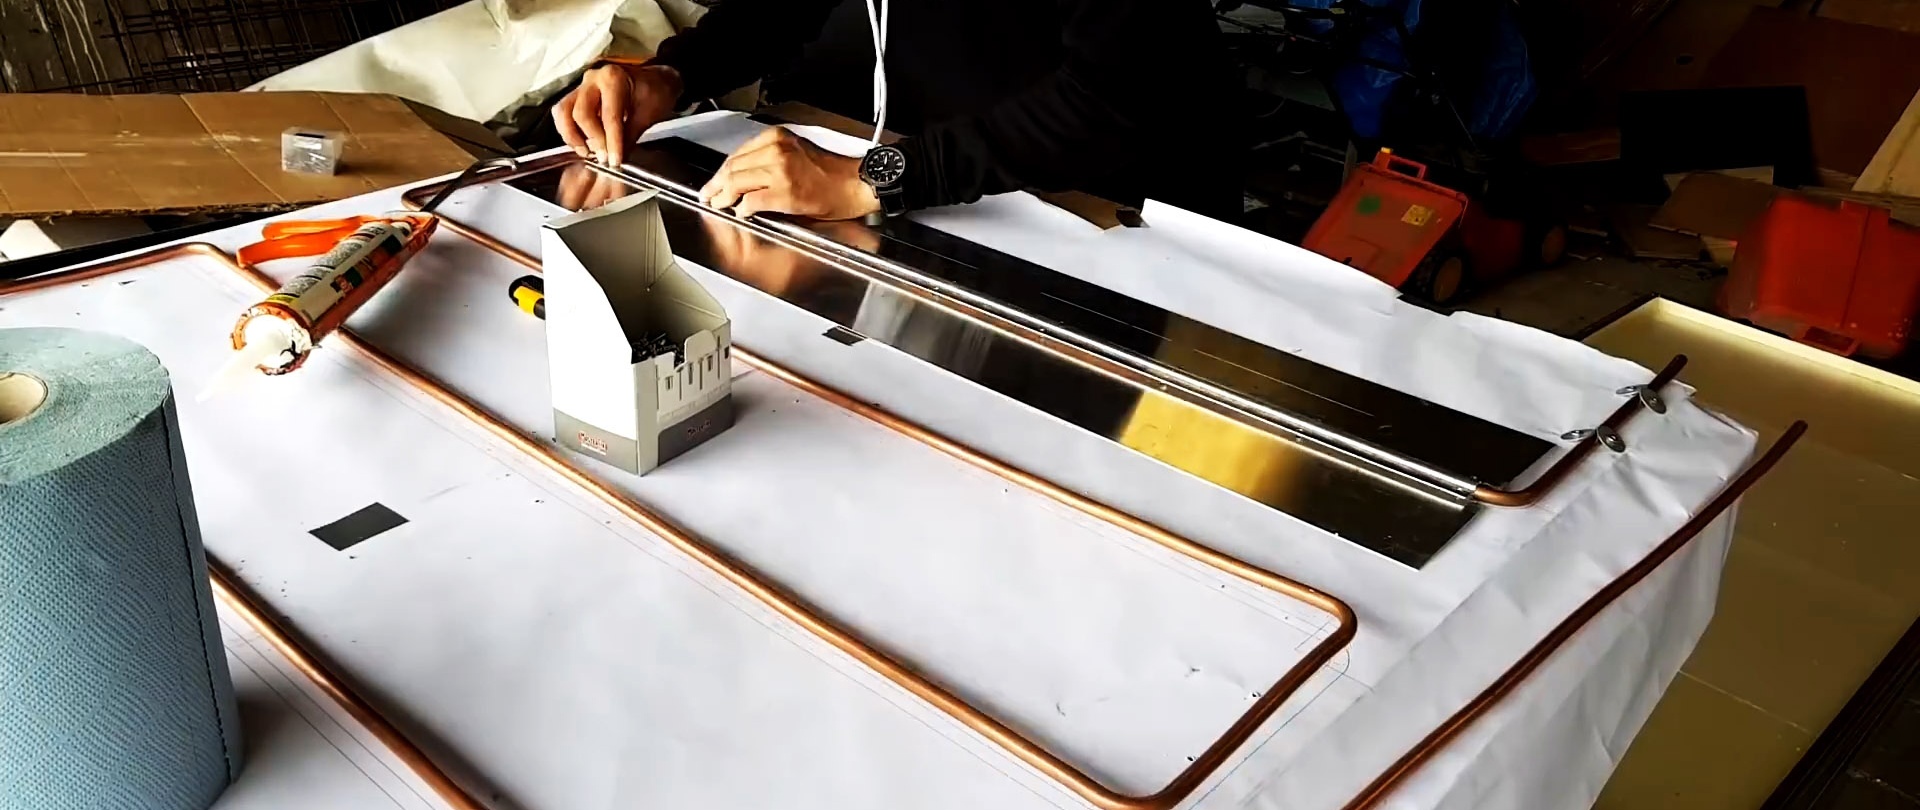
Insulation is installed in the collector body. It is best to use polystyrene foam. It is cut to size and glued onto the sealant.


Now you need to bend the copper pipe. The coils are bent based on the size of the prepared ribs. This is best done on a sheet of chipboard, plywood or OSB. We apply markings and bend them carefully, avoiding strong muzzle constriction. To ensure that the tube bends evenly and does not dangle, we press it with a rail with a milled groove. Such templates can be screwed to the base.

After bending the pipe, it is necessary to install the radiator fins. Ideally, apply thermal paste to their grooves to increase heat transfer. The plates are fastened with rivets.
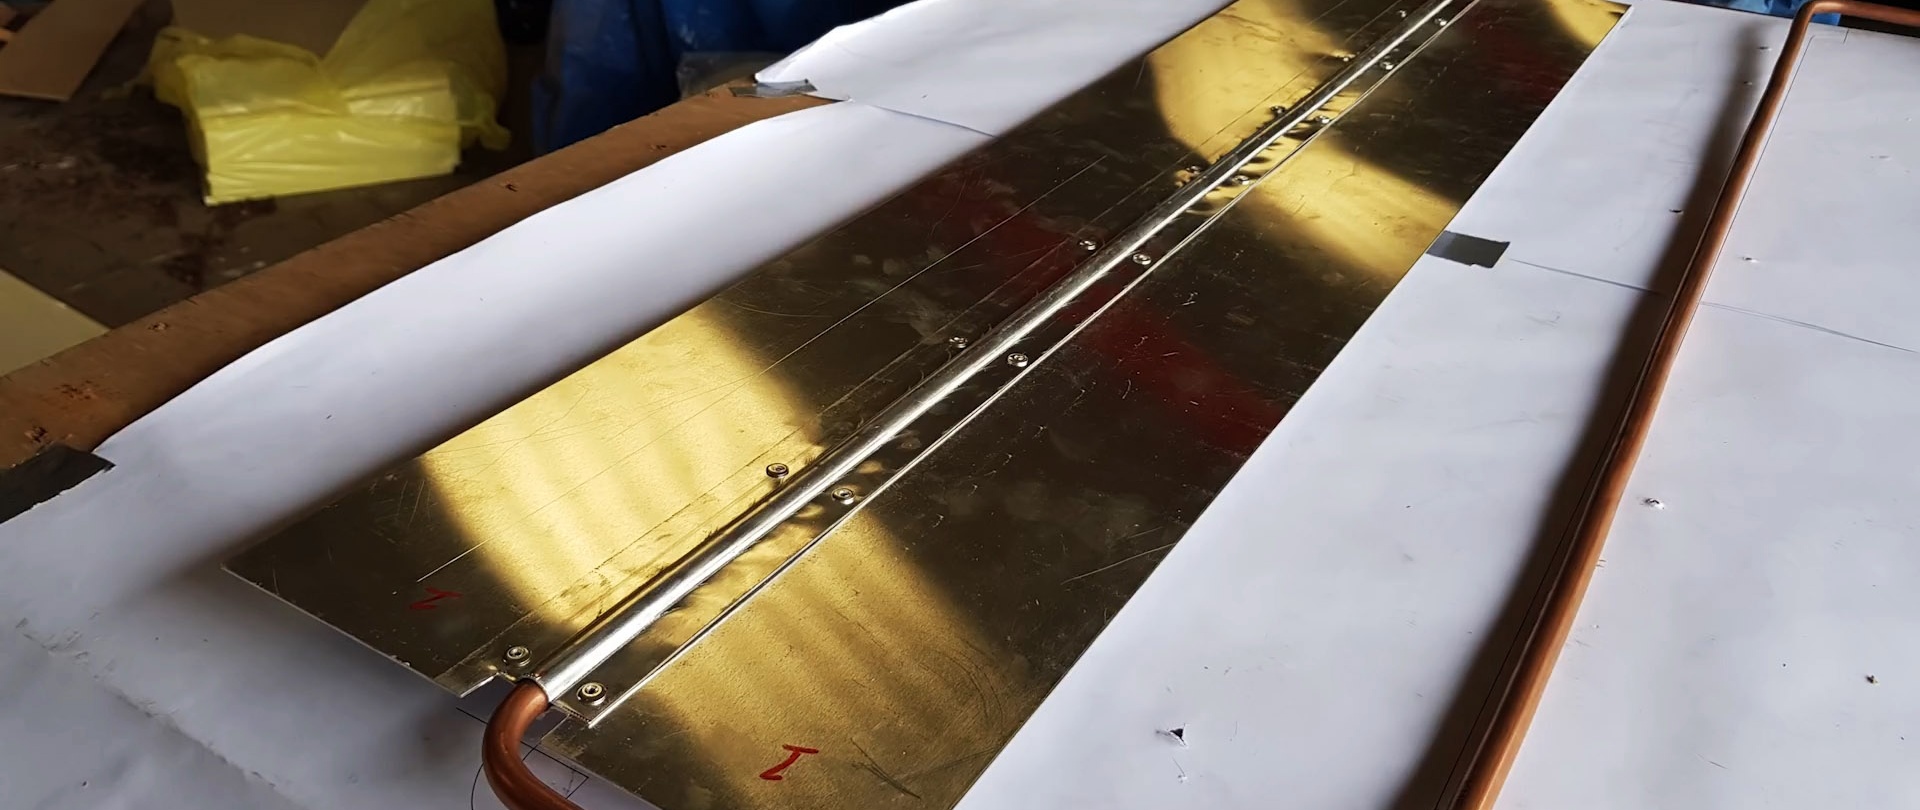
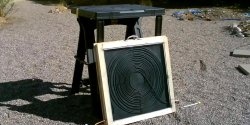
After that, all that remains is to paint the fins black so that they heat up more, and place the radiator in the case.

A sheet of glass is glued to the top with sealant. Such a collector is primarily suitable for heating water in the warm season. In winter, when filled with non-freezing coolant, it can heat the battery, thereby heating the house.