It is very convenient when the door or gate latches itself when closed. For this purpose, there are many designs of locks on sale, but none of them can boast of such reliability as the proposed homemade latch. This is a trouble-free system that can serve for decades.

Materials:
- Reinforcement 6-8 mm;
- strip 40x6 mm;
- bolts M8-M10.
Welding electrodes for general purposes on AliExpress at a discount - http://alii.pub/606j2h
Automatic latch manufacturing process
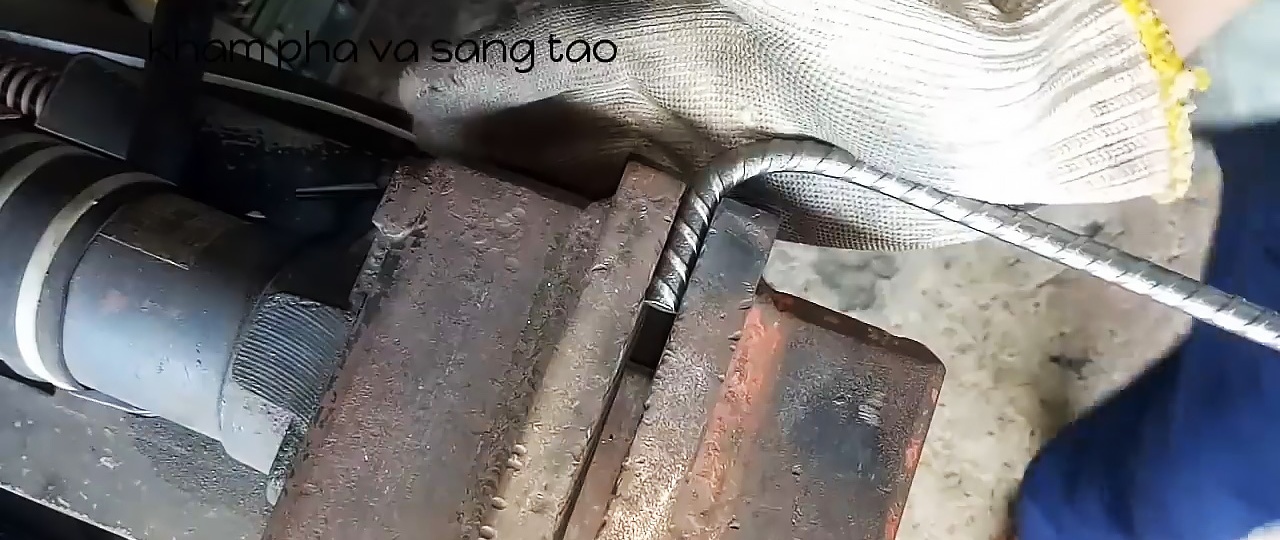
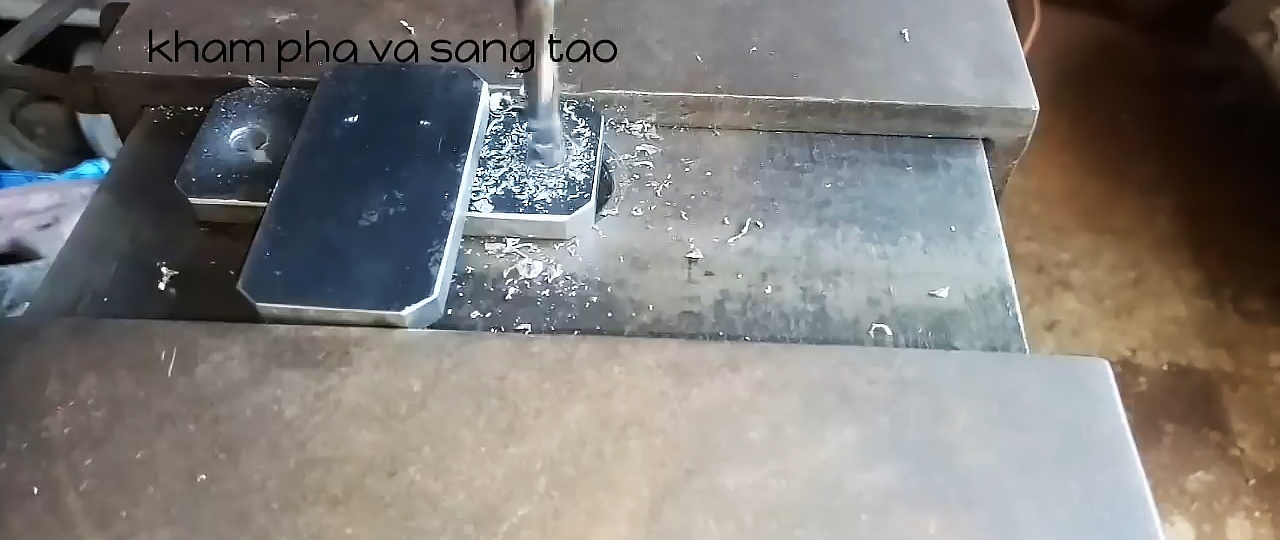
First of all, we clean the fittings from rust mechanically.

To make a latch of this design, you need to bend a locking bracket from the reinforcement. For this, it is advisable to have a vice. With their help, the edge of the reinforcement is bent 180 degrees.
The resulting bend needs to be narrowed. To do this, he presses with a vice. A strip is placed between the reinforcement to maintain a small gap at the bend.

The long rod of the workpiece must be bent in the opposite direction at a right angle relative to the first bend. You should get a tongue that is longer than the width of the strip selected for the latch.

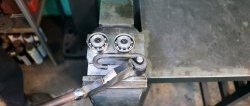
Next, you need to wind the loop on the long end of the reinforcement opposite the first bend. Here the metal will need to be heated. The bend is made around an M10 bolt inserted into the hole in the strip. The excess length of the reinforcement is cut off, you need to form an eye.


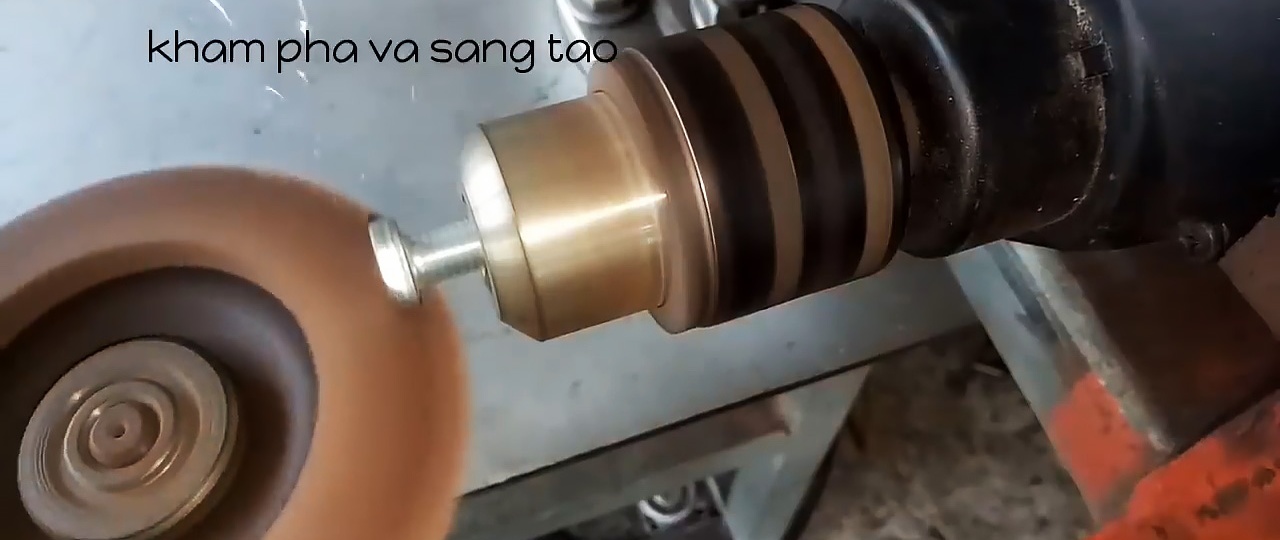
A blank is cut from the strip with a hole used to bend the locking bracket. The bracket is installed on it using an axis made of a bolt with a turned head.
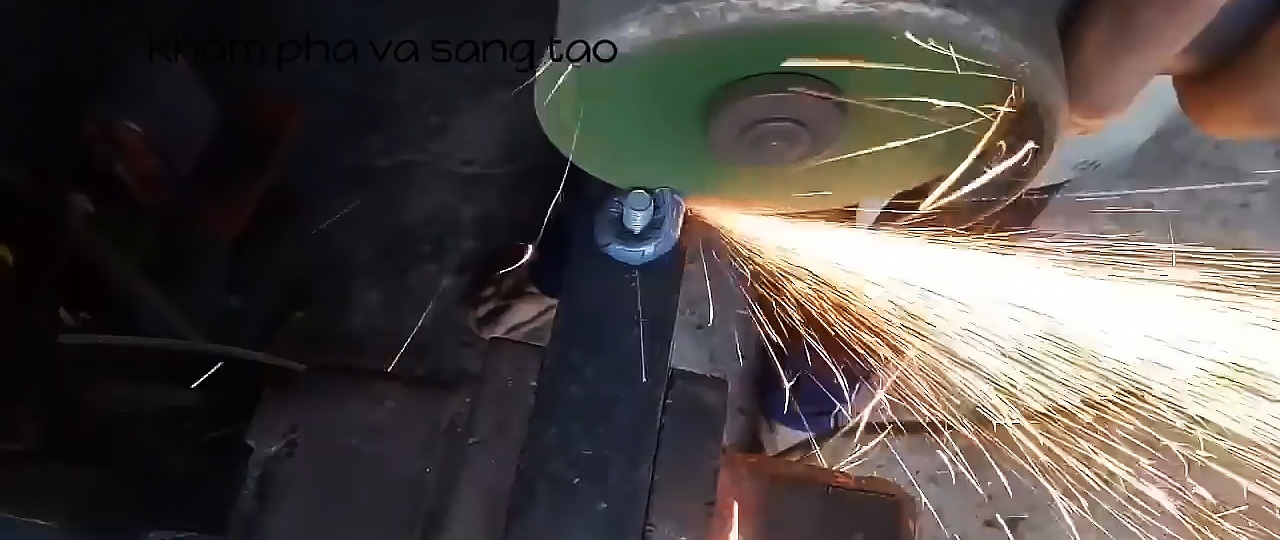
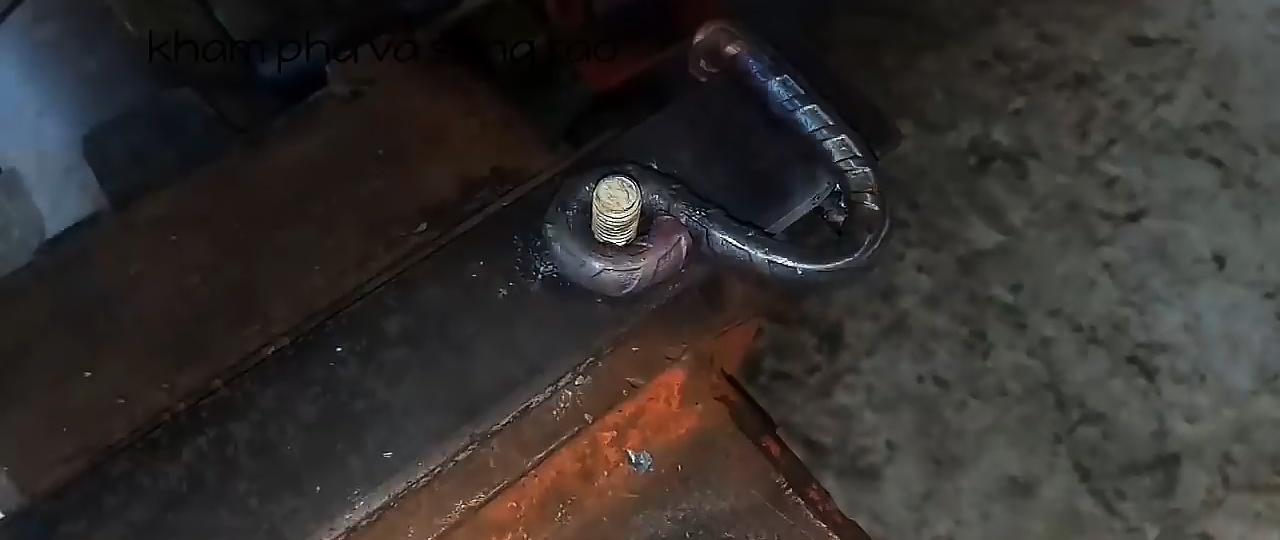
A fastener from a piece of strip with holes along the edges is welded to the workpiece. It is important that the distance from the edge of the bracket to the fastening is a couple of millimeters greater than the thickness of the existing strip. A machined bolt is also welded in, but so that the bracket can rotate freely.


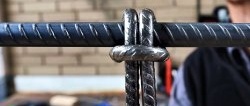
A T-shaped counter part is made from two strip sections. One of them will serve as a pin for fixing the bracket, and the second for fastening to the door frame or gate post. The parts can be welded together, or tightened with bolts with turned heads. In the second case it will look more aesthetically pleasing.


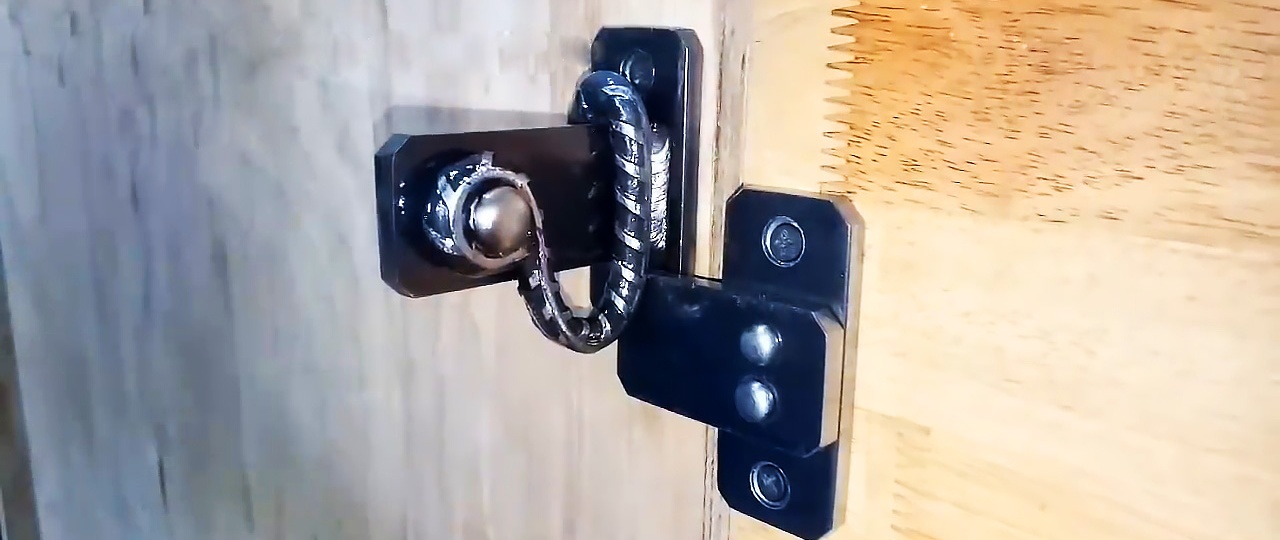
We screw the bracket mount onto the door, and the counter part onto the box or post.

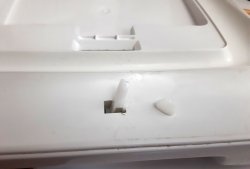
When closing, the bracket itself rises and then falls, blocking the pin. You can open the door by lifting it. The bend at the bottom of the shackle allows you to hook a padlock, completely blocking the mechanism.