Sometimes remote controls for TVs and other household appliances malfunction; this manifests itself as “sticking” keys - in order for the key to work, you need to press it forcefully several times. The weak point of many remote controls is the rubber conductive contacts, which are attached to the keys themselves and, when pressed, close special spots on the board. Over time, the conductivity of rubber contacts decreases and they are destroyed, especially for the most used keys. To repair remote controls, repair kits are specially produced and sold, containing a set of flat conductive contacts that are fixed on top of the existing ones, but such a kit still needs to be found and purchased - and you want to repair the remote control here and now. You can use another method by restoring conductivity using homemade graphite varnish. To make it, you will need an ordinary simple pencil and a drop of tsapon-varnish, or any other similar one, even nail polish.
Preparing the remote control

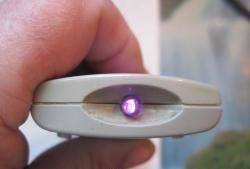
In this case, the old remote control shown in the photo above will be restored.Please note that many modern remote controls are equipped with keys with metal contacts, like tactile (tact) buttons - this method will not be relevant for restoring them, however, such remote controls themselves are much more reliable.
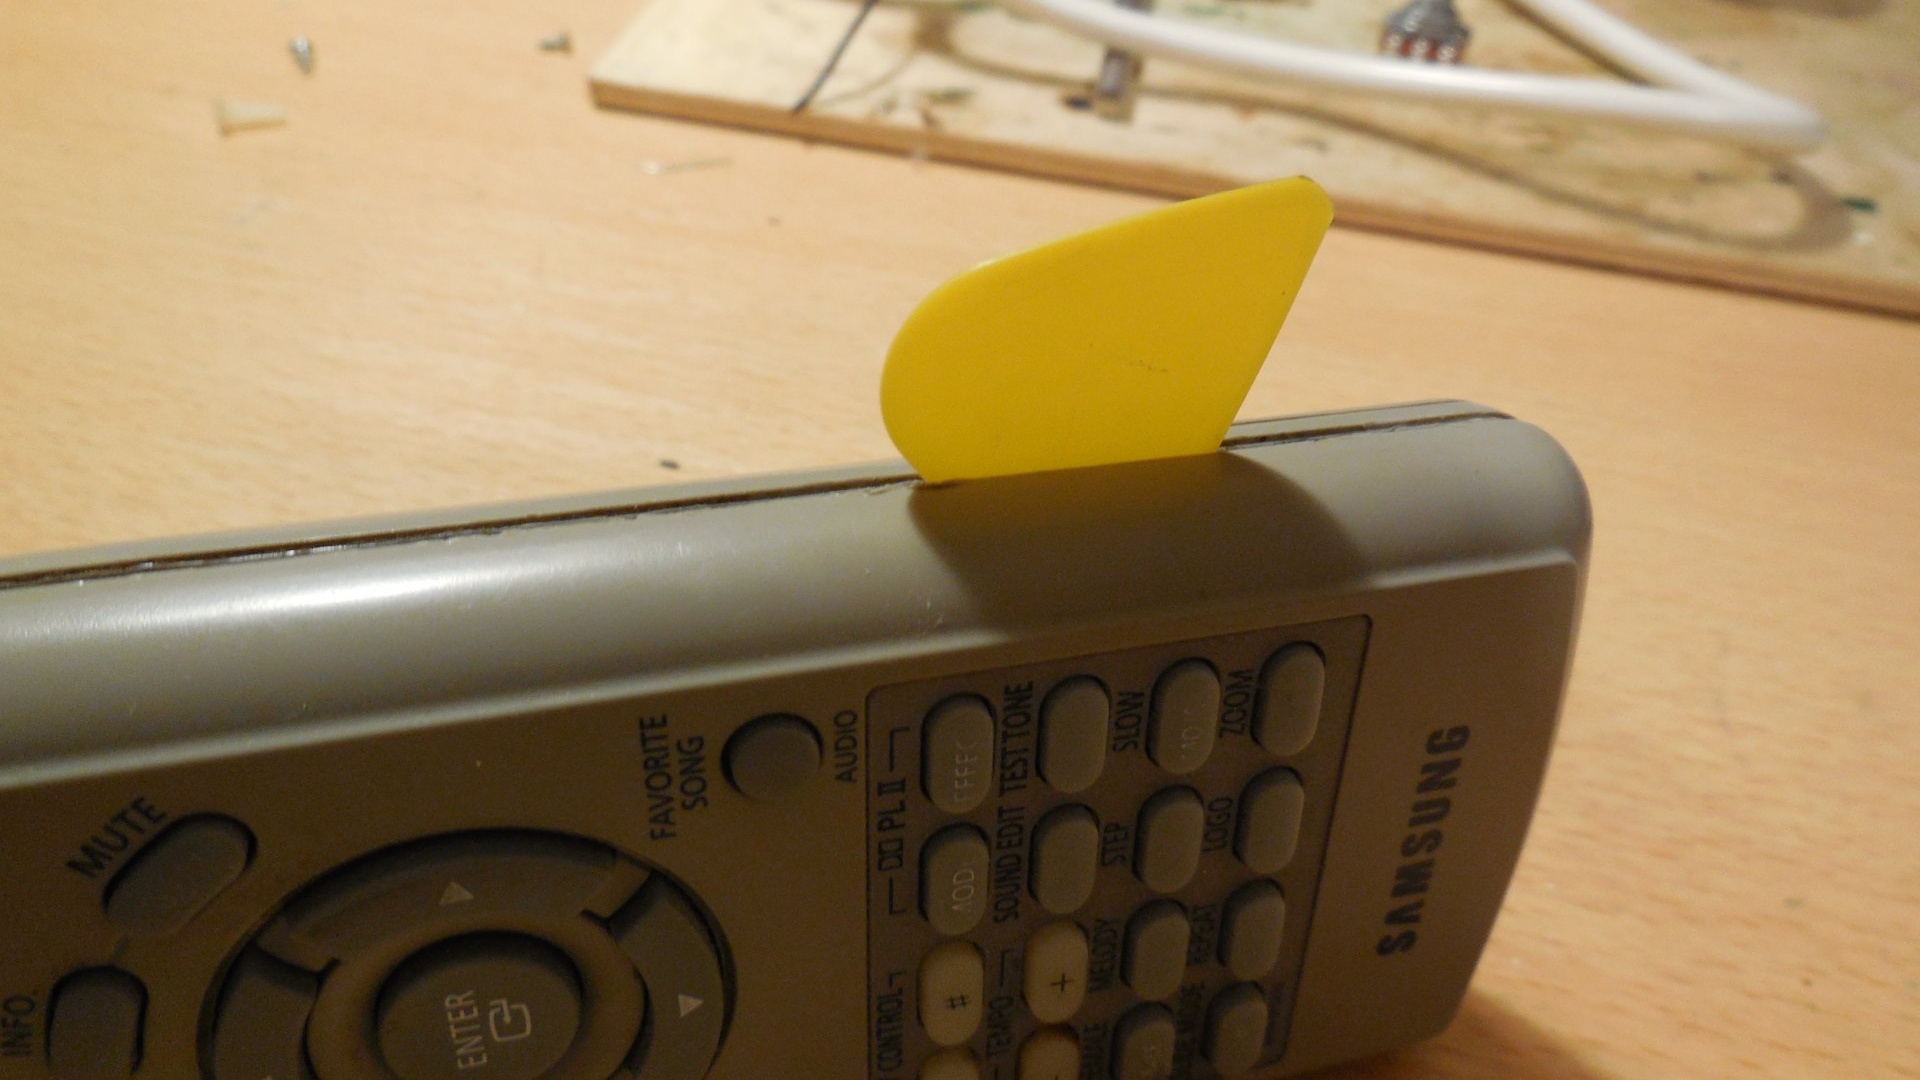
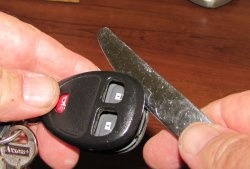
First of all, you need to open the remote control; most often, the two halves of the case are held on by latches. You need to find a place, for example, on the corner of the case, to insert a thin object into a small gap; it is very convenient to use a guitar pick for this. It is necessary to unfasten the latches along the entire perimeter without breaking them or damaging the edges.
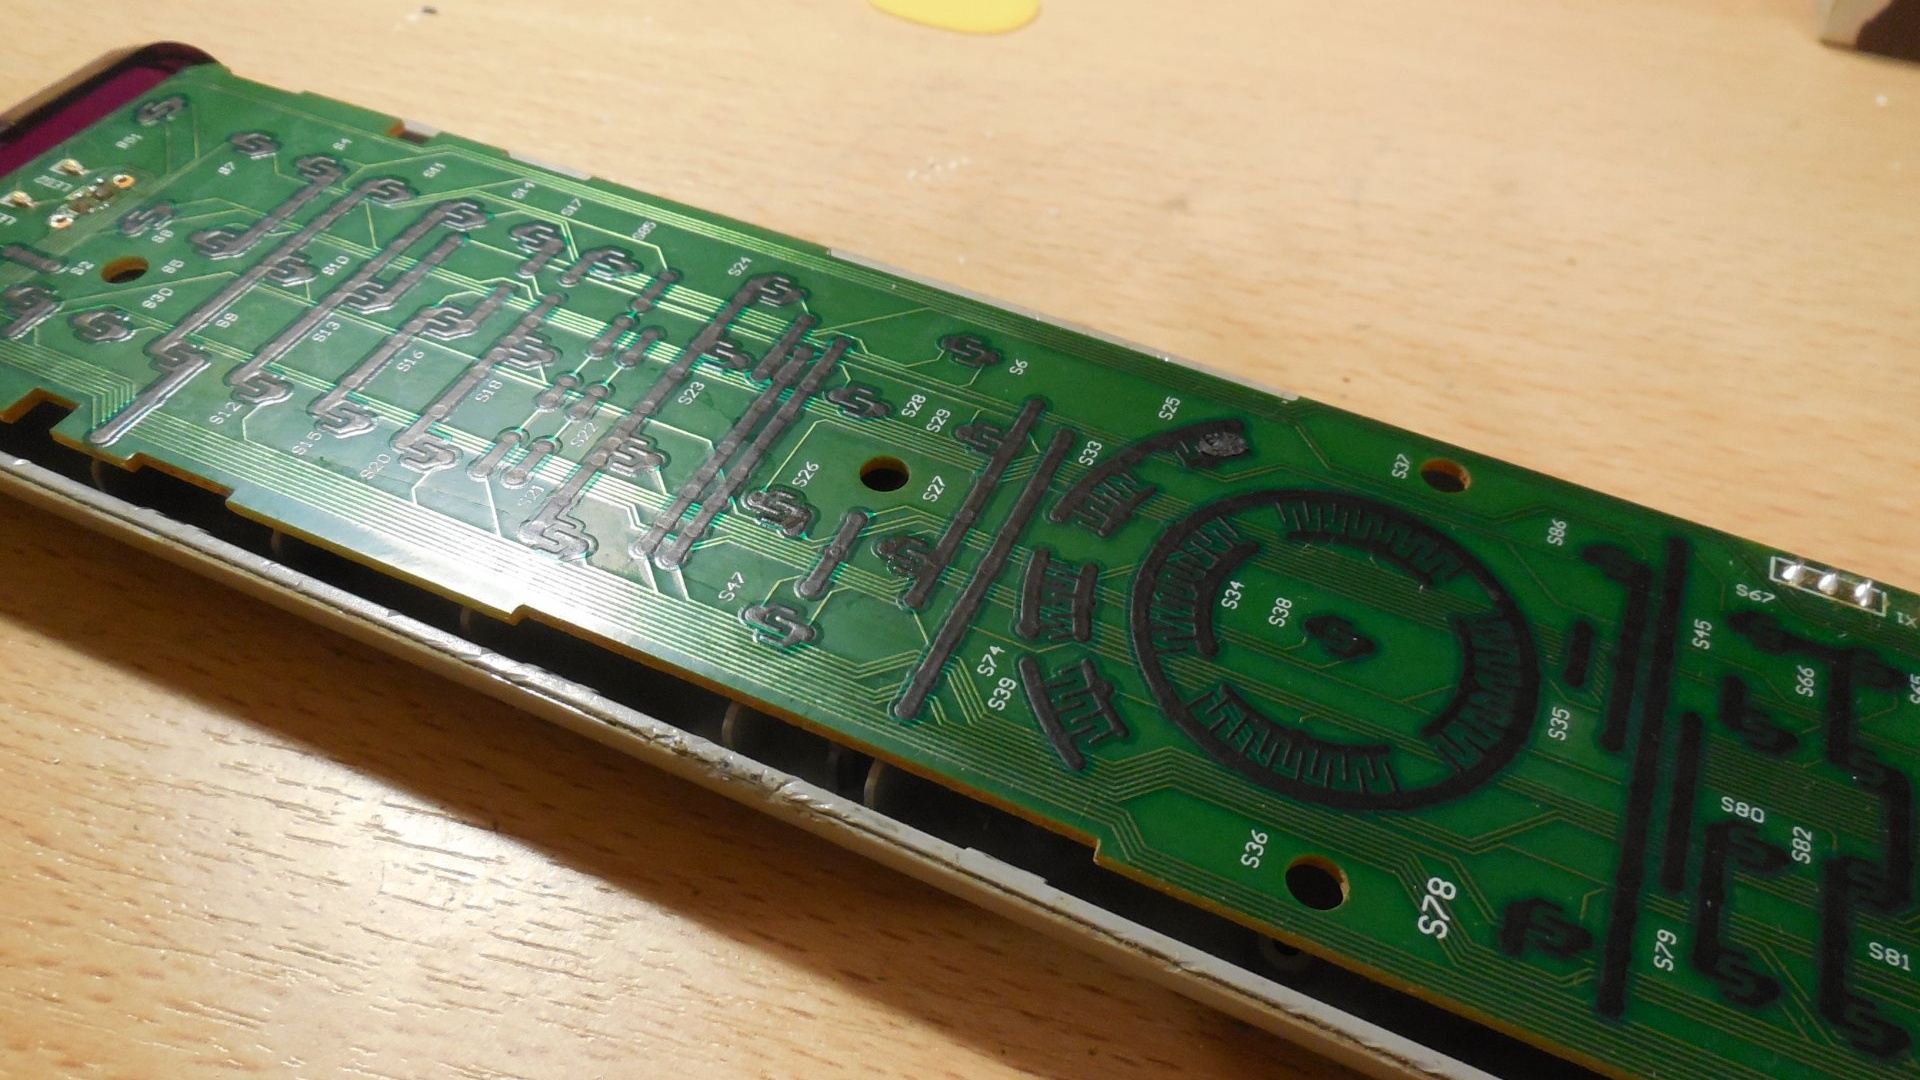
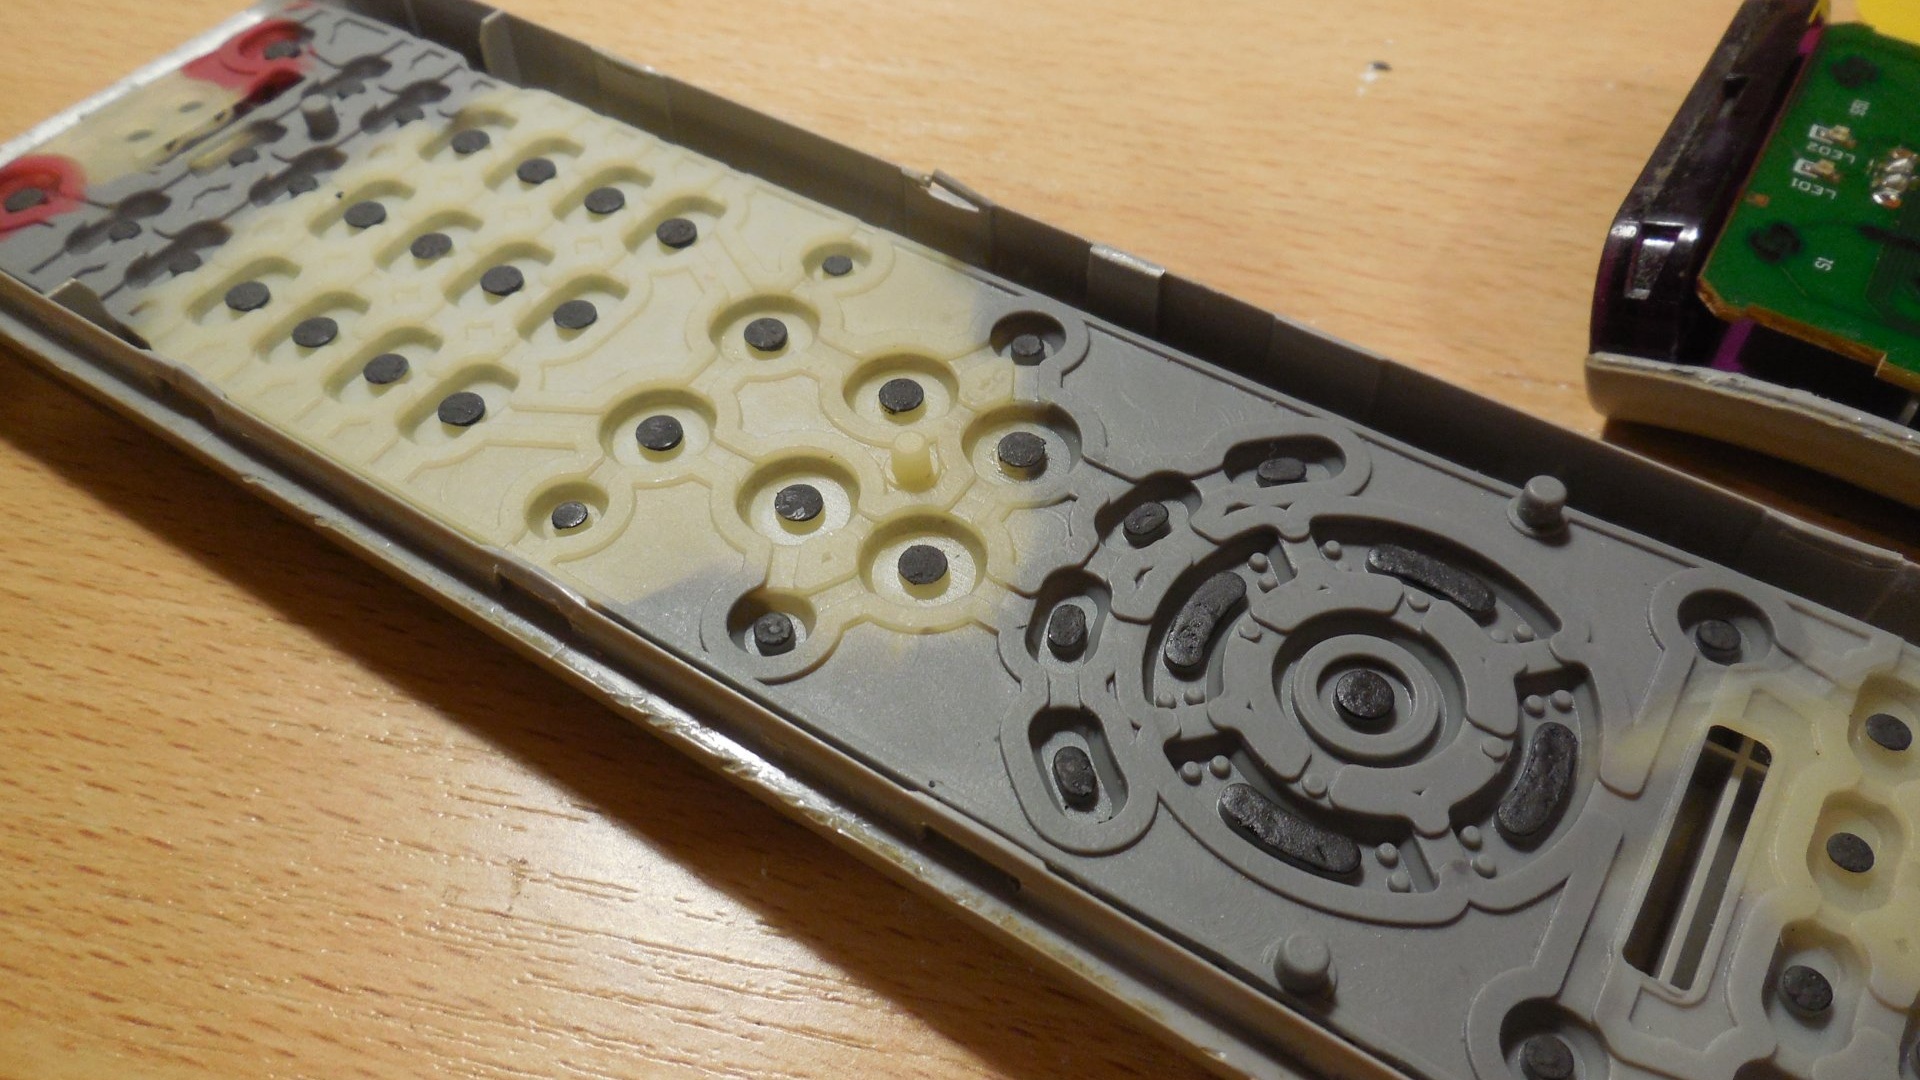
Now on one half of the case there is a board, and on the second there is the “keyboard” itself with current-conducting contacts; you can clearly see how certain spots on the board close when pressed. At this stage, you can wipe the surface of the board with an alcohol solution - sometimes the keys do not work well due to the fact that it is covered with dust or a coating of dirt.
Making conductive varnish
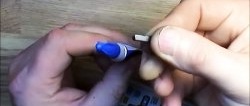
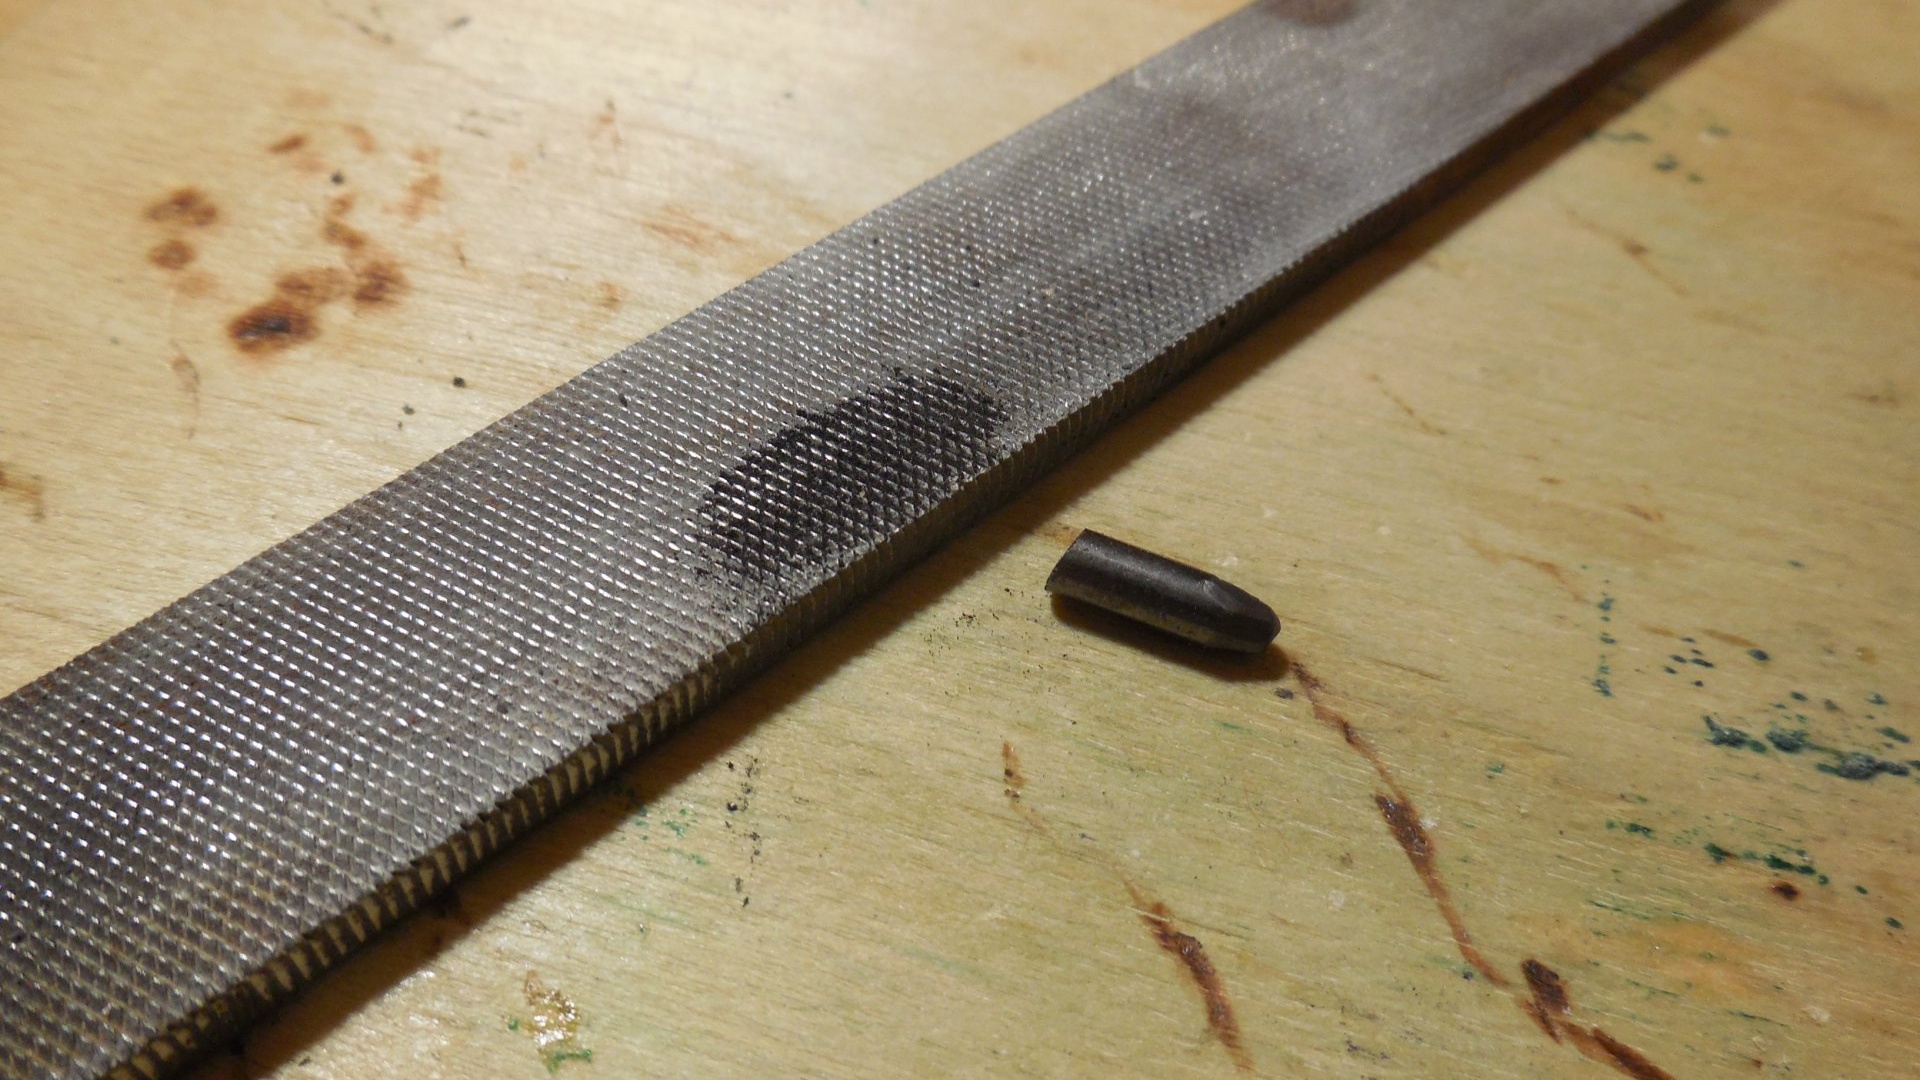
The idea is to apply a small amount of conductive varnish to the key contacts, which you can make yourself. The idea is very simple - you need to grind a small piece of pencil lead into powder, and then mix it with a drop of tsapon varnish. A regular file or any sharp object is suitable for grinding lead.

You only need a little bit of varnish, literally 1-2 drops; you can mix it with lead powder in a bottle cap. It is advisable to make the solution a thick and saturated powder so that it has good conductivity. By the way, instead of tsapon-varnish, you can use other varnishes that you find at hand.


Applying varnish
Now you need to apply a small amount of varnish to each contact in the remote control keys; it would be a good idea to go over each contact again.You can measure the resistance of homemade varnish using multimeter, applying probes. Multimeter may show a resistance that is not zero - in this case this is normal. Now all that remains is to wait until the varnish dries, assemble the remote control and check its operation.

Remote control tests
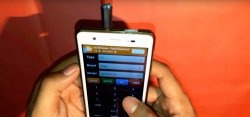
The video demonstrates the operation of the restored remote control, green Light-emitting diode indicates keystrokes. The remote control I restored in this way has been working for several days now, and therefore the method can be called quite reliable, and most importantly affordable.
Any remote controls on AliExpress at a discount - http://alii.pub/61plw7
Watch the video
Another option for repairing remote control buttons is https://enn.washerhouse.com/1396-remont-pulta-distancionnogo-upravleniya.html