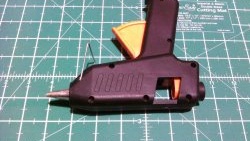
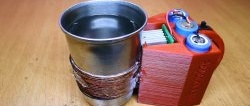
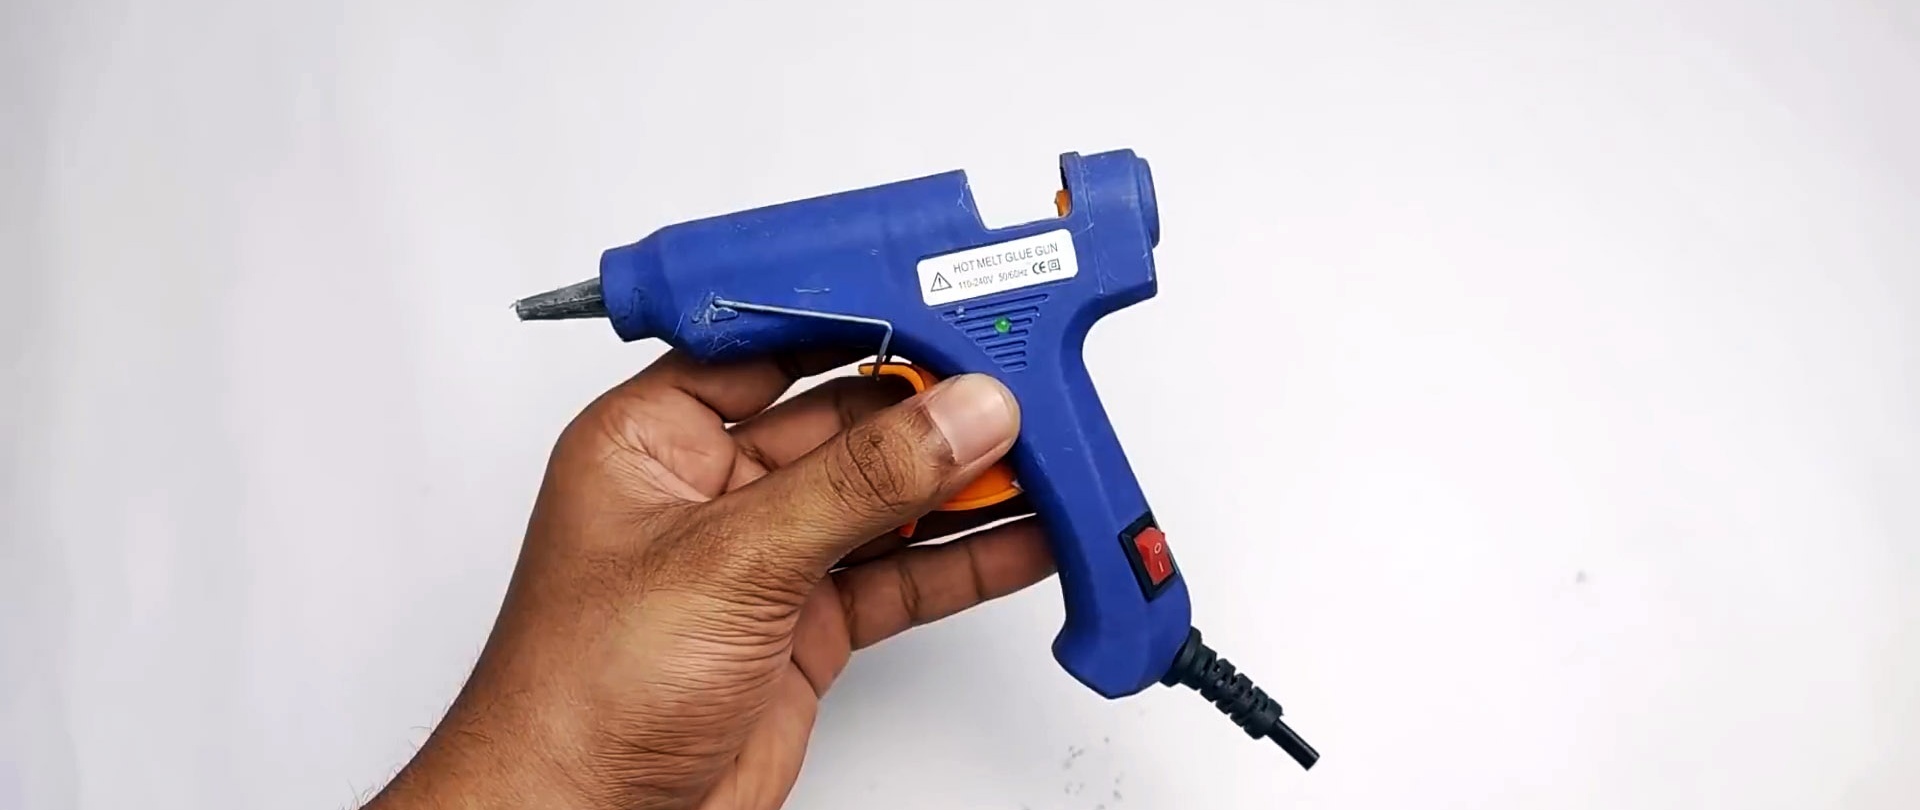
A glue gun is used to quickly glue various materials. The hot-melt adhesive hardens literally before our eyes, and at the same time gives a fairly strong connection. The only problem is that the device operates from the network. If you periodically need to use a heat gun in places where there is no outlet, then you can convert the device to 12V.

What you will need:
- A broken mains heat gun will also work;
- heating element for soldering iron - http://alii.pub/5nsc3l
- lithium batteries 18650 – 3 pcs. - http://alii.pub/5becfz
- BMS module 12 V, 10 A -
- PVC pipe 50 mm;
- resistor 1 kOhm - http://alii.pub/5h6ouv
- connector and power plug.
The process of remaking a heat gun
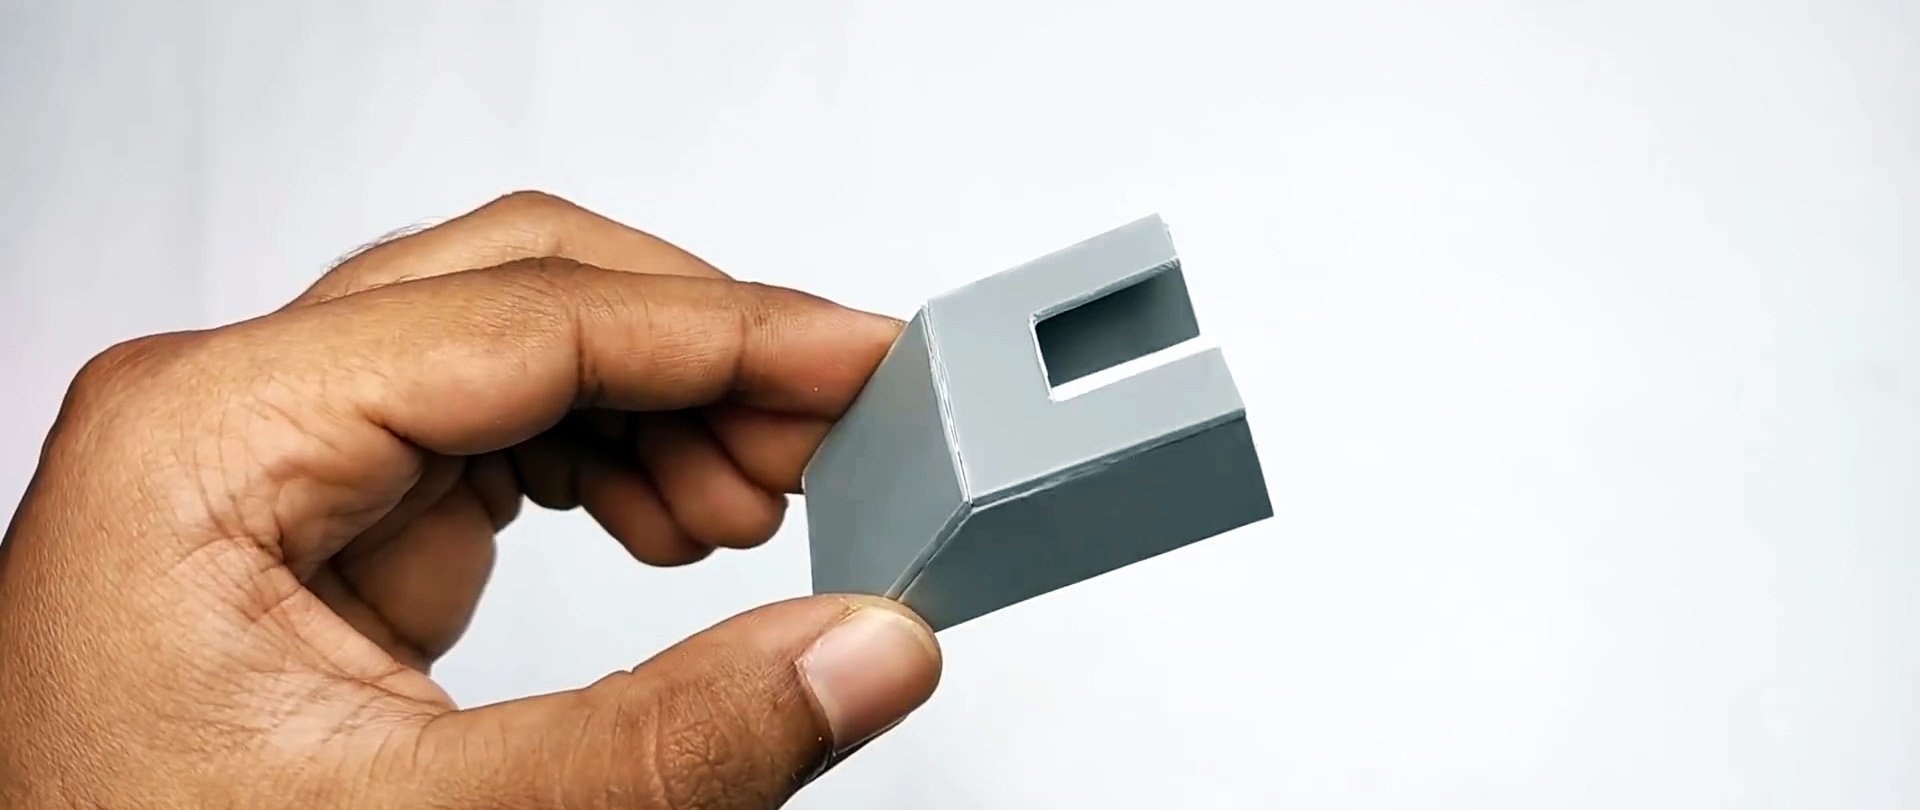
It is necessary to disassemble the body of the glue gun. The thermal chamber is removed from it.

Next, you should remove the standard heating element from it. Instead, you need to install a homemade, low-voltage one.
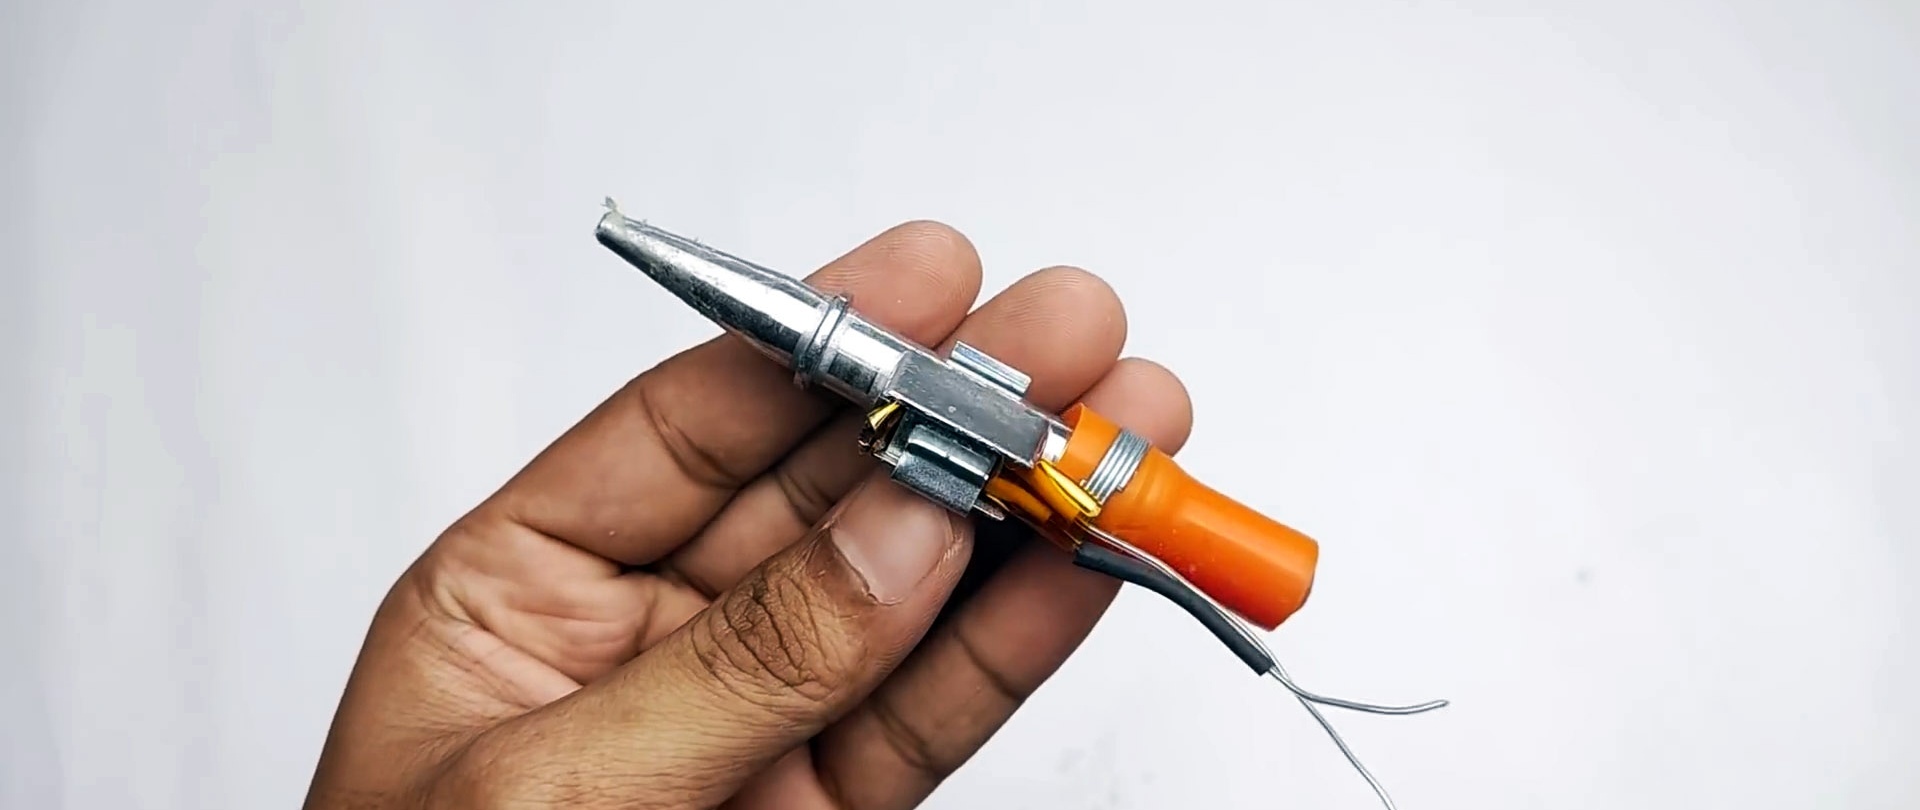
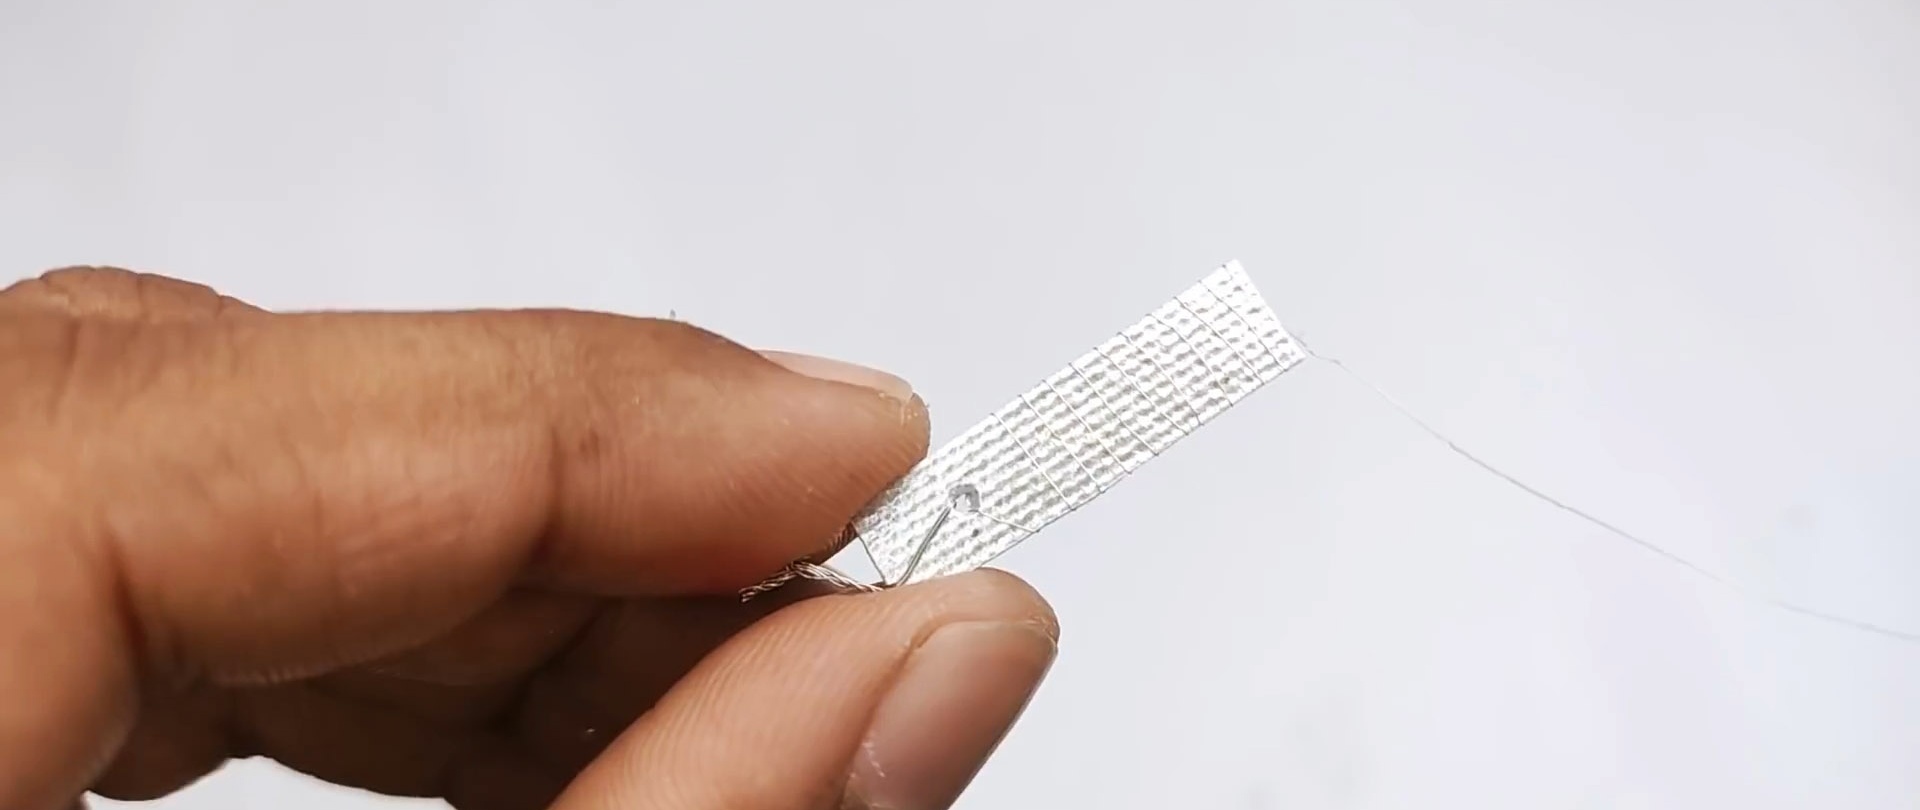
To do this, take a flat heating element for a soldering iron. It should be unwound and the spiral loosened.
The released core is trimmed to fit the width of the removed heater.

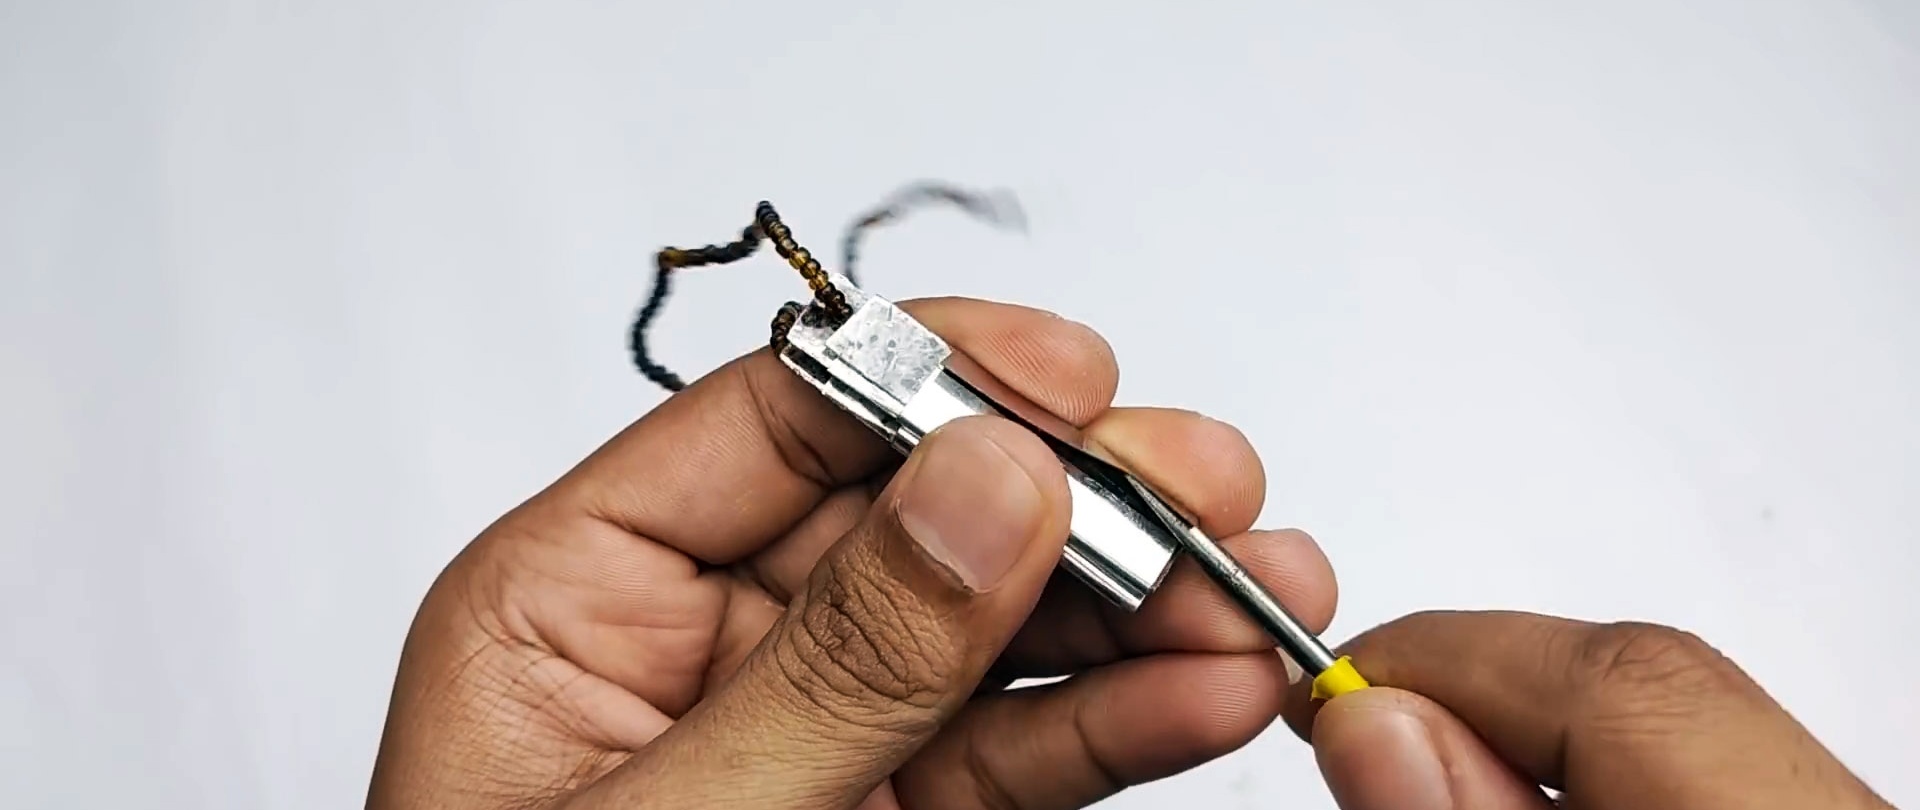
Then a 9 cm spiral is wound onto it, no more. The excess wire is shortened and the element is put back together.

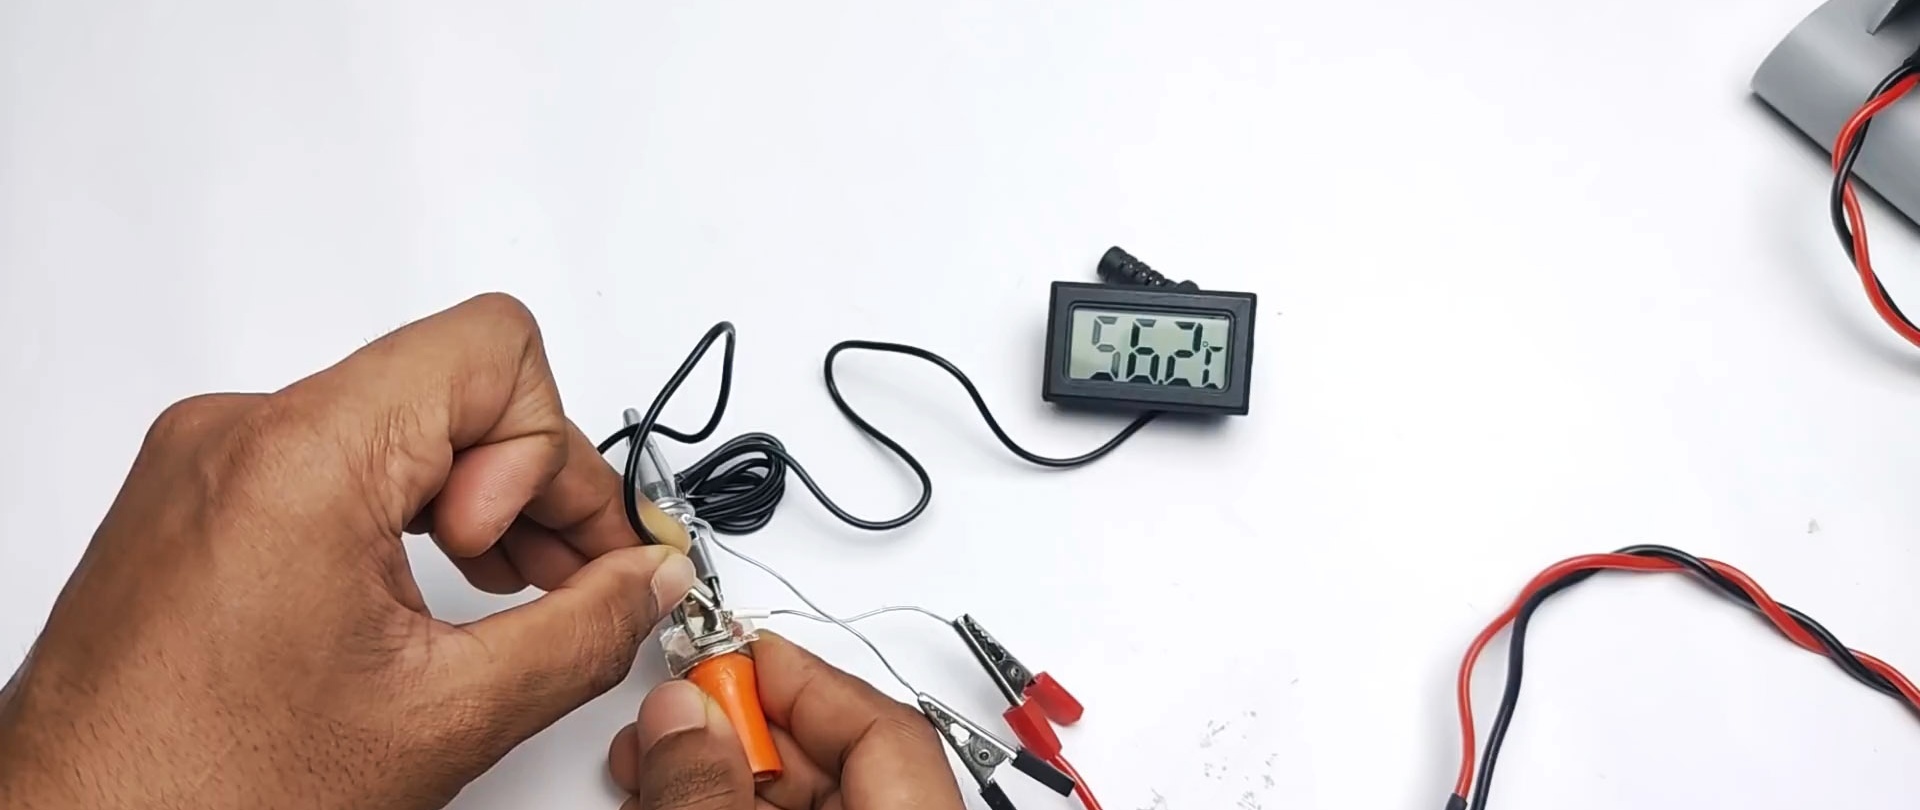
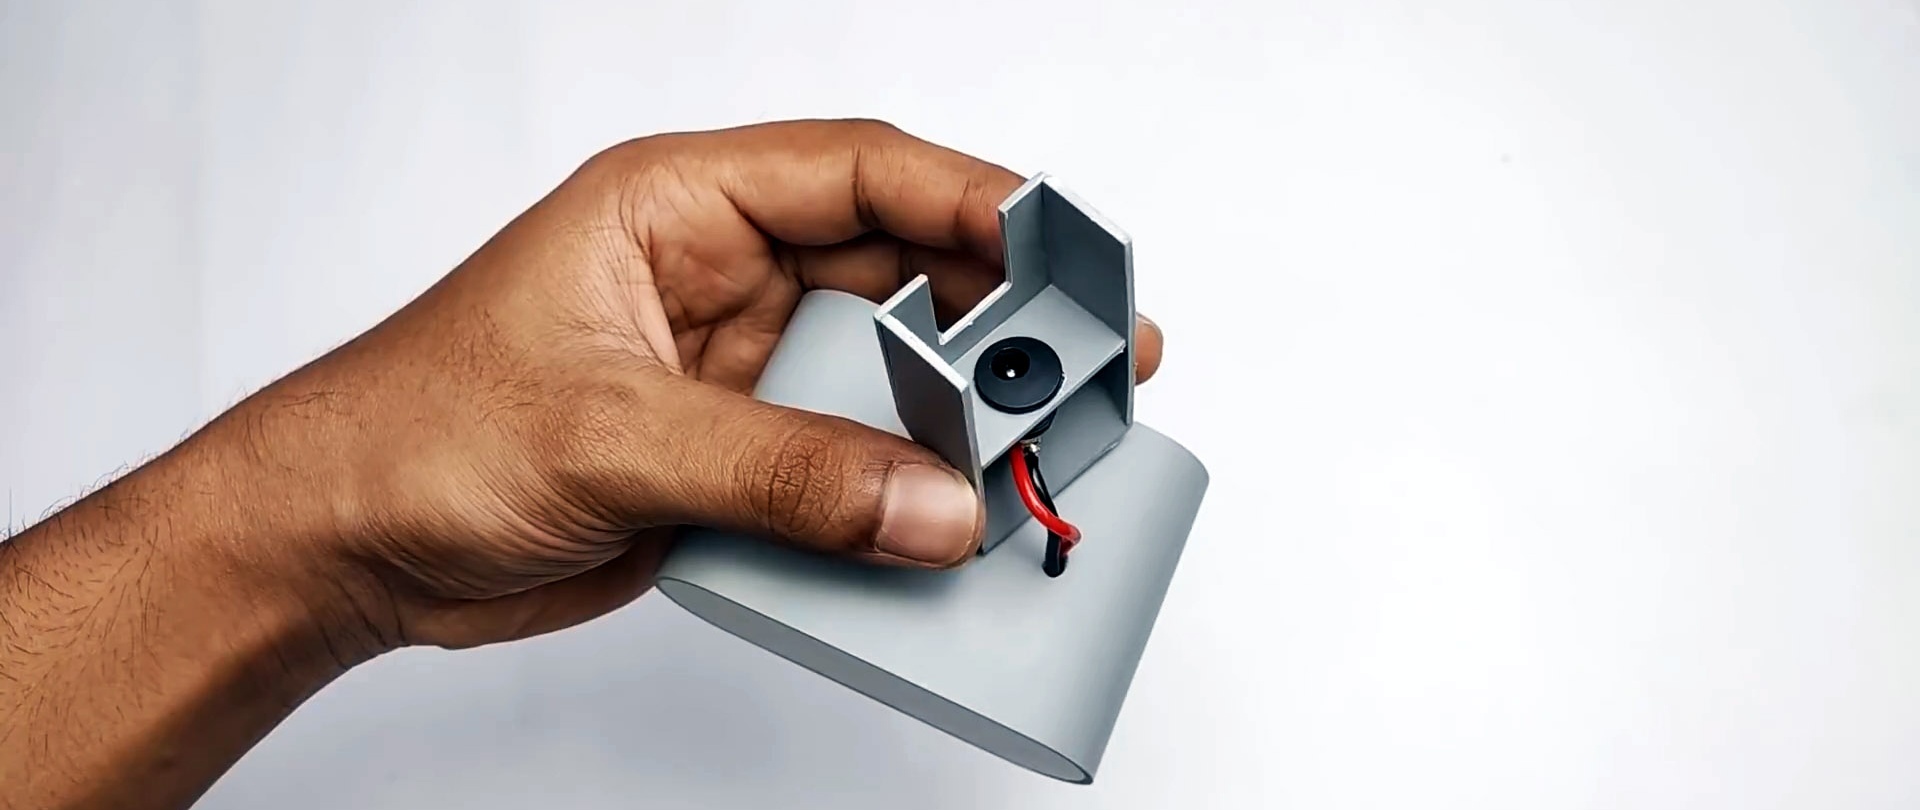
The new modified heater is installed on the camera and secured with a standard bracket. You should immediately connect it to the 12V coil to make sure everything works as it should.
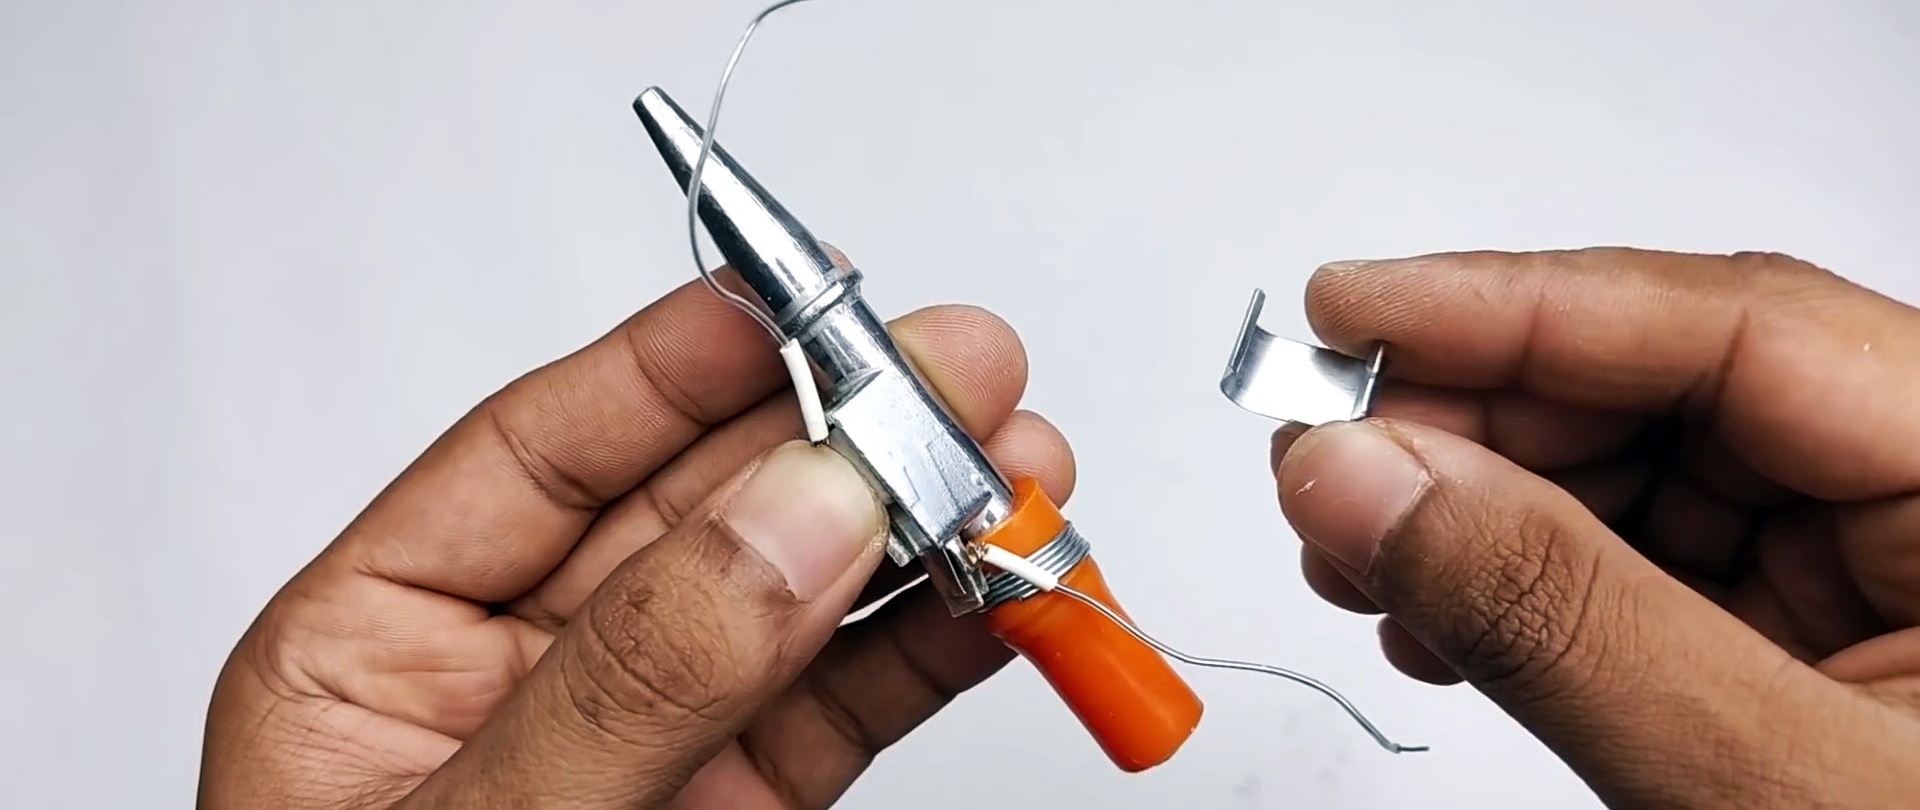
The plastic body of the gun snaps into place. After this, you need to cut off the edge of the handle to further connect the battery.

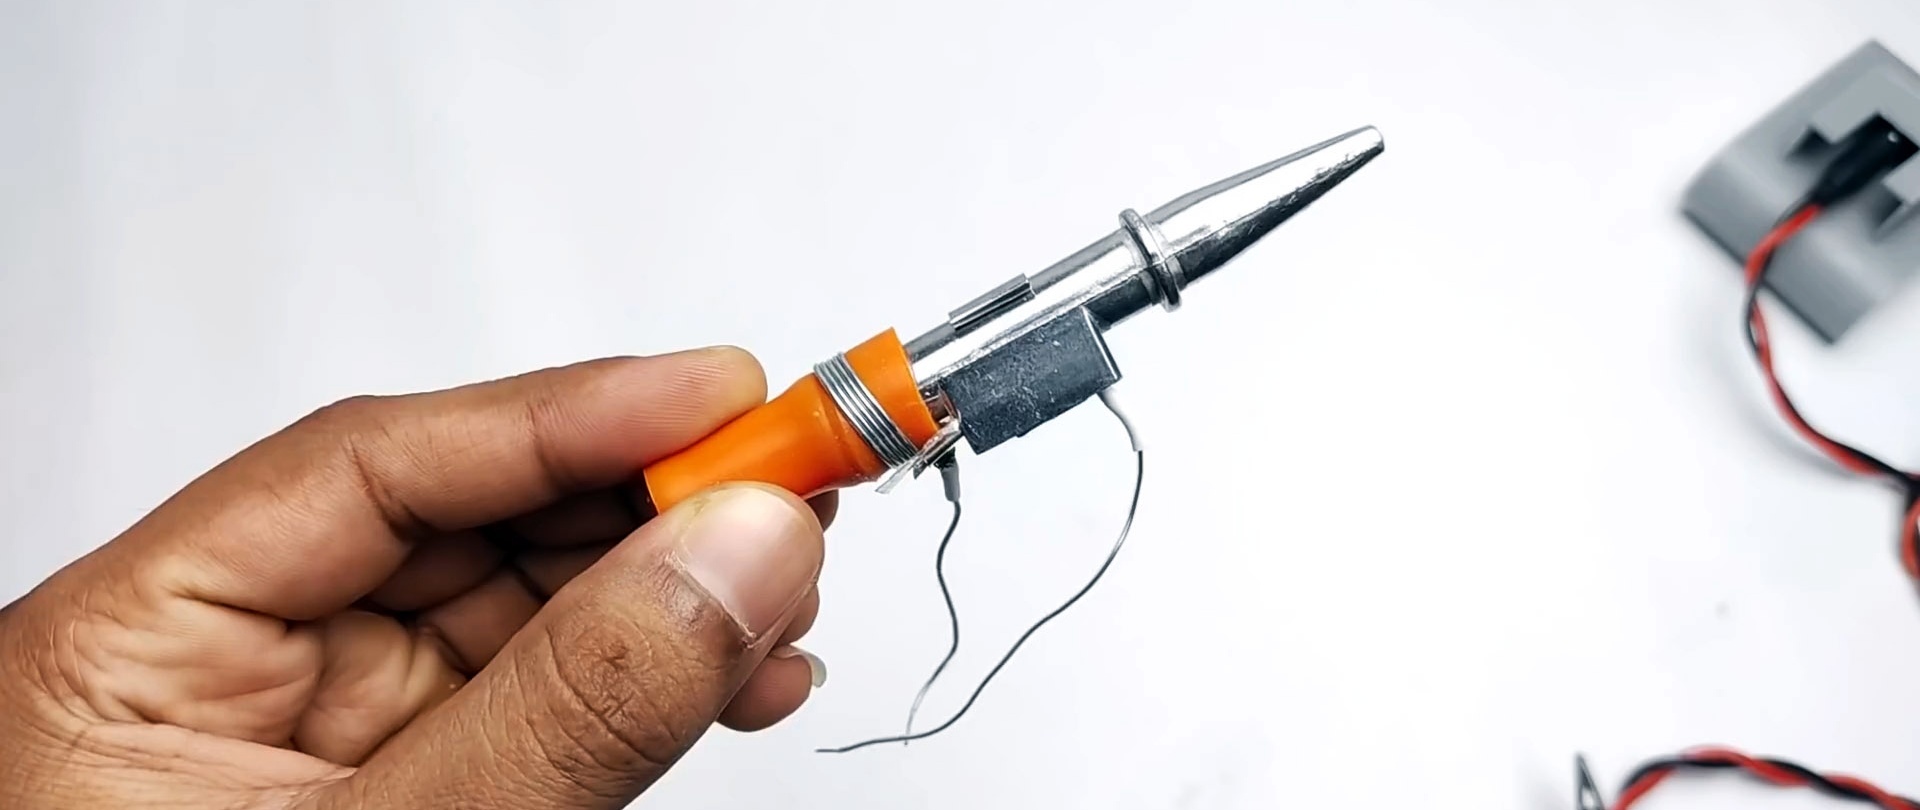
After this, the heating chamber is placed back into the housing. A 1 kOhm resistor must be soldered to the standard LED indicator.

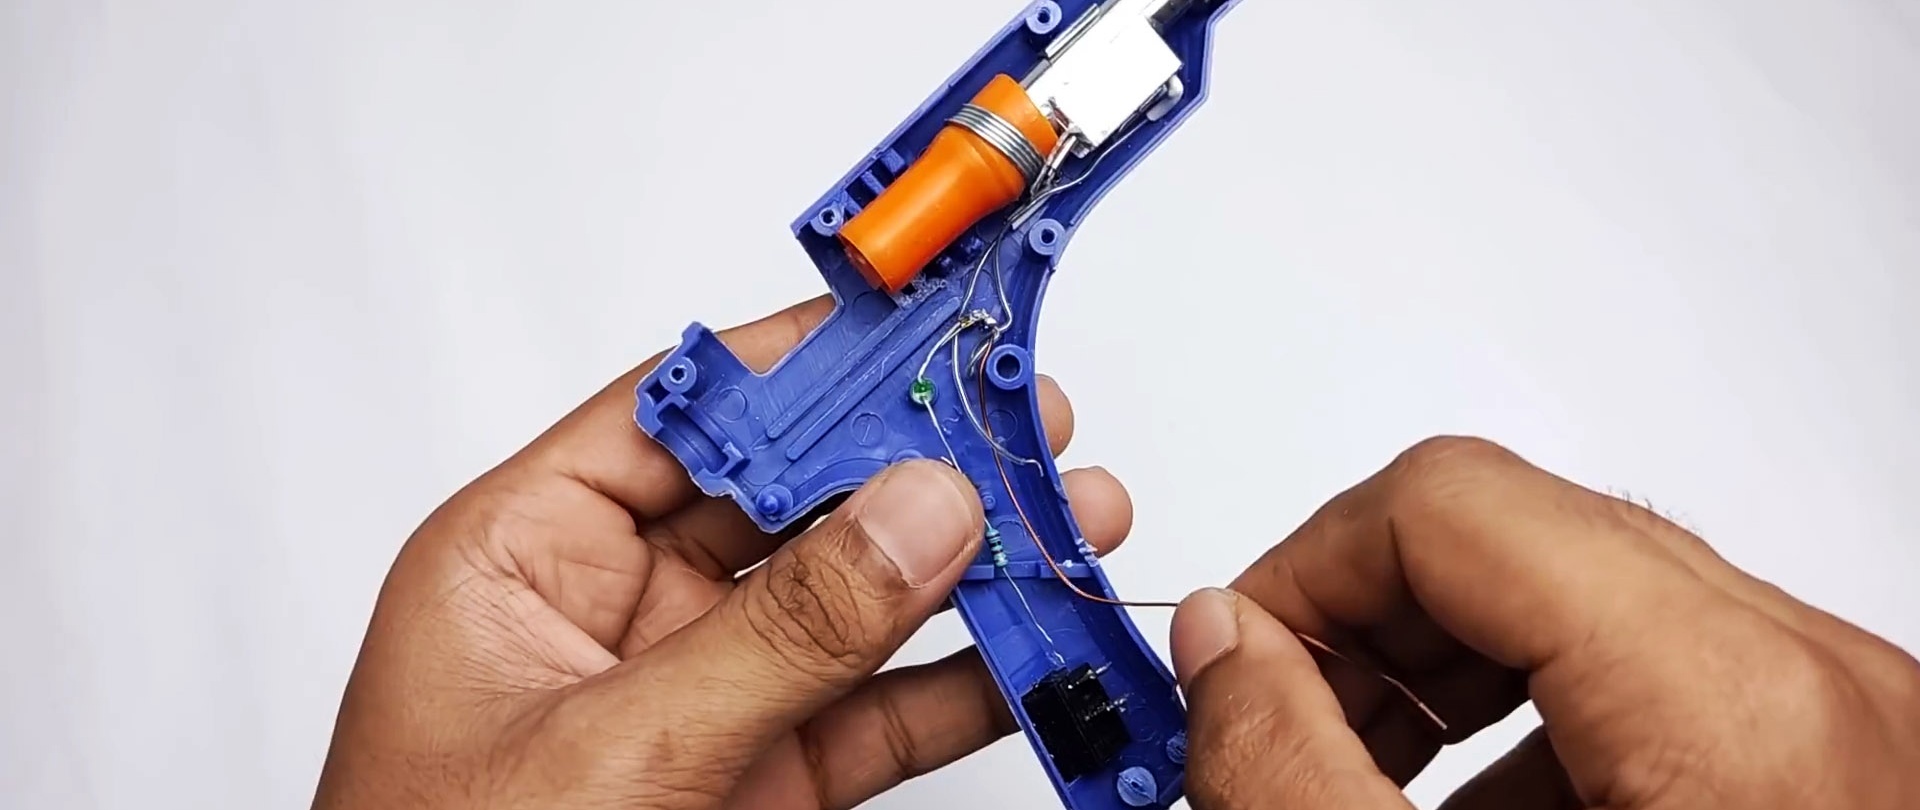
Since the standard heater wires are short, they need to be extended. One wire is laid to the switch, the second is routed down the handle. An indicator with a resistor will need to be soldered between the switch contact and the second straight wire.
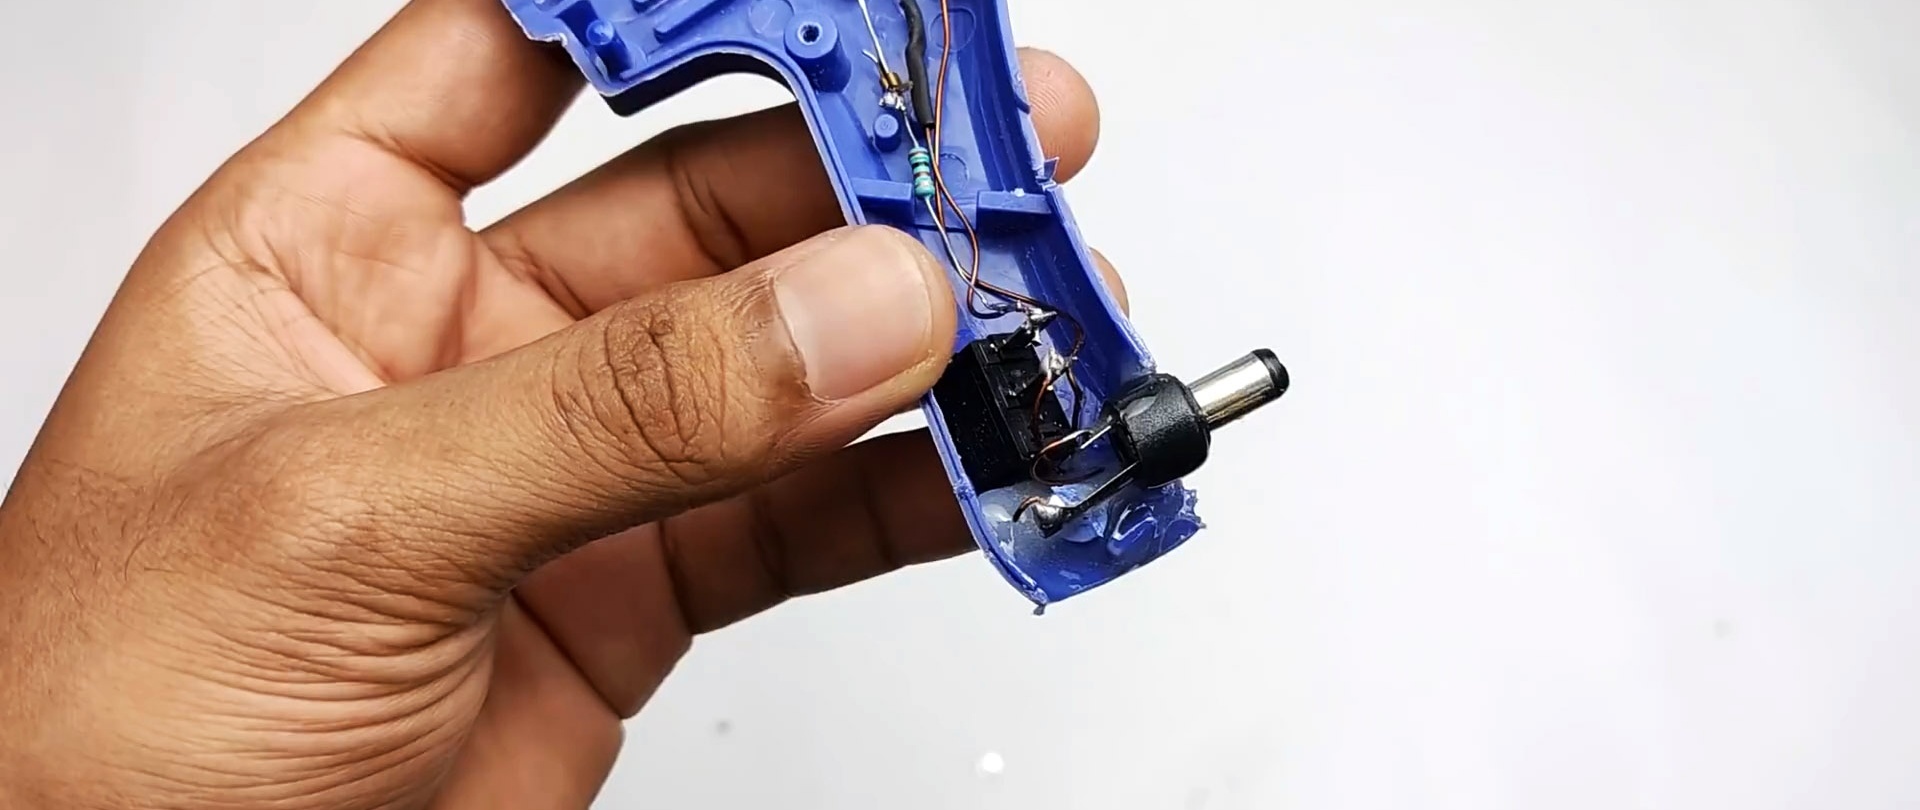
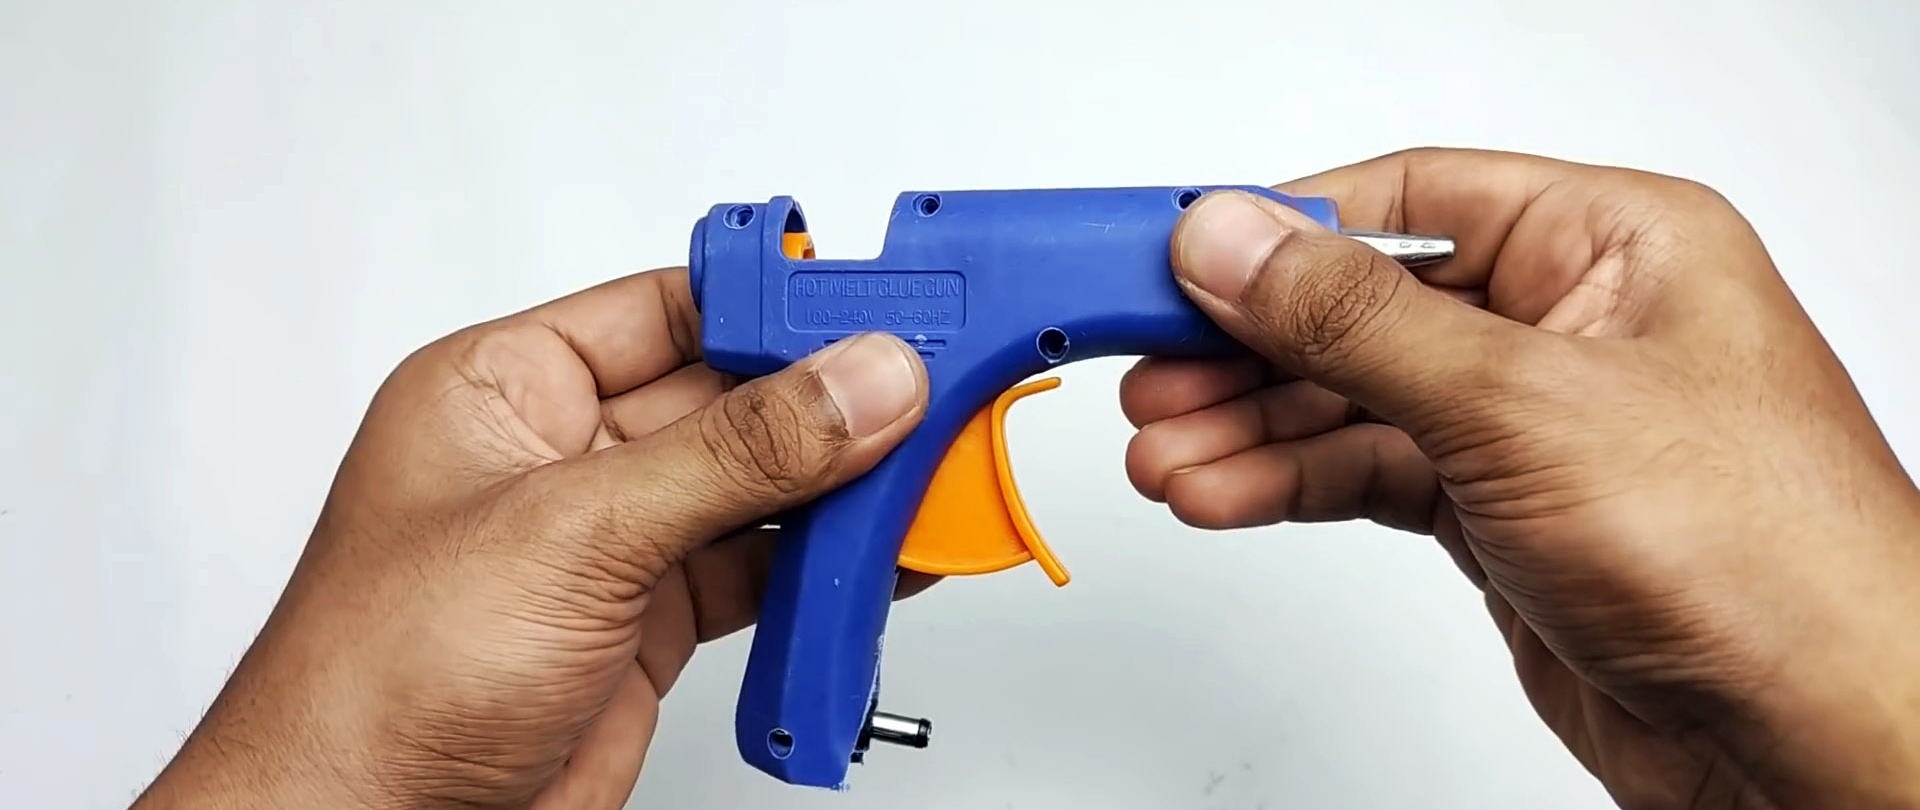
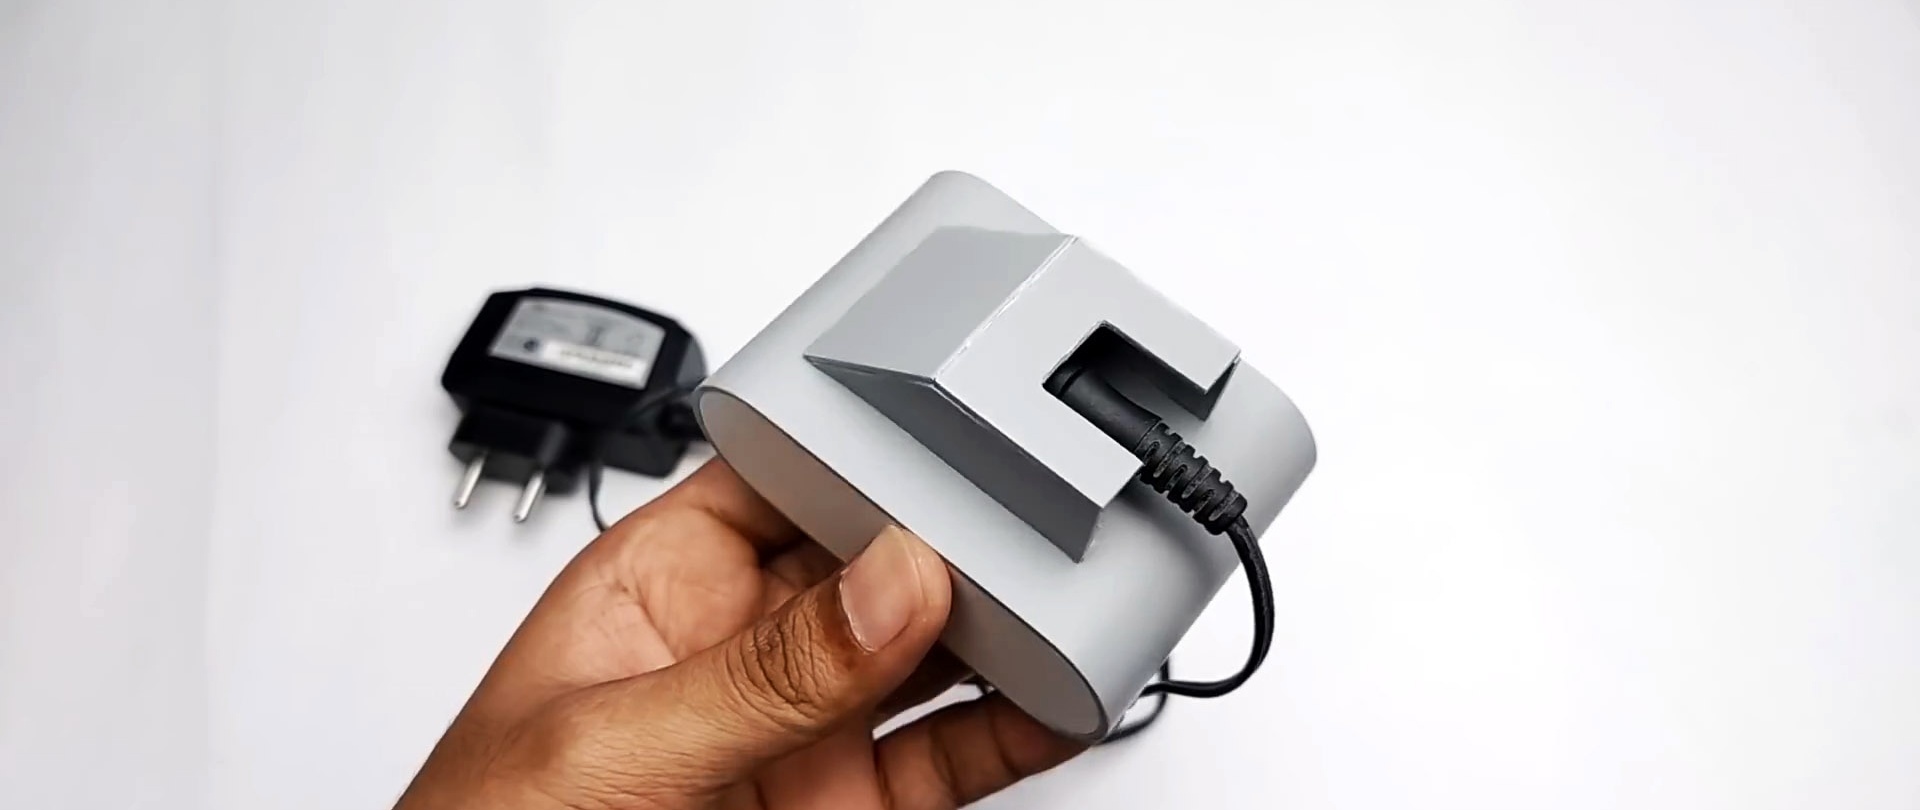
The wires need to be soldered to the power plug, and the latter must be glued at the bottom of the handle so that it comes forward. Epoxy glue is used for this. Afterwards the gun is assembled.
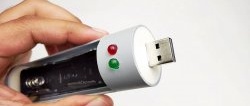
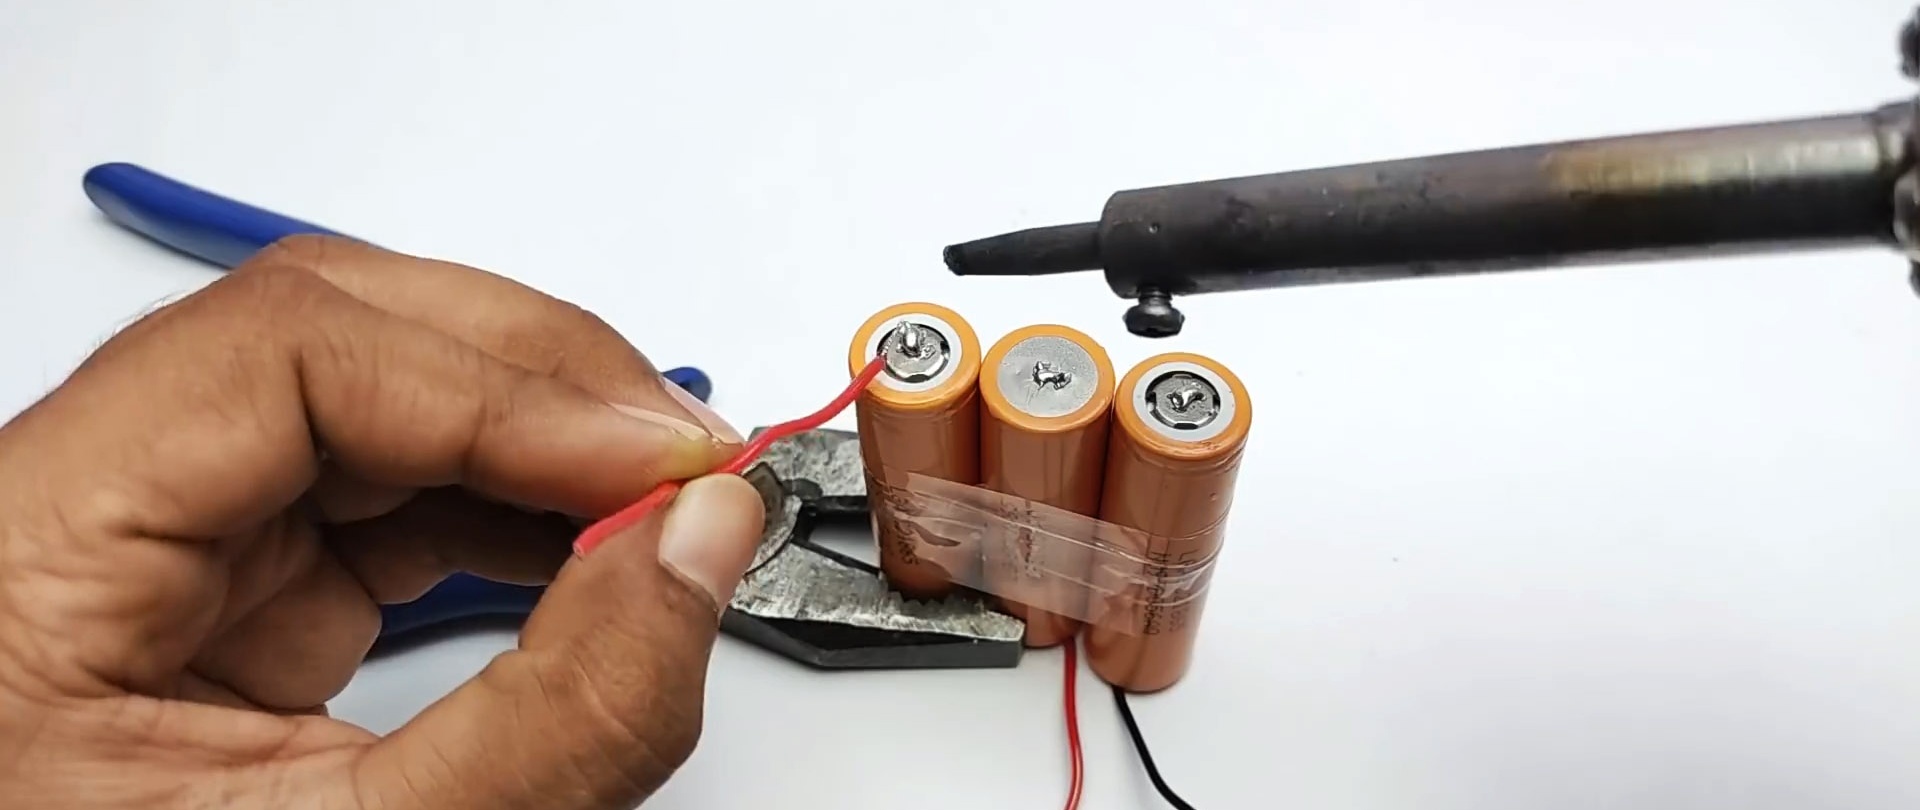
Next up is the removable battery for the glue gun. To do this, we connect 3 18650 batteries in series to get 12V. The return block is soldered to the BMS 12V, 10 A module. You immediately need to solder the wires to connect the connector.

Now you need to make the battery case. To do this, a section of plastic pipe is heated and stretched until the plastic hardens. As a result, a module with a battery is placed in the resulting elongated case; you can read more here - https://enn.washerhouse.com/7988-kak-sdelat-karmannyj-generator-dlja-zarjadki-telefona-kotoryj-vsegda-gotov-k-rabote.html
The power wires must be routed through the hole.

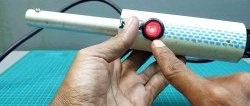
A connector glued into a plastic plate is soldered to the wires. After this, you need to glue the mount, with which you can fix the connector.As a result, the battery should easily snap onto the plug at the bottom of the pistol grip.
Thus, we get a compact battery that can be charged with a regular 12V unit, like a mobile phone. The BMS module will control the charge, so there is no need to look after the battery. After charging, it is installed on the gun.

A hot glue gun of this configuration is capable of melting rods within 20 seconds from the moment it is turned on.

When using new batteries to assemble the battery, its battery life on a single charge is about 1 hour.

Watch the video
How to convert a cordless screwdriver into a corded one without any extra effort - https://enn.washerhouse.com/7946-kak-peredelat-akkumuljatornyj-shurupovert-v-setevoj-bez-lishnih-usilij.html