The respirator provides reliable protection of the respiratory system from the penetration of pathogens, dust and pollen that cause allergies. At first glance, this is a complex device that you can only buy. In fact, it is easy to make it yourself from scrap materials.
What you will need:
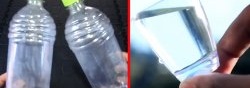
- 3 liter bottle;
- 1 l bottles – 2 pcs.;
- paper napkins;
- tulle;
- linen elastic;
- surgical gloves;
- M3x10mm screws – 6 pcs.;
- M3 nuts – 12 pcs.;
- bottle caps – 2 small, 3 medium, 1 large;
- polyethylene foam;
- double sided tape;
- steel strip 8 mm wide.
Respirator manufacturing process
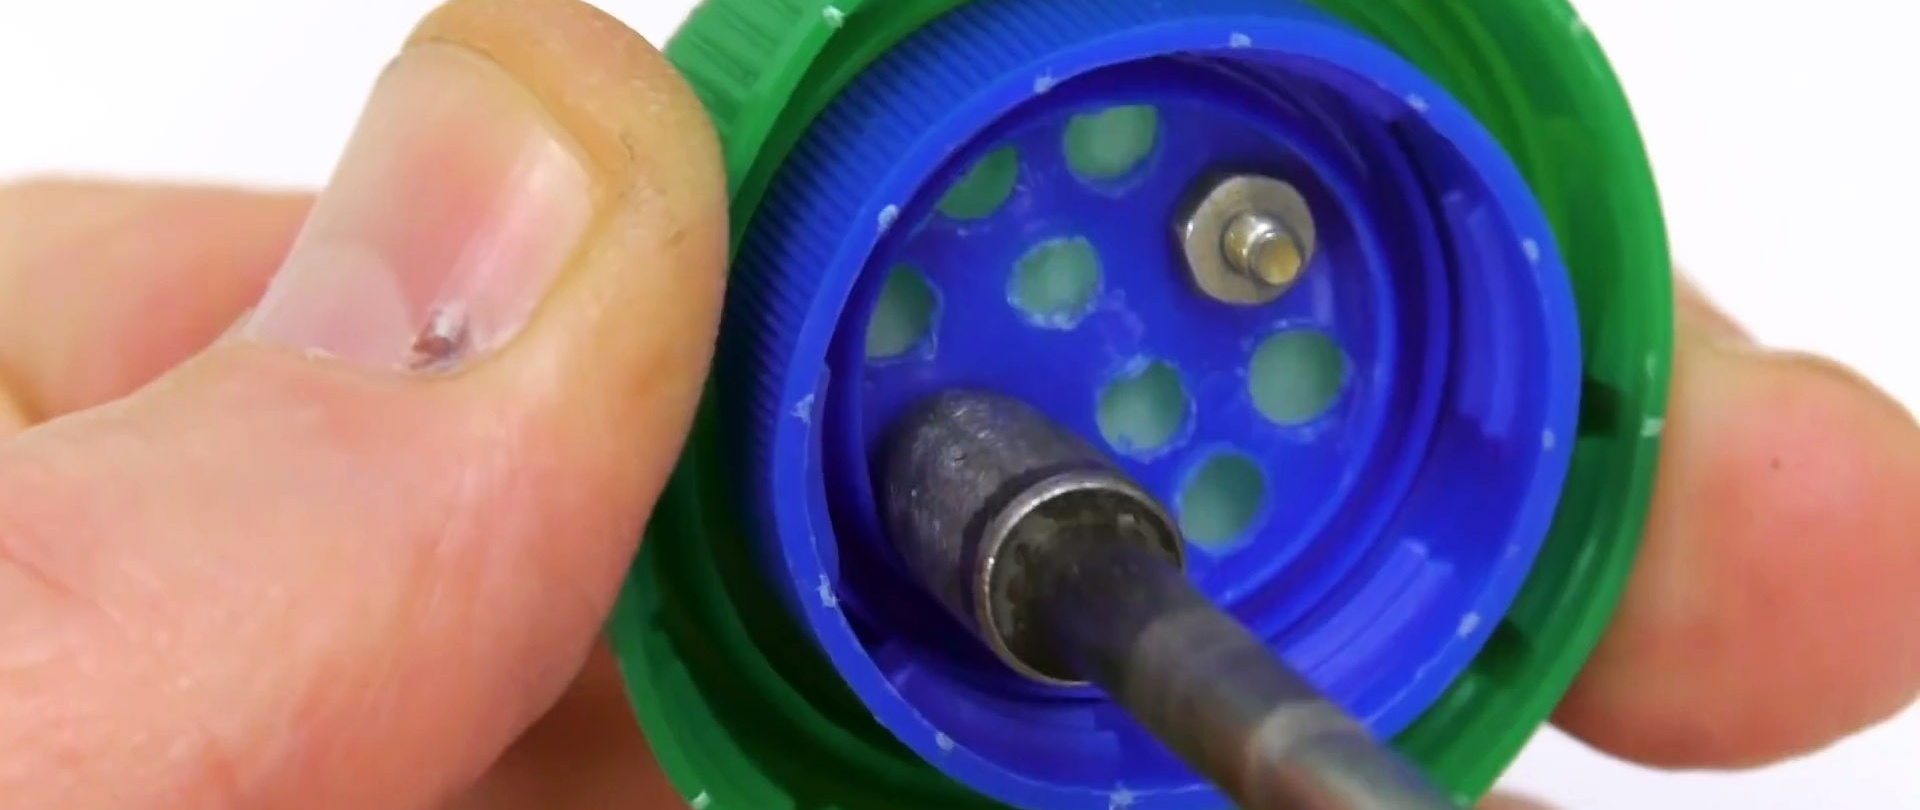
The first step is to assemble 3 valves. To do this, air holes are visible in two caps from ordinary PET bottles. The same is done with a medium-diameter cap, such as is used on milk or iced tea bottles.
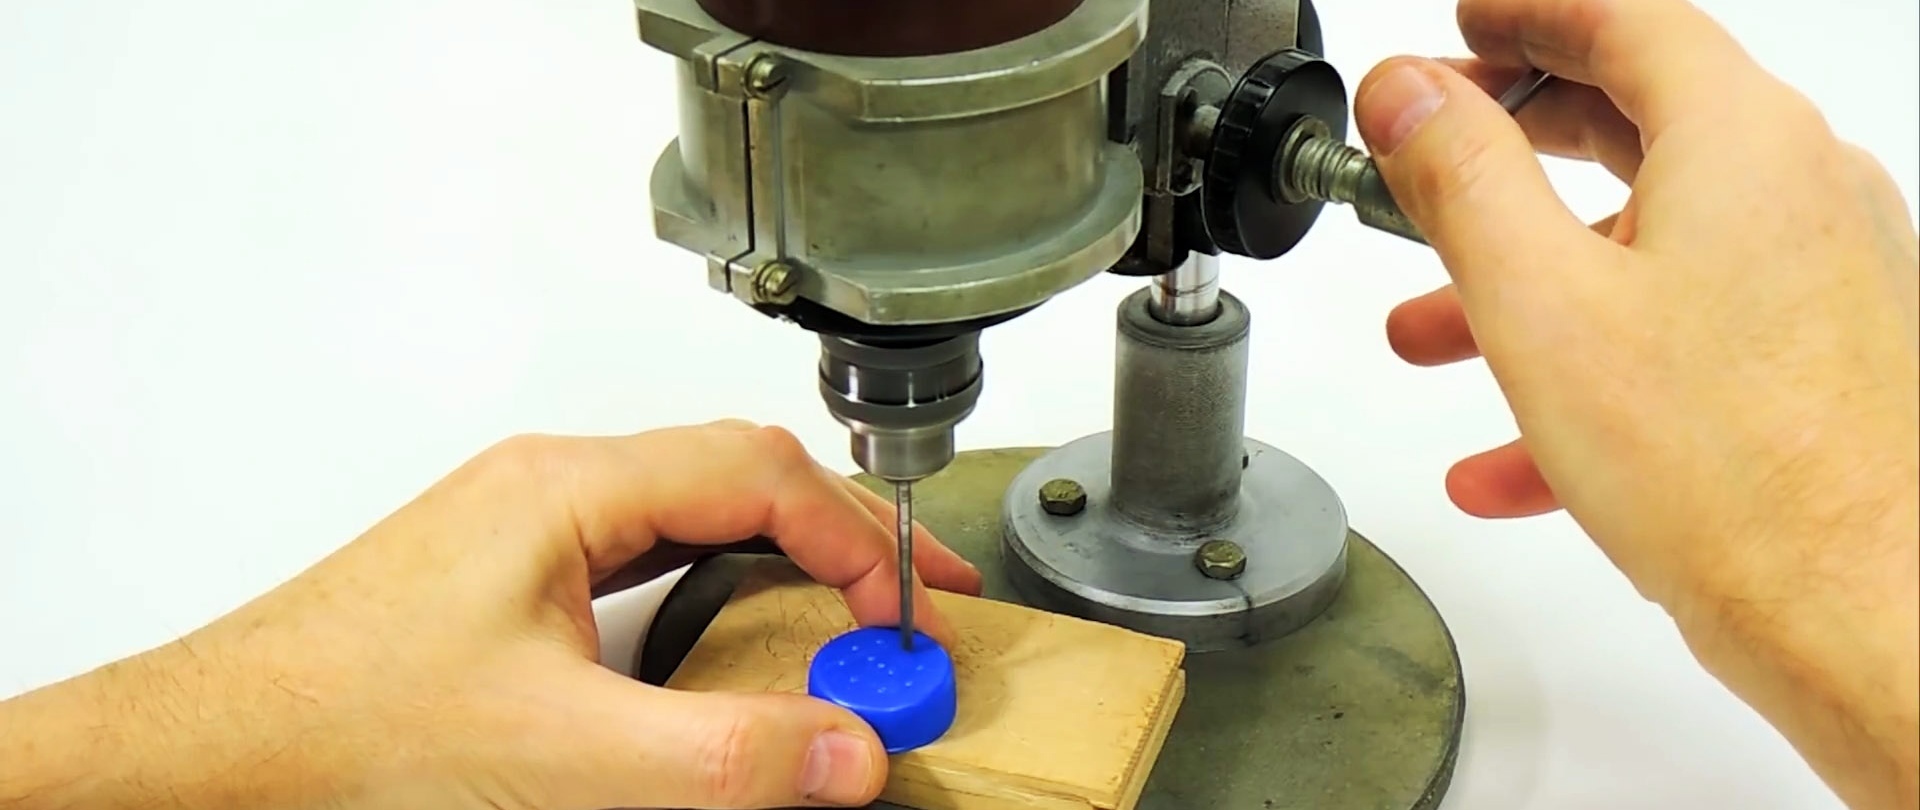
Then the small drilled caps are applied to the medium ones. You need to mark the last 2 screw holes. The same is done with a medium perforated lid and a large one from the bottle.
3 valves are cut out of a medical glove according to the size of the perforated lids. They have 2 holes for screws.

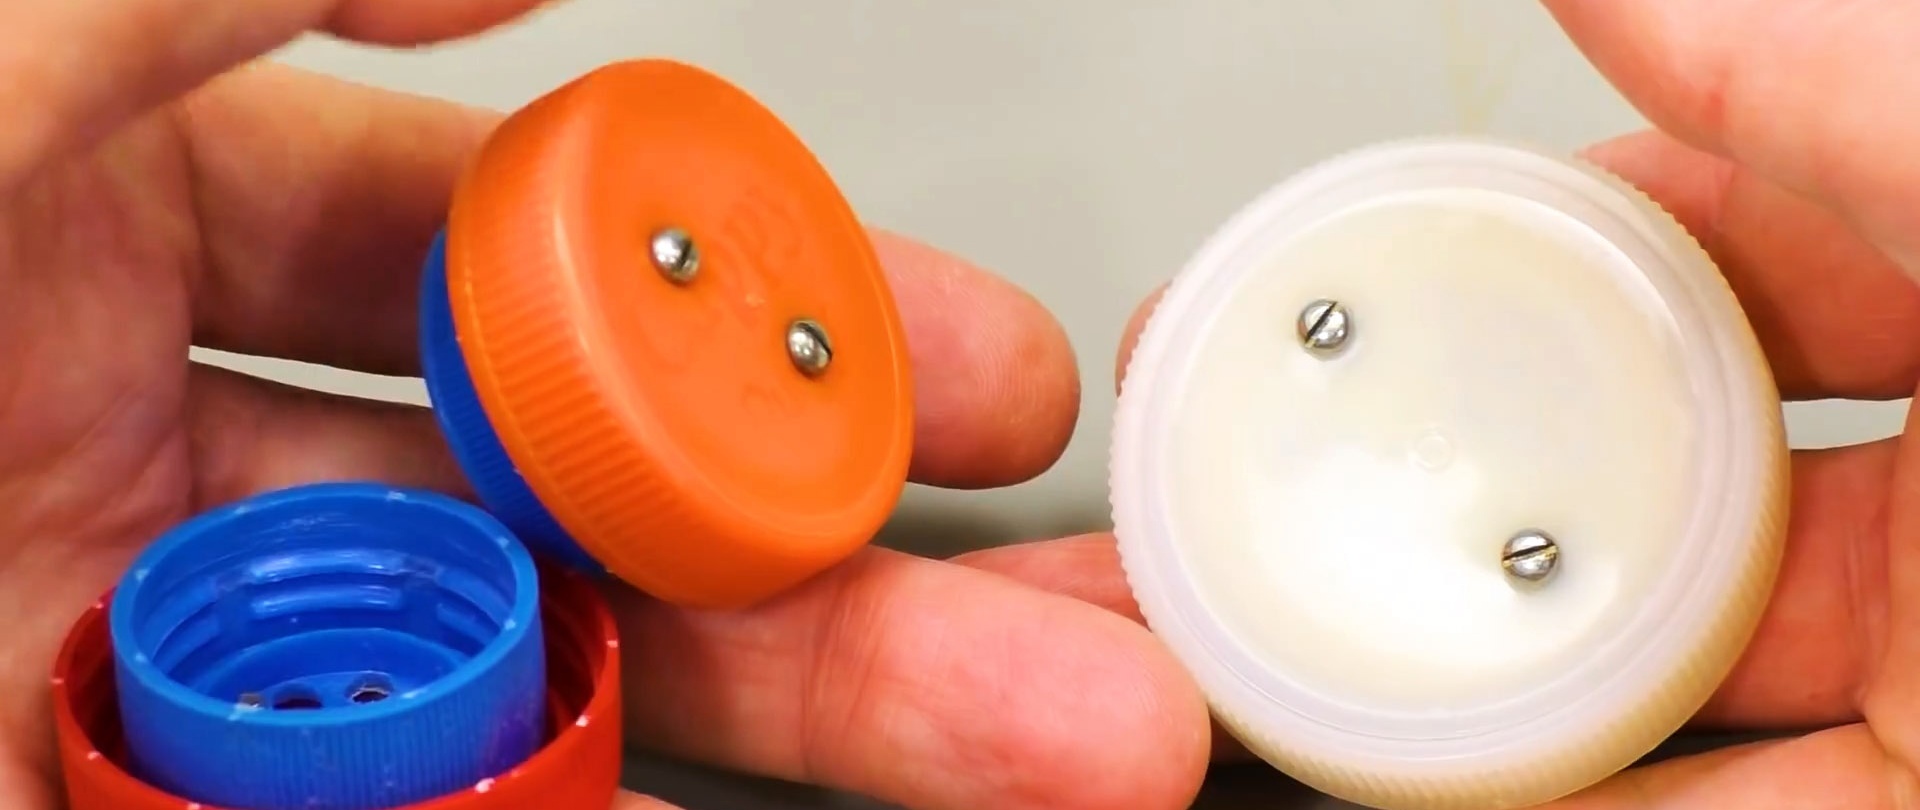
Now screws are inserted into the large covers and tightened with nuts. The valves and smaller perforated caps are then put on. After this they are tightened with nuts.

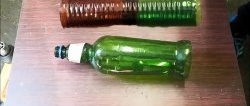
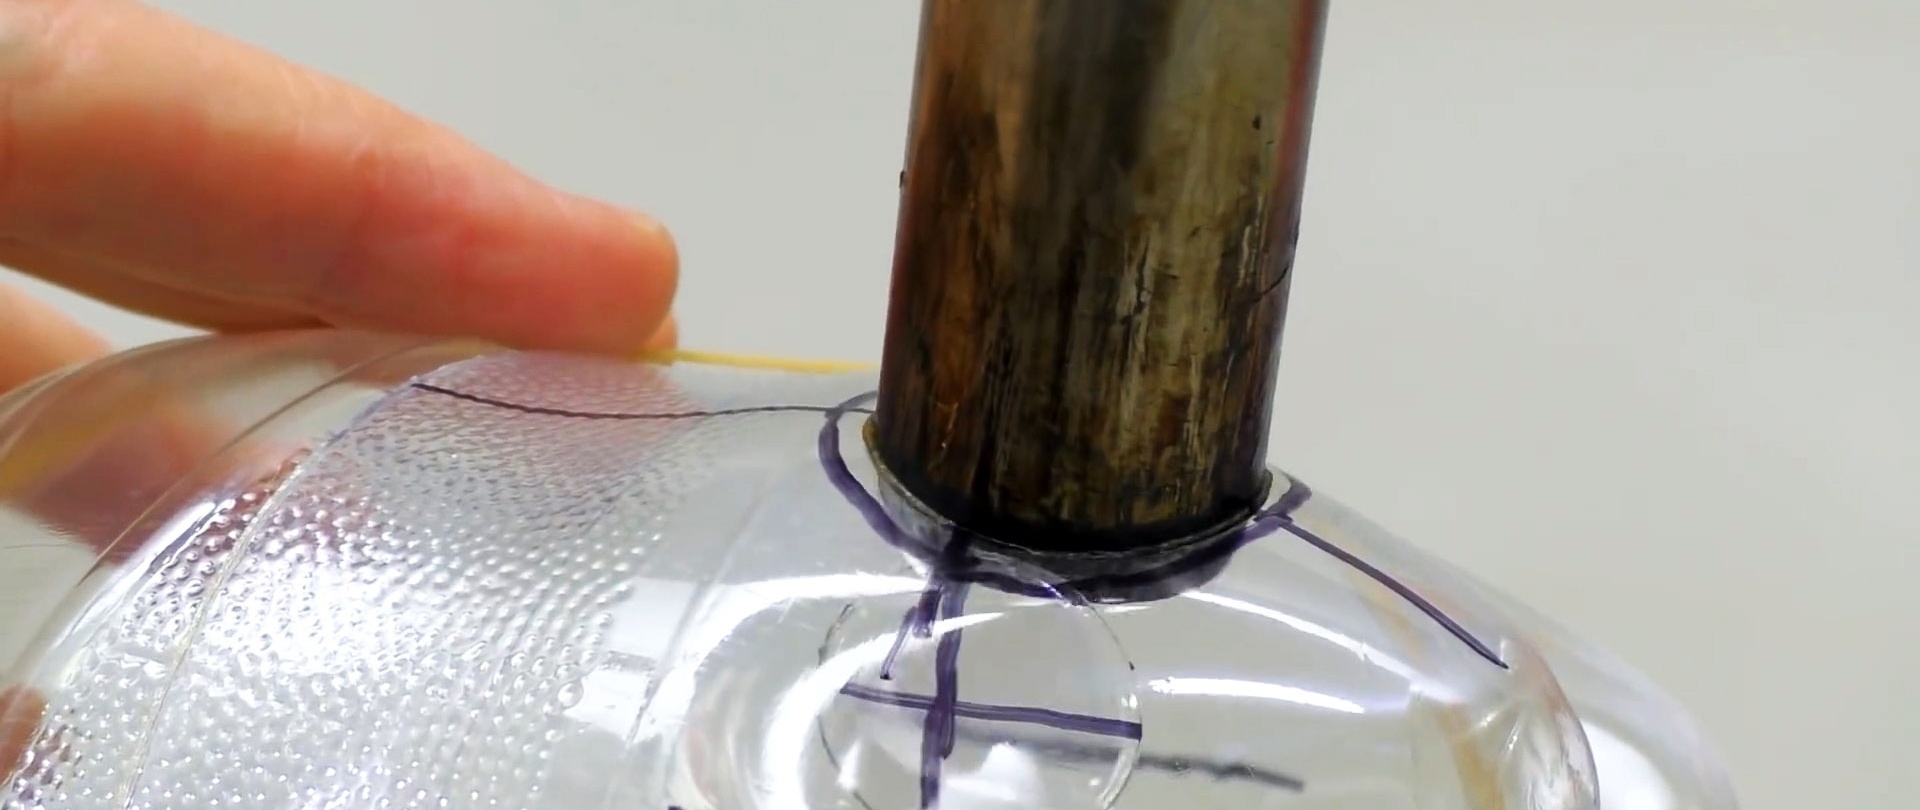
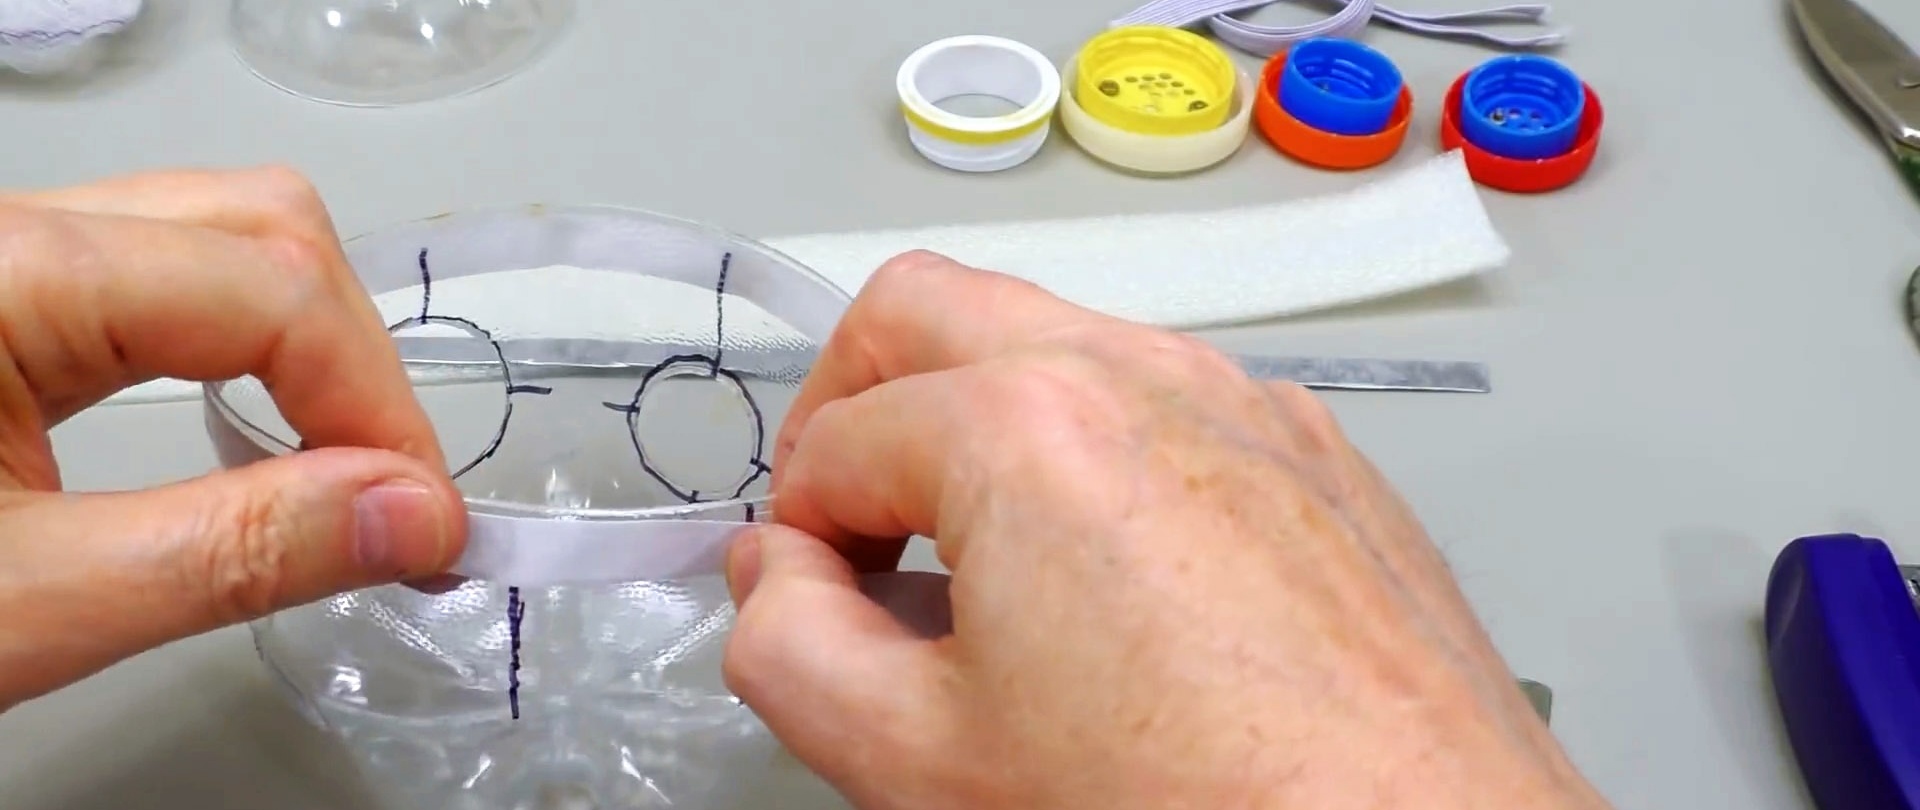
The bottom of a 3-liter PET bottle is cut off. Holes are melted or cut into it for installing valves.

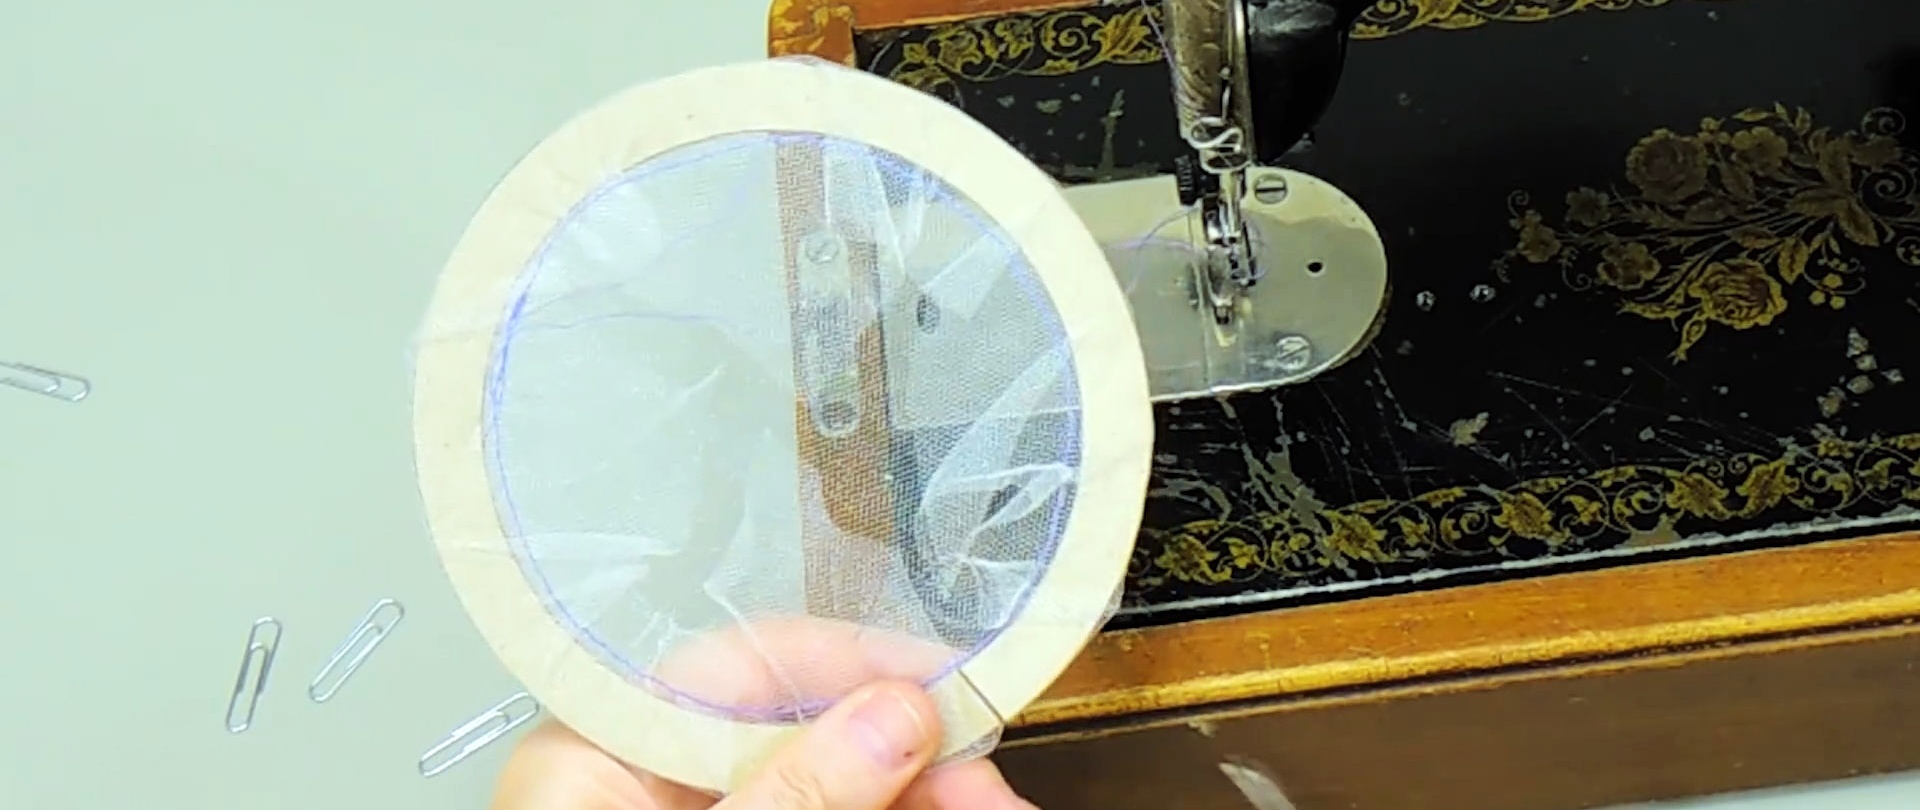
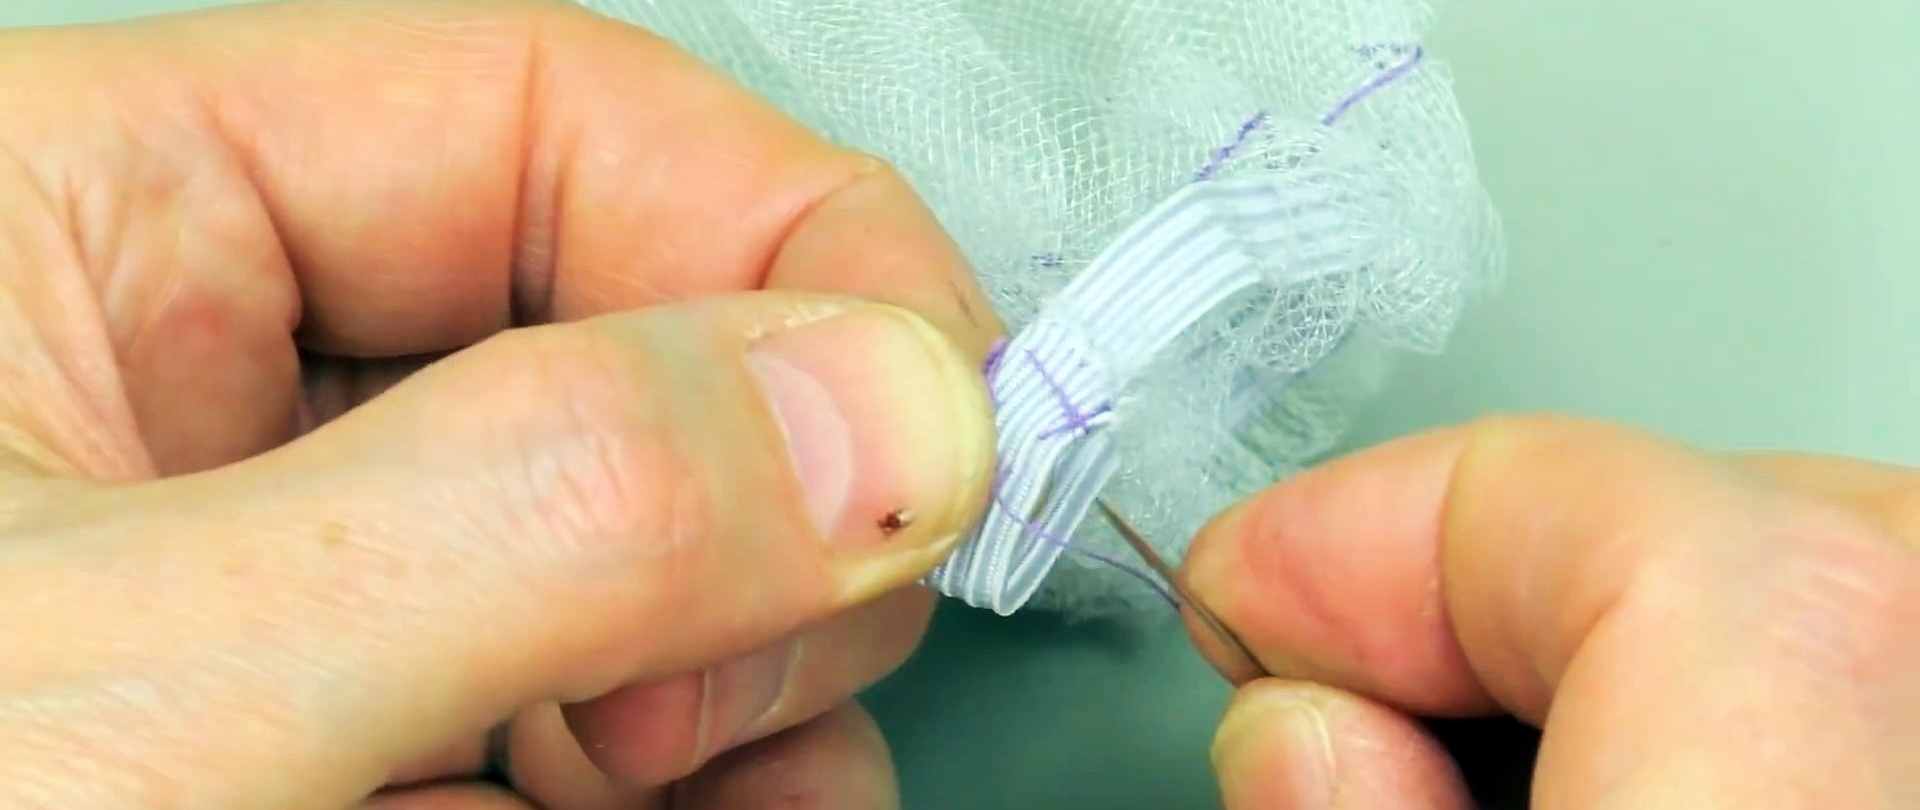
You will also need to prepare 2 bottle necks for a regular cork. Under them you need to sew a cover from tulle with a tightening elastic band.

The rim of the bottom must be wrapped with metal tape and secured with a stapler. At first, the tape can be glued with double-sided tape. The tape allows you to give the bottom the shape of your face, ensuring it adheres to the bridge of your nose.

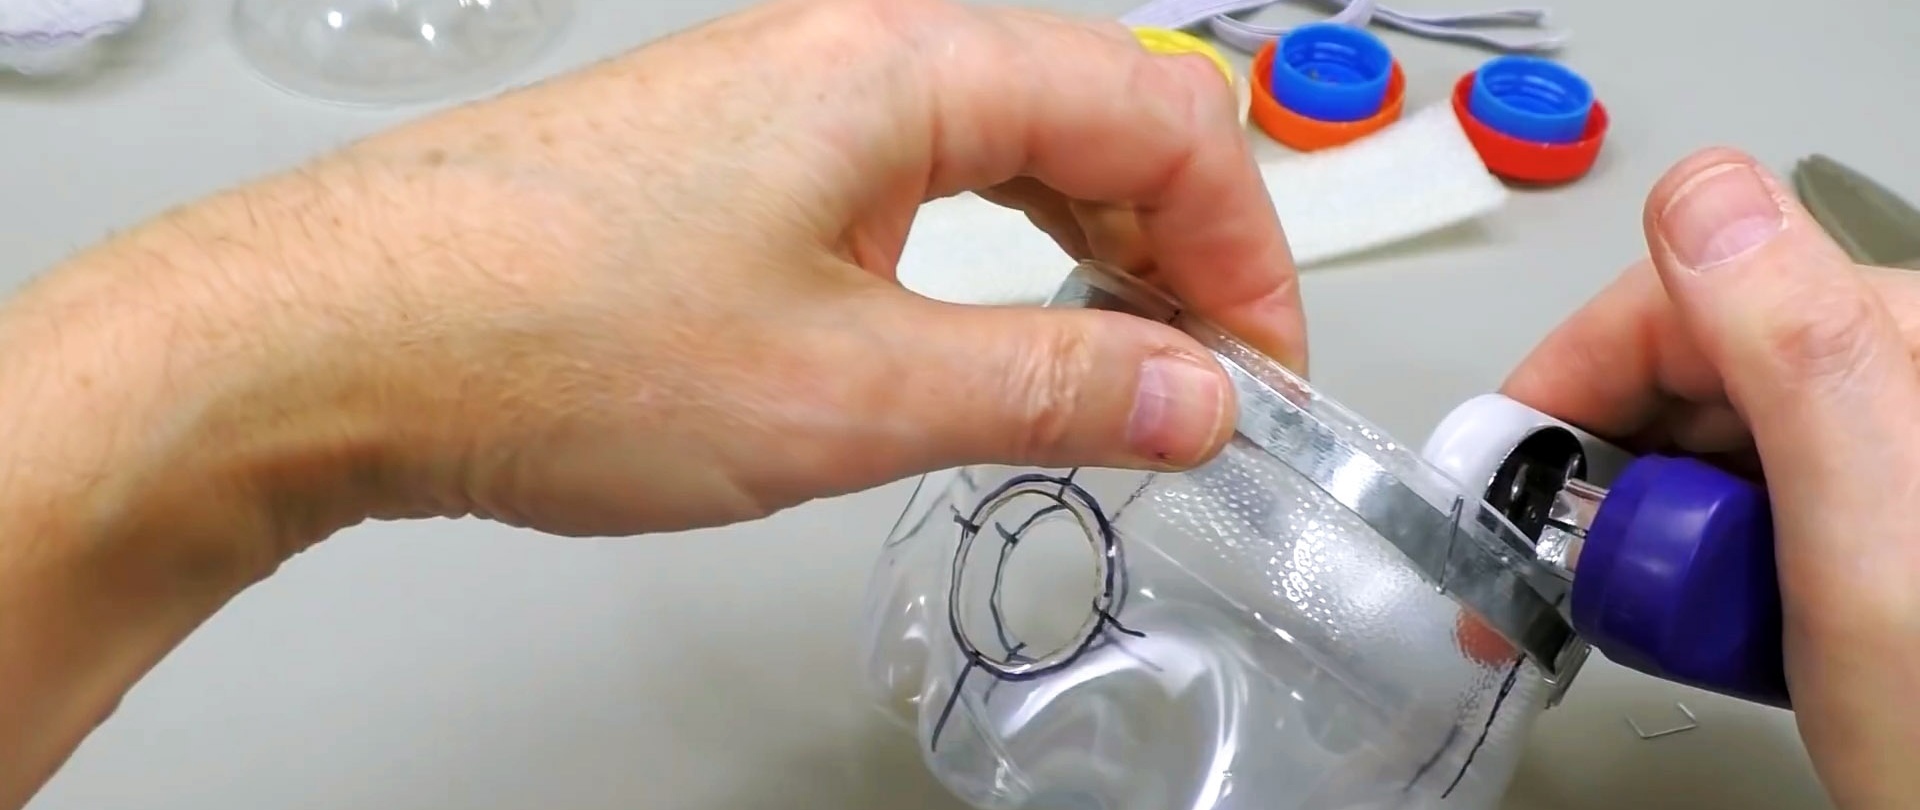
Double-sided tape is glued to the rim, outside and inside. Polyethylene foam tape is glued onto it with a bend. The elastic band for wearing the respirator is immediately fixed with a stapler.


The sawn-off thread of the neck of a bottle with a middle cap is inserted into the large central hole of the respirator from the inside. A large valve screws onto it from the outside.
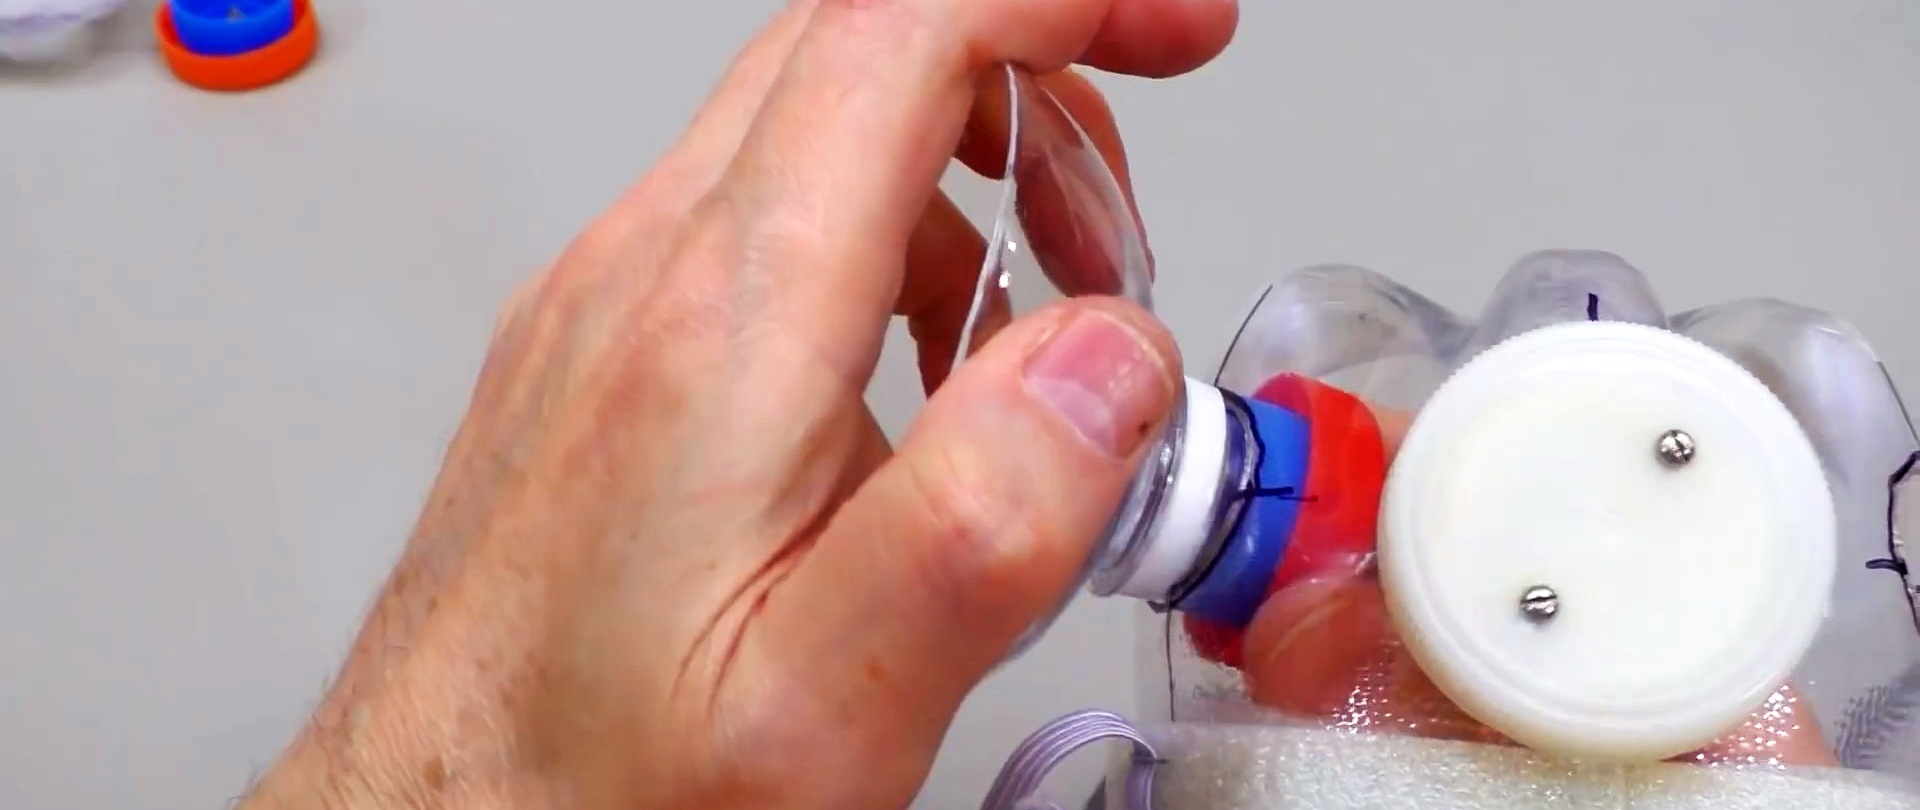
The usual necks with part of the walls of the bottle are inserted into the side holes from the outside. Small valves are screwed onto them from the inside.
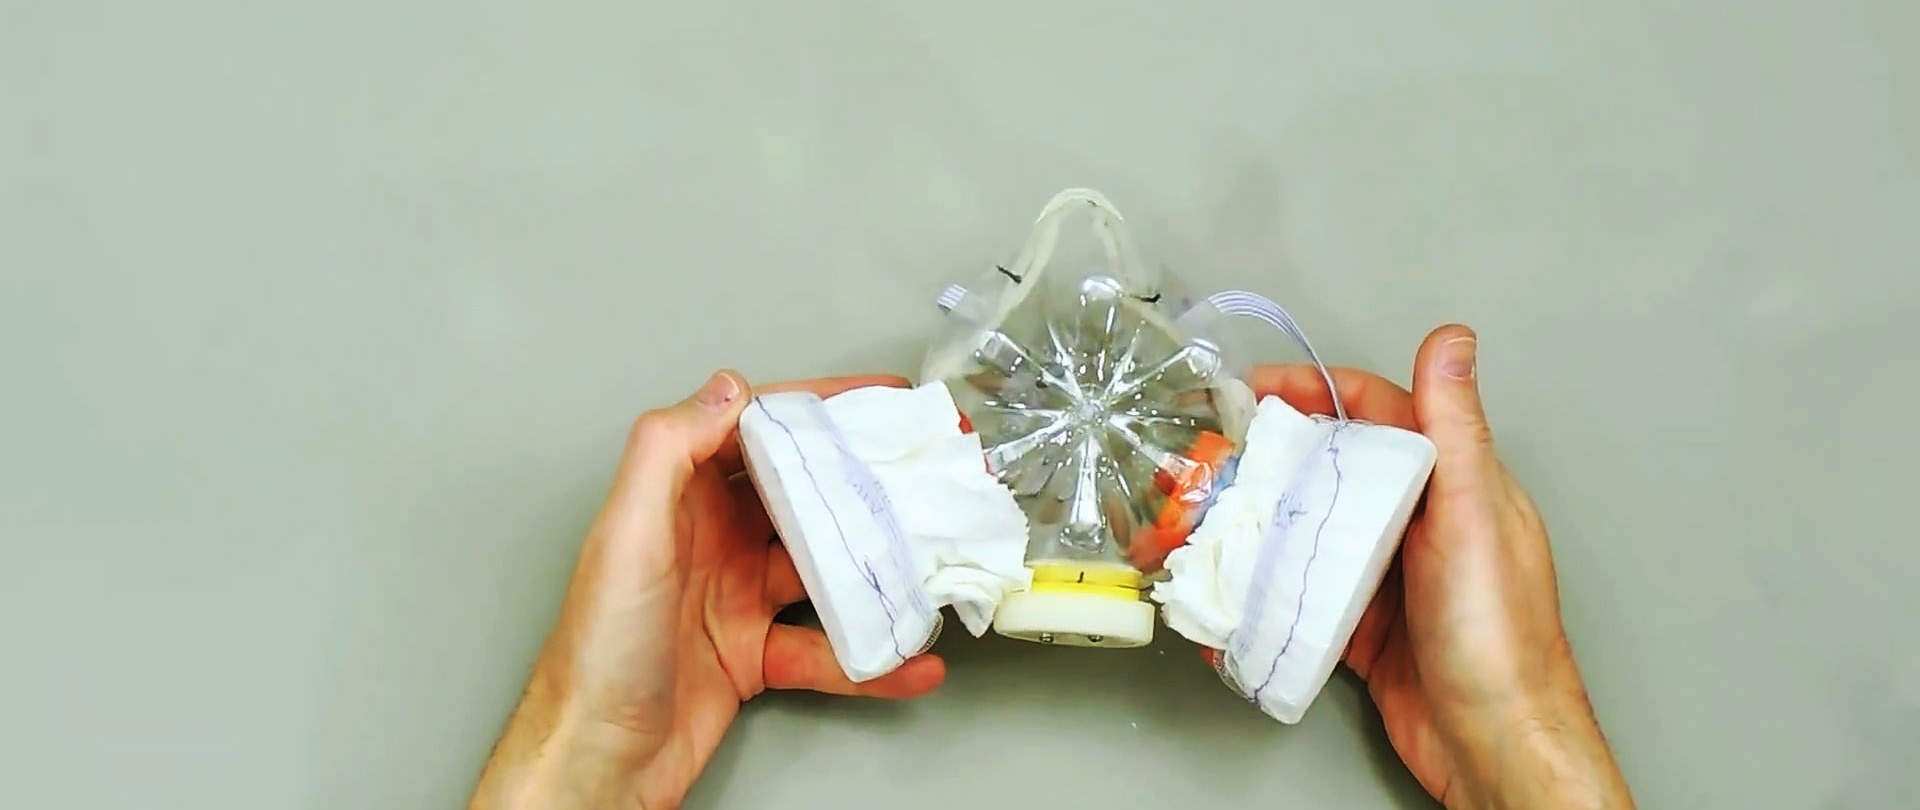
Paper napkins are placed on the bottles in several layers. They are secured at the top with a tightening tulle cover.


Thus, we get a respirator with two filters, through which it is quite easy to breathe. At the same time, paper in several layers, due to its tiny pores, filters everything very effectively. Moreover, this is a serviceable respirator. You can change the napkins at any time and it will be sterile again.