The choice will mainly depend on the roughness of the surface.
Leveling the floor in the room (screed) with cement mixture
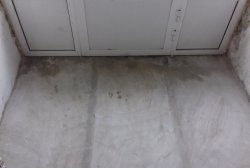
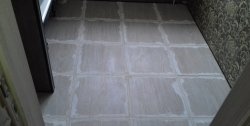
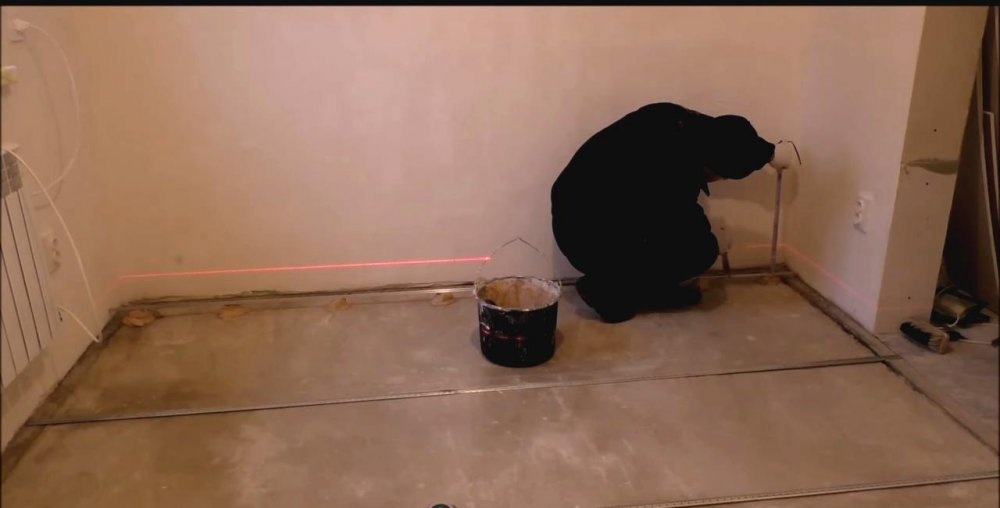
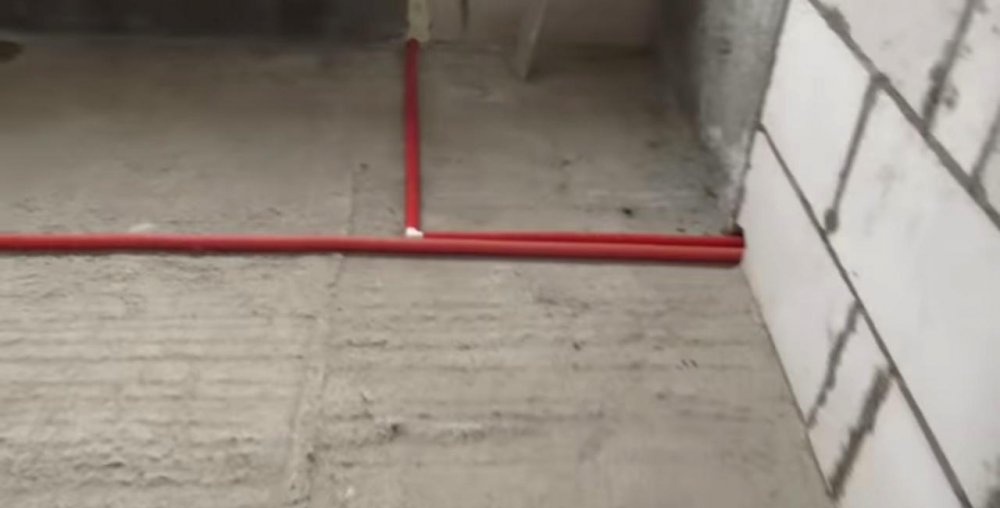
The floor level in the room is not the same. Relative to the entrance, the difference in surface level heights is 3 cm in the left and 2 cm in the right corner of the room. Alignment required. Self-leveling screed is not effective here. The floor will be completely screeded with a cement mixture and leveled using beacons.
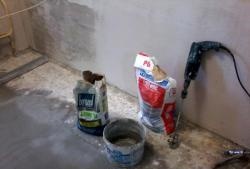
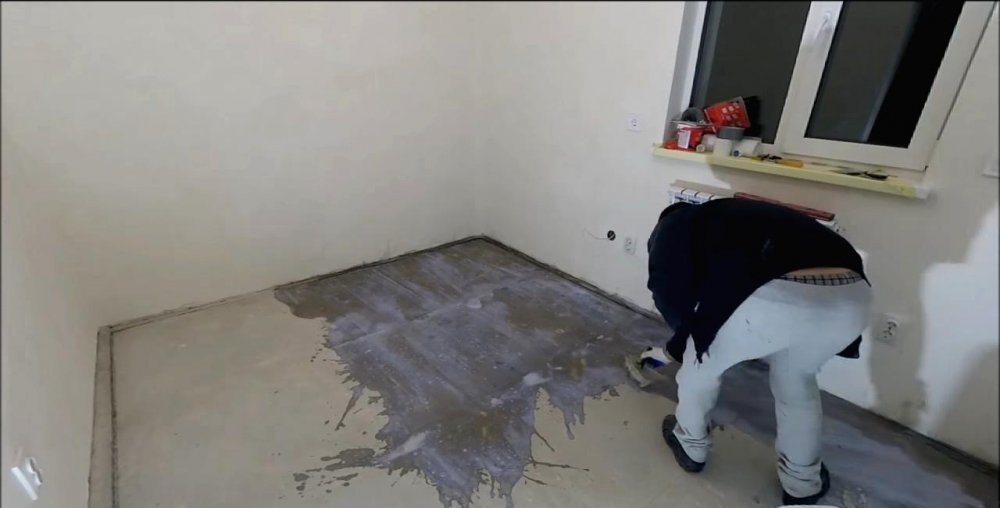
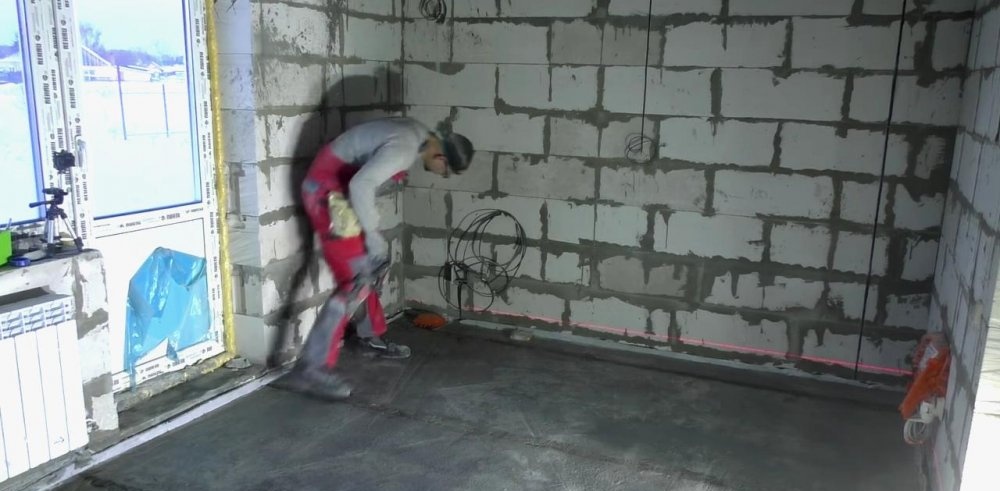
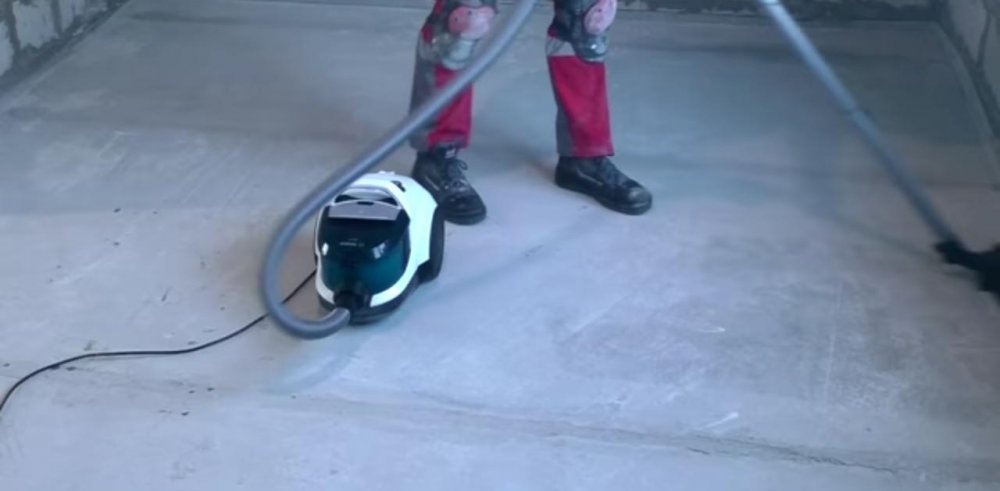
1. The surface is cleaned (debris, including small ones, is removed). Dust is removed with a vacuum cleaner.
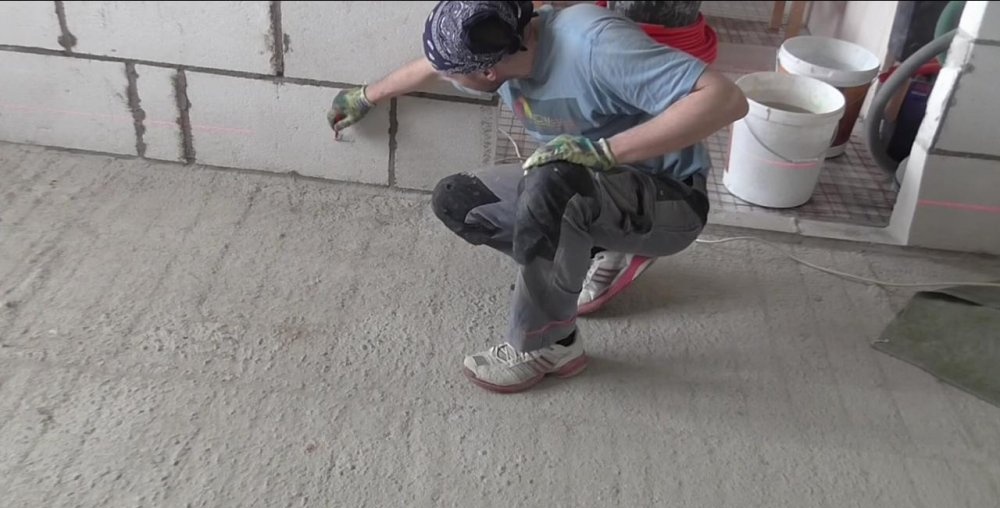
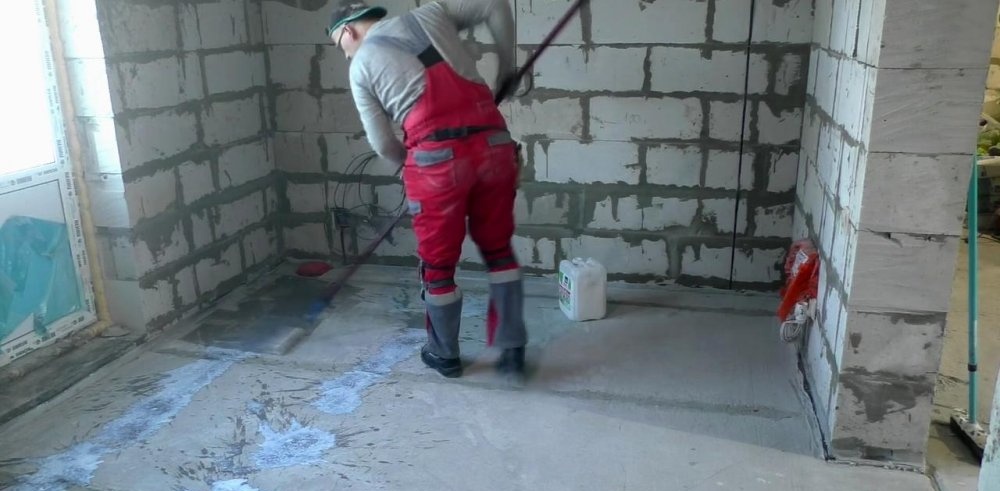
2. To increase the adhesion (sticking) of the cement layer to the surface, a primer is applied. The solution is applied using a brush or roller. This coating must dry for at least five hours.
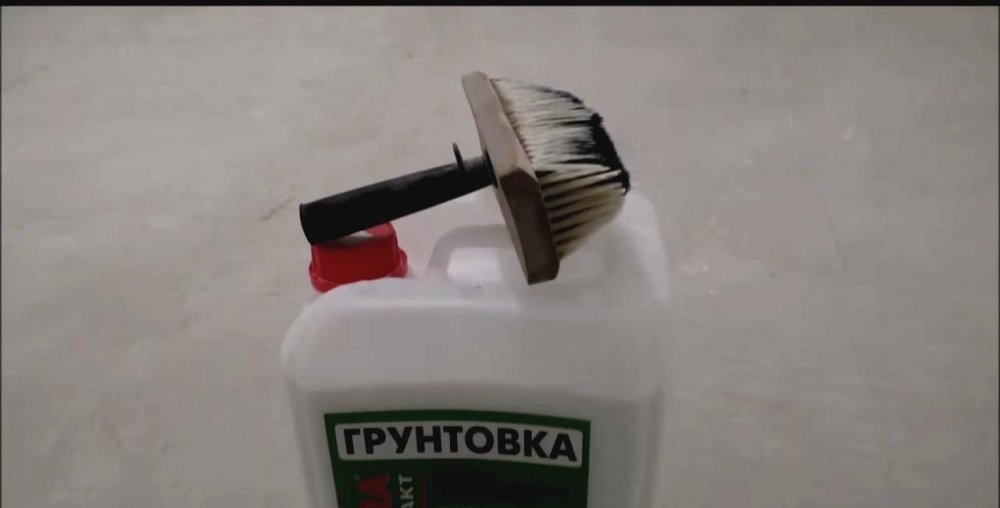
After this, the surface is re-primed and dried.
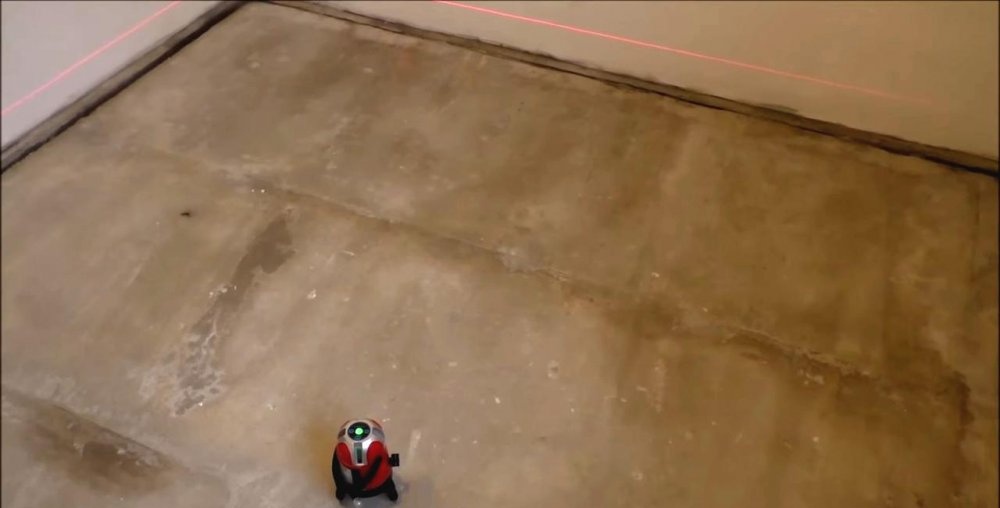
3. Using a laser level, the highest point is found.
4. The installation of beacons begins from the highest point of the room. Beacons are metal slats along which alignment will take place.
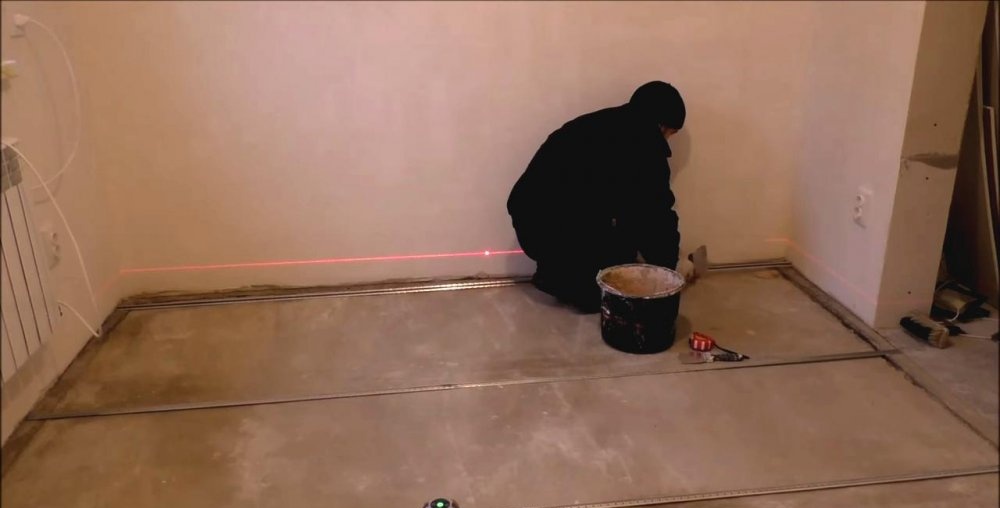
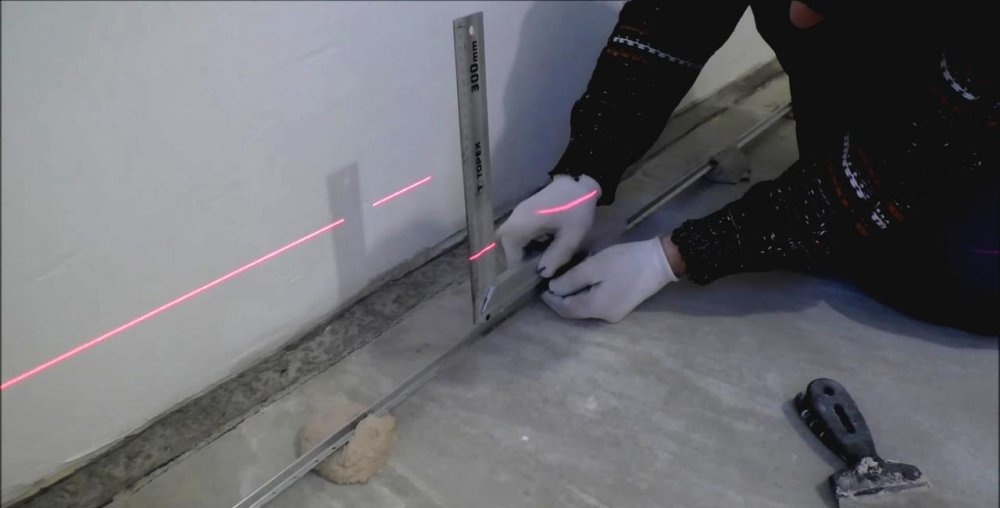
To do this, the beacon (equal to the length of the wall) is fixed with mortar (the same material that will be used to screed) approximately every 60 cm.
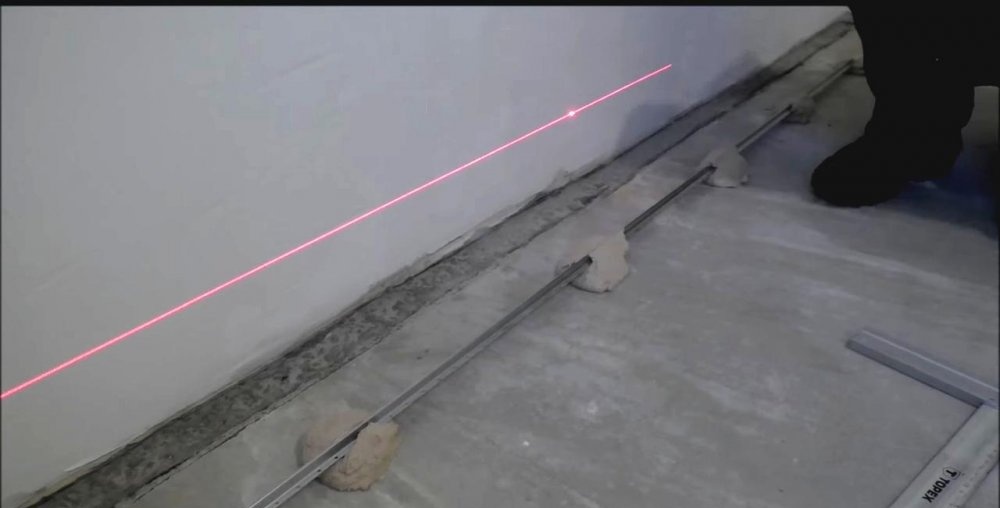
The correct installation is checked with an angle (or tape measure) relative to the laser level as it is fixed.
The length of the segment from the laser beam line to the beacon is measured.
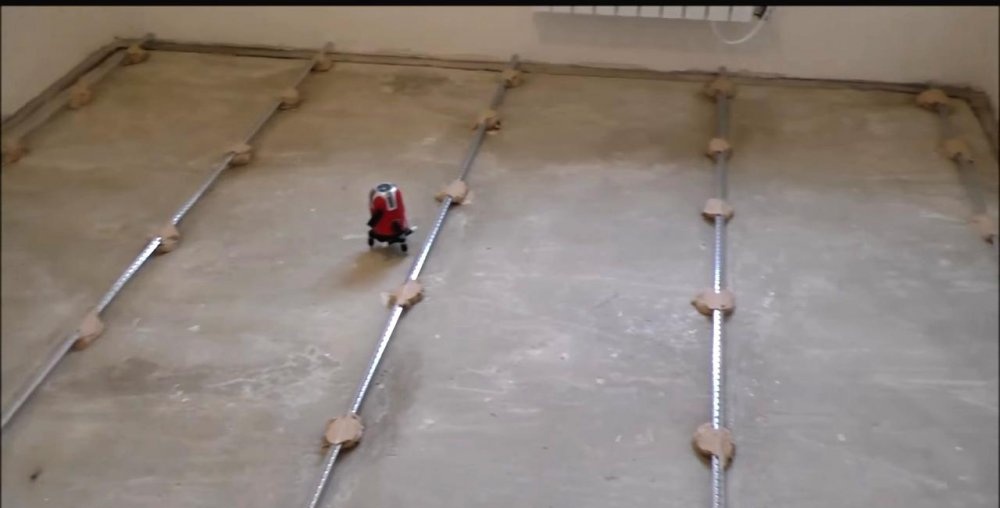
5. The next and all other beacons are installed using the same principle. The distance between them is approximately one meter.
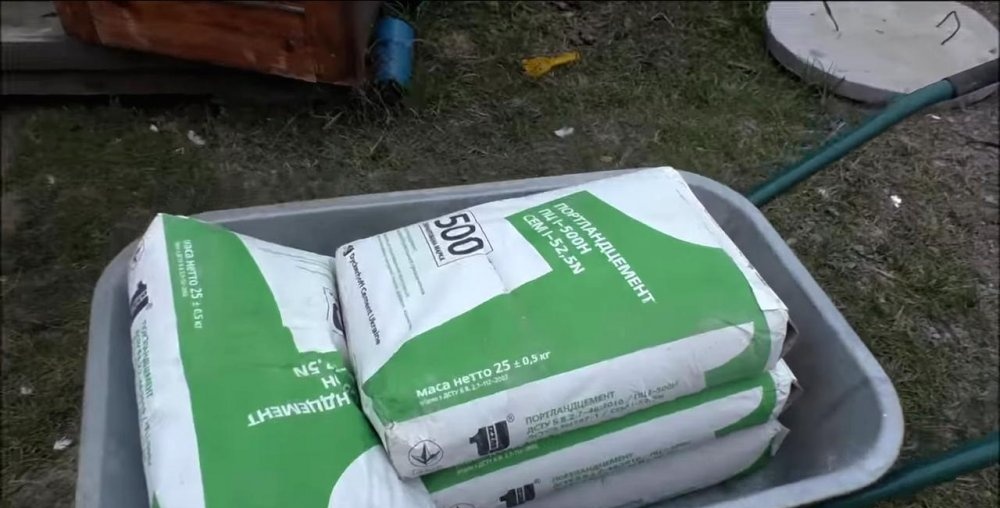
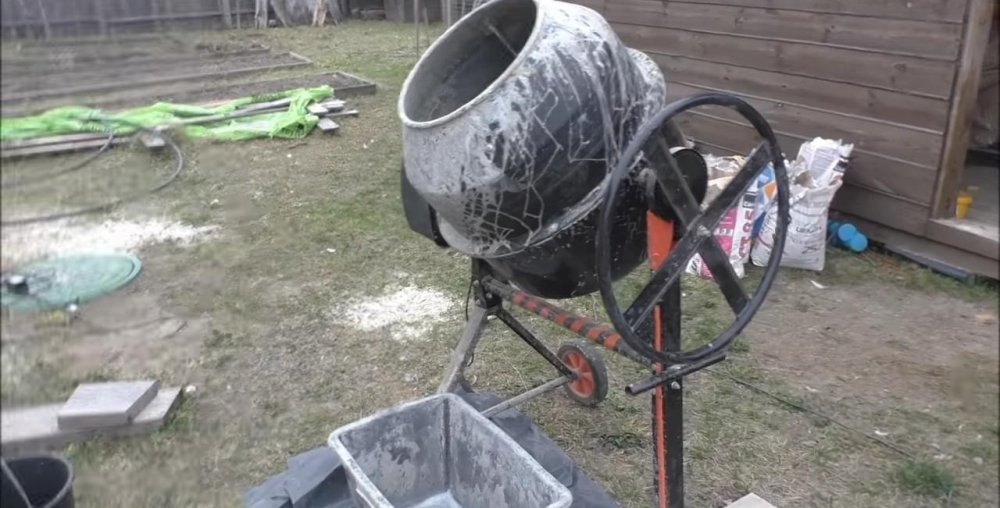
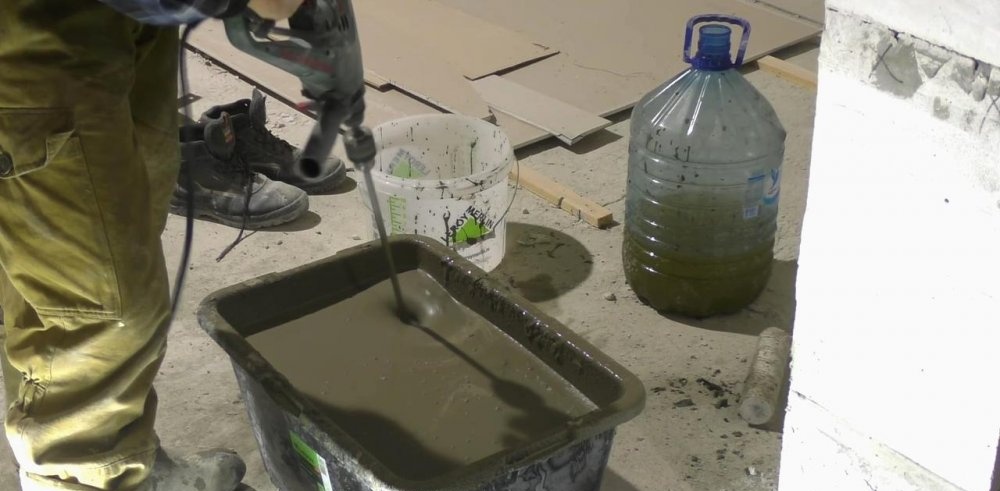
6. Prepare the cement mixture. To do this, take three parts sand to one part cement.
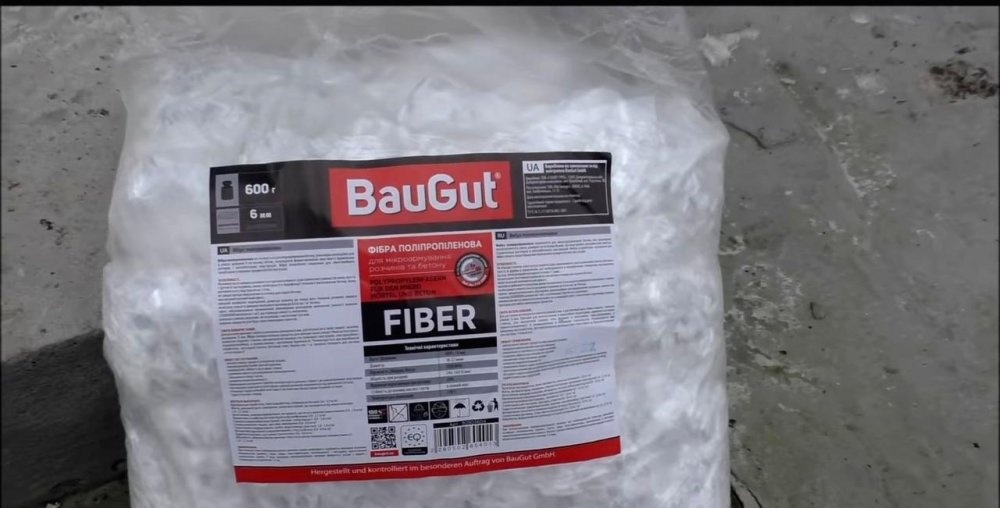
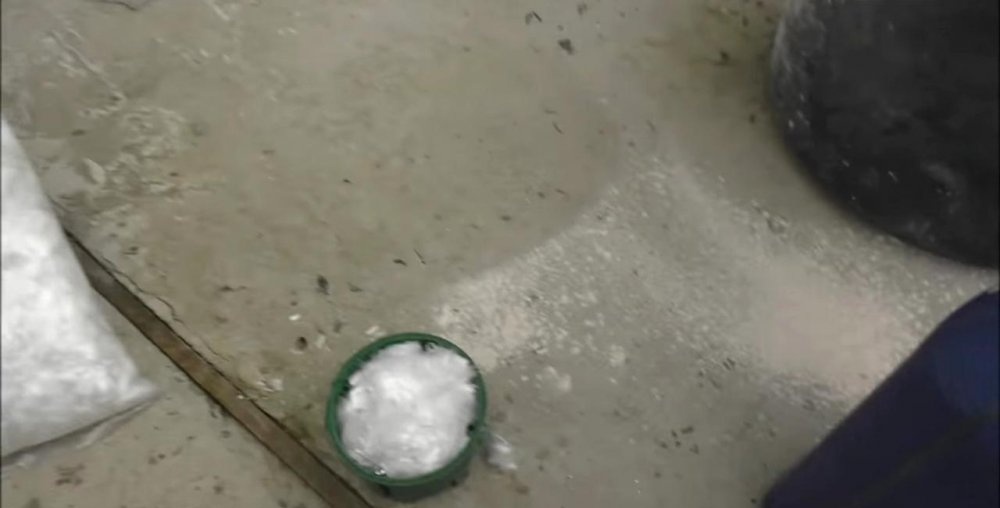
Fiber is added to the cement bucket (approximately 300 mm in volume, which is exactly what goes into the electrical socket).
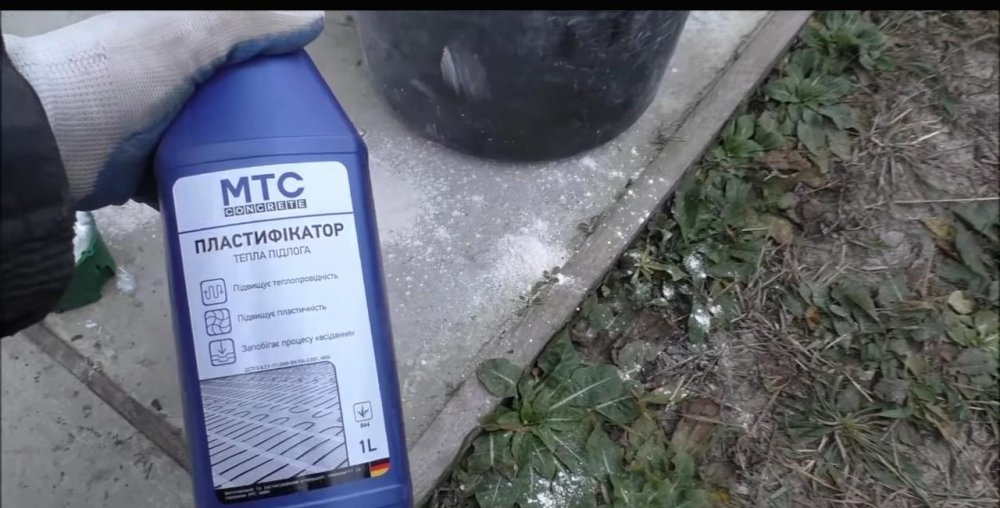
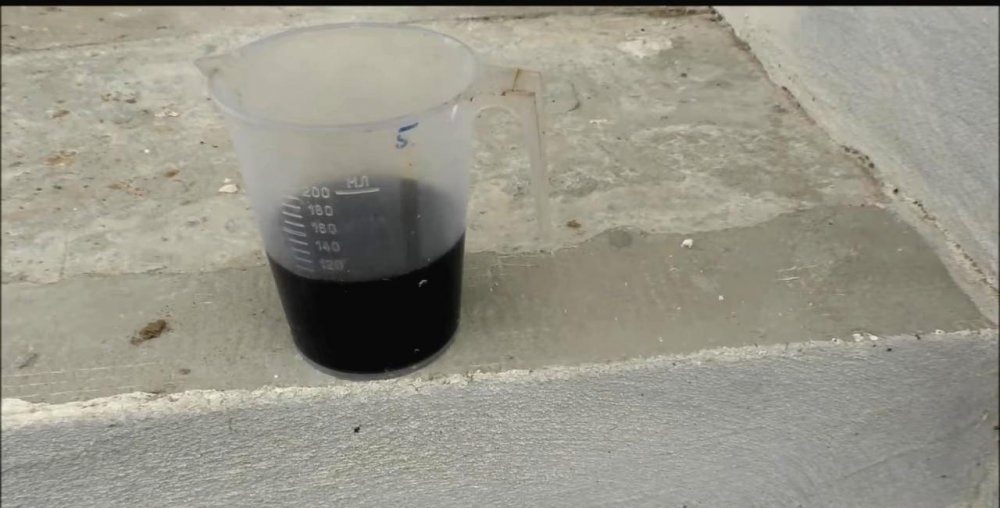
For better plasticity, 100 ml of plasticizer is added, which facilitates leveling.
Water is pouring. Everything is mixed into a homogeneous mass.
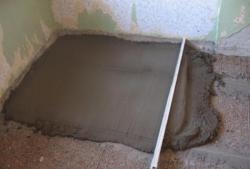
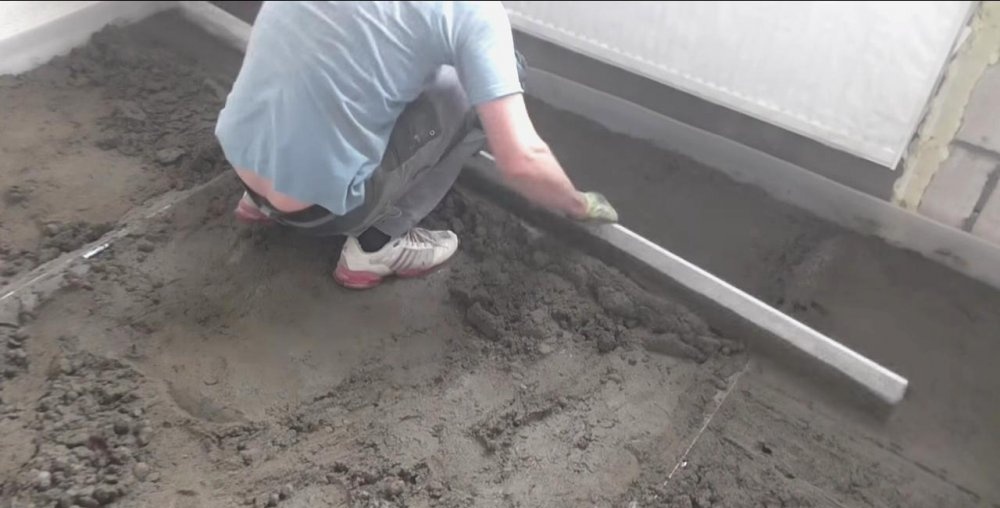
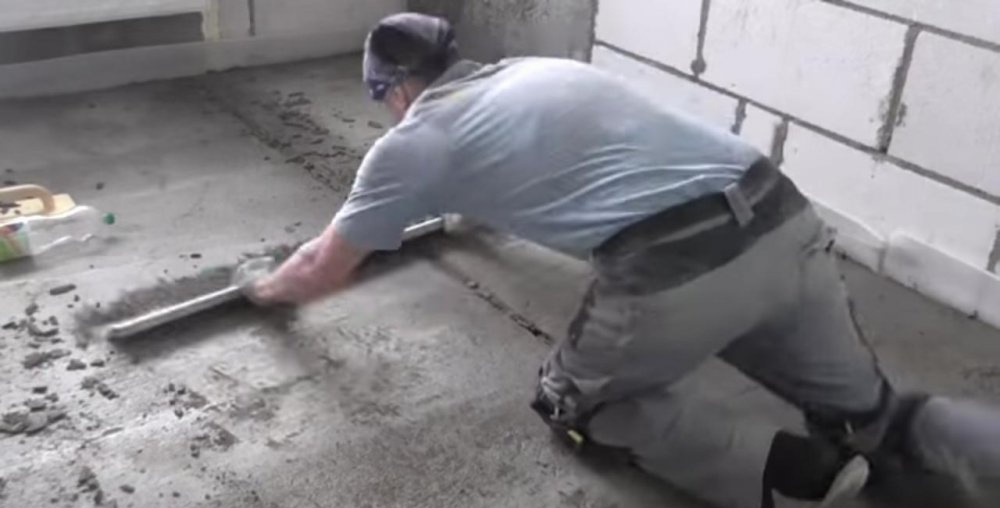
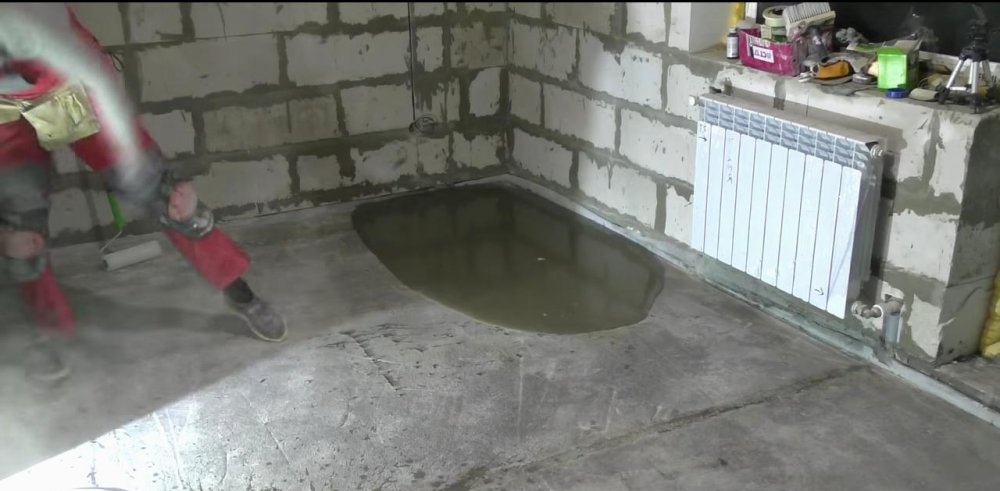
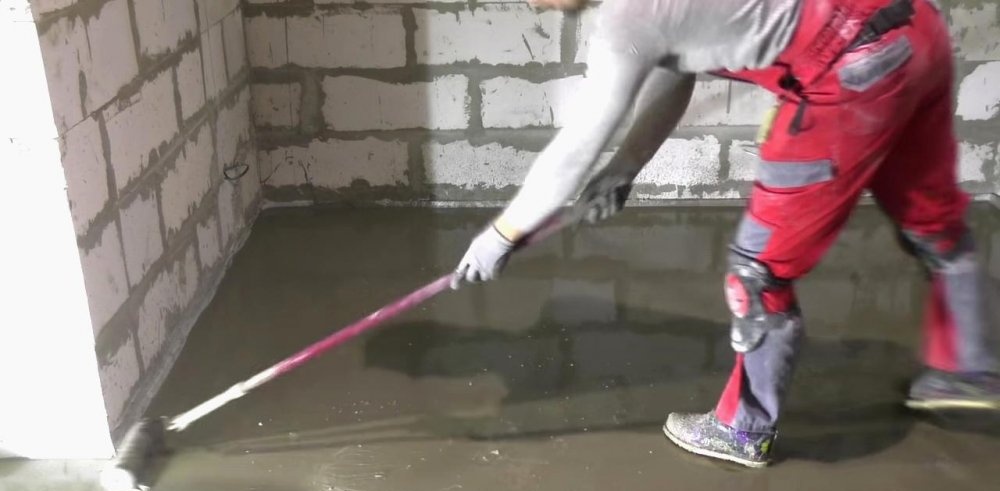
7. The screed starts from the corner of the room farthest from the entrance. The cement mixture is laid out in small portions.
Leveled with a long “equalizer”.
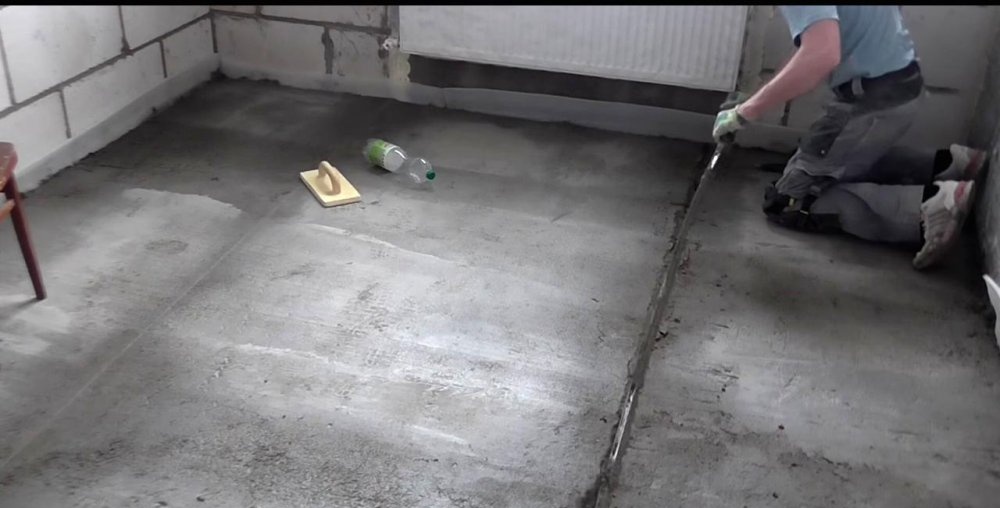
8. Work ends at the entrance to the room.
9. Beacons are not deleted.
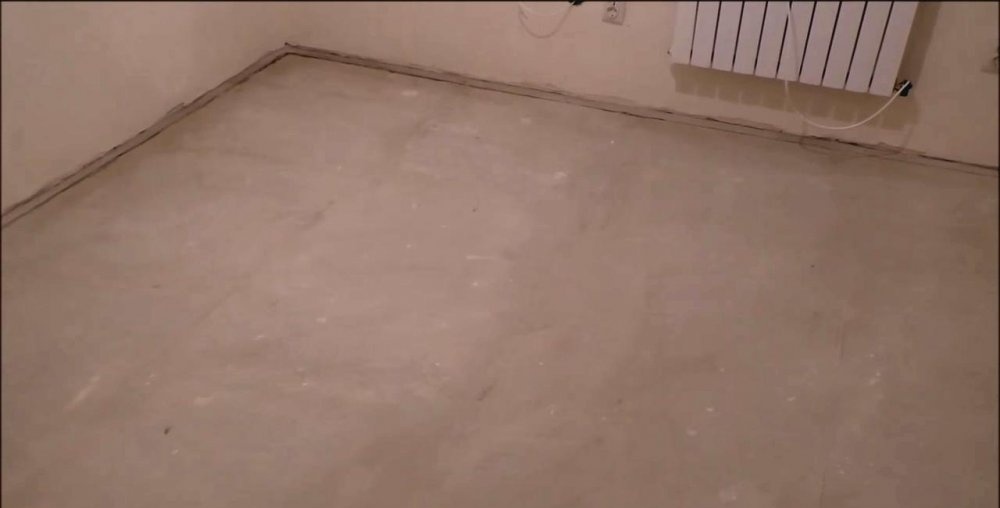
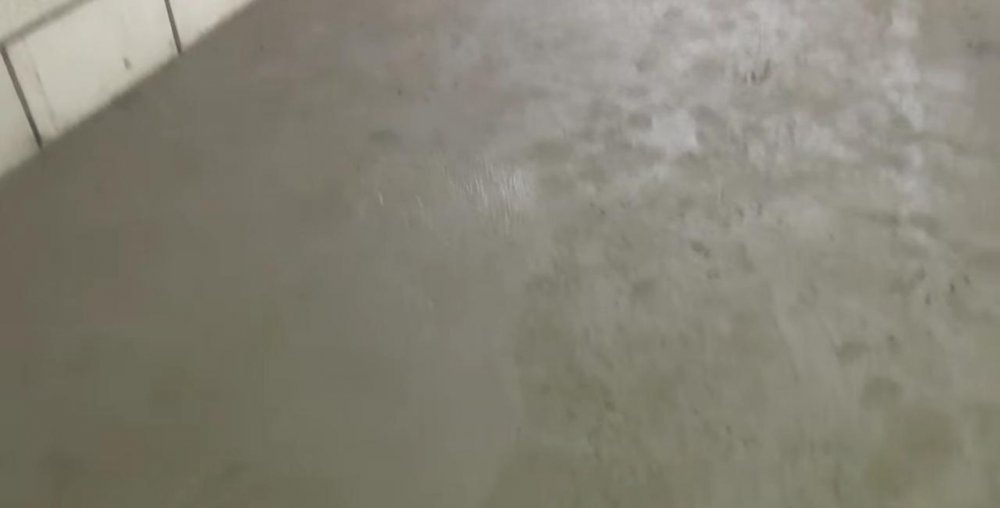
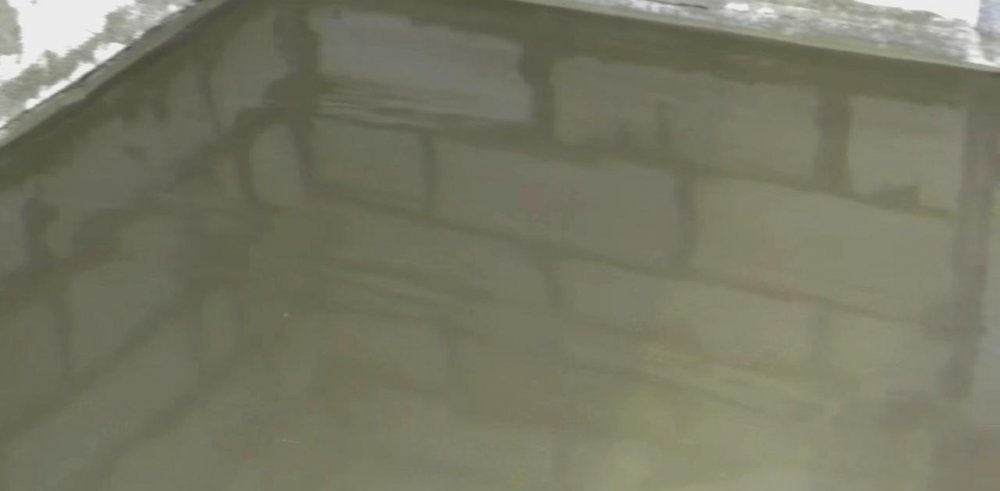
The screed is ready. Its thickness is 35 mm (at its high point).
You can proceed to the next operation (laying the flooring) after complete drying (ripening).
The advantages of this type of screed: low price, well-known technology. Disadvantages: long process of complete formation (ripening) 28-30 days. If the flooring is laid ahead of schedule, the screed may crumble.
Screed using expanded clay
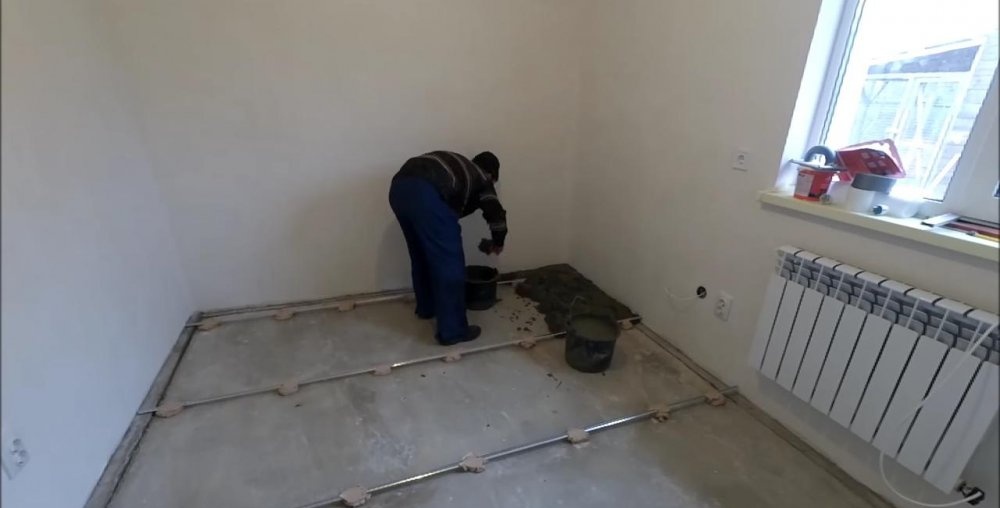
In the room, central heating pipes are laid along the floor. To level the finish, a large volume of mixture will be required. In some places, the thickness of the screed will reach 10 cm. Therefore, to increase the volume and reduce the mass of the screed, expanded clay is used as a filler.
1.Preparation (cleaning) of the surface is carried out with a vacuum cleaner.
2. Using a laser level, we find the highest and lowest points of the surface. When installing the laser on the wall, a mark is made with a marker so that in case of failure, you can easily set the level again.
3. At the highest point, set aside 30 mm upwards from the level. Accordingly, in other places in the room the layer of screed will be thicker, and the segment from the level up will be the same. It is advisable to prepare a template to measure this distance.

4. To fix the beacons, the same sand-concrete mixture is used as for the screed itself.

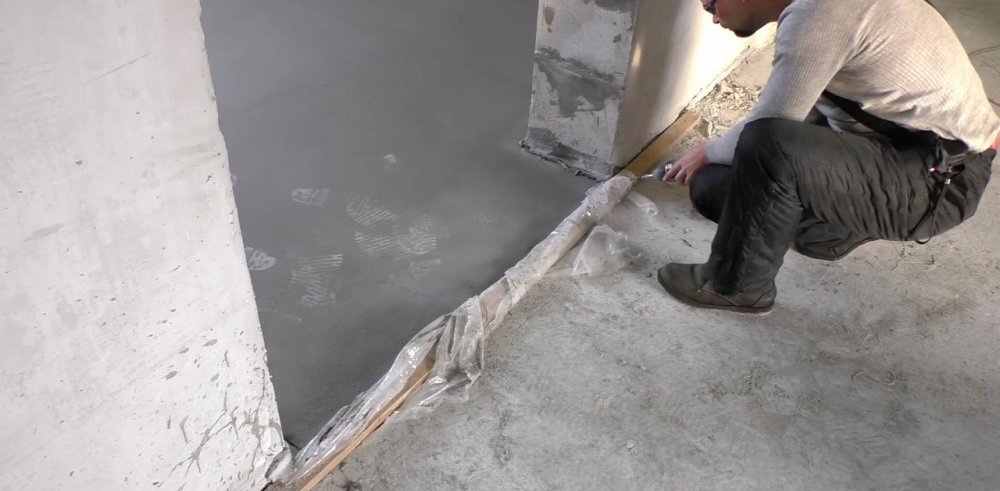
5. Beacons are fixed at the same level. Damper tape is laid along the walls. It will act as soundproofing and thermal insulation.

6. Prepare the sand-concrete mass. Expanded clay is poured into the same container. The solution should be as thick as possible, otherwise the expanded clay pebbles will float to the surface.
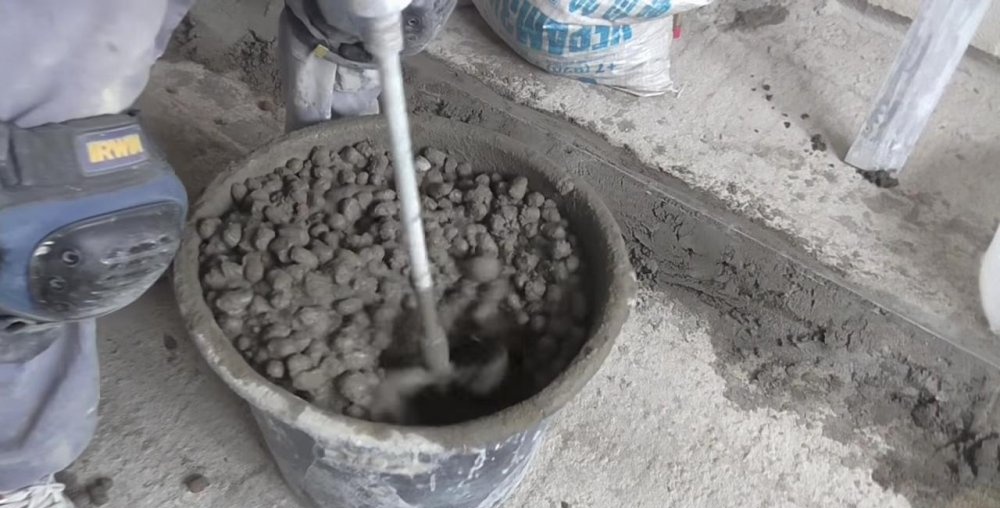
Everything is thoroughly mixed with a hand mixer.
7. For better adhesion of the screed mass to the floor, the surface is double treated with a suitable primer. It must dry.
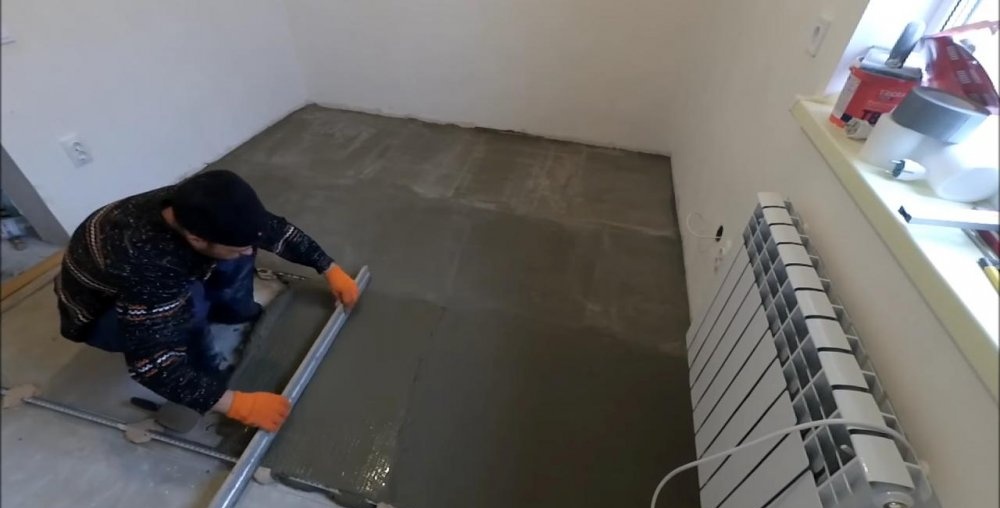
8. The mixture is evenly distributed over the surface and leveled.
A layer of sand concrete solution (without expanded clay) is applied on top of the layer with expanded clay. Aligned by “rule”.
9. After about 10 hours, the beacons are removed.
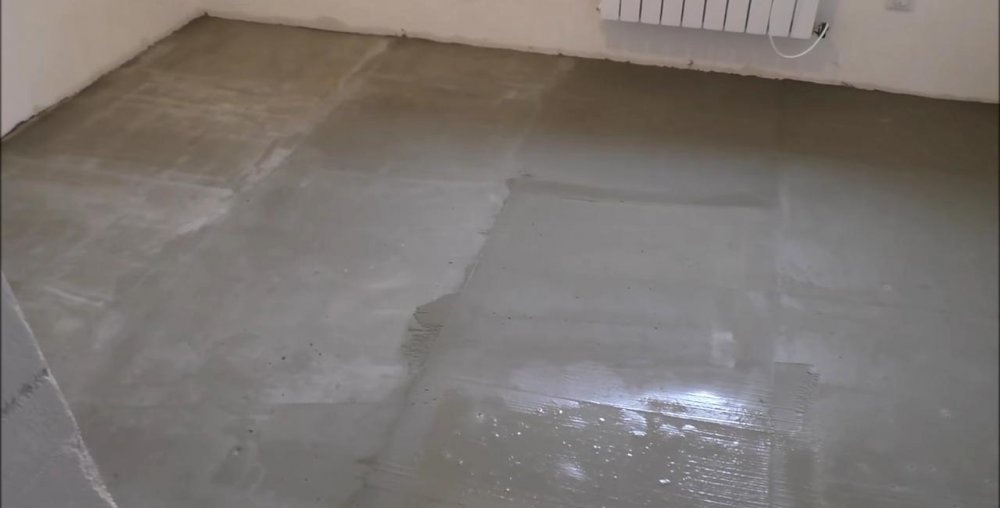
10. Irregularities are eliminated using the “rule”. For better sliding, the surface is moistened with water.
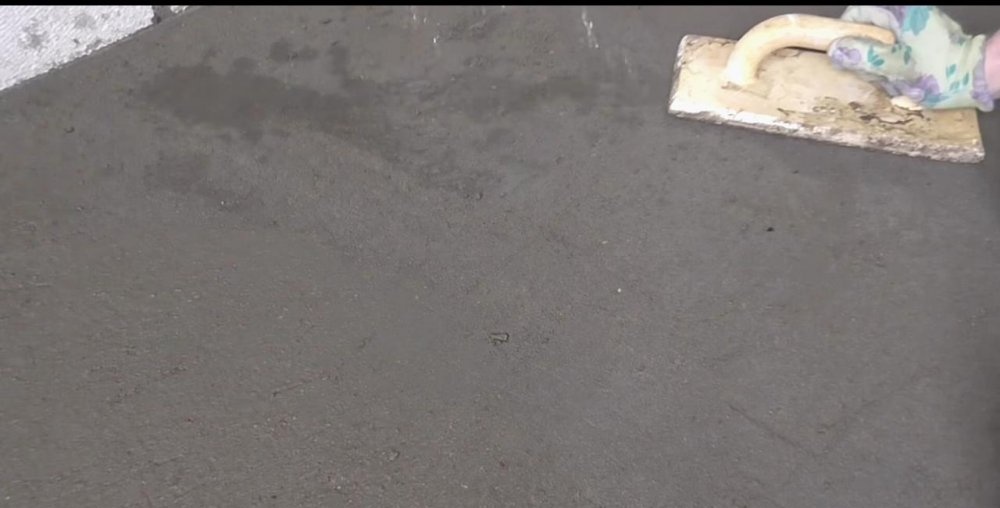
11. Roughness is smoothed out with a wooden grater.
12. After drying (at least 28 days), the surface is ready for further operations.
Can be covered with laminate, linoleum or other material.
The advantage of this screed: cheap materials. Long curing time can be considered a disadvantage.
Self-leveling screed
If there is a small difference in height and a fairly flat surface, a self-leveling floor (self-leveling mixture) would be a good option. There are some nuances when using it.
1. The height of the surface is measured and the height difference is identified. If it does not exceed 10 mm, then this type of screed is justified.
2. After removing debris and dust (it is better to use a vacuum cleaner for this).
All cracks and crevices need to be filled. Since the solution is very liquid, it can leak through these holes.
3. Double primer is required. You can pour the primer onto the floor and spread it with a roller. Then wait at least an hour and apply a second coat. This will ensure good quality coating. The solution will adhere perfectly to the surface. The screed will not crack.
4. The resulting mass must be used as quickly as possible. It hardens very quickly. The hardened mixture cannot be evenly distributed over the floor. It's better to work with an assistant. One person mixes the solution, another applies it.
The coating is applied as follows: pour the mixture onto the surface and level it with a needle roller.
The length of the roller needles should be greater than the depth of the solution. Otherwise, air bubbles will remain in the screed. In addition, with short needles the mass is poorly leveled.
5. Work begins from the corner of the room opposite the entrance. Accordingly, they end at the entrance.
When the floor of the entire room is level, a limiter is placed at the exit.
After a few hours (hardening time depends on the thickness of the coating and temperature), the screed is ready. While the floor is drying, there should be no drafts in the room, the temperature in the room should not be lower than +5, the surface temperature should be the same in all treated areas.Otherwise, serious defects may occur.
If all work was carried out strictly according to technology, then the surface turns out to be very smooth. This is the main advantage of self-leveling flooring.