While working around the house, in a workshop or garage, you happen to do things that are not quite ordinary for yourself. Without experience, solving them takes a lot of time. Using the suggested tricks, you can quickly and efficiently make 10 things with your own hands, even if you have never encountered anything like this before.
1. Fastening the wiring with ties without dowels
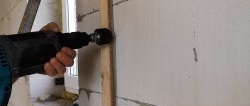
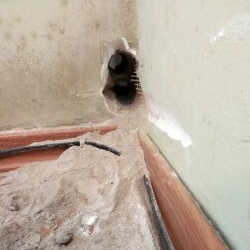
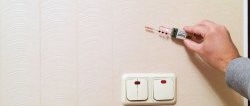
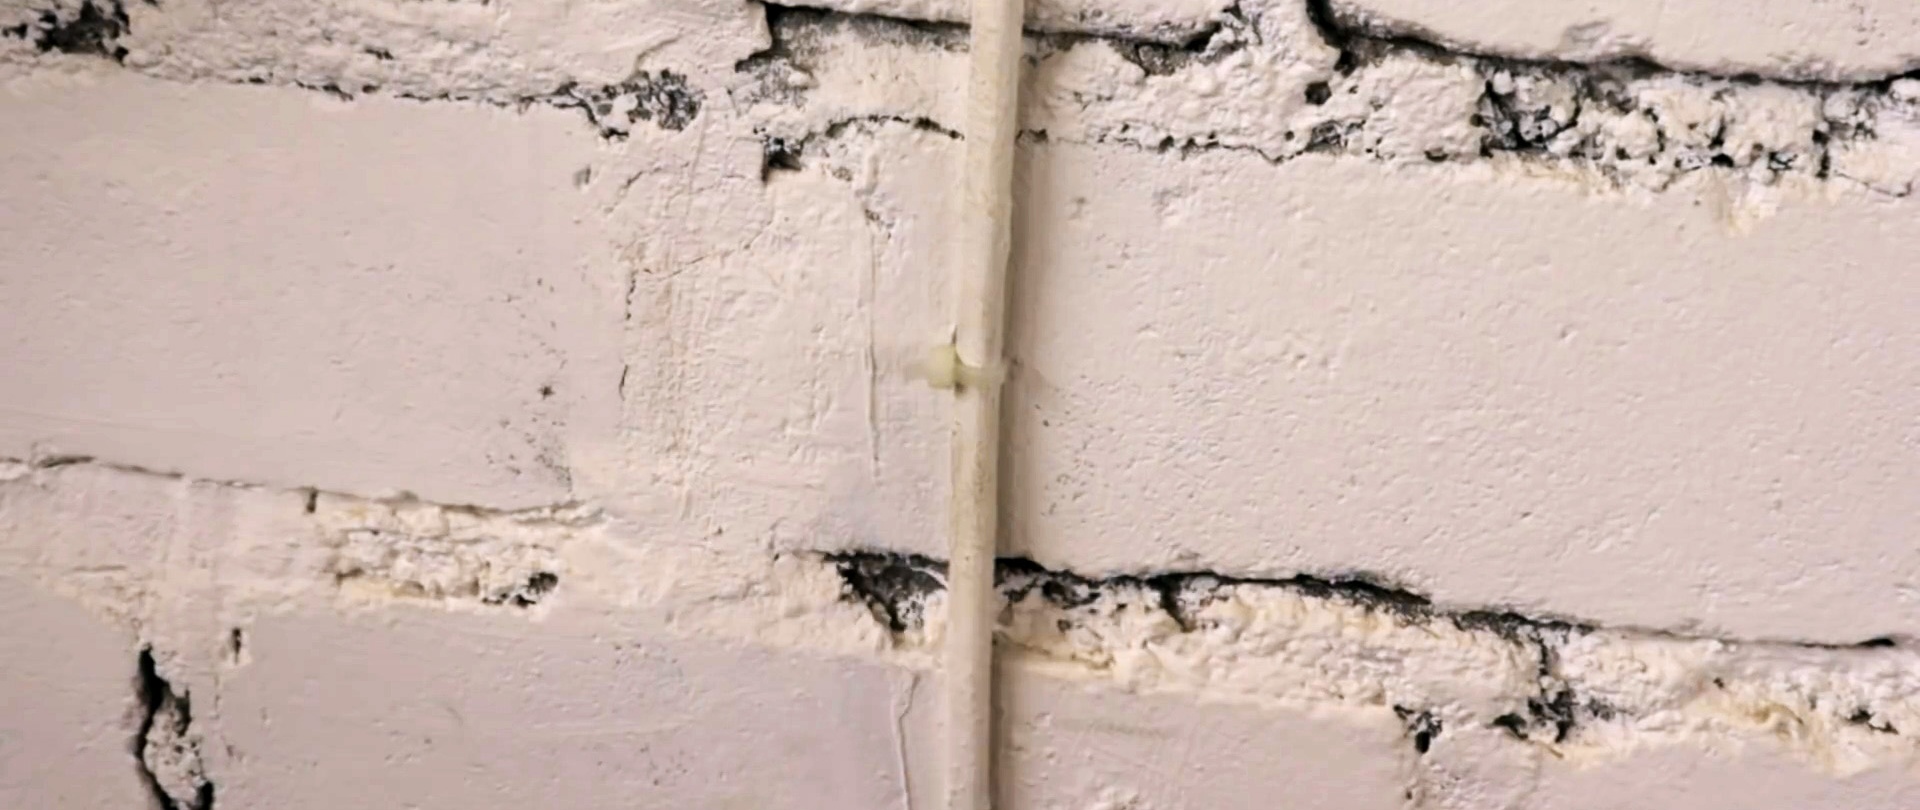
You can securely and quickly fix the wiring on the wall using plastic cable ties. They hold much stronger than a Christmas tree dowel. For fastening, you need to drill a hole in the wall and insert a double-folded tie into it. It is necessary that its lock is pressed tightly against the wall.
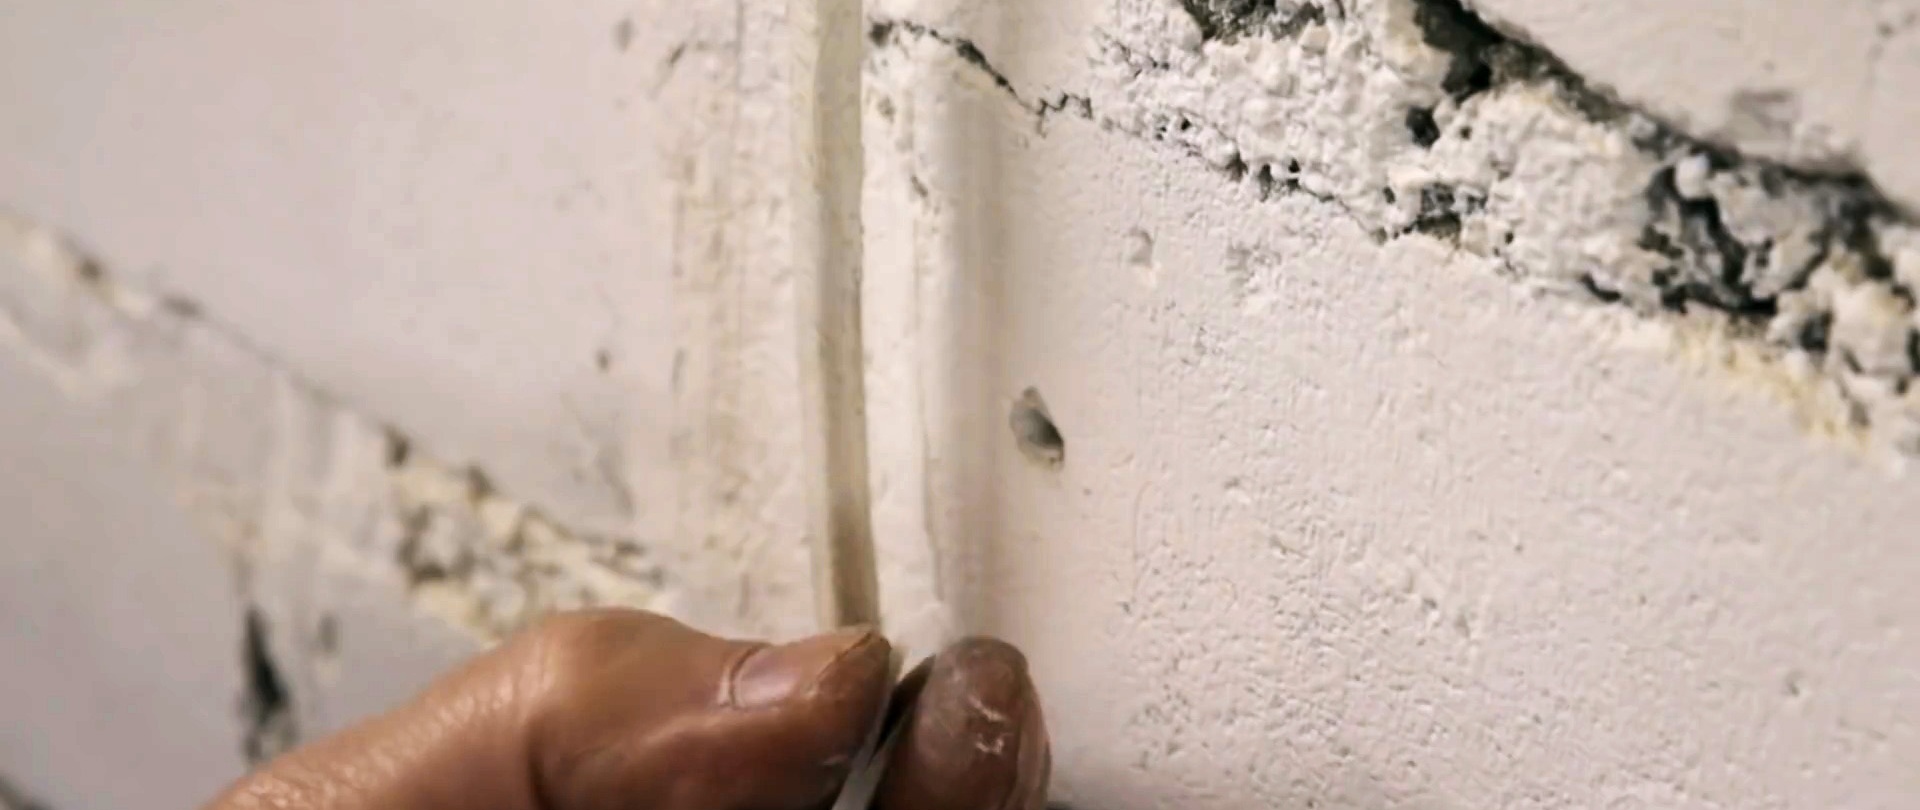

A self-tapping screw of suitable diameter and length is screwed into the hole between the folded tie strip. After this she will hold tight. All that remains is to tighten the wiring with a tie and cut off the excess length.
2. Precise drilling at right angles

It is difficult to drill a hole at a strictly right angle with a hand drill or screwdriver. A regular CD or DVD will help keep the instrument level.The drill is placed in a hole in the disk, with the mirror side facing outward.

At the moment when it is located exactly, its reflection can be seen along the entire circumference. When it is reflected you can drill. If the reflection is disturbed, the angle of the drill should be corrected.

High-quality drills on AliExpress at a discount - http://alii.pub/5zwmxz
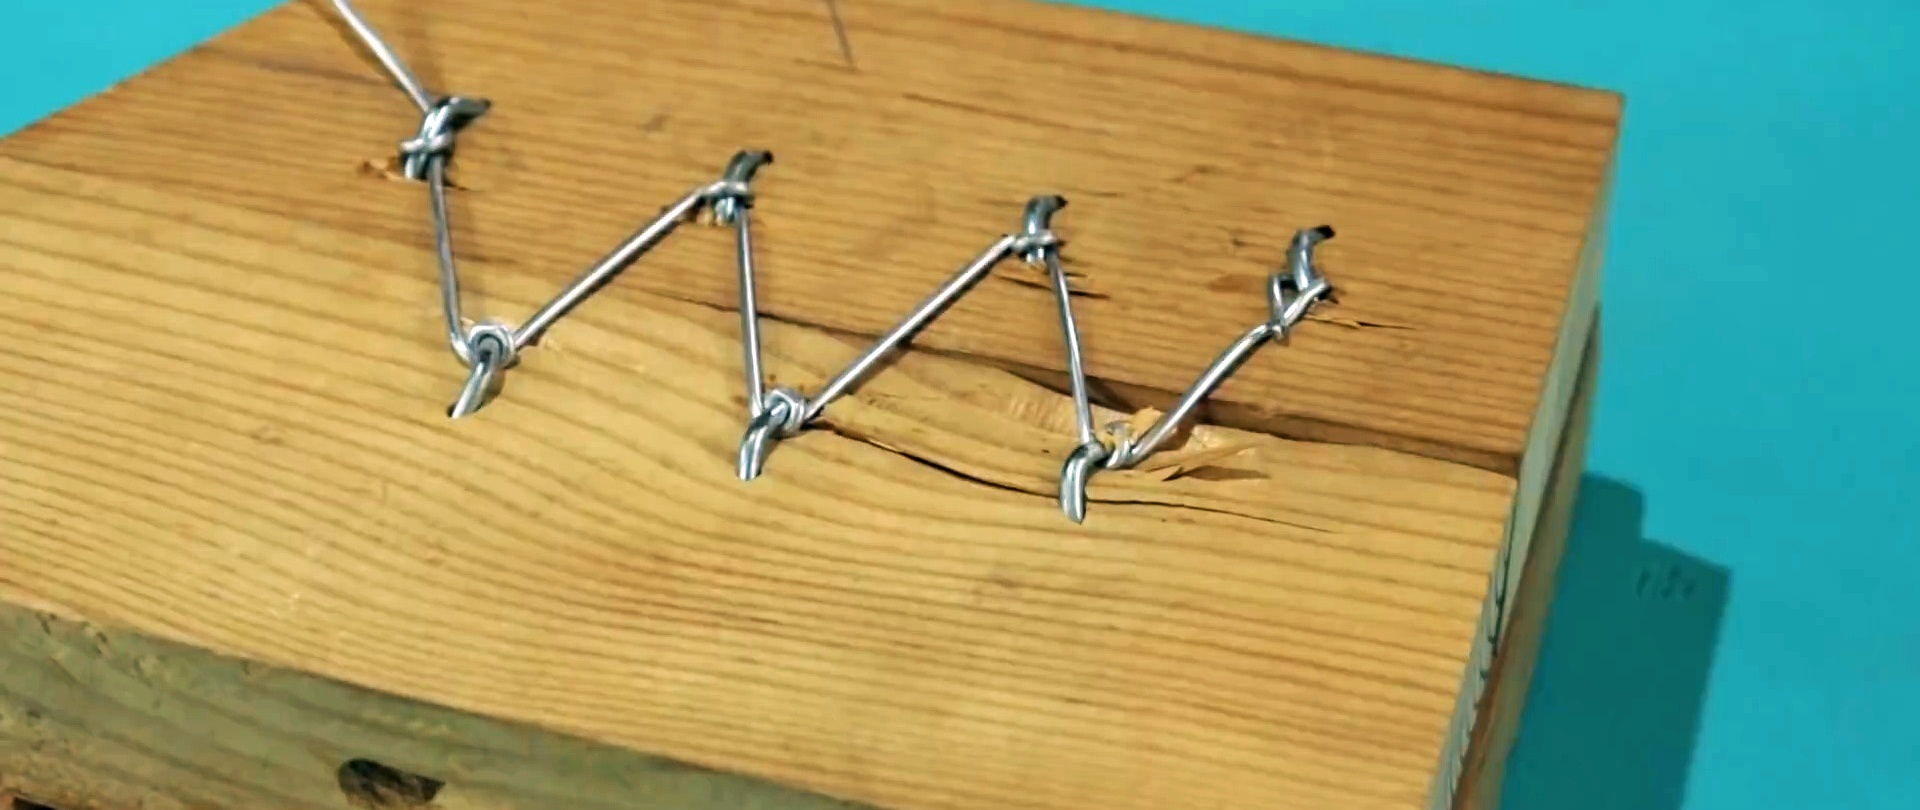
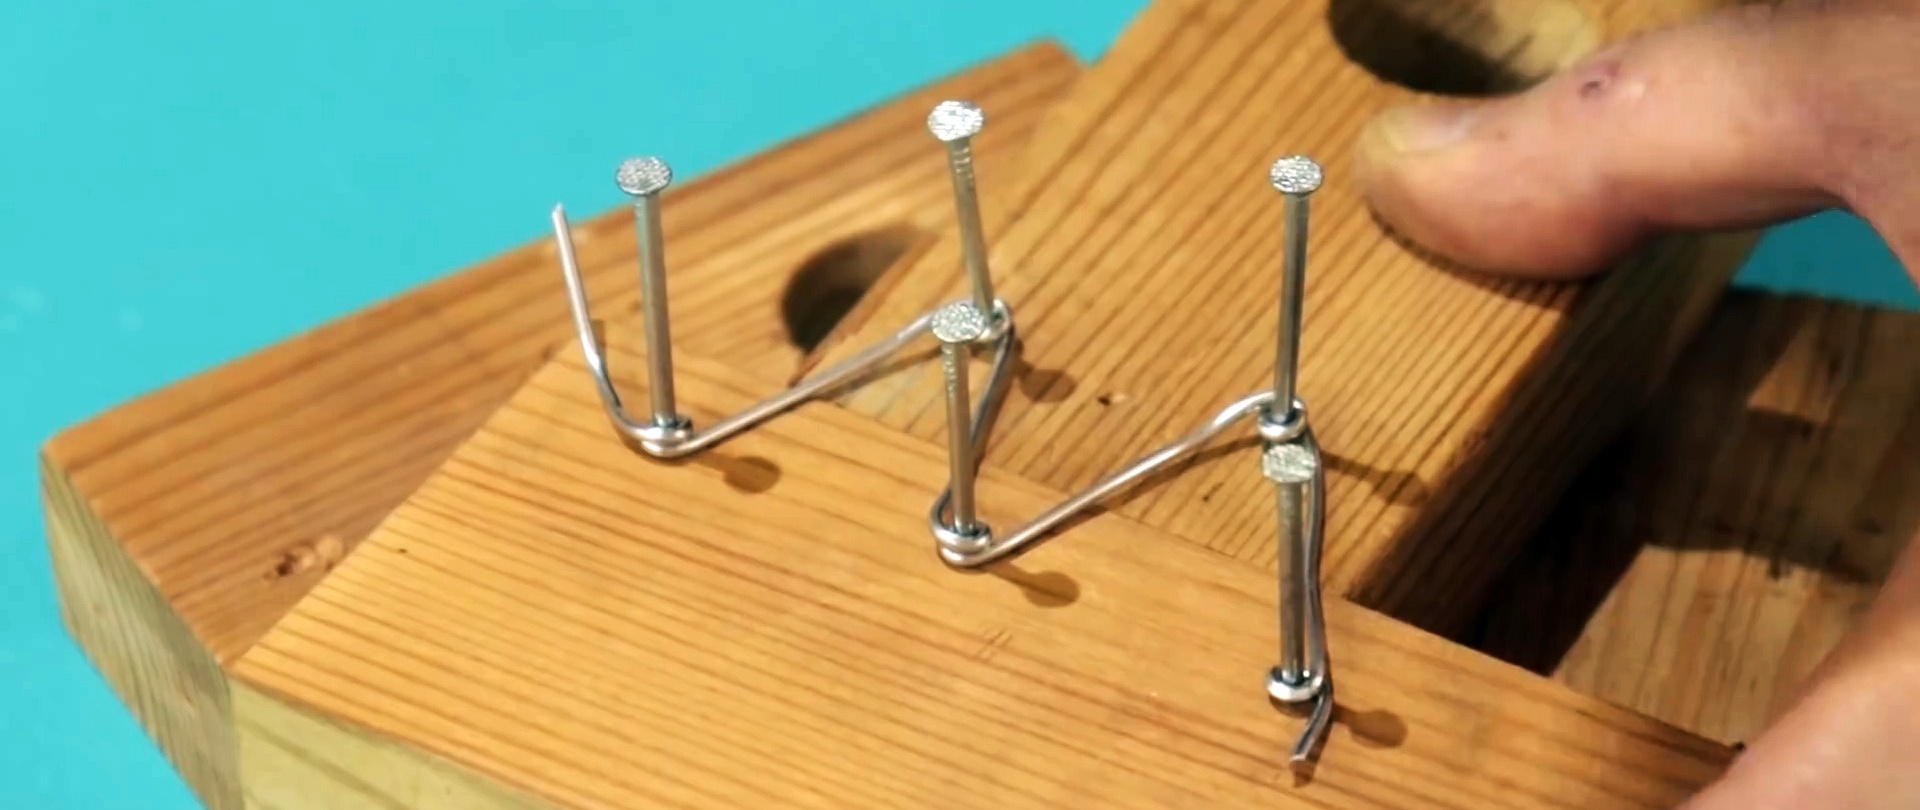
3. Connecting boards with wire and nails
This connection option can be used instead of a nail plate. Nails are driven into the 2 boards that need to be fastened in a checkerboard pattern. A wire is stretched between them.
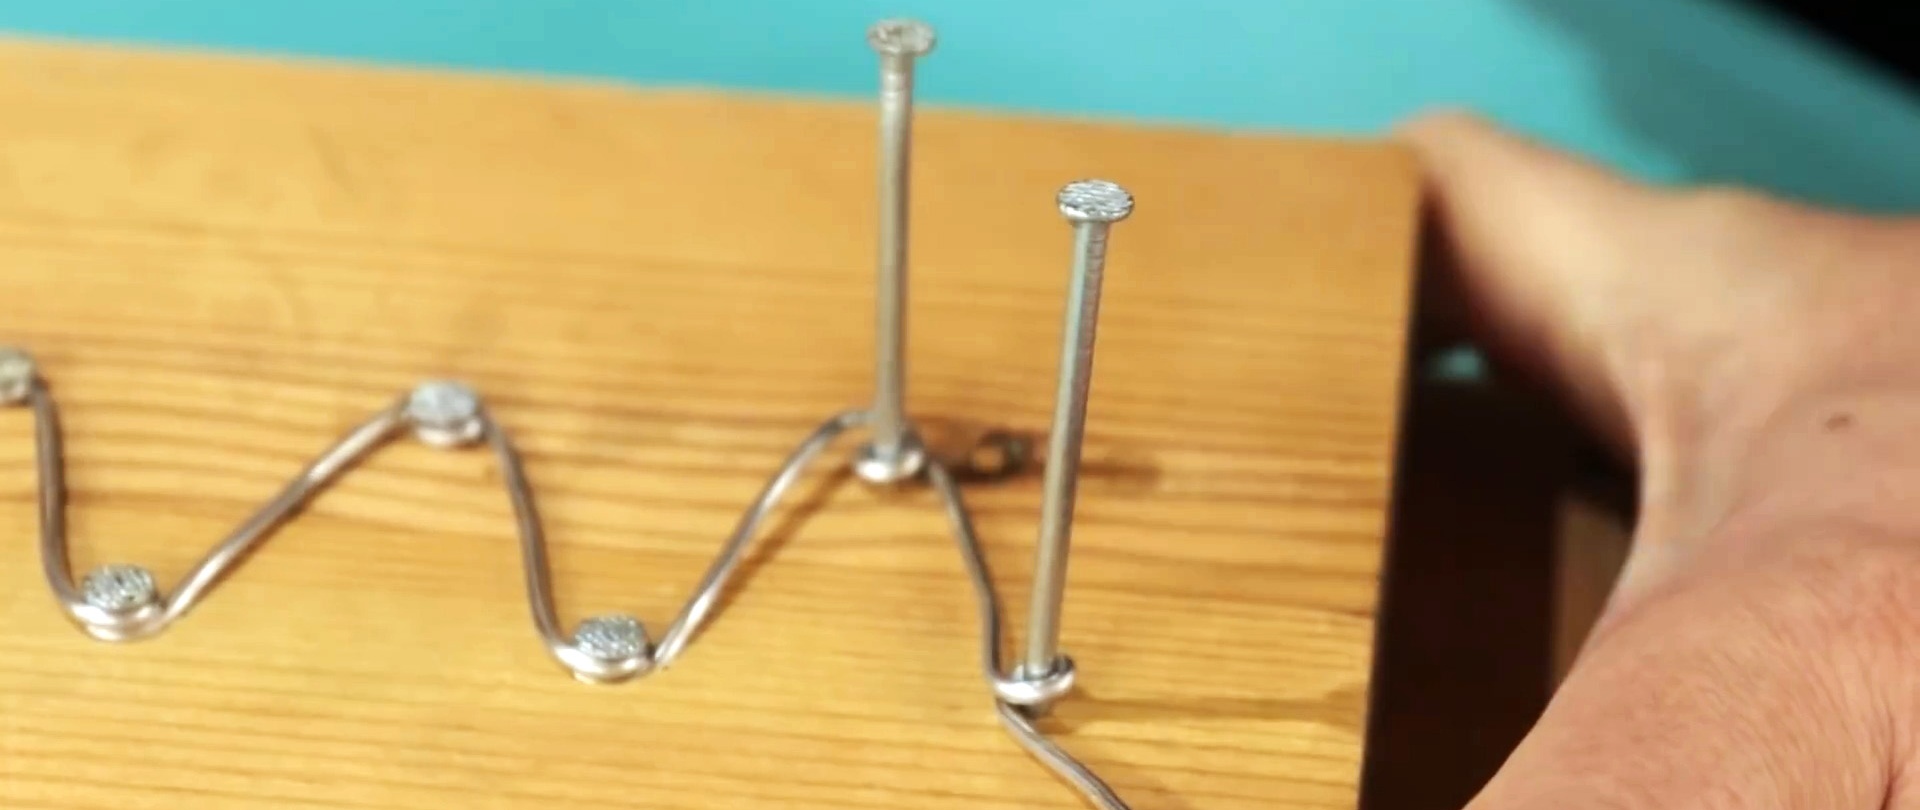
Then you need to drive the nails all the way in and pull the wire on the other side. After that all that remains is to bend the nails. The result is a rigid connection, even if the wire is not the strongest.
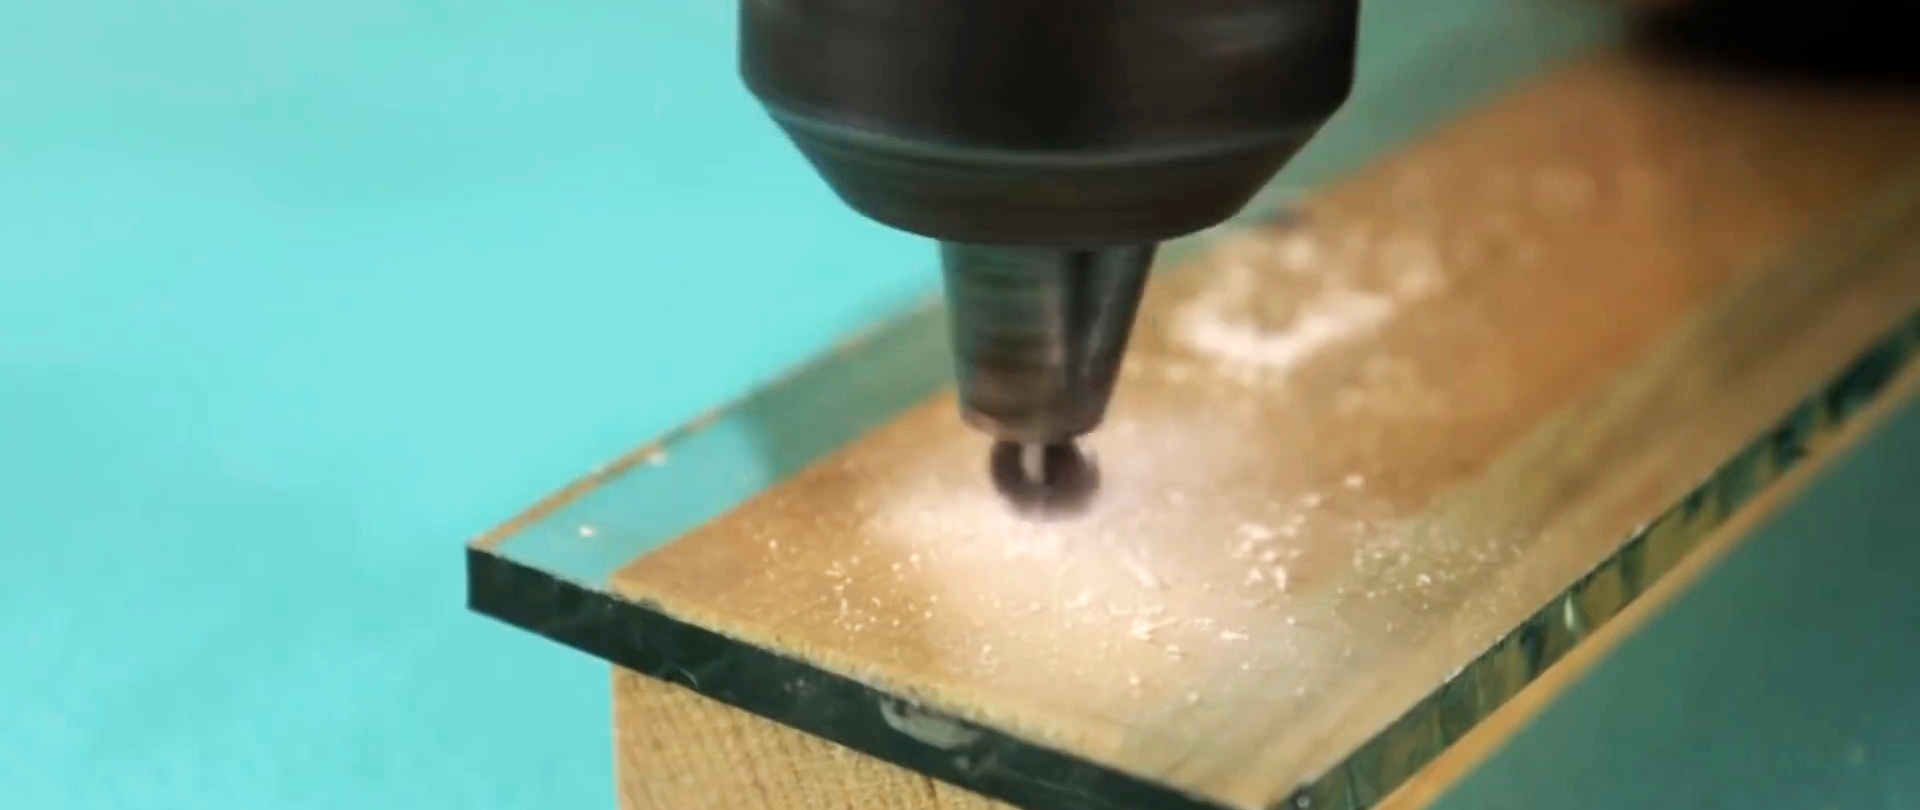
4. Glass drill from a glass cutter
You can drill the glass using a glass cutter roller. To do this, take a clove and bite off the cap. You need to bend it and put a glass cutter roller on it.

The resulting tool is clamped in the drill chuck. Since the roller is harder than glass, it drills quite well.
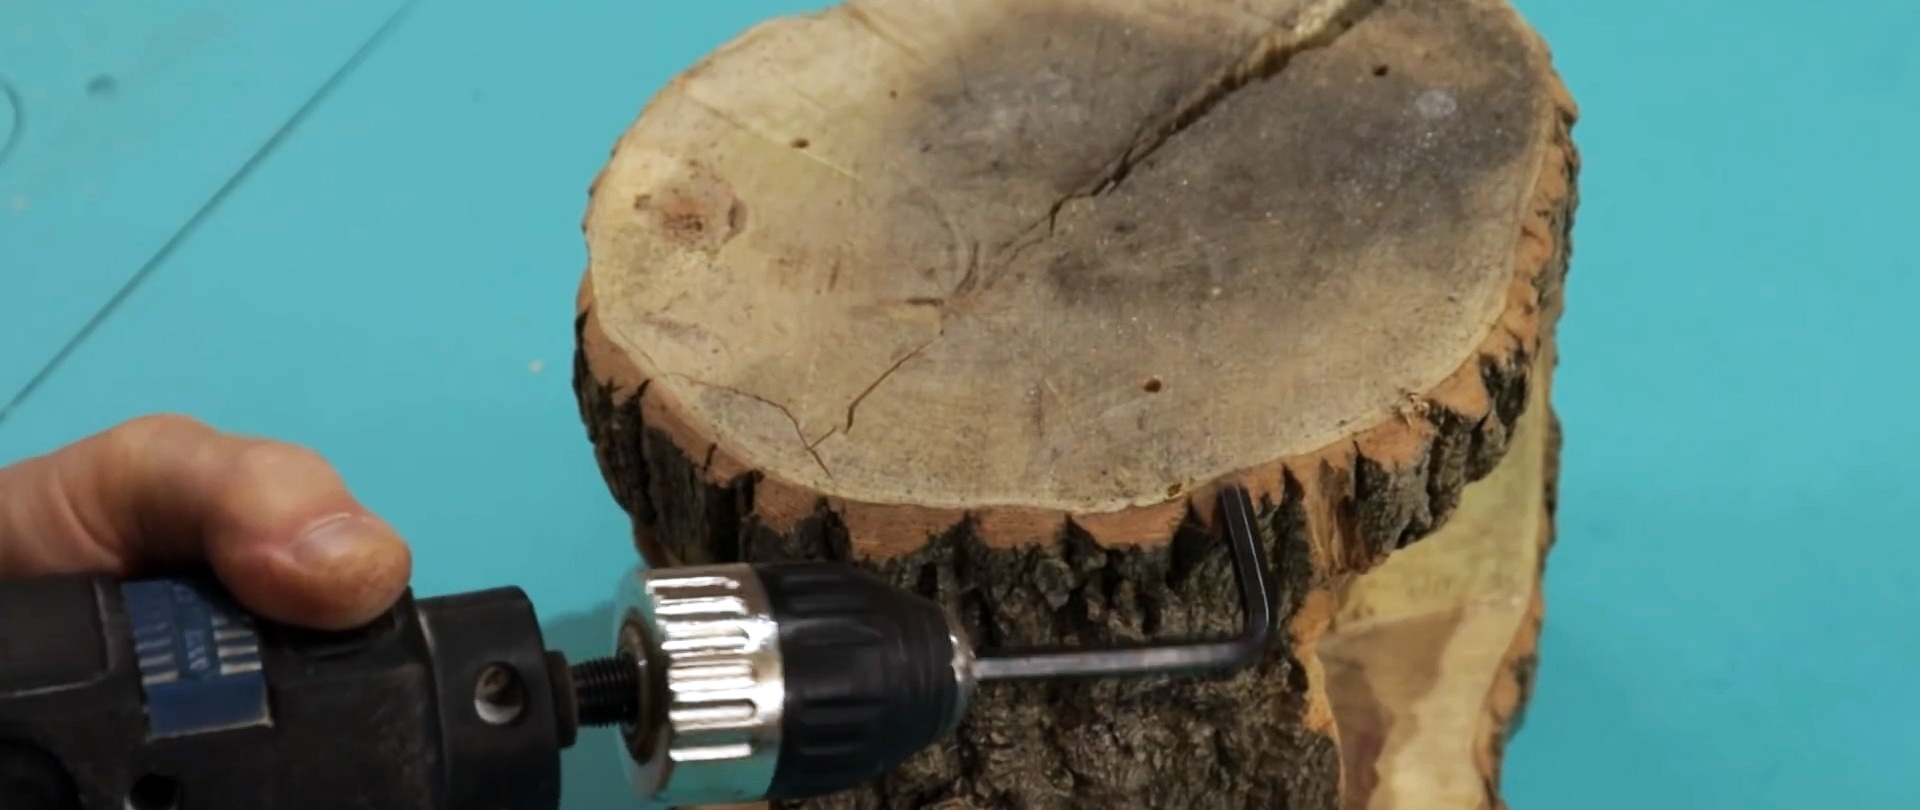
5. How to quickly remove a drill chuck from a drill
If it is necessary to replace the drill chuck, it is necessary to completely release its jaws. Then the screw securing the chuck to the spindle is unscrewed. Please note that it has a left-hand thread.

To directly disconnect the chuck, you must hold a hex L-shaped key in the drill. Now we turn on the reverse rotation mode, and when the hexagon unwinds, we sharply bring it closer to the rigid support. As a result of the impact, the cartridge will be removed on its own.
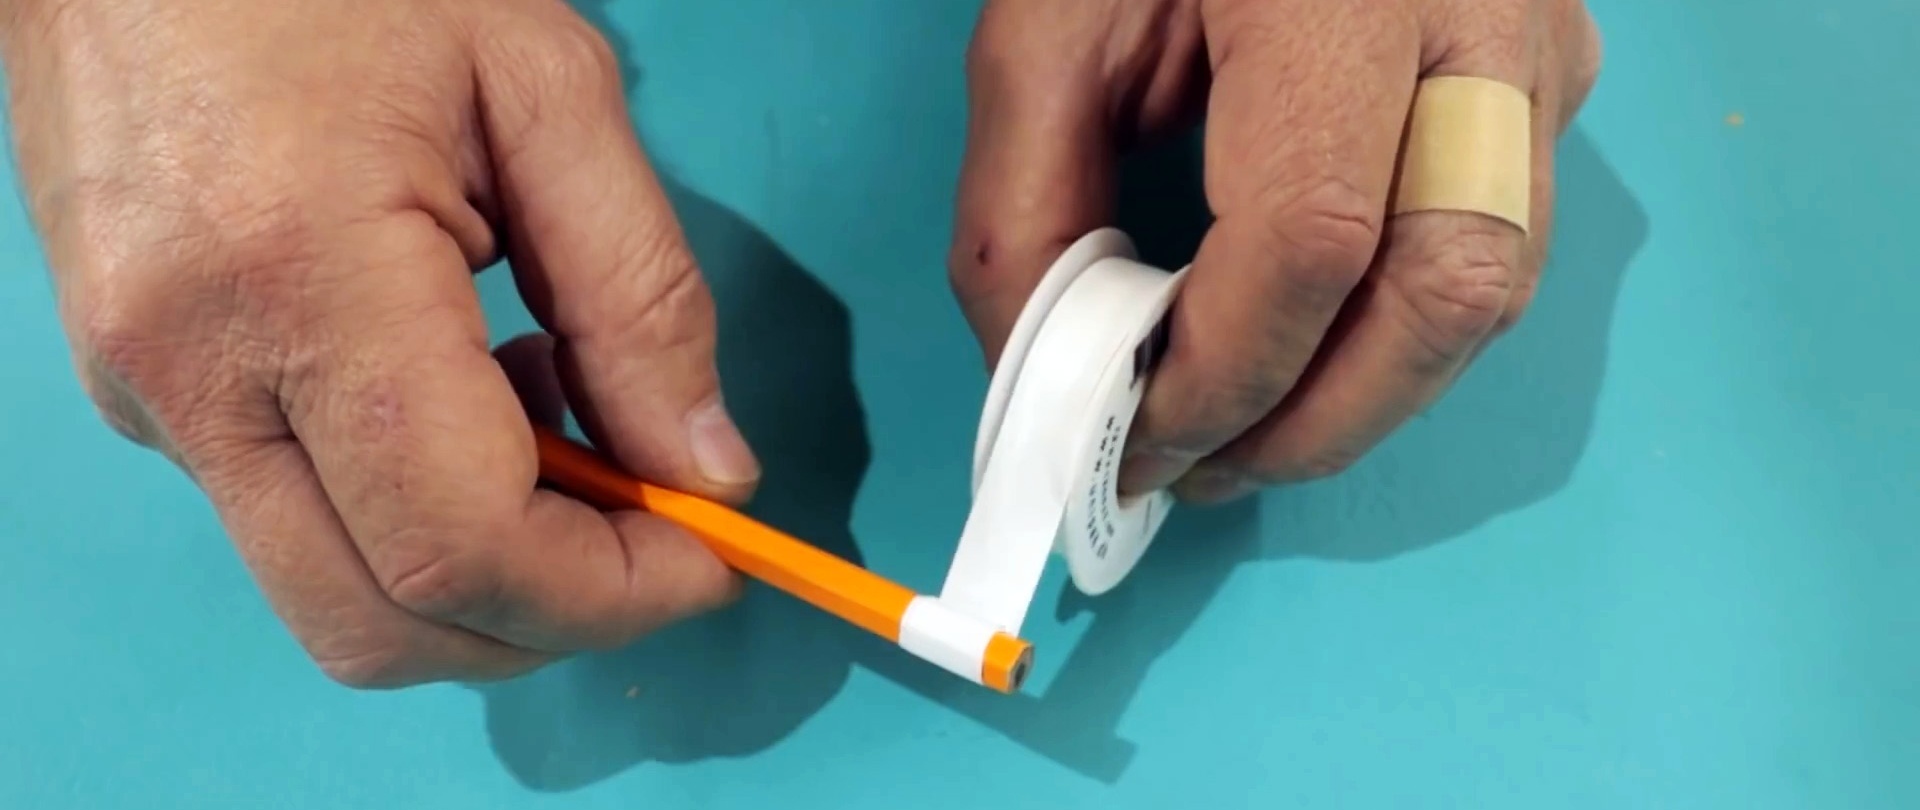
6. How to wind fumlenta in a hard-to-reach place
To reach a hard-to-reach place with fulenta, you need to wrap a piece of it of the required length around the tip of a pencil. It will be easier to seal the threads from it.

7.No-tightening loop
At the end of the rope, 2 loops are folded by crossing it crosswise. There should be a distance of 15-25 cm between them.
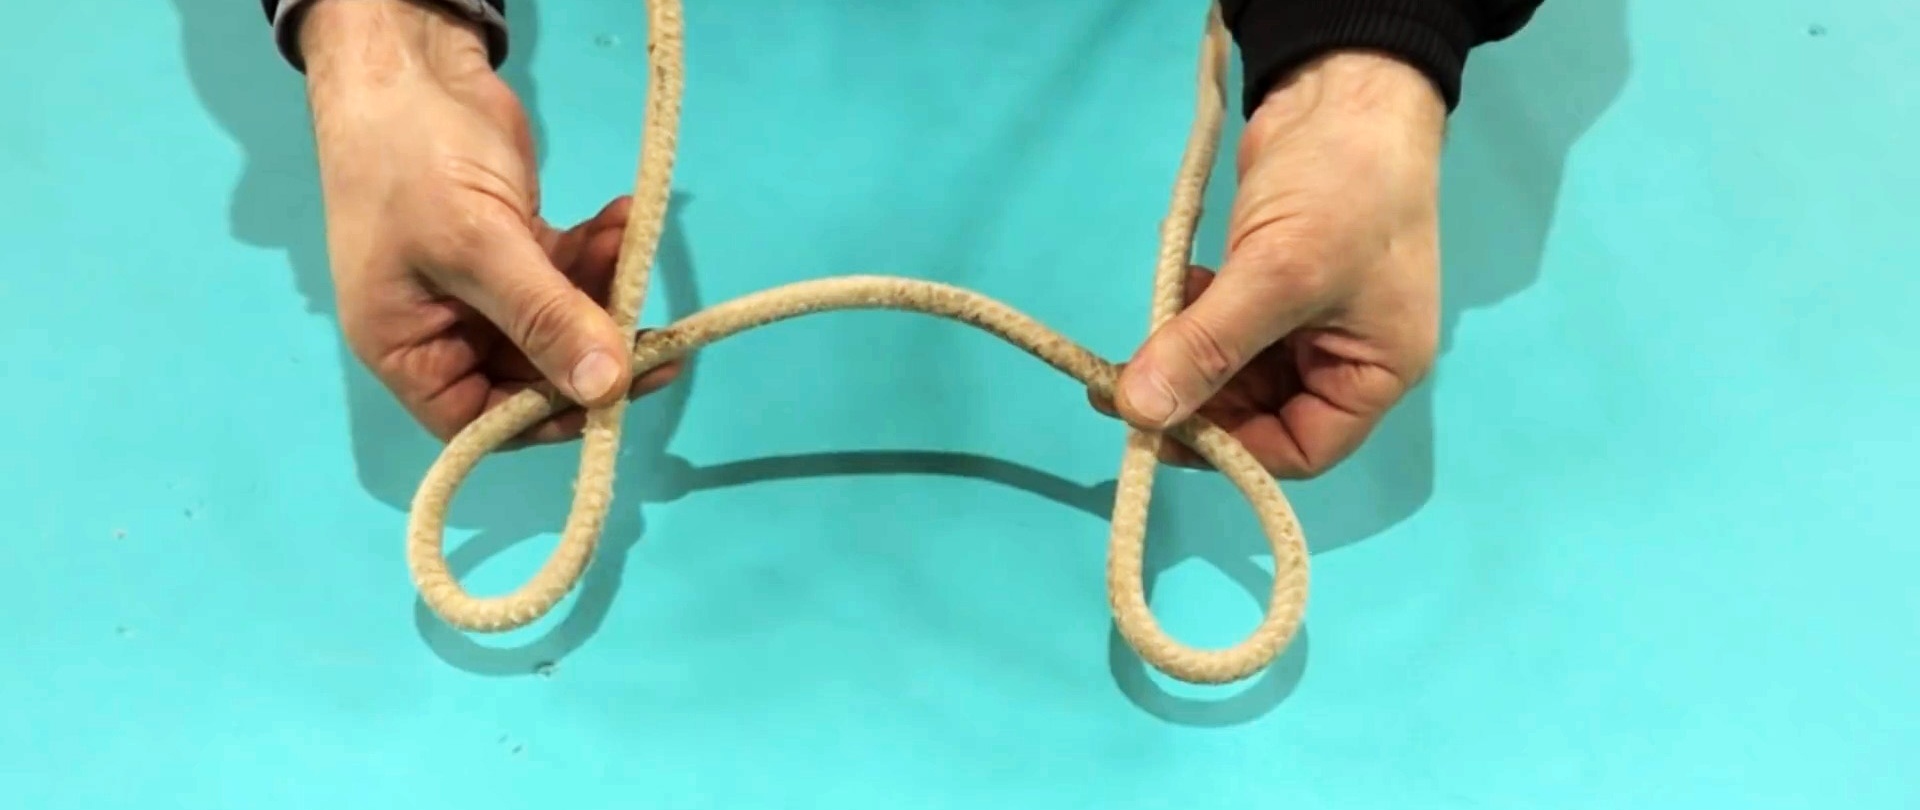
One loop needs to be placed under the second. After this, a third is formed, which must be passed into the double one.


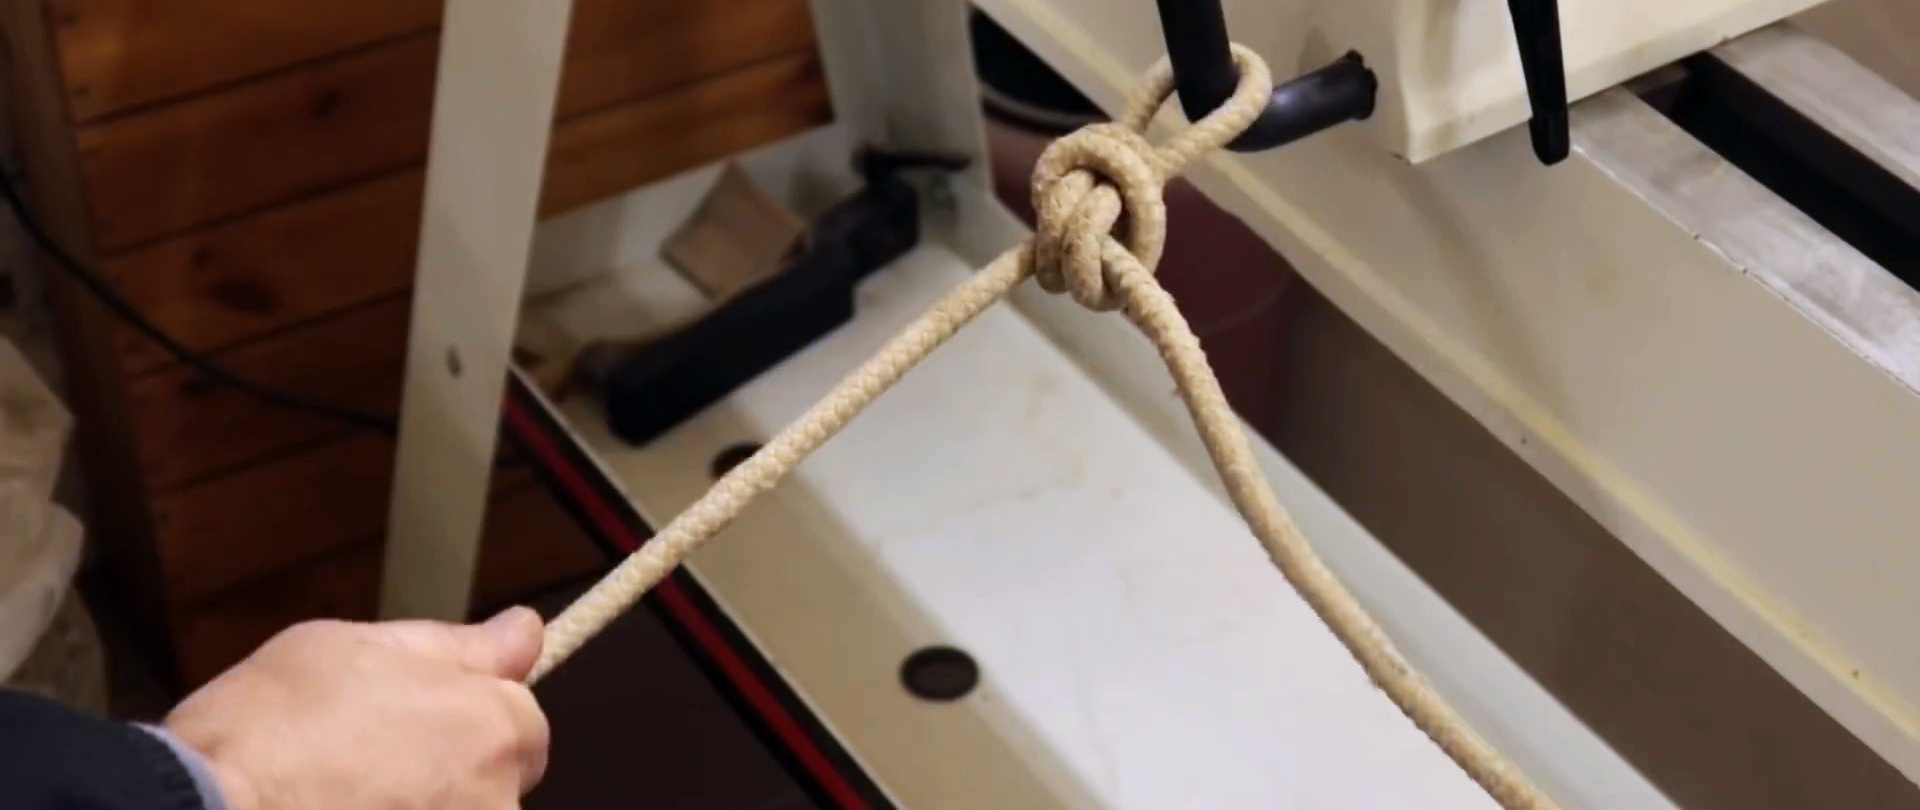
As a result, we get a knot with a non-tightening loop. It will not be difficult to unravel, even if the rope is used with great tension.
8. T-joint board with nails and wire
You can make a T-shaped connection using wire. We hammer nails into the boards in a checkerboard pattern and sew them together with wire.
Then we finish the nails to the end and wind the wire on the other side. After this, all that remains is to bend the nails, and the fastening is ready.

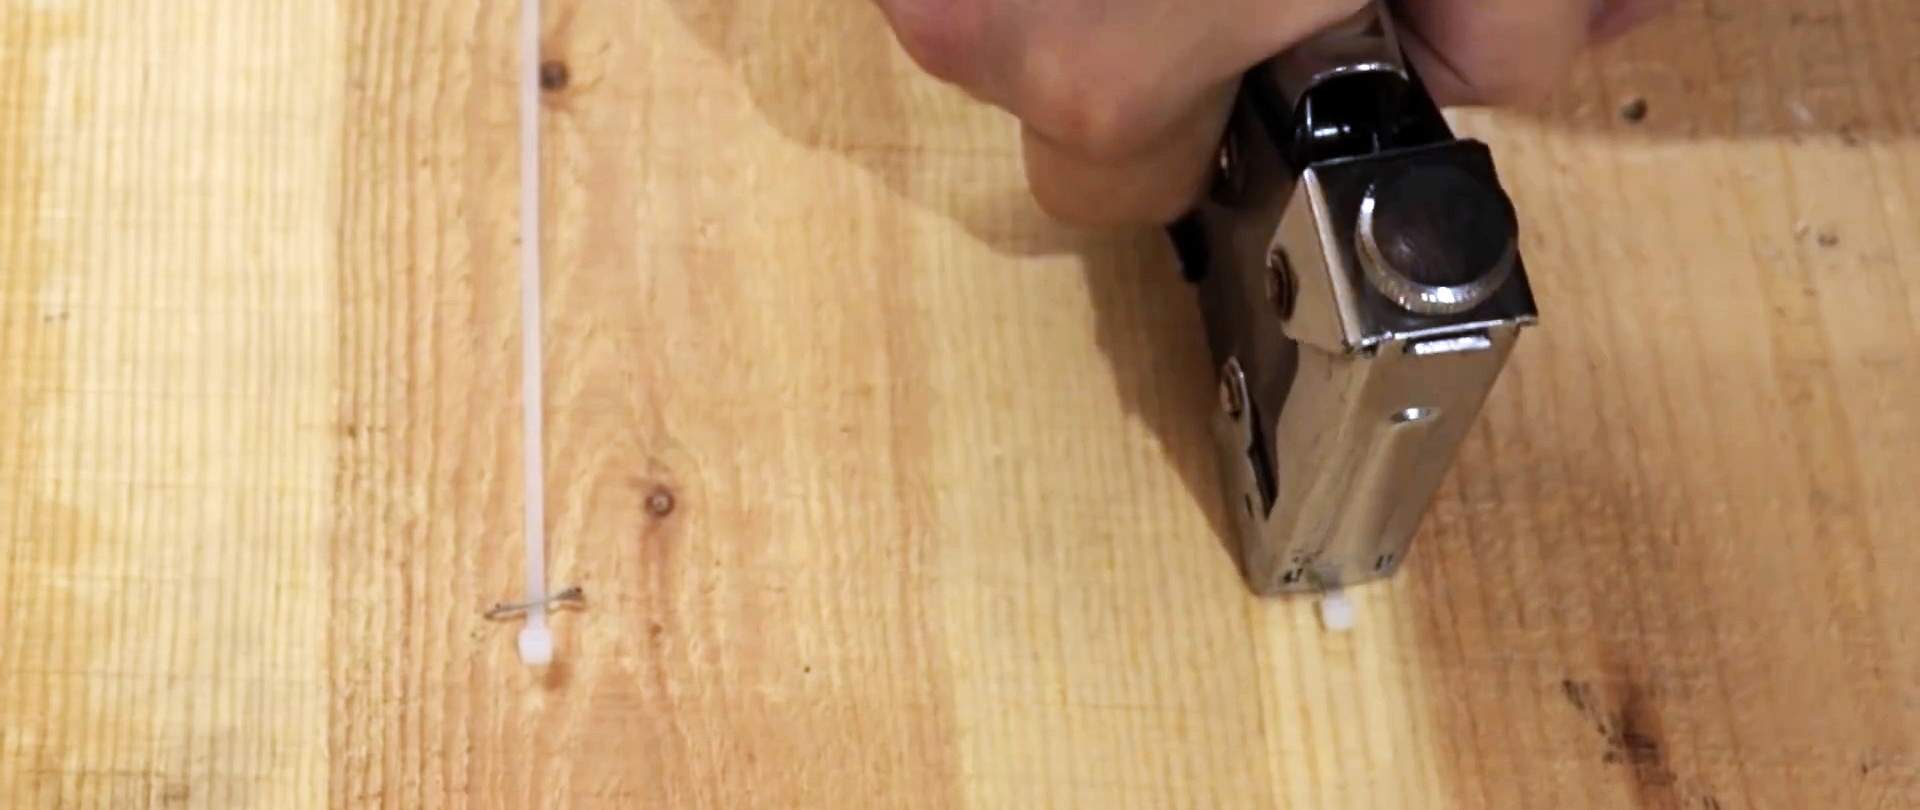
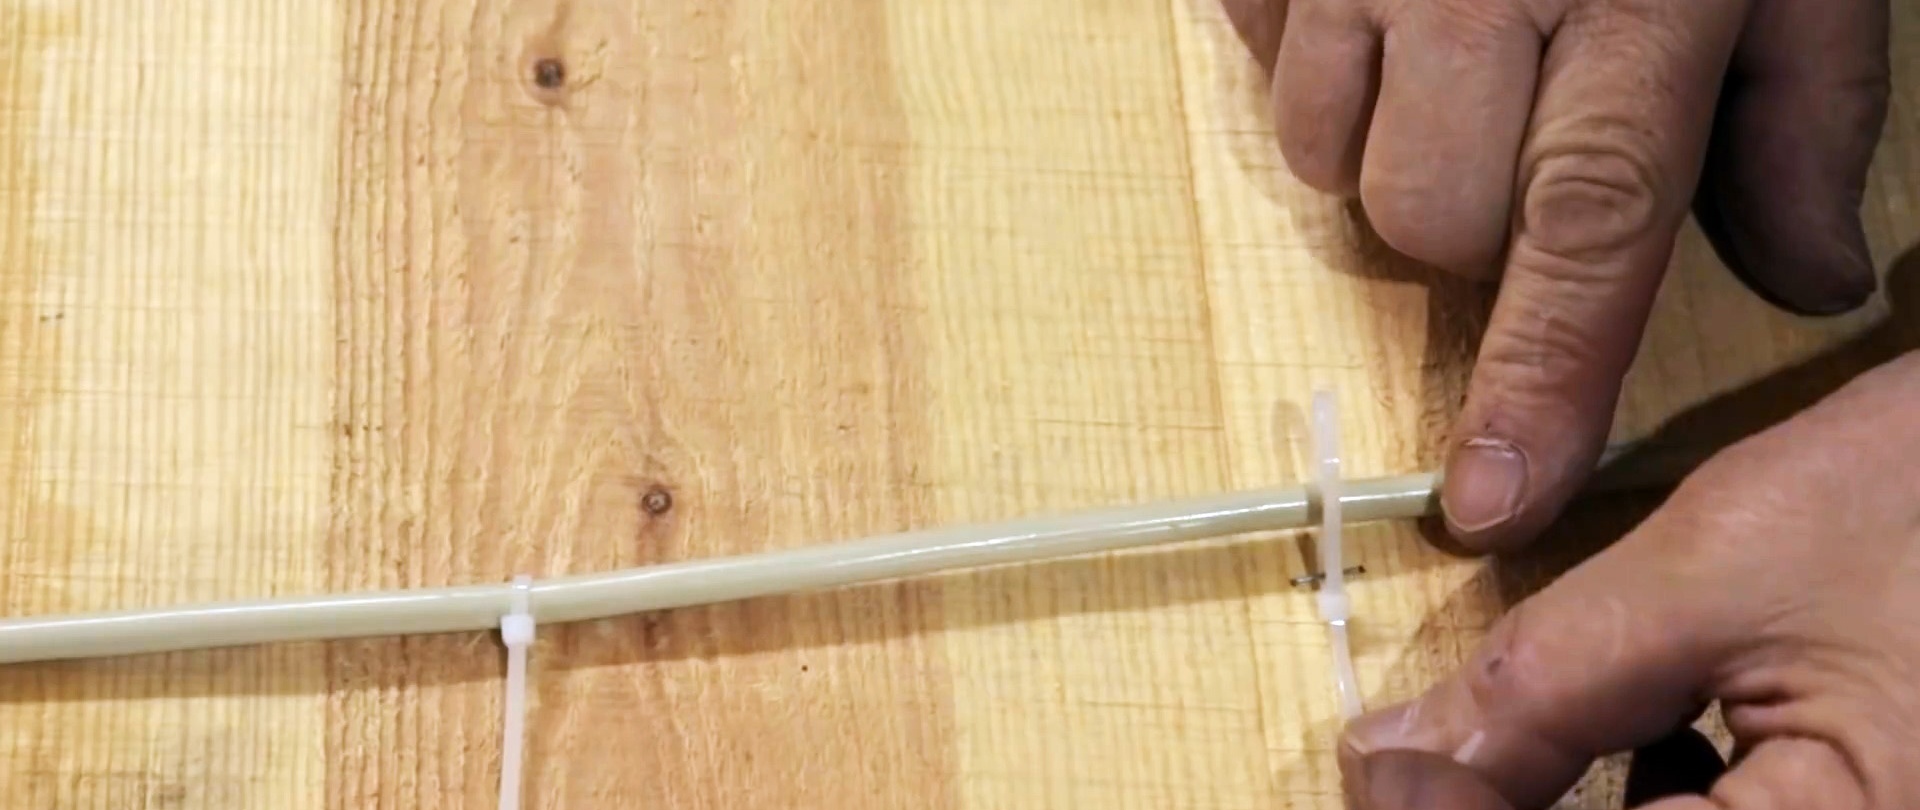
9. Attaching wiring to wooden walls and ceilings
You can secure the wiring to the tree by nailing a tie with a stapler. The staple is driven as close as possible to its lock. After this, tighten the cable tie.
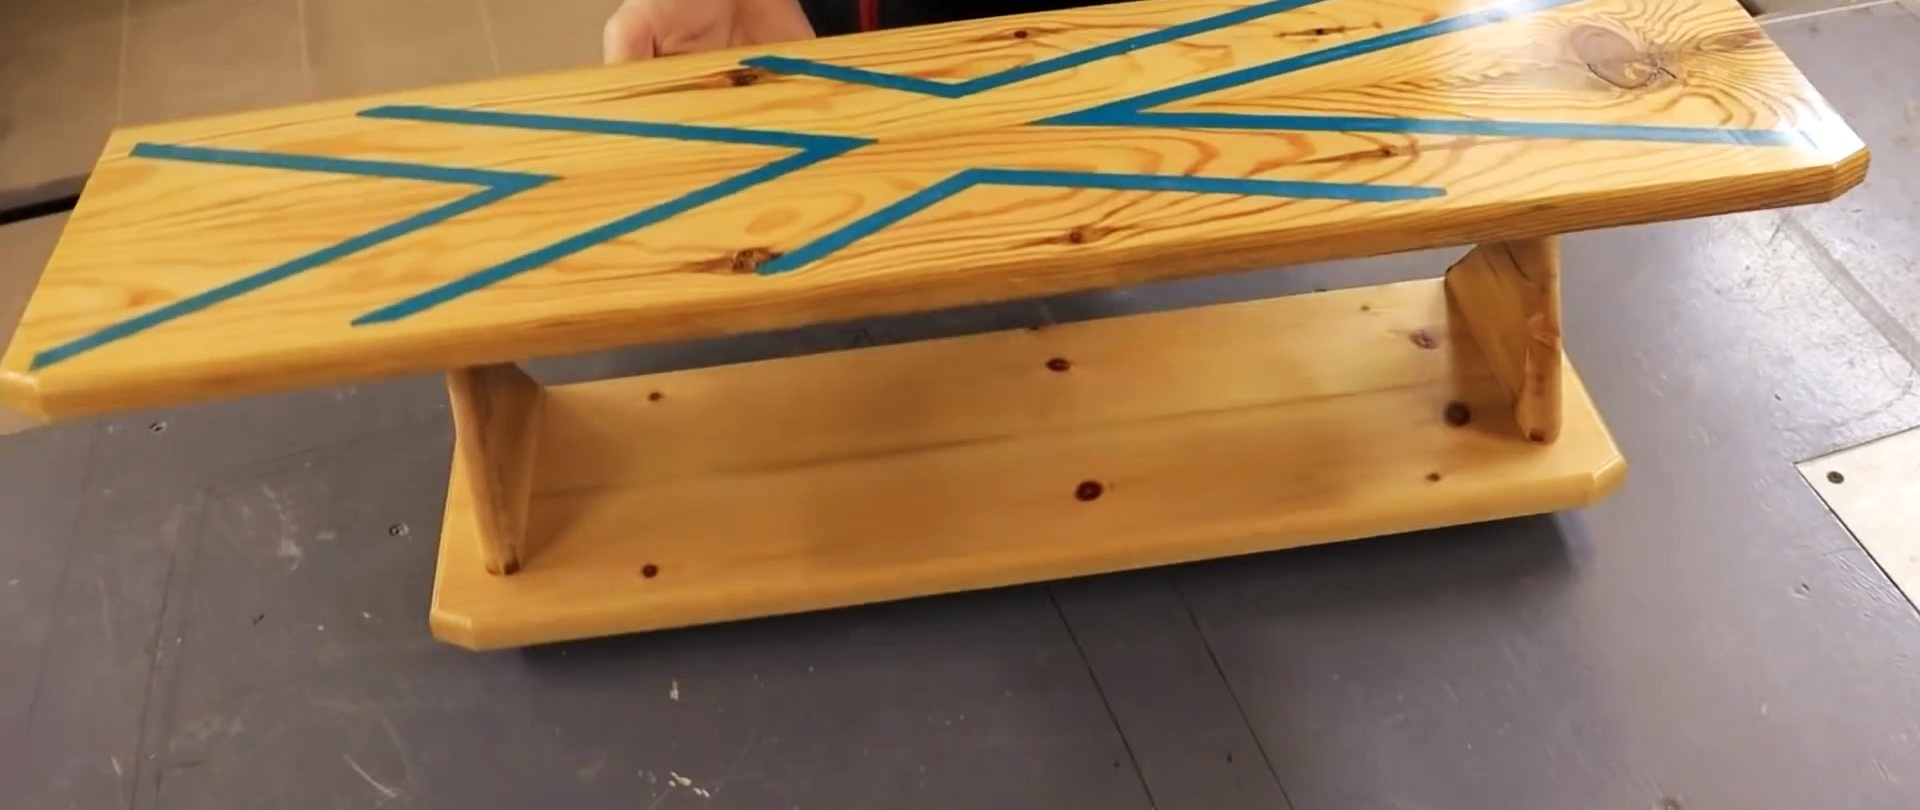
10. Decorating furniture with epoxy
On a wooden furniture Inserts made from colored epoxy look great. To make them, you need to mix the resin with a hardener and add a coloring pigment. Ideally, place the finished epoxy in a vacuum chamber to remove any air bubbles.

The resin is then poured into the milled grooves on the furniture. The last one needs to be set exactly to the horizon. With this method of filling, you will have to sand the surface to a minimum, or not at all.